The Longest Skill
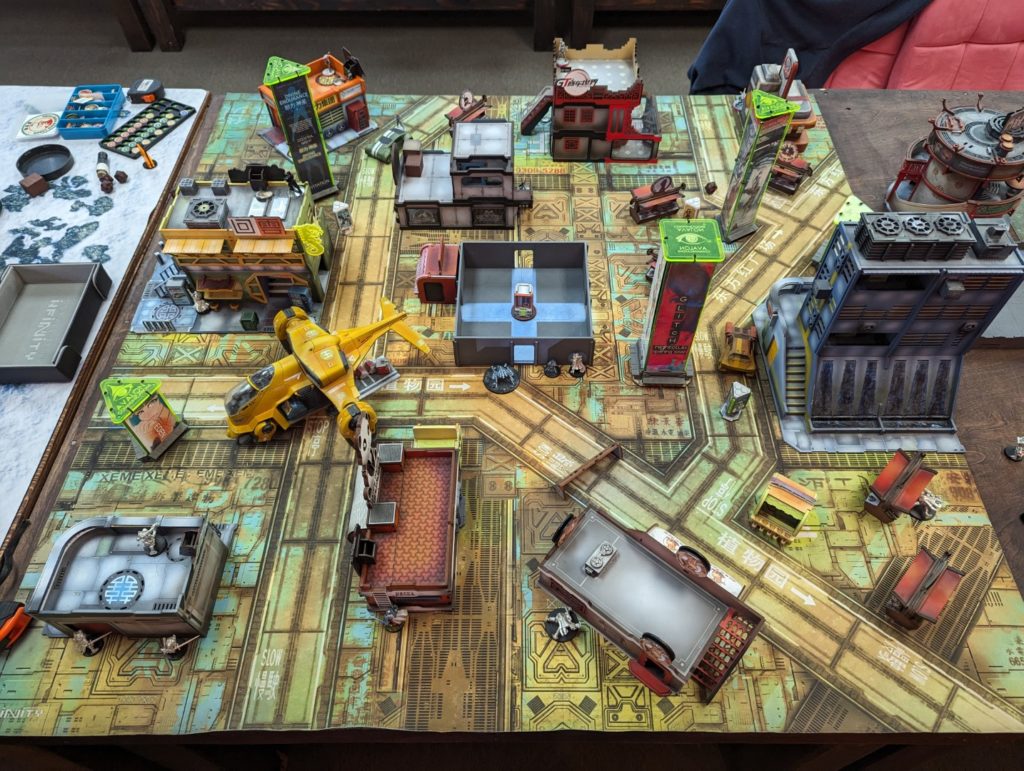
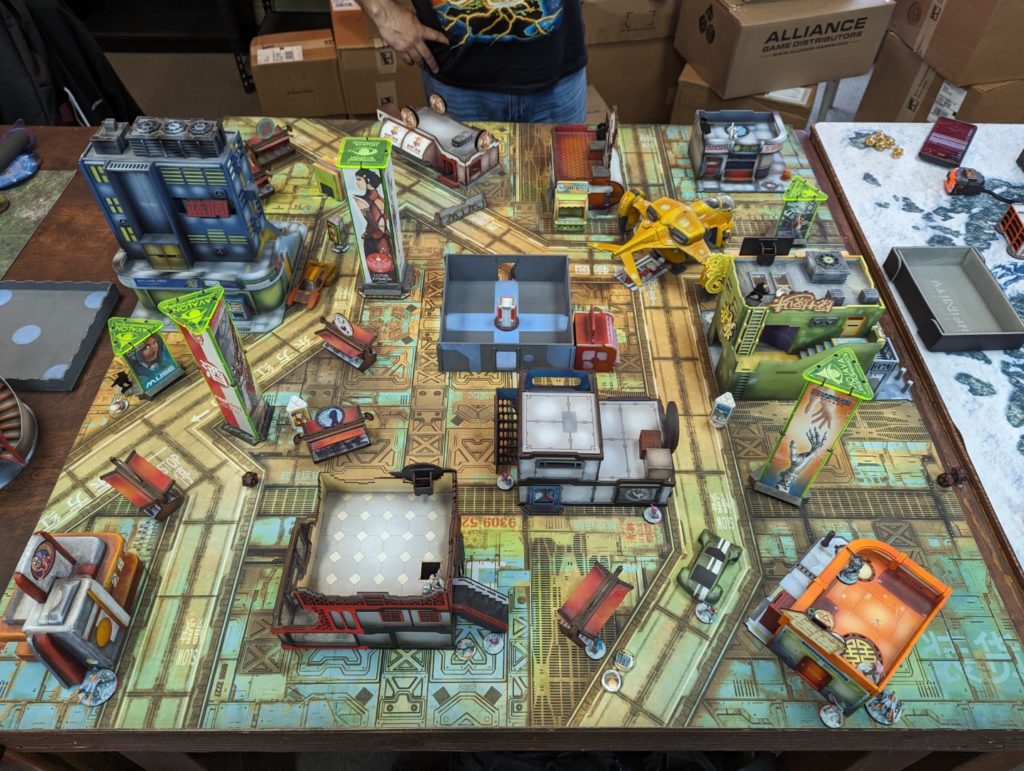
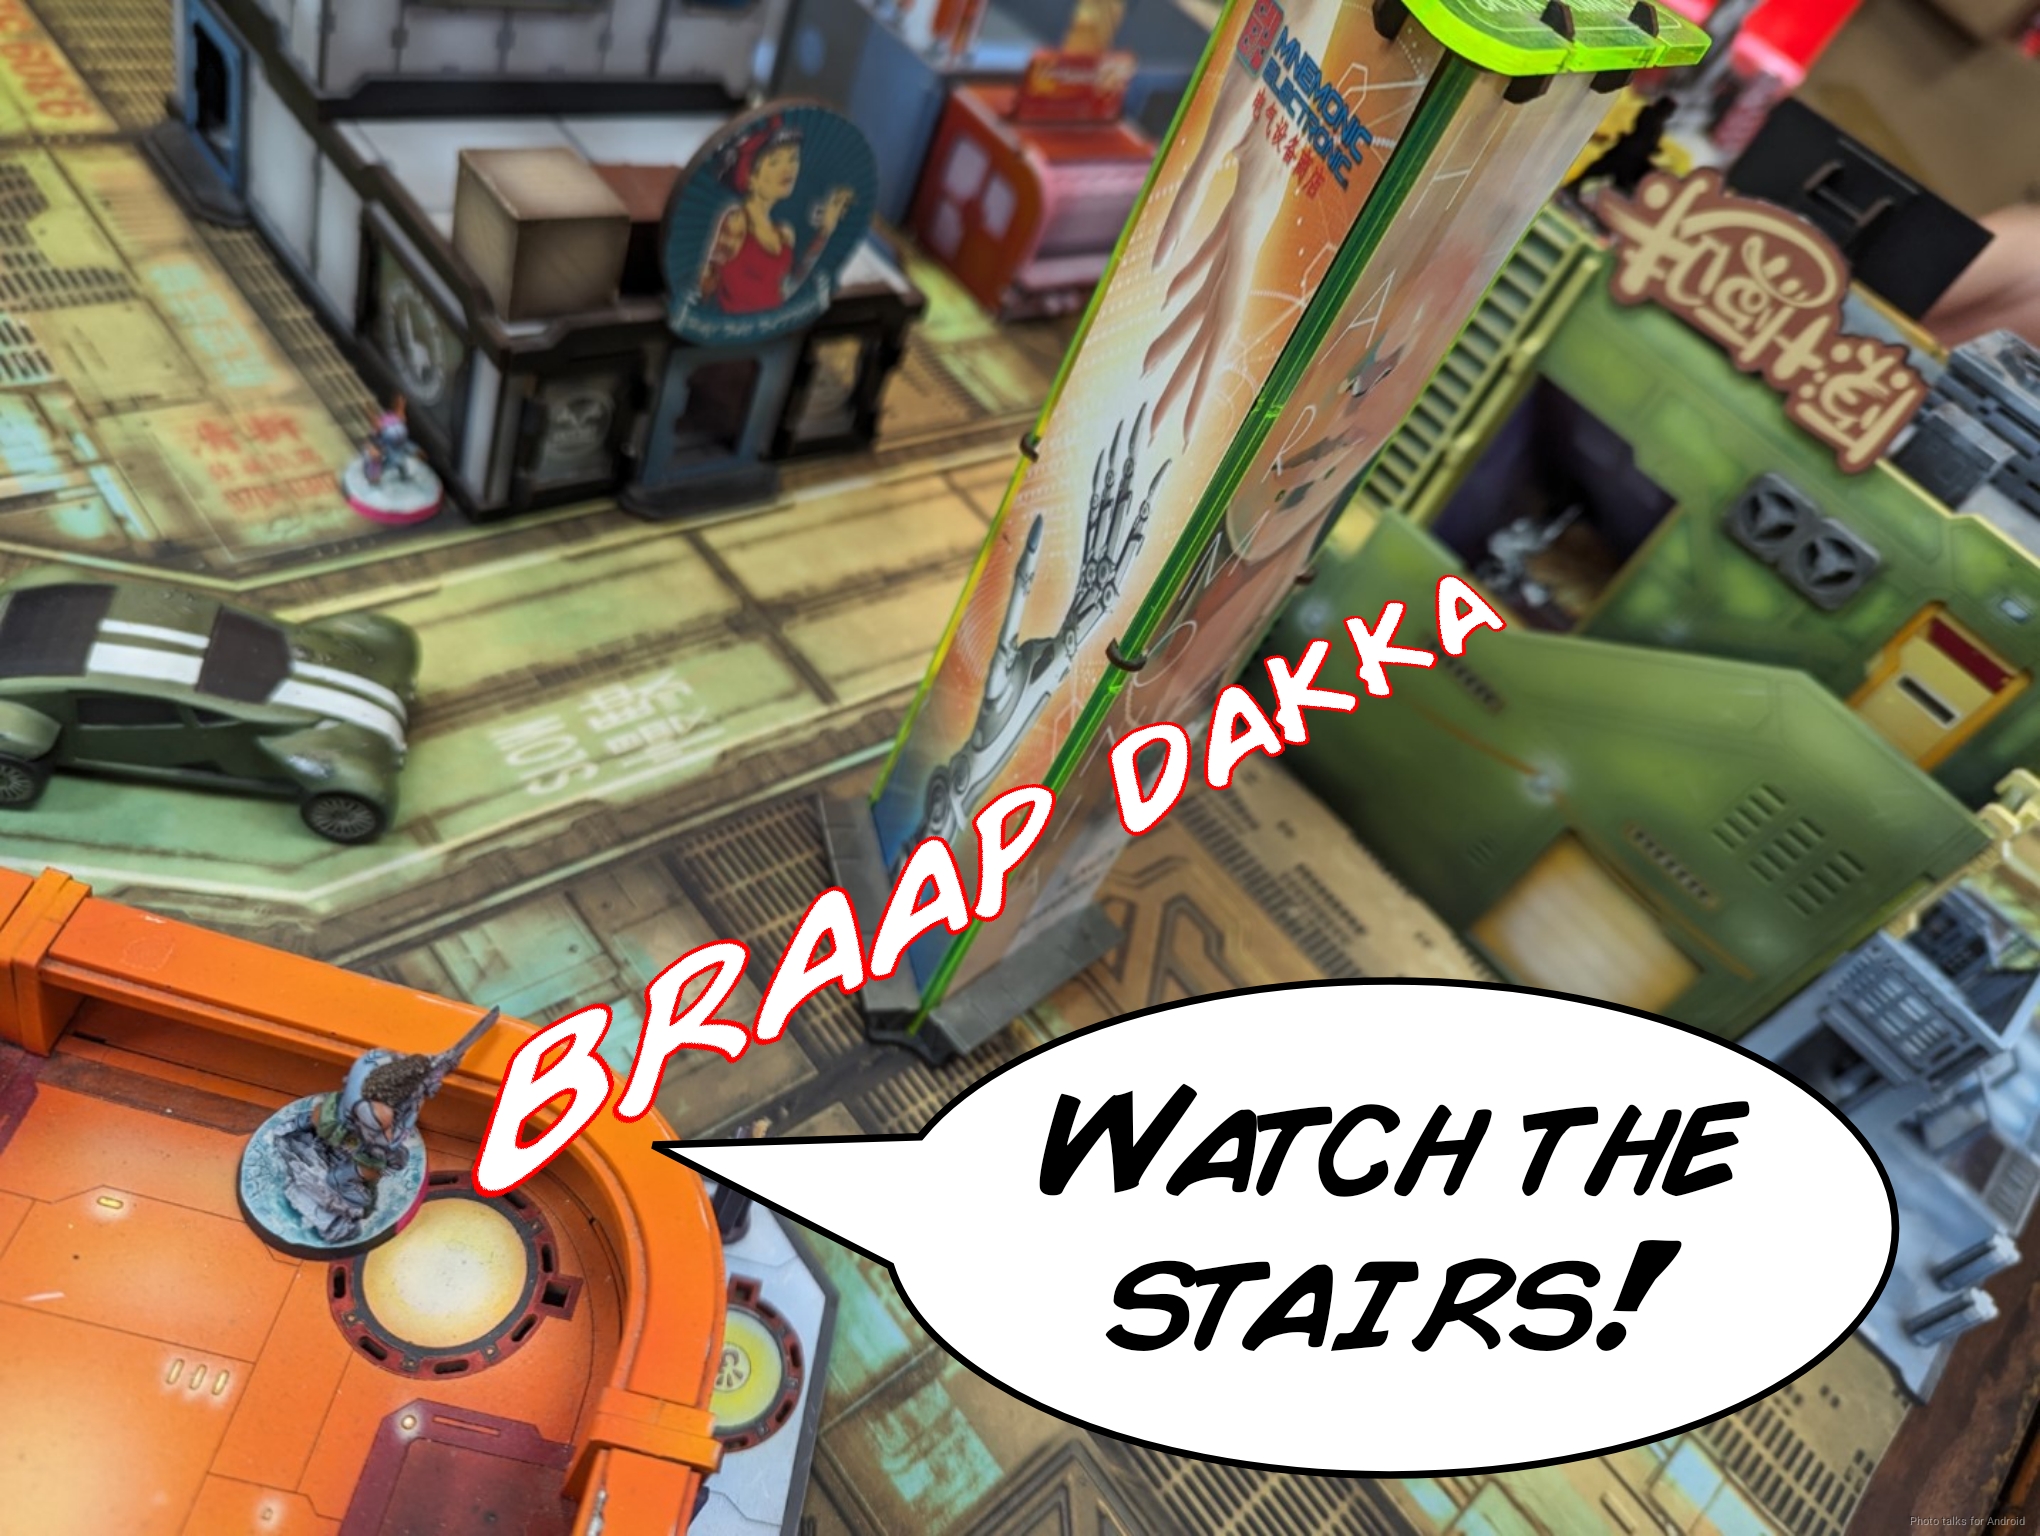
Adam and I went down to Shiv Games early one Friday to hang out and chill. We wanted to play test HeadChime’s Engineering Deck rewrite, so we cobbled together a armory on the Yu Jing table.
Overview
- Mission: BAMS v0.1 Engineering Deck
- Forces: Foreign Company versus Military Orders (300)
- Deploy First: Military Orders
- First Turn: Military Orders
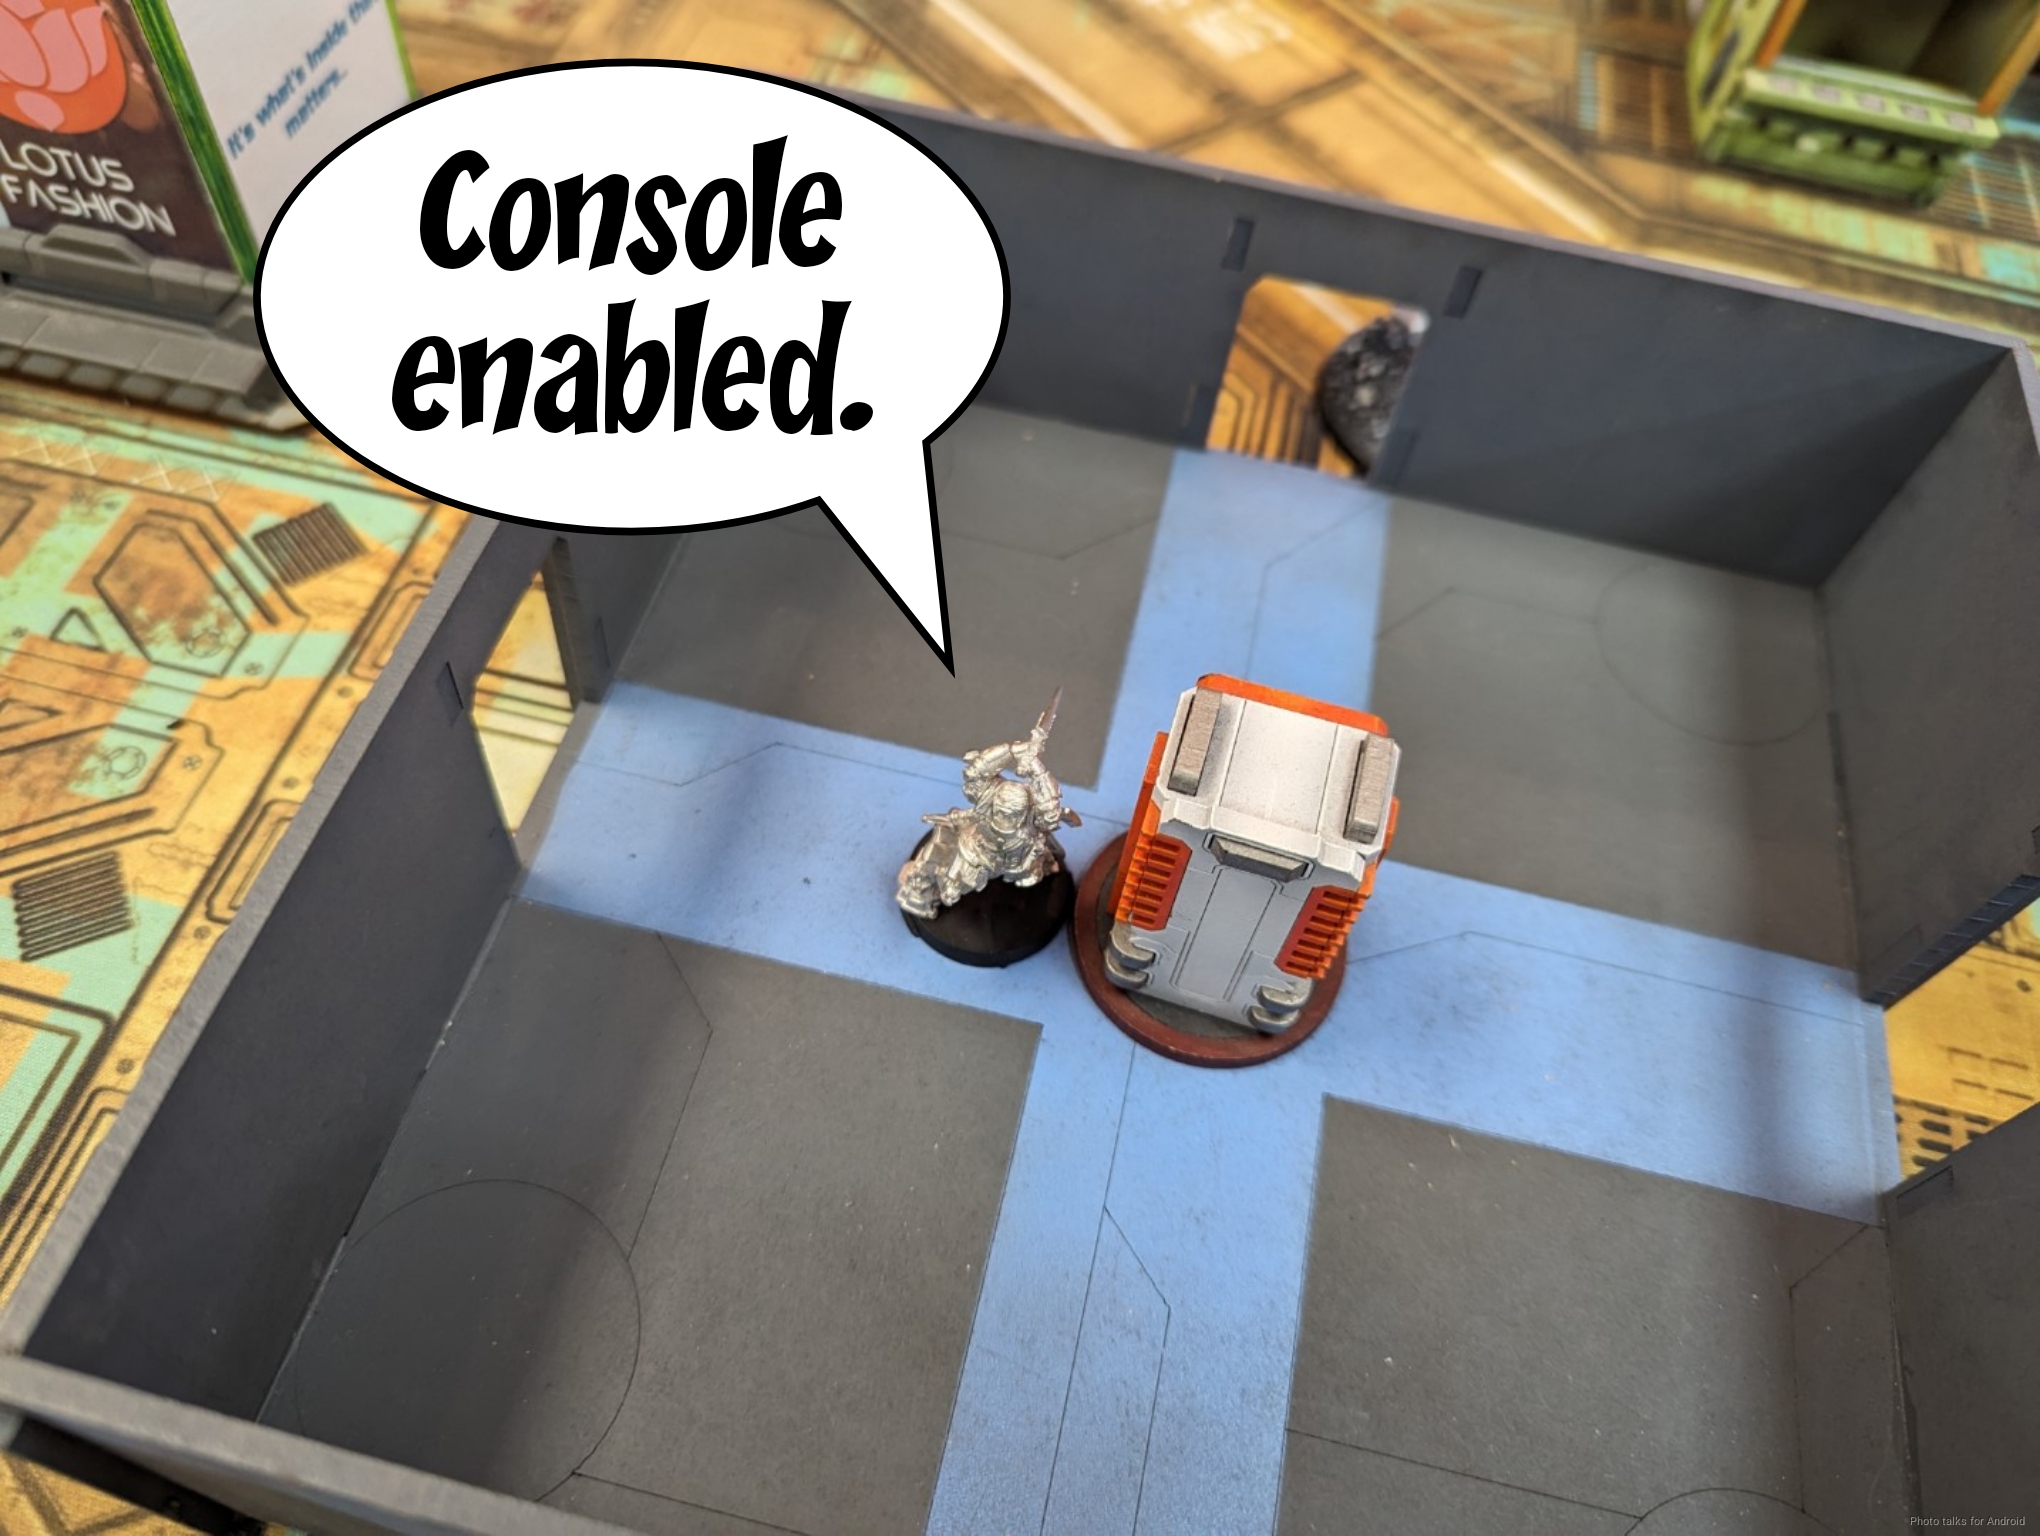
Engineering Deck, as re-envisioned by HeadChime retains the objective room and the Consoles and changes the scoring and the way you interact with the consoles. I’ll let you read the mission for the full details here:
HeadChime has made some subtle changes, such as differentiating the Consoles inside and out of the objective room. The ones outside can be activated by any specialist, but the one inside has to be activated by your Lieutenant, a Chain of Command trooper, or the trooper you nominate as your “cool person,” which is called a Trusted Operator in this mission. You’re rewarded for flipping the Console in the in Round 1, and you’re rewarded for dominating the objective room at the end of the game.
This more or less addresses the first/second player differential, so the mission feels balanced and really engaging as you’ve always got something to do. The really big change, however, was making it a Long Skill to activate a console. There’s no WIP roll required, so don’t worry about that, but you cannot walk in and short skill the Console. This is primarily to combat non-interactivity, i.e. ye-old-N3-era I reveal a bunch of hidden deployment troopers, push the buttons, and win and you can’t do anything if I pass my WIP rolls. Either that or the “I walk out out in front of the world and make a normal WIP while you declare 50 million AROs and delete my trooper.”
I’ll talk more about it later, but this was a pretty big change and it’s very easy to miss! In any case, I’m rocking some ForCo still, mostly because Bolts are fun as hell and it’s nice to play a fully painted list.
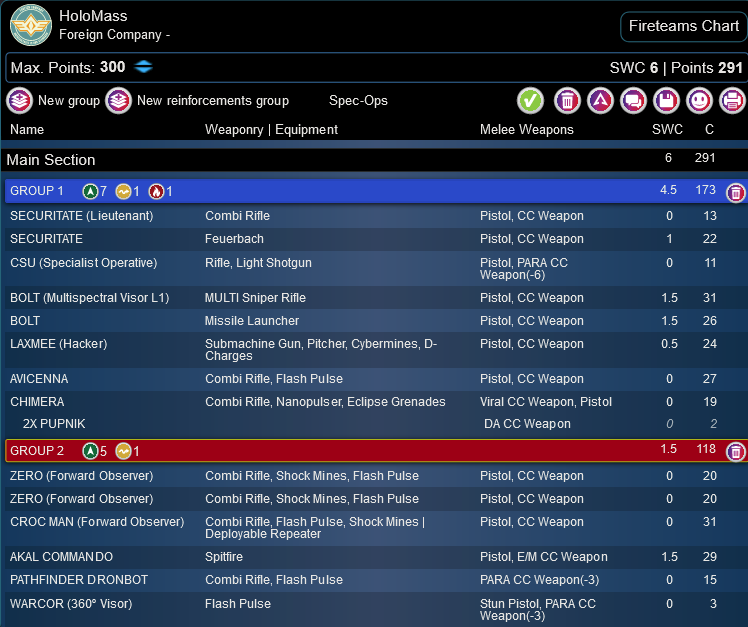
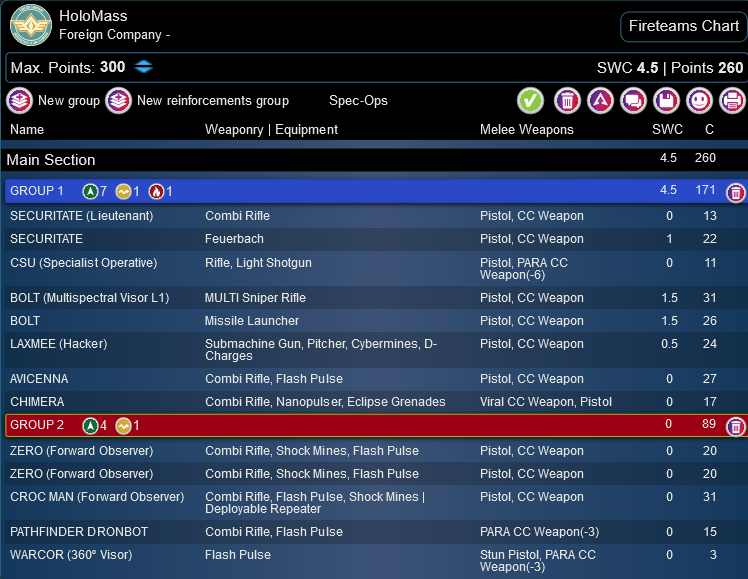
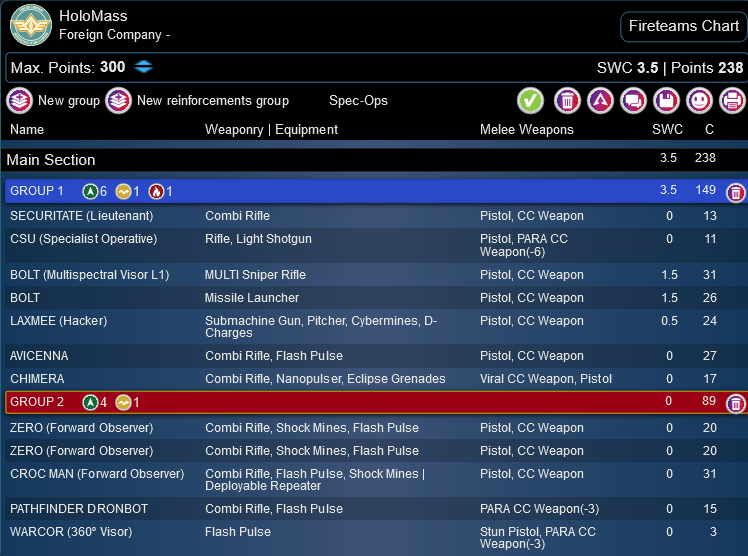
HoloMass
GROUP 1
7
1
1
SECURITATE (Lieutenant) Combi Rifle / Pistol, CC Weapon. (0 | 13)
CSU (Specialist Operative) Rifle, Light Shotgun / Pistol, PARA CC Weapon(-6). (0 | 11)
BOLT (Multispectral Visor L1) MULTI Sniper Rifle ( ) / Pistol, CC Weapon. (1.5 | 31)
LAXMEE (Hacker) Submachine Gun, Pitcher, Cybermines, D-Charges / Pistol, CC Weapon. (0.5 | 24)
AVICENNA Combi Rifle, Flash Pulse / Pistol, CC Weapon. (0 | 27)
GROUP 2
CHIMERA Combi Rifle, Nanopulser, Eclipse Grenades / Viral CC Weapon, Pistol. (0 | 20)
3X PUPNIK DA CC Weapon. (0 | 3)
ZERO (Forward Observer) Combi Rifle, Shock Mines, Flash Pulse / Pistol, CC Weapon. (0 | 20)
CROC MAN (Forward Observer) Combi Rifle, Flash Pulse, Shock Mines ( | Deployable Repeater) / Pistol, CC Weapon. (0 | 31)
AKAL COMMANDO Spitfire / Pistol, E/M CC Weapon. (1.5 | 29)
FUGAZI DRONBOT Flash Pulse / PARA CC Weapon(-3). (0 | 7)
PATHFINDER DRONBOT Combi Rifle, Flash Pulse / PARA CC Weapon(-3). (0 | 15)
WARCOR (360º Visor) Flash Pulse ( ) / Stun Pistol, PARA CC Weapon(-3). (0 | 3)
6 SWC | 299 Points | Open in Army | Copy Code
There’s some slight differences between this list and the previous one I played against Jordan…
the primary one being I slotted an Akali instead of the TR bot, which I think is a big deal. Adam’s rocking this list, which is quite light on SWC but has Mendoza. Who needs SWC when you have Mendoza?
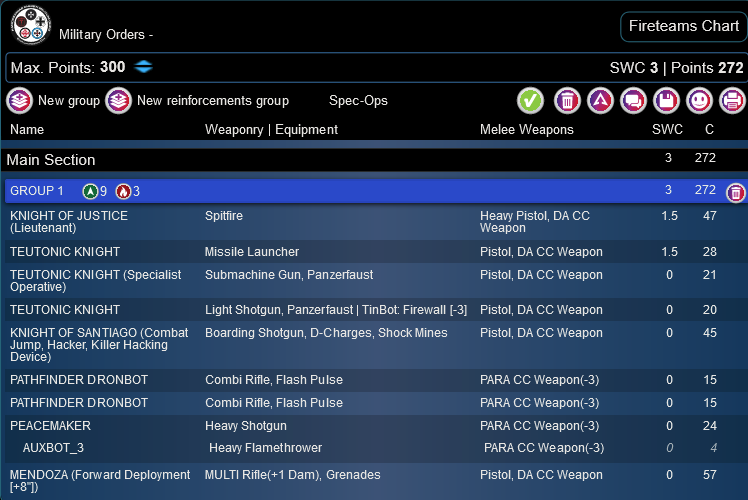
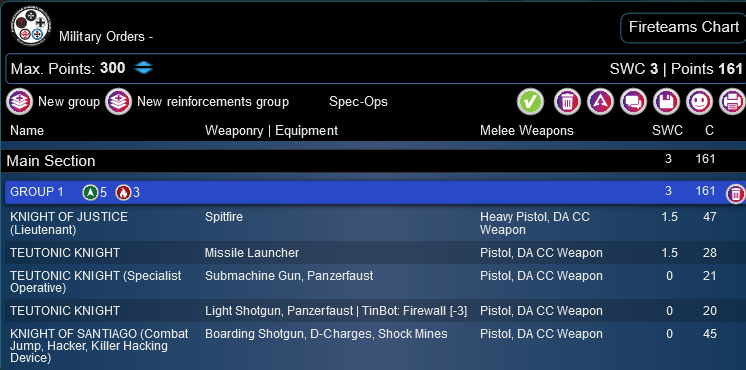
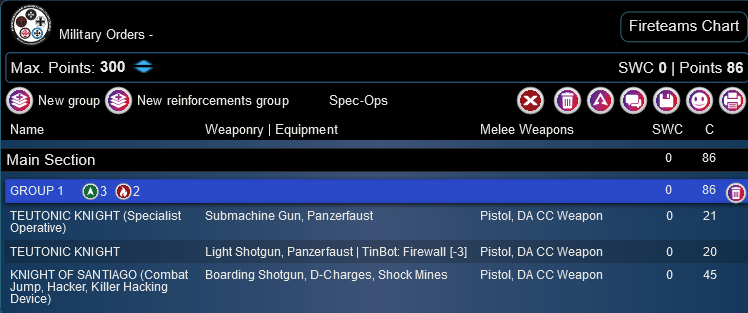
Adam (TheDiceAbide)
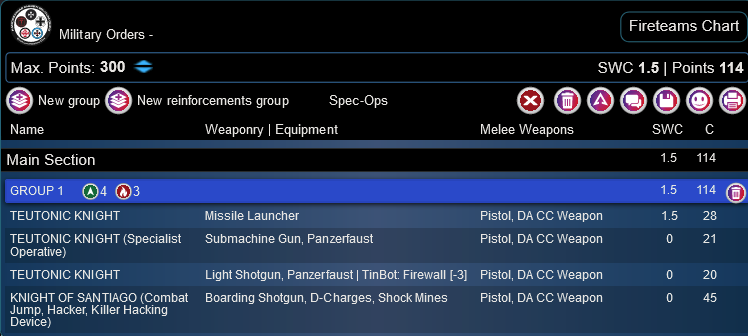
KNIGHT OF JUSTICE (Lieutenant) Spitfire / Heavy Pistol, DA CC Weapon. (1.5 | 47)
TEUTONIC KNIGHT Missile Launcher / Pistol, DA CC Weapon. (1.5 | 28)
KNIGHT OF SANTIAGO (Combat Jump, Hacker, Killer Hacking Device) Boarding Shotgun, D-Charges, Shock Mines ( ) / Pistol, DA CC Weapon. (0 | 45)
PEACEMAKER Heavy Shotgun / PARA CC Weapon(-3). (0 | 24)
AUXBOT_3 Heavy Flamethrower / PARA CC Weapon(-3). (0 | 4)
BROTHER KONSTANTINOS (Infiltration) Combi Rifle, D-Charges / Assault Pistol, Shock CC Weapon. (0 | 28)
MENDOZA (Forward Deployment [+8″]) MULTI Rifle(+1 Dam), Grenades / Pistol, DA CC Weapon. (0 | 57)
Deployment
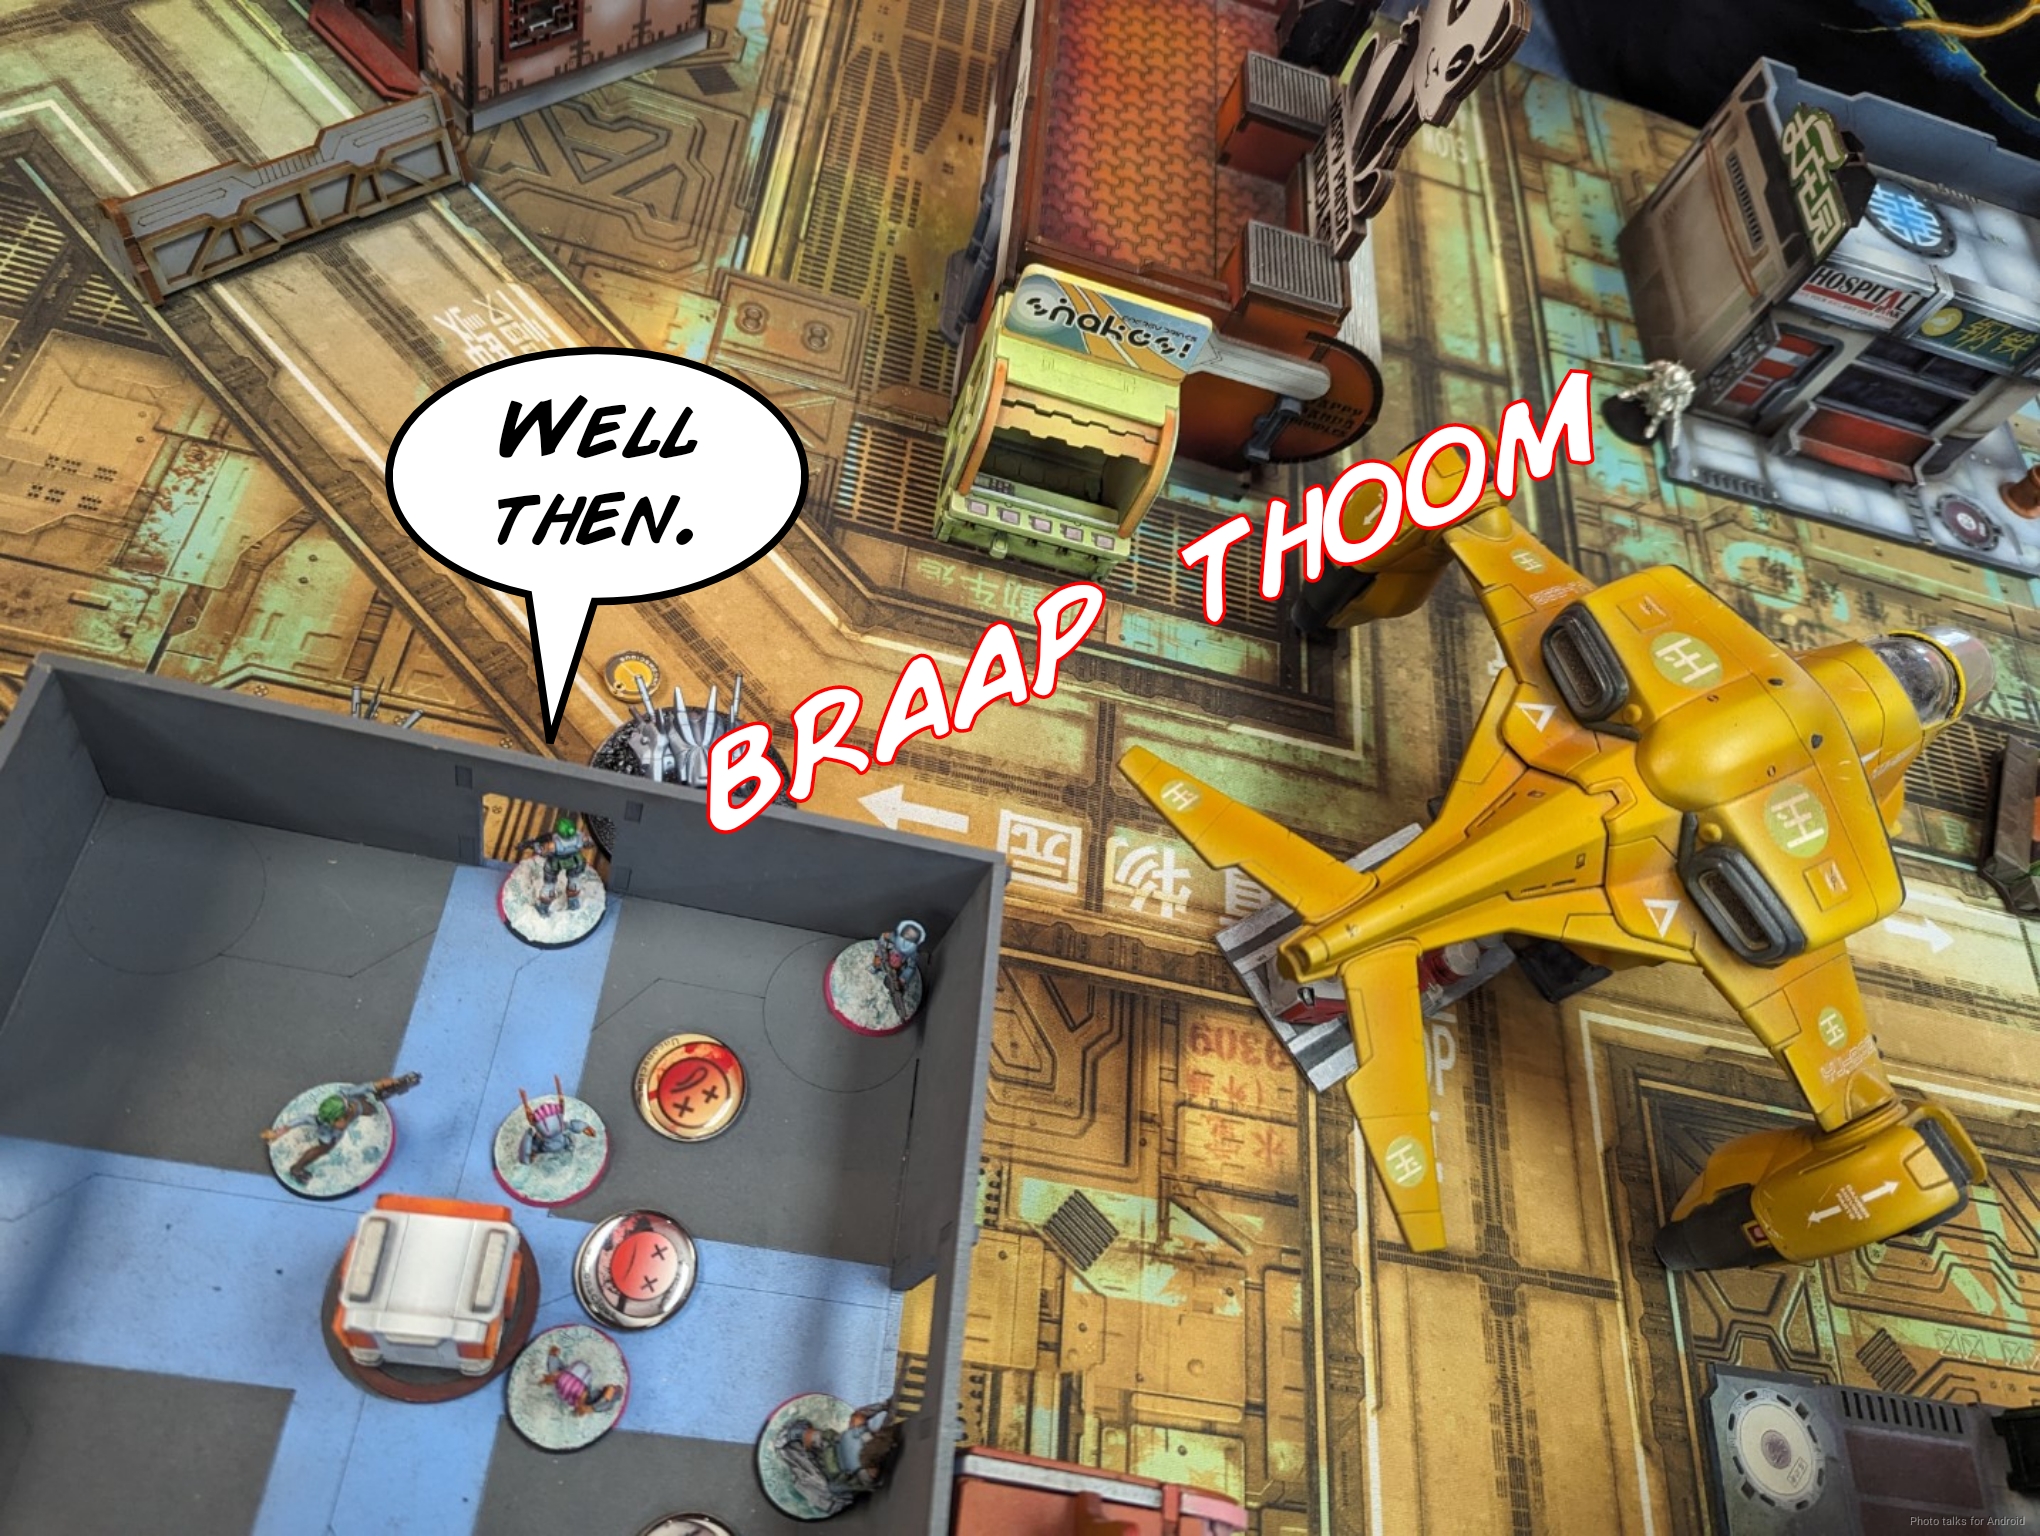
Adam won the rolloff and elected to go first, so I had him deploy first and took the side with the high ground. Adam found a spot on his left where his Teuton ML could live and see most of the important stuff on the table. The Peacemaker went in the middle, and then Adam put Pathfinders in the middle and the right with the KoJ Spitfire anchoring the center of his deployment.

The box marked “Text” is Konstantinos. Whoops. Fat fingered that one. Mendoza was his hold back. The objective room being infinitely tall really makes it difficult to get the most out of my Bolts. I settled for putting the Bolt ML in a position to challenge the Teuton ML as well the approach all the way on the right table edge that I had otherwise unguarded. This gave me very few options in terms of where to put the Bolt MSR, so I put it watching the long firelane down the road to the dropship with Laxmee and Avicenna gluing the link together.
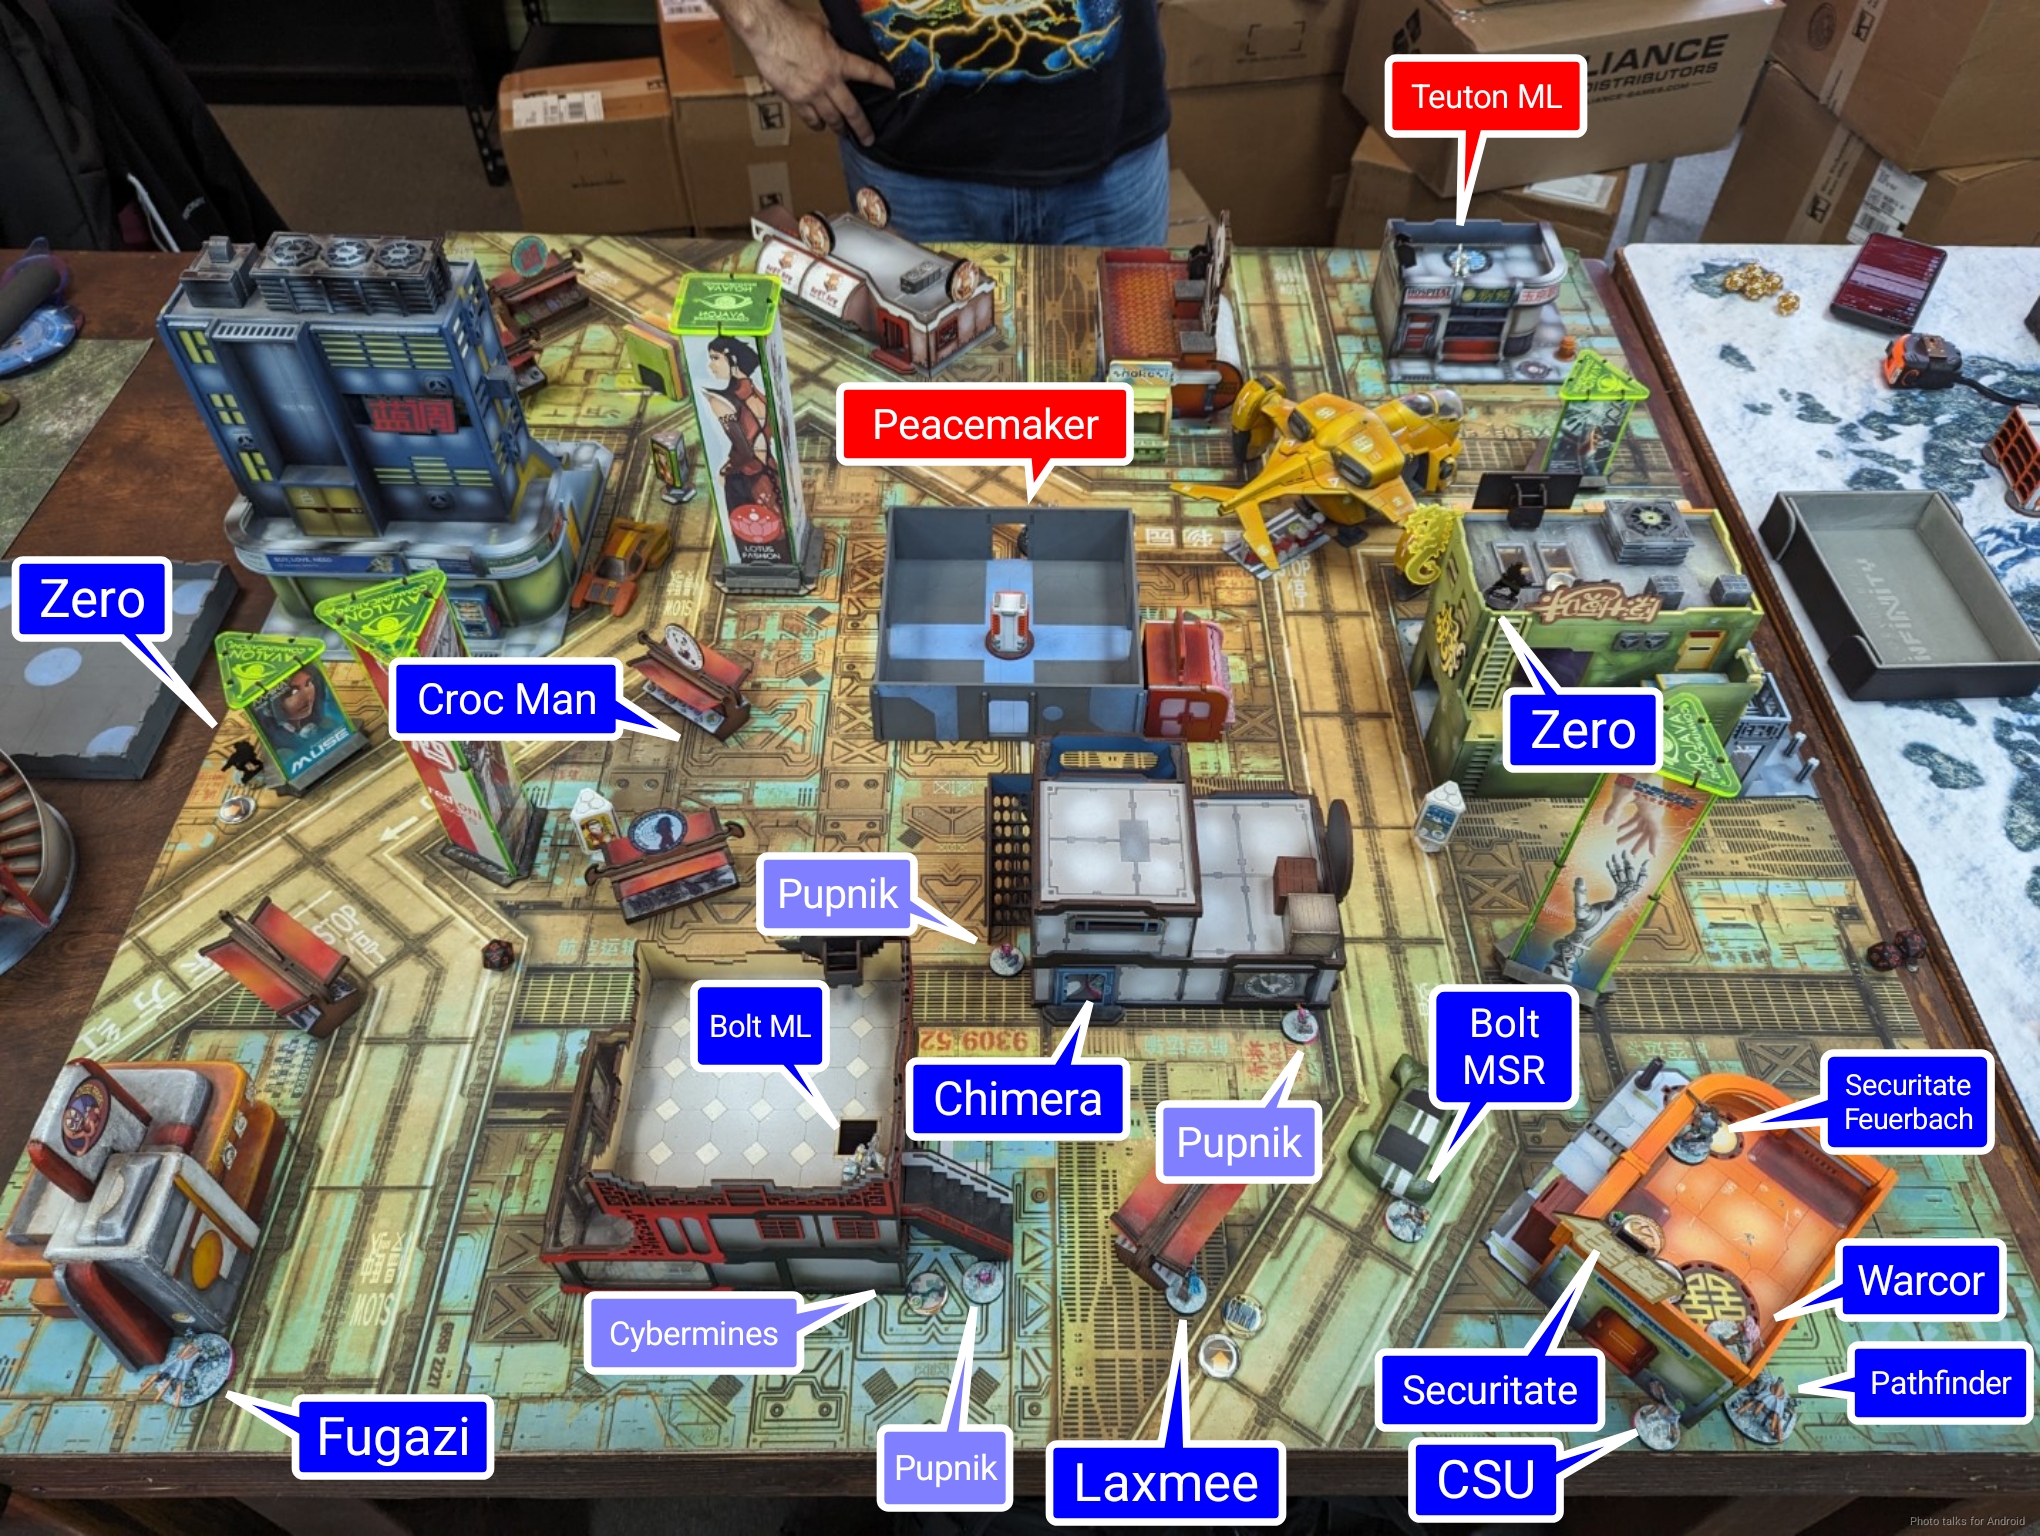
I tucked my Zeros near some consoles to do button pushy things, and put the Pathfinder and Fugazi watching for the Knight of Santiago on the flanks with Laxmee’s cybermine doing annoying things in the center of my deployment zone. To screen the center of my deployment zone, I put the Pupniks in a radius around the Chimera who was protected in a central building just at the edge of my deployment zone. The Securitate occupied the top of a building on the right with the CSU and Warcor nearby to dissuade AD troops. The Feuerbach is out to take diagonal shots behind the objective room on Adam’s side of the table, where there’s a fairly long approach. I even have a clean shot on the Pathfinder that’s in the middle of Adam’s deployment zone, which is nice.
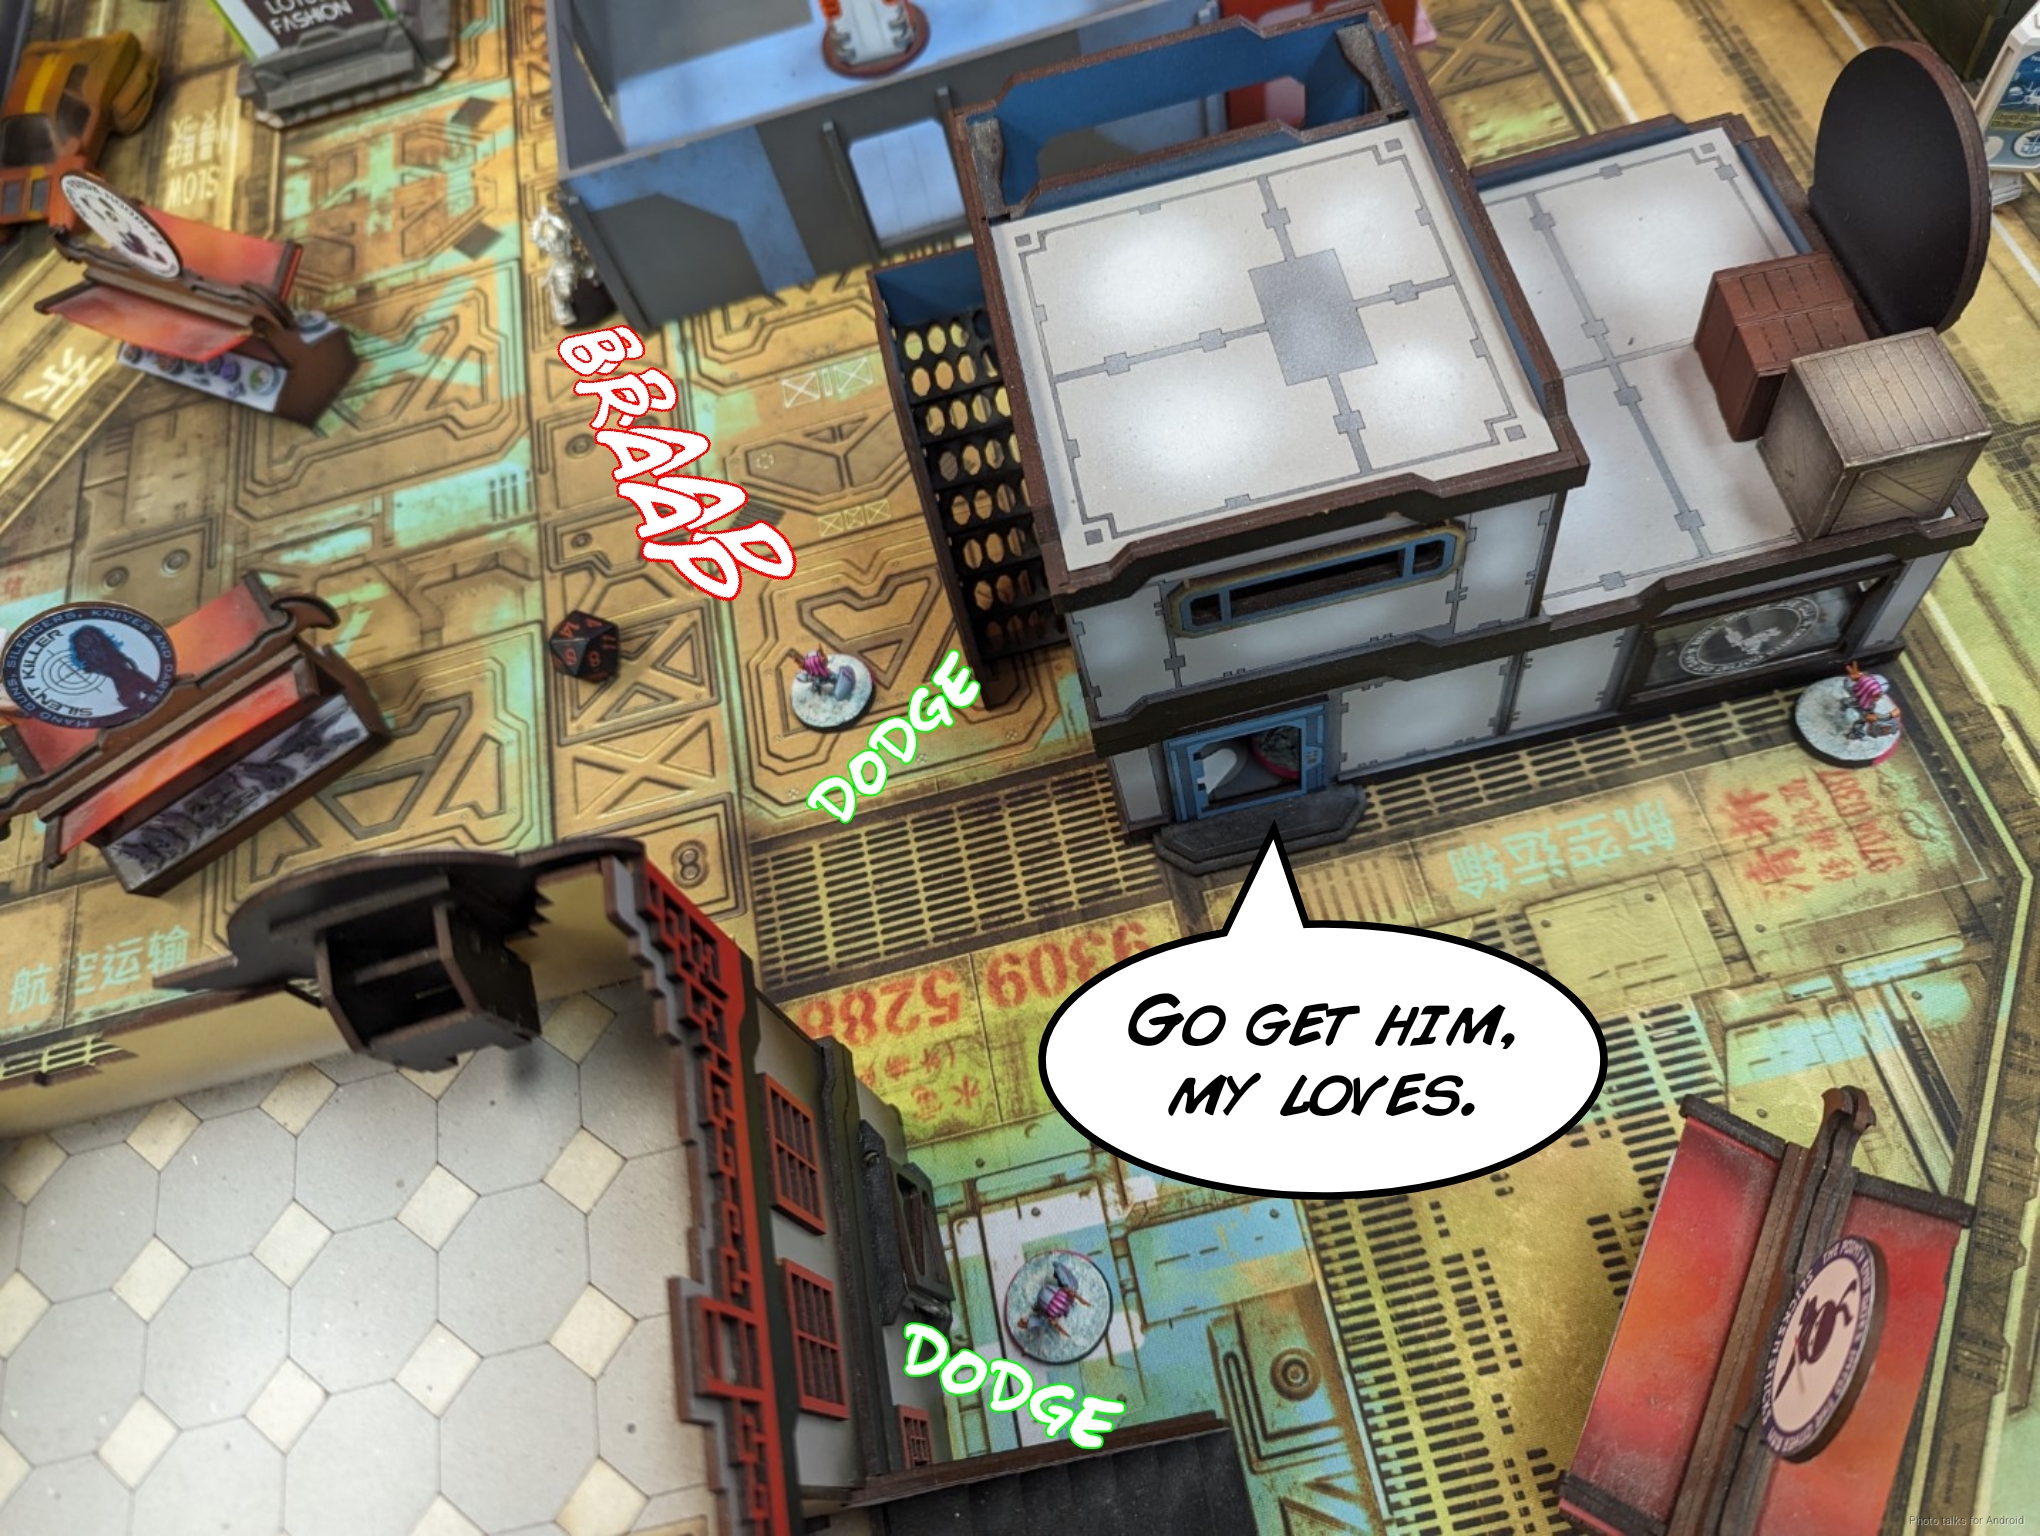
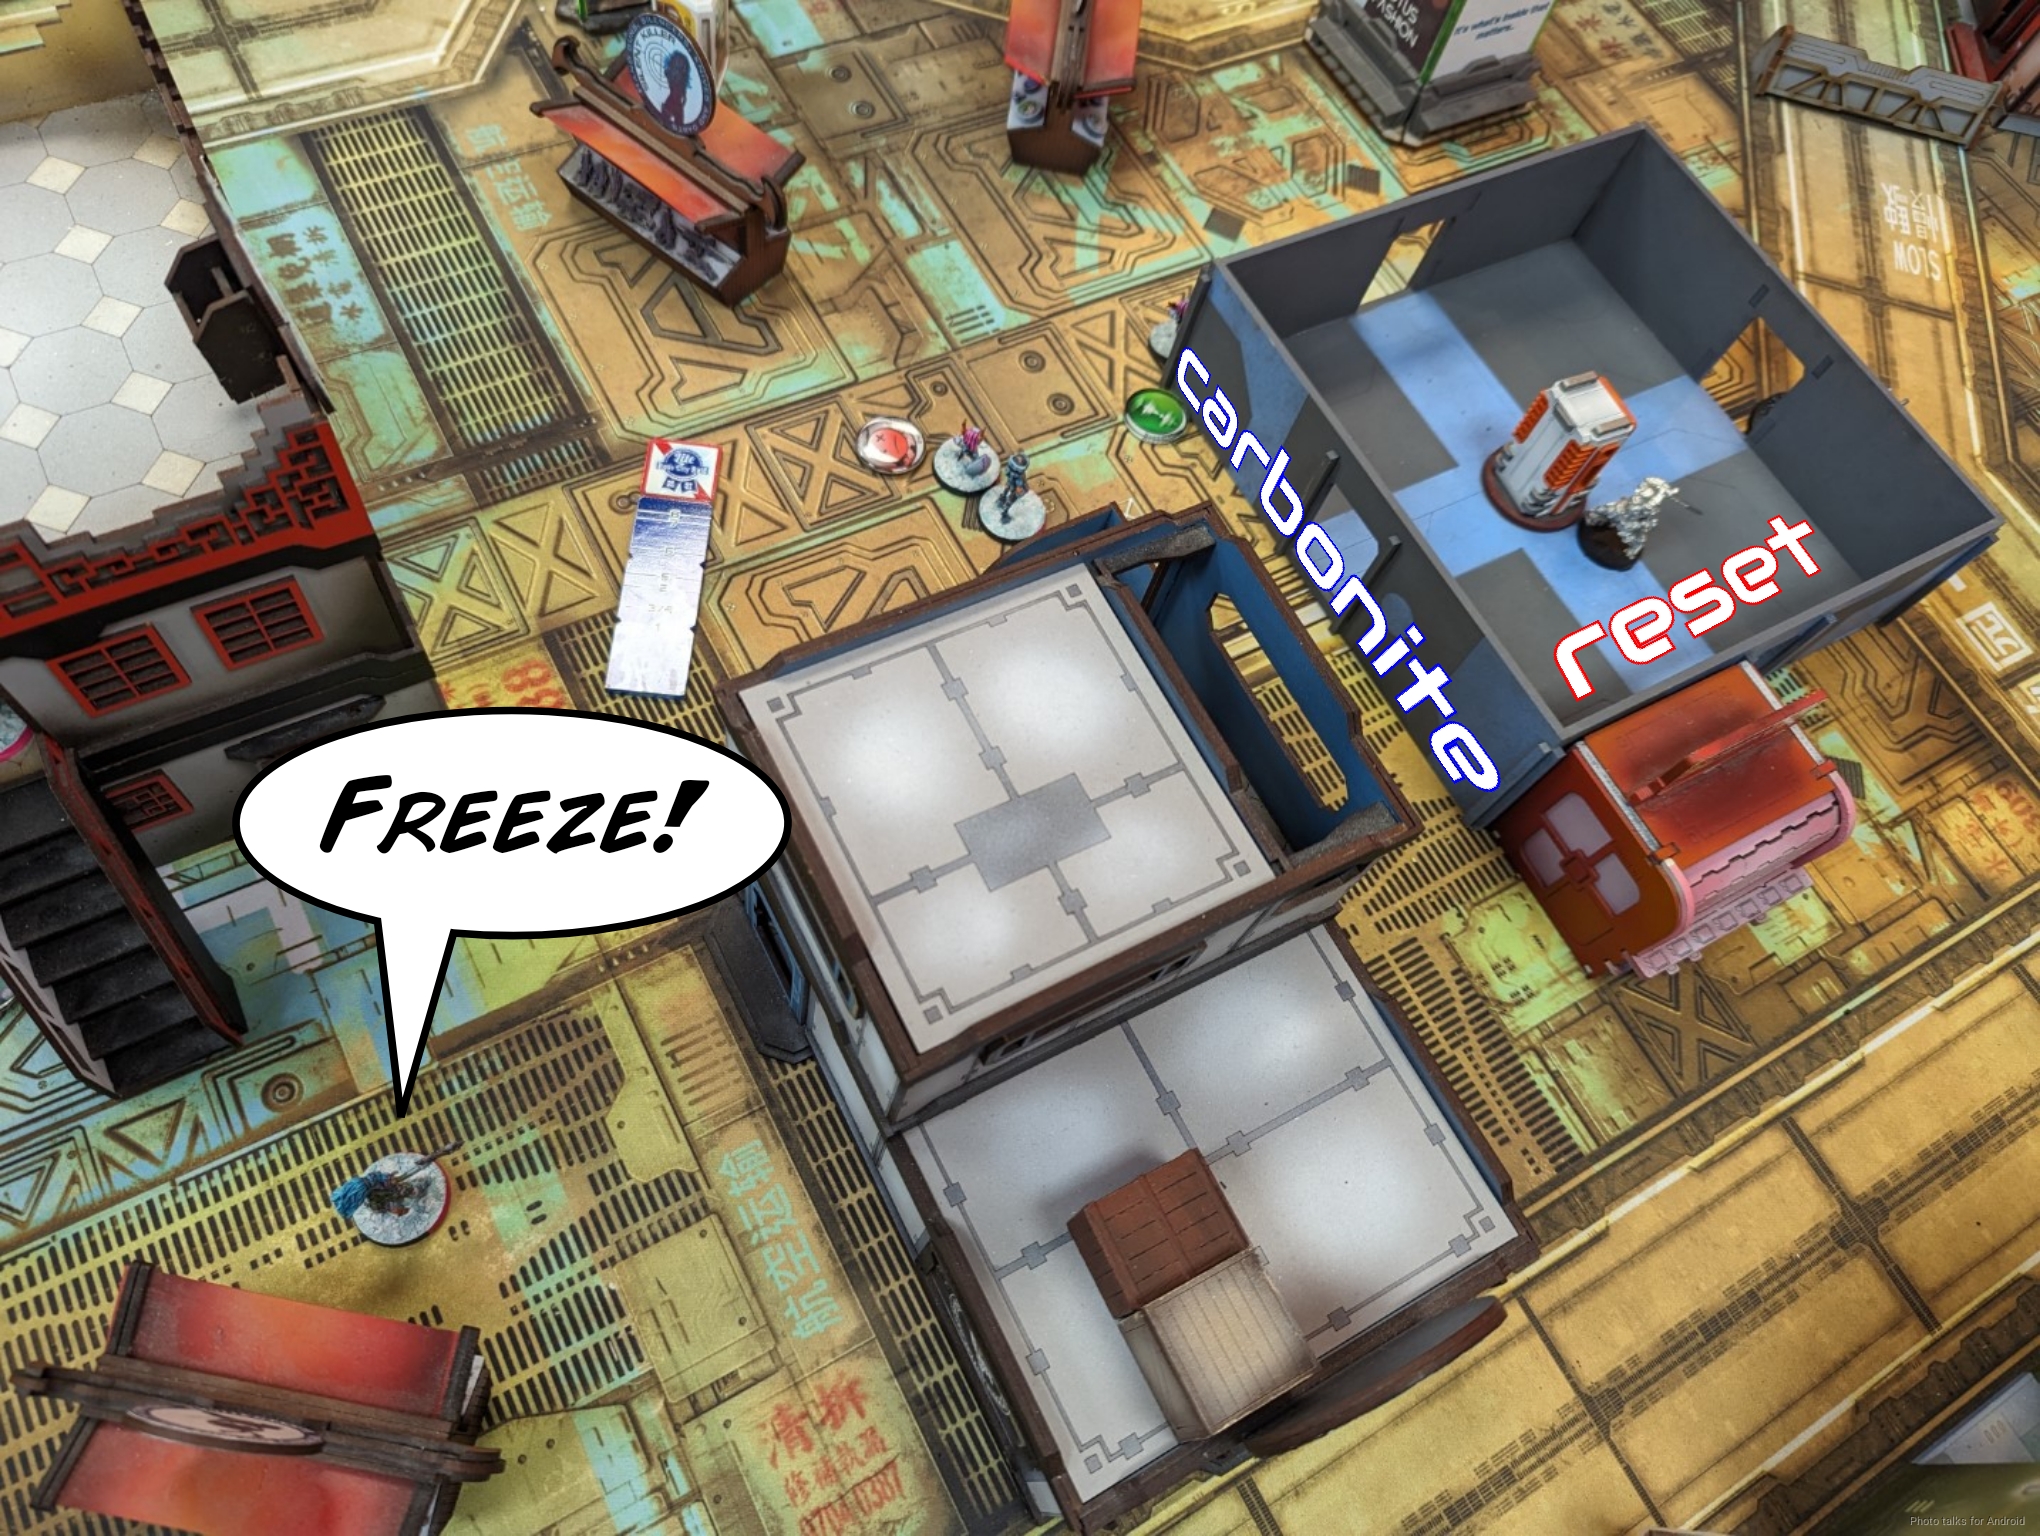
Adam places Mendoza right next to the Peacemaker, so I set the Croc Man up on his approach to maybe get a cheeky Deployable Repeater off if Adam’s low on orders/makes a mistake. Adam chooses Mendoza as his Trusted Operative, and I choose my CSU who rolled NWI.
Turn 1
Top of 1 – Military Orders
I take two orders from Adam, so he’s down to 7 with the Knight of Santiago off the table. He briefly considers his options, but (correctly) settles on activating Mendoza. You bring Mendoza, you use Mendoza.
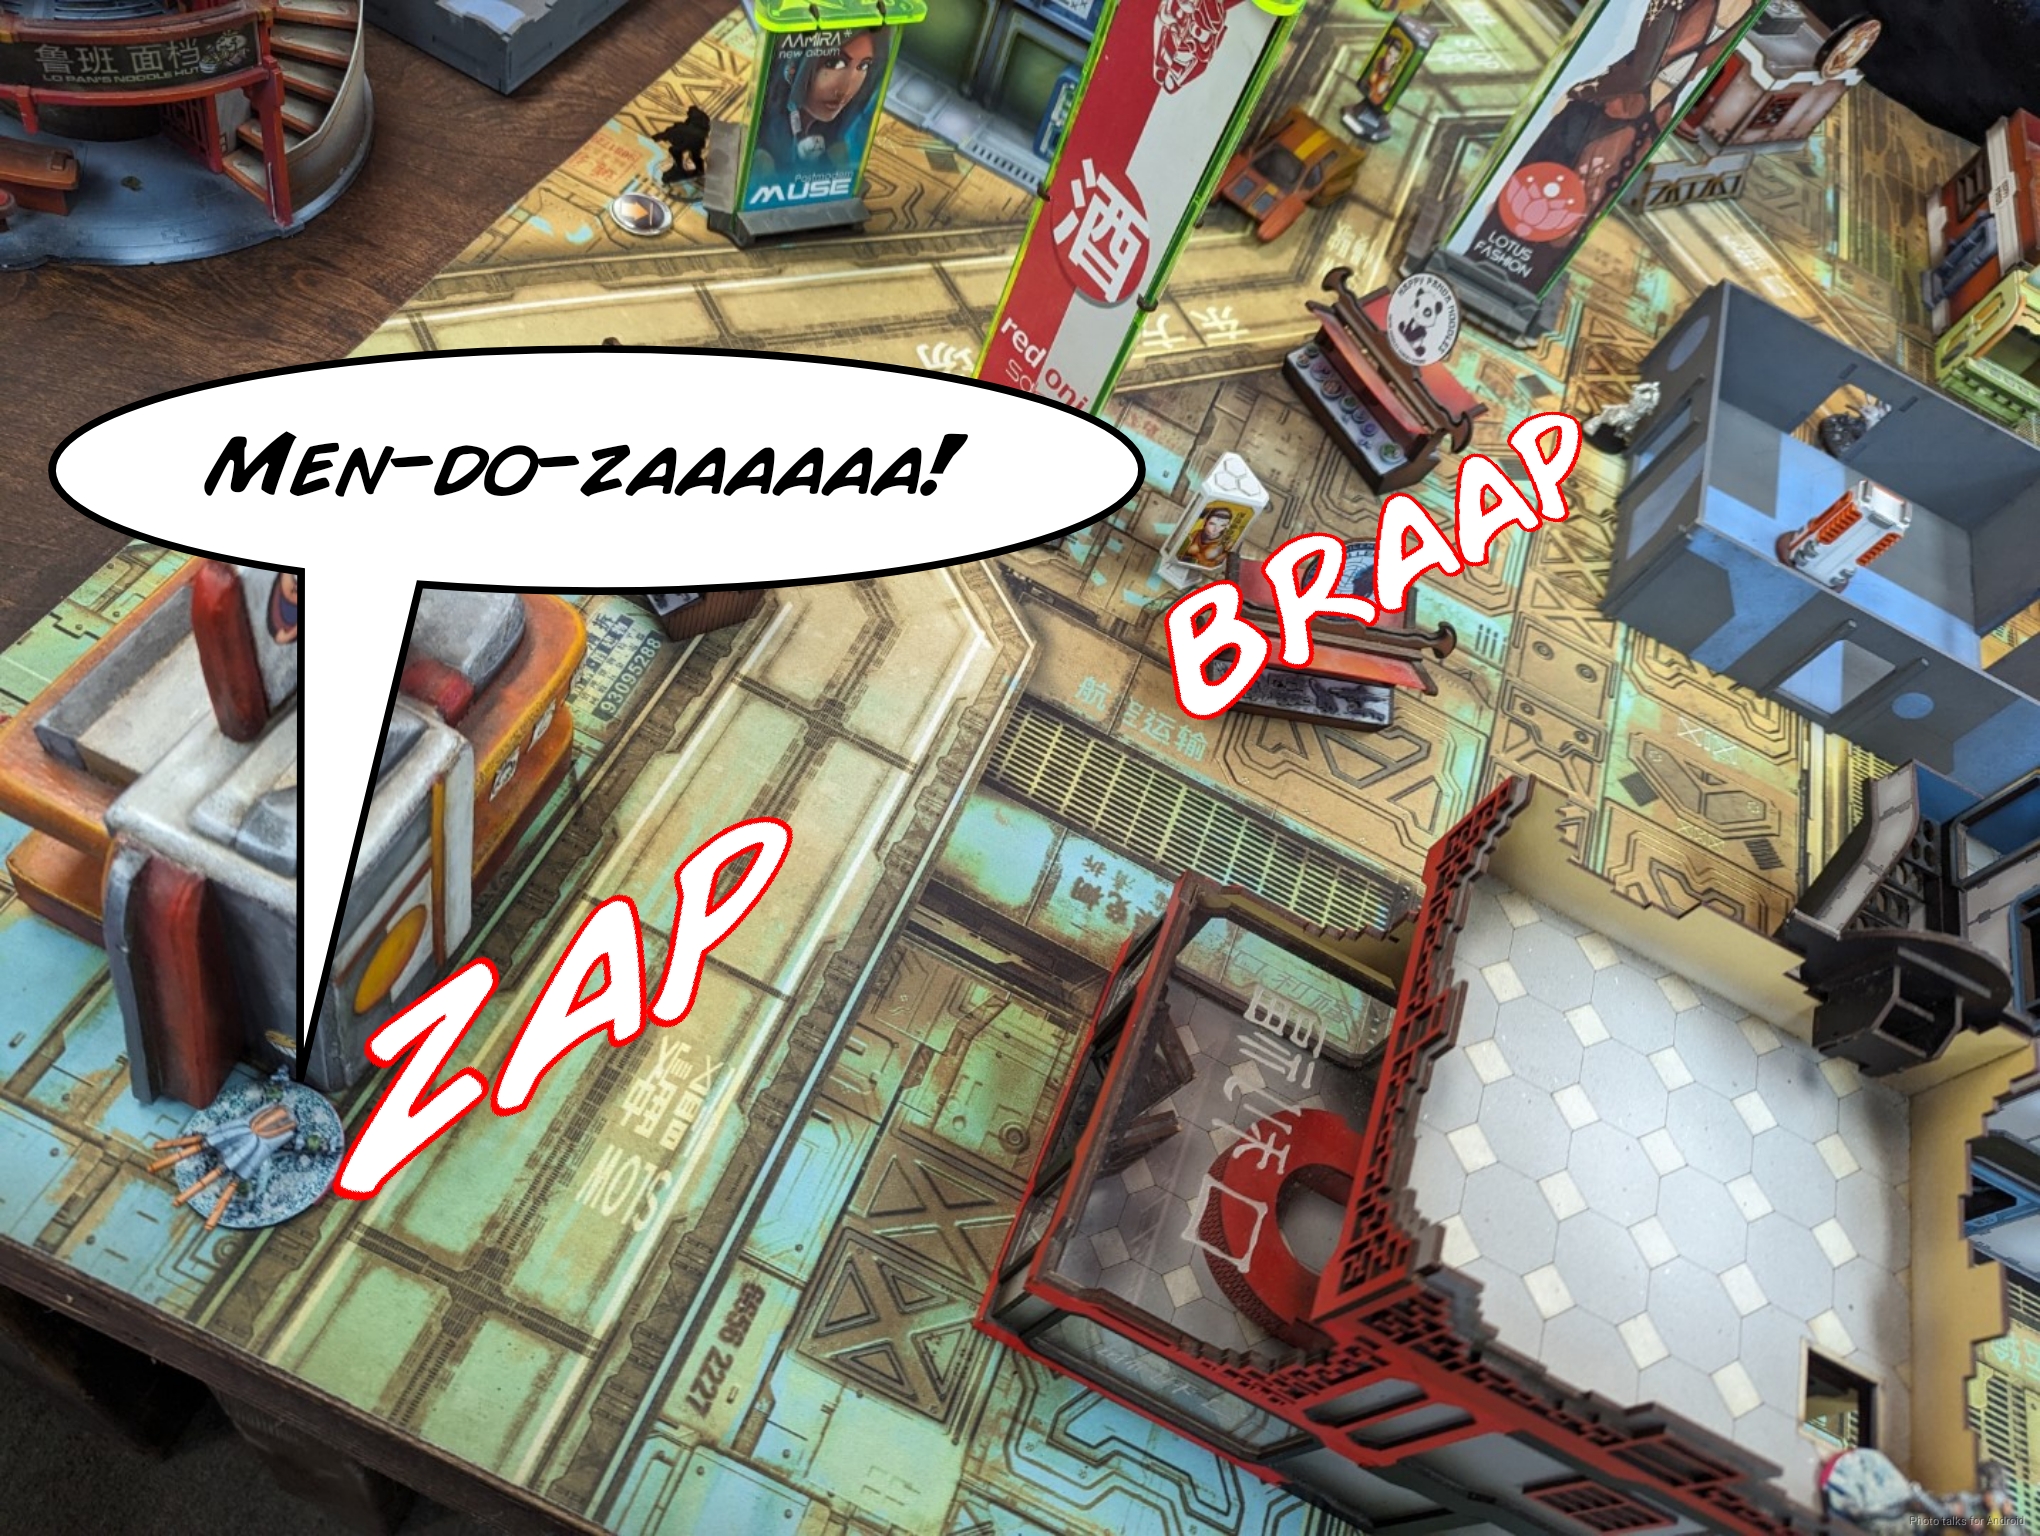
My Fugazi is just one day from retirement, and Mendoza just kills it. Rude.

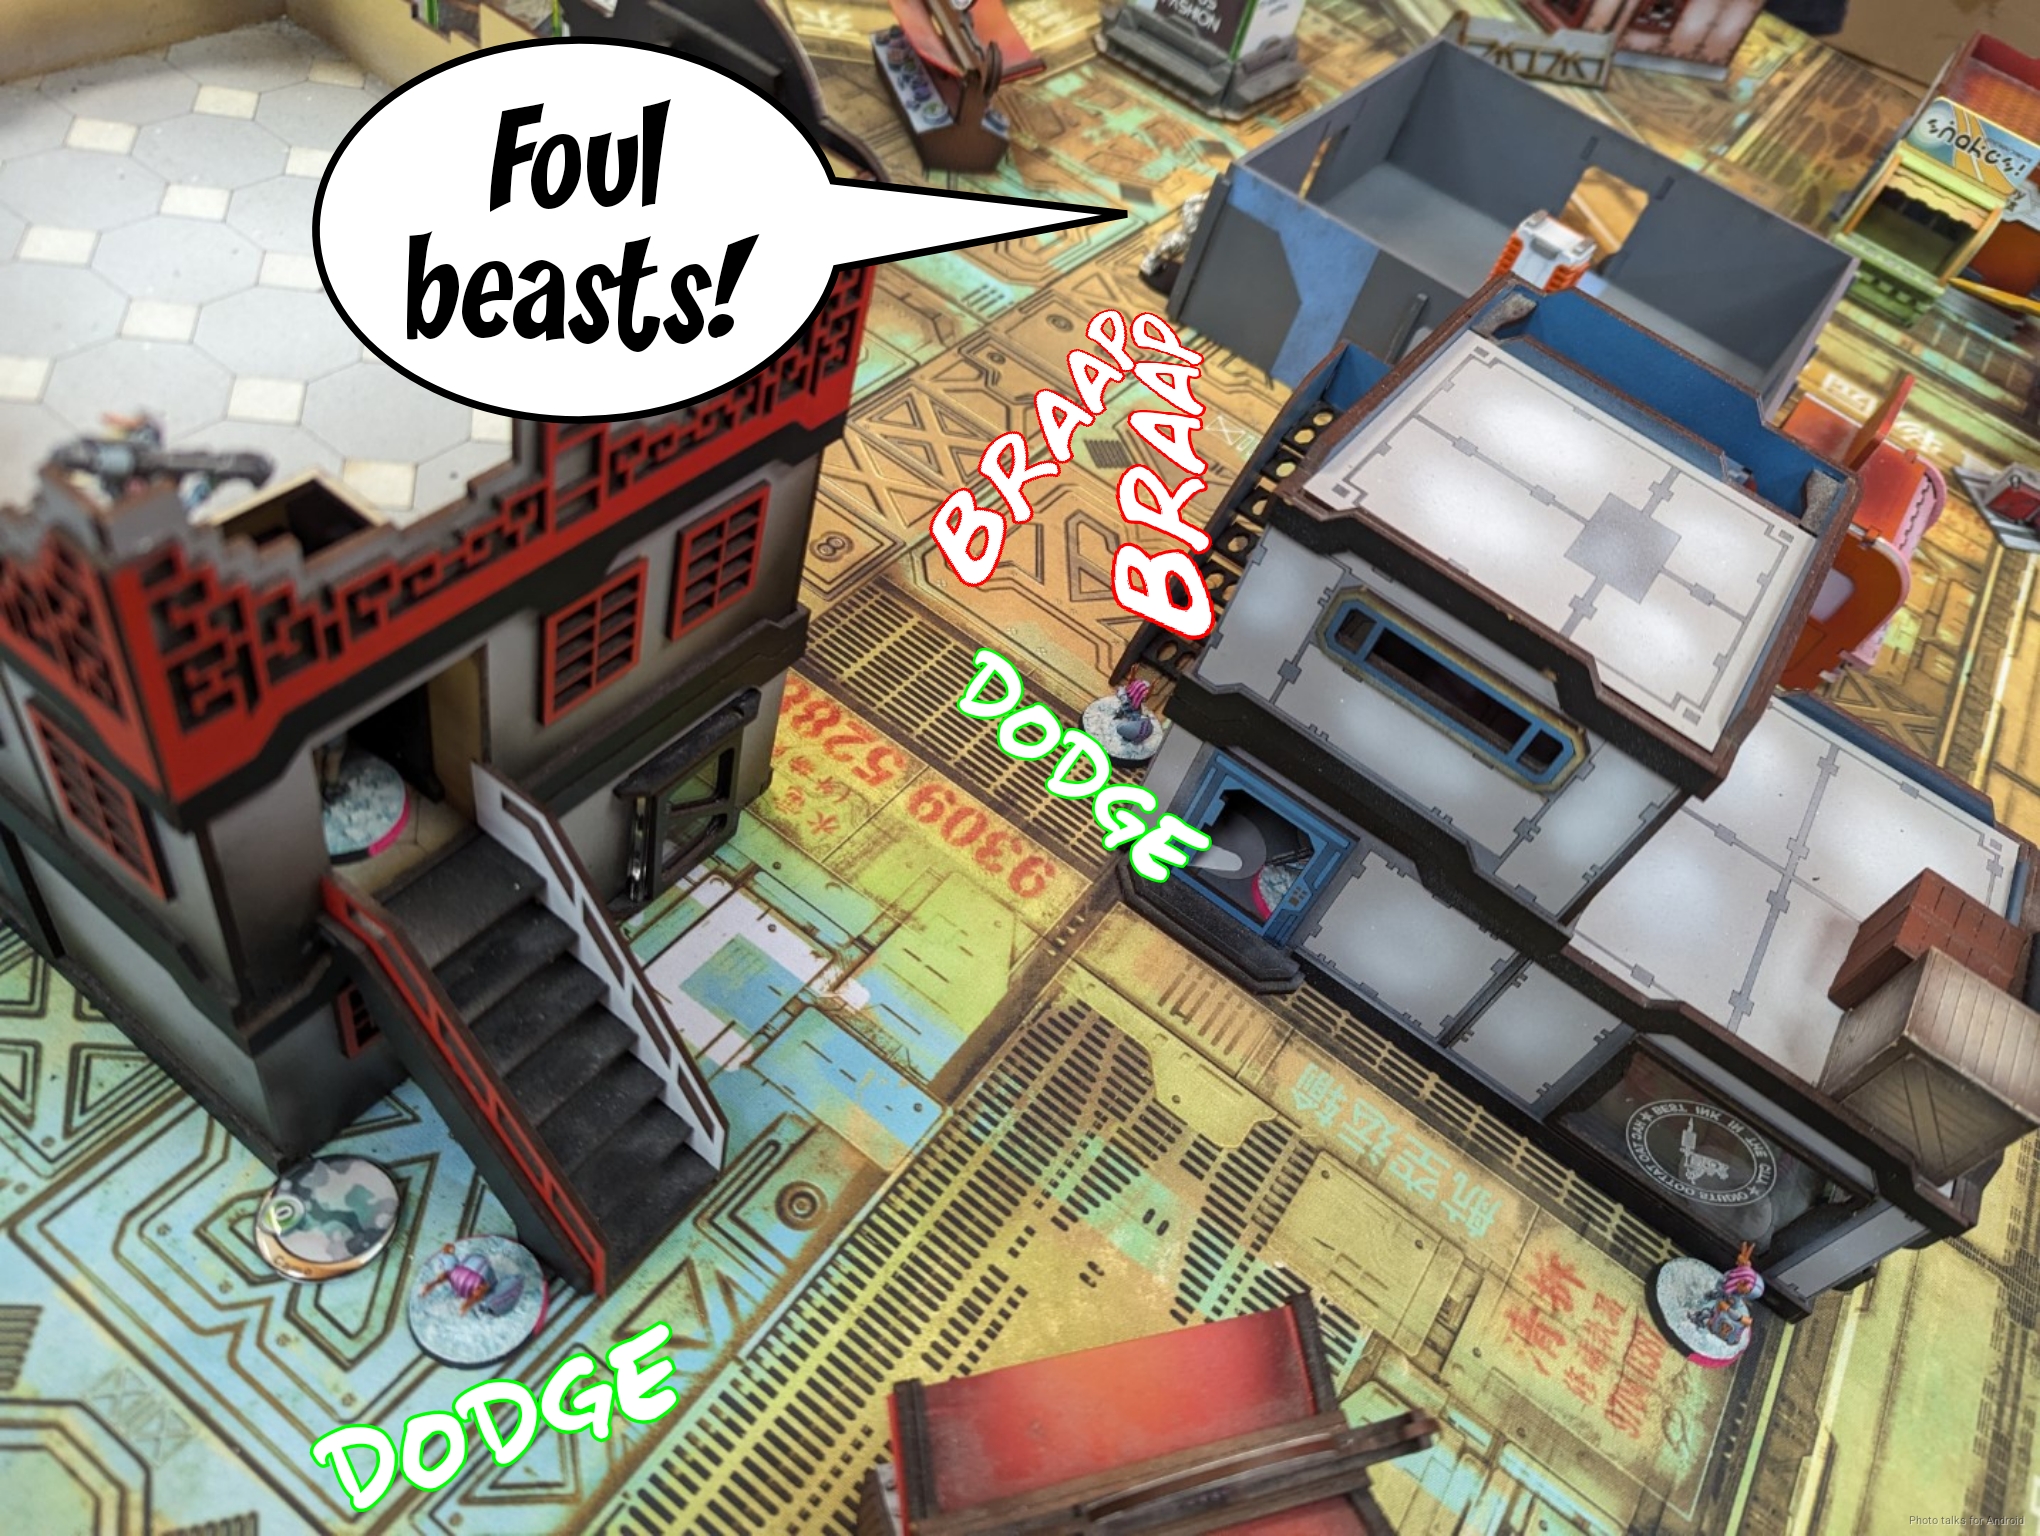
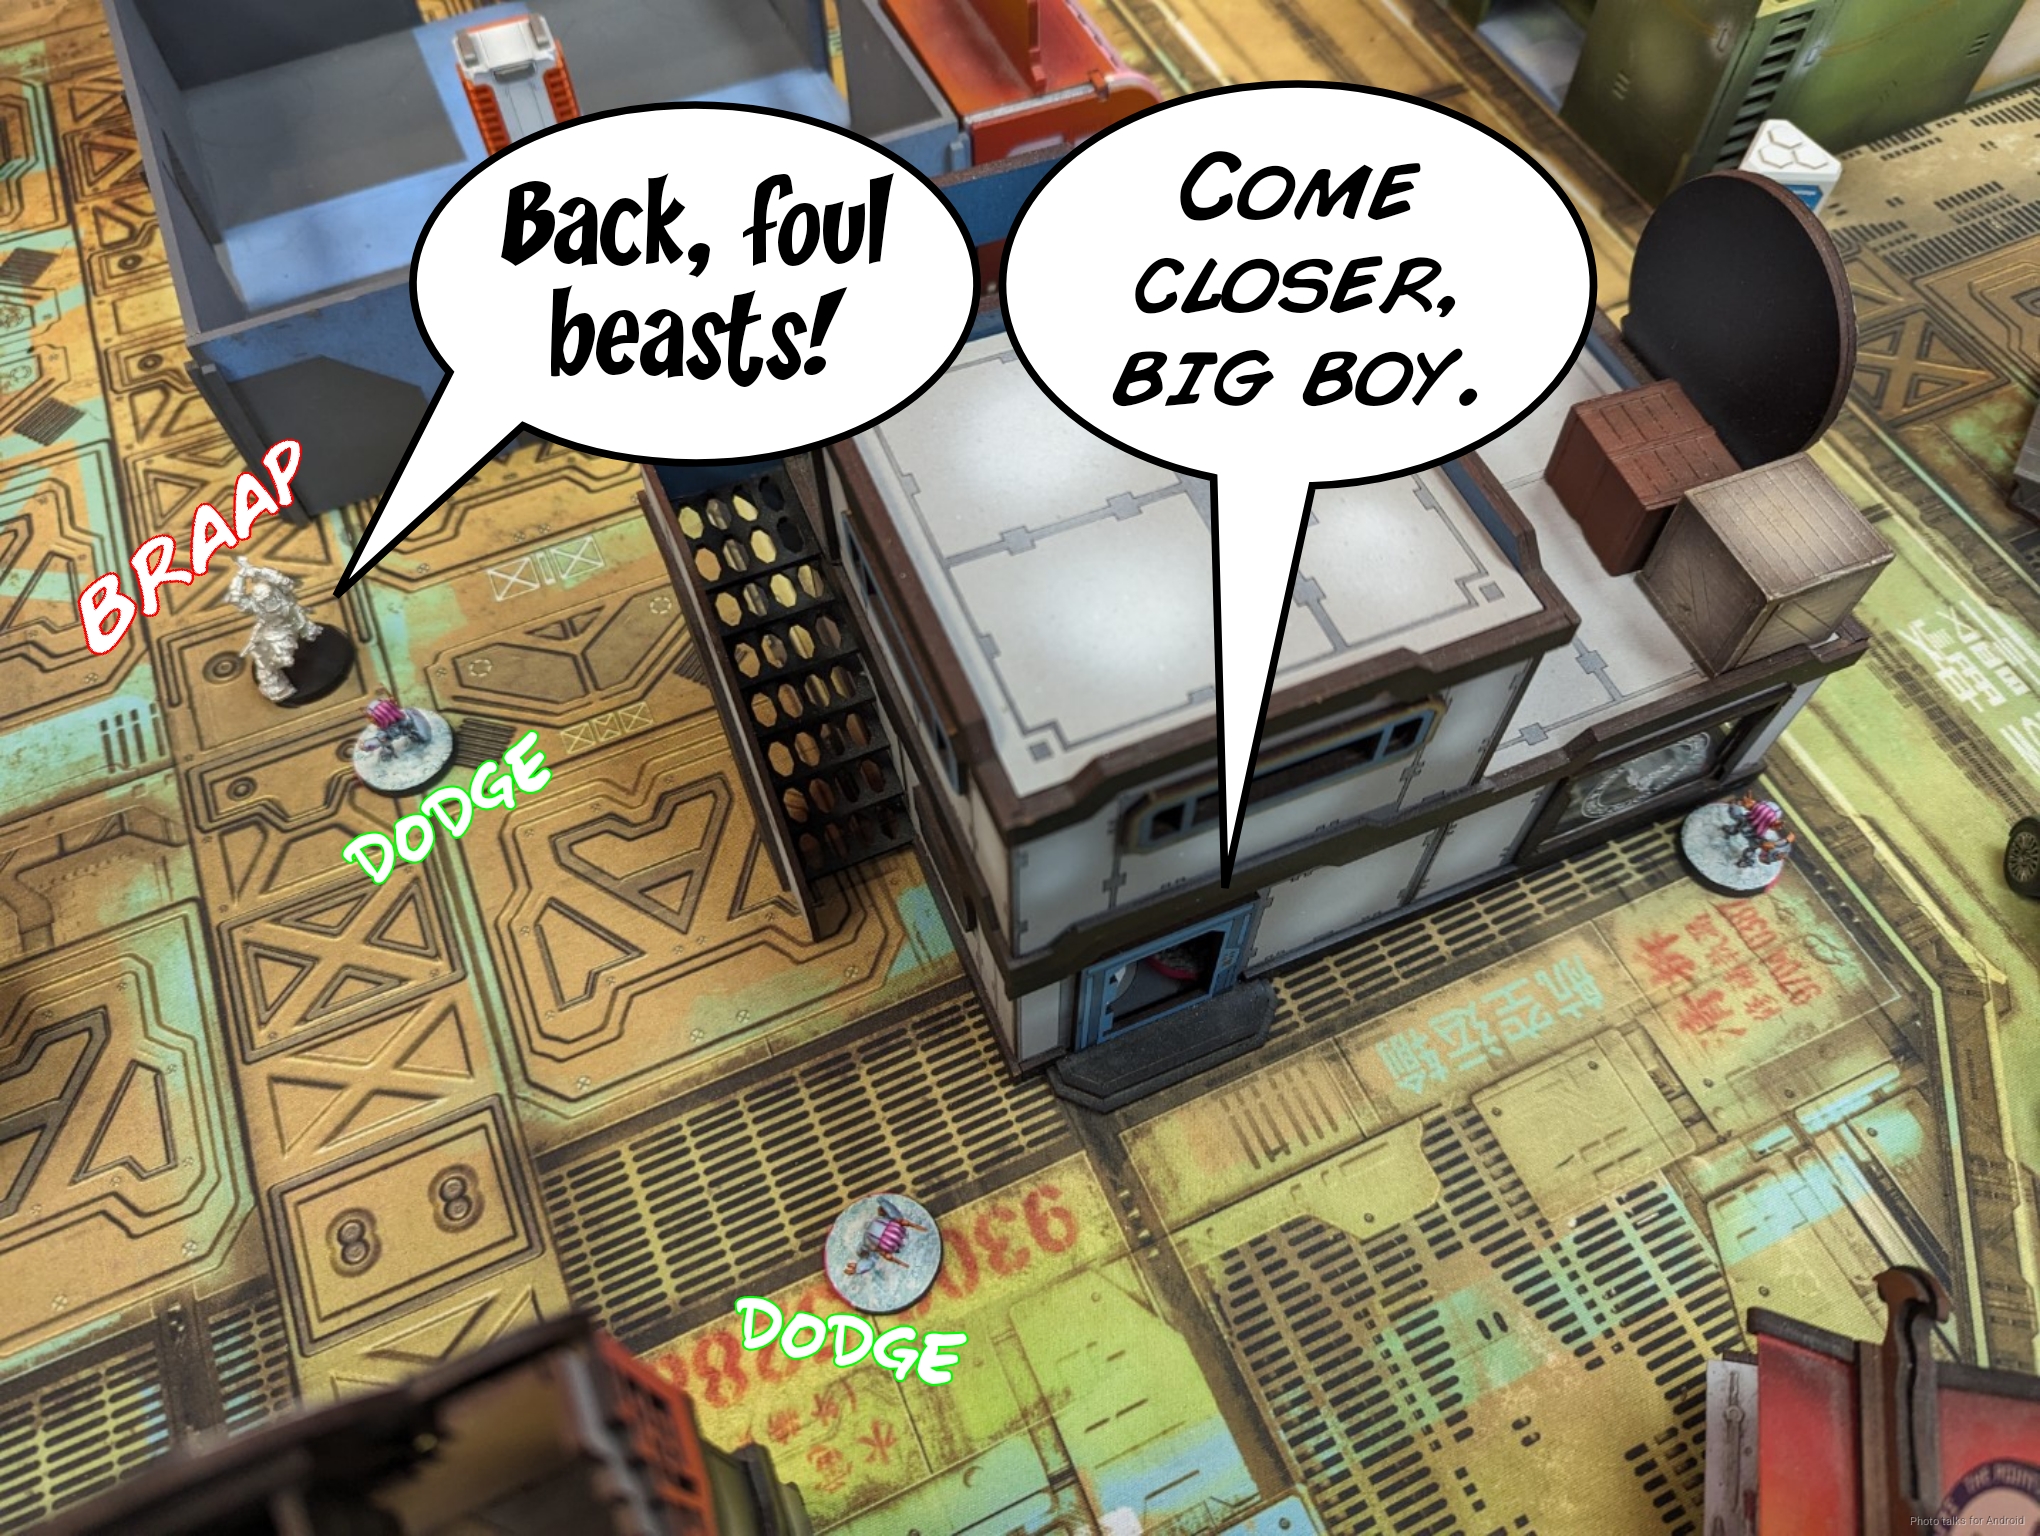
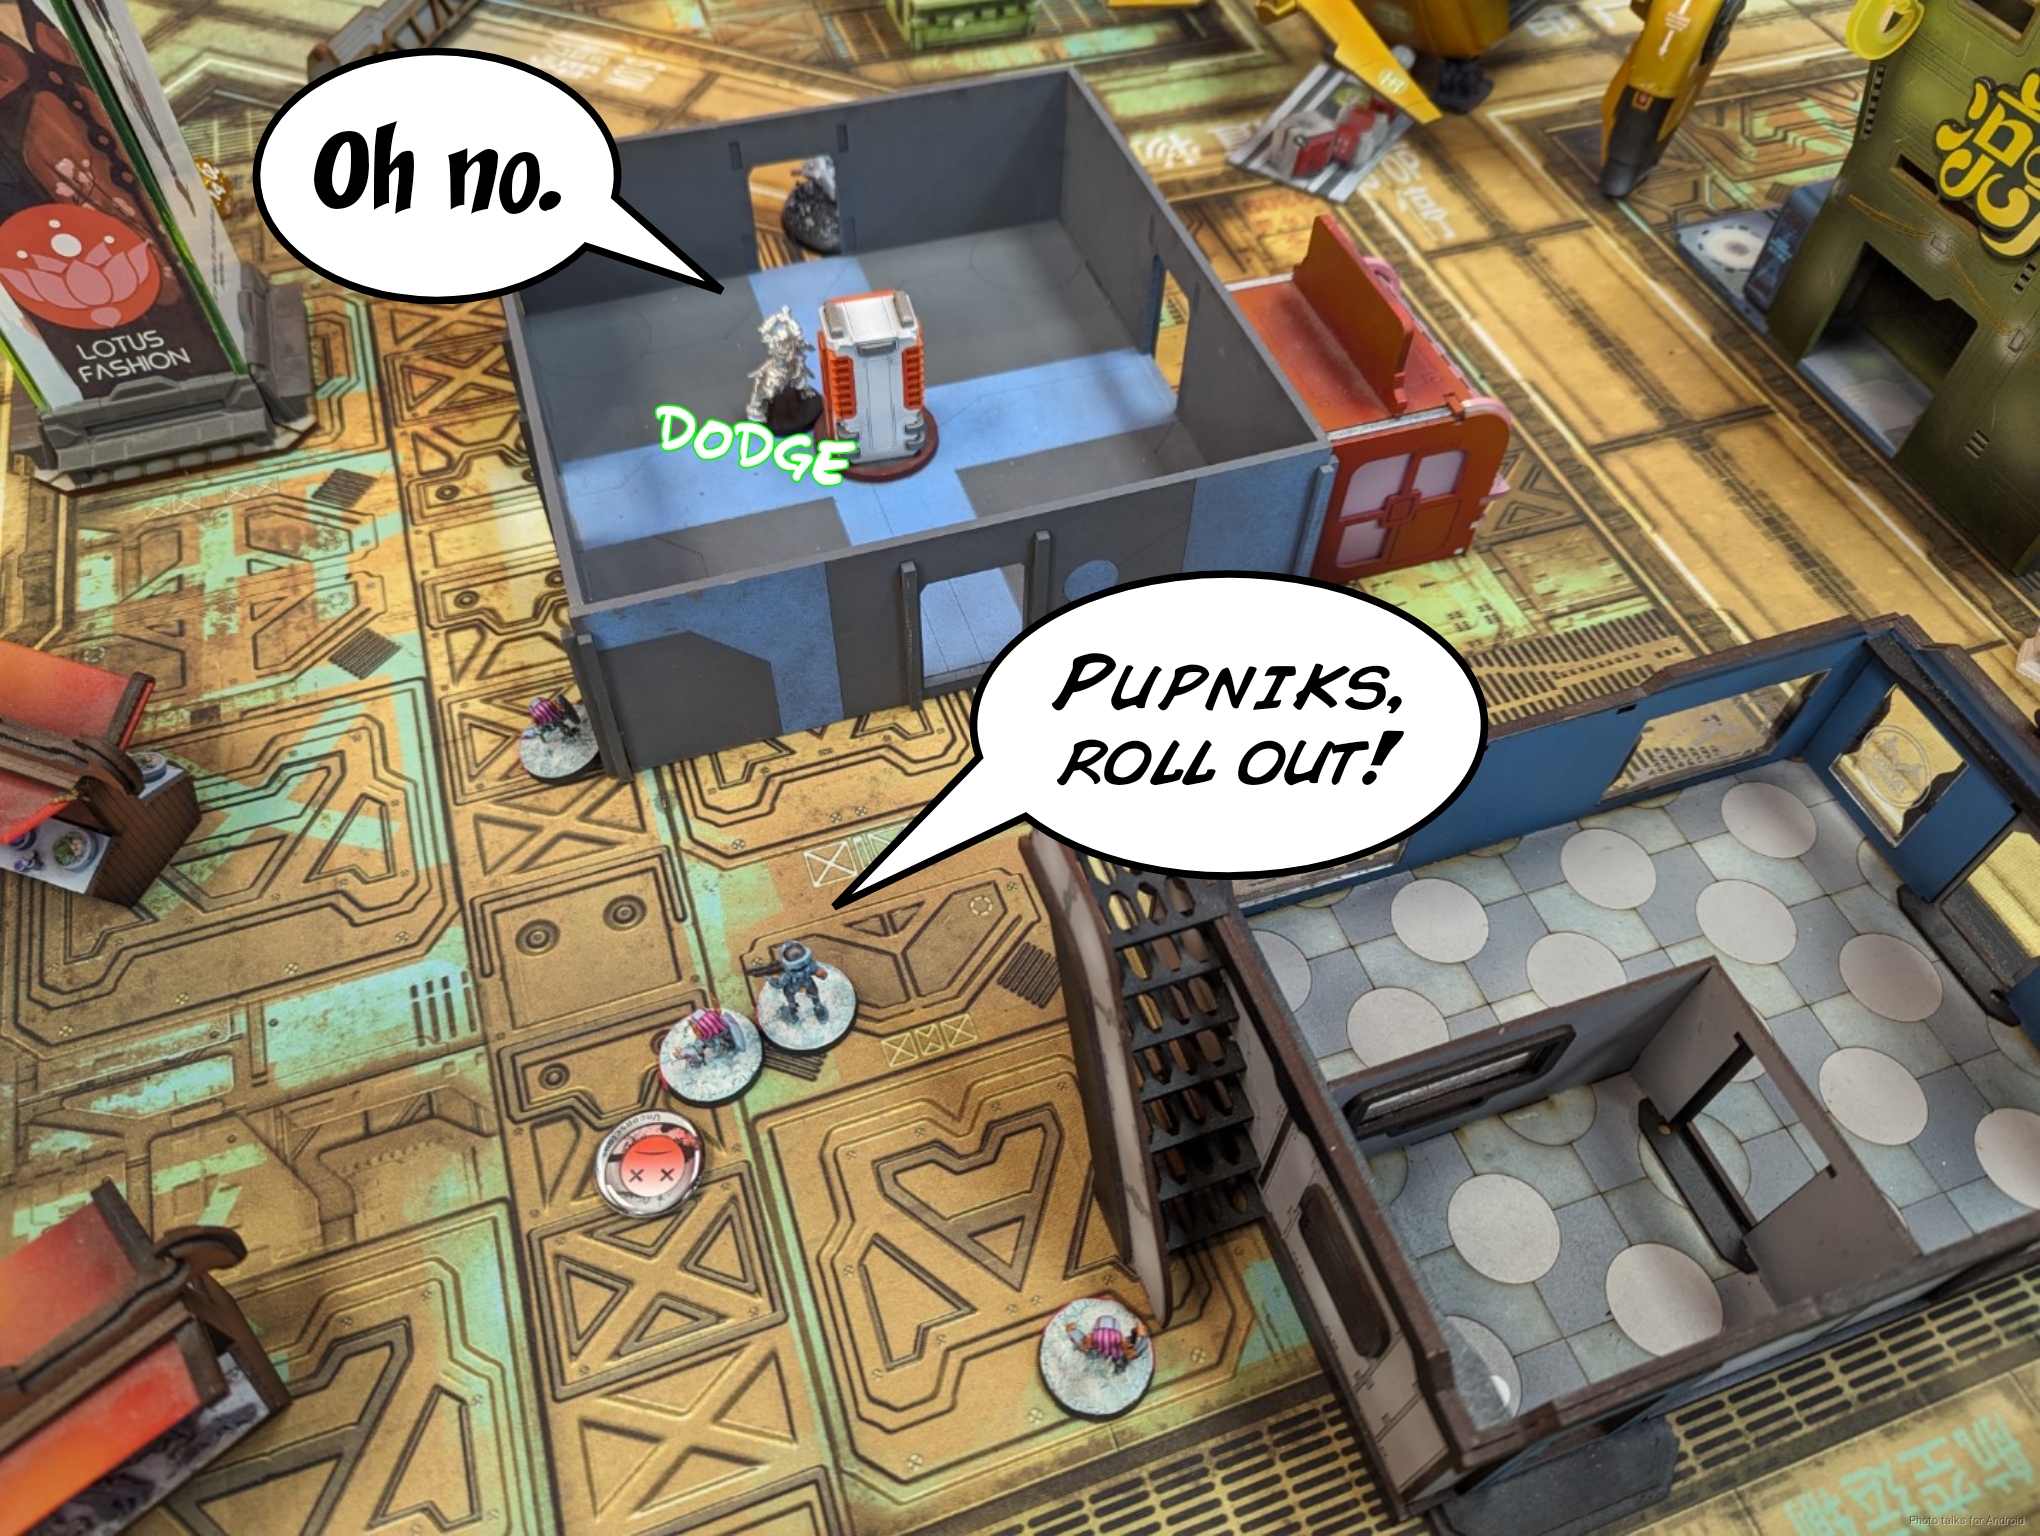
Adam keeps pushing and sees a pair of the Pupniks. The Pupniks are of course very dangerous in the active turn, but they are pretty resilient in the reactive turn due to their dodging on 19s. Adam clearly wants to get Mendoza into my deployment zone to kill a bunch of Foreign Company troopers before they retire, but he also doesn’t want to give the Pupniks free dodges to get into base while he does so.
I hesitate to say that this is exactly what I want, because the pupniks are useful in the active turn to me, but draining precious orders from Mendoza is definitely good. In any case, I roll very high on my first two dodges and Mendoza fails to do anything to my Pupniks.
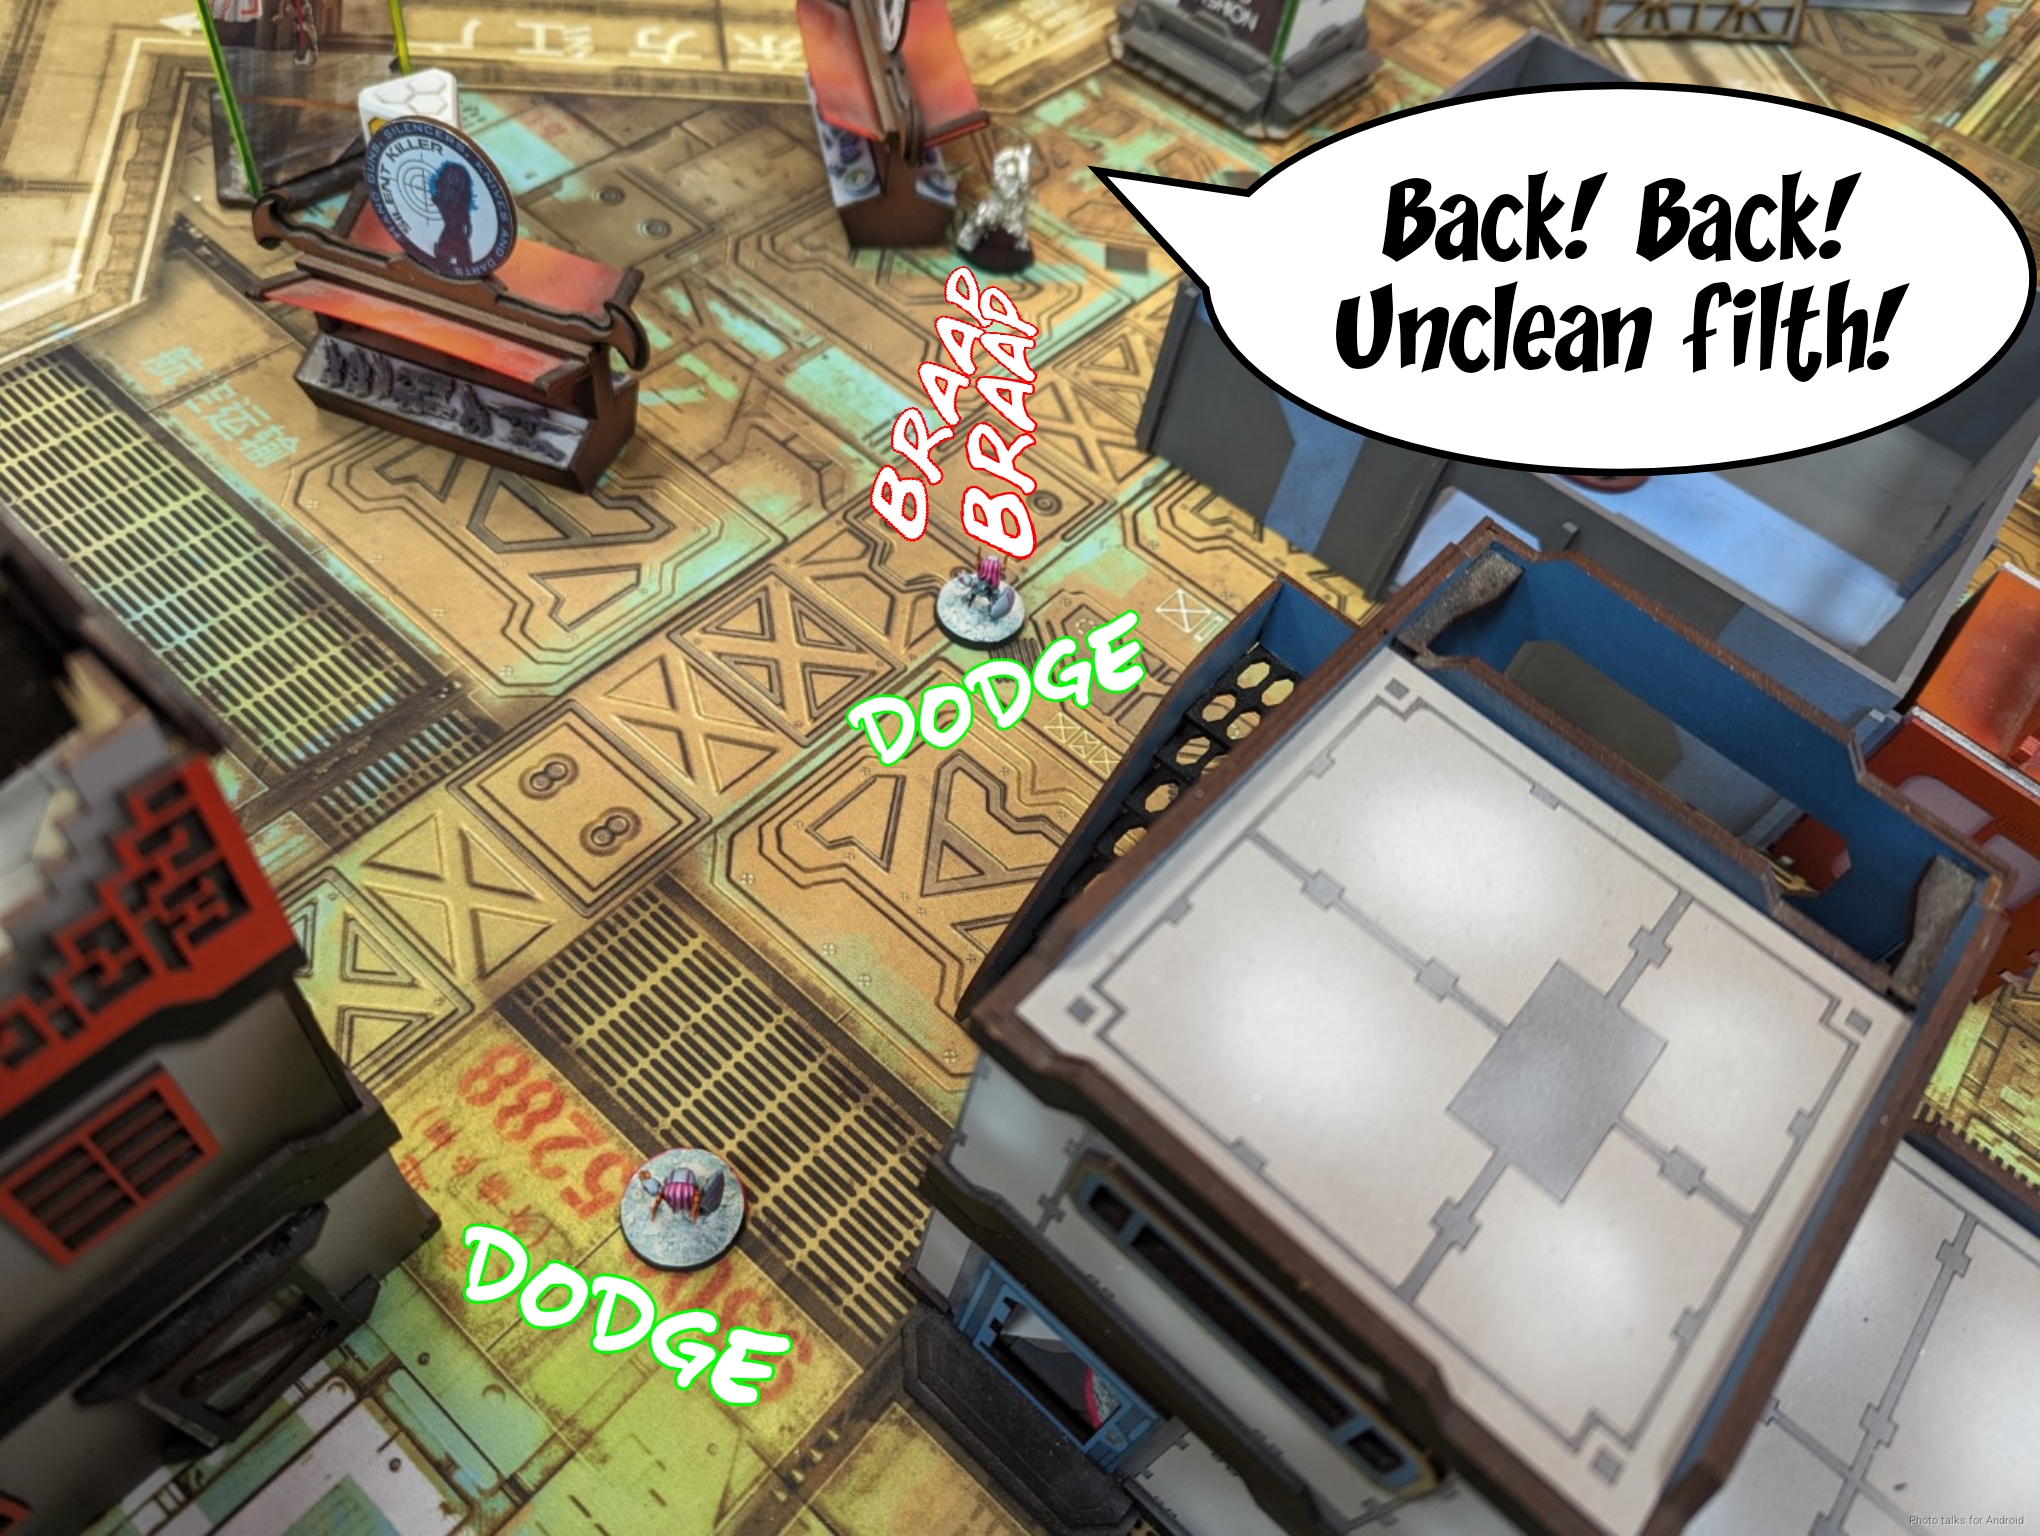
Adam keeps trying, not moving forward, which is also very bad because now he’s not getting any useful movement out of the deal and I am as the pupniks dodge yet closer.
Mendoza keeps on advancing, and we discover he’s just outside of ZoC of the Chimera, so he really doesn’t want to get any closer.
Mendoza finally drops the nearest Pupnik as it dodges closer while retreating, and the Pupnik that survived dodges behind the stairs to break contact.
Adam does some coordinated orders to move the KoJ, Konstantinos, Mendoza, and a Pathfinder as efficiently as possible. He’s moved Mendoza forward a little over 12″ and then back 8″. He has a Fugazi and a Pupnik to show for it, but that’s not exactly the best outcome. Adam then challenges the Securitate Feuerbach with Konstantinos just inside 12″.
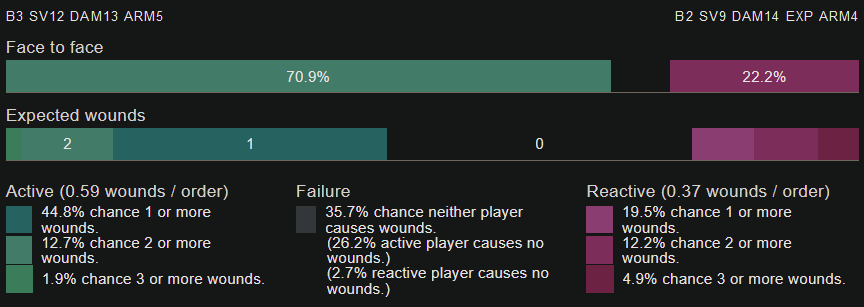
The odds here favor me. Adam has a 45% chance of doing what he wants in a single order, and I have a 55% chance of either forcing him to spend another order or exploding Konstantinos. Adam rolls a 1, 1, 13 and I roll 5, 7. Adam is excited because surely Konstantinos is BS 13, he’s a named PanO character!
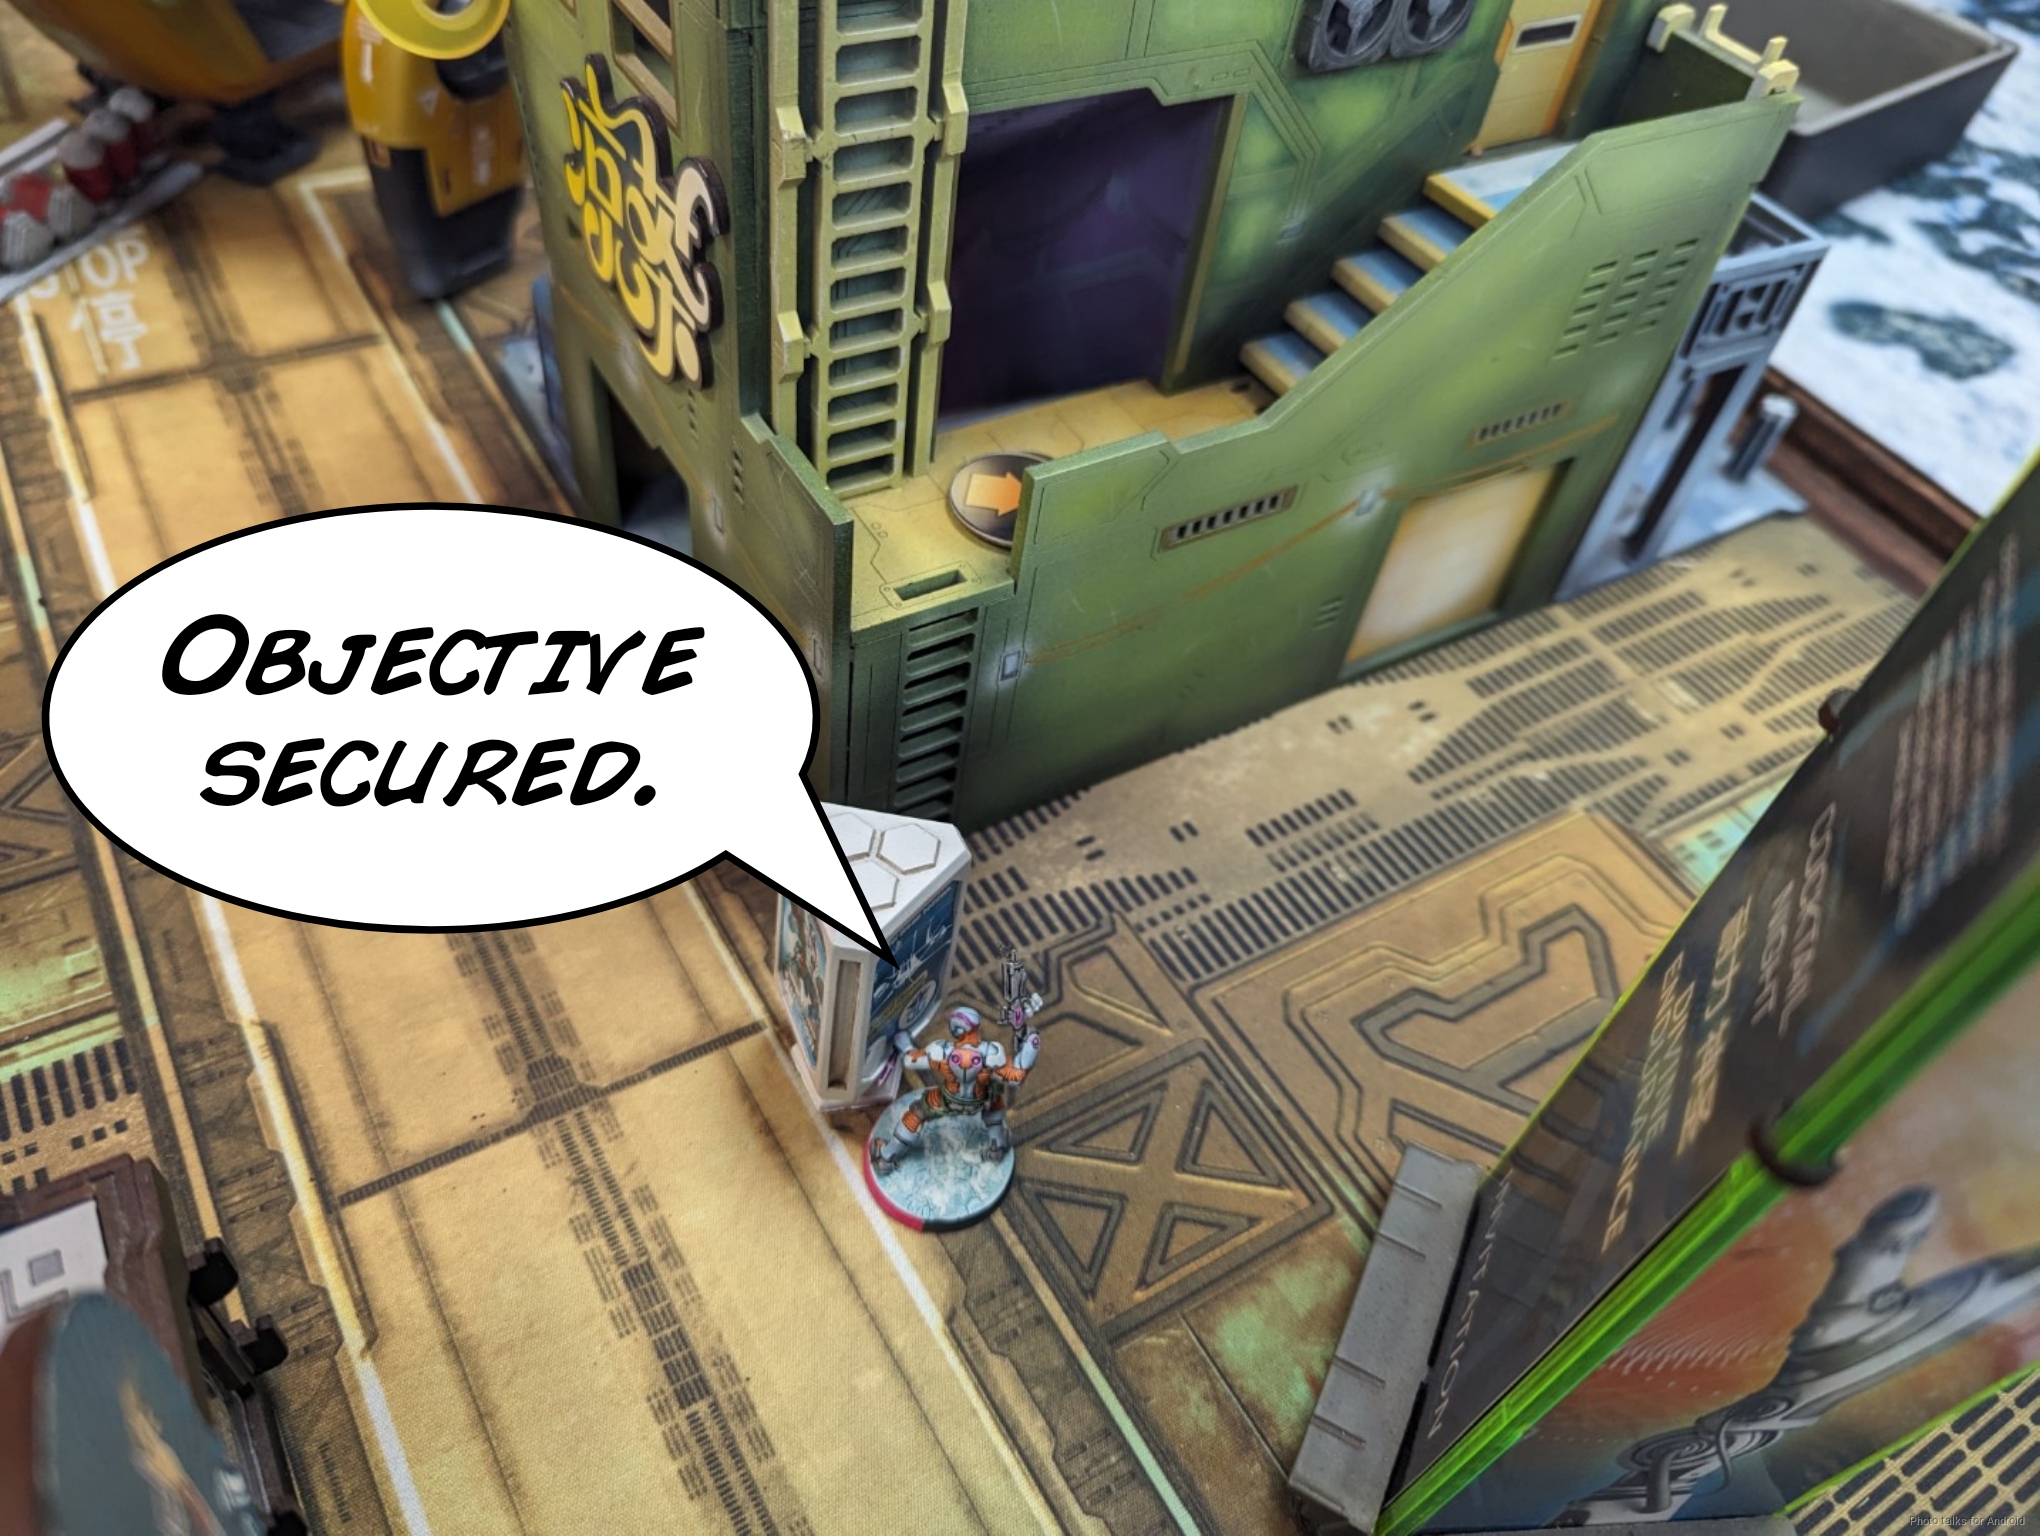
Sadly, he is BS12, and he evaporates after failing most of his six ARM saves. Adam plays to the objective and gets the central console flipped with Mendoza before passing turn.
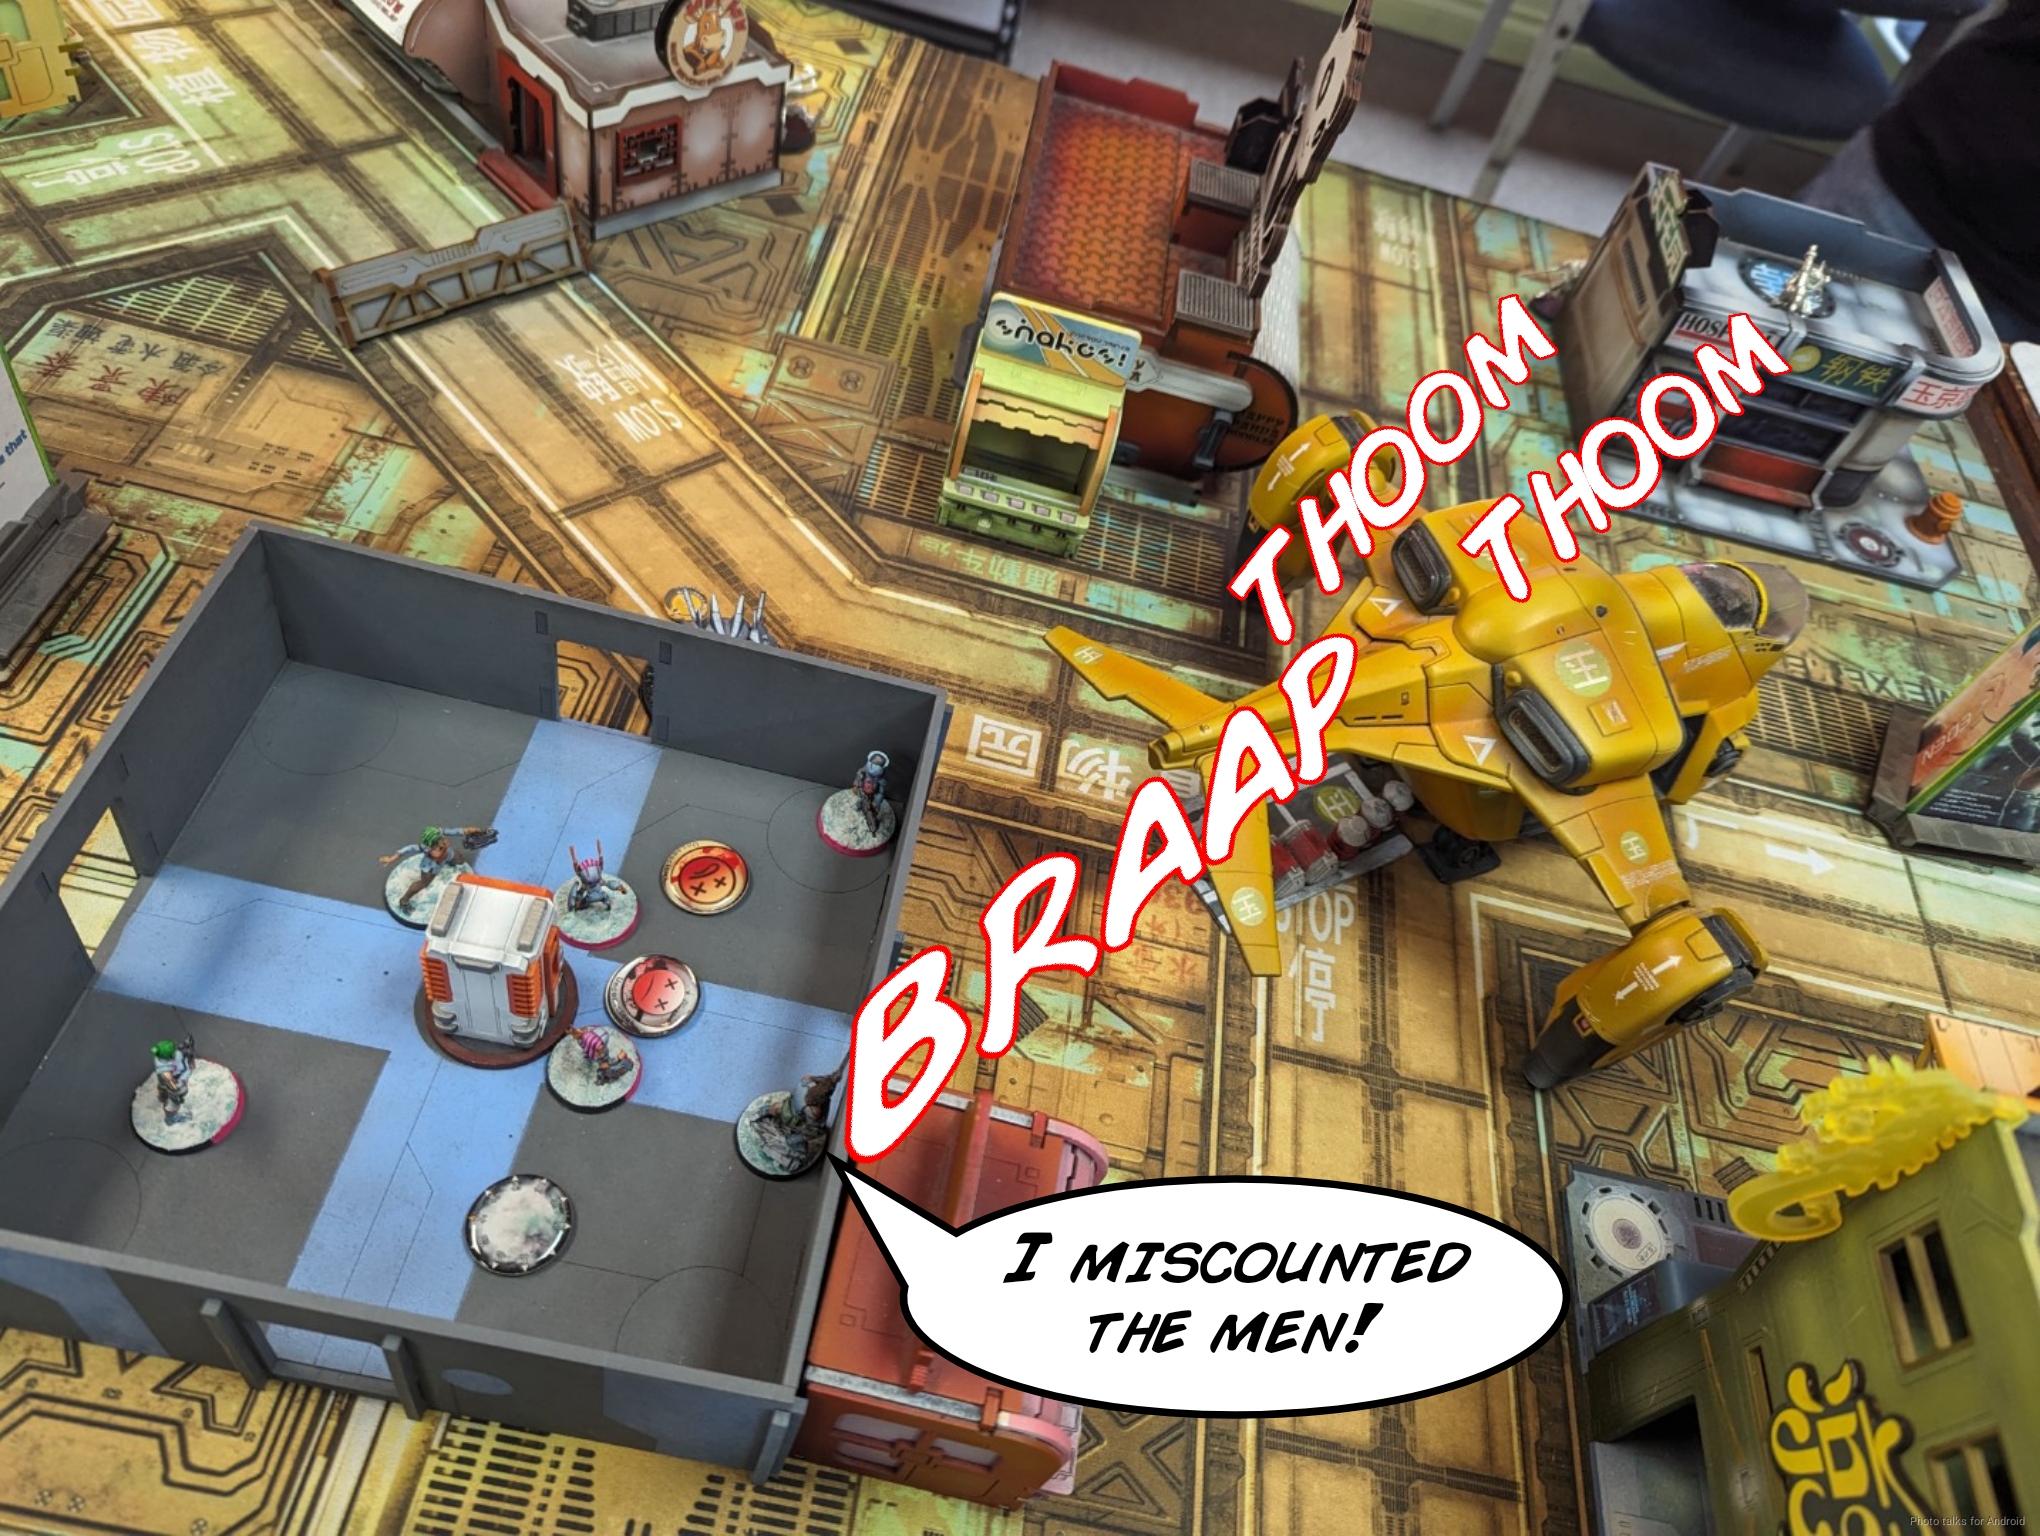
Bottom of 1 – ForCo
Well, my objectives this turn are to just take out as much of Adam’s small order pool as possible, which will free up loads of room for me in subsequent turns to get stuff done. I push the Uberfall forward, fully intending to tie Mendoza up in combat if not killing him, but Mendoza dodges around the central console to see the Chimera (modeled by Pi Well and a bunch of Tinbots for pupniks, it’s a pretty funny choice by Steven, who built/painted this army. I approve!). This means I’ll have to deal with Mendoza some other way.
First to play to the objectives. I bring an Akali on behind the Pathfinder, who dodges into cover.
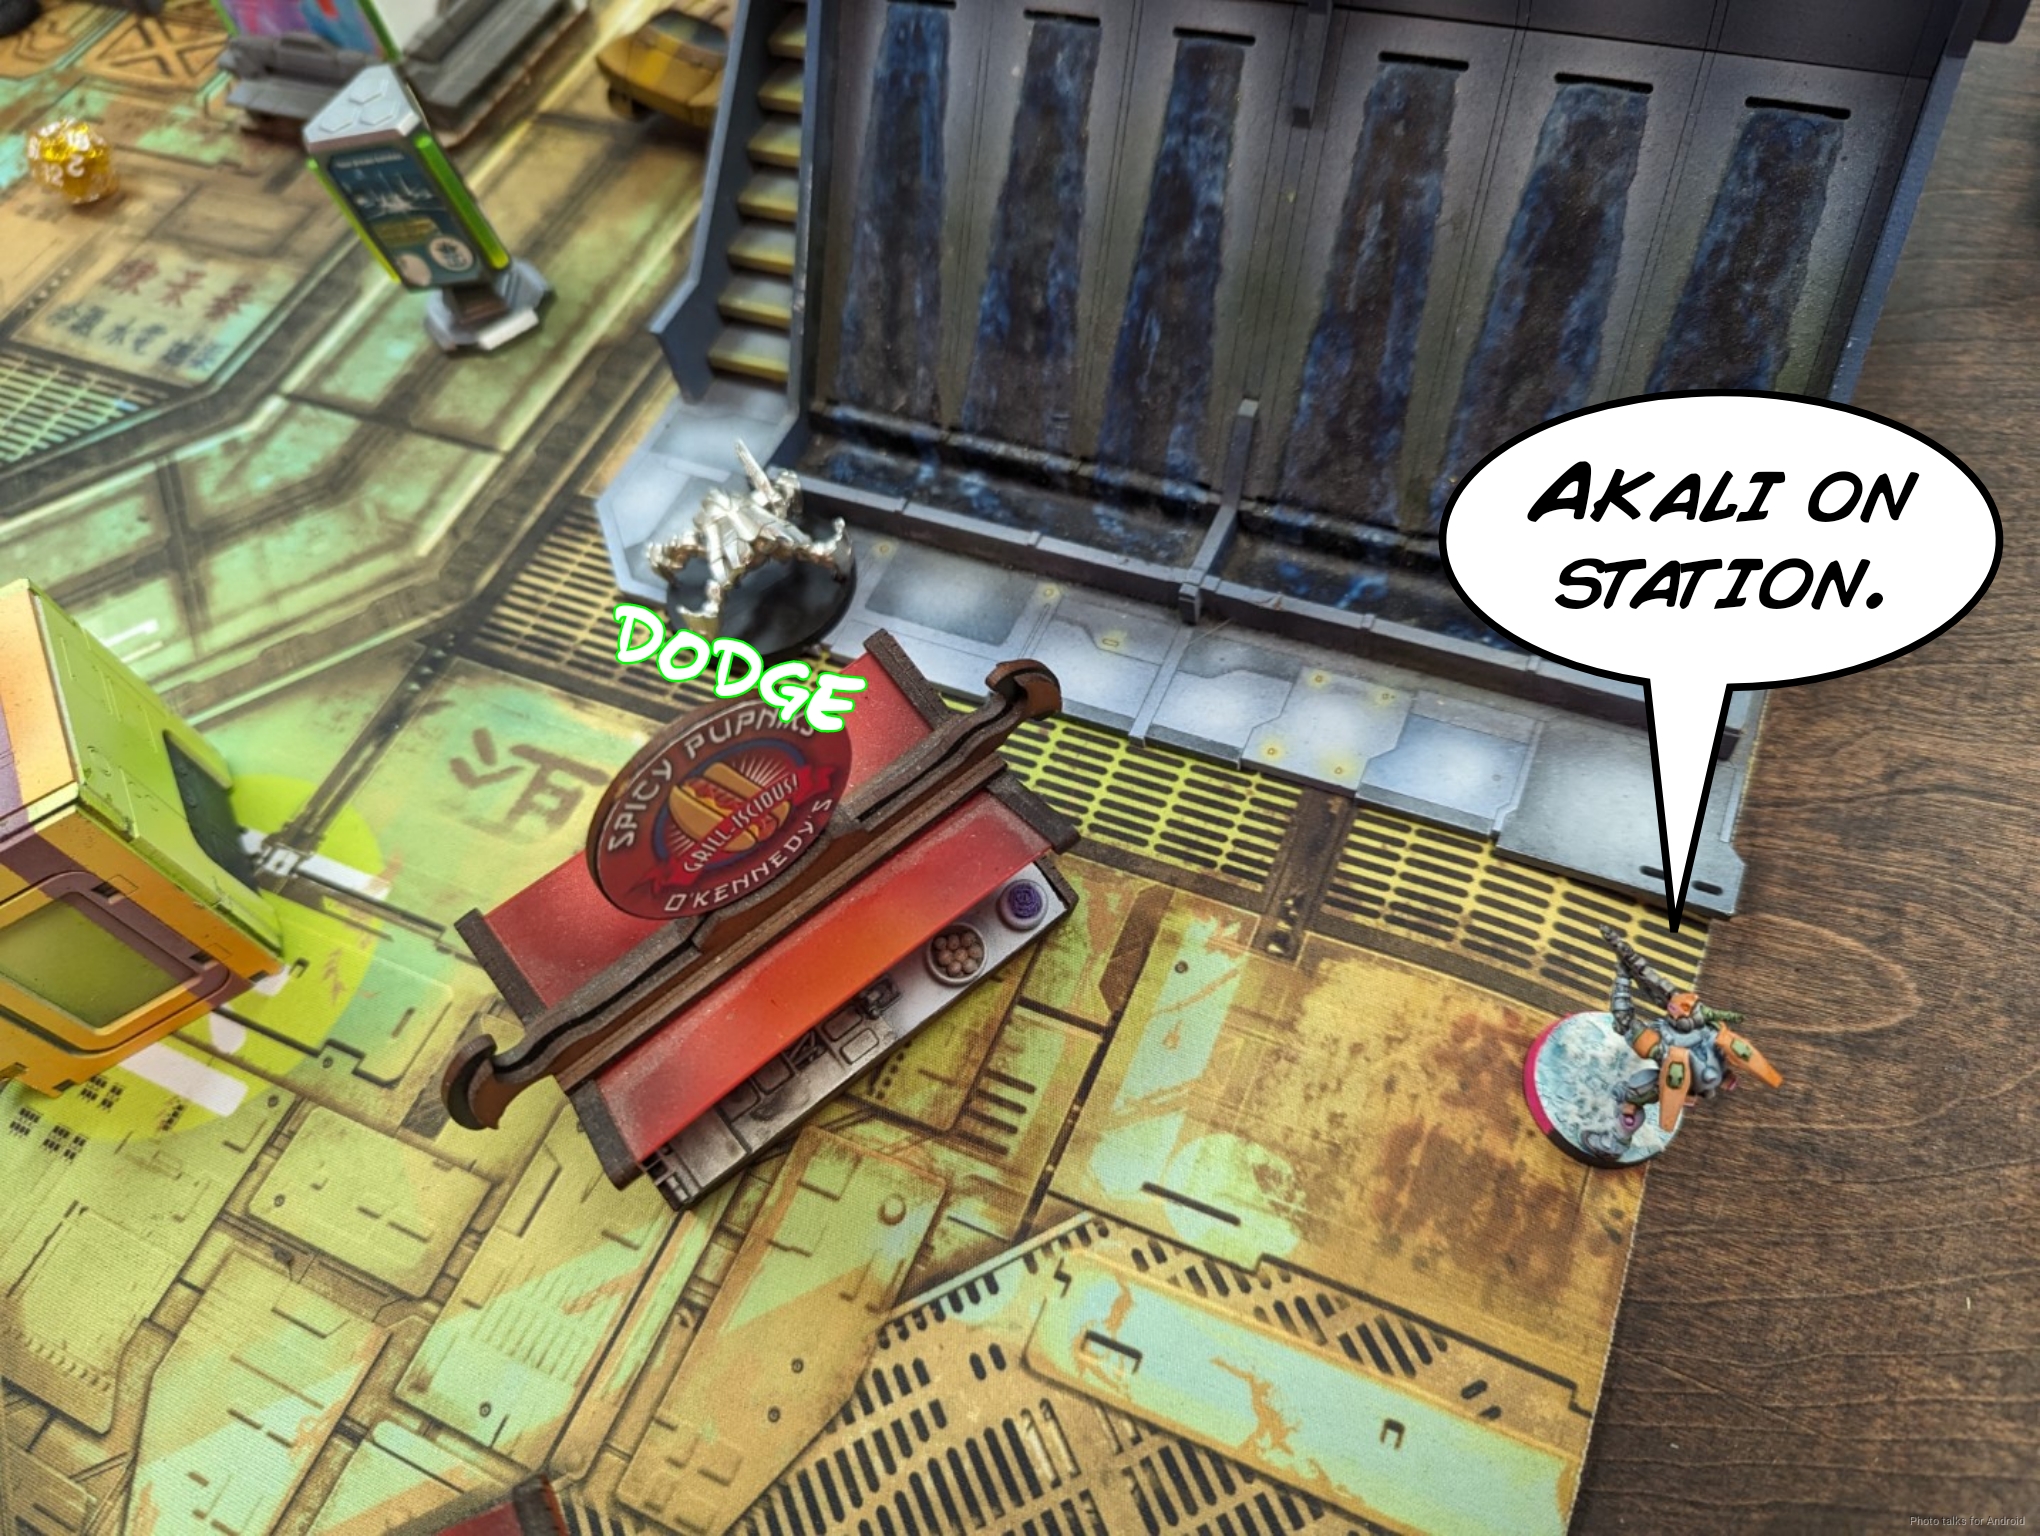
The odds are about the same as Konstantinos versus the Securitate, but this time it goes my way.
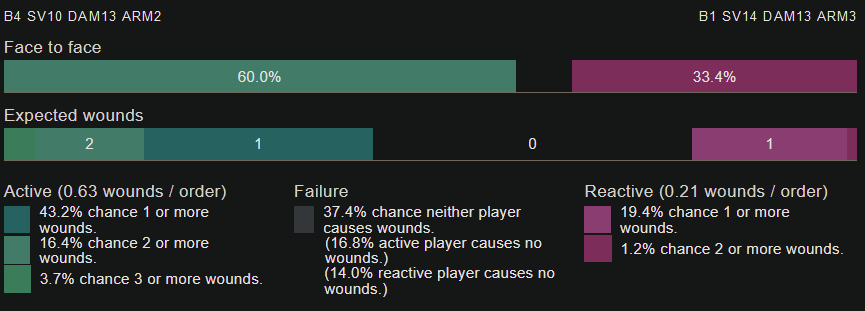
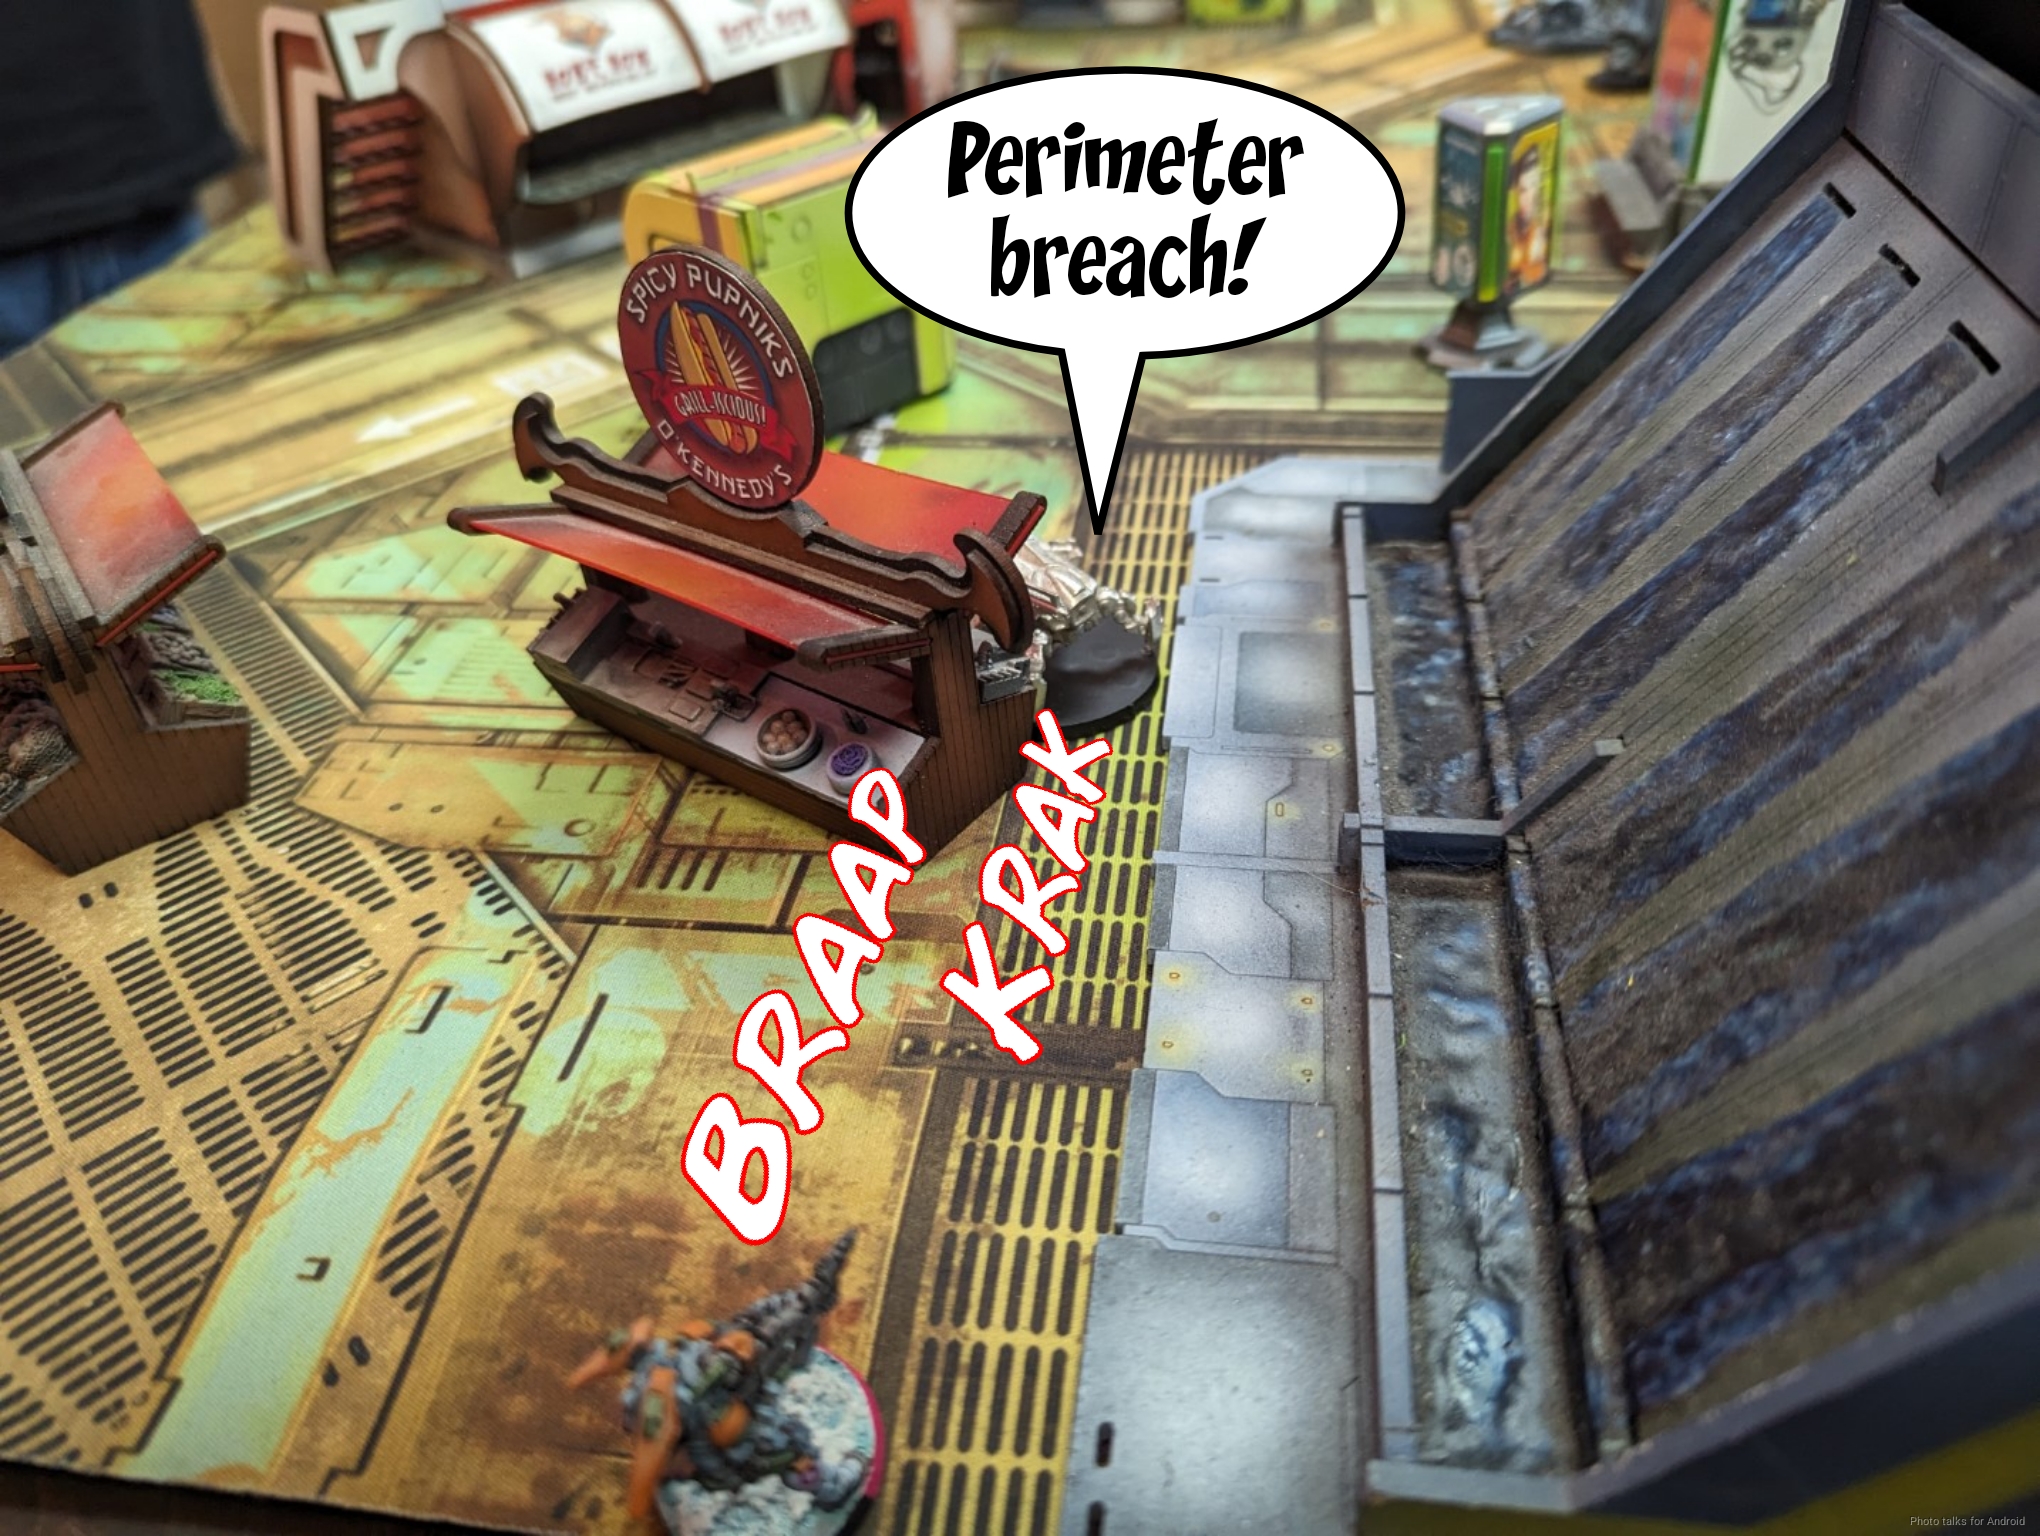
This lets me butt-shot the Peacemaker unopposed.
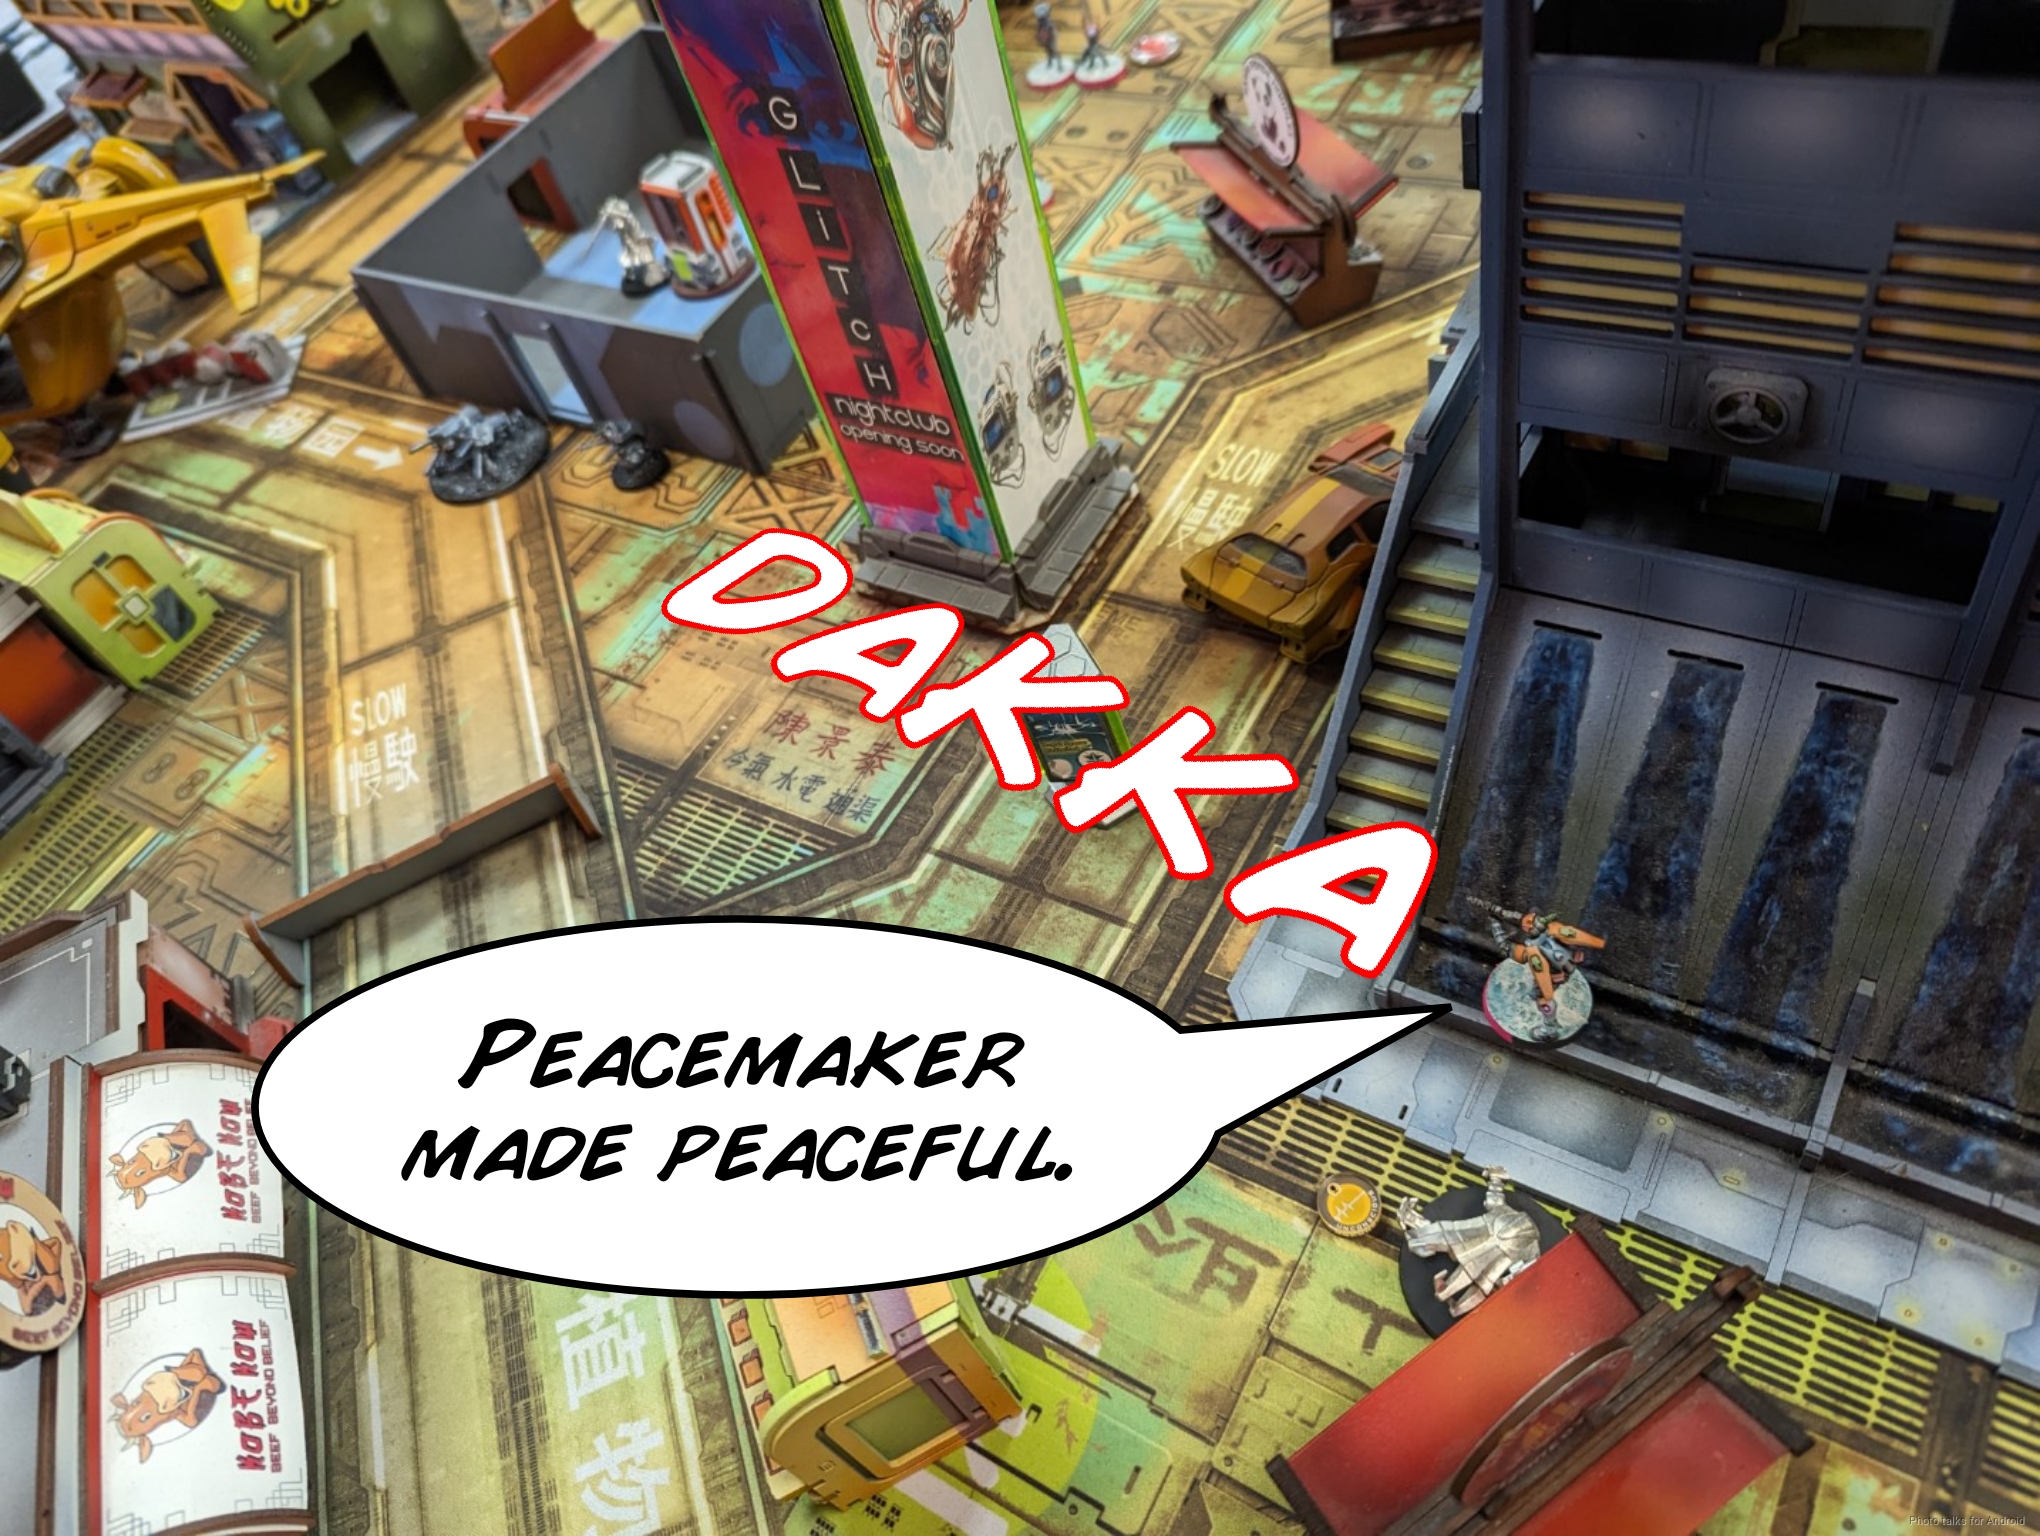
I even force the Knight of Justice to pass a bunch of ARM saves! How exciting!
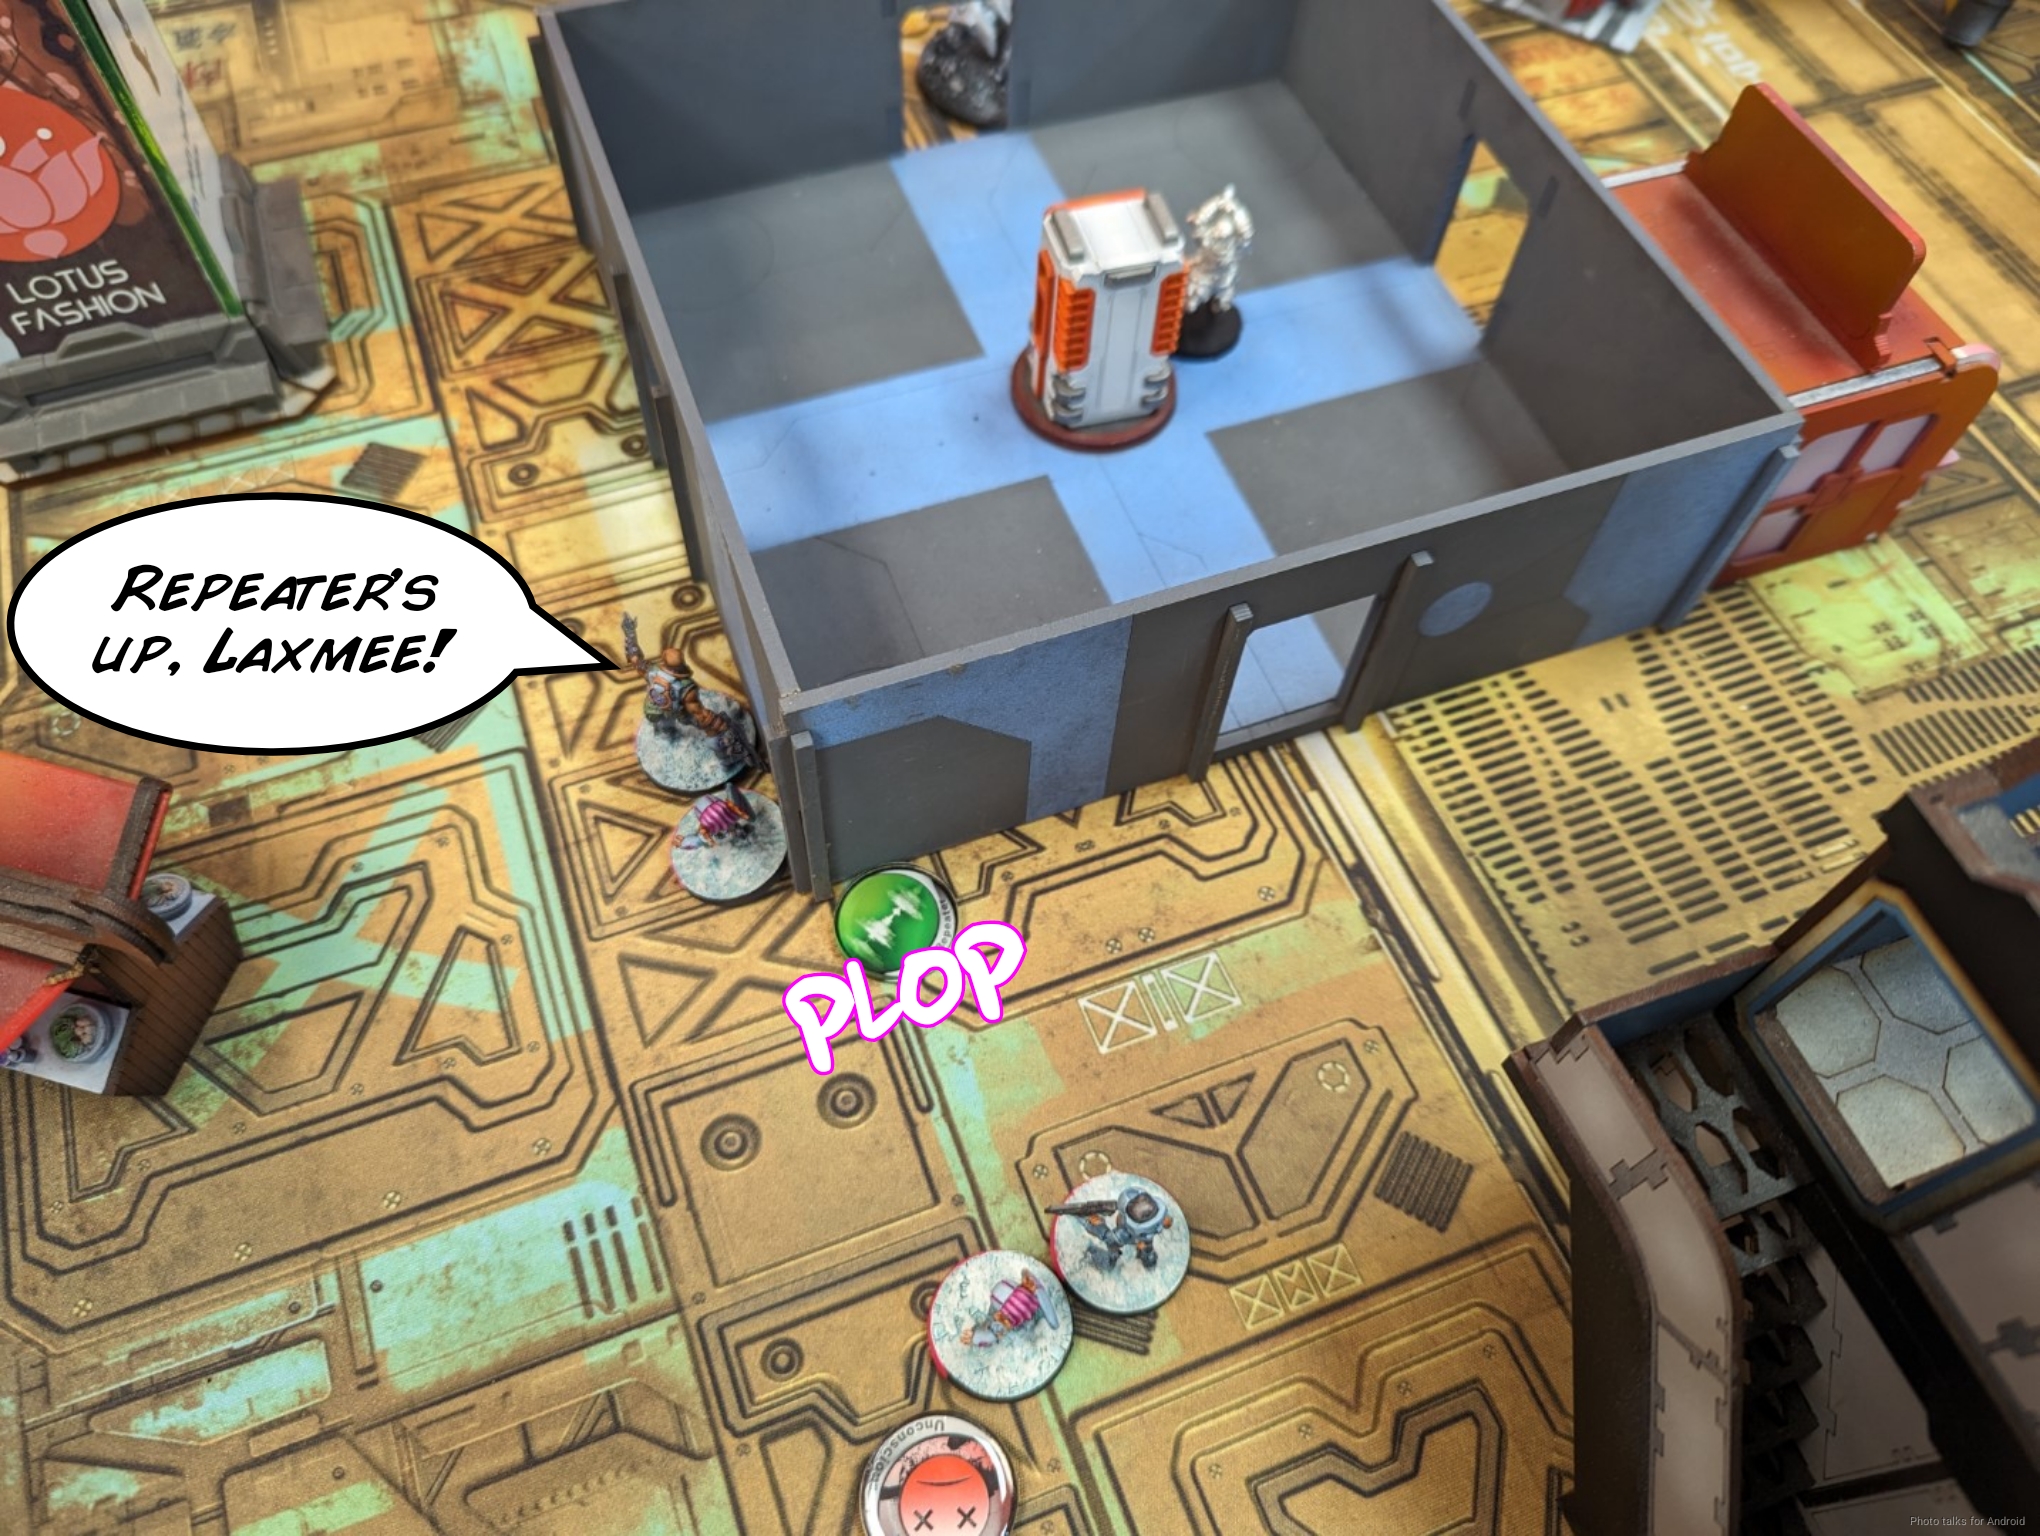
I get some coordinated orders in to reposition the Zeros and reveal the Croc Man with my last order in the pool and drop a Repeater in range of Mendoza.
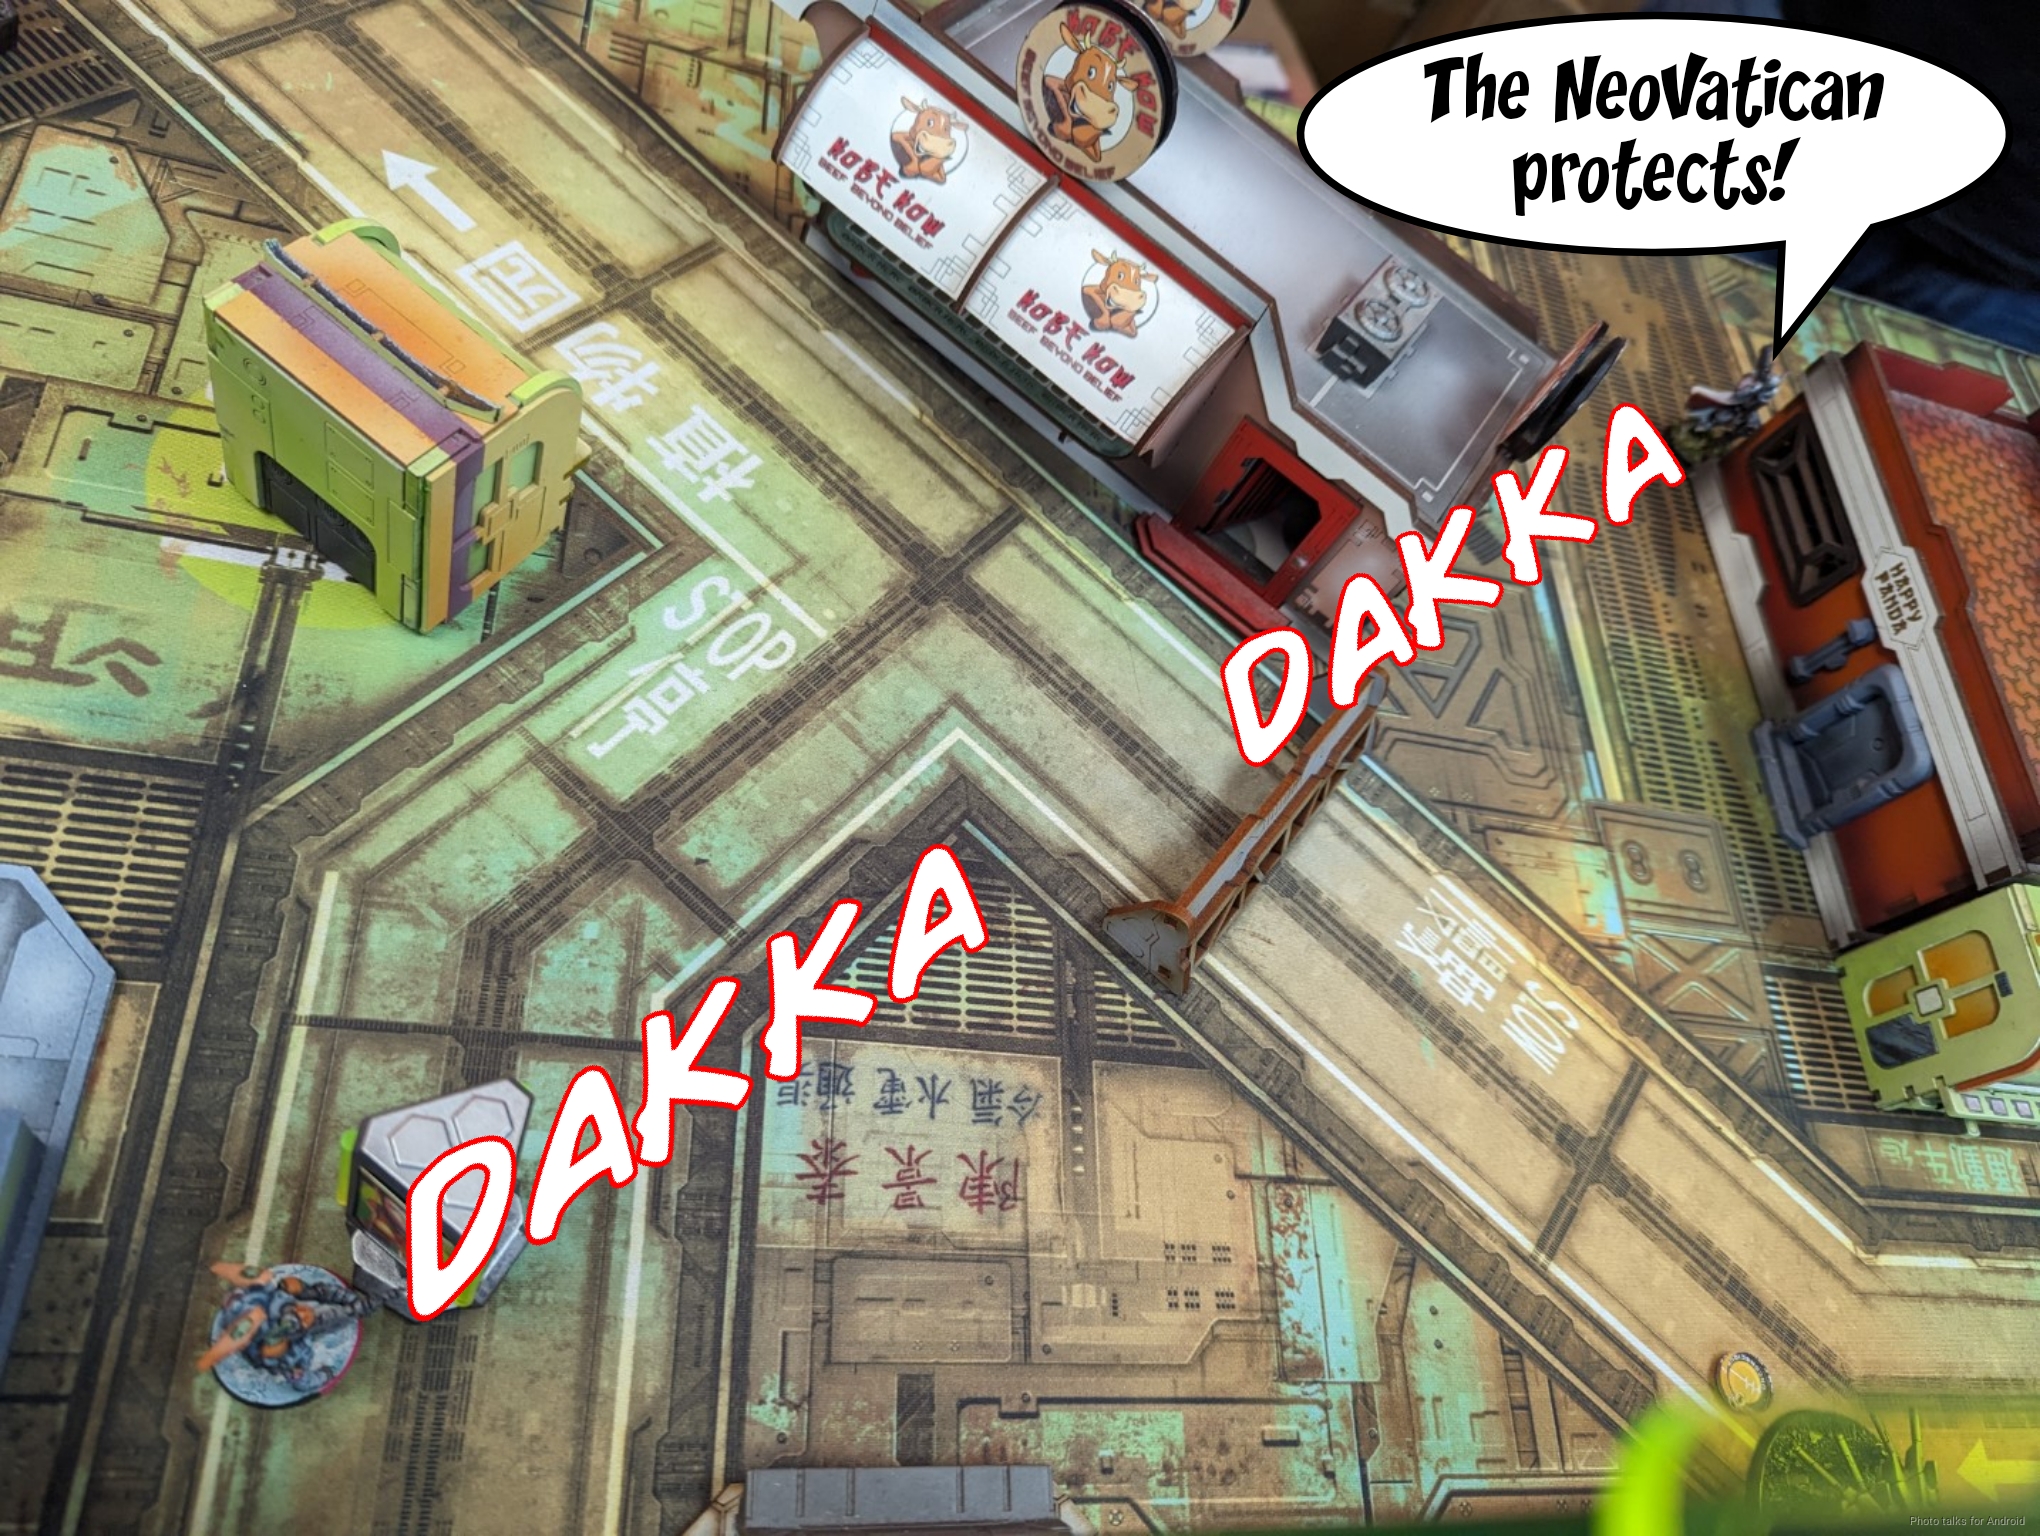
I’ve got most of my first pool to go through in terms of orders, so I start by just deleting the remaining Pathfinder with the Securitate Feuerbach.
I then break the Bolt link to deny the Teuton ML free shots at the Bolt ML and move Laxmee forward while hacking Mendoza with Carbonite.
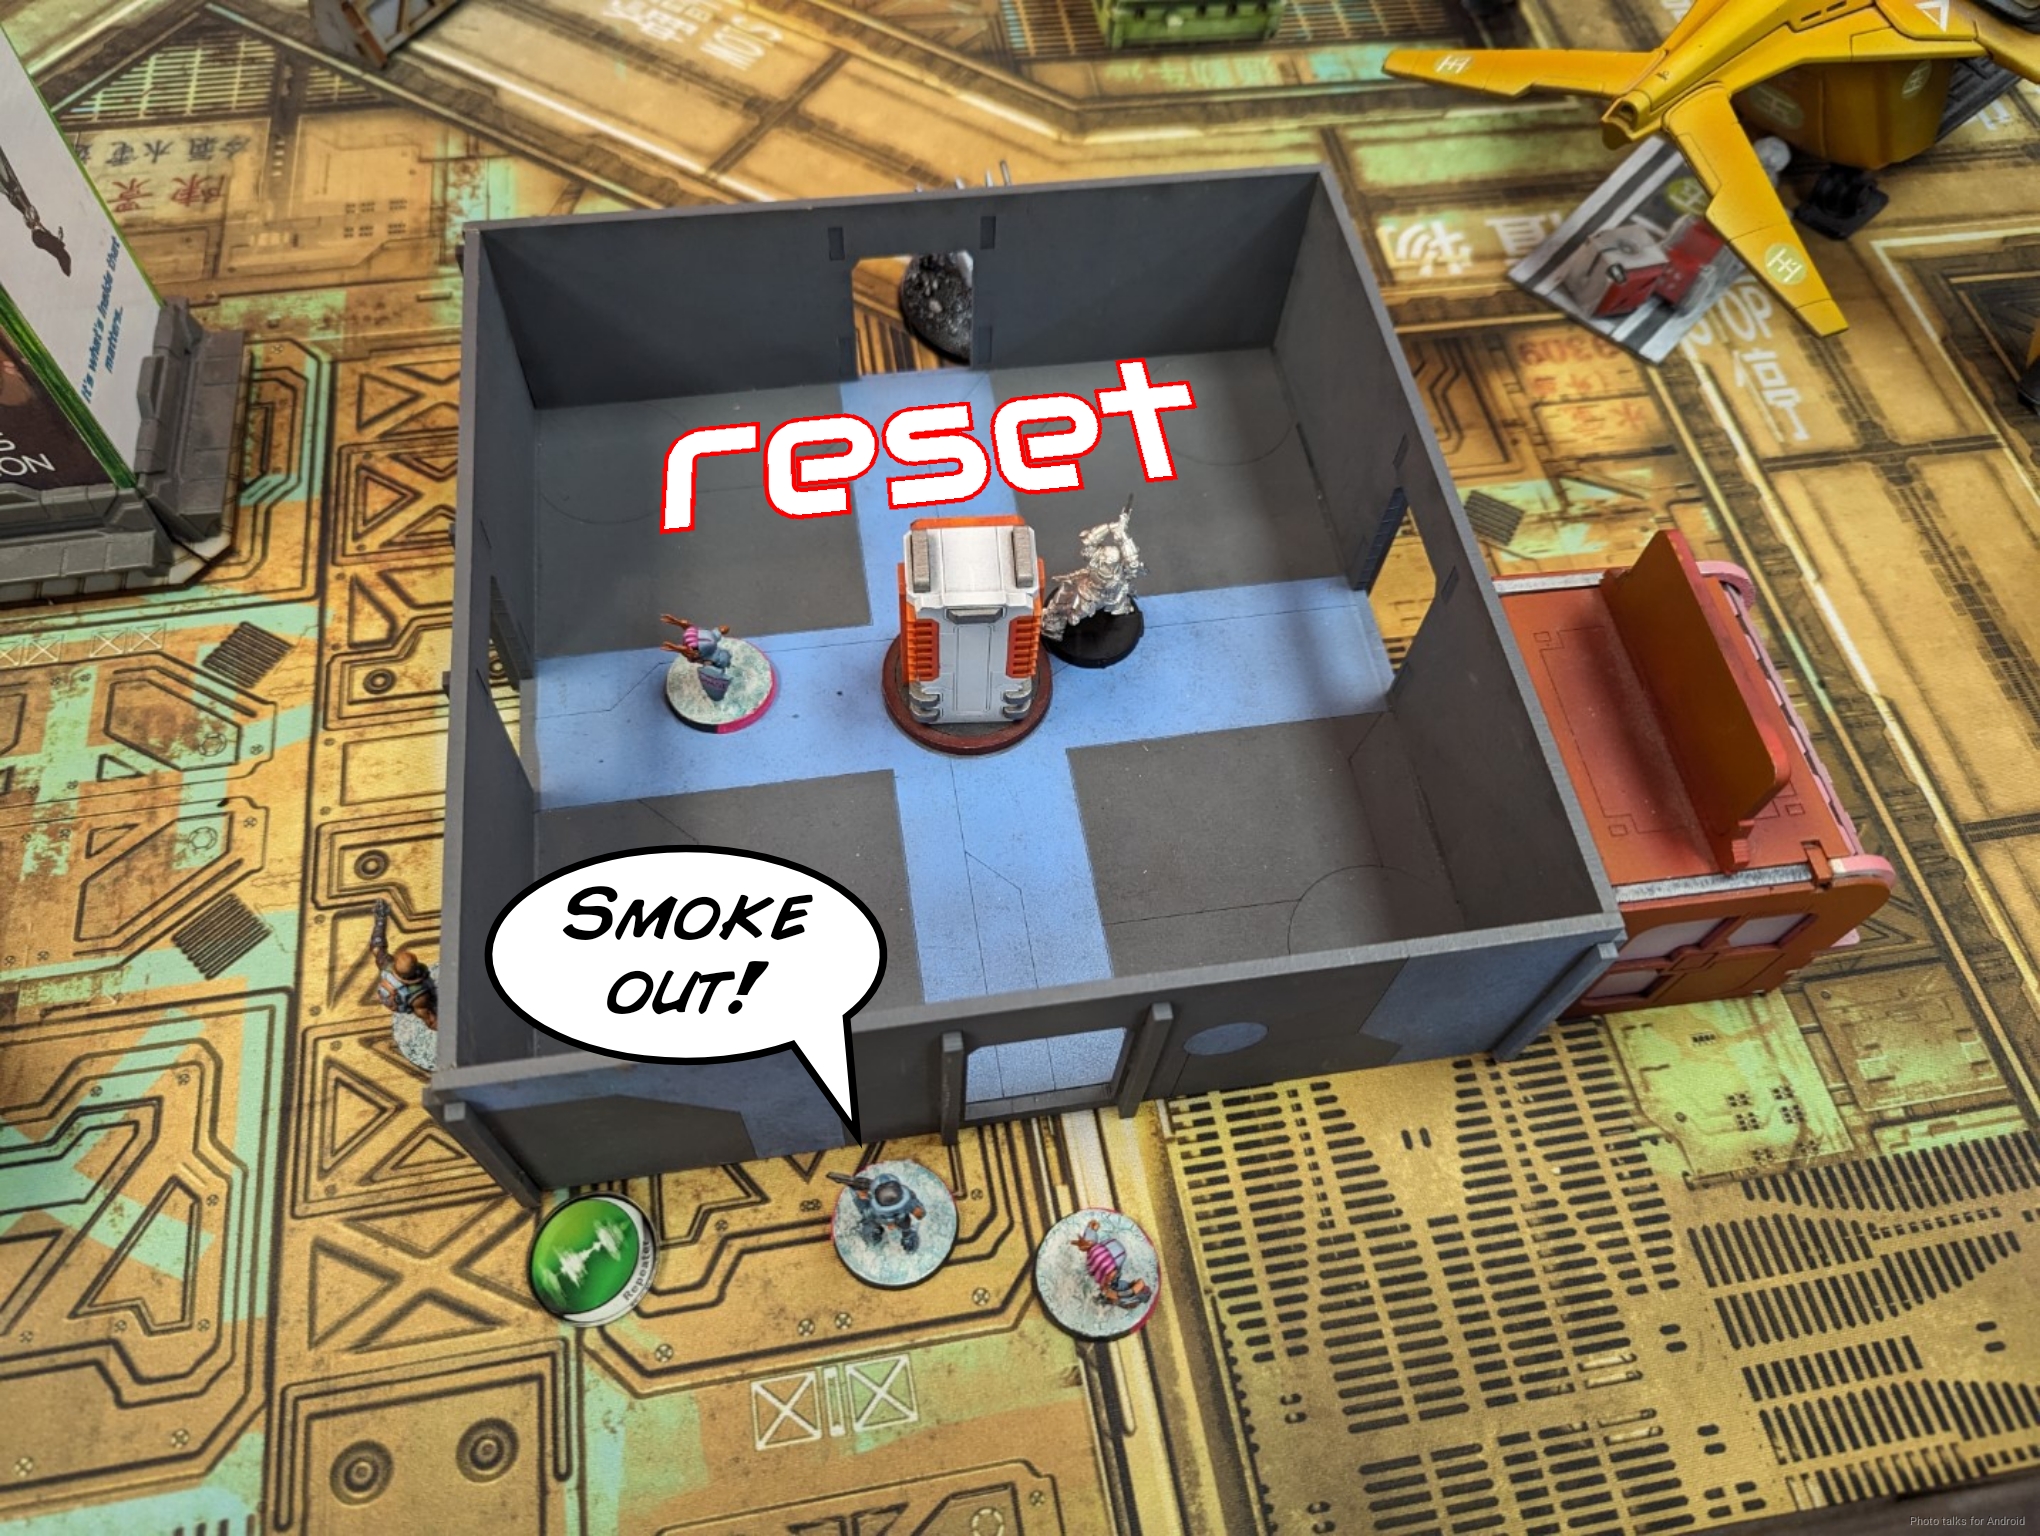
It works, eventually, and I then get smoke down on the first try with the Chimera while Mendoza successfully resets out of Carbonite.
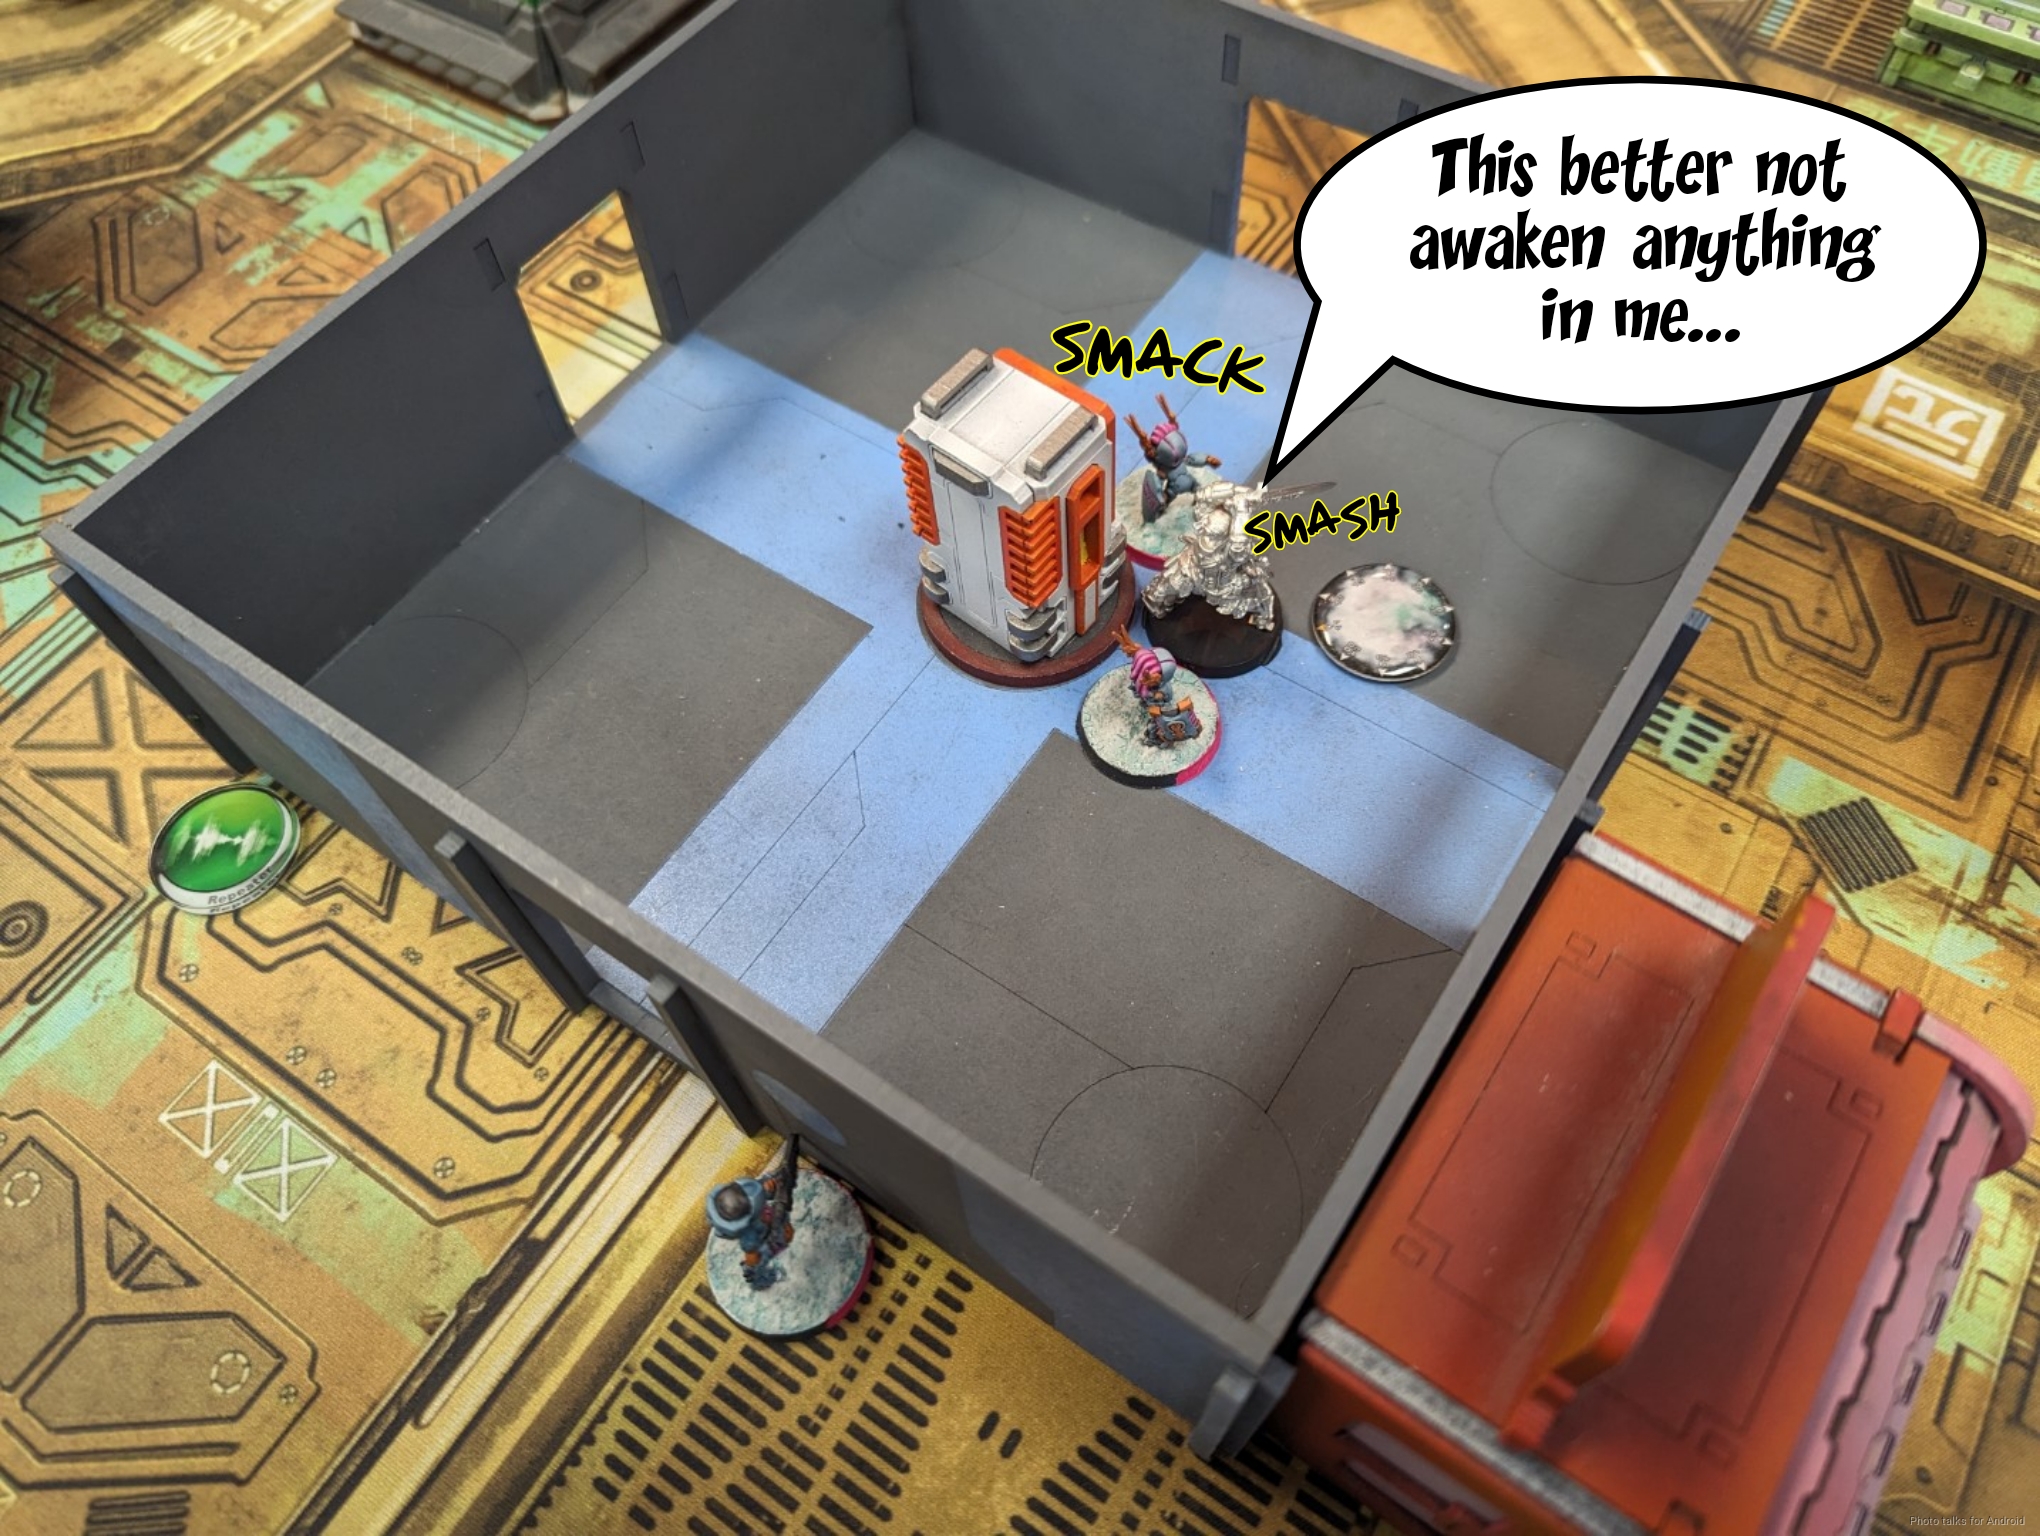
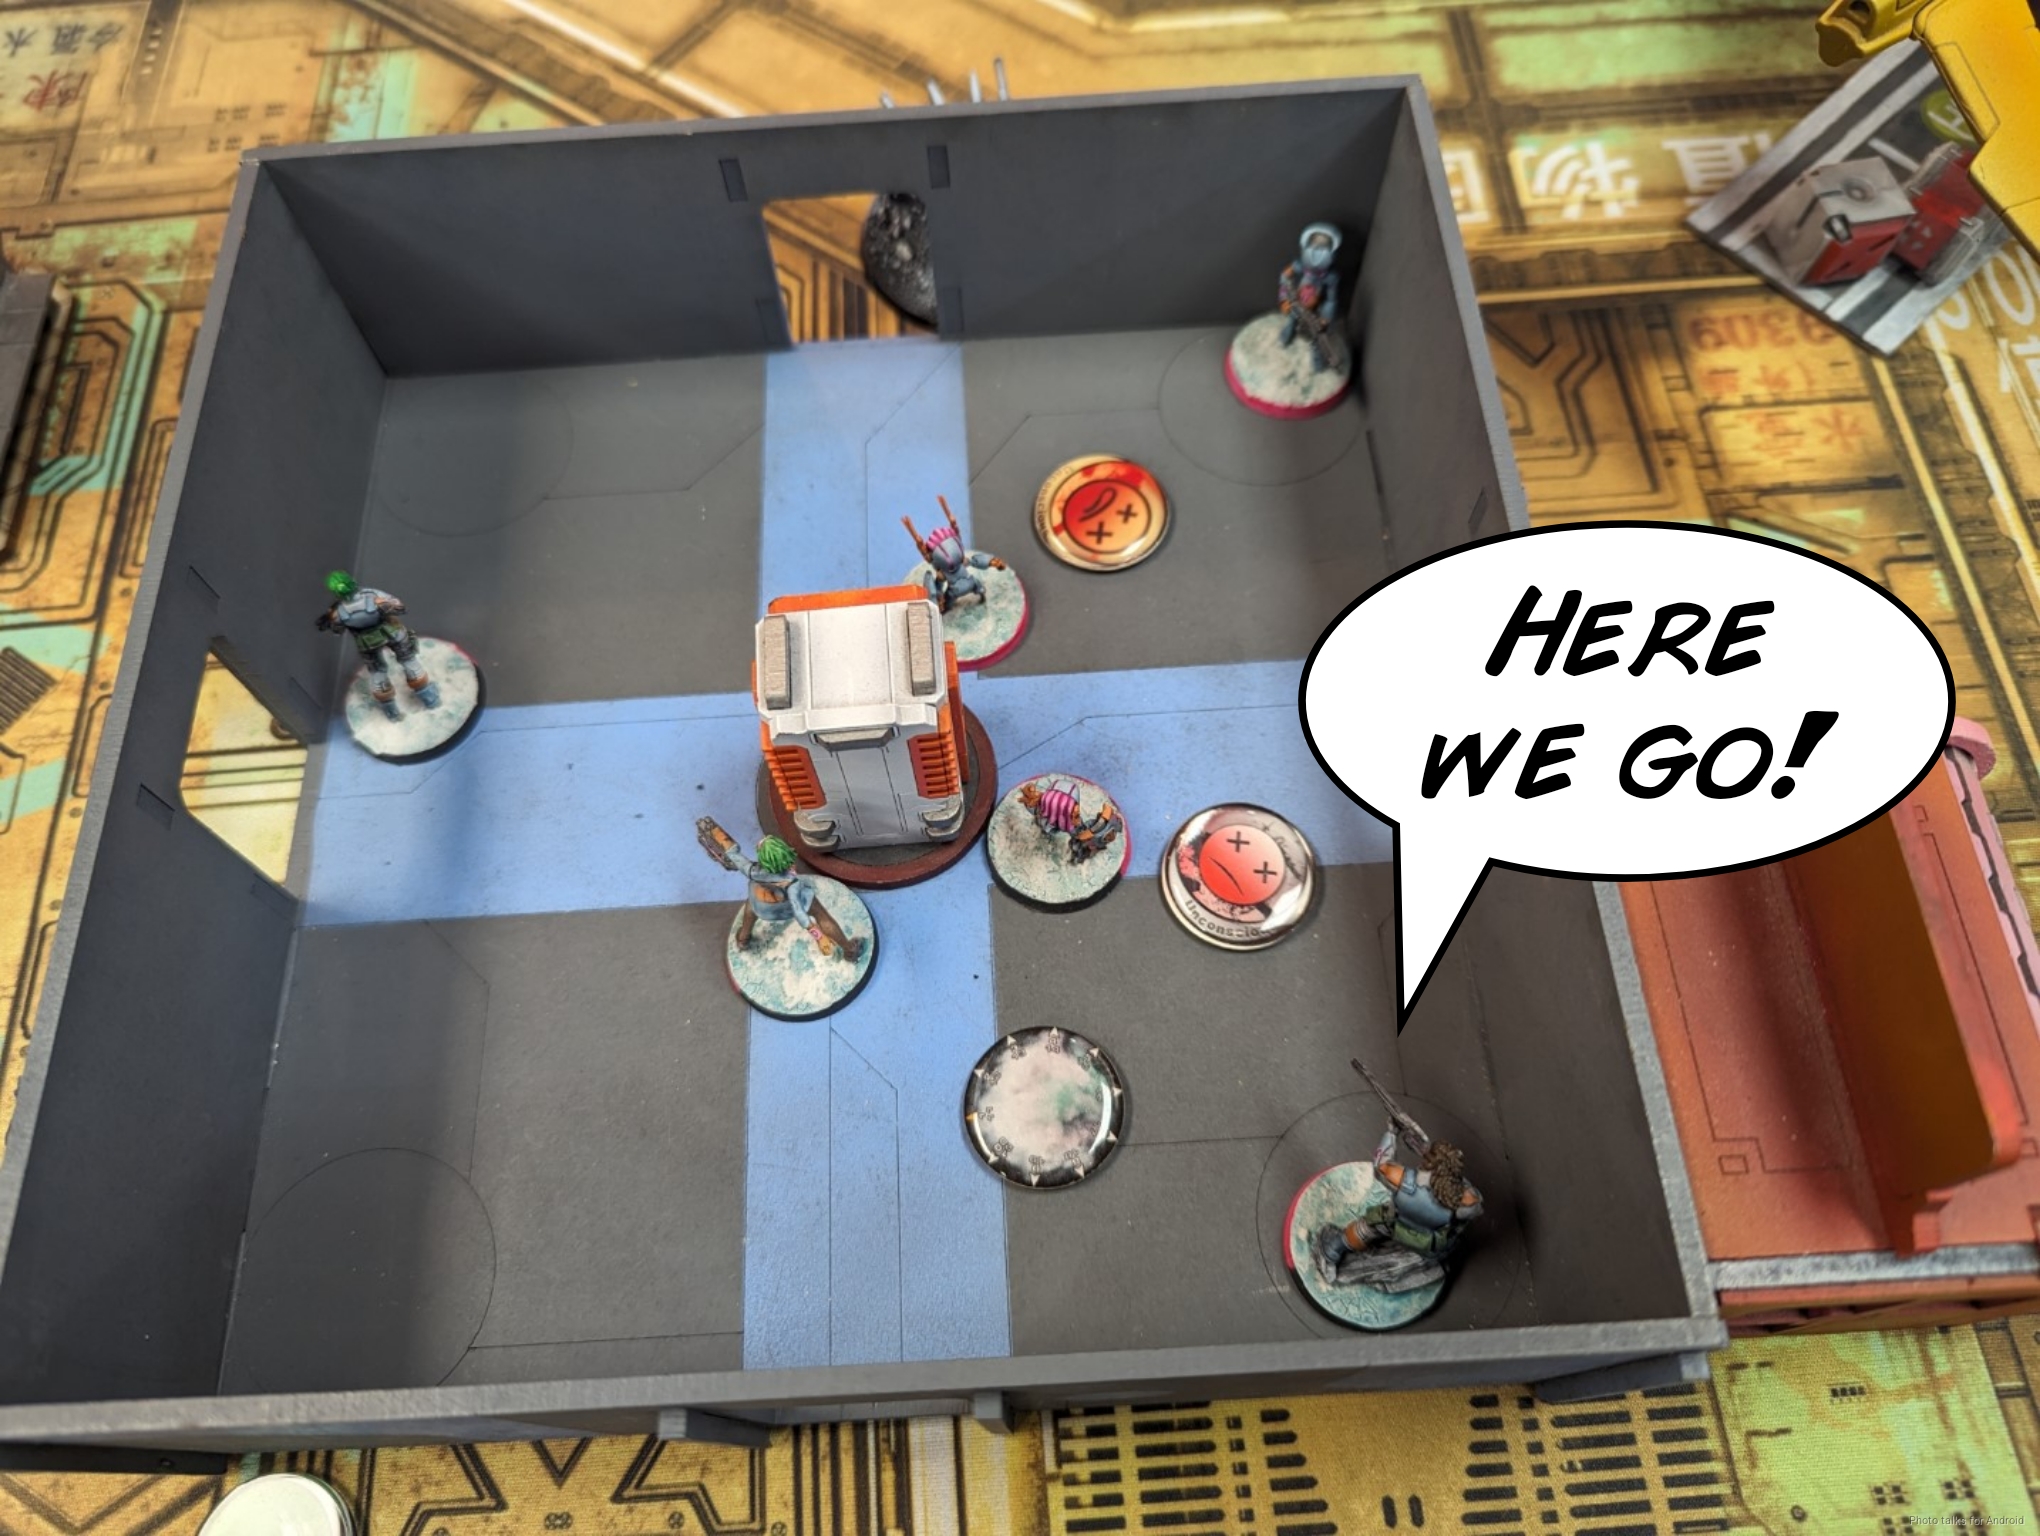
it doesn’t matter though, because I get two Pupniks into base and even Mendoza can’t survive four saves. It costs me a Pupnik but this is absolutely acceptable.
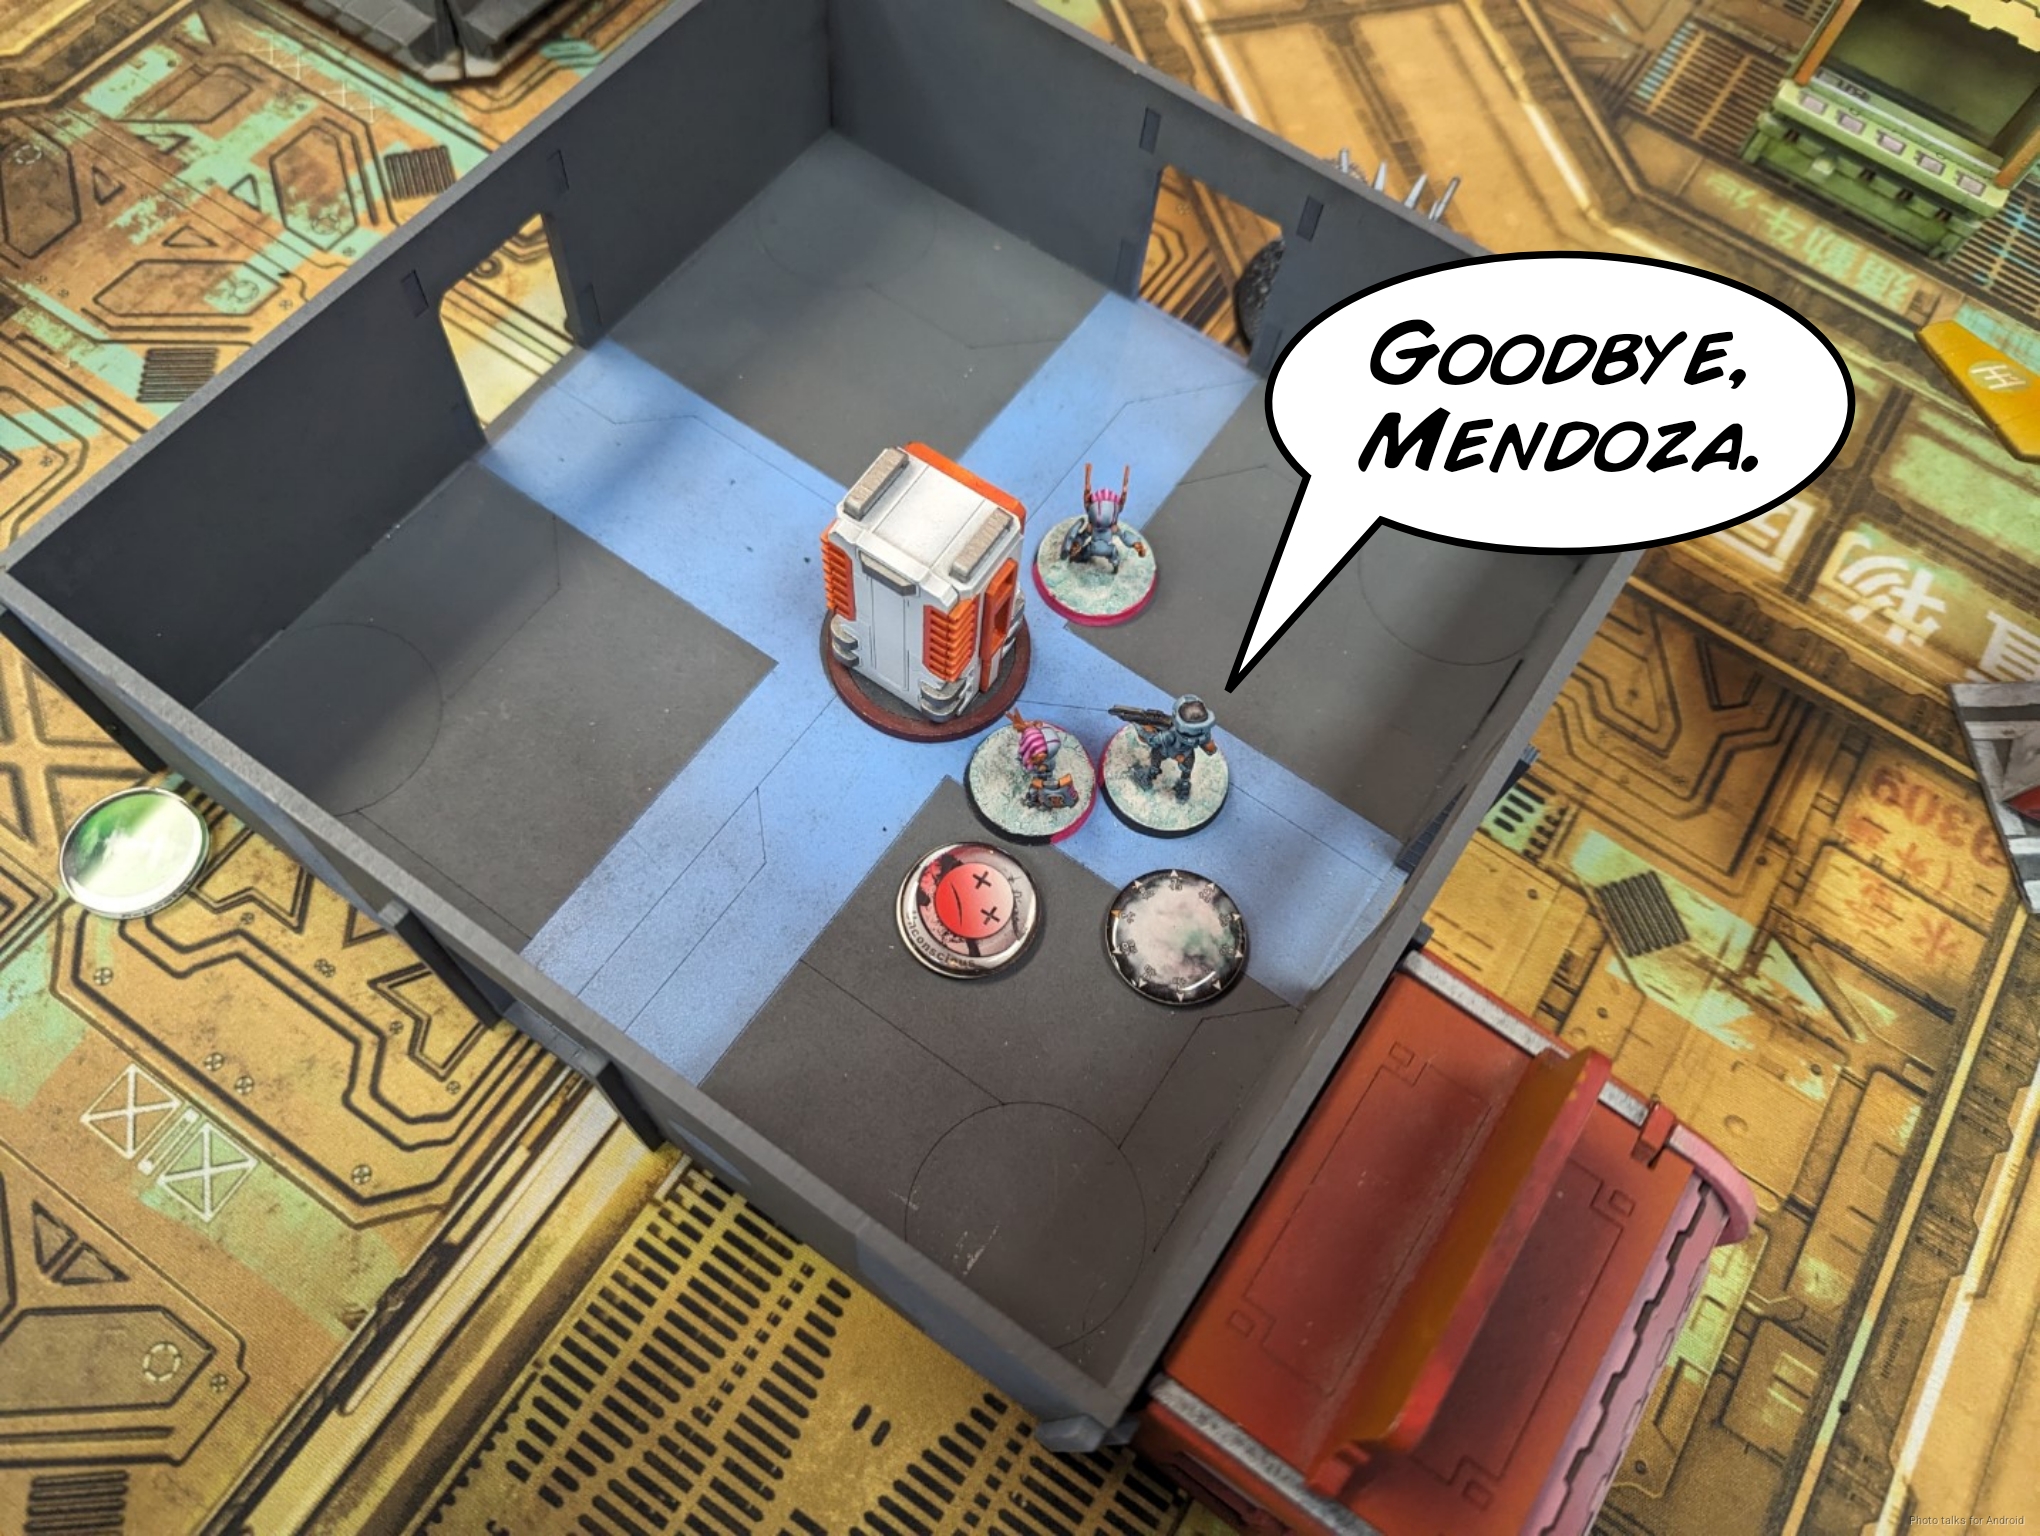
I move the Chimera in and coup-de-grace Mendoza (not sure why I did that now that I’m looking at it, for some reason I had it in my head that Mendoza might get back up).
I move the Bolt MSR with my last order into a position watching the left side of the board, ceding control of right side to just the Feuerbach. I reform the Bolt link again and pass turn.
Turn 2
Top of 2 – Military Orders

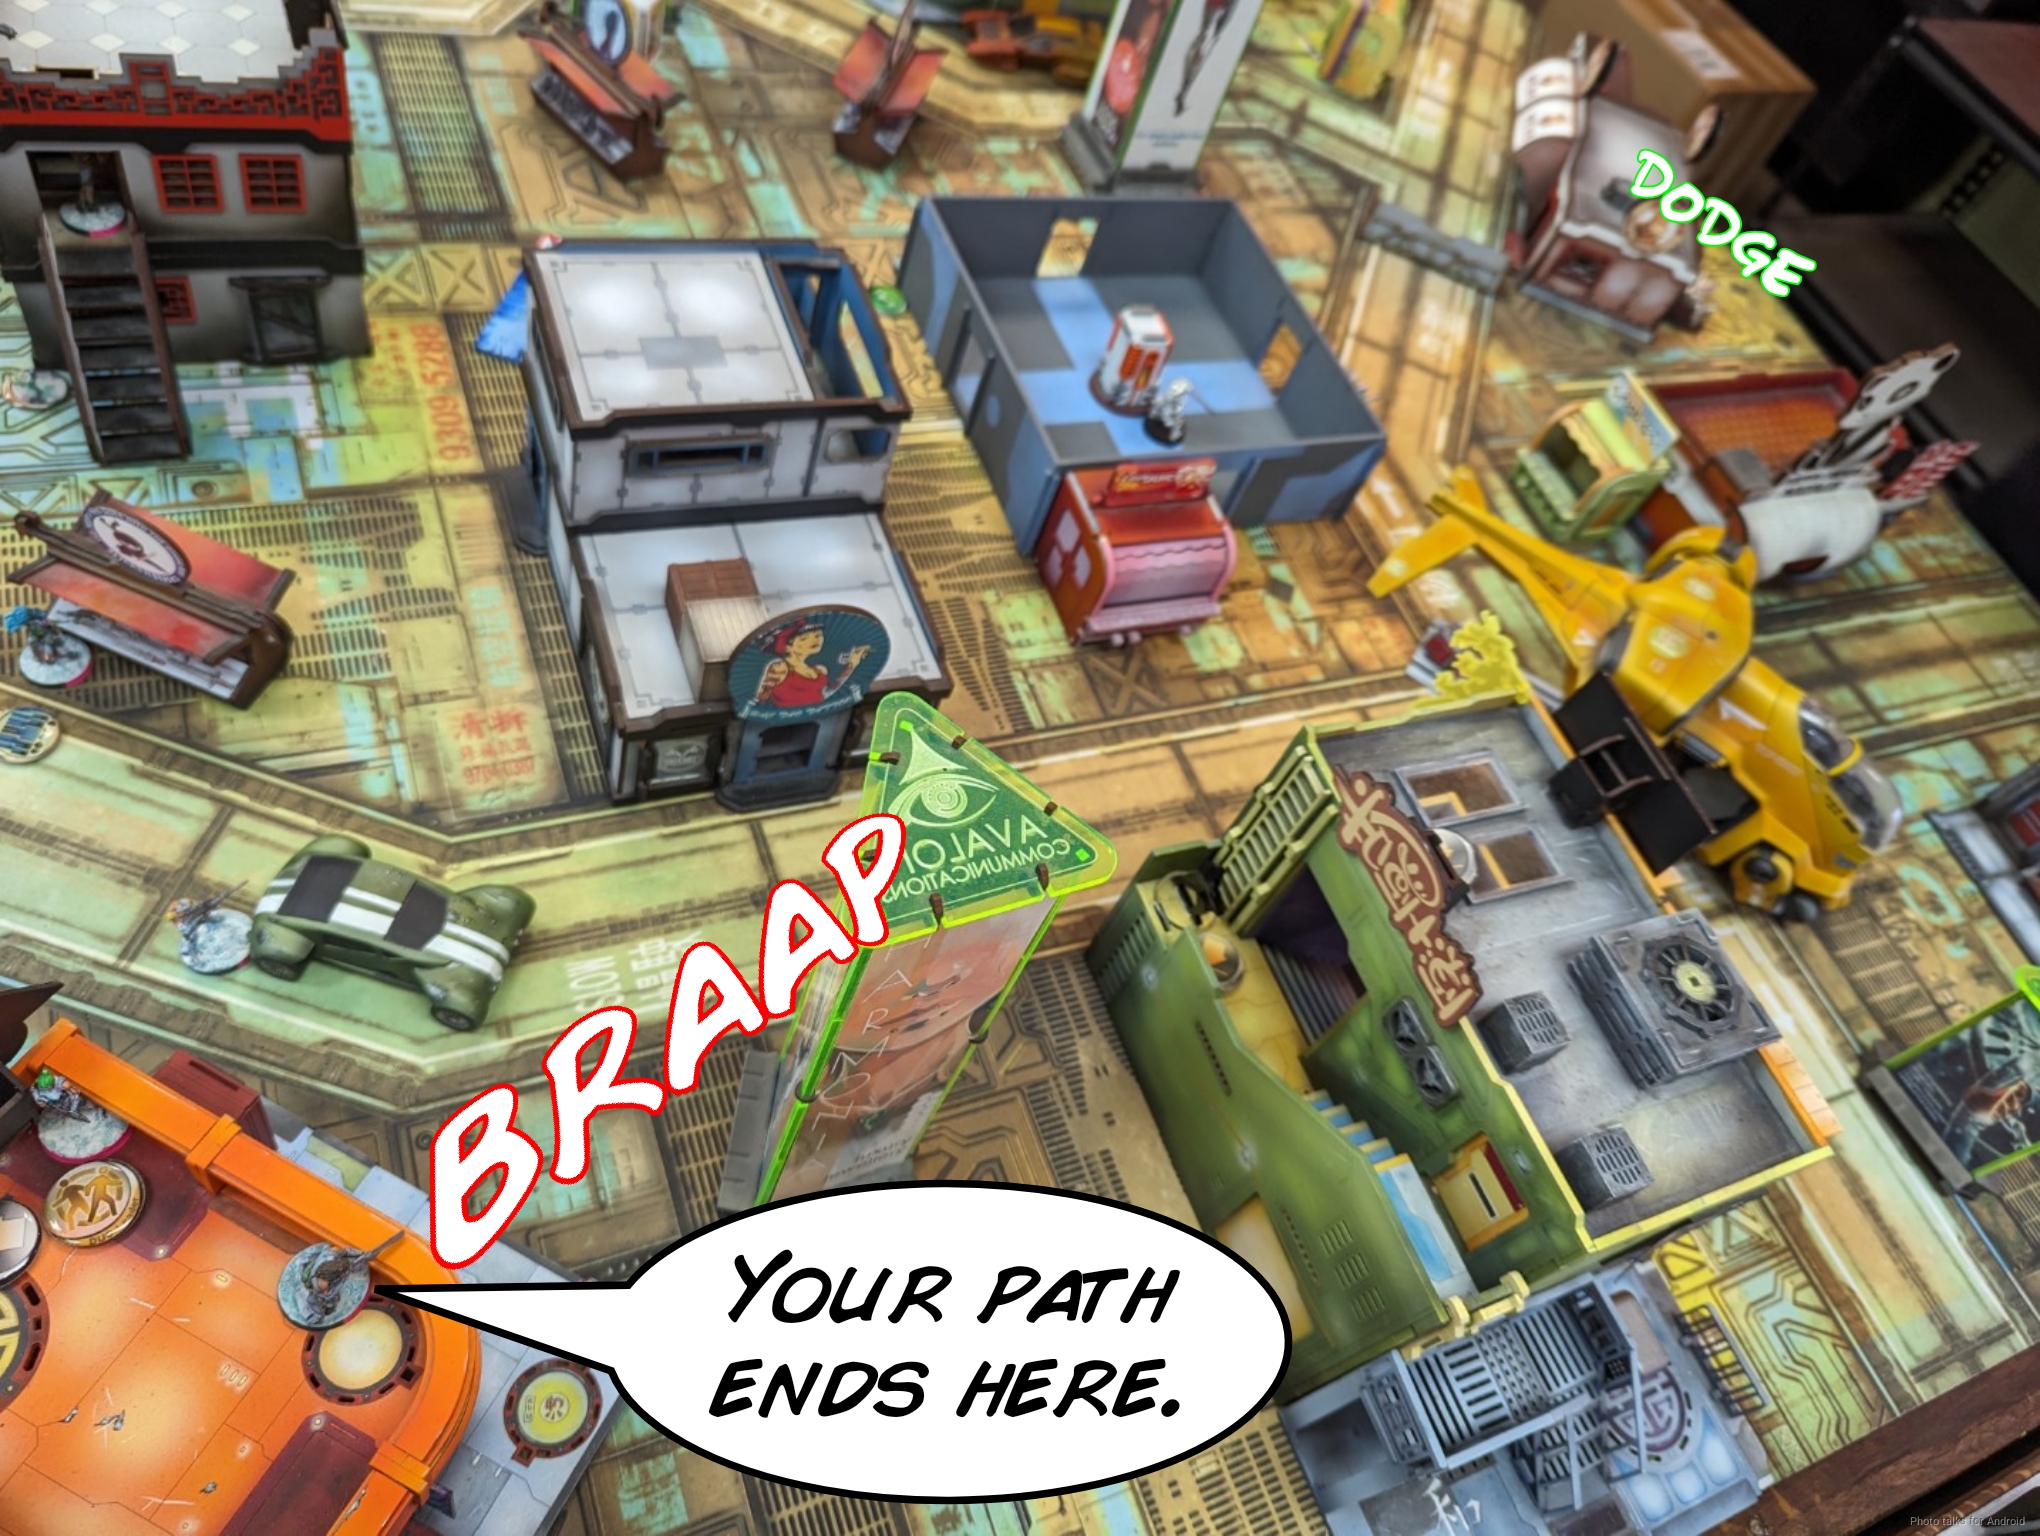
Adam starts by breaking the Teuton link to get the impetuous orders. He only takes it on the specialist operative to get to the console nearest the Teutons. I was pretty sloppy with my Akali’s facing, so Adam brings on the Knight of Santiago behind it and just shotguns it down outside of 8″. BS14 is more than good enough to make this happen.
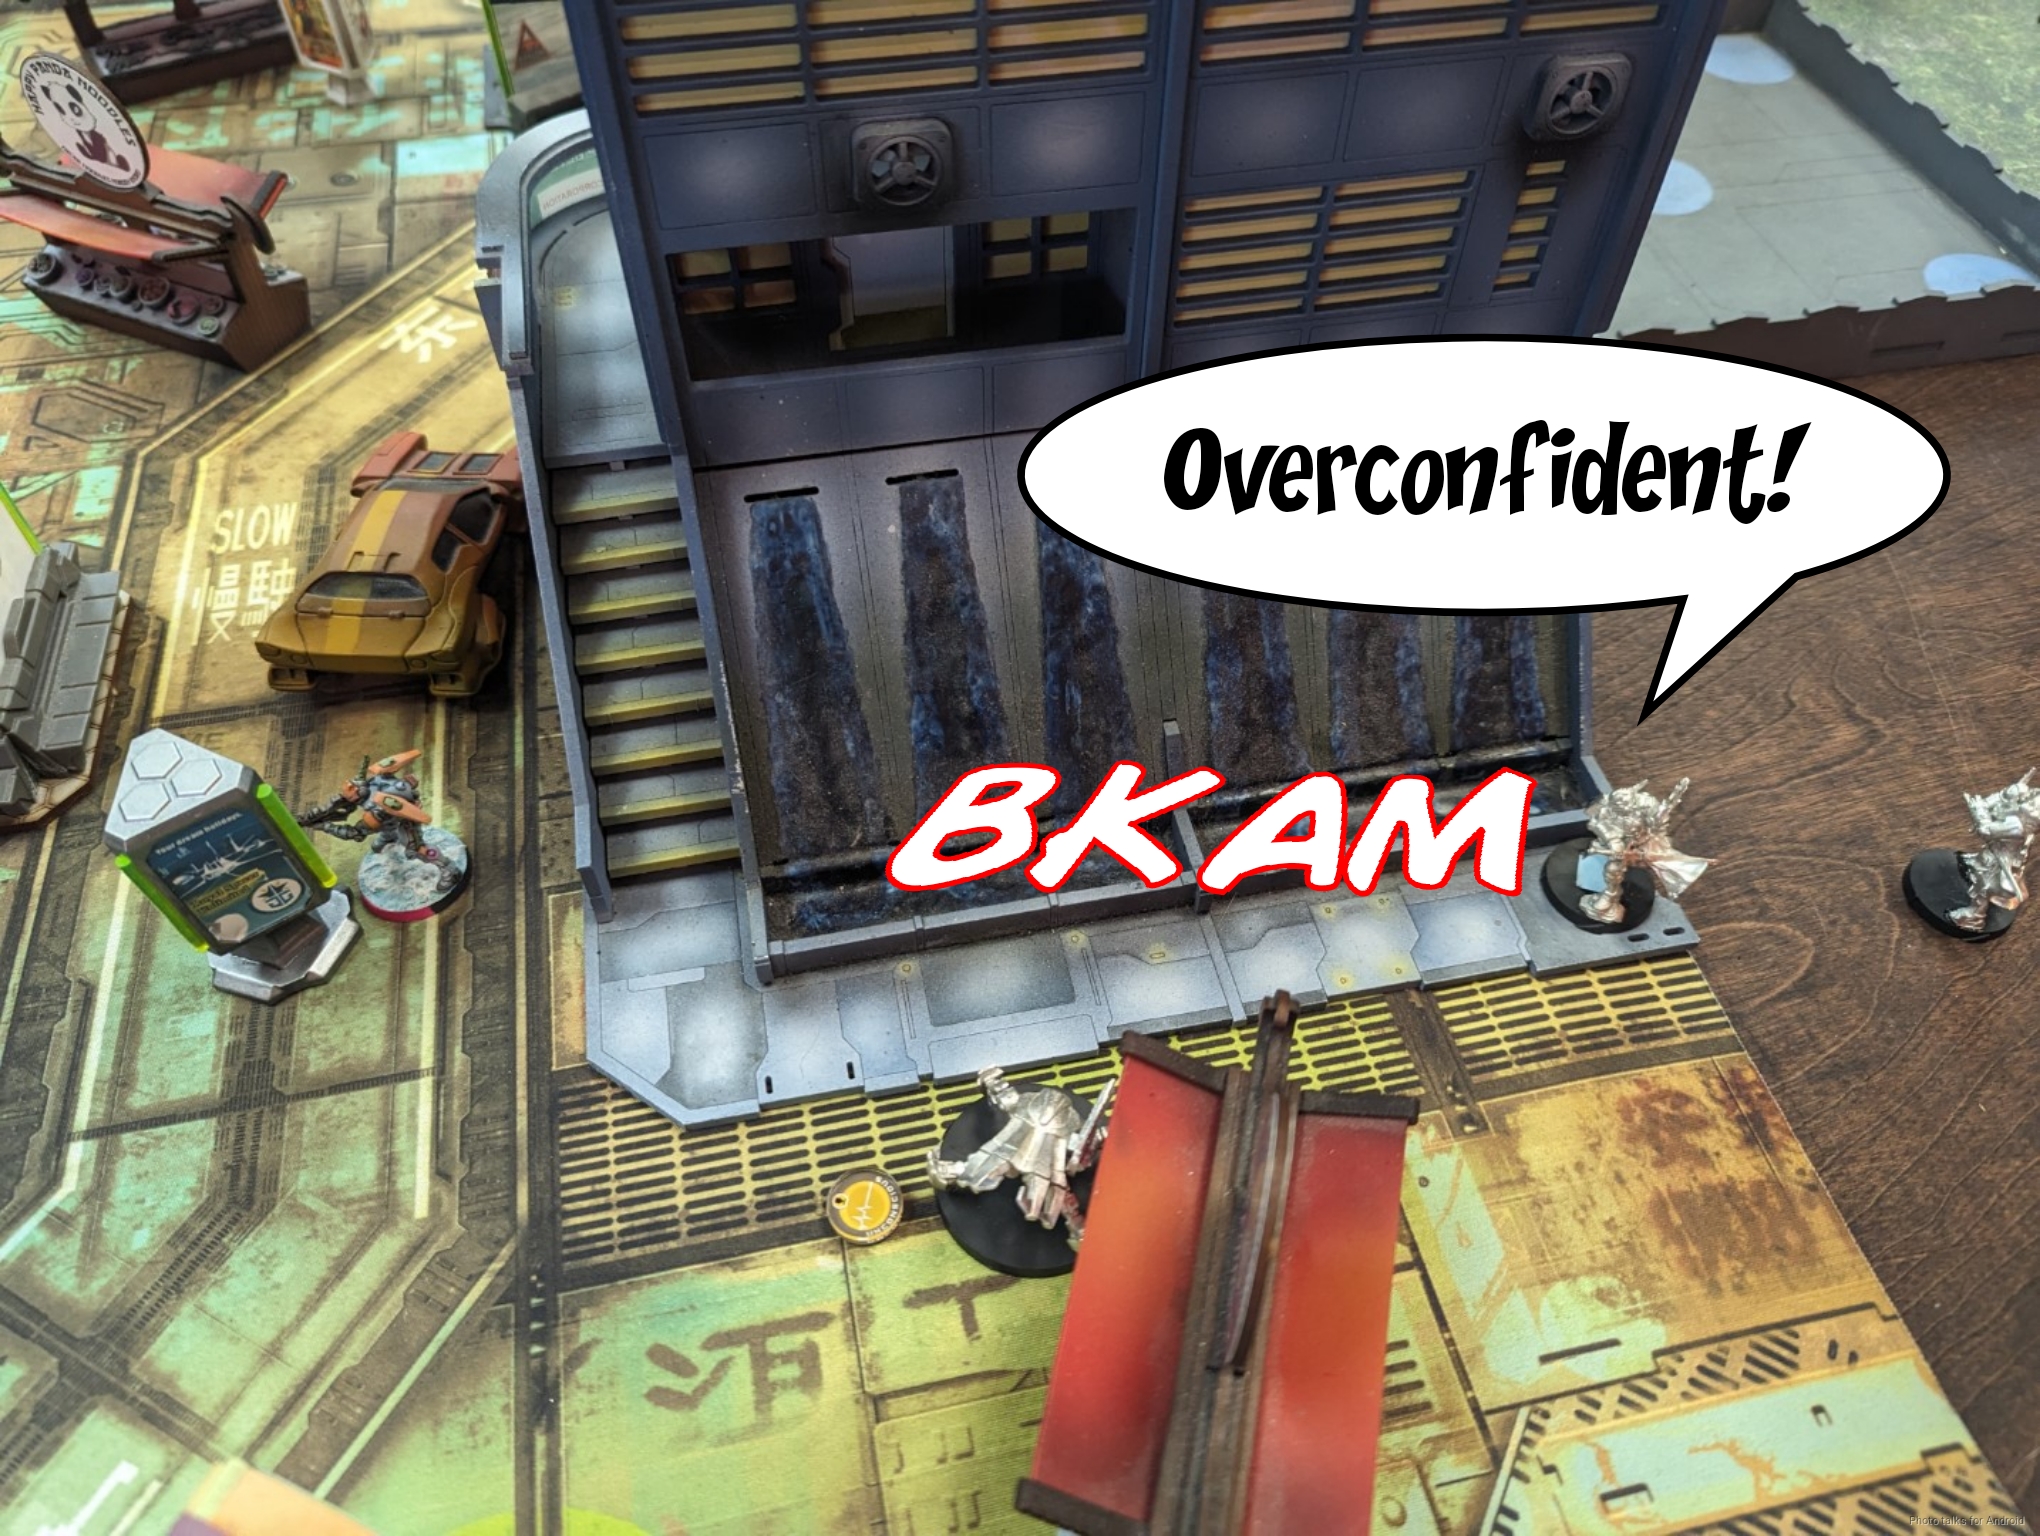
Adam then decides to challenge the Securitate Feuerbach with his Knight of Justice. The odds are now in Adam’s favor at 55%.

However, my dice are hot and Adam’s are not, and he loses the KoJ to a single explosive round that gets through.
He does manage to flip one more console with the Teuton Specialist Operative, so he’s up to two now.
Bottom of 2 – ForCo
My turn comes back around, and flip one…
and then the other console on my side with my Zeros.
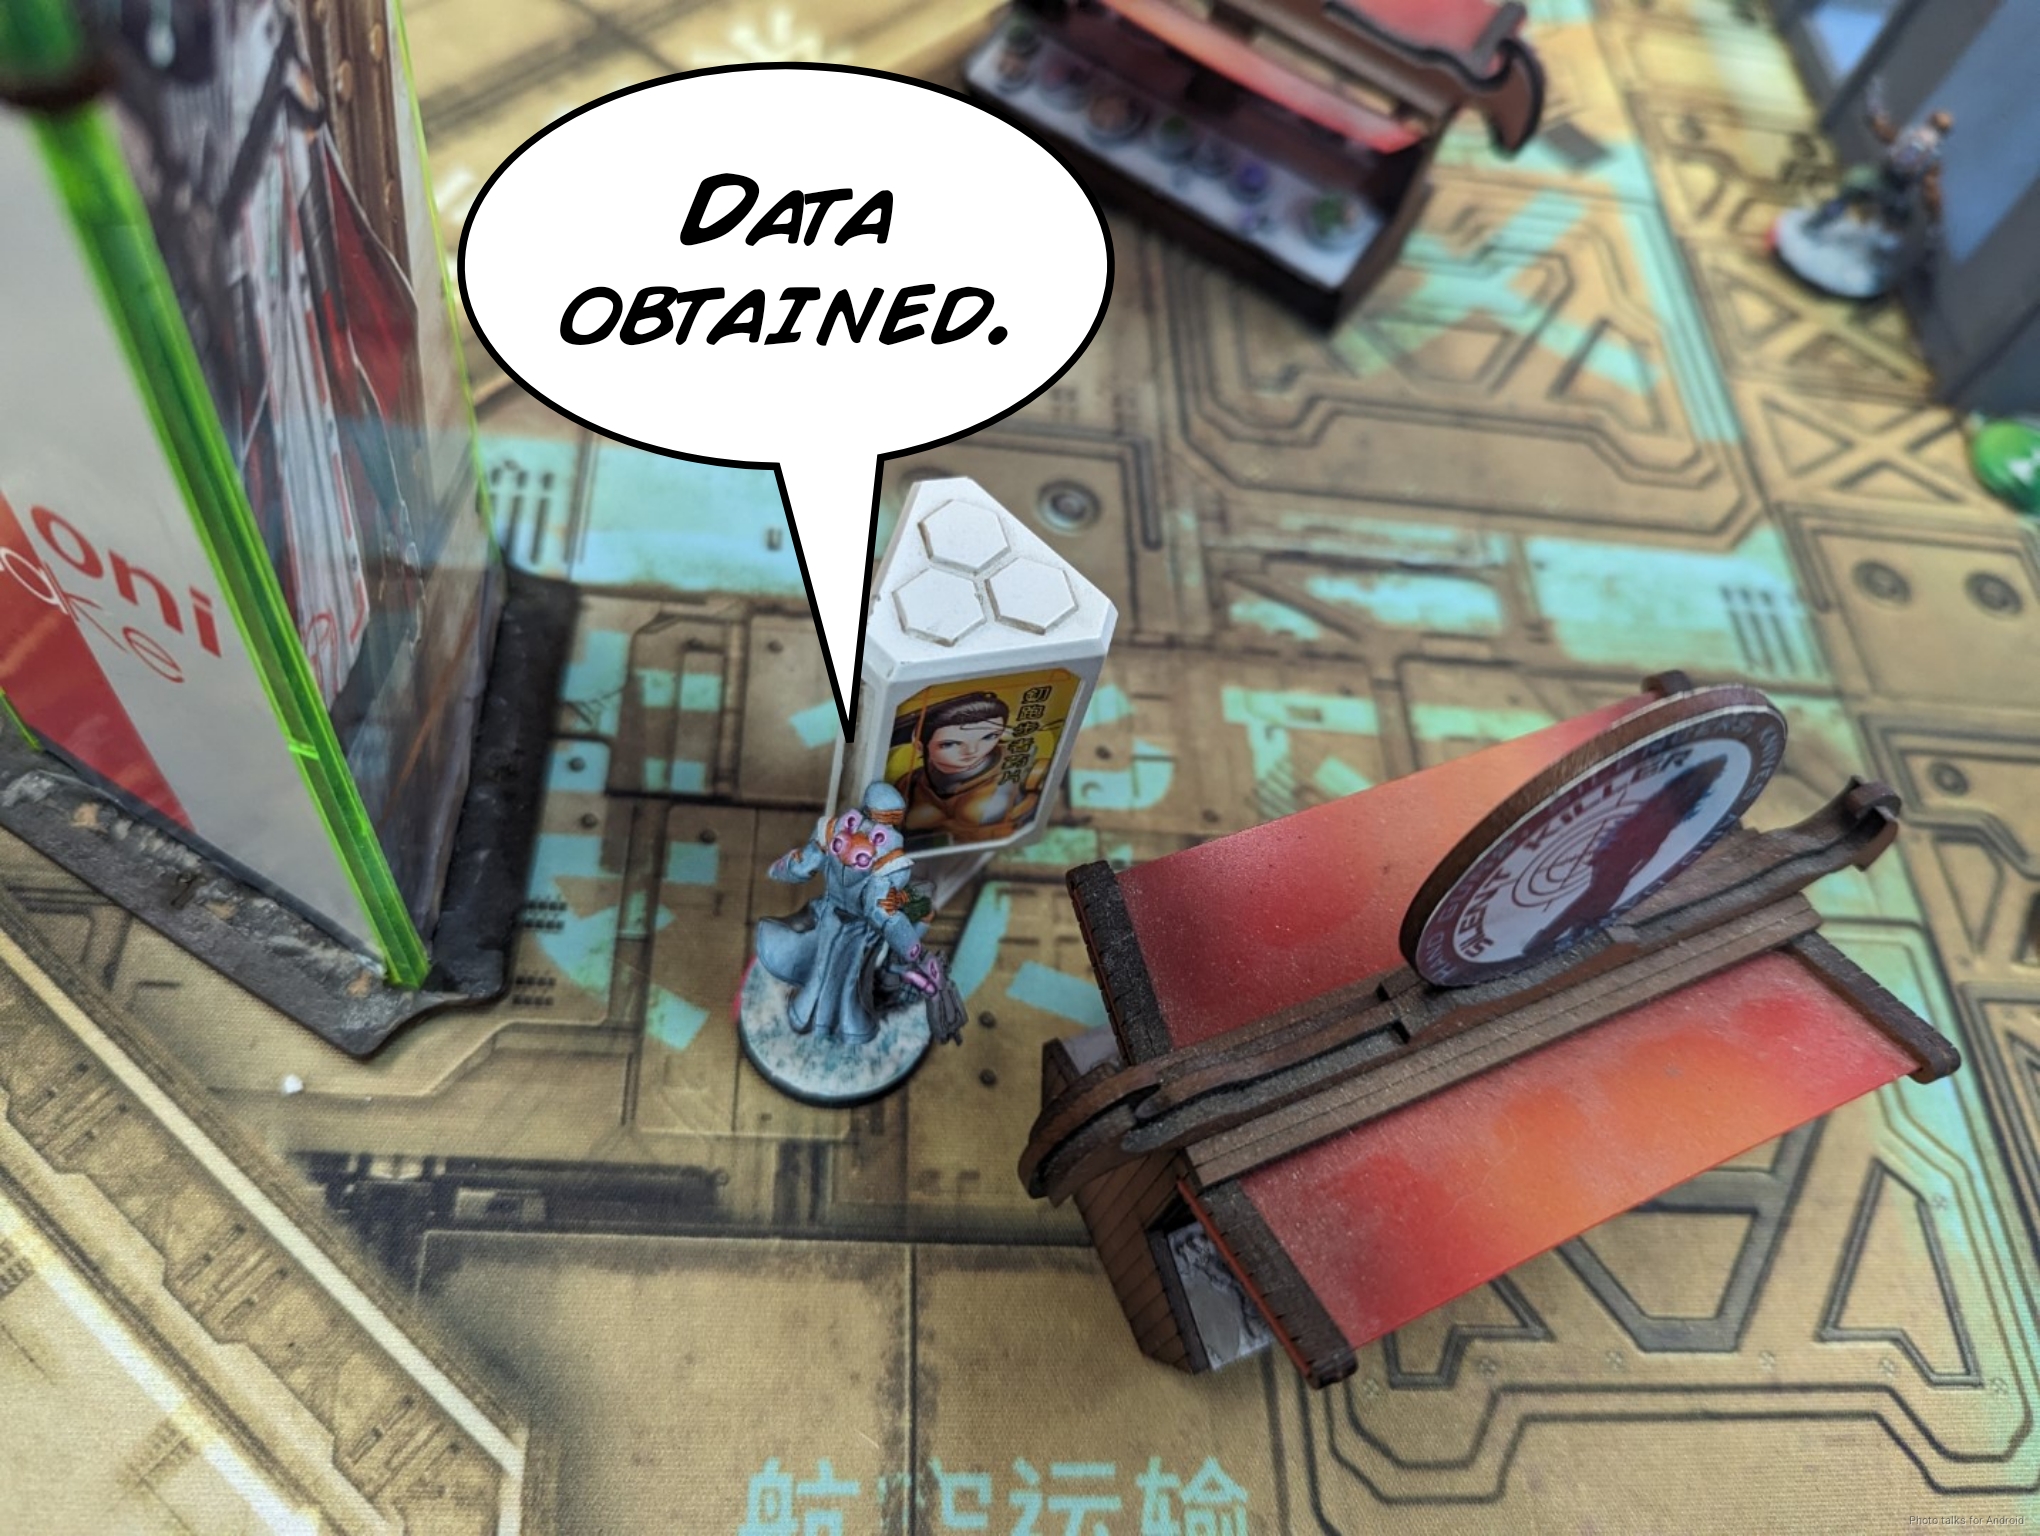
I then hop the Securitate/CSU link off its building, and under cover of smoke from the Chimera, I get them into the building safely to flip the central console.
We do some math and decide that I need to either kill the Knight of Santiago to put Adam in retreat, or kill two Teutons. I need to get rid of the ML Teuton to have freedom of movement, so I start with that. We miss a panzerfaust ARO from the other Teuton, but I give a free normal roll on the Panzerfaust to Adam later. I take out the Teuton ML and lose the Securitate Feuerbach (the right thing to do would have been to pie slice or split burst, but hey, it’s a casual game).
I’ve got one more order and a Lieutenant order, so I try to take out the remaining Teuton with my Lieutenant. For some reason we’re under the impression that the game will end at the end of Adam’s turn–this is not true, but we’re both pretty convinced, so I’m taking some big risks here. I do a wound and am forced to pass turn.
Turn 3
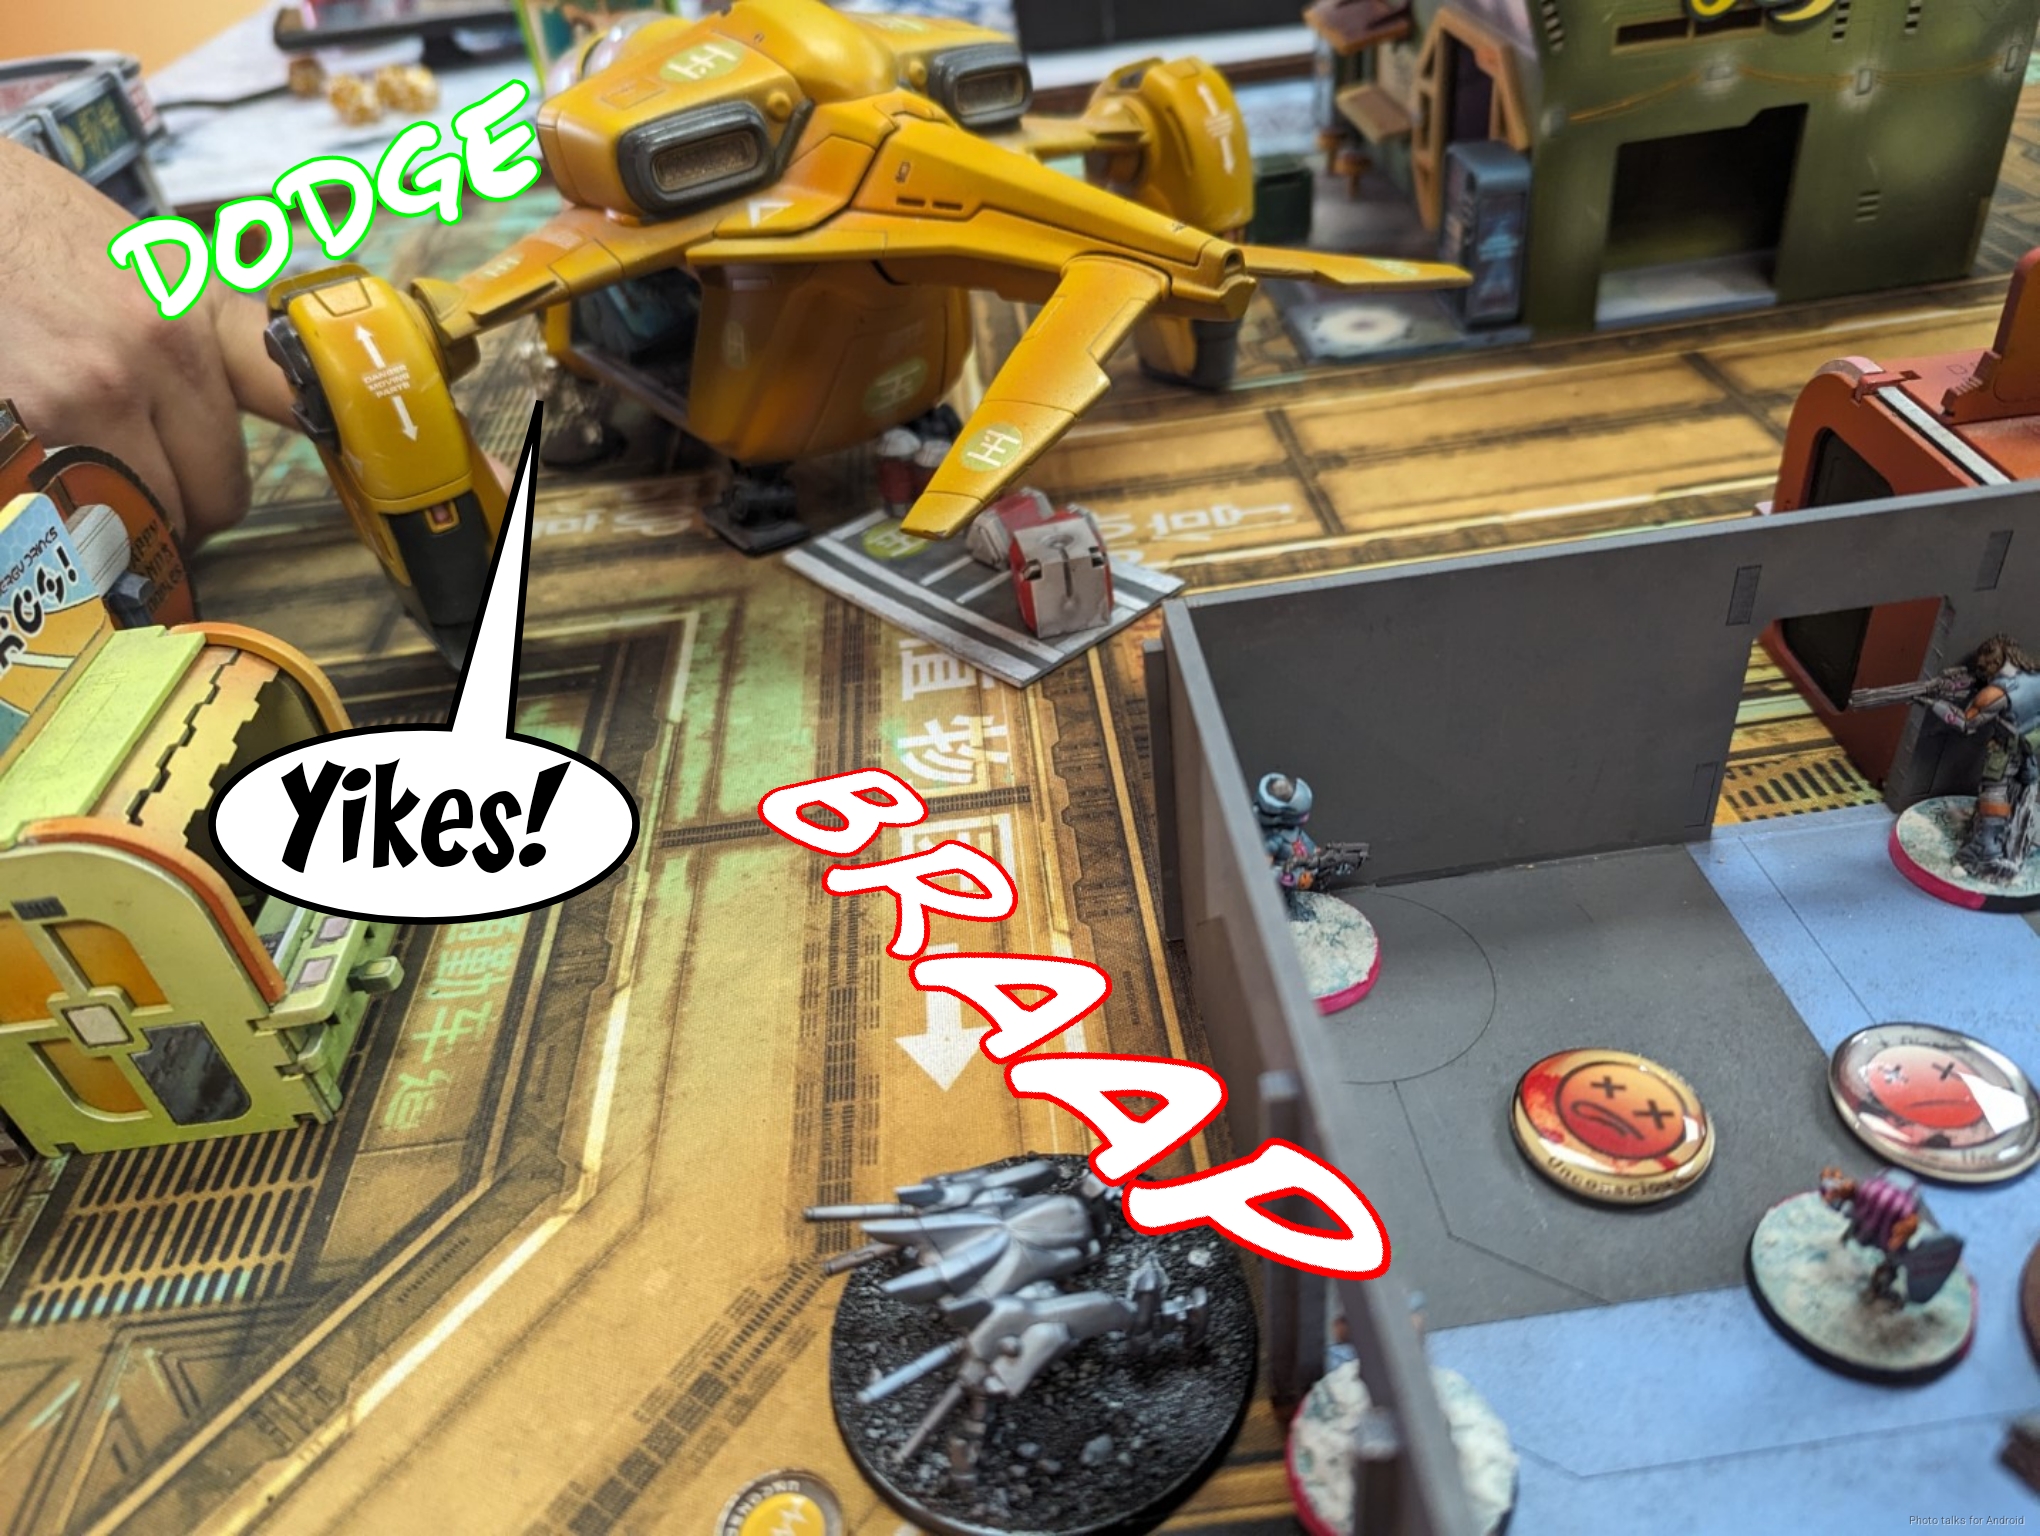
Top of 3 – Military Orders
As advertised, Adam is just outside of retreat, so he’s got a few orders. He is in Loss of Lieutenant though. He starts by trying to take out the Securitate Lt with Tinbot Teuton and fails…
Then tries with the SMG Teuton and also fails.
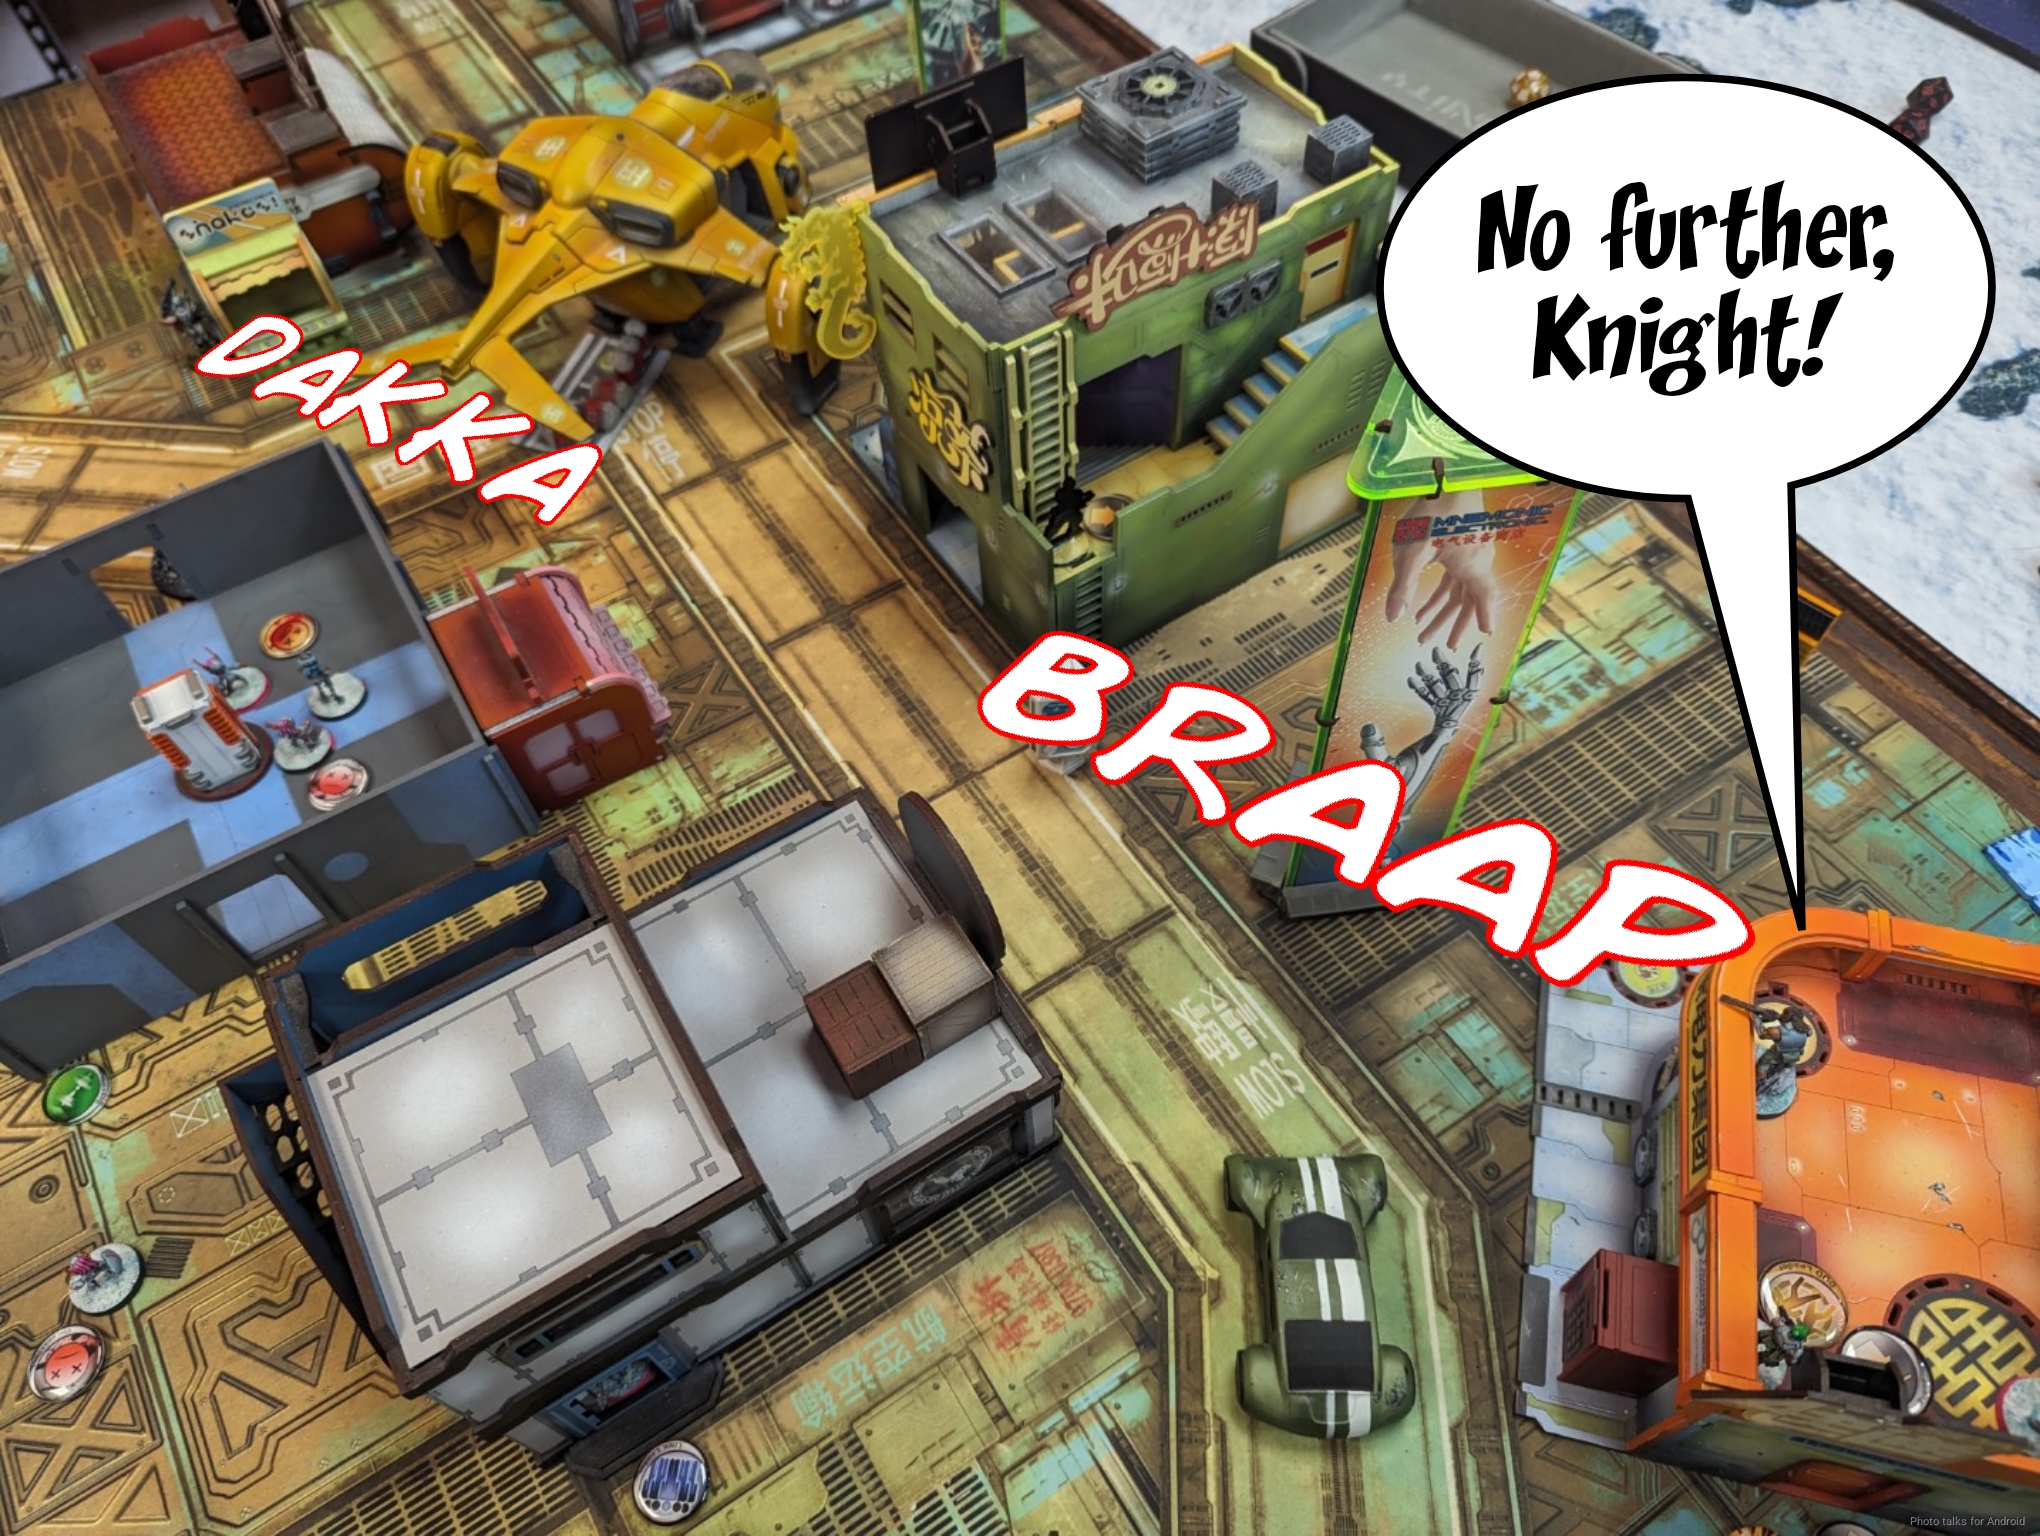
I’ve got one shot on the Santiago as it comes in with the Securitate Lt and while I hit, Adam passes ARM.
Here’s the big moment–Adam moves into base with the 3rd console he needs and asks for AROs. The Securitate can’t see this, so it’s down to the Zero, the Croc Man, and the Bolt Sniper. Adam dodges and rolls a very respectable 9, beating the combi shots from my infiltrators. My Bolt MSR hasn’t taken a shot all game and is just waiting to show off though, and drops the Santiago to unconscious in one DA hit.
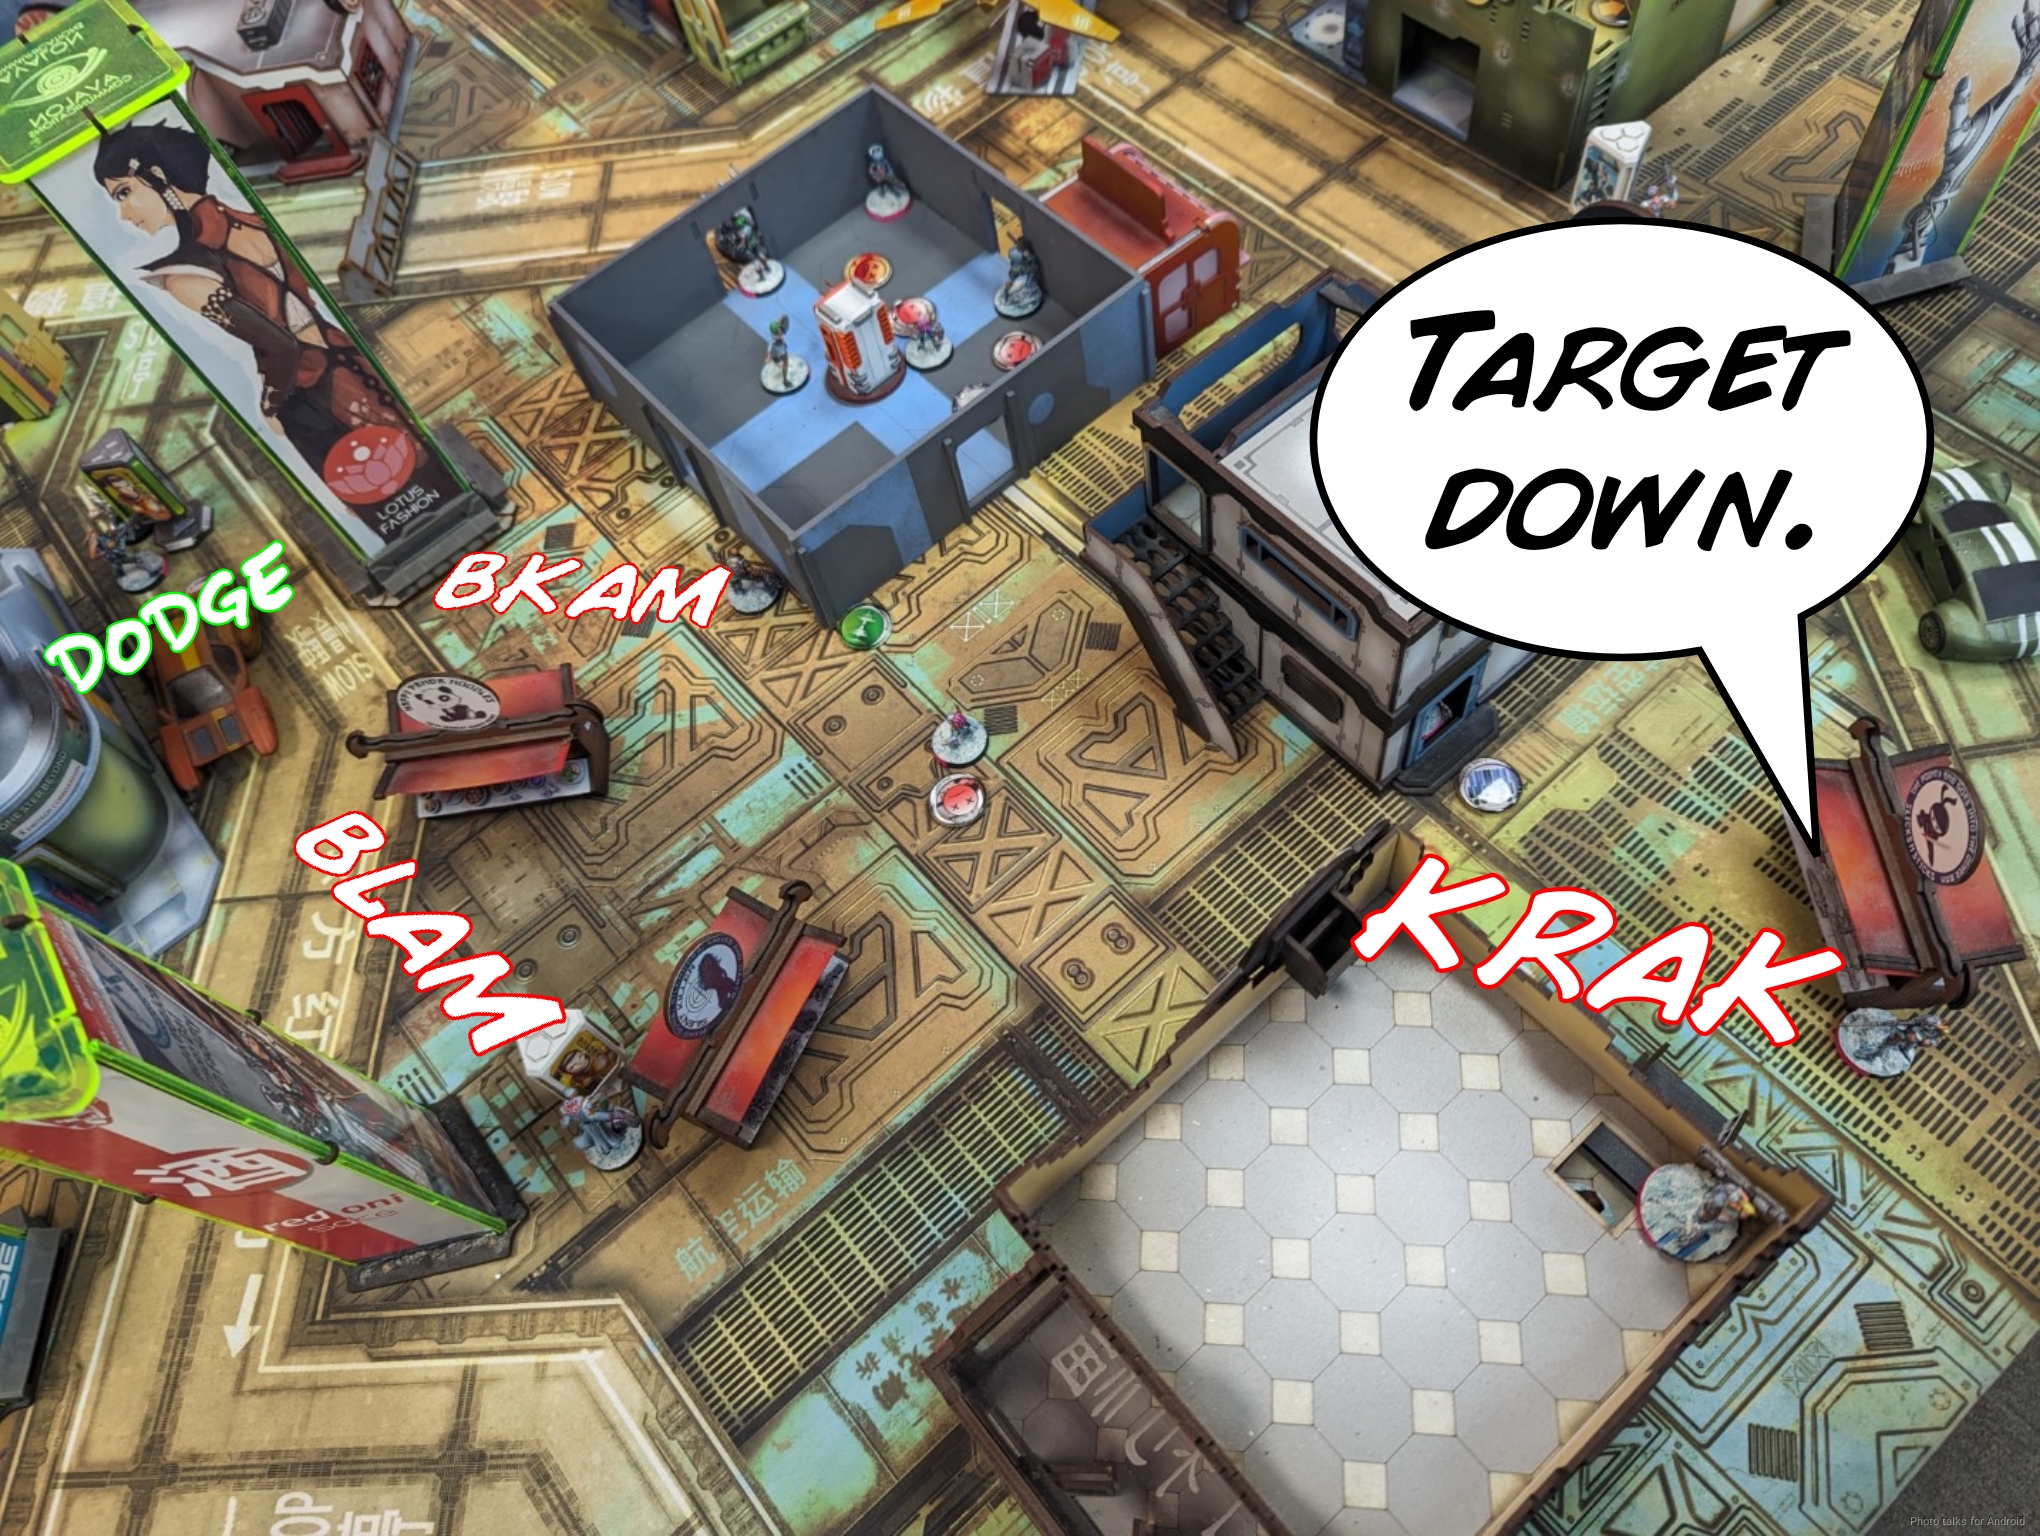
That’s game then! We could have had a bottom of three where I would’ve swept the rest of the objective points. As it stands, Adam flipped the central console turn 1 for 2 points and has 2 consoles for no points. I’ve got three consoles and have 3 points for all the control the objective room stuff, giving me a
4-2, 238-41 Foreign Company Victory!
Post Game Analysis
First off, I think the mission is great. The Long Skill is very weird and causes you to rethink all your order expenditure math. Adam was also concerned that it puts a lot unfair pressure on limited insertion lists like he was piloting, but we talked about it at length and I think we think it’s fine. In short, yes, it’s an additional order to flip any console, which definitely hurts a limited insertion list. However, I think you just need to plan for that with efficient specialists. In fact, Adam did exactly that! He’s got two Pathfinders, which are 6-4 specialists, and PanO WIP doesn’t matter here (even though Pathfinders are WIP13 anyway).
I think what really skewed his initial knee-jerk reaction was the fact that he started with 7 orders thanks to the Santiago starting off board and then I deleted four models at the bottom of 1, one of whom was his heavy hitter, Mendoza. Gosh I hope he wasn’t about to retire! So there was a lot of additional pressure on Adam’s order pool thanks to that. At the time of playing, we were under the impression that if the Knight of Santiago got the last console it would have been a tie, but it would have been a 4-3 win for me instead. Adam’s last turn strat was absolutely right for tournament play though, so I don’t think it skewed anything.
In summary, Headchime has really hit upon something here. The Long Skill to do button presses just feels weird to a veteran because it’s different enough to throw our normal play patterns off. I do think that it’s an overall improvement though, and it does change some of the valuation on AROs and such because now they get to contest dodges instead of ineffectually not doing anything on a hail mary button push. Headchime’s also done a great job of carefully pointing out objective points so that it’s reasonably balanced between first and second player, which has traditionally been a big issue with the Infinity Tournament System specifically.
I look forward to my second game of Engineering Deck, this feels quite good. Adam had a shower thought a few days later to change the specific specialist bonus from +3 WIP and burst 2 into just the ability to do a short skill WIP roll to button push. In other words, any specialist that wants to button push has to Long Skill it, but if, say, Hackers have a bonus in a particular mission, they also can revert to the standard Short Skill WIP roll. His justification is that a Paramedic is going to need to follow a complicated procedure to hack into a computer, but will do so reliably (guided by some AR prompts from their geist or something). The Hacker (in this example) would be able to cut corners because this is their specialty, but going fast and doing it under combat pressure might result in a failed WIP roll.
The really nice thing about Adam’s thought is that it can be applied on a mission-by-mission basis, which allows designers to opt-in or opt-out of the paradigm or control mission balance. It’s just another tool. I intend to work it into some more of the BAMS v0.2 missions when that comes around, but for now we’re going to leave Engineering Deck as Headchime intended.
As far as the game itself was concerned, it really boils down to two things: Mendoza’s awkward alpha strike and the Akali really doing a number on Adam’s backline. It only took out two troopers but it opened the way for the Croc Man, Laxmee, and the Uberfall to finish Mendoza off. I think Adam just wasn’t expecting the AD trooper (and in his defense, I wasn’t either, at least on that table edge), so that’s understandable. The difficult sell to me, at least, is the push with Mendoza.
Taking out the Fugazi is fine–seems very reasonable to make that attempt. I probably would have pushed the center button first just in case I get lucky on the flash pulse and crit or something, but challenging the Fugazi is fine. I’m really uncertain as to what Adam was intending to do with Mendoza otherwise though. The Pupniks are there to soak up orders, which is exactly what they did. Probably the more productive thing to do would have been to start with Mendoza to get the central console and then pushing with Konstantinos or something. Obviously that would have failed assuming the same dice outcome with the Securitate Feuerbach, but I think that’s a stronger push. You weaken that flank dramatically, open up the approach for the KoJ and the Teutons later, etc.
I definitely made a mistake in my deployment of the Bolt ML. In retrospect, I have no idea why I covered the Teuton ML. I just wanted to pin the link there, but I could barely see anything where the Teuton was. Much better to put the Bolt ML in a spot to challenge more of the table and just break LoF to the Teuton ML. If Adam wants to push it into the midfield with the rest of the otherwise under-gunned Teutons, that’s fine. I also don’t really like the list–as Tim (Chainsaw) would say, not enough guns! PanO’s strength is shooting, and you’re giving up on it by not taking full (or 5.5 SWC). Anyway. Thanks to Headchime for sharing his mission with BAMS, to Adam for playtesting it with me, and to you for reading!