
Wide Load
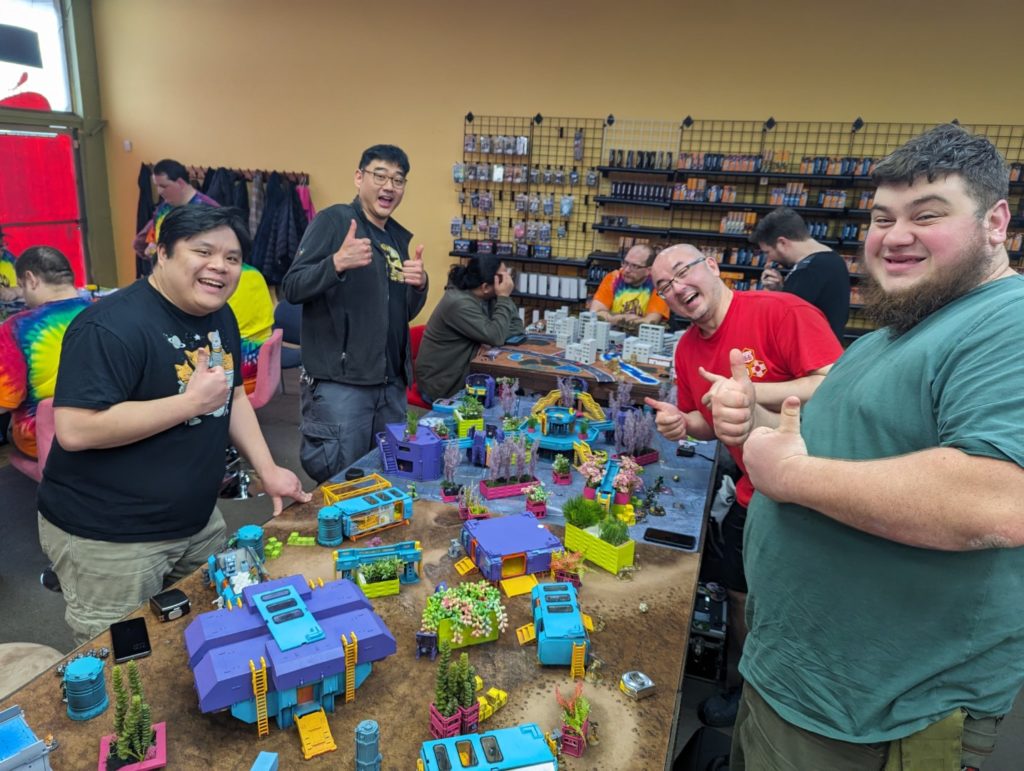
For the last round of Salem Shitshow 2, Birman (DataEntity), Cole (Mooseman), Tony (zhukov2), and I did the stupidest thing and decided to play a 600 point game across two tables.
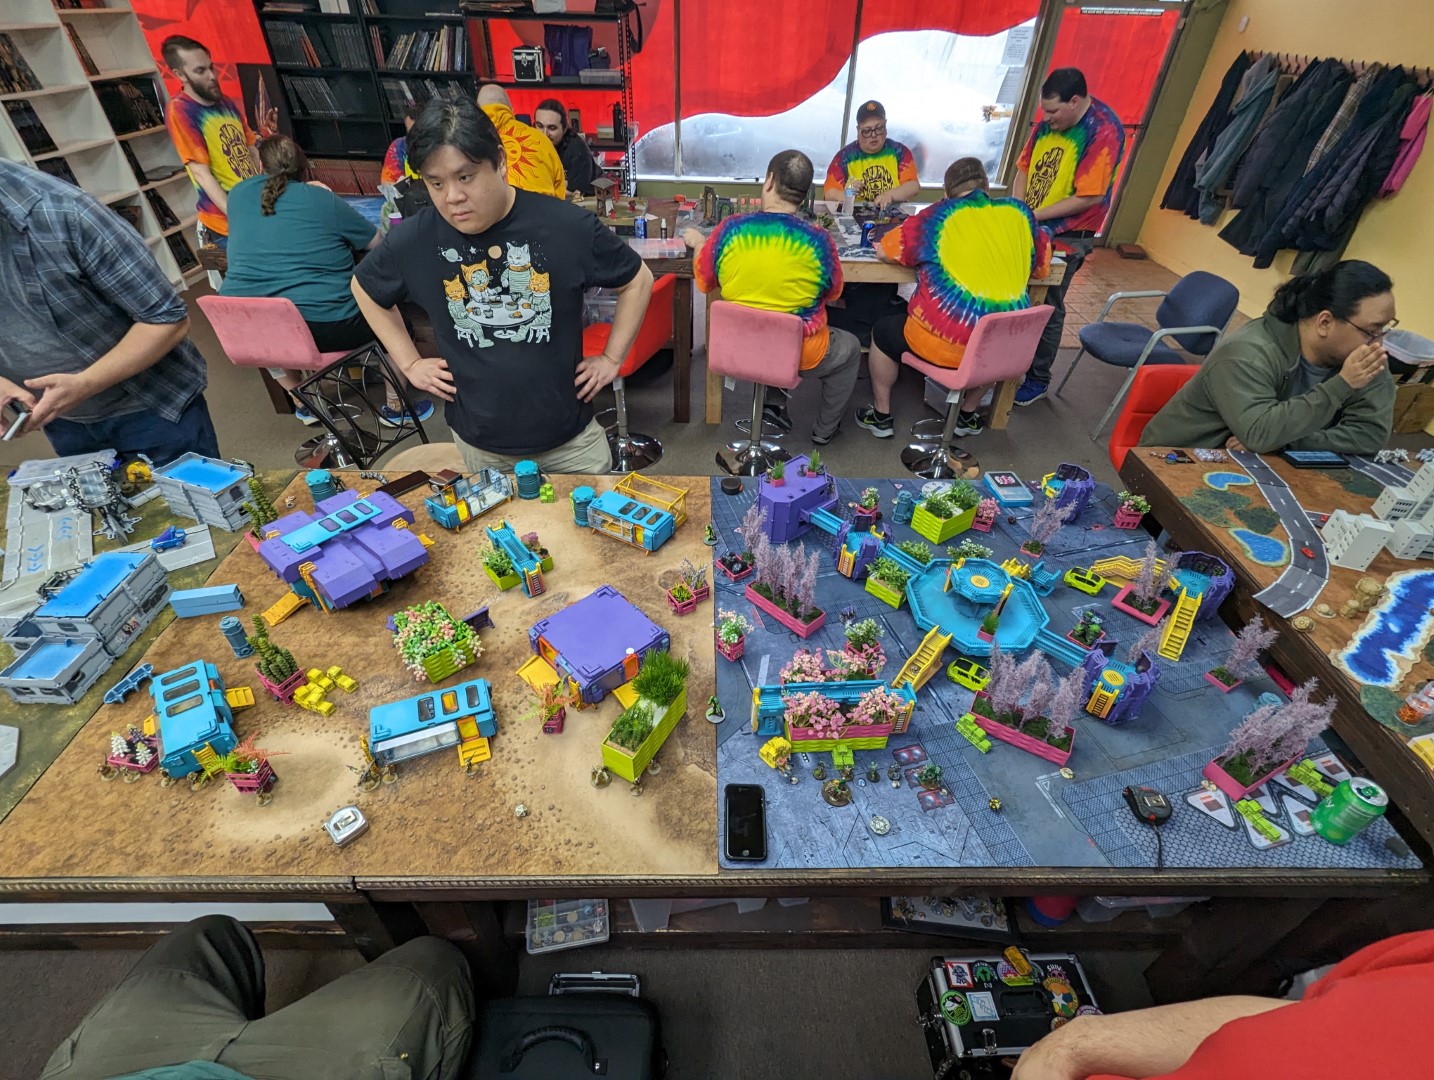
We’re playing on Nik (Knyx)’s pair of tables that he sent up with Obadiah, which he told me later didn’t have all the intended scatter on the desert mat one, which probably affected our game a little.
Overview
In any case, to make the game even more ridiculous, we’re playing a mix of Biotechvore and Capture and Protect. All the Biotechvore deployment stuff and zone stuff is in play, and the scoring as follows:
- Mission: Biotechvore/Capture and Protect
- 2 points – Kill more army points
- Up to 3 points – Surviving army points (scaling just as in Biotechvore)
- 1 point – End of round, have the beacon (max 3)
- 1 point – End of game, enemy doesn’t have beacon
- 1 point – End of game, beacon in your DZ (we didn’t think this through and it’s impossible anyway, lol)
- Forces: JSA & Combined Army versus TAK & Ramah (600)
- Deploy First: TAK & Ramah
- First Turn: TAK & Ramah
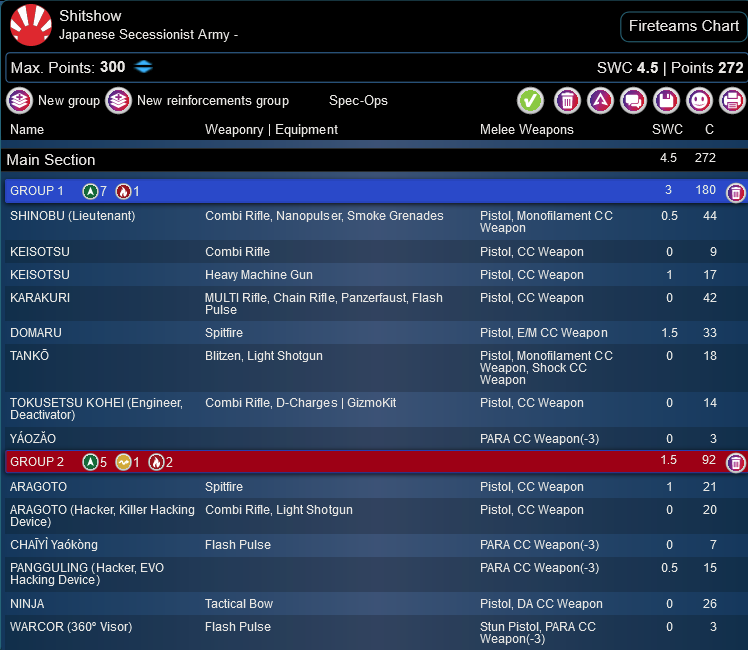
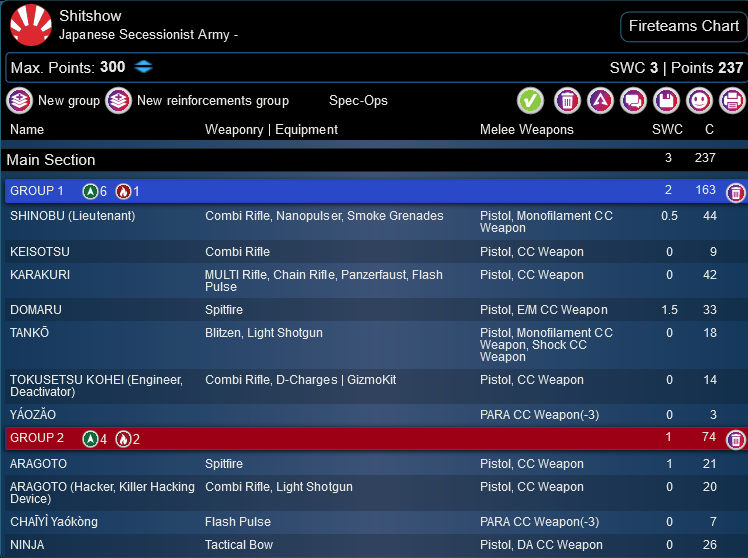
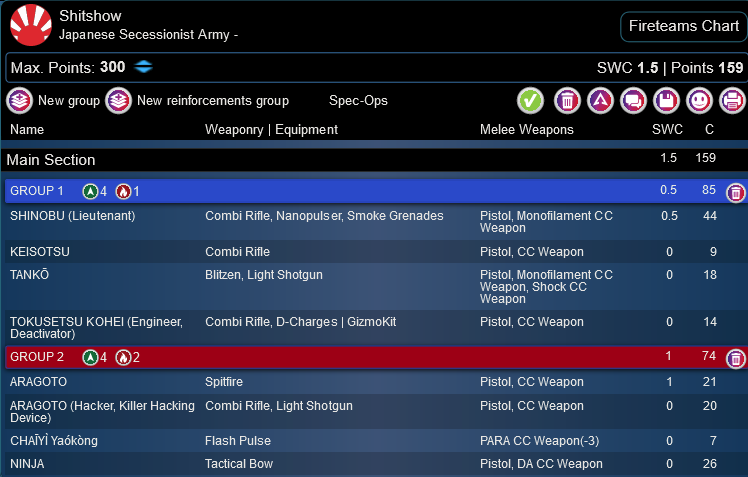
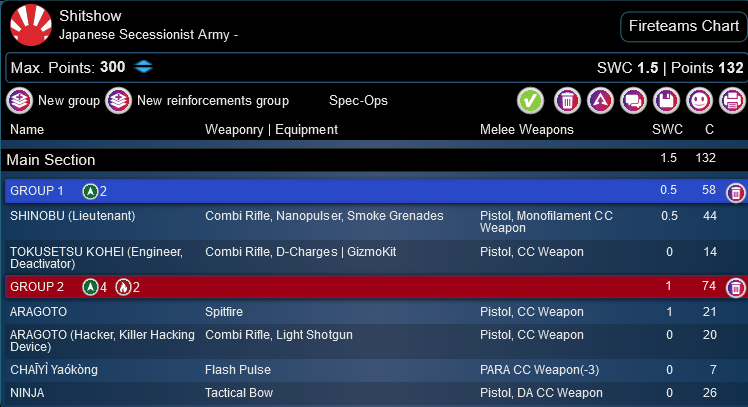
I’m playing my JSA list…
Shitshow
GROUP 1
8
2
SHINOBU (Lieutenant) Combi Rifle, Nanopulser, Smoke Grenades / Pistol, Monofilament CC Weapon. (0.5 | 44)
KEISOTSU Combi Rifle / Pistol, CC Weapon. (0 | 9)
KARAKURI MULTI Rifle, Chain Rifle, Panzerfaust, Flash Pulse / Pistol, CC Weapon. (0 | 42)
DOMARU Spitfire / Pistol, E/M CC Weapon. (1.5 | 33)
TANKŌ Missile Launcher / Pistol, Monofilament CC Weapon, Shock CC Weapon. (1.5 | 27)
GROUP 2
TOKUSETSU KOHEI (Engineer, Deactivator) Combi Rifle, D-Charges ( | GizmoKit) / Pistol, CC Weapon. (0 | 14)
YÁOZĂO PARA CC Weapon(-3). (0 | 3)
1
ARAGOTO Spitfire / Pistol, CC Weapon. (1 | 21)
CHAĪYÌ Yaókòng Flash Pulse / PARA CC Weapon(-3). (0 | 7)
PANGGULING (Hacker, EVO Hacking Device) ( ) / PARA CC Weapon(-3). (0.5 | 15)
NINJA Tactical Bow / Pistol, DA CC Weapon. (0 | 26)
WARCOR (360º Visor) Flash Pulse ( ) / Stun Pistol, PARA CC Weapon(-3). (0 | 3)
6 SWC | 299 Points | Open in Army | Copy Code
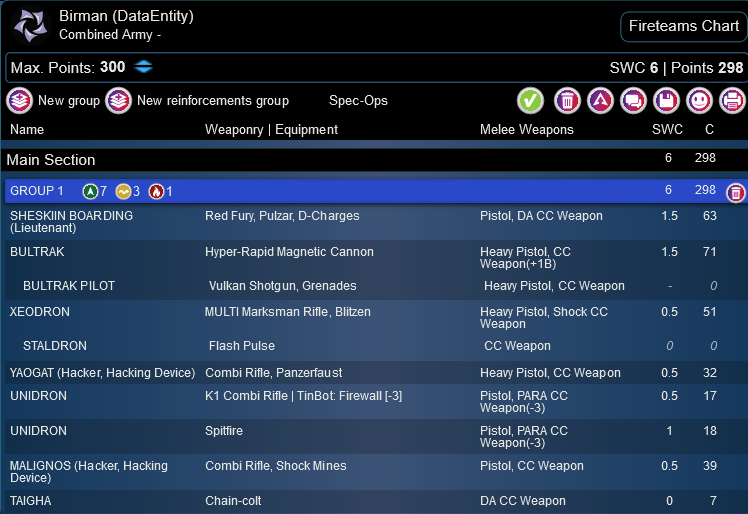
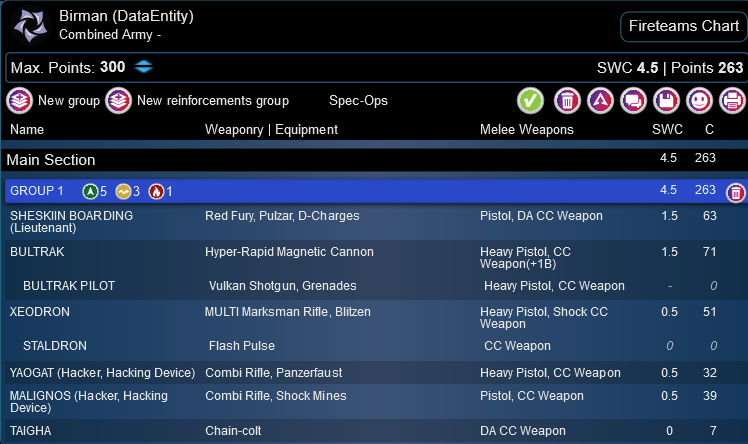
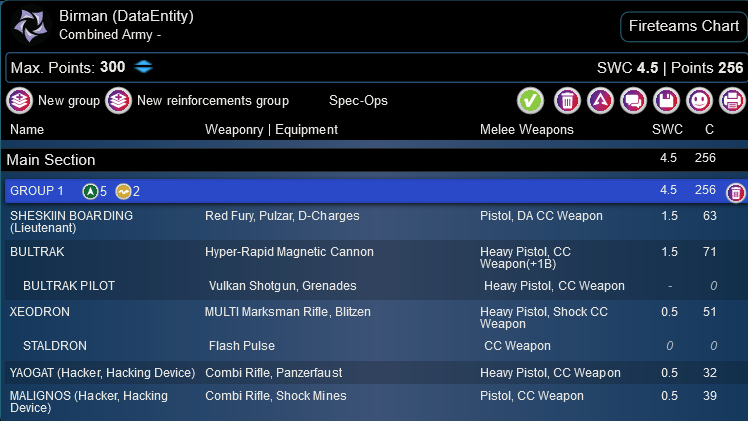
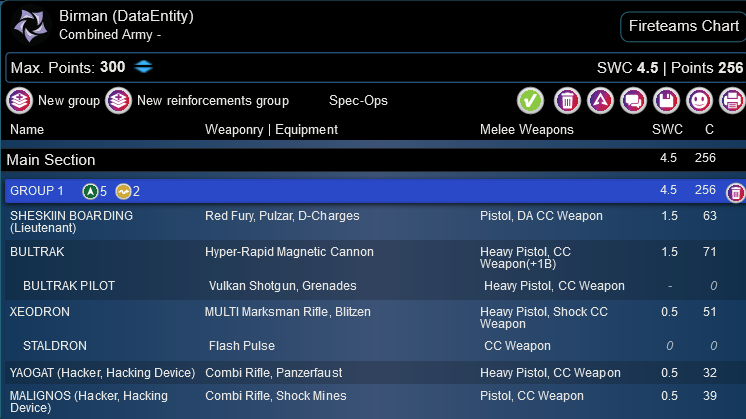
Birman’s playing his Combined list from this game:
Birman (DataEntity)
SHESKIIN BOARDING (Lieutenant) Red Fury, Pulzar, D-Charges / Pistol, DA CC Weapon. (1.5 | 63)
BULTRAK Hyper-Rapid Magnetic Cannon / Heavy Pistol, CC Weapon(+1B). (1.5 | 71)
BULTRAK PILOT Vulkan Shotgun, Grenades / Heavy Pistol, CC Weapon. (- | 0)
XEODRON MULTI Marksman Rifle, Blitzen / Heavy Pistol, Shock CC Weapon. (0.5 | 51)
STALDRON Flash Pulse / CC Weapon. (0 | 0)
YAOGAT (Hacker, Hacking Device) Combi Rifle, Panzerfaust ( ) / Heavy Pistol, CC Weapon. (0.5 | 32)
UNIDRON K1 Combi Rifle ( | TinBot: Firewall [-3]) / Pistol, PARA CC Weapon(-3). (0.5 | 17)
MALIGNOS (Hacker, Hacking Device) Combi Rifle, Shock Mines ( ) / Pistol, CC Weapon. (0.5 | 39)
TAIGHA Chain-colt / DA CC Weapon. (0 | 7)
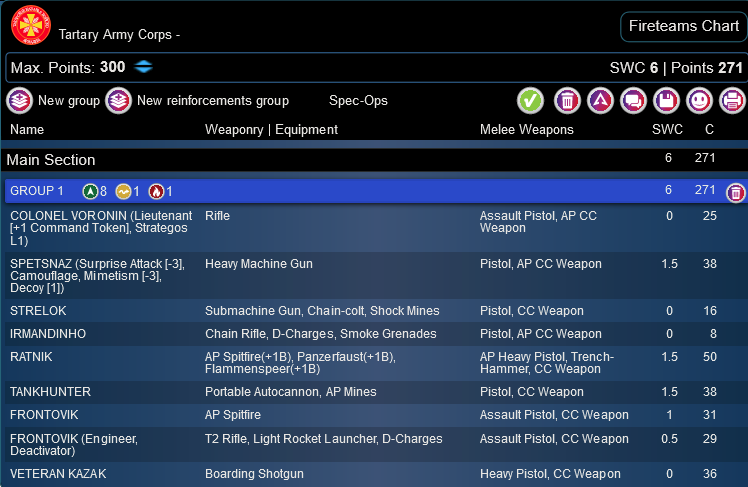
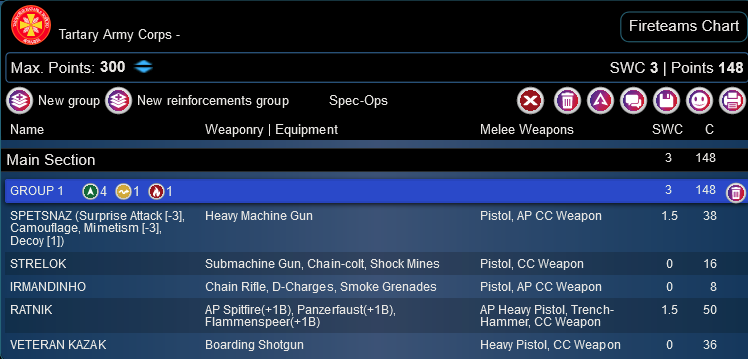
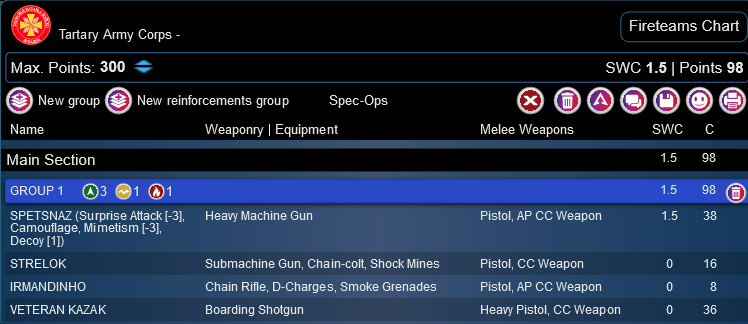
Tony’s got this monster of a TAK list. It’s very different than Tim’s TAK list, but still very good. And it’s a reasonable match for the mission given the link.
Shitshow
COLONEL VORONIN (Lieutenant [+1 Command Token], Strategos L1) Rifle / Assault Pistol, AP CC Weapon. (0 | 25)
FRONTOVIK AP Spitfire / Assault Pistol, CC Weapon. (1 | 31)
VETERAN KAZAK Boarding Shotgun / Heavy Pistol, CC Weapon. (0 | 36)
SPETSNAZ (Surprise Attack [-3], Camouflage, Mimetism [-3], Decoy [1]) Heavy Machine Gun / Pistol, AP CC Weapon. (1.5 | 38)
STRELOK Submachine Gun, Chain-colt, Shock Mines / Pistol, CC Weapon. (0 | 16)
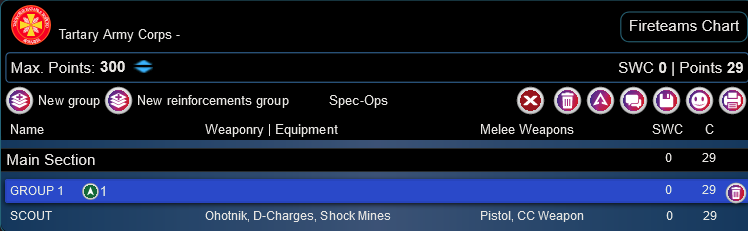
SCOUT Ohotnik, D-Charges, Shock Mines / Pistol, CC Weapon. (0 | 29)
IRMANDINHO Chain Rifle, D-Charges, Smoke Grenades / Pistol, AP CC Weapon. (0 | 8)
RATNIK AP Spitfire(+1B), Panzerfaust(+1B), Flammenspeer(+1B) / AP Heavy Pistol, Trench-Hammer, CC Weapon. (1.5 | 50)
TANKHUNTER Portable Autocannon, AP Mines / Pistol, CC Weapon. (1.5 | 38)
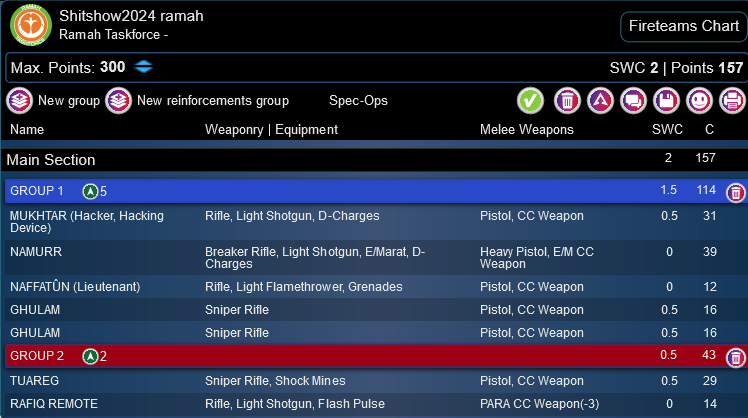
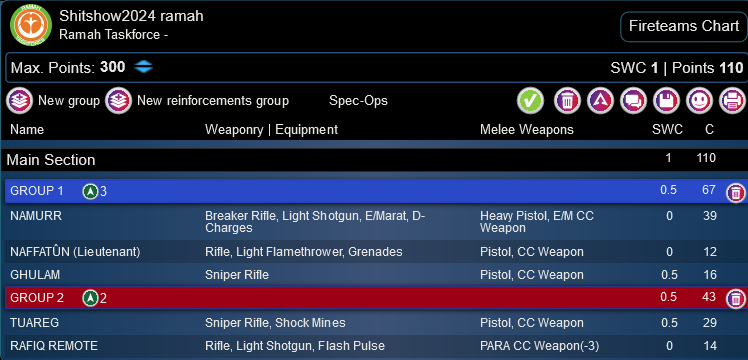
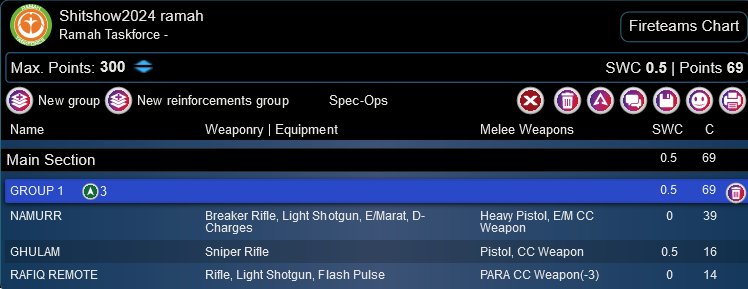
We’ve already seen Cole’s list, but this time it has a Rafiq instead of a Shihab!
Shitshow2024 ramah
GROUP 1
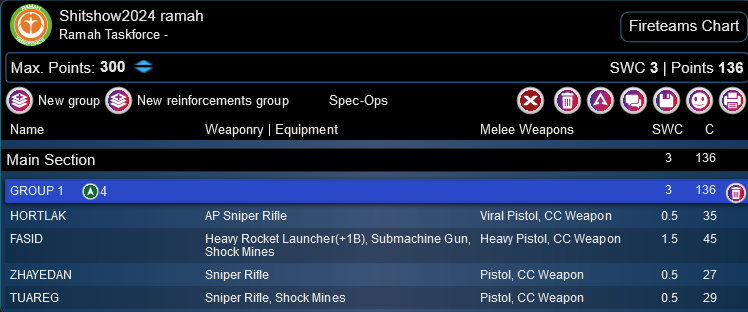
HORTLAK AP Sniper Rifle / Viral Pistol, CC Weapon. (0.5 | 35)
MUKHTAR (Hacker, Hacking Device) Rifle, Light Shotgun, D-Charges ( ) / Pistol, CC Weapon. (0.5 | 31)
NAMURR Breaker Rifle, Light Shotgun, E/Marat, D-Charges / Heavy Pistol, E/M CC Weapon. (0 | 39)
FASID Heavy Rocket Launcher(+1B), Submachine Gun, Shock Mines / Heavy Pistol, CC Weapon. (1.5 | 45)
NAFFATÛN (Lieutenant) Rifle, Light Flamethrower, Grenades / Pistol, CC Weapon. (0 | 12)
GHULAM Sniper Rifle / Pistol, CC Weapon. (0.5 | 16)
ZHAYEDAN Sniper Rifle / Pistol, CC Weapon. (0.5 | 27)
GROUP 2
TUAREG Sniper Rifle, Shock Mines / Pistol, CC Weapon. (0.5 | 29)
RAFIQ REMOTE Rifle, Light Shotgun, Flash Pulse / PARA CC Weapon(-3). (0 | 14)
5 SWC | 296 Points | Open in Army | Copy Code
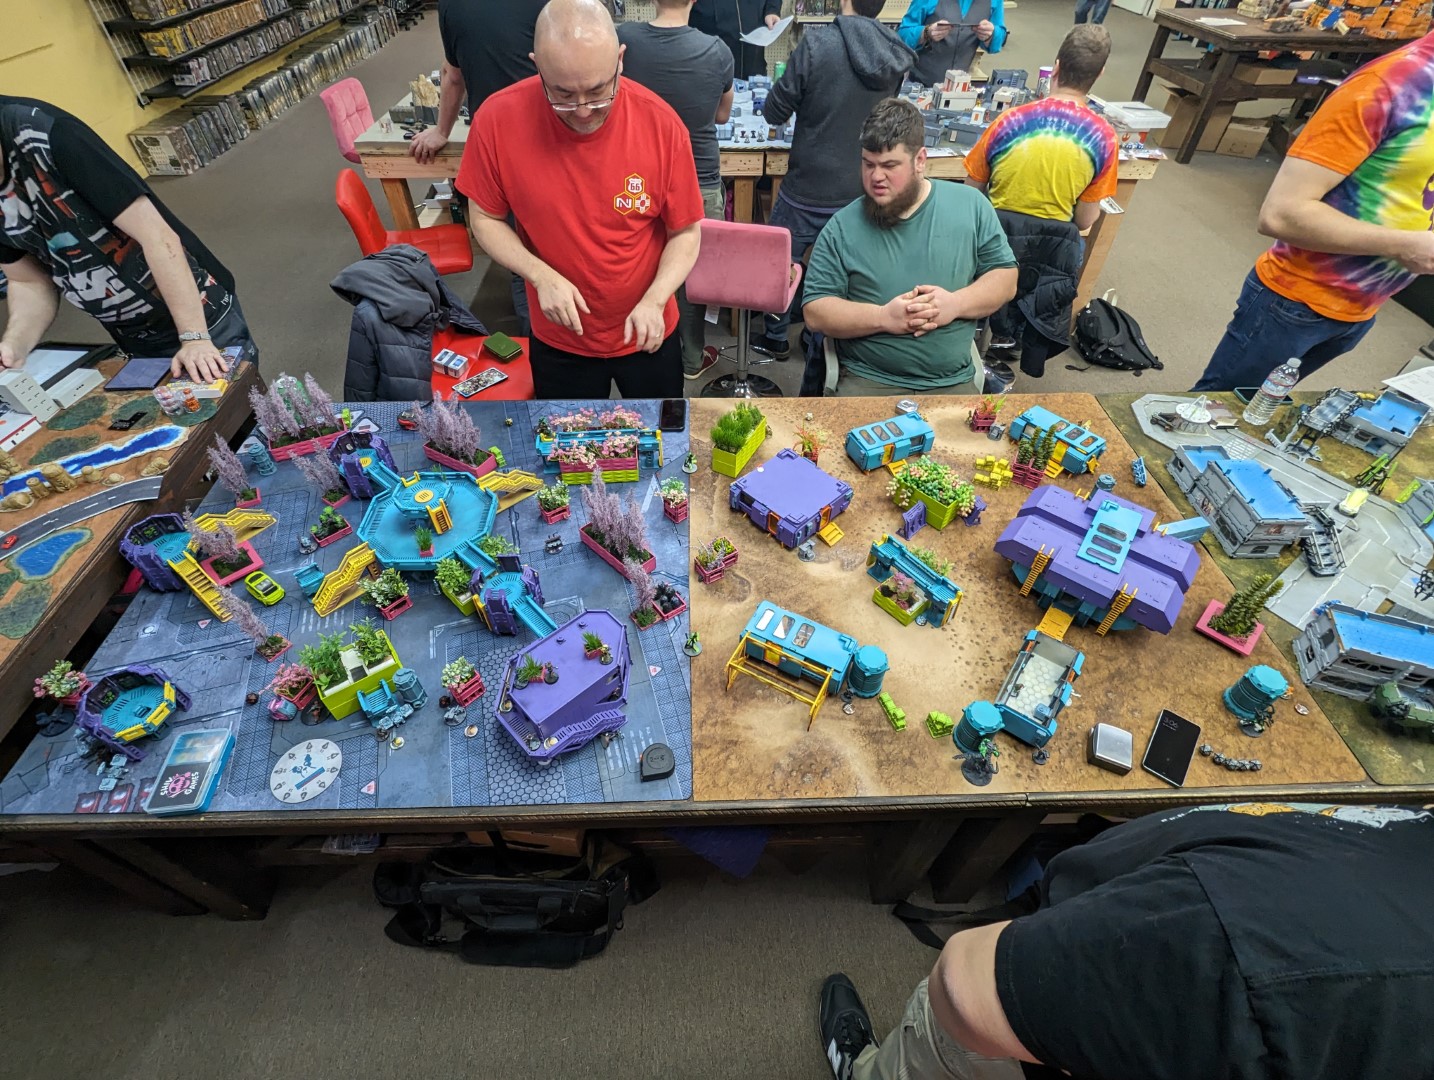
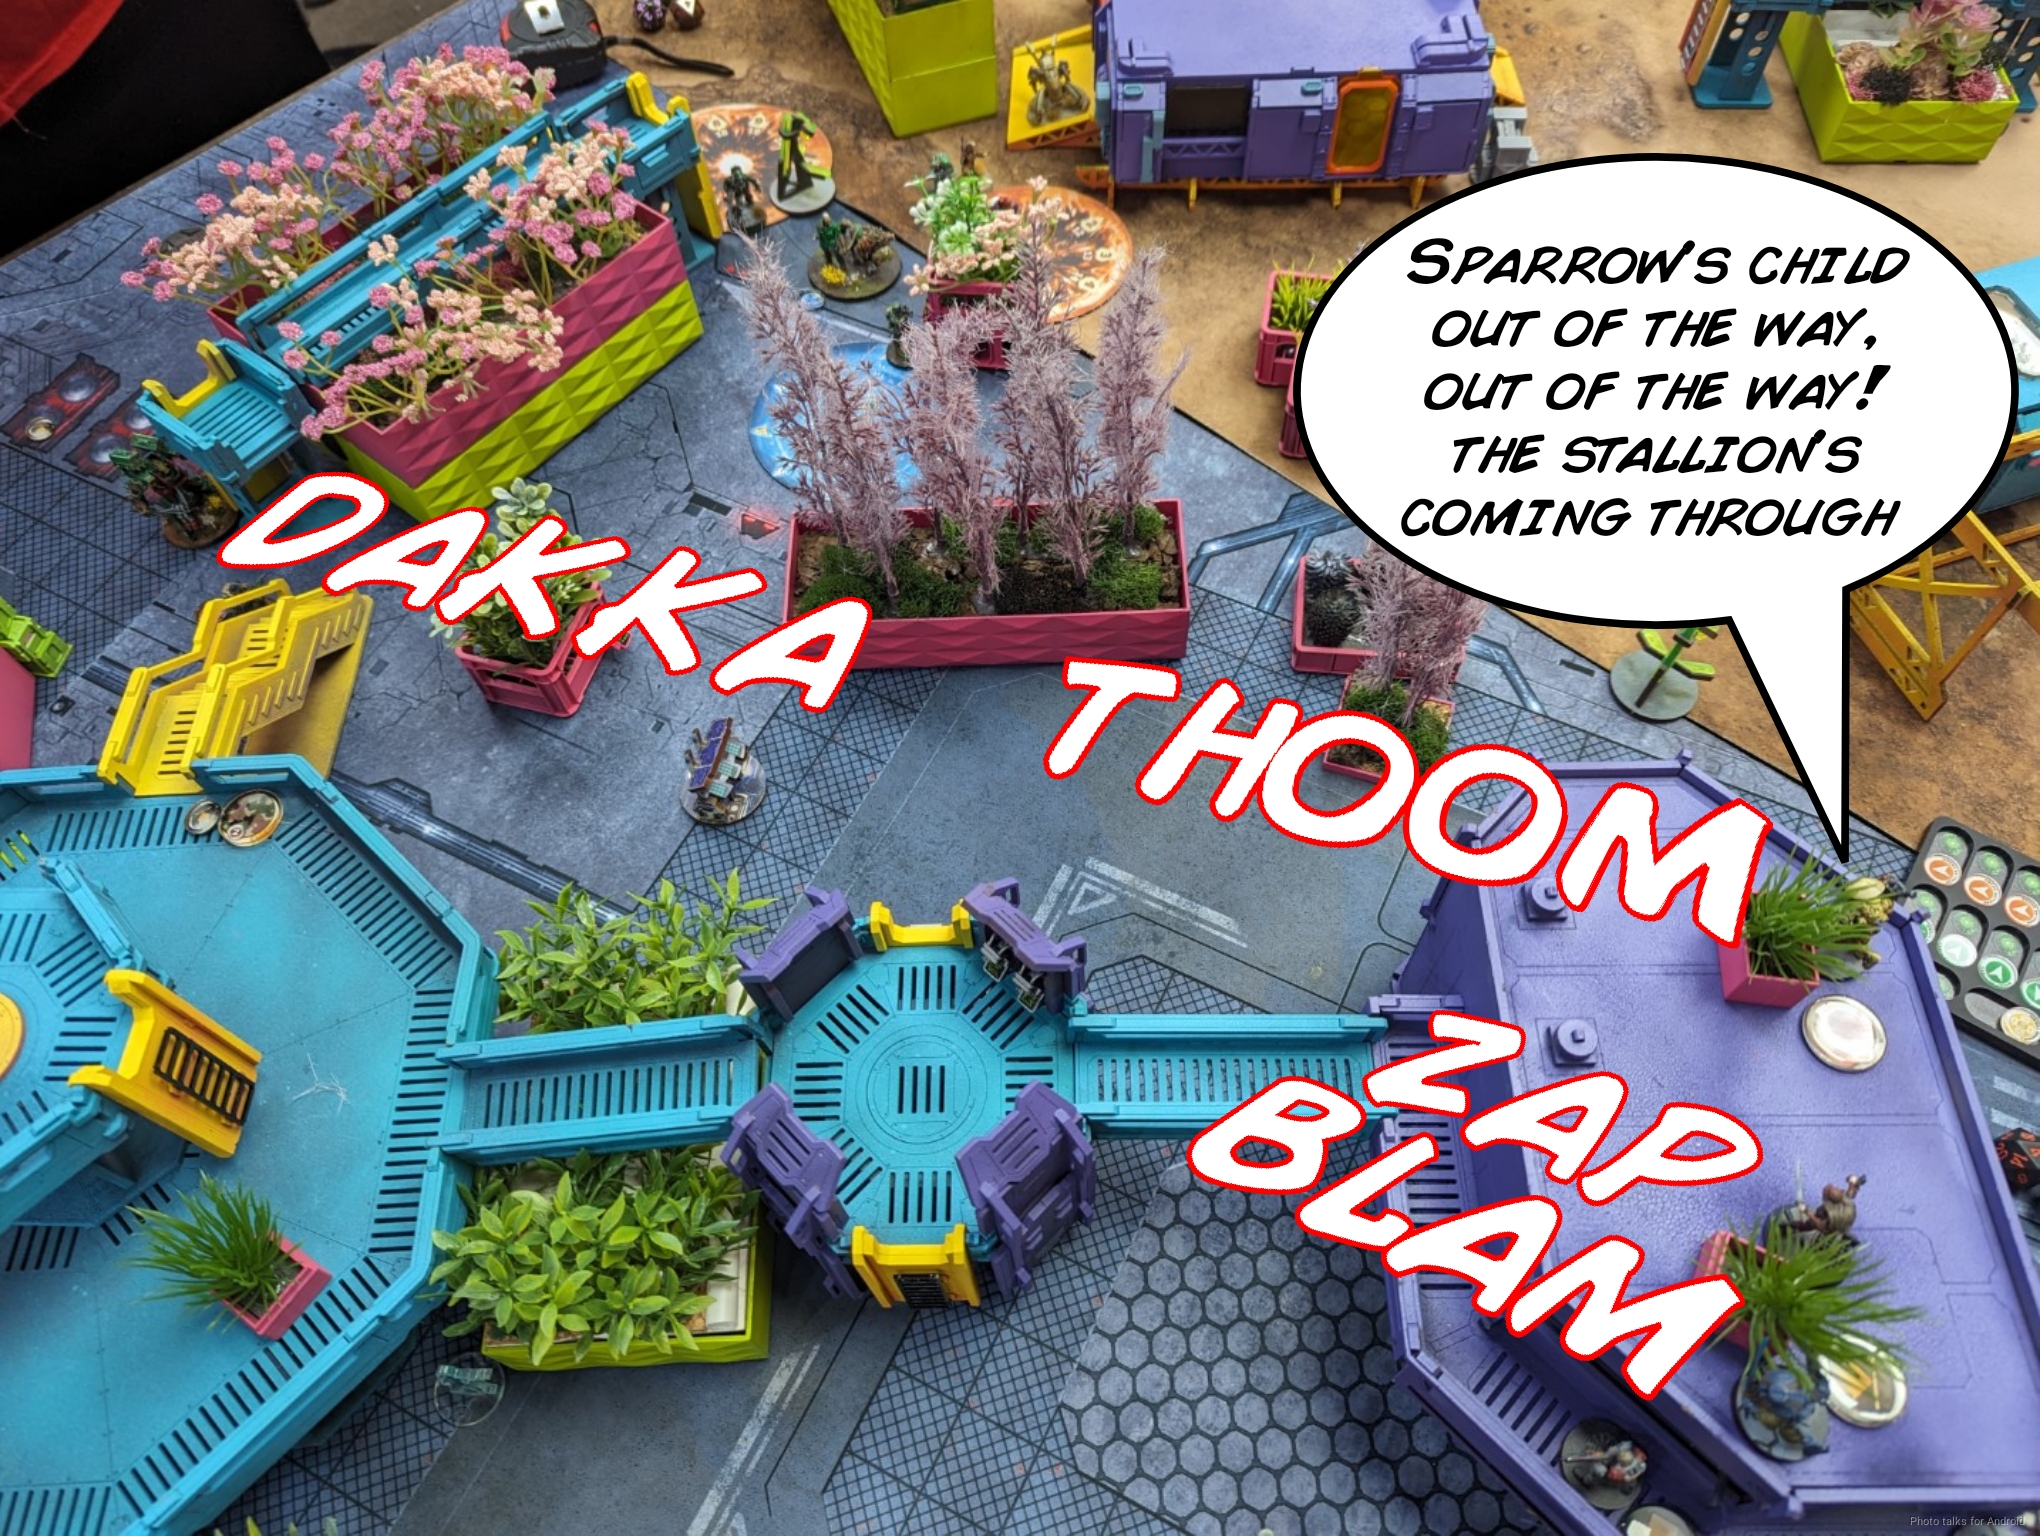
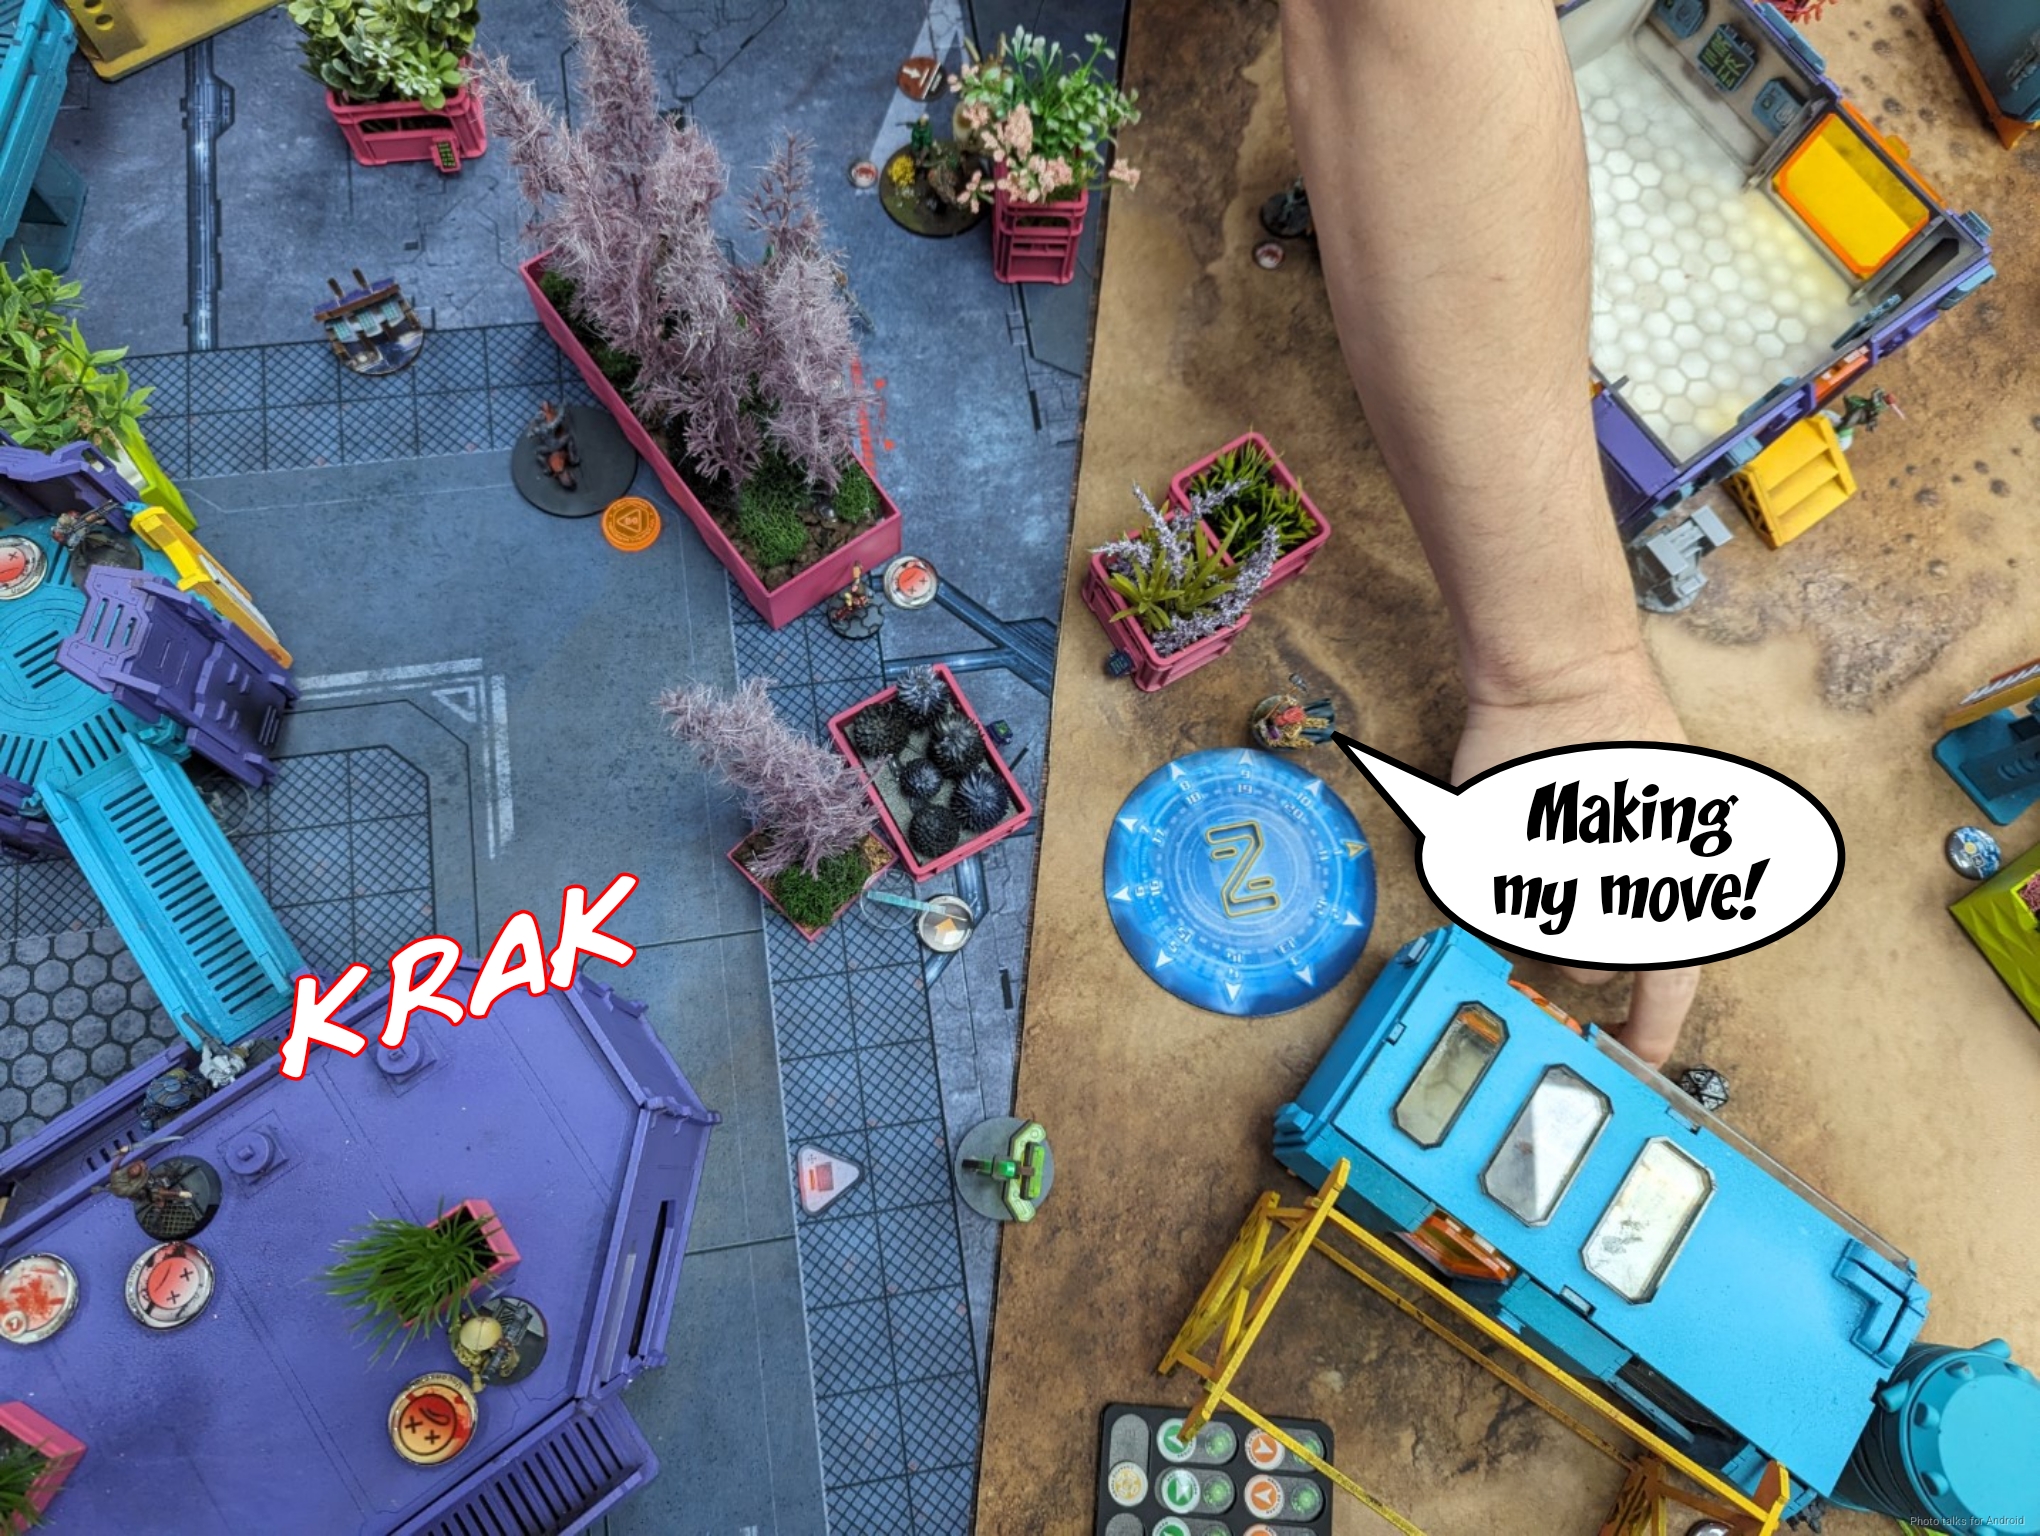
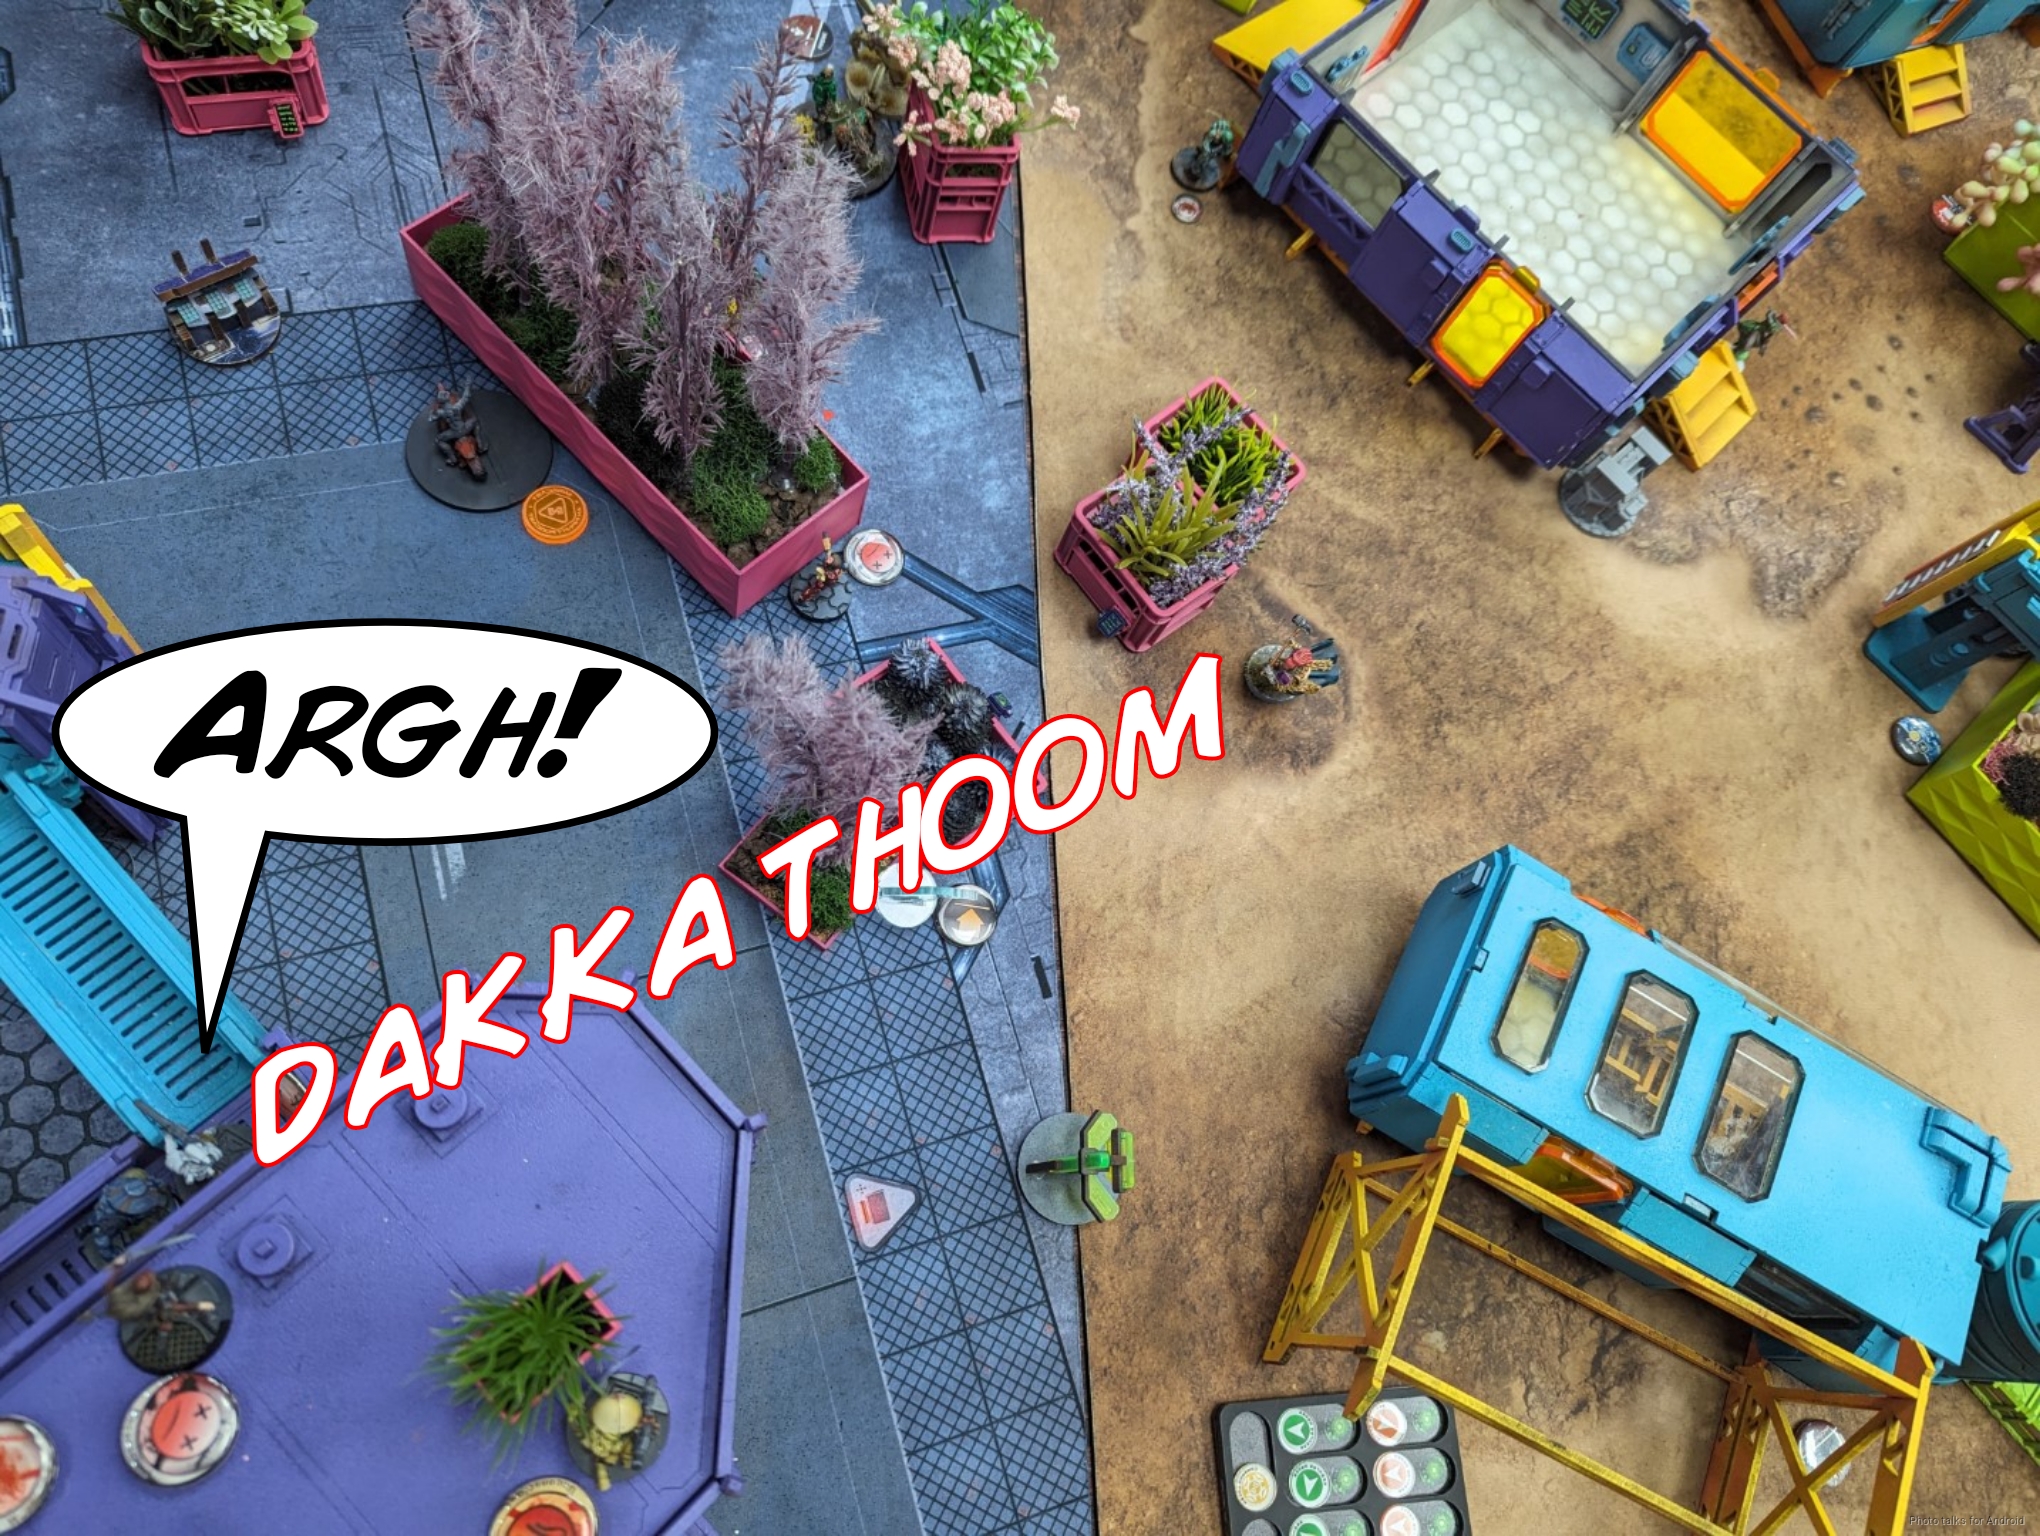
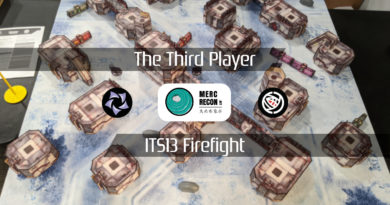
Deployment
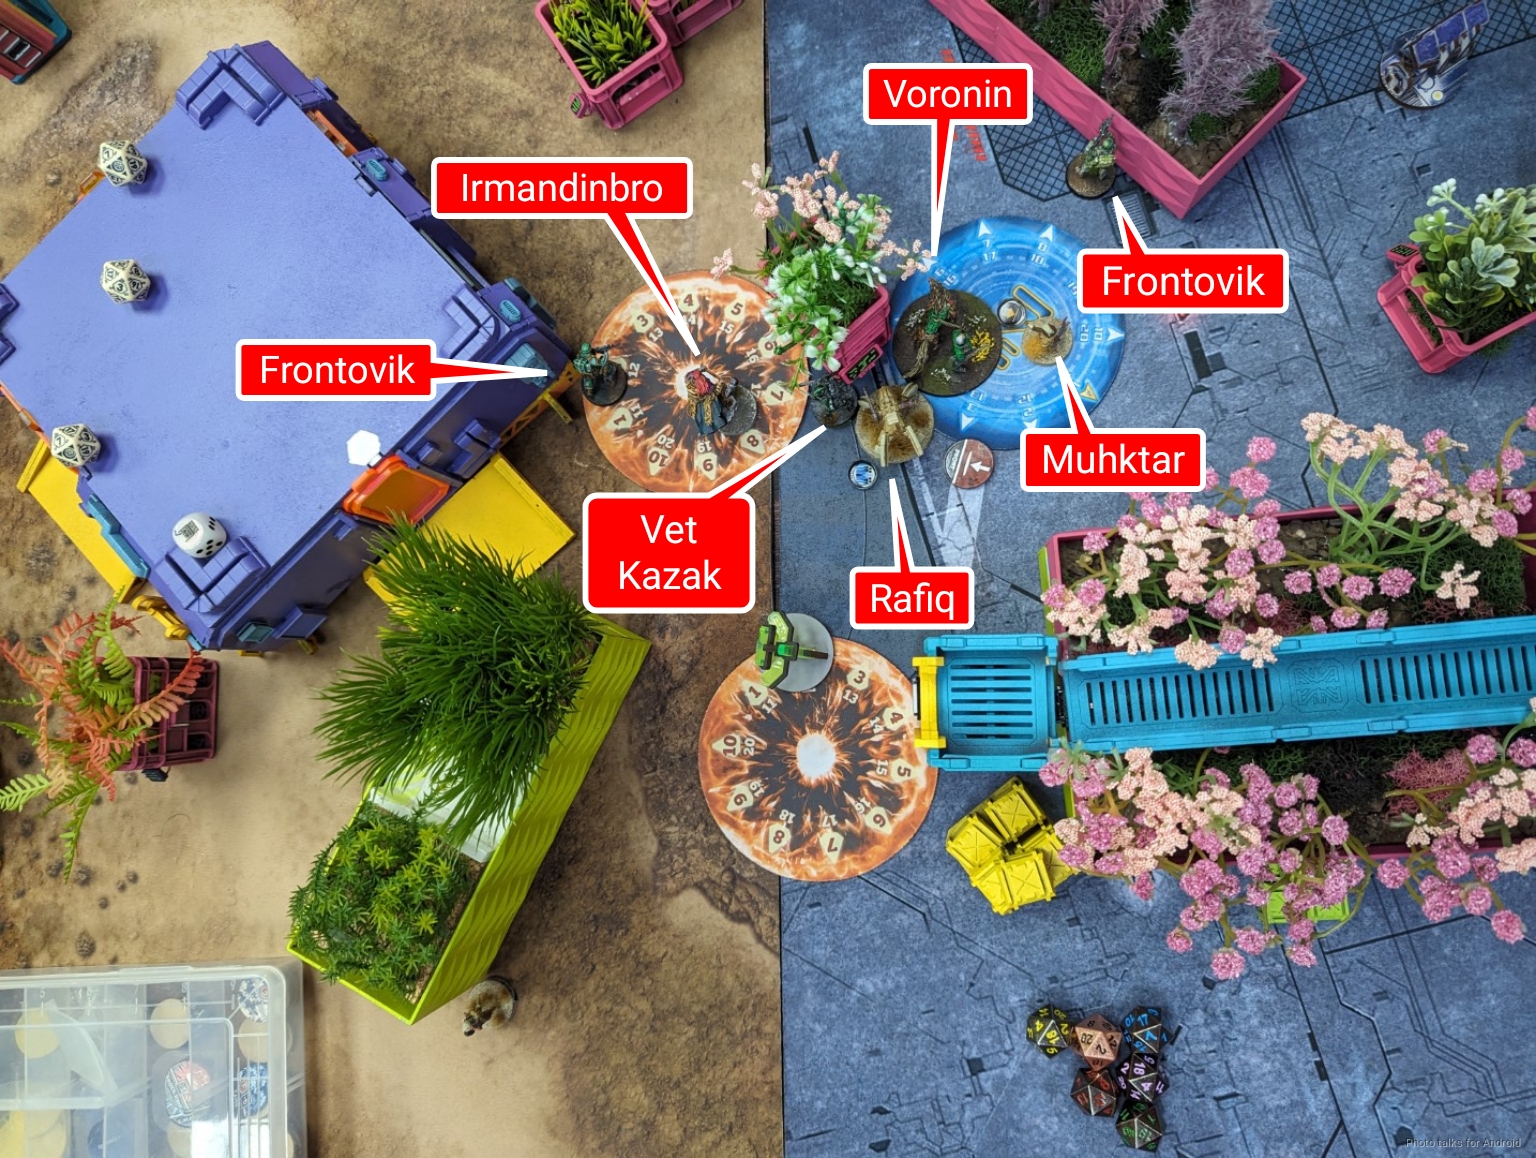
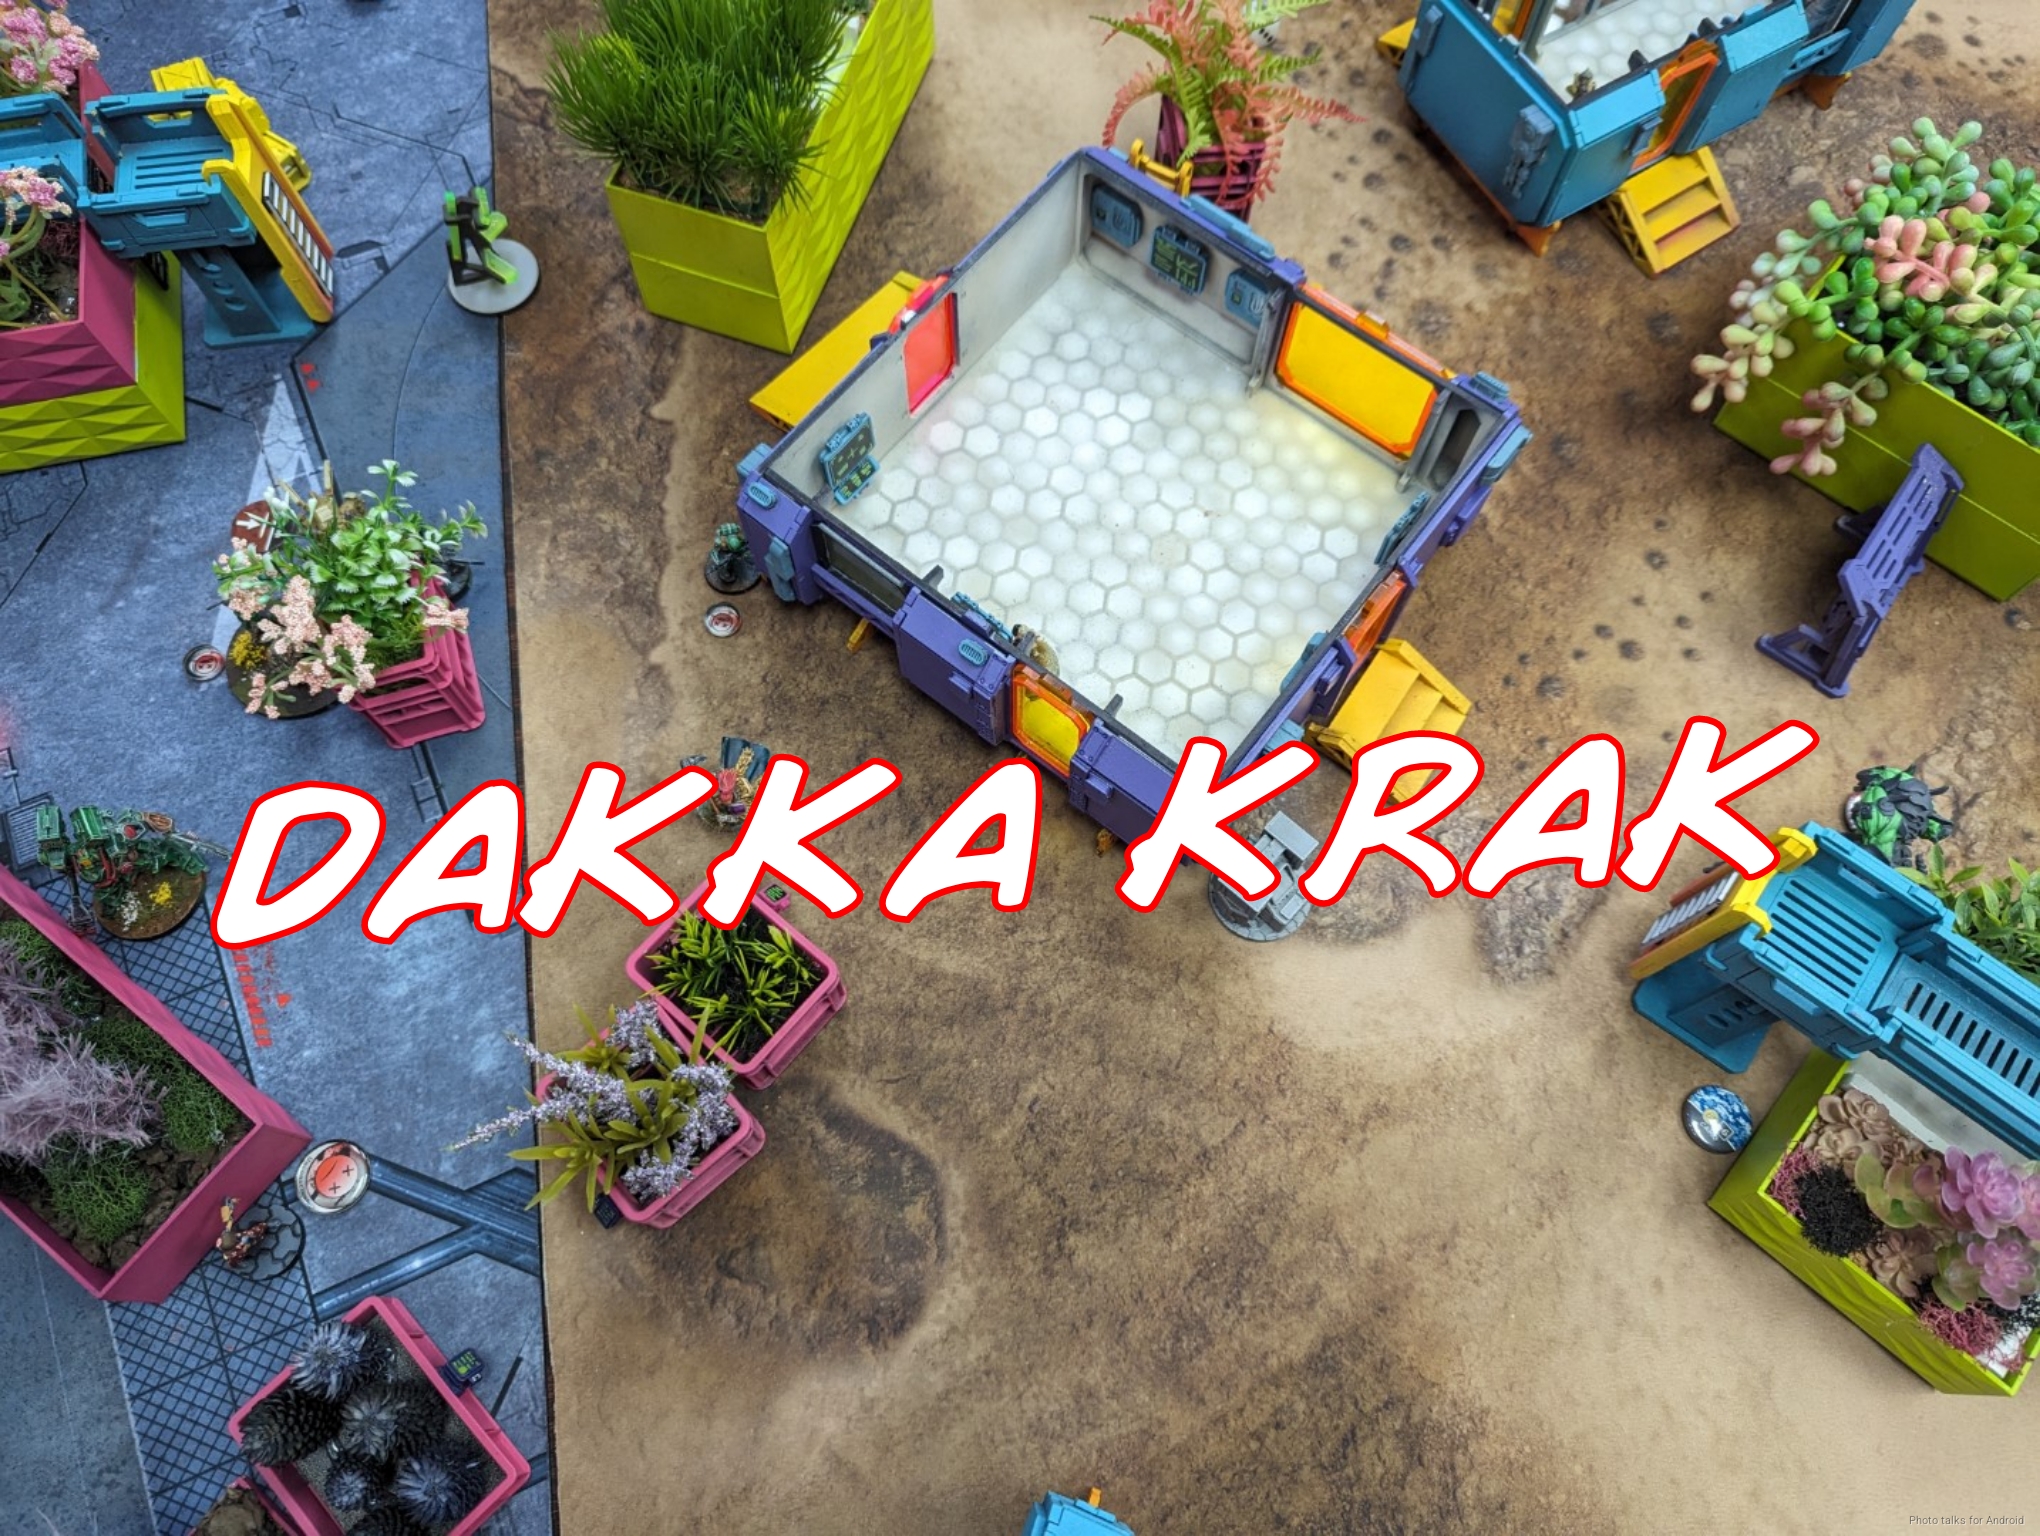
Tony and Cole chose to go first, which is exactly what I was hoping they would do. Basically we each deployed on our own tables in 8″ deployment zones, but the whole double-table is in play, i.e. you can walk and shoot between tables. Tony deployed on the city table across me and Cole on the desert table across Birman. The Capture and Protect console is on the dividing line between tables.
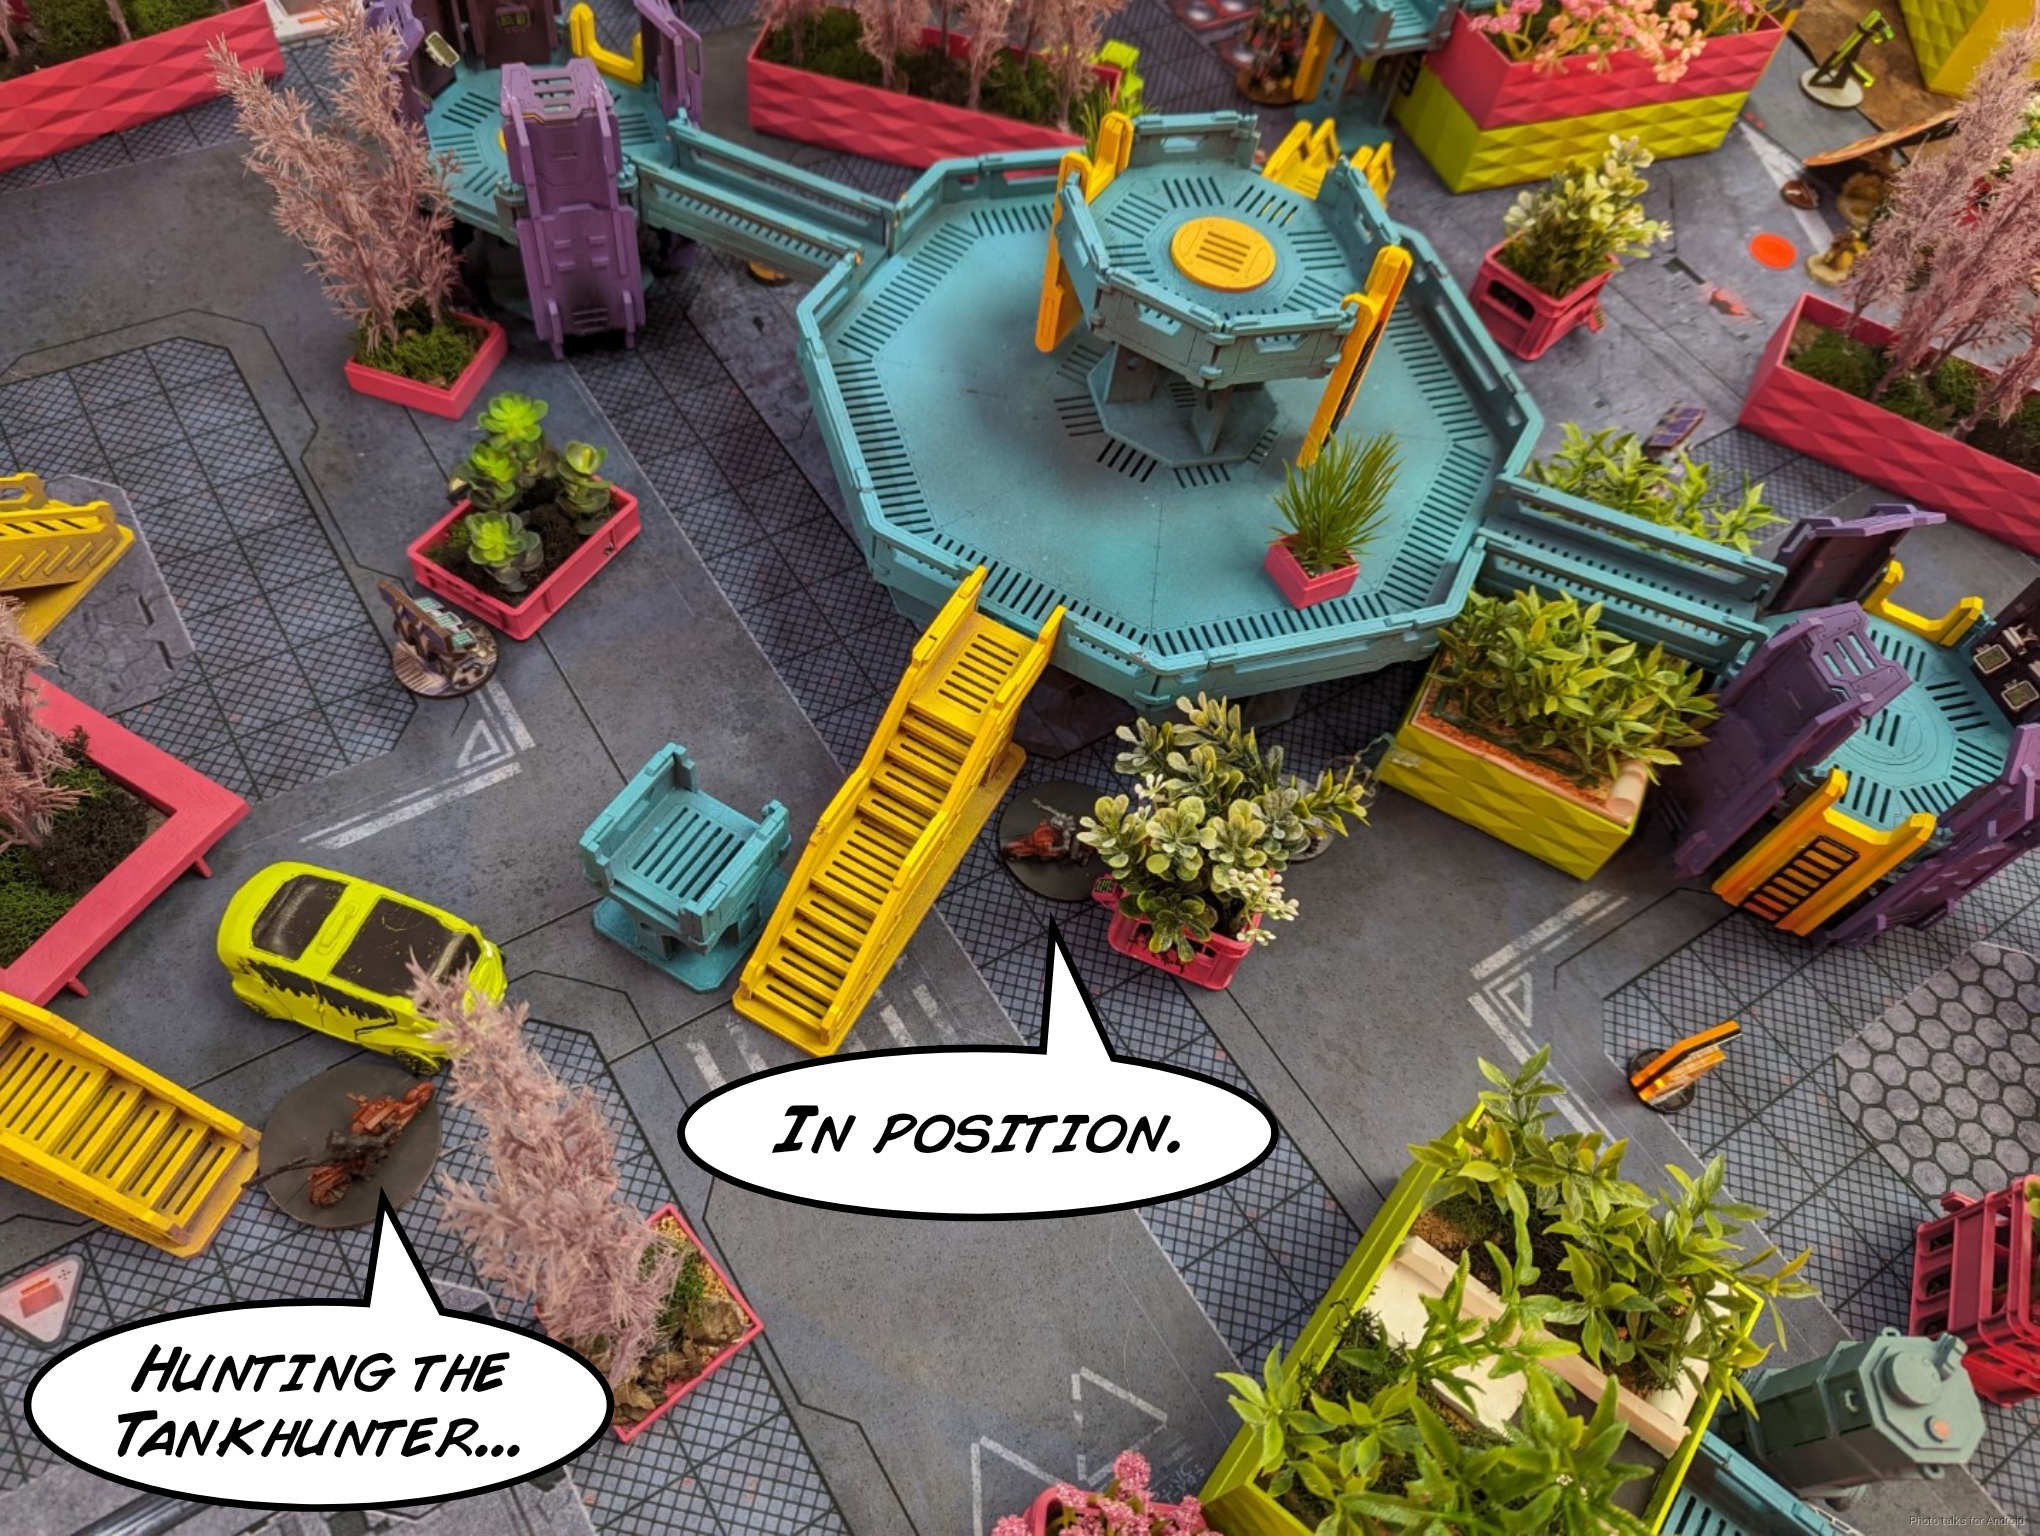
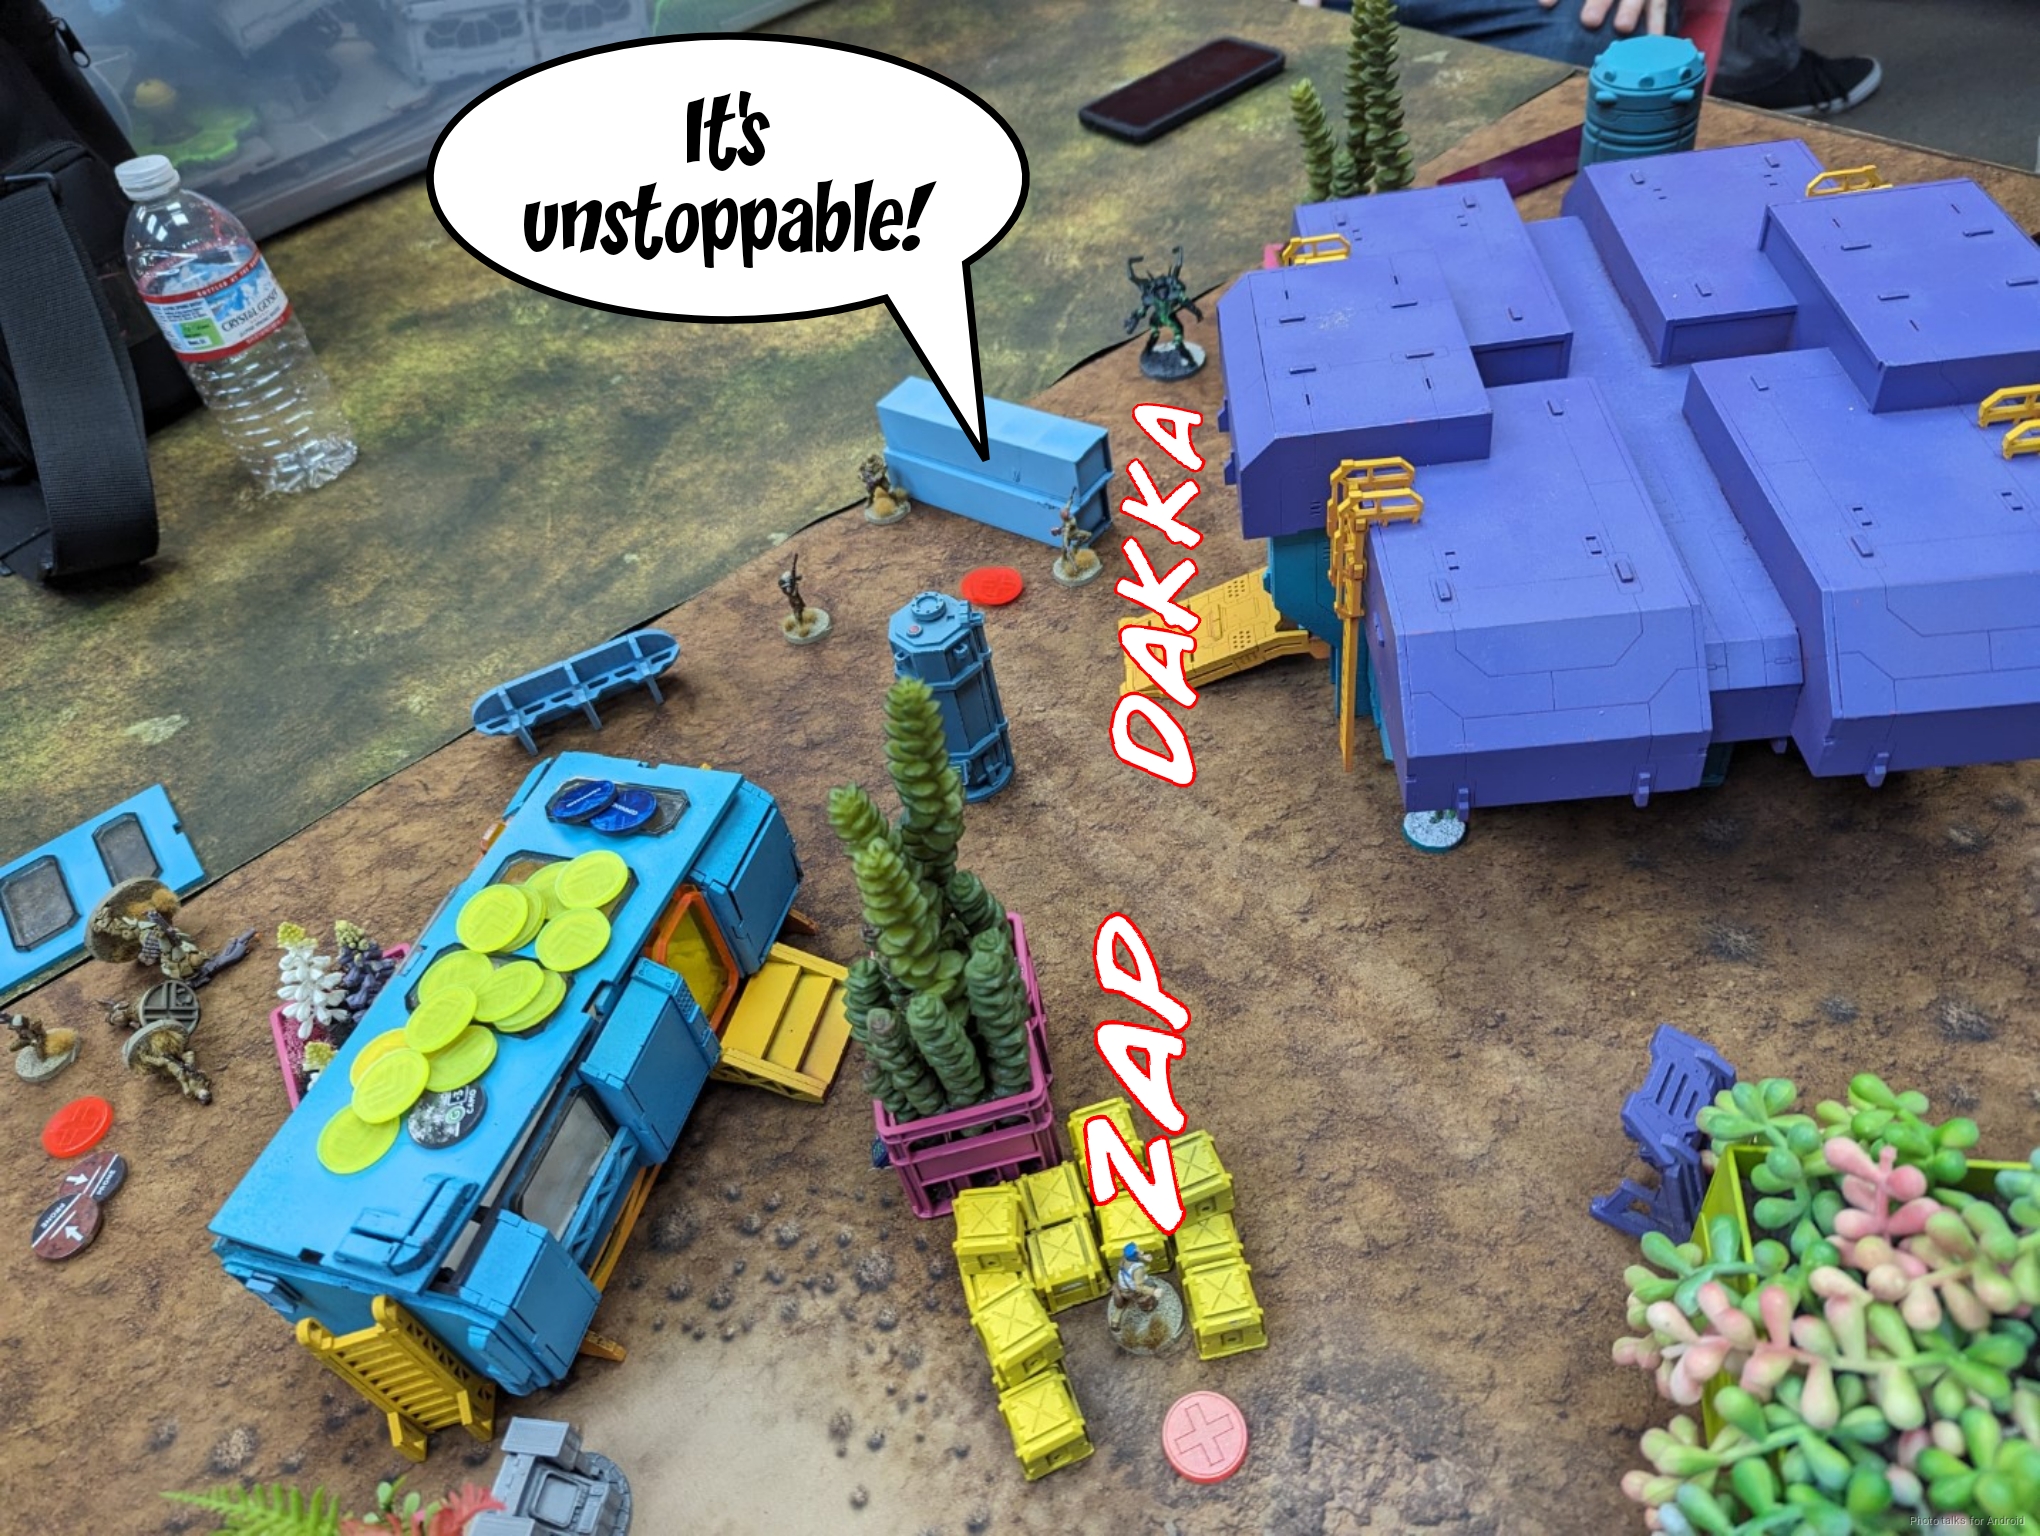
Tony hid his link near the console to secure it, and then spread the rest of his stuff out to the right a little. The Spetznaz was trying to be cute and outflank, as was the Tankhunter.
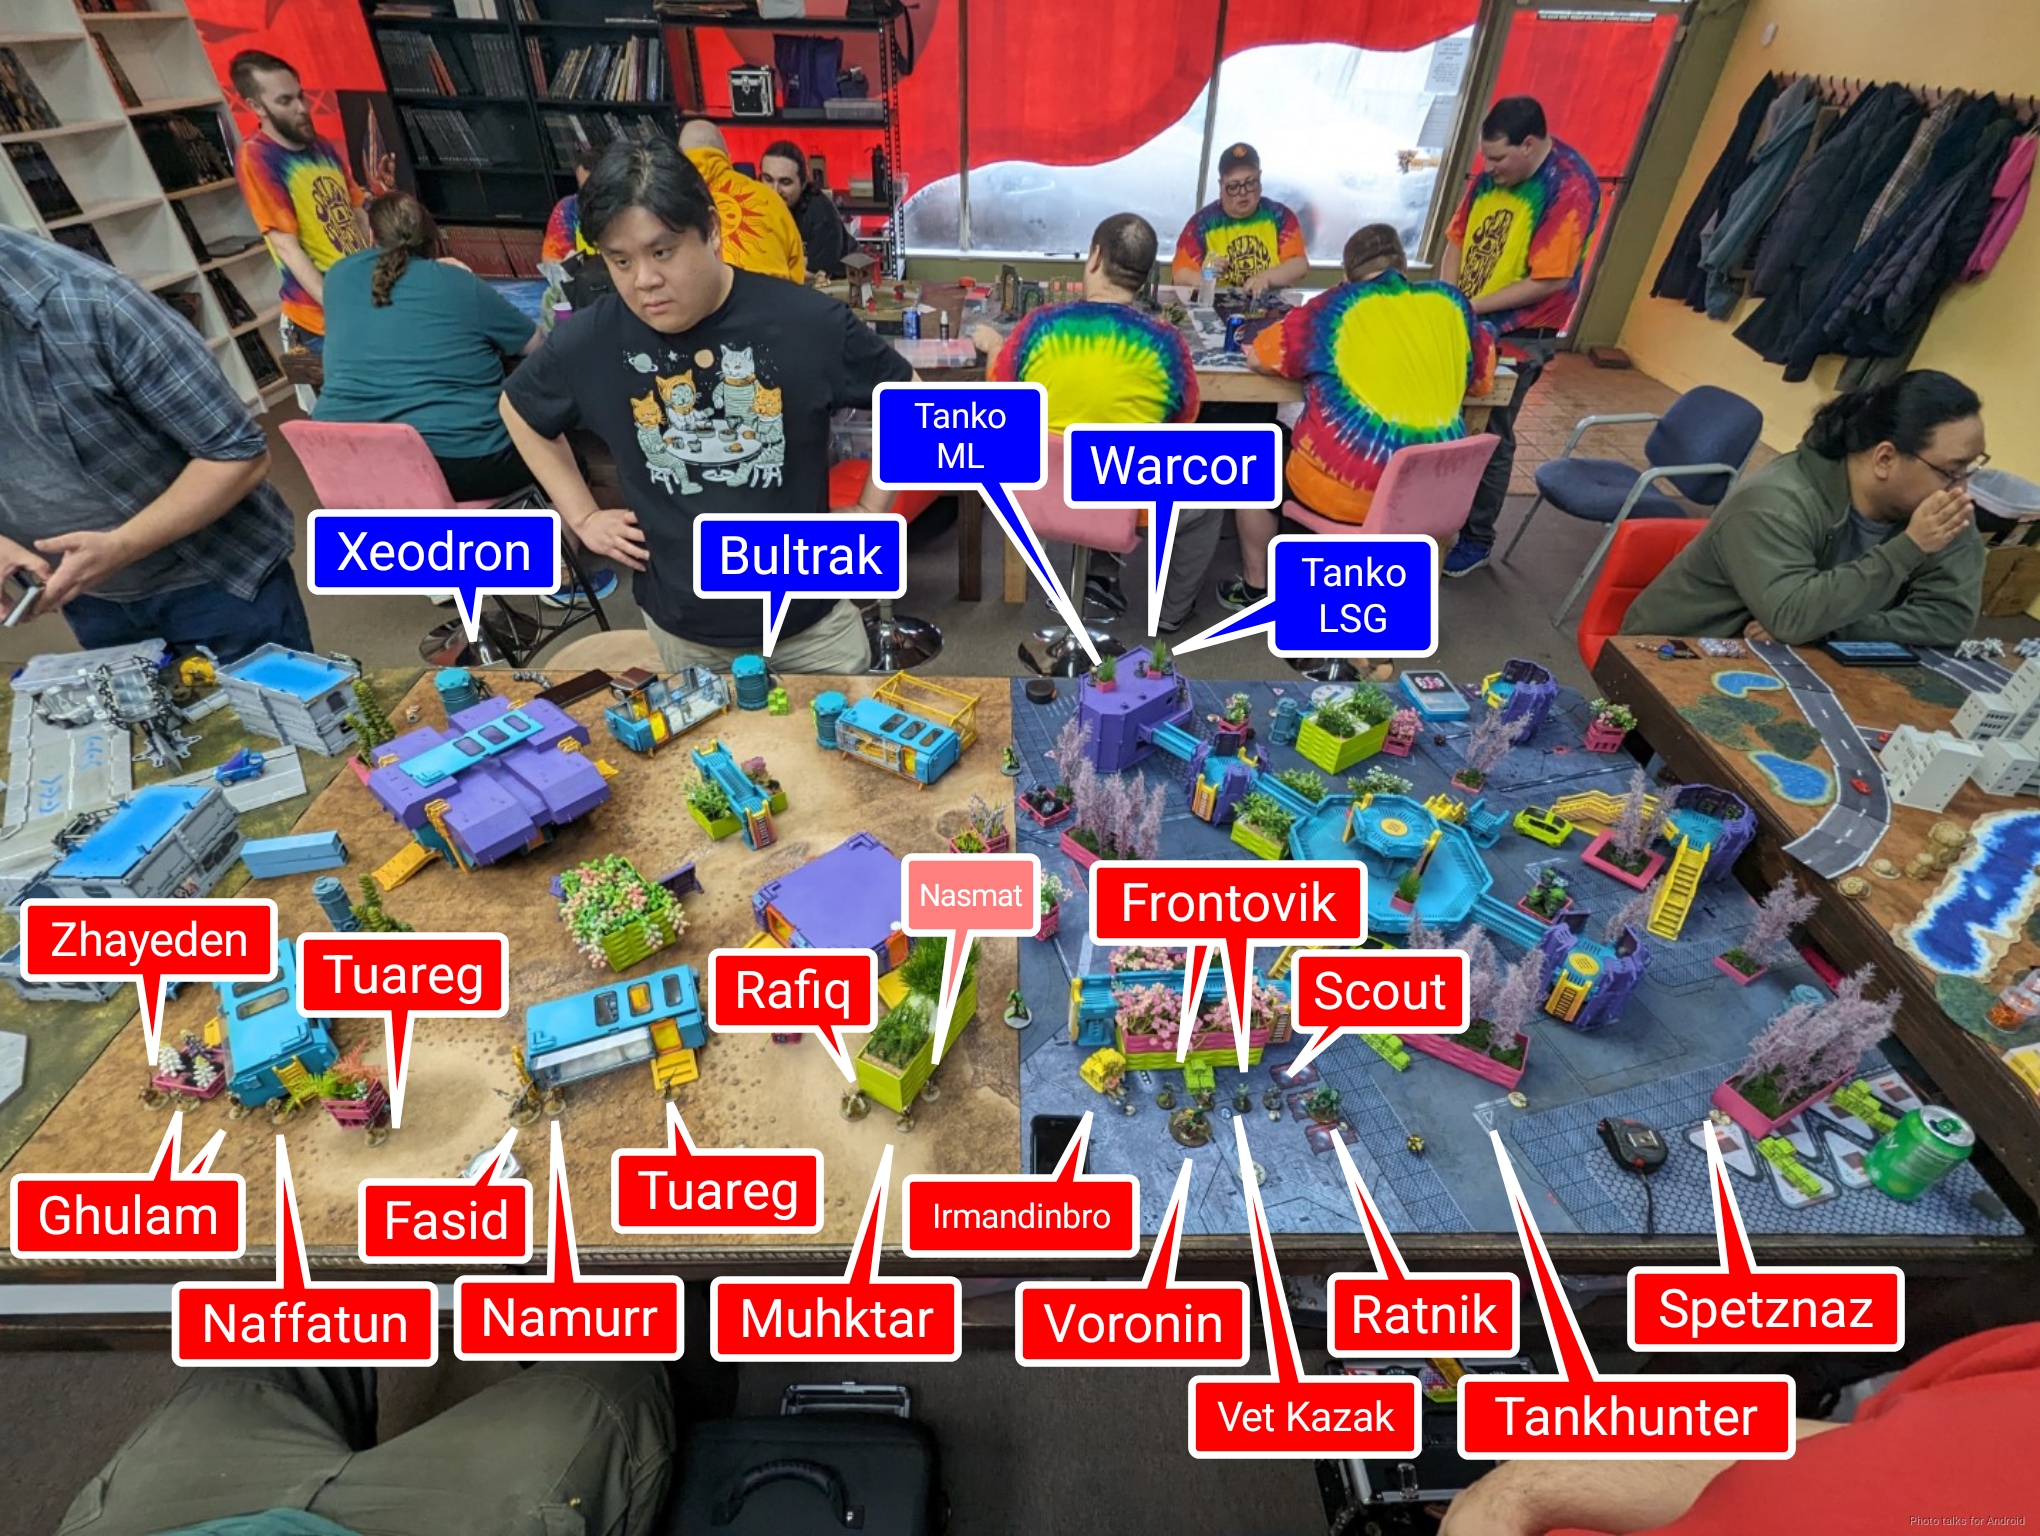
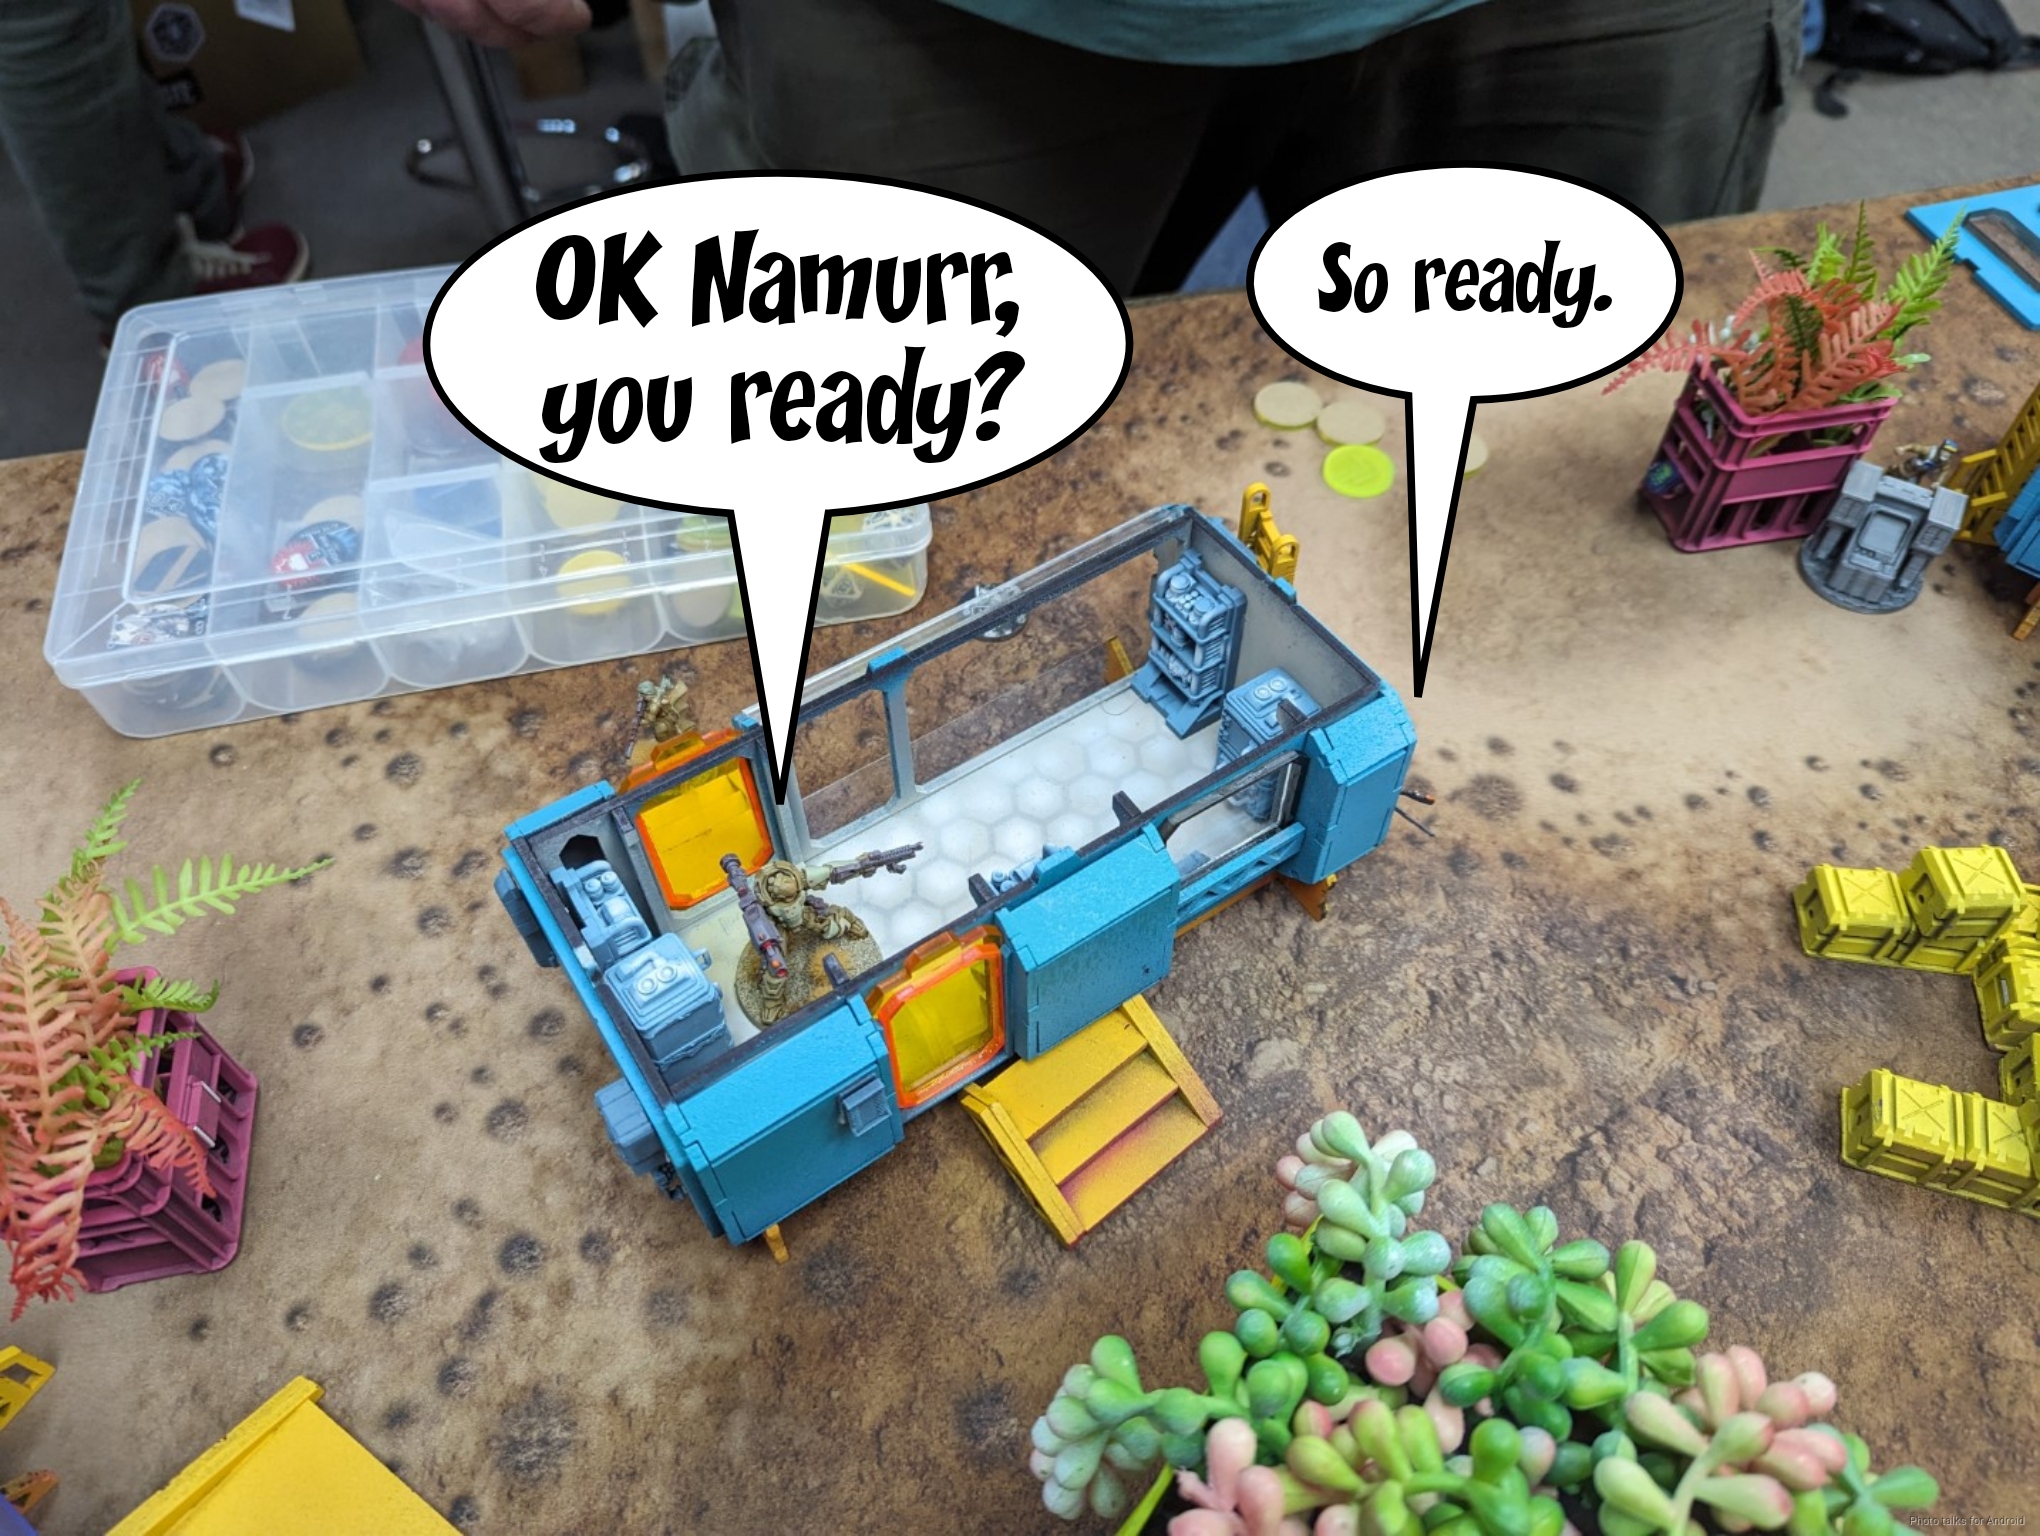
In contrast, Cole set up to take advantage of his sniper rifles. Both Cole and Tony failed all their infiltration rolls except for a lone Strelok, so the Tuaregs were in Cole’s DZ. I think they should have started there in hidden deployment for Birman and my first turn… but anyway. Cole’s sniper rifles were all the way on his left, with the closer range stuff on his right.
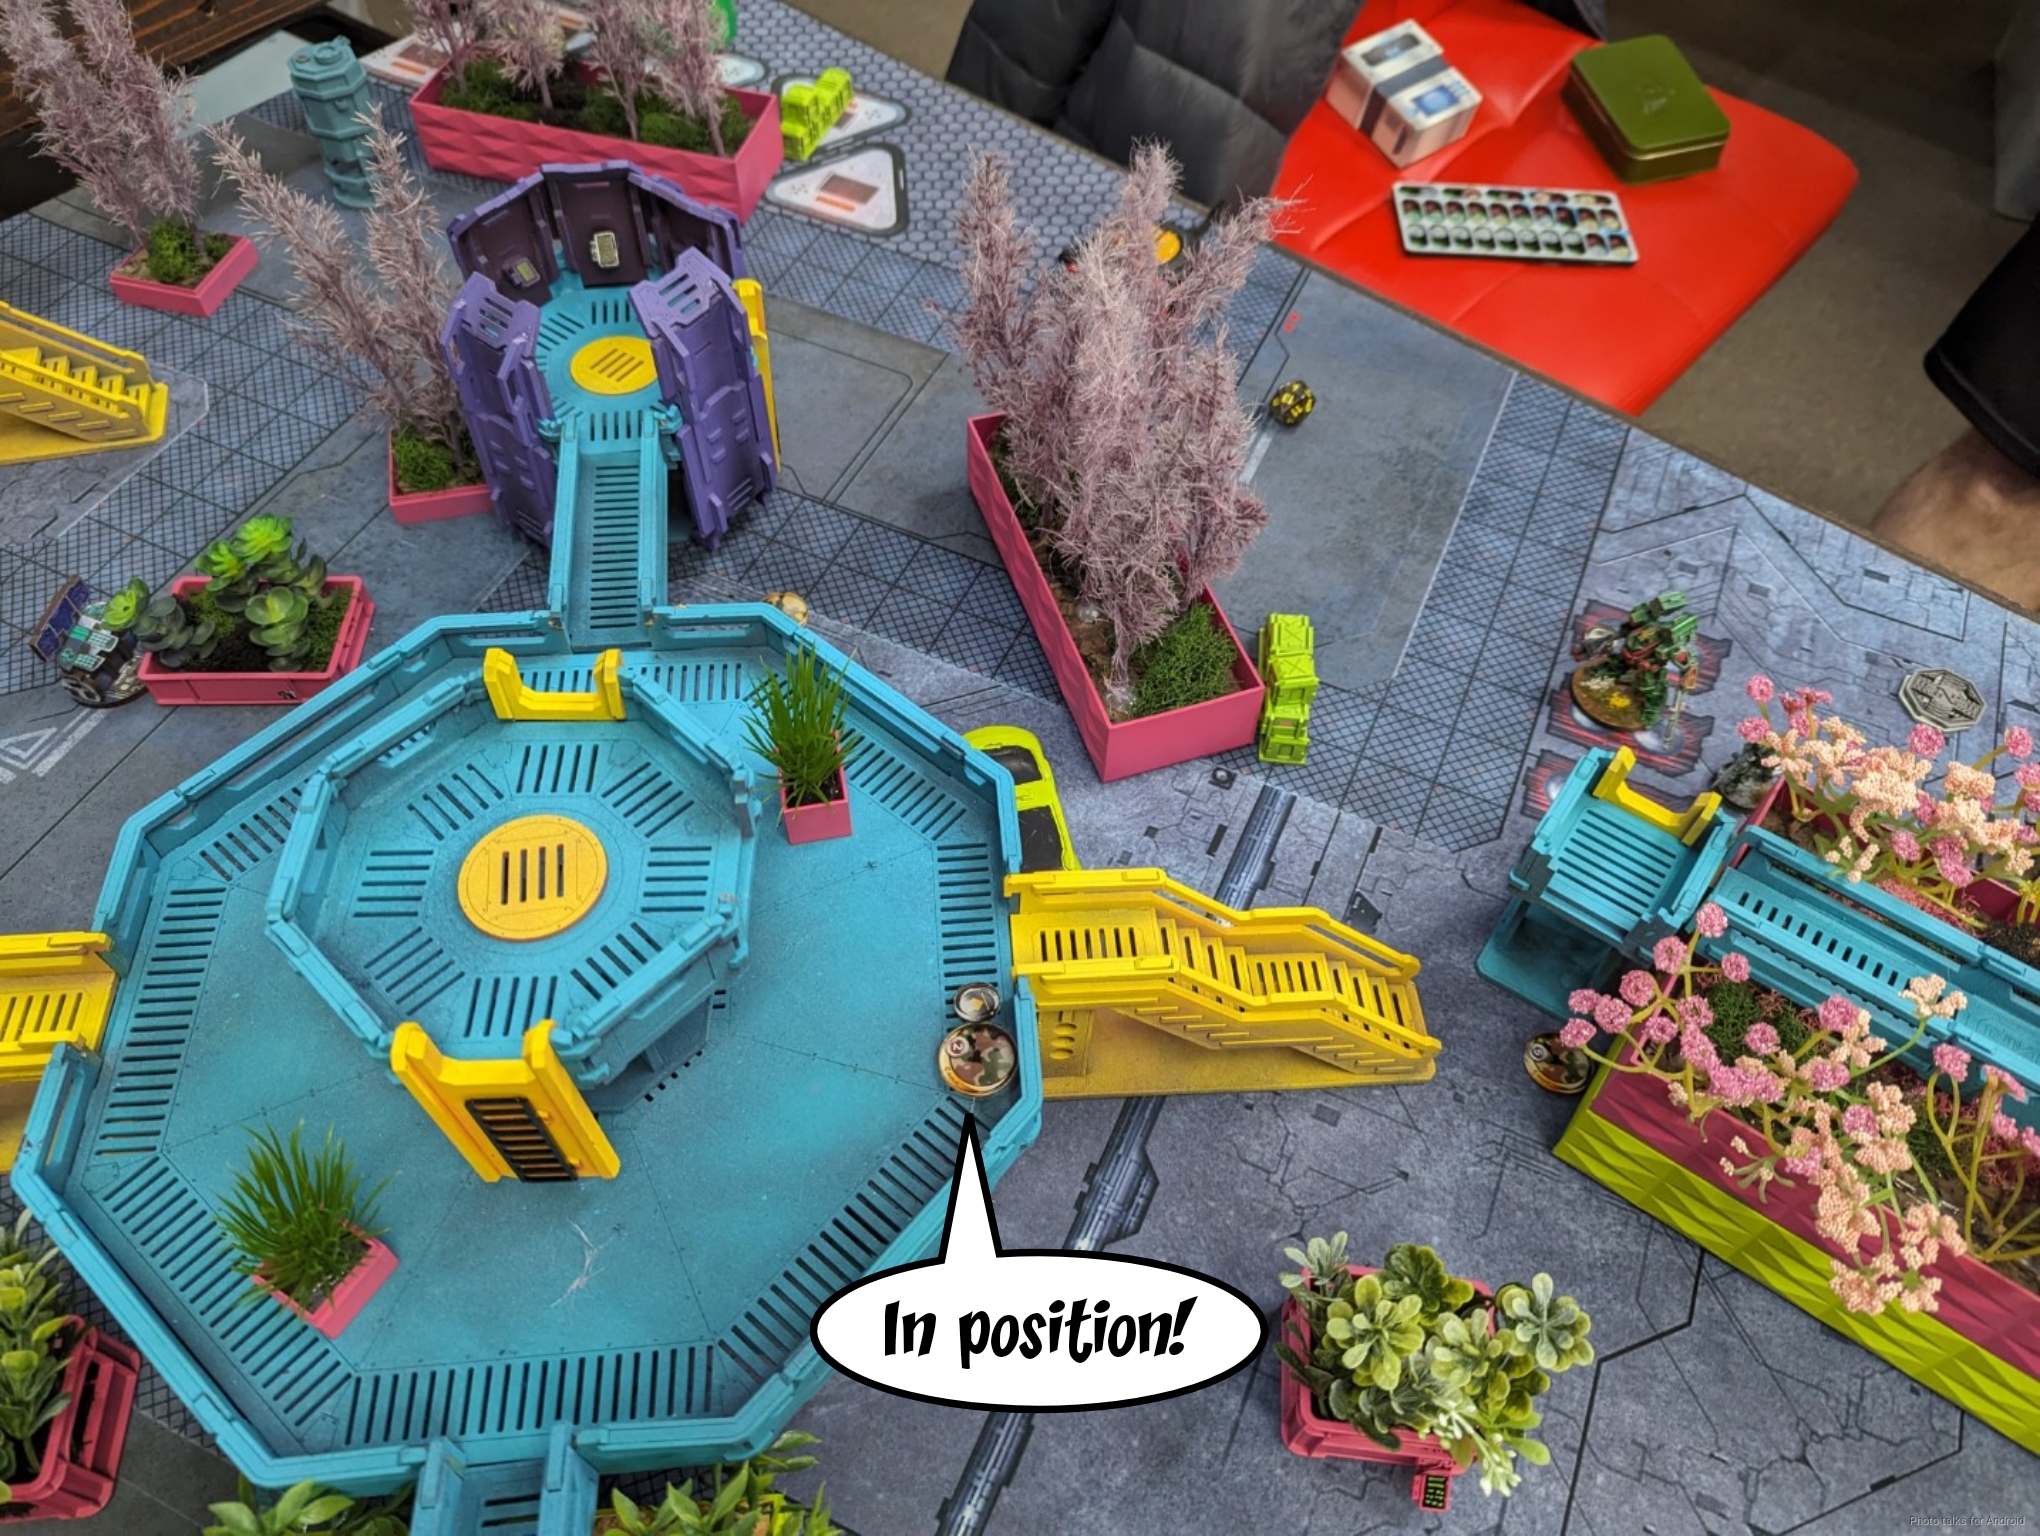
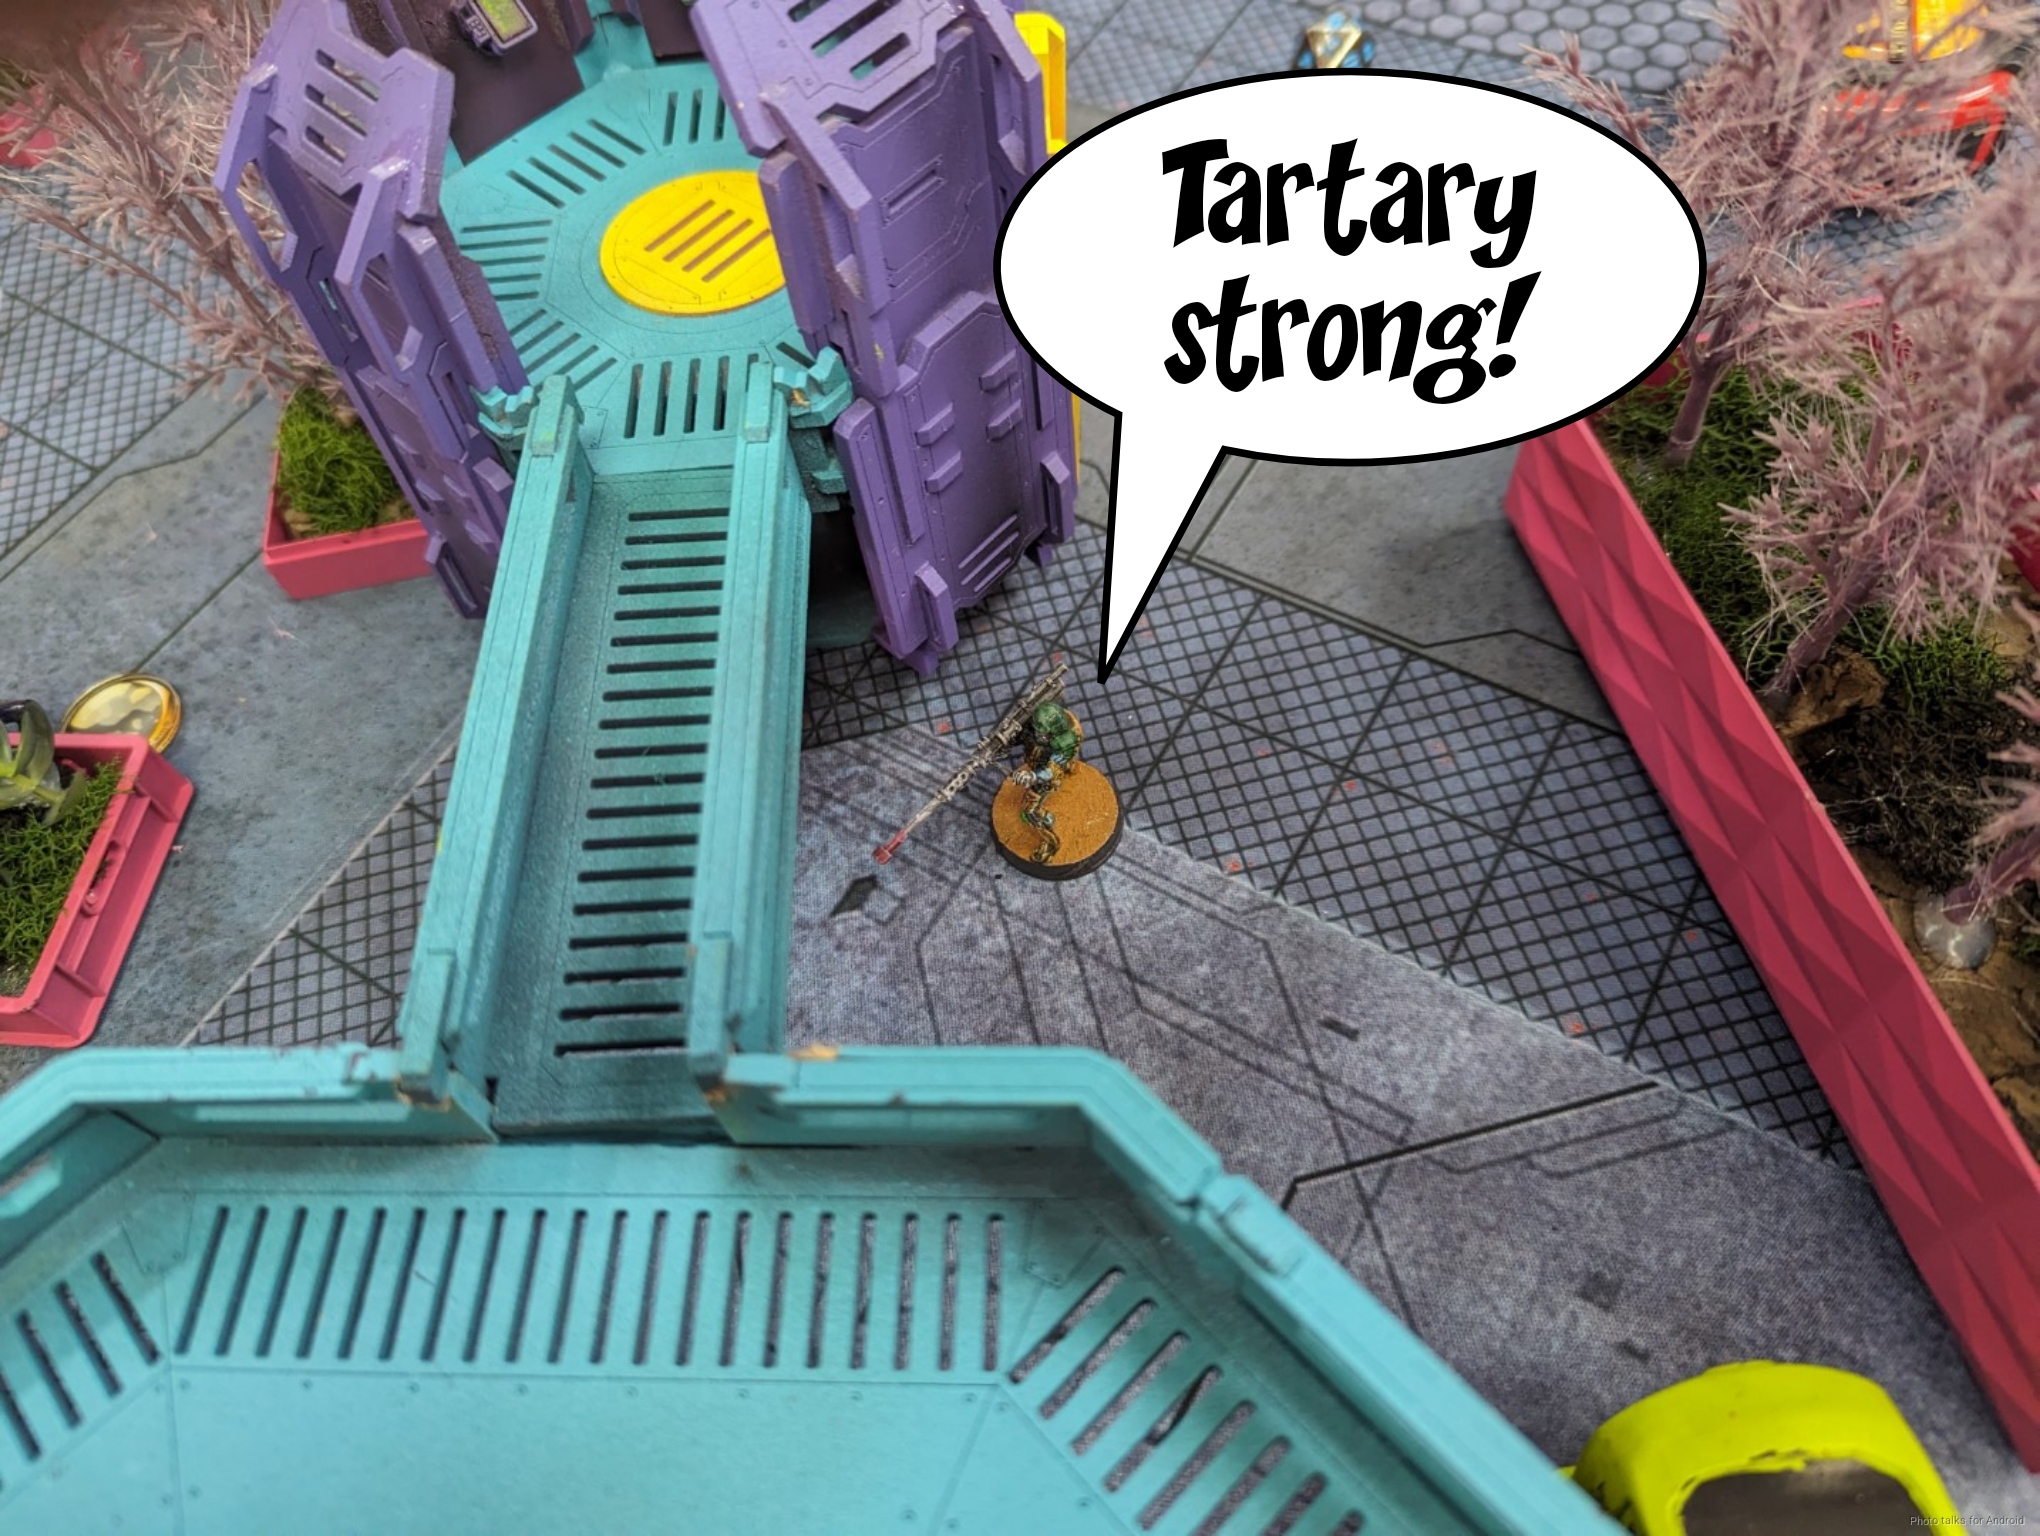
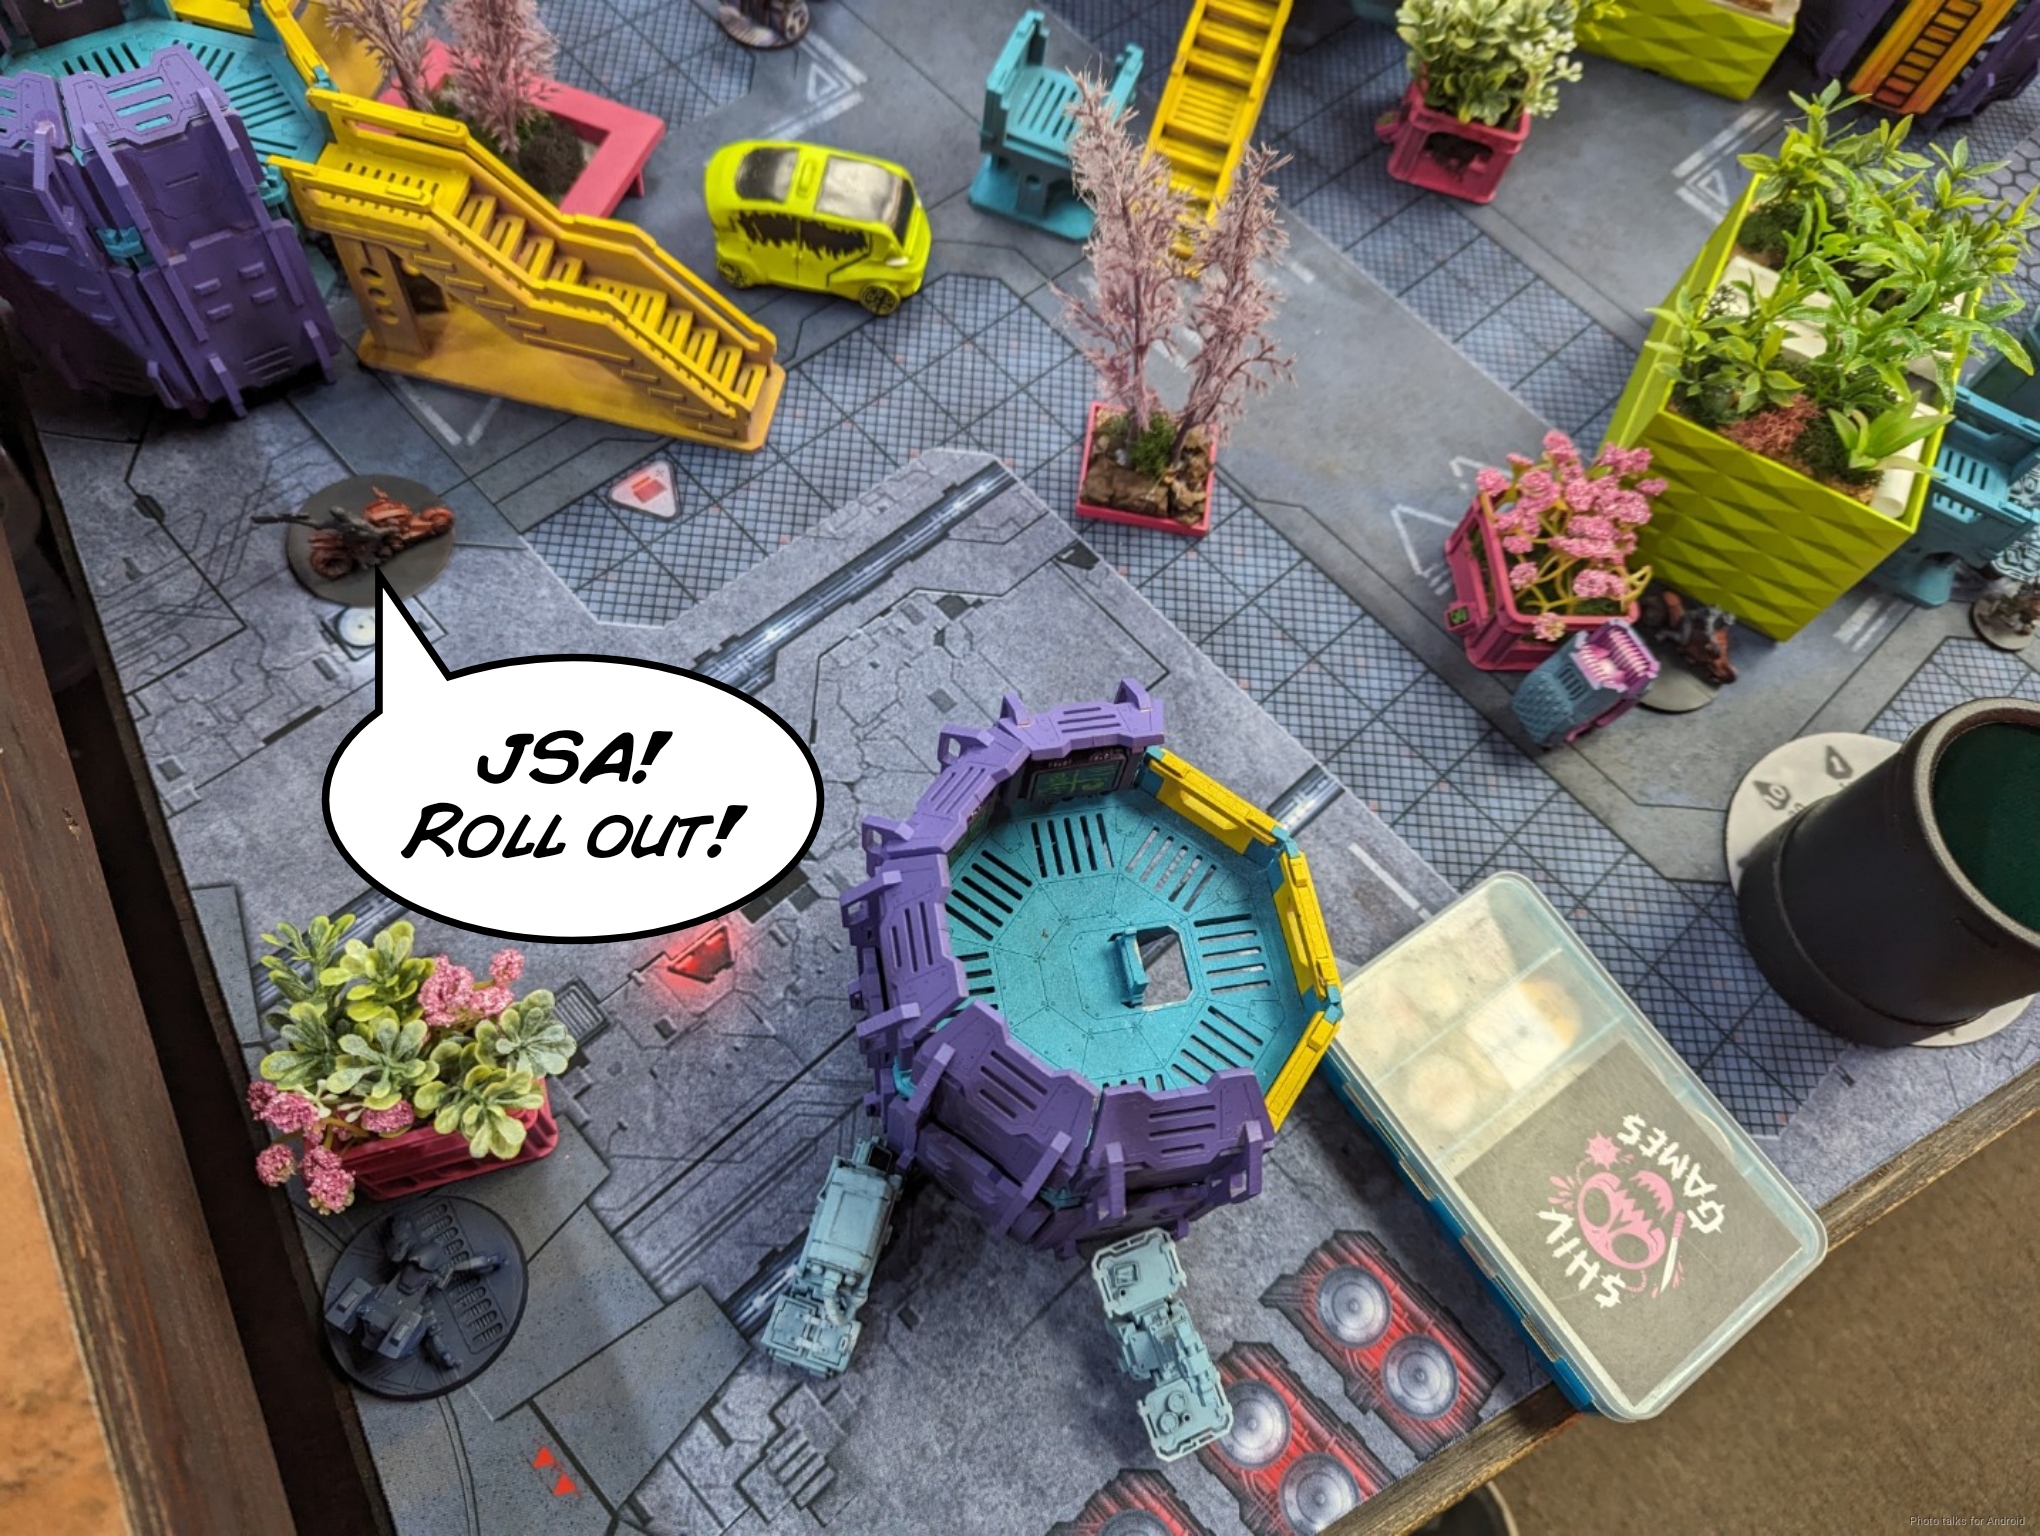
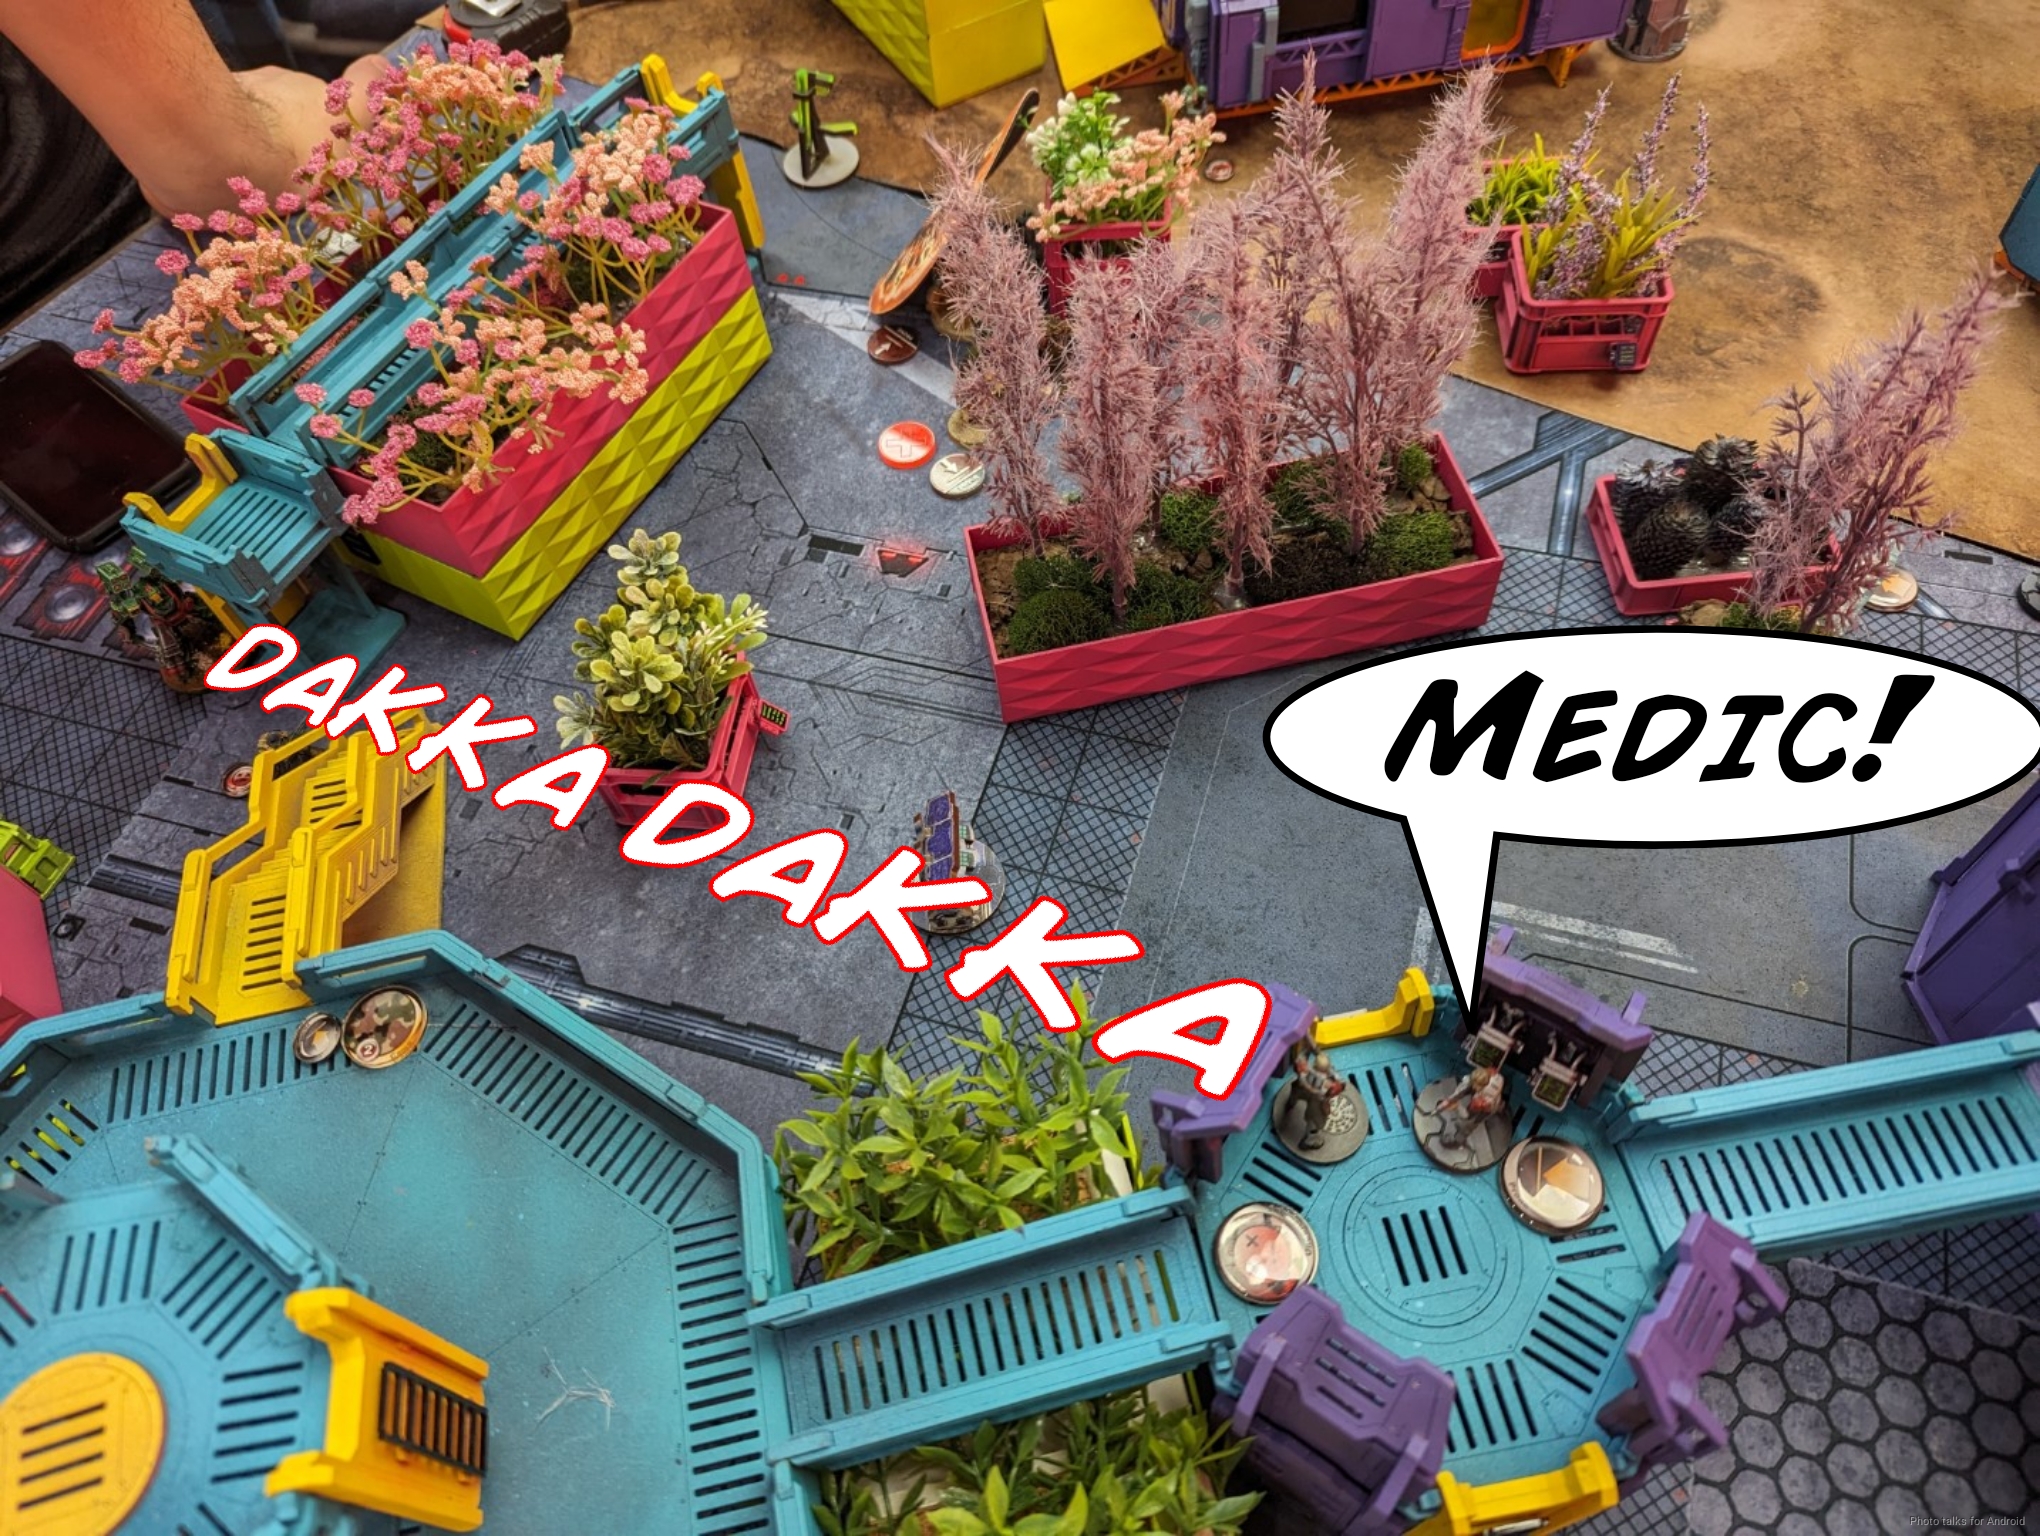
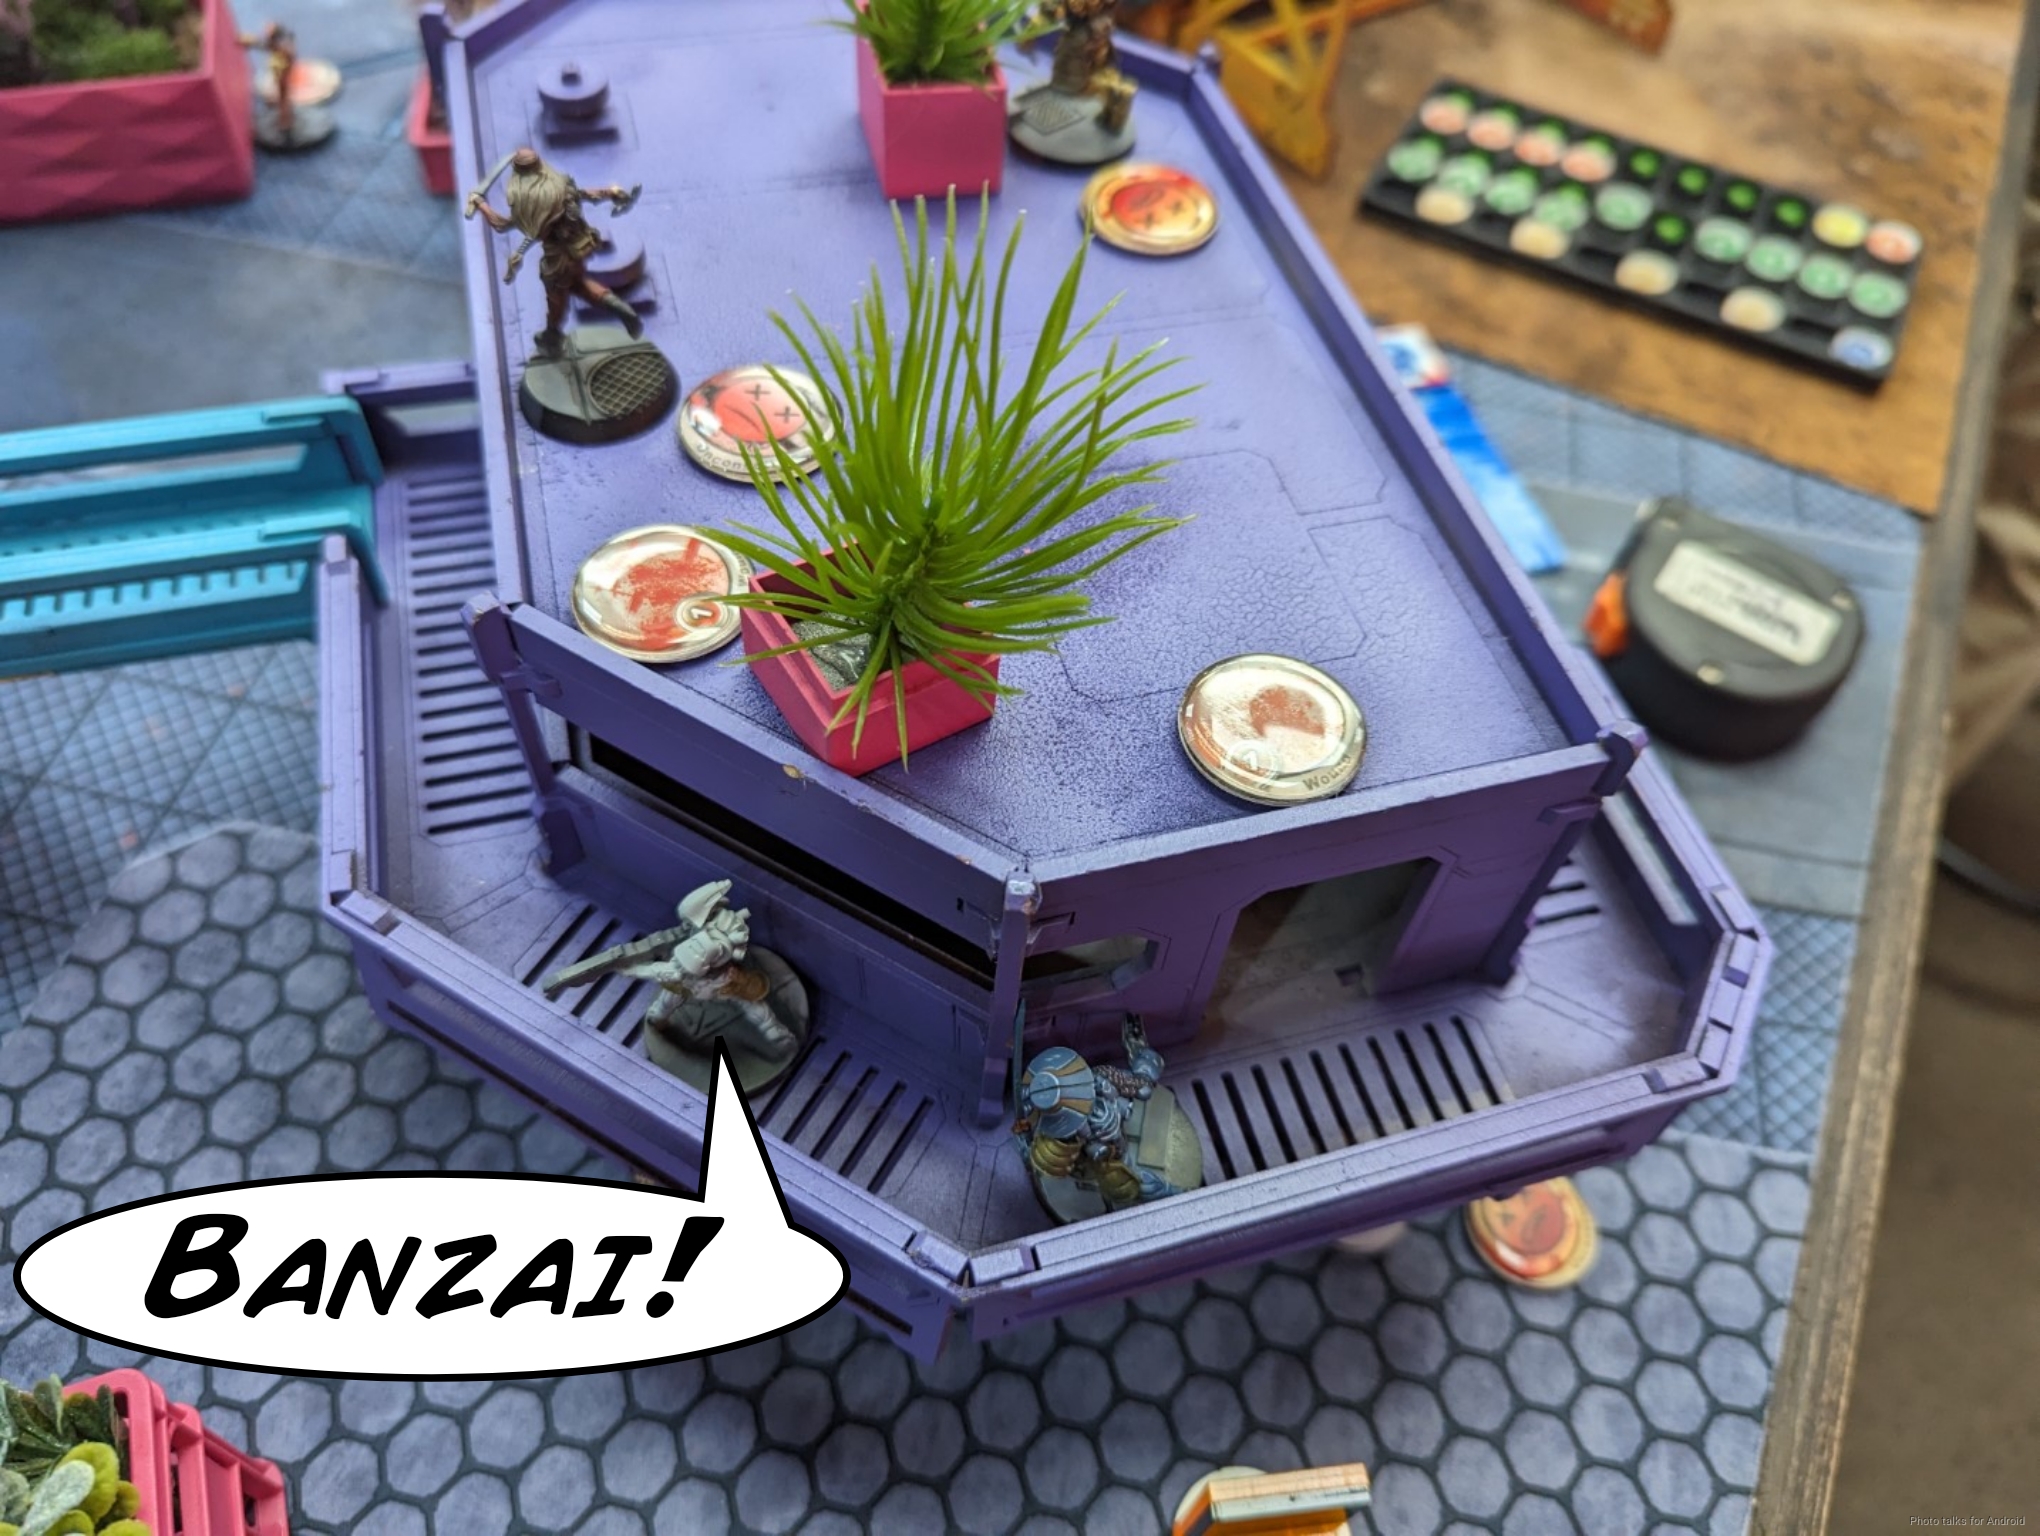
I was really happy to get deployment because that gave us the Comanche barracks. I put the Tanko LSG watching the Ratnik with its Blitzen, the Tanko ML watching the world, and the Warcor up there for funsies. I attempted (and failed) to infiltrate the Ninja, so she ended up near the Beacon along with the Karakuri who was just out to ARO the world too (and chain rifle the Beacon). I then stuck the EVO and Aragoto on the left, figuring the EVO was just going to die and the Aragoto have plenty of movement to respond to the changing battlefield.
I figured because that region was basically uncontested, I could move into the midfield and provide some enfilading fire into Tony’s forces with the two bikes if it came to it. The Keisotsu and Domaru went on the second story (but not the roof) of the Comanche barracks to be annoying, and then I stuck the Chaiyi and engineer nearby with the nasmat near the Karakuri.
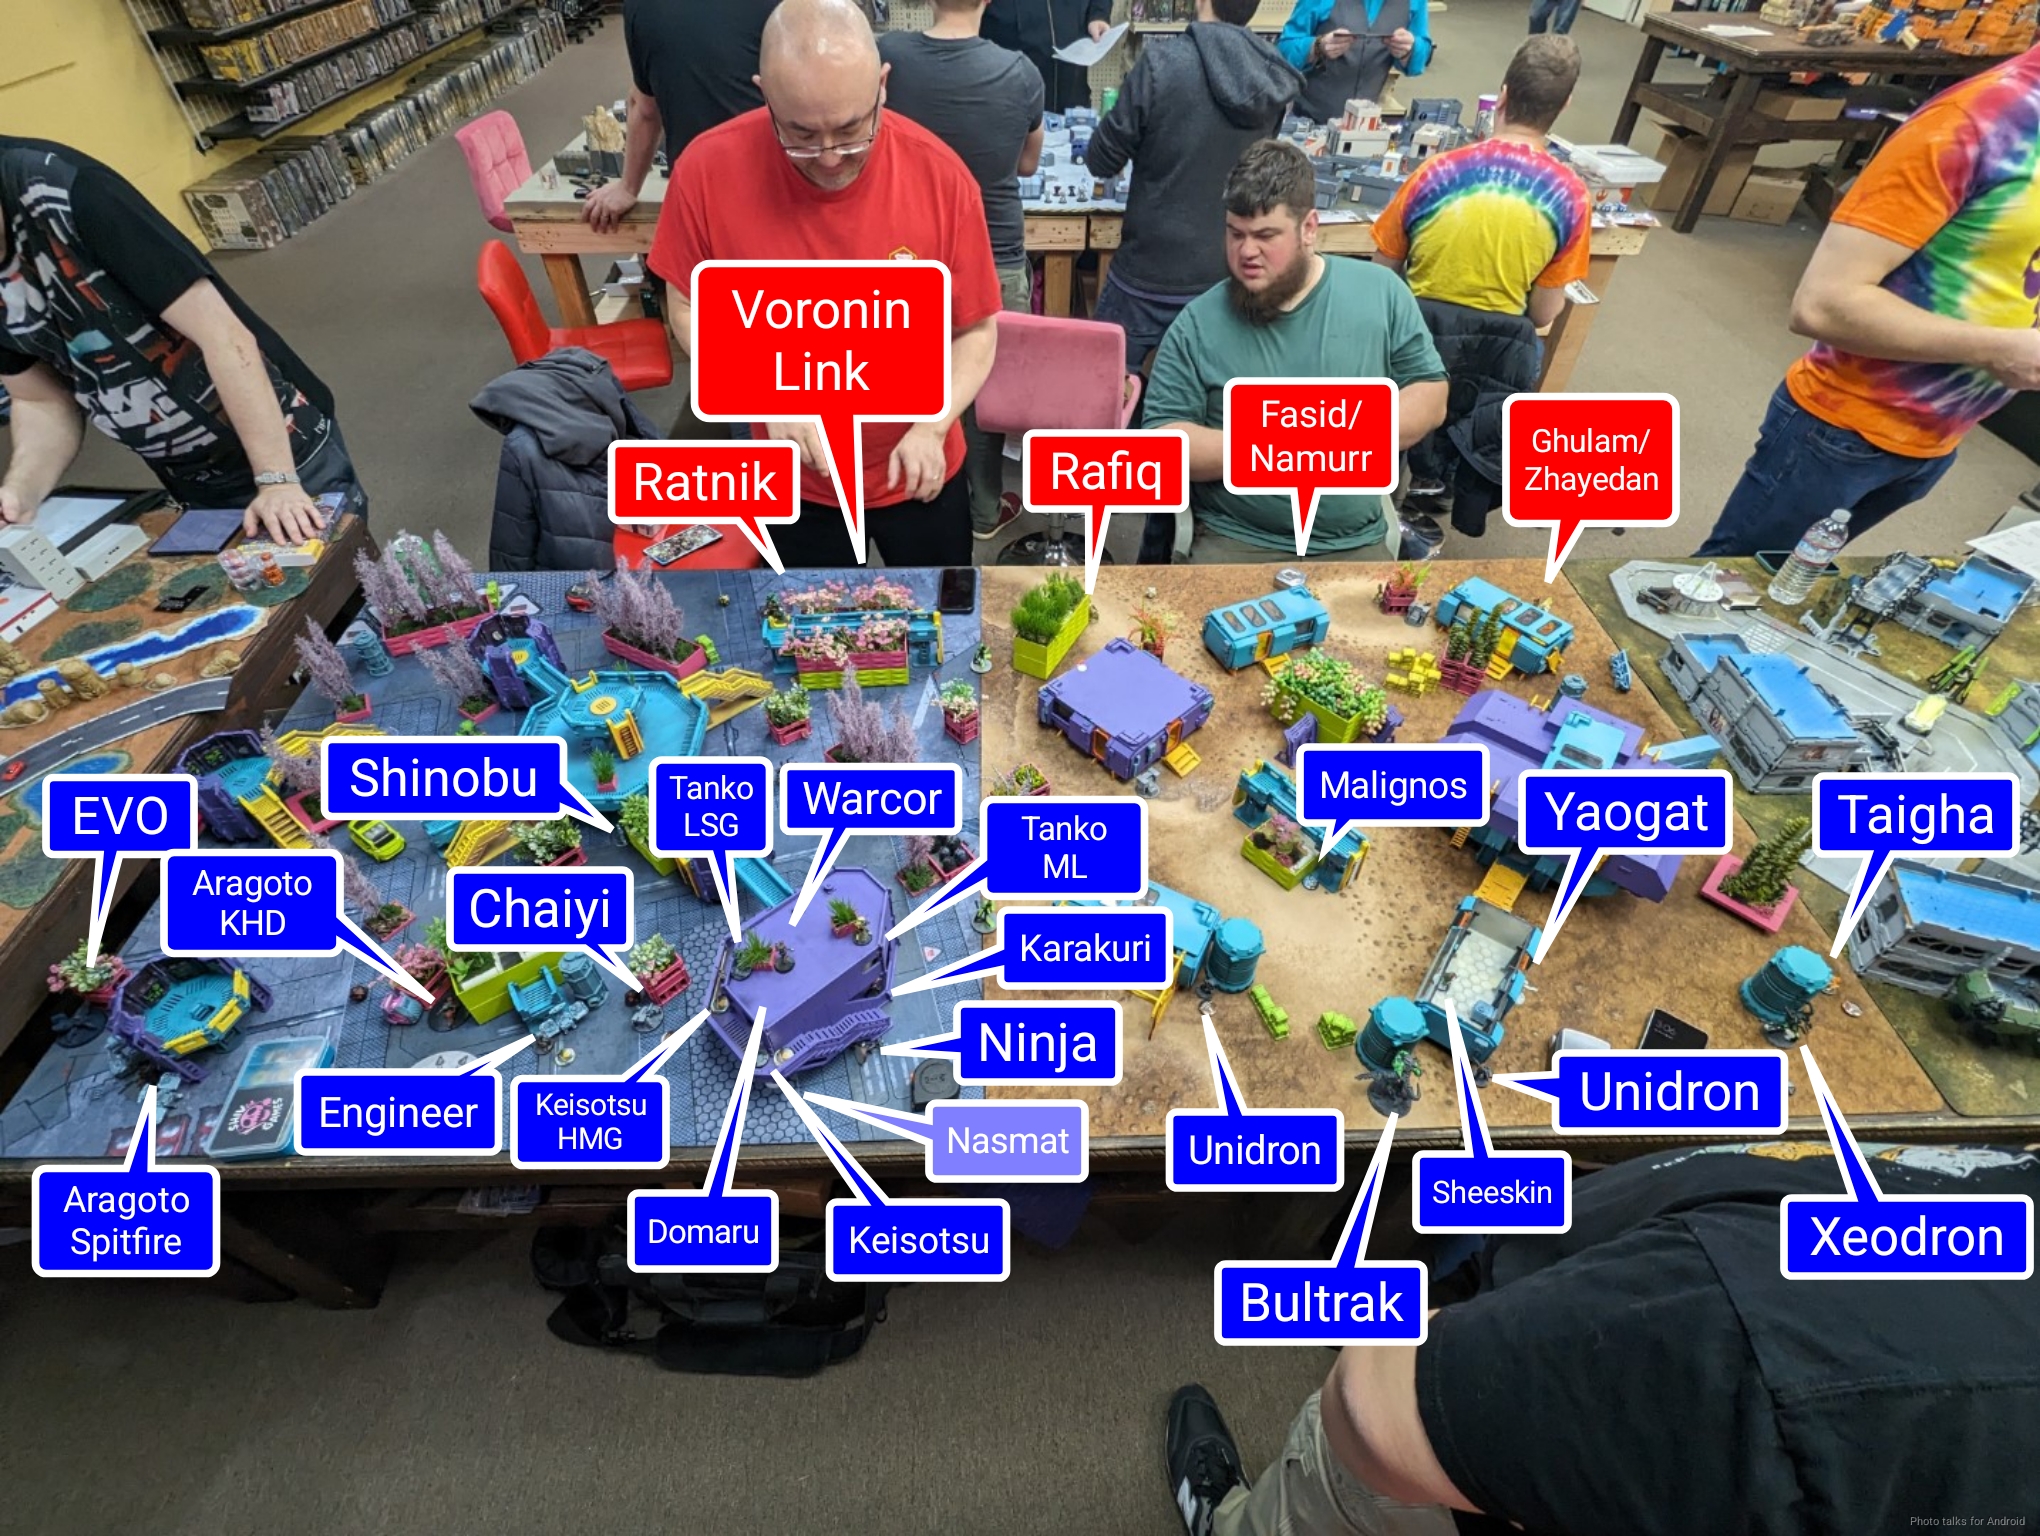
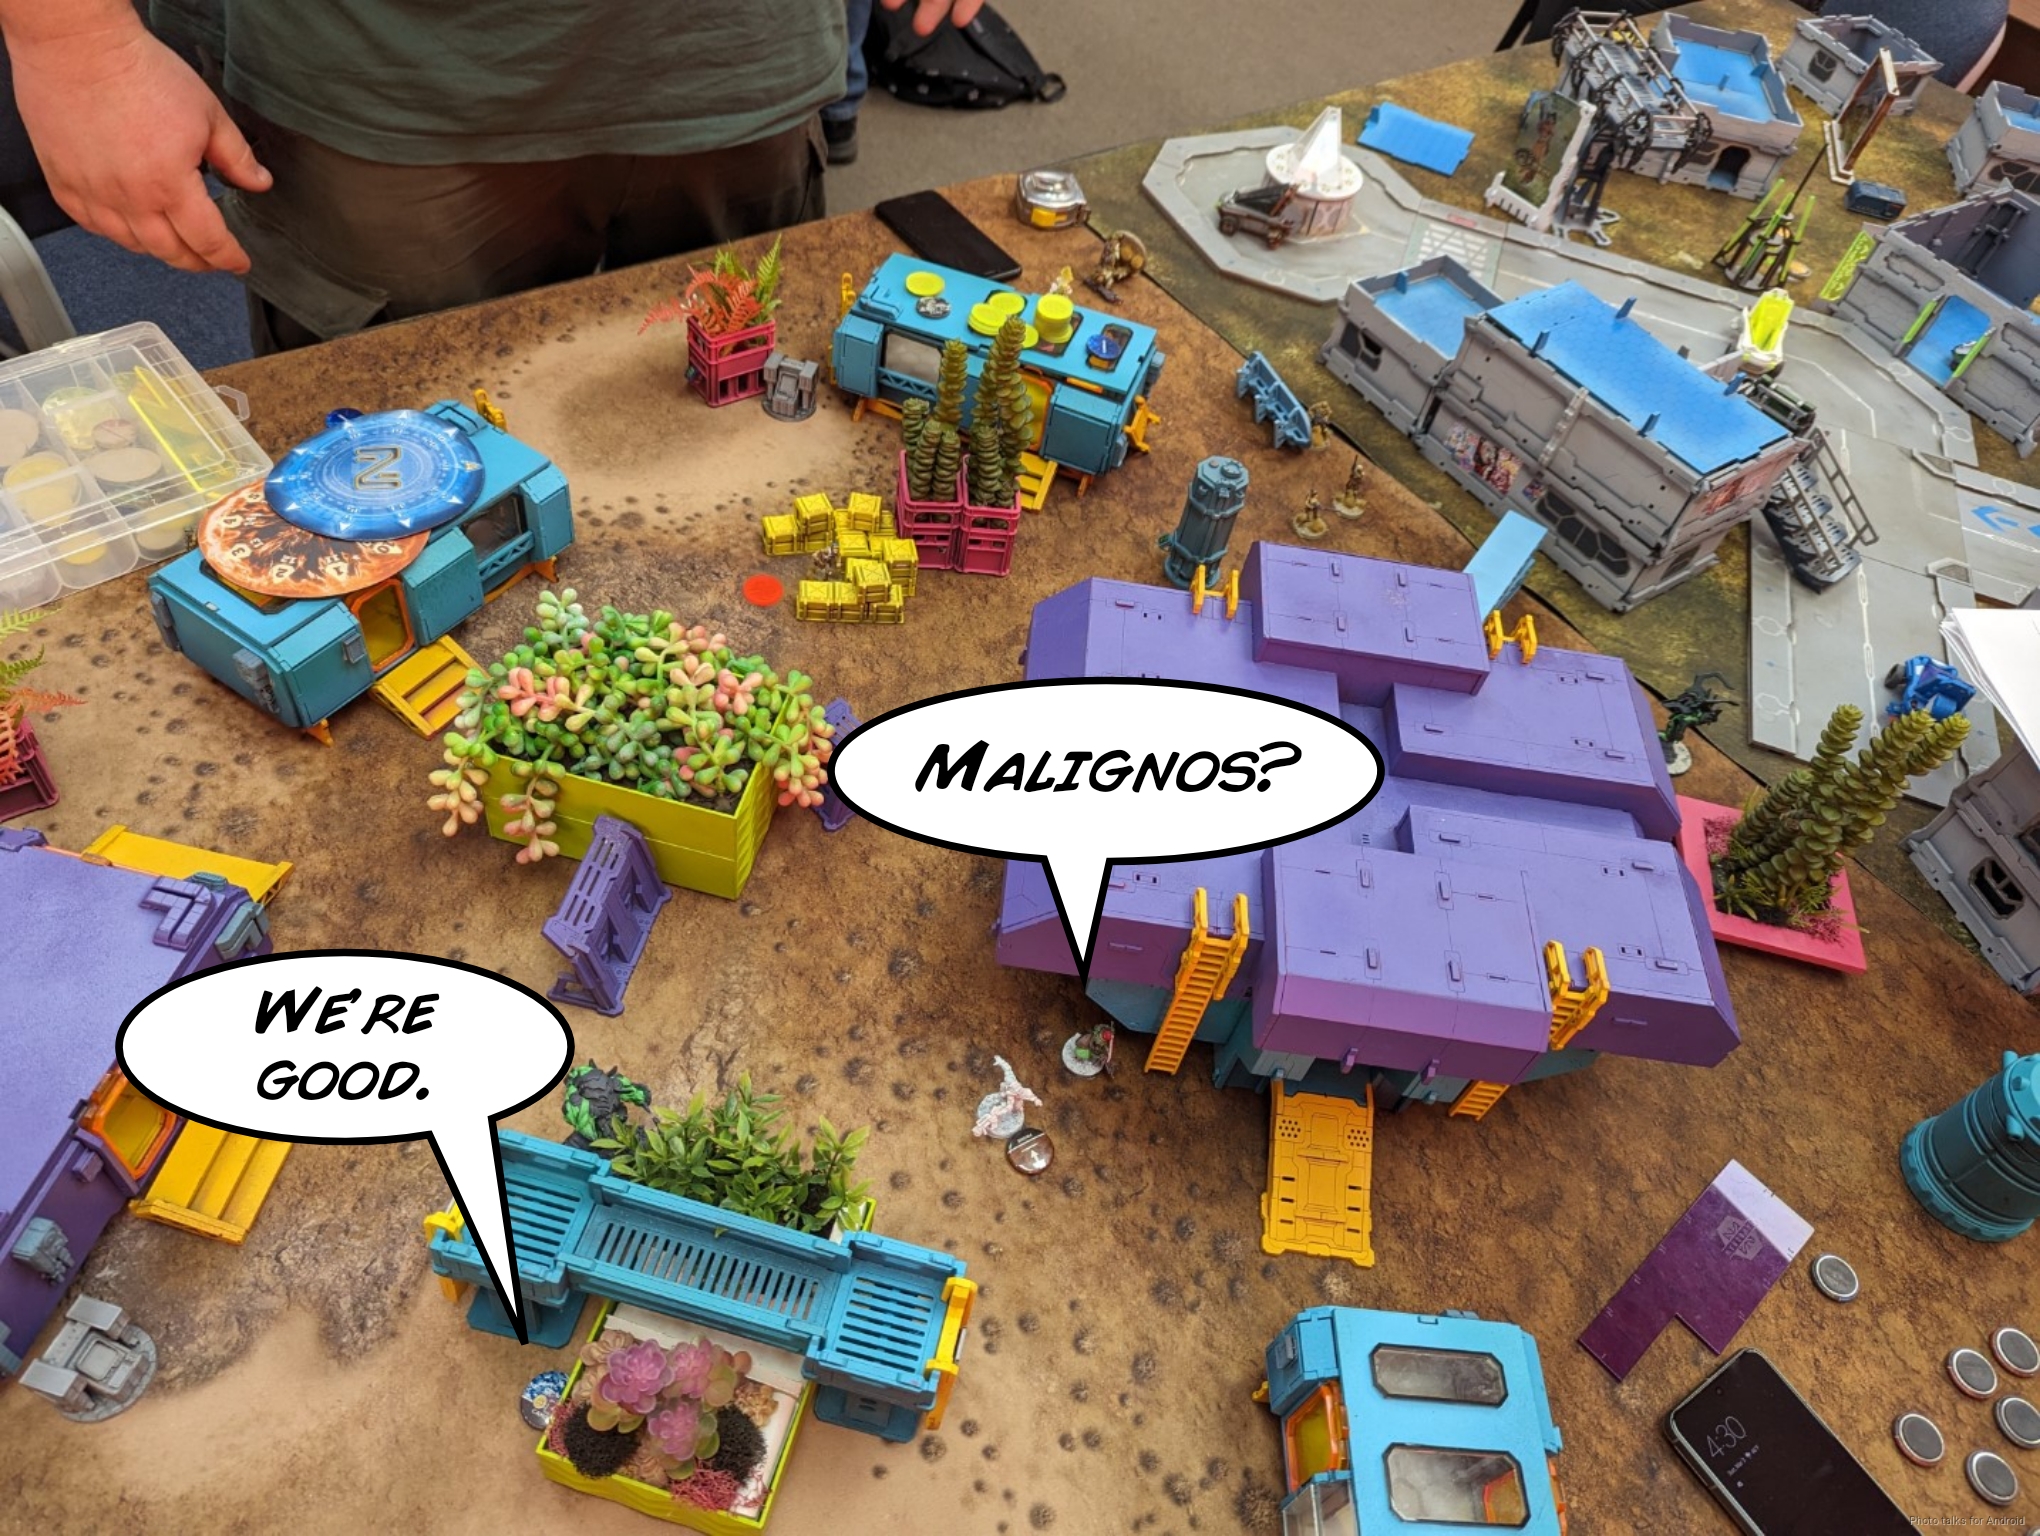
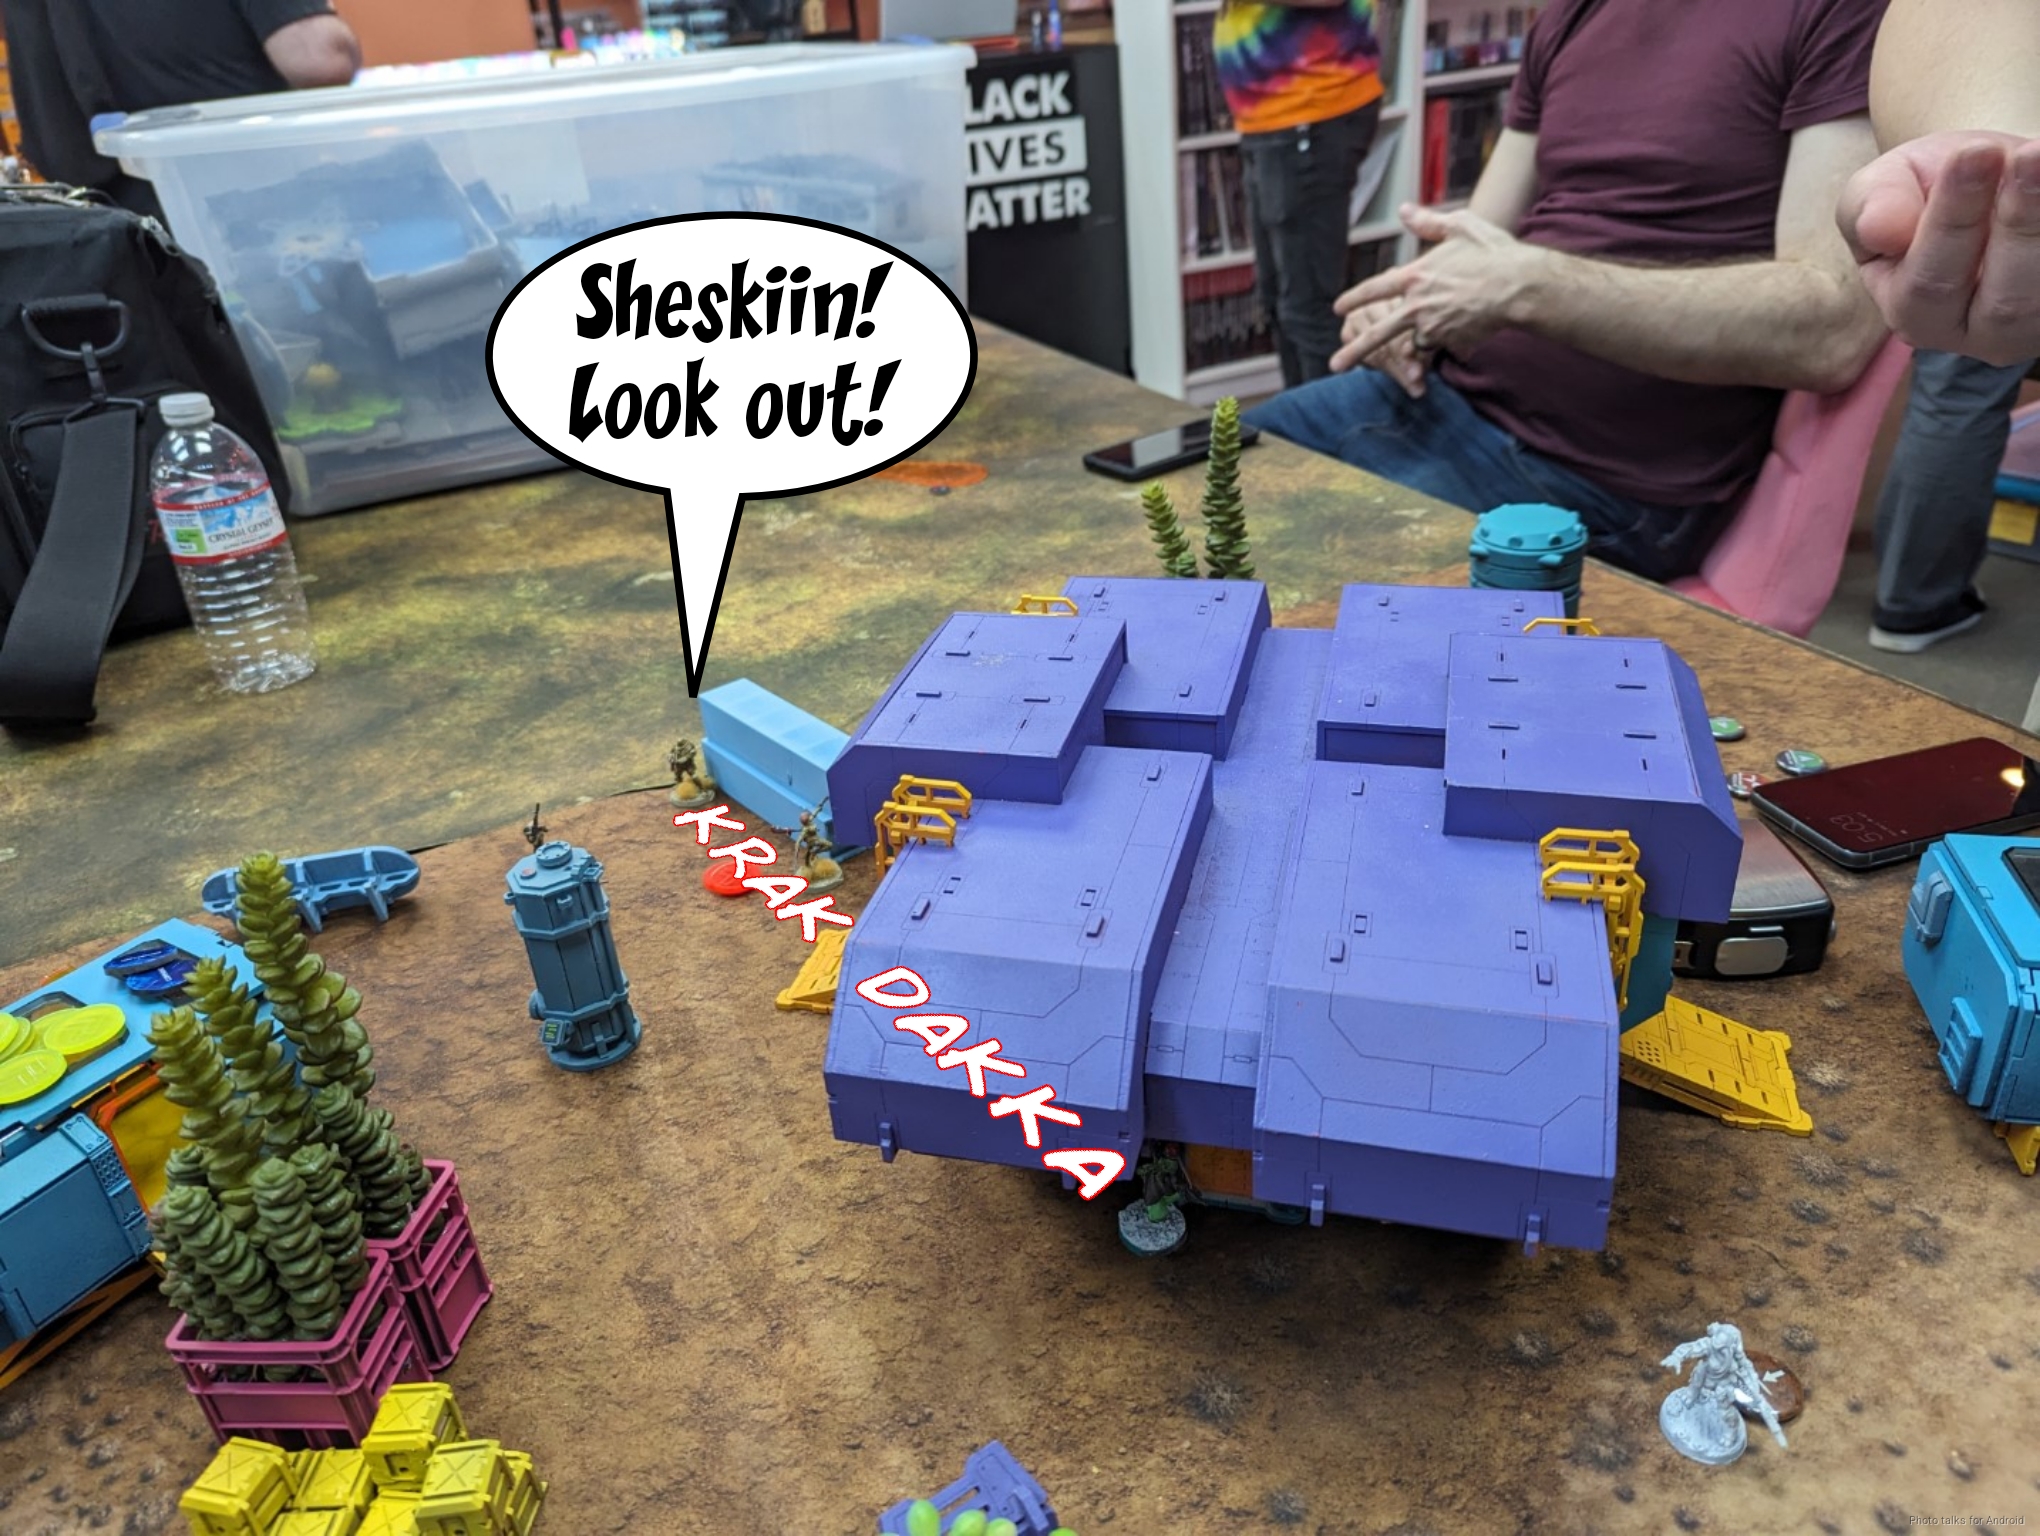
Birman’s deployment was basically Sheskin in the middle, Xeodron on the right, Bultrak on the left. Shinobu went in the middle of the table, just on my side of the centerline, to give her the best chances of passing her PH roll (which she did). And that’s that!
Turn 1
We’re playing Owen (Savnock)’s two-headed giant rules, which essentially have each team alternating order expenditure (i.e. Tony then Cole then Tony, etc). You can see my first time playing this format here:
Work has been extremely busy, so more than a month behind on battle reports. This was also a fabulously complex one to photo edit and recall, so I’m sure there will be some continuity errors (like with the lists). That said, all the major plot points are intact and correct–that, I’m certain of.
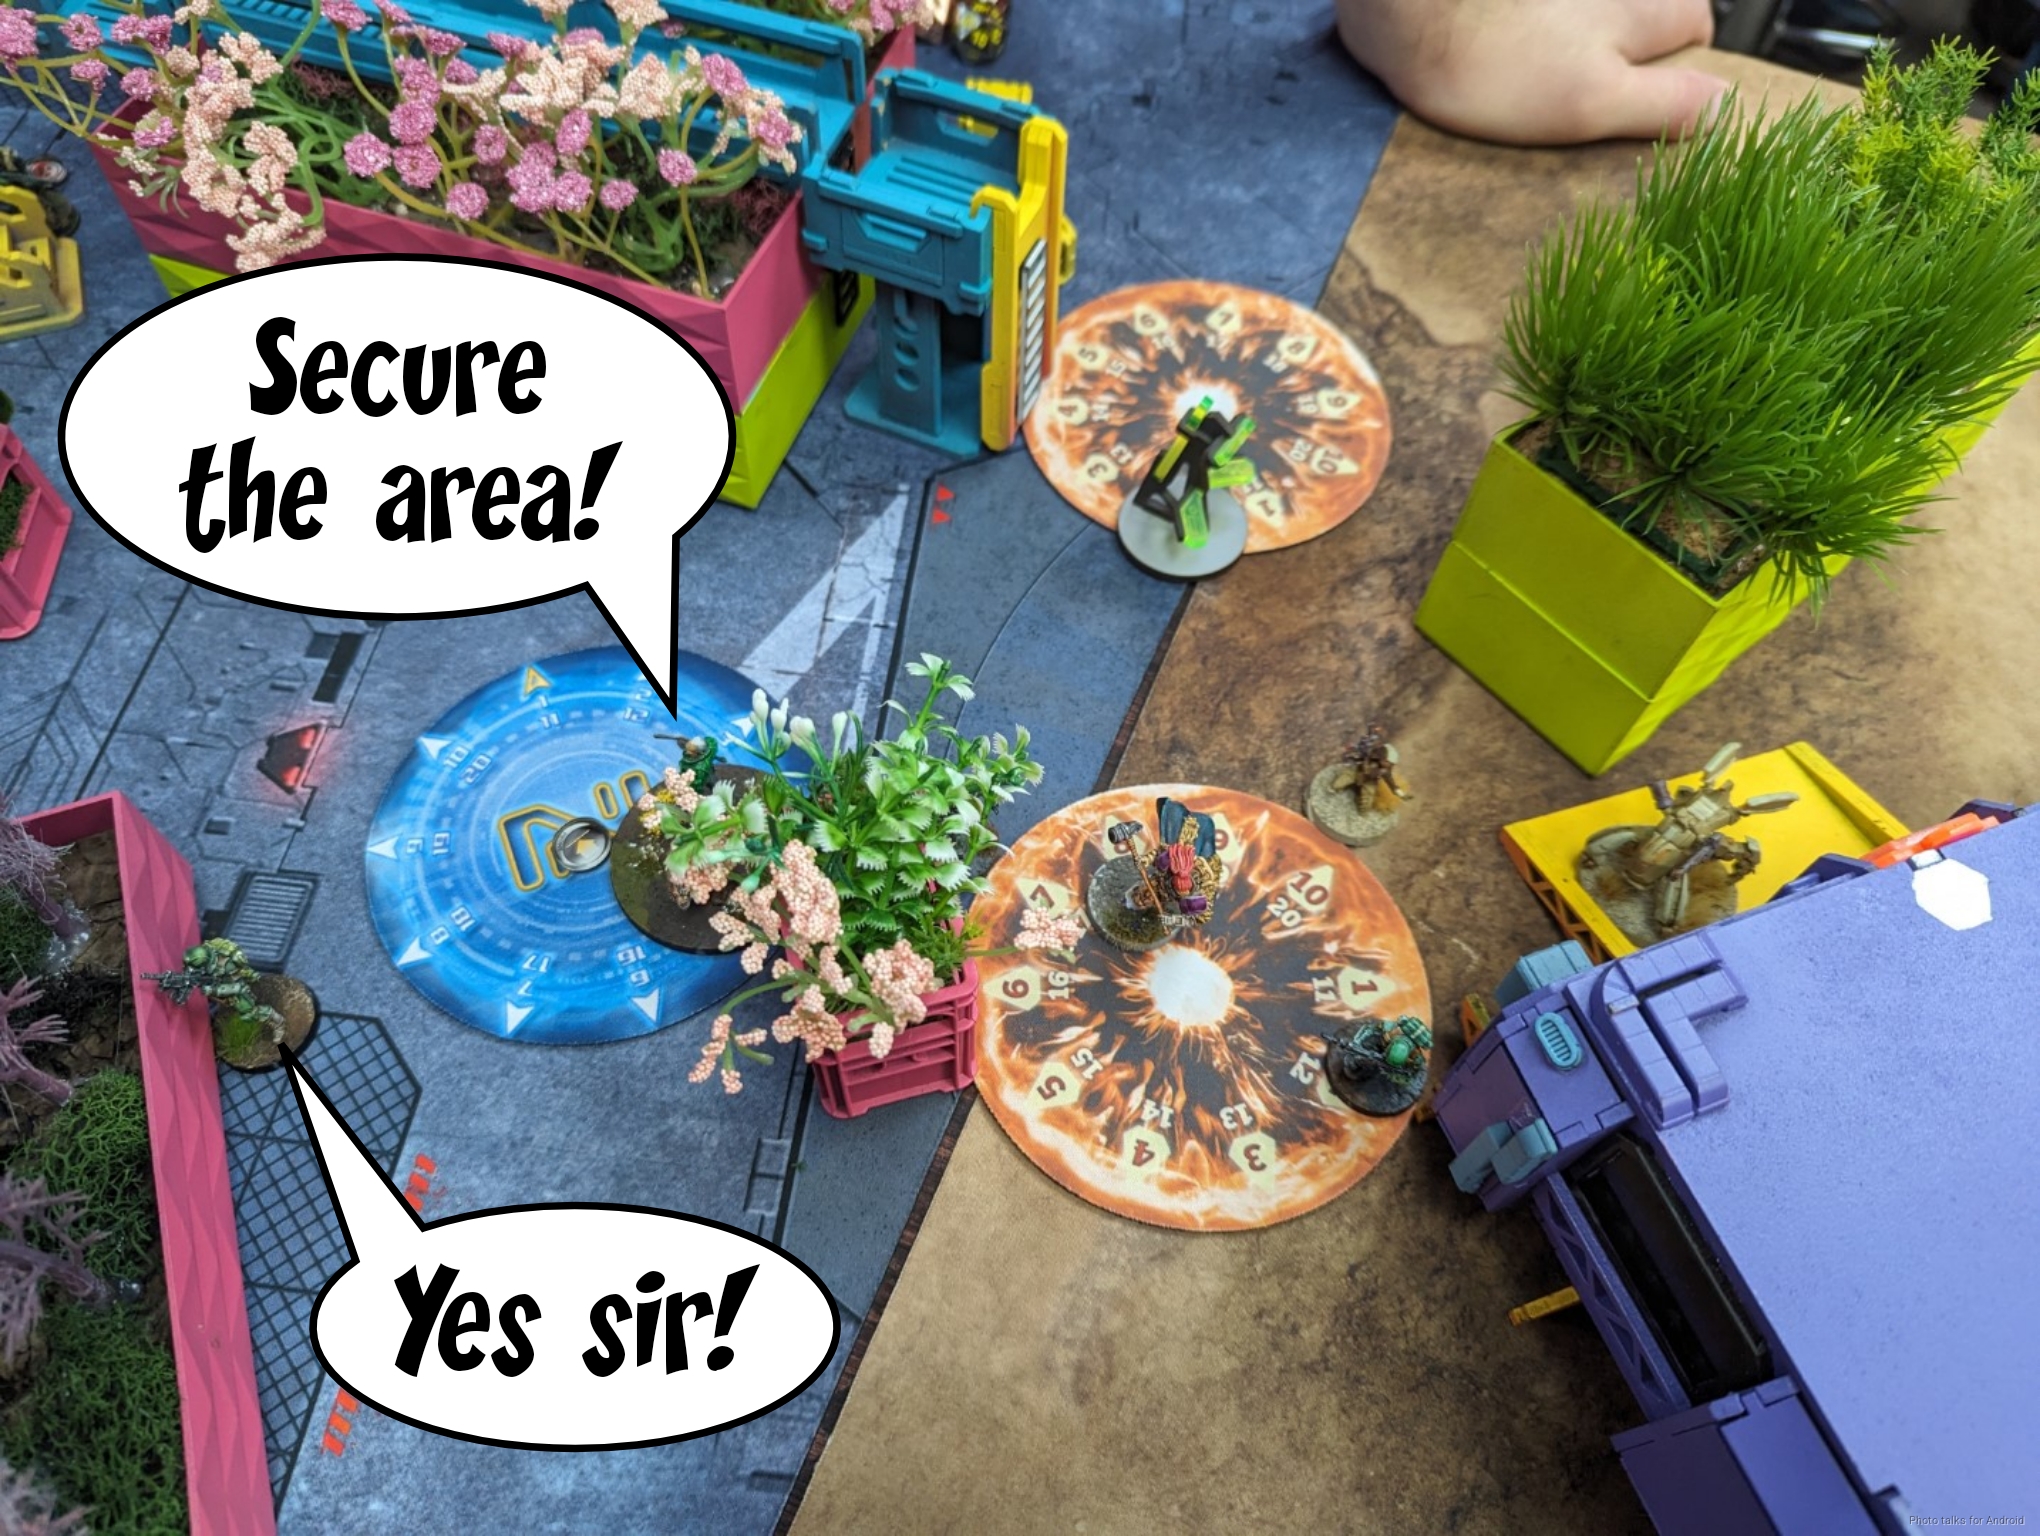
Top of 1 – Ramah/TAK
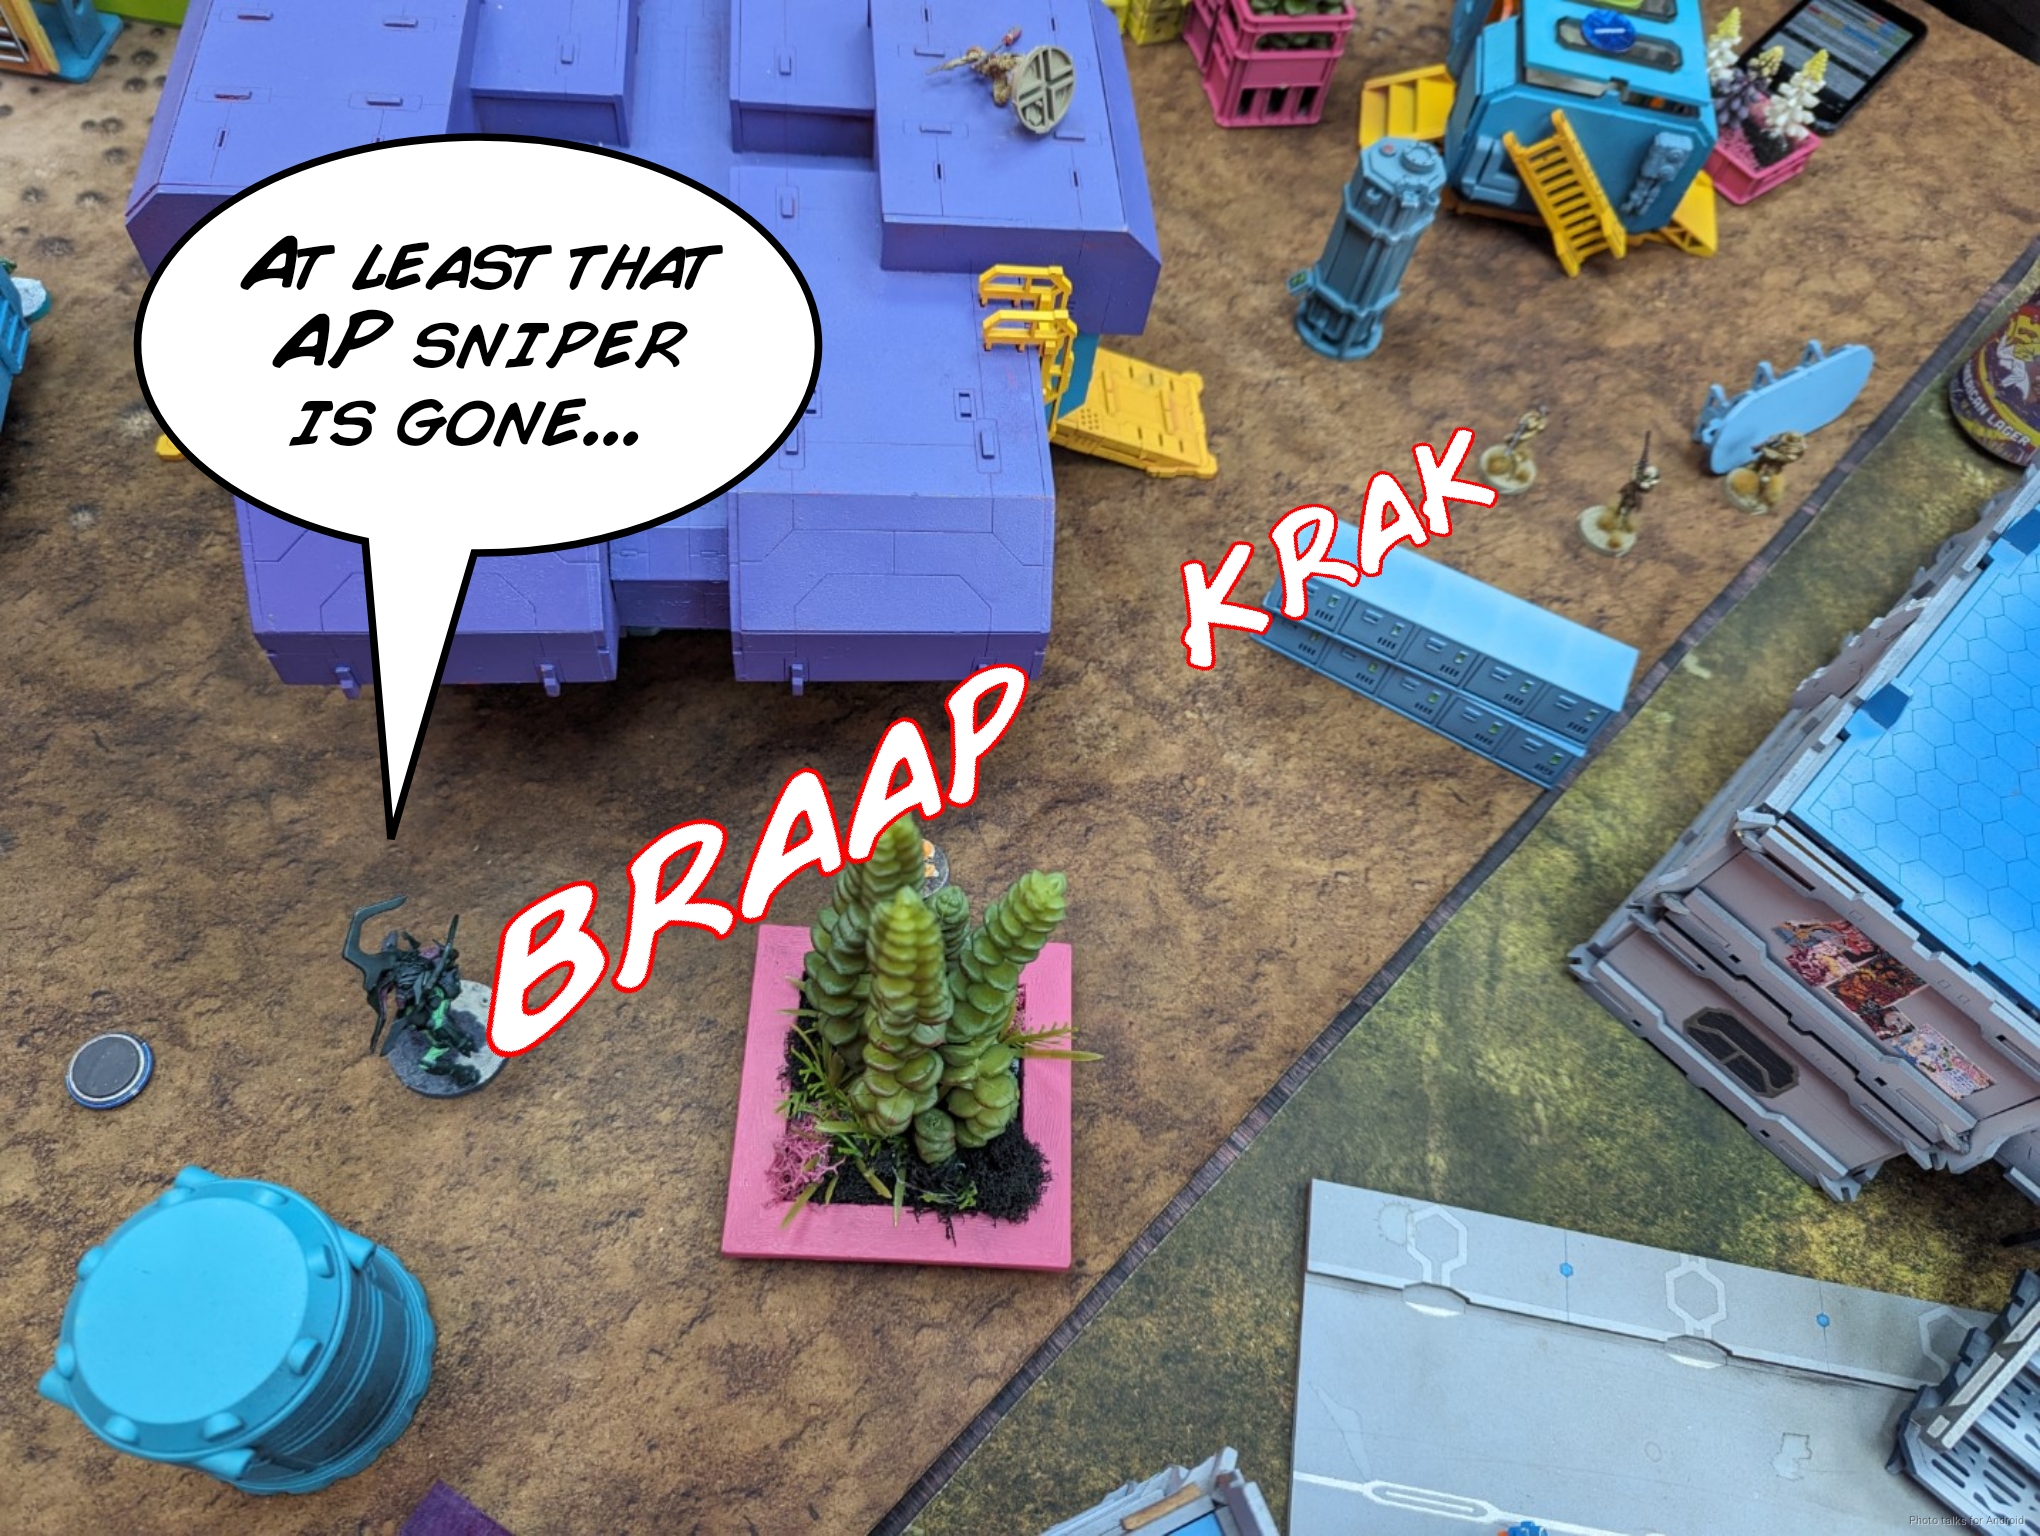
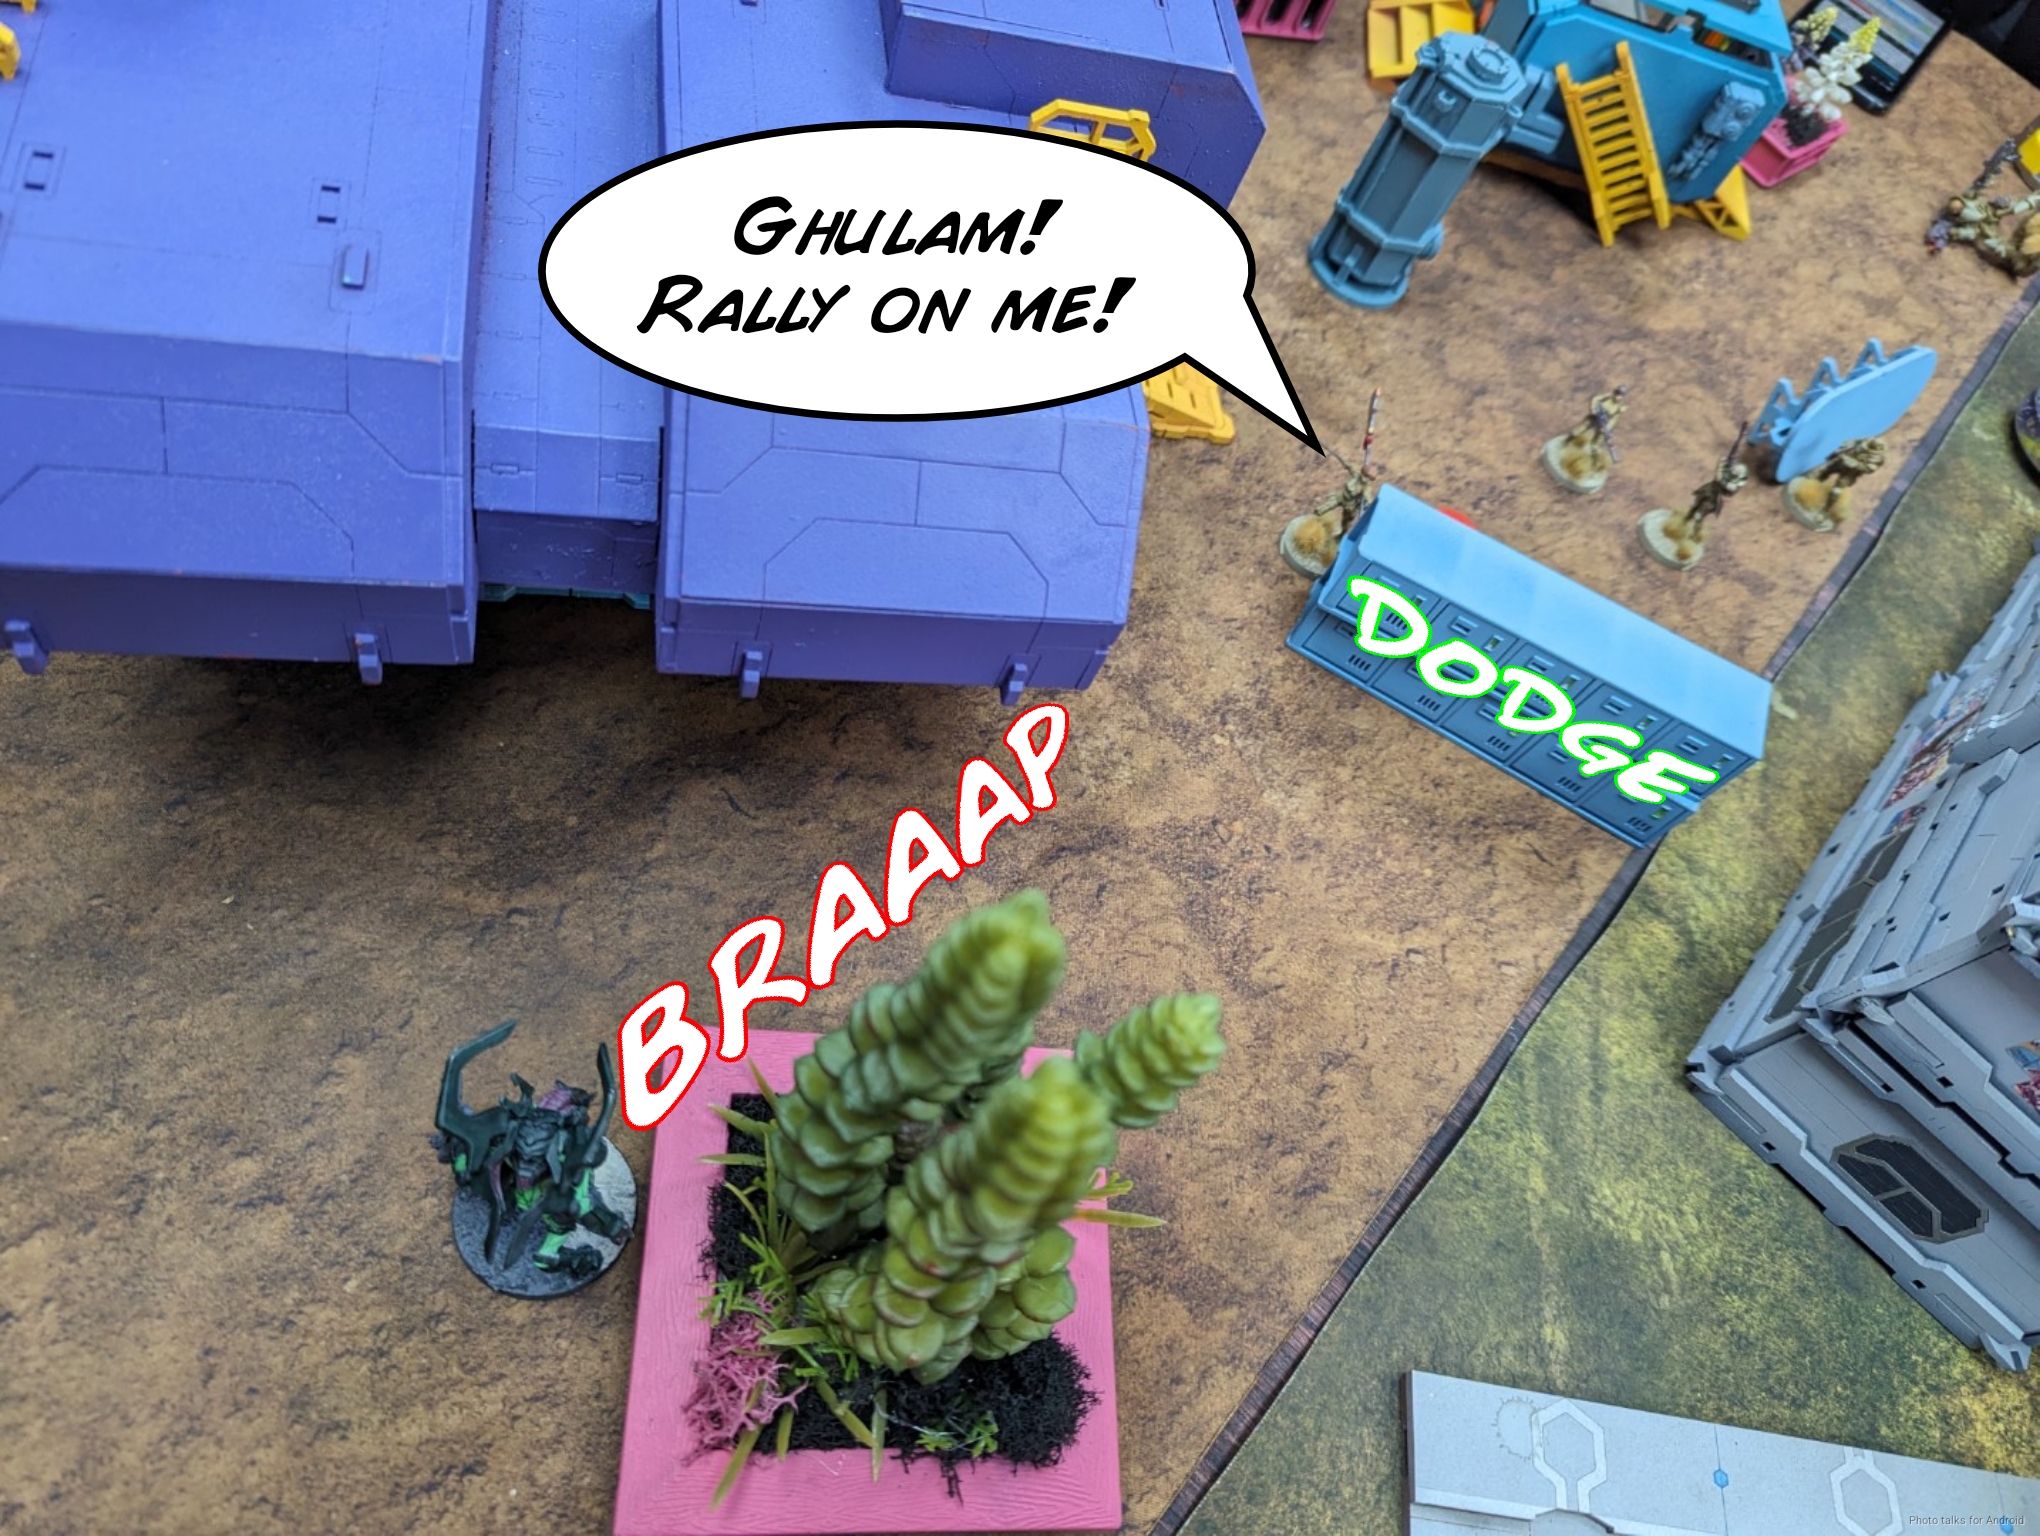
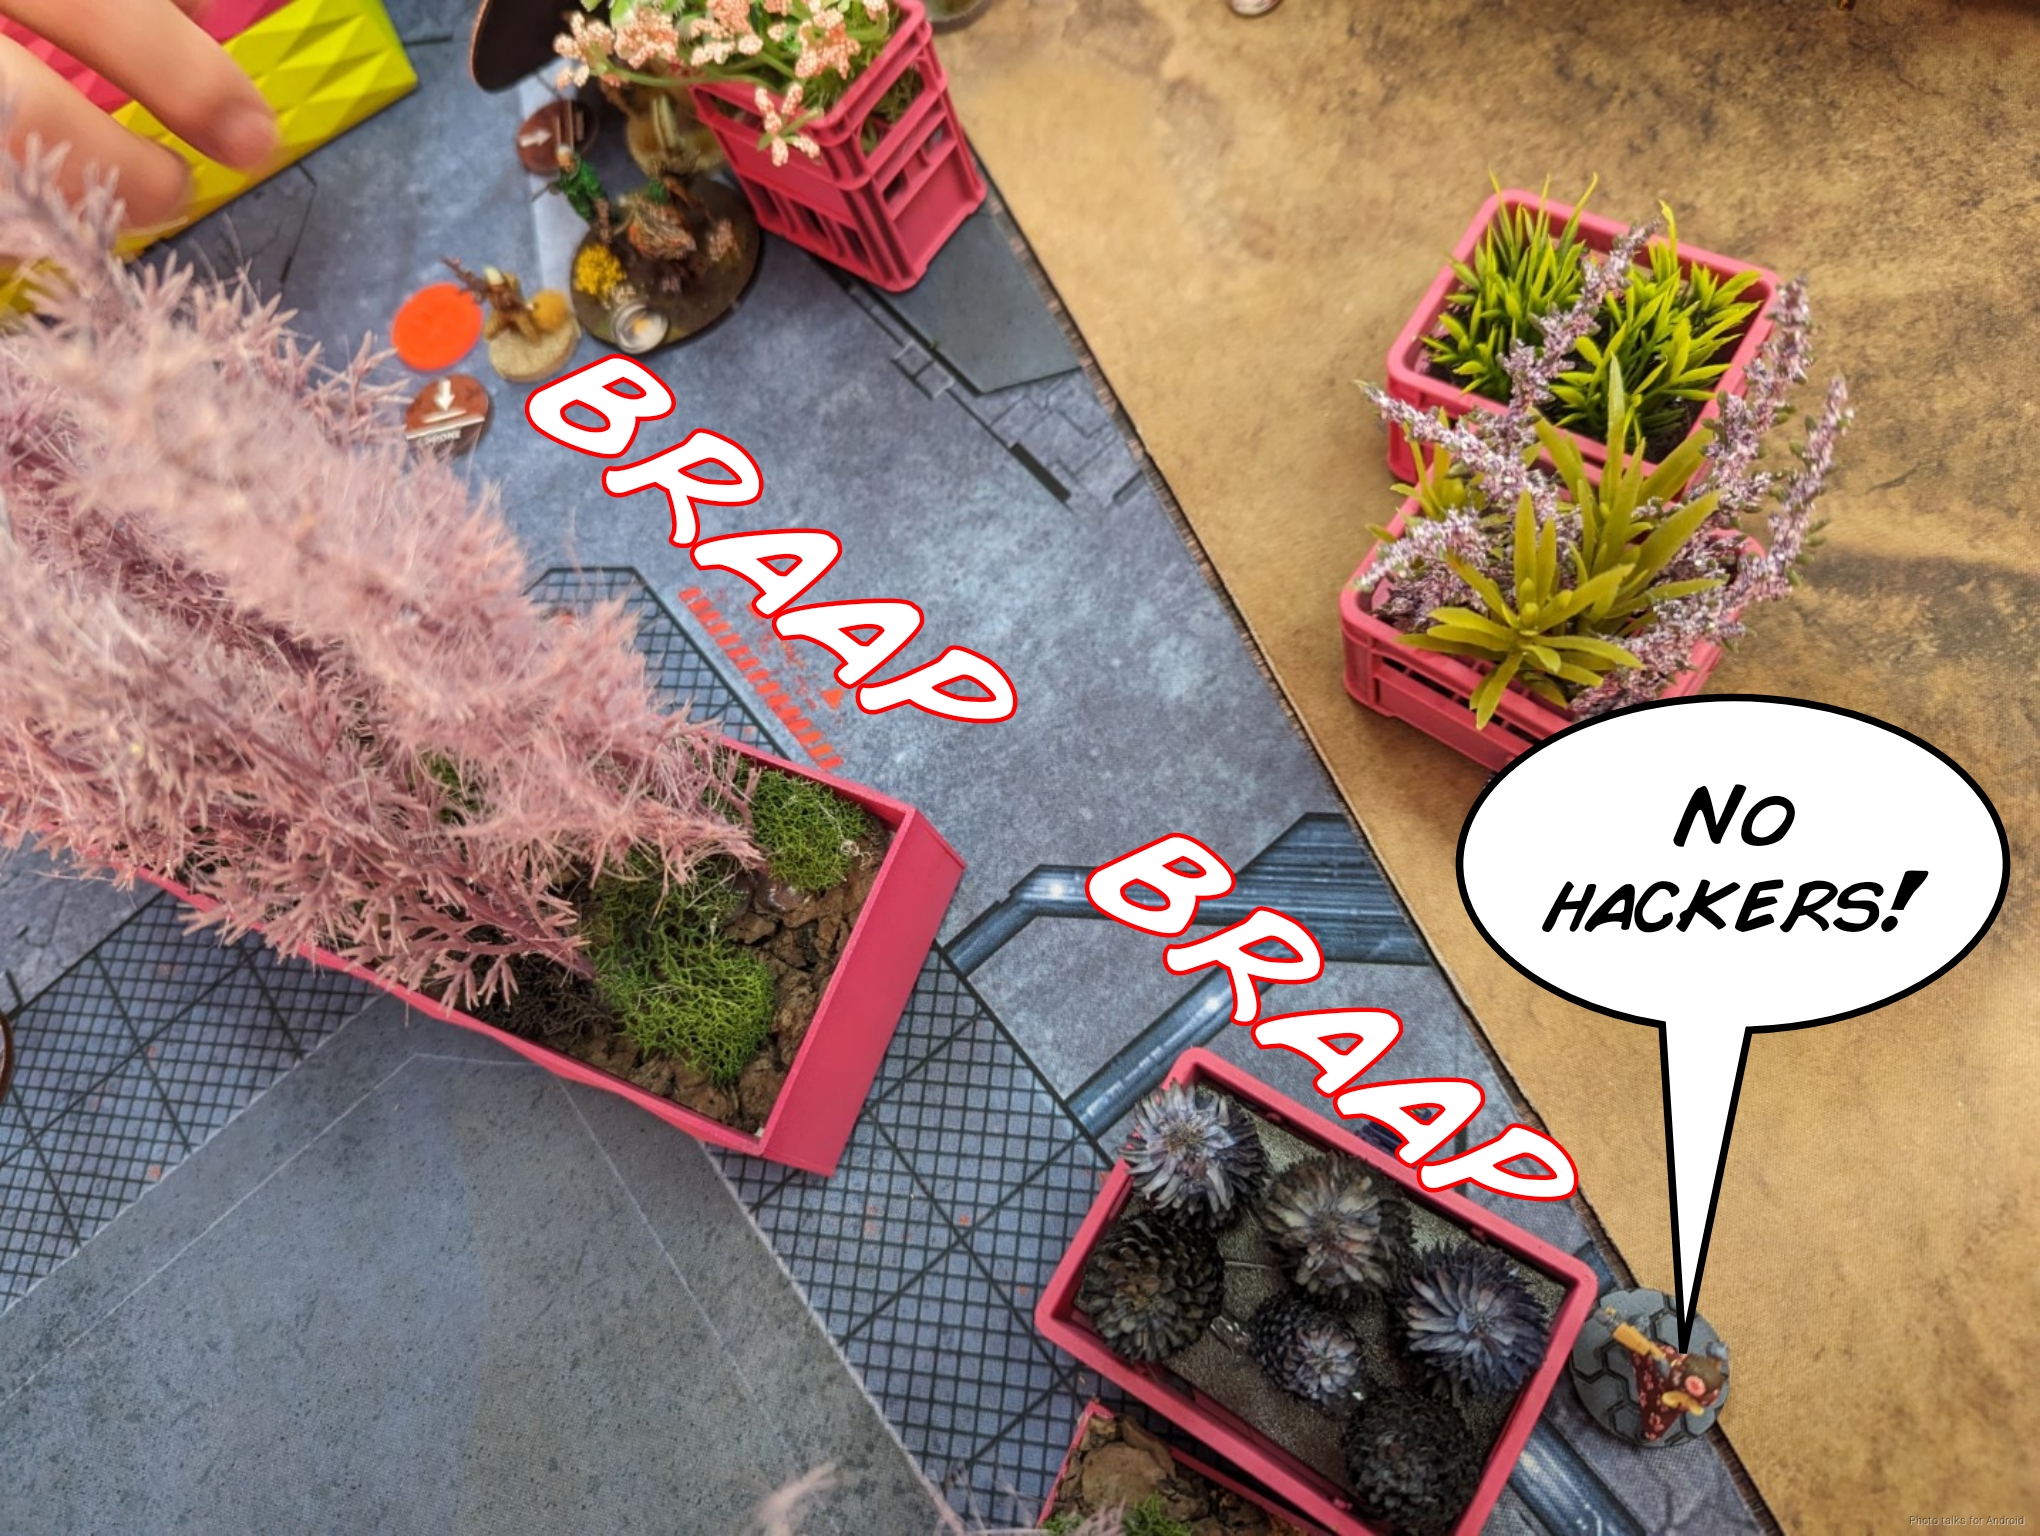
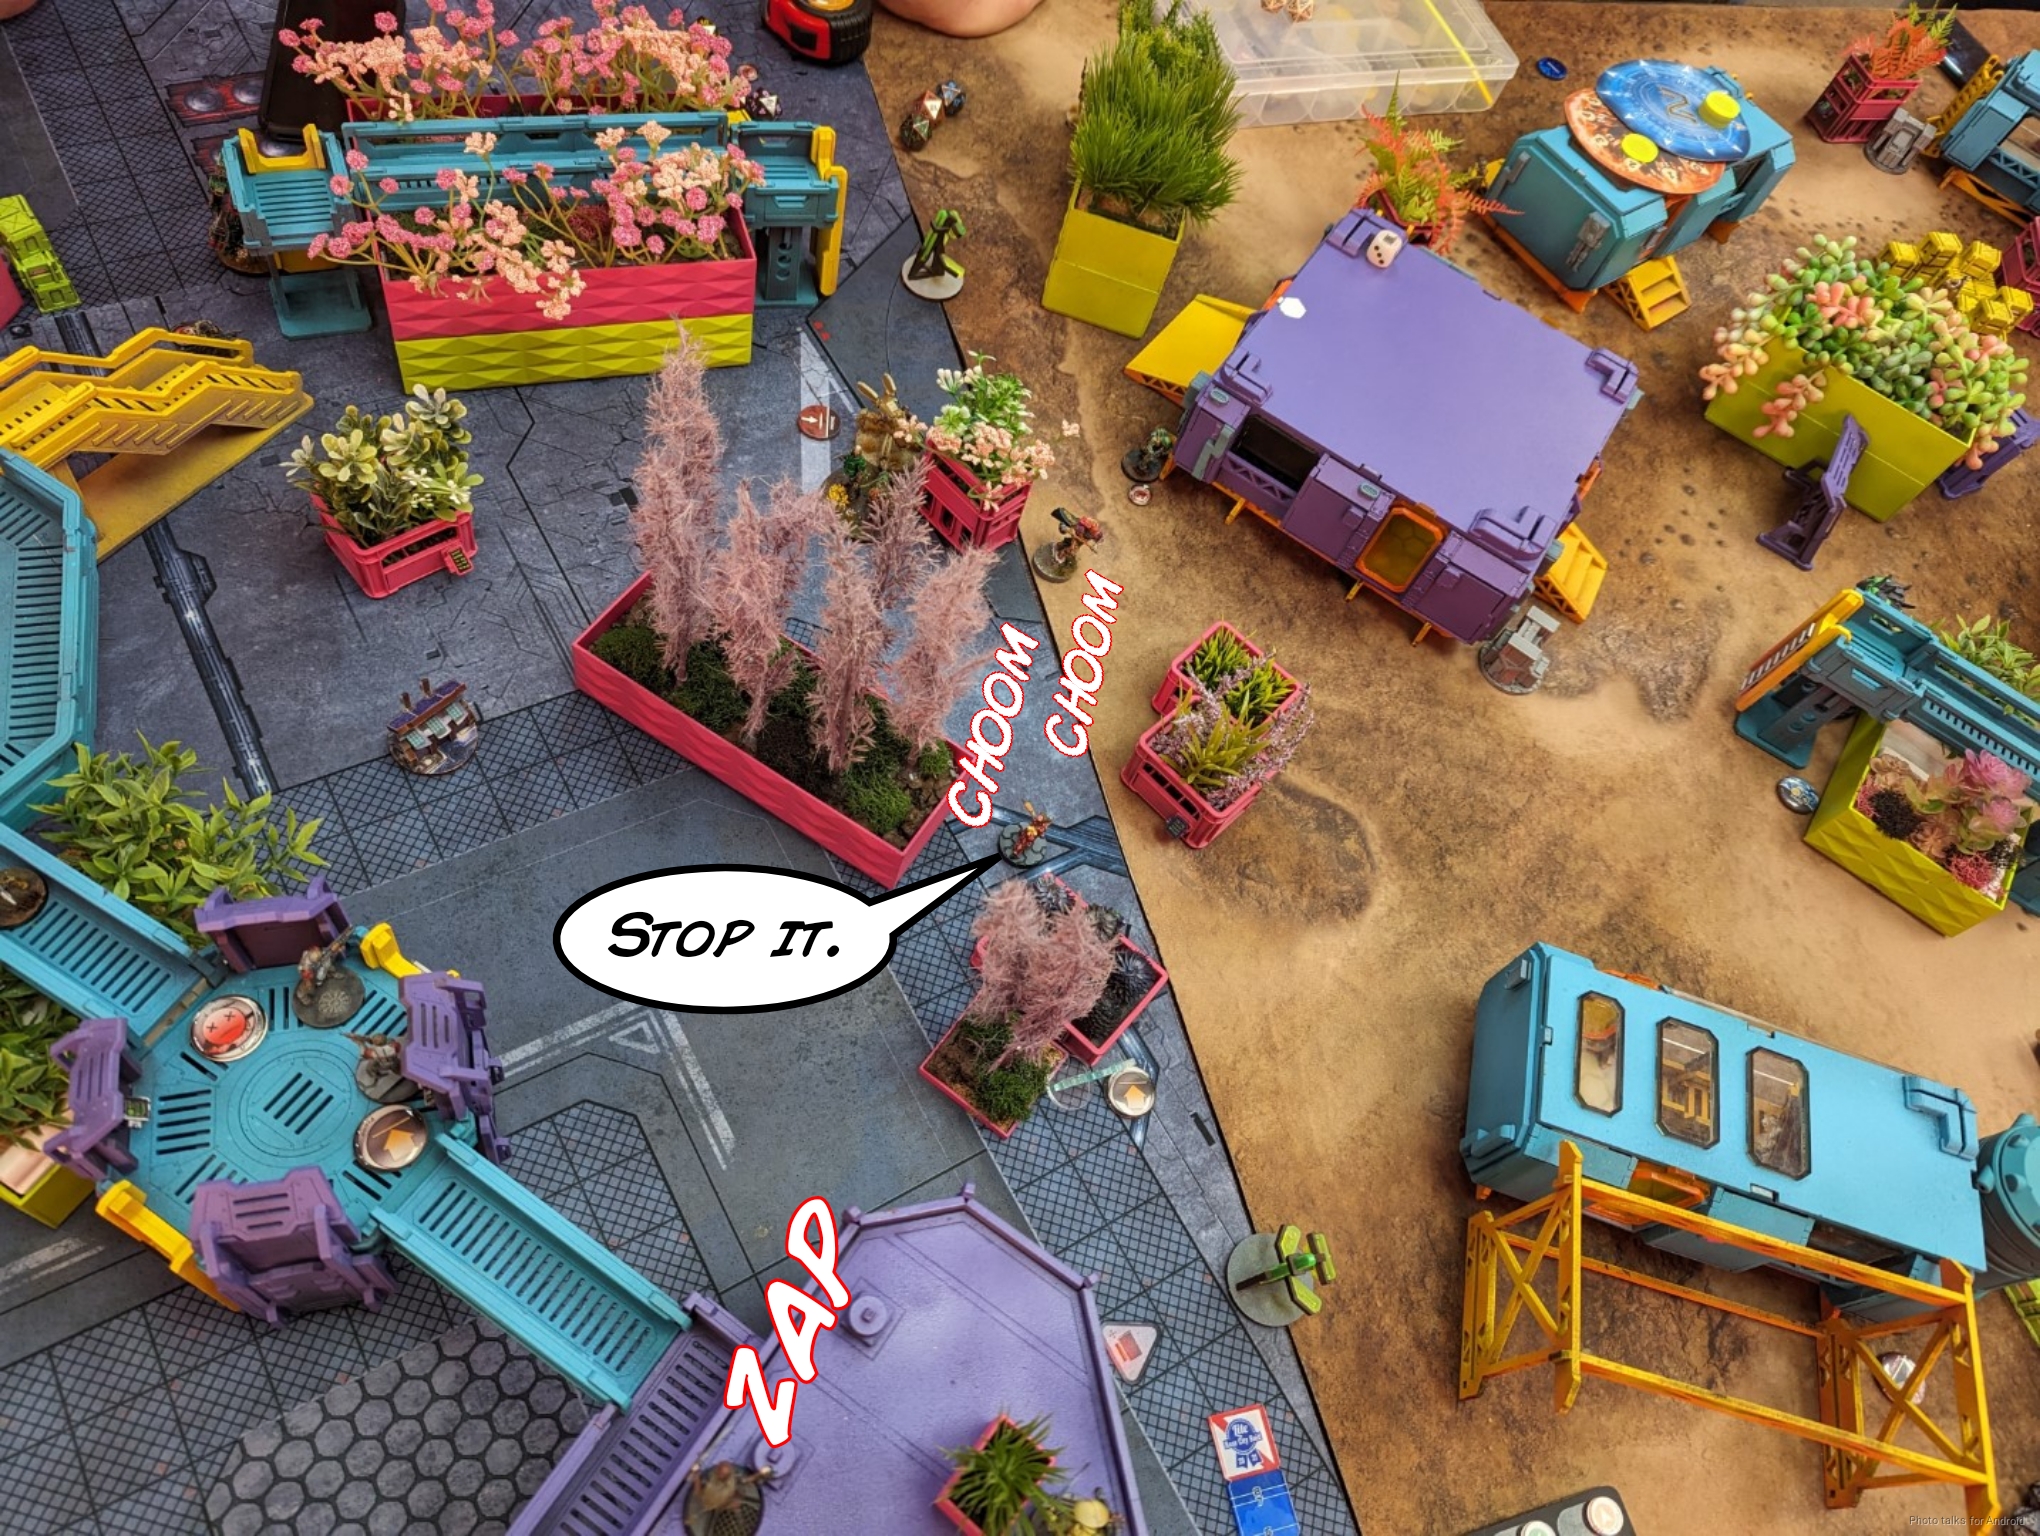
My objective for this turn is to just keep the Tanko ML alive for as long as possible. We’re really just here to buy time and gum up the works as much as possible. We start with the Hortlak challenging the Tanko ML and dying.
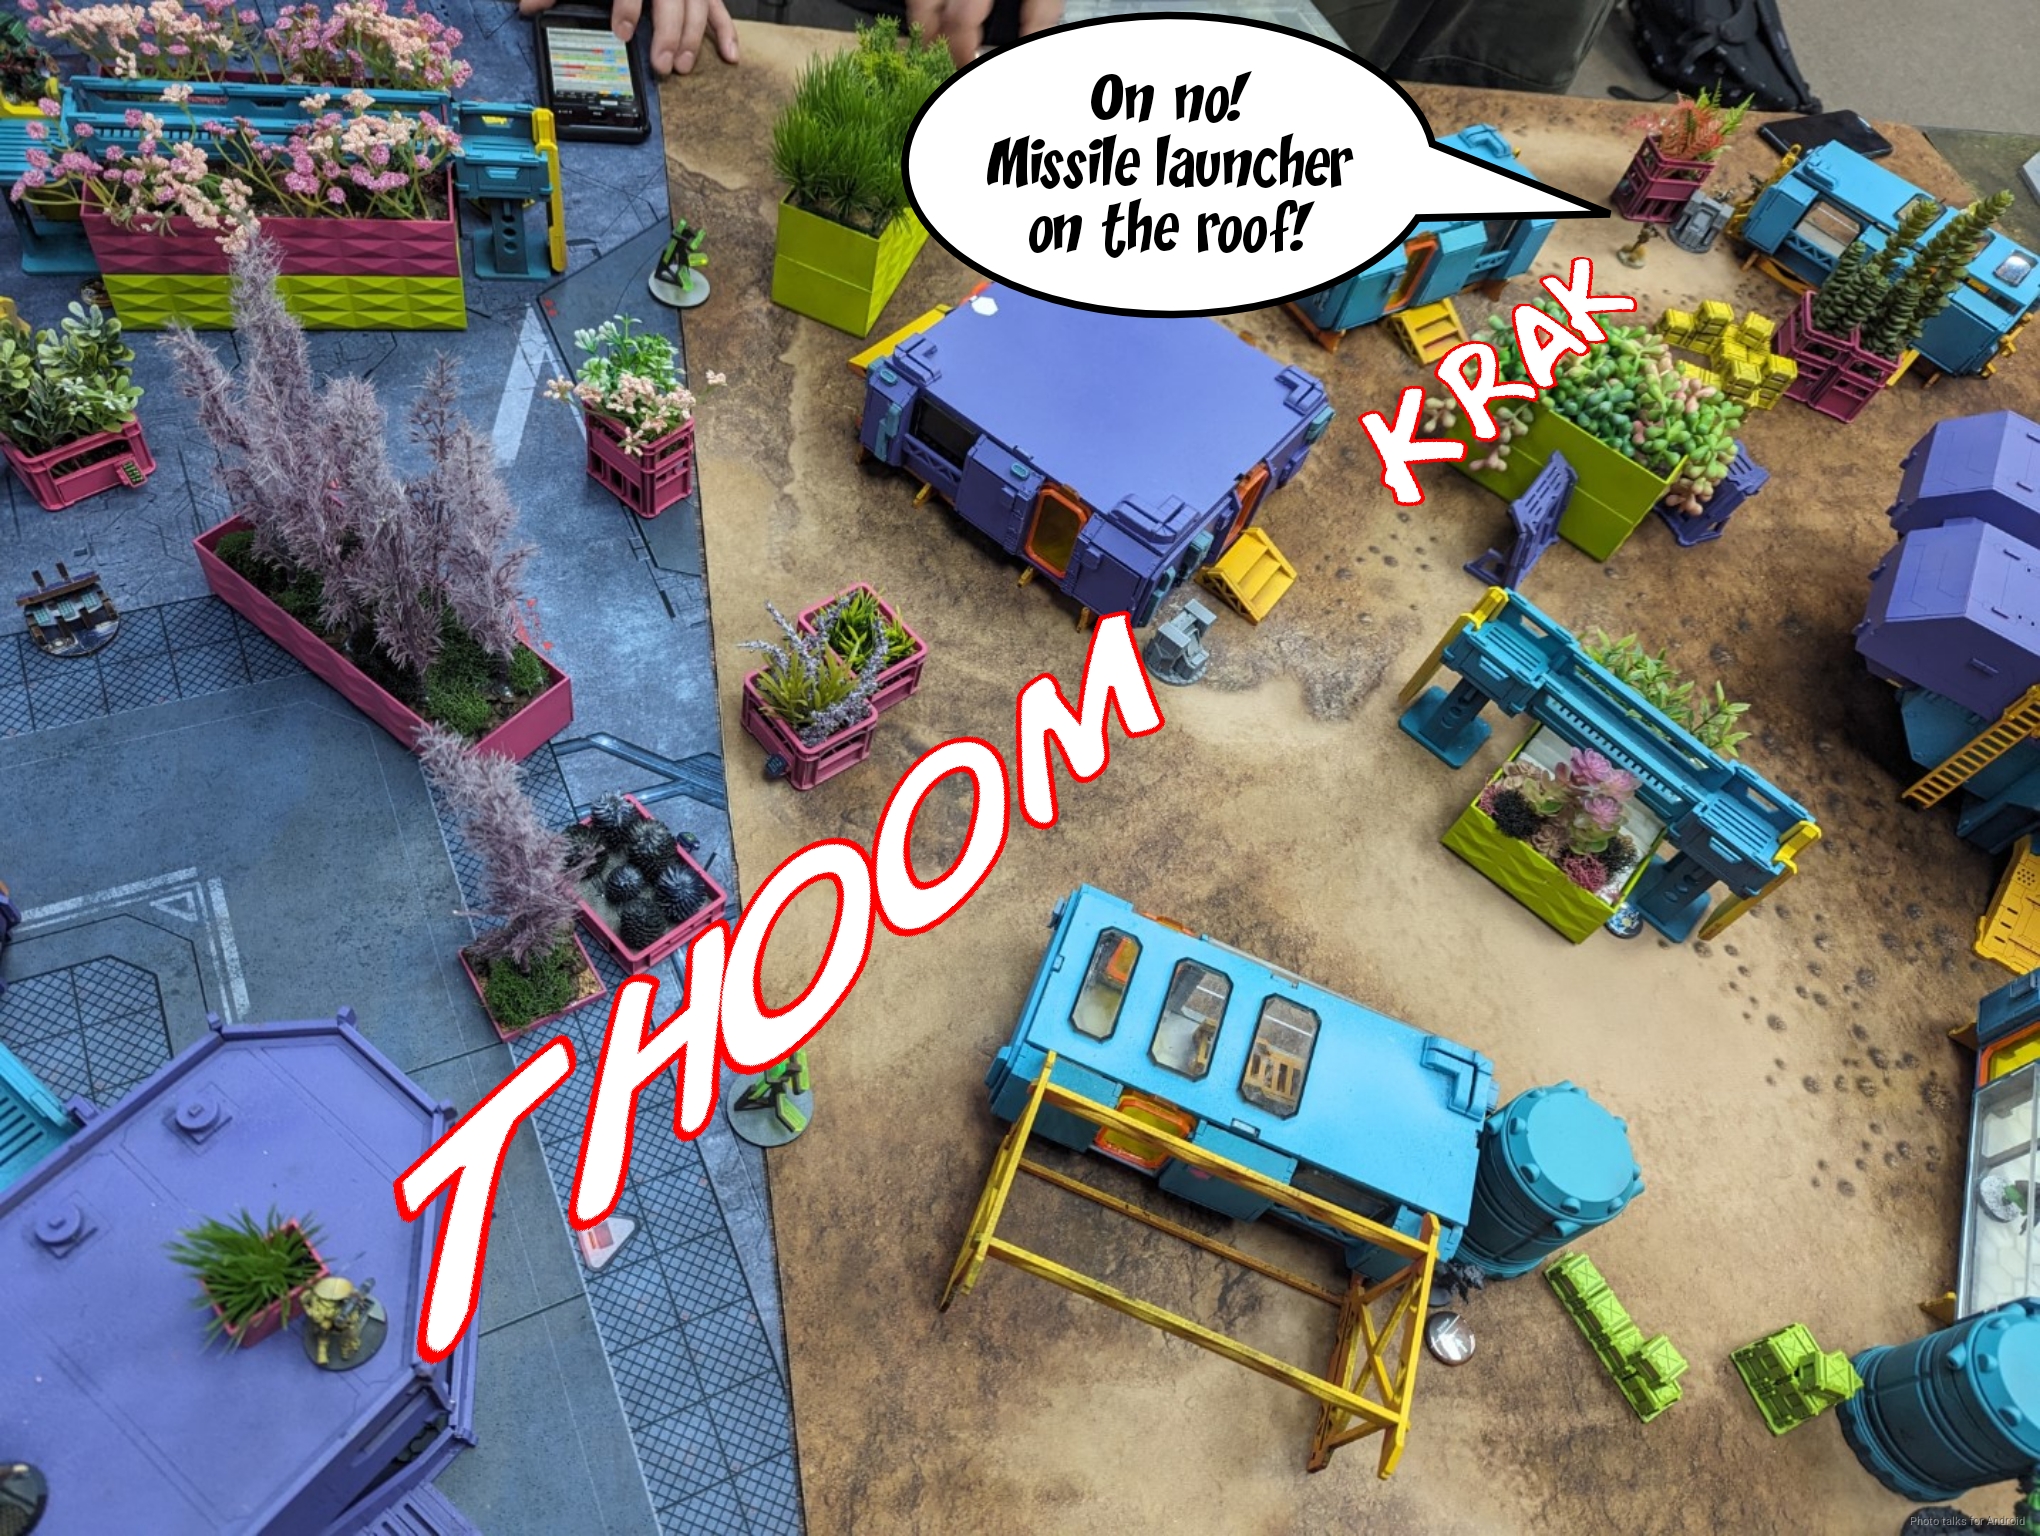
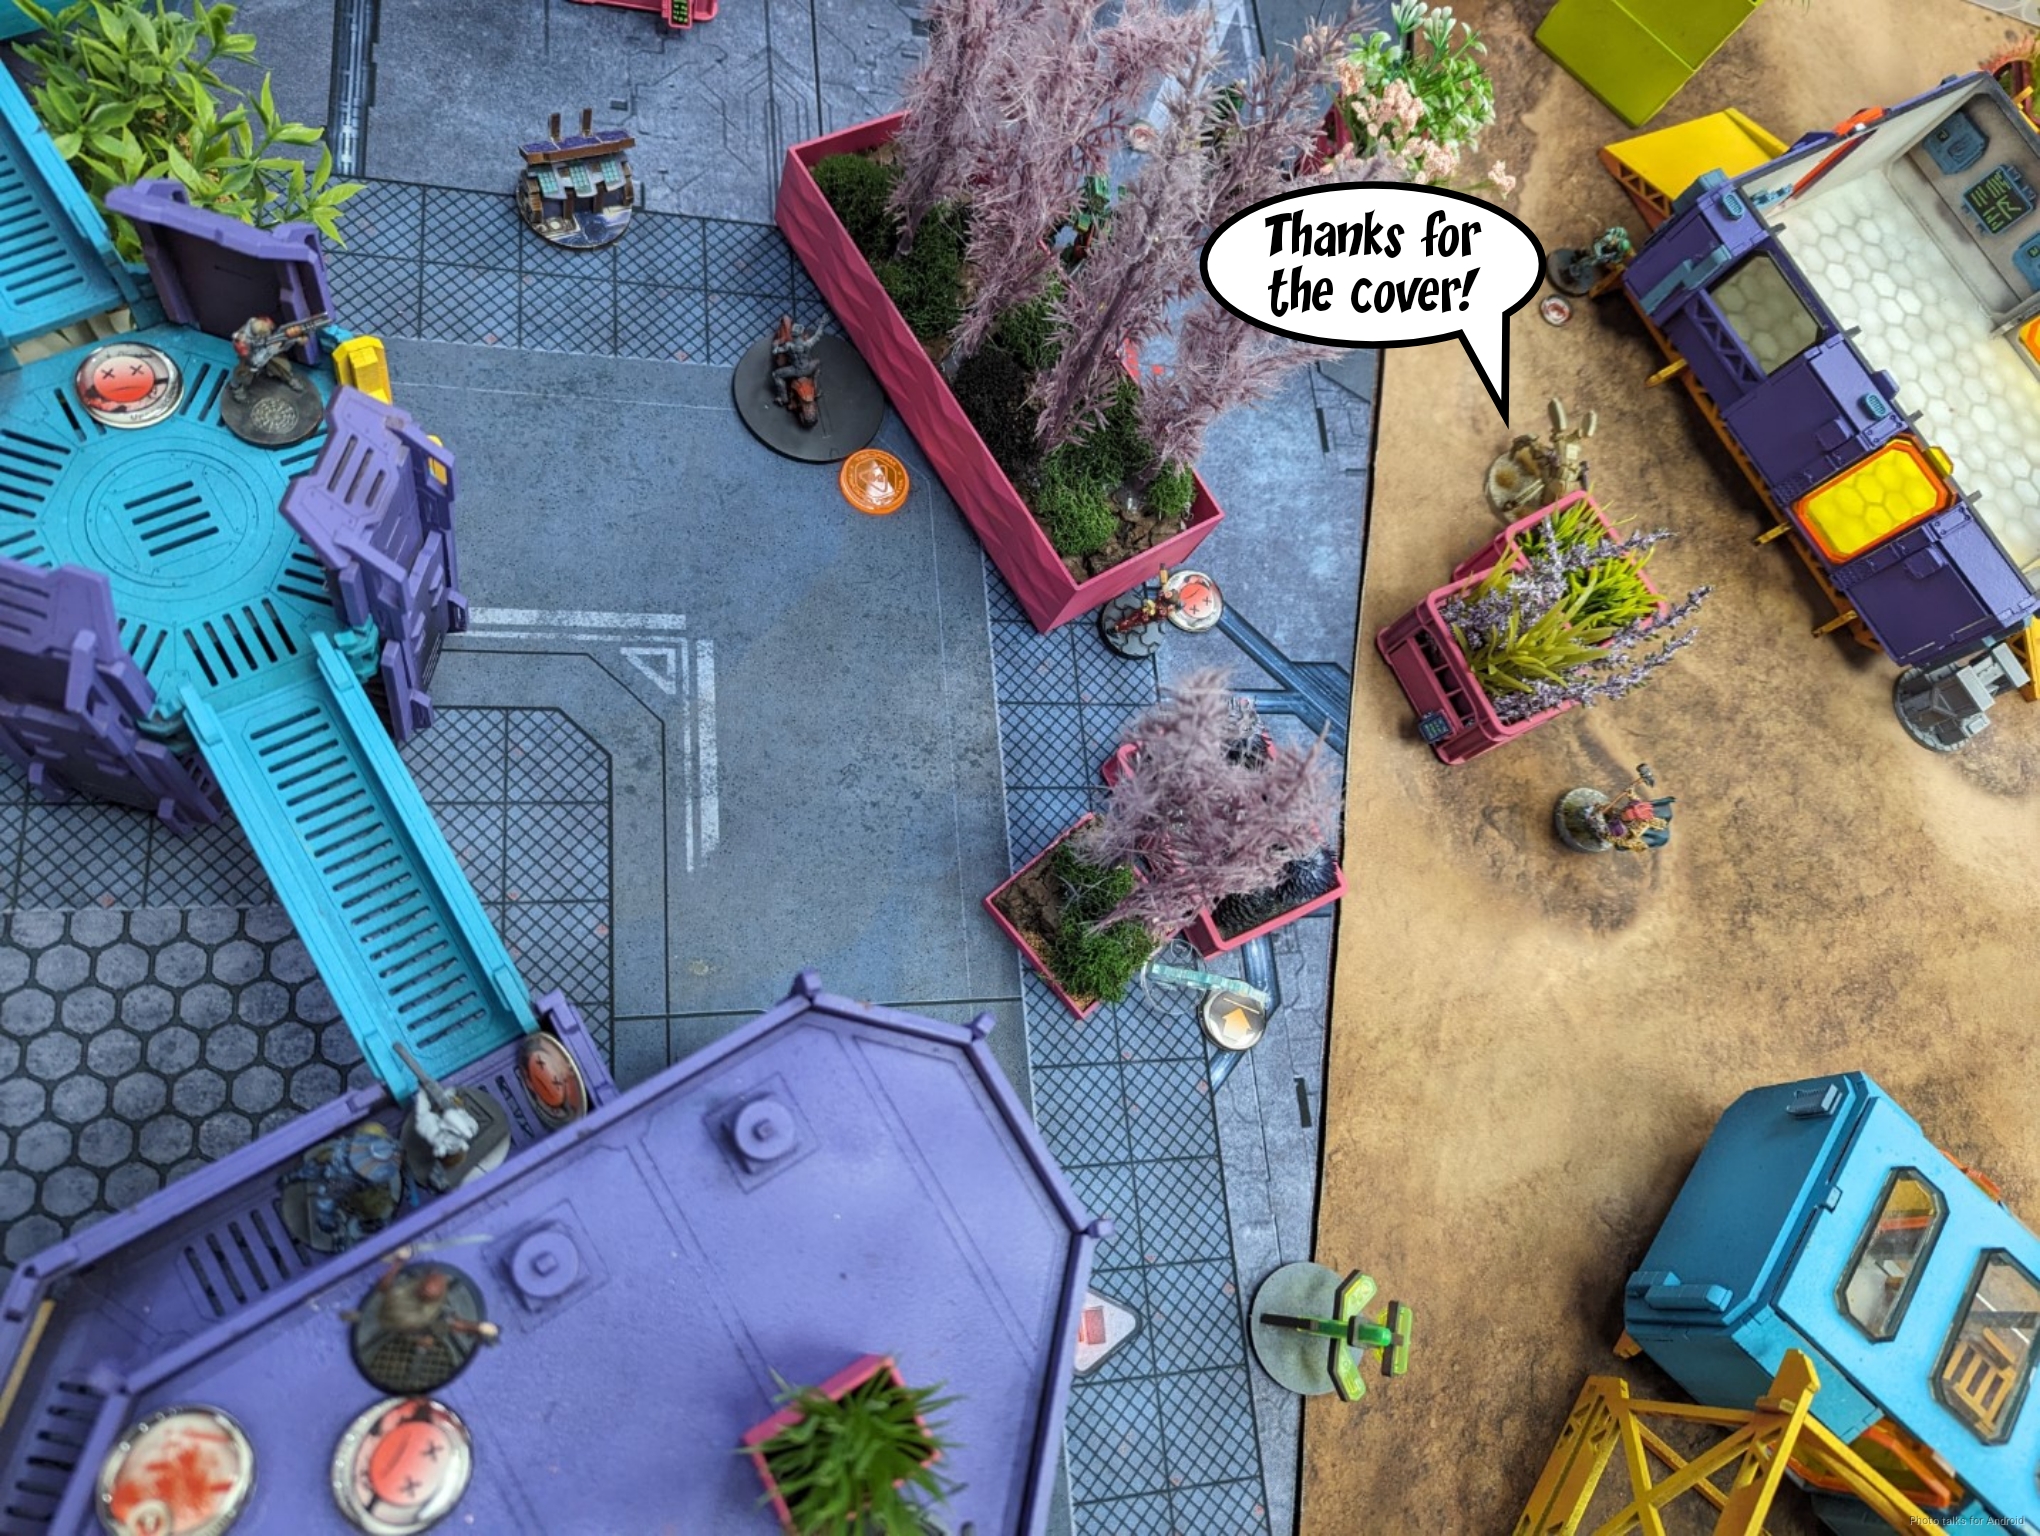
Tony’s Irmandinho had forgone its impetuous for fear of getting missile’d, so it spends its irregular now to throw smoke.
Cole’s link moves up a bit behind a building, and the Zhayeden sniper dies to the Tanko ML off camera, then Tony’s Strelok shifts forward.
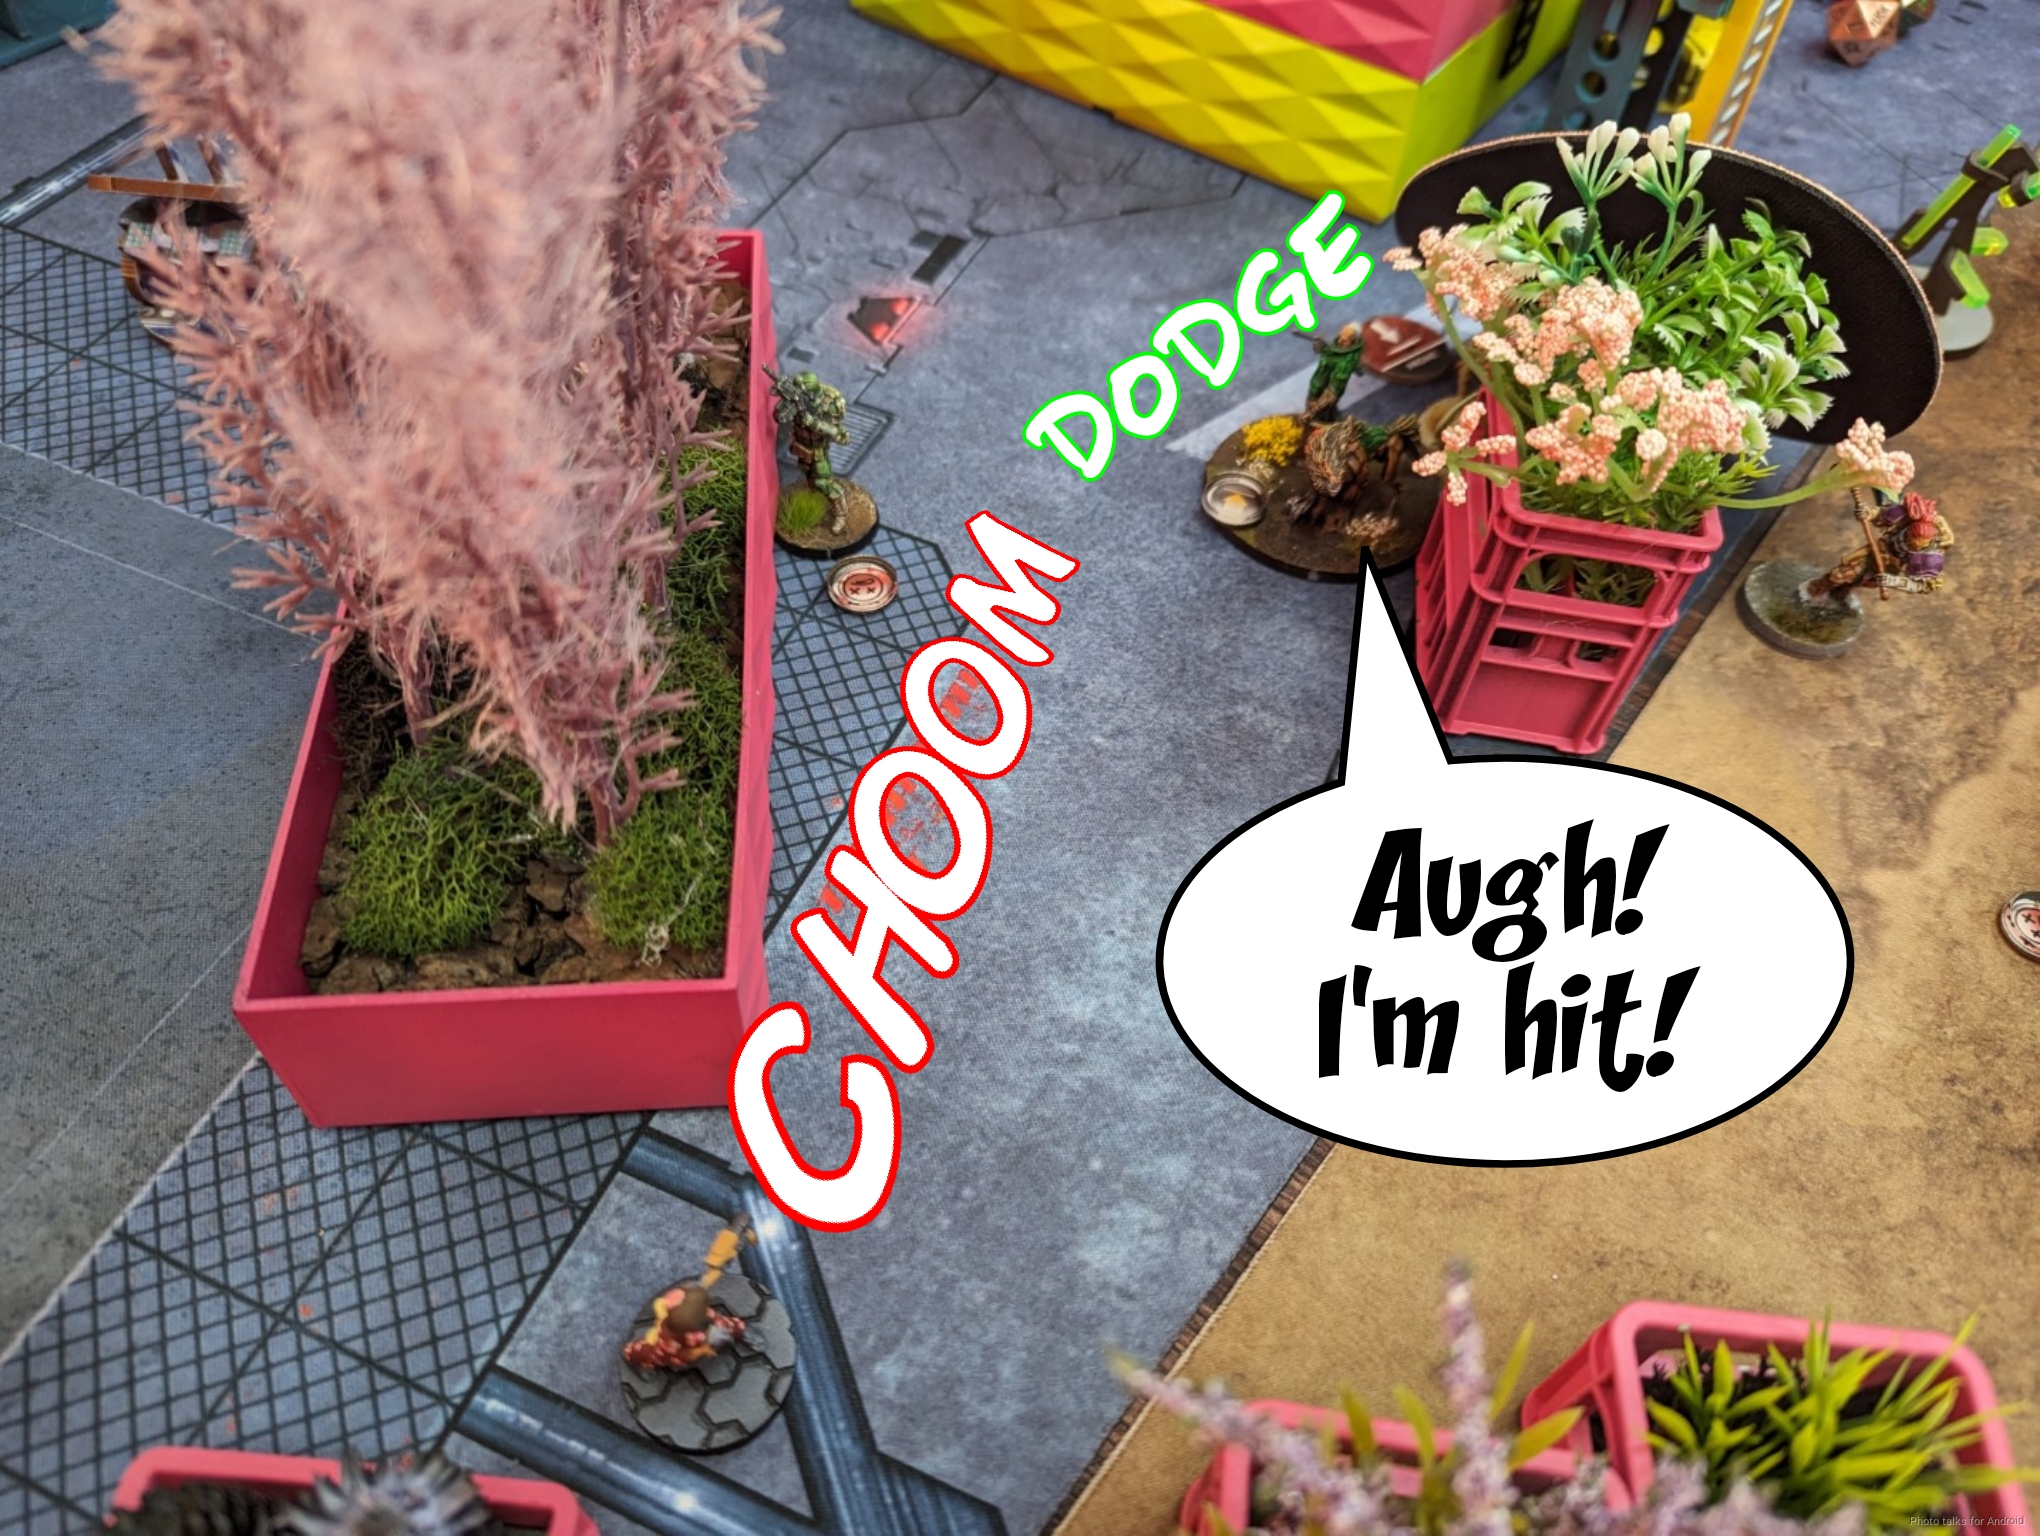
A Taureg challenges the Tanko but fails to wound.
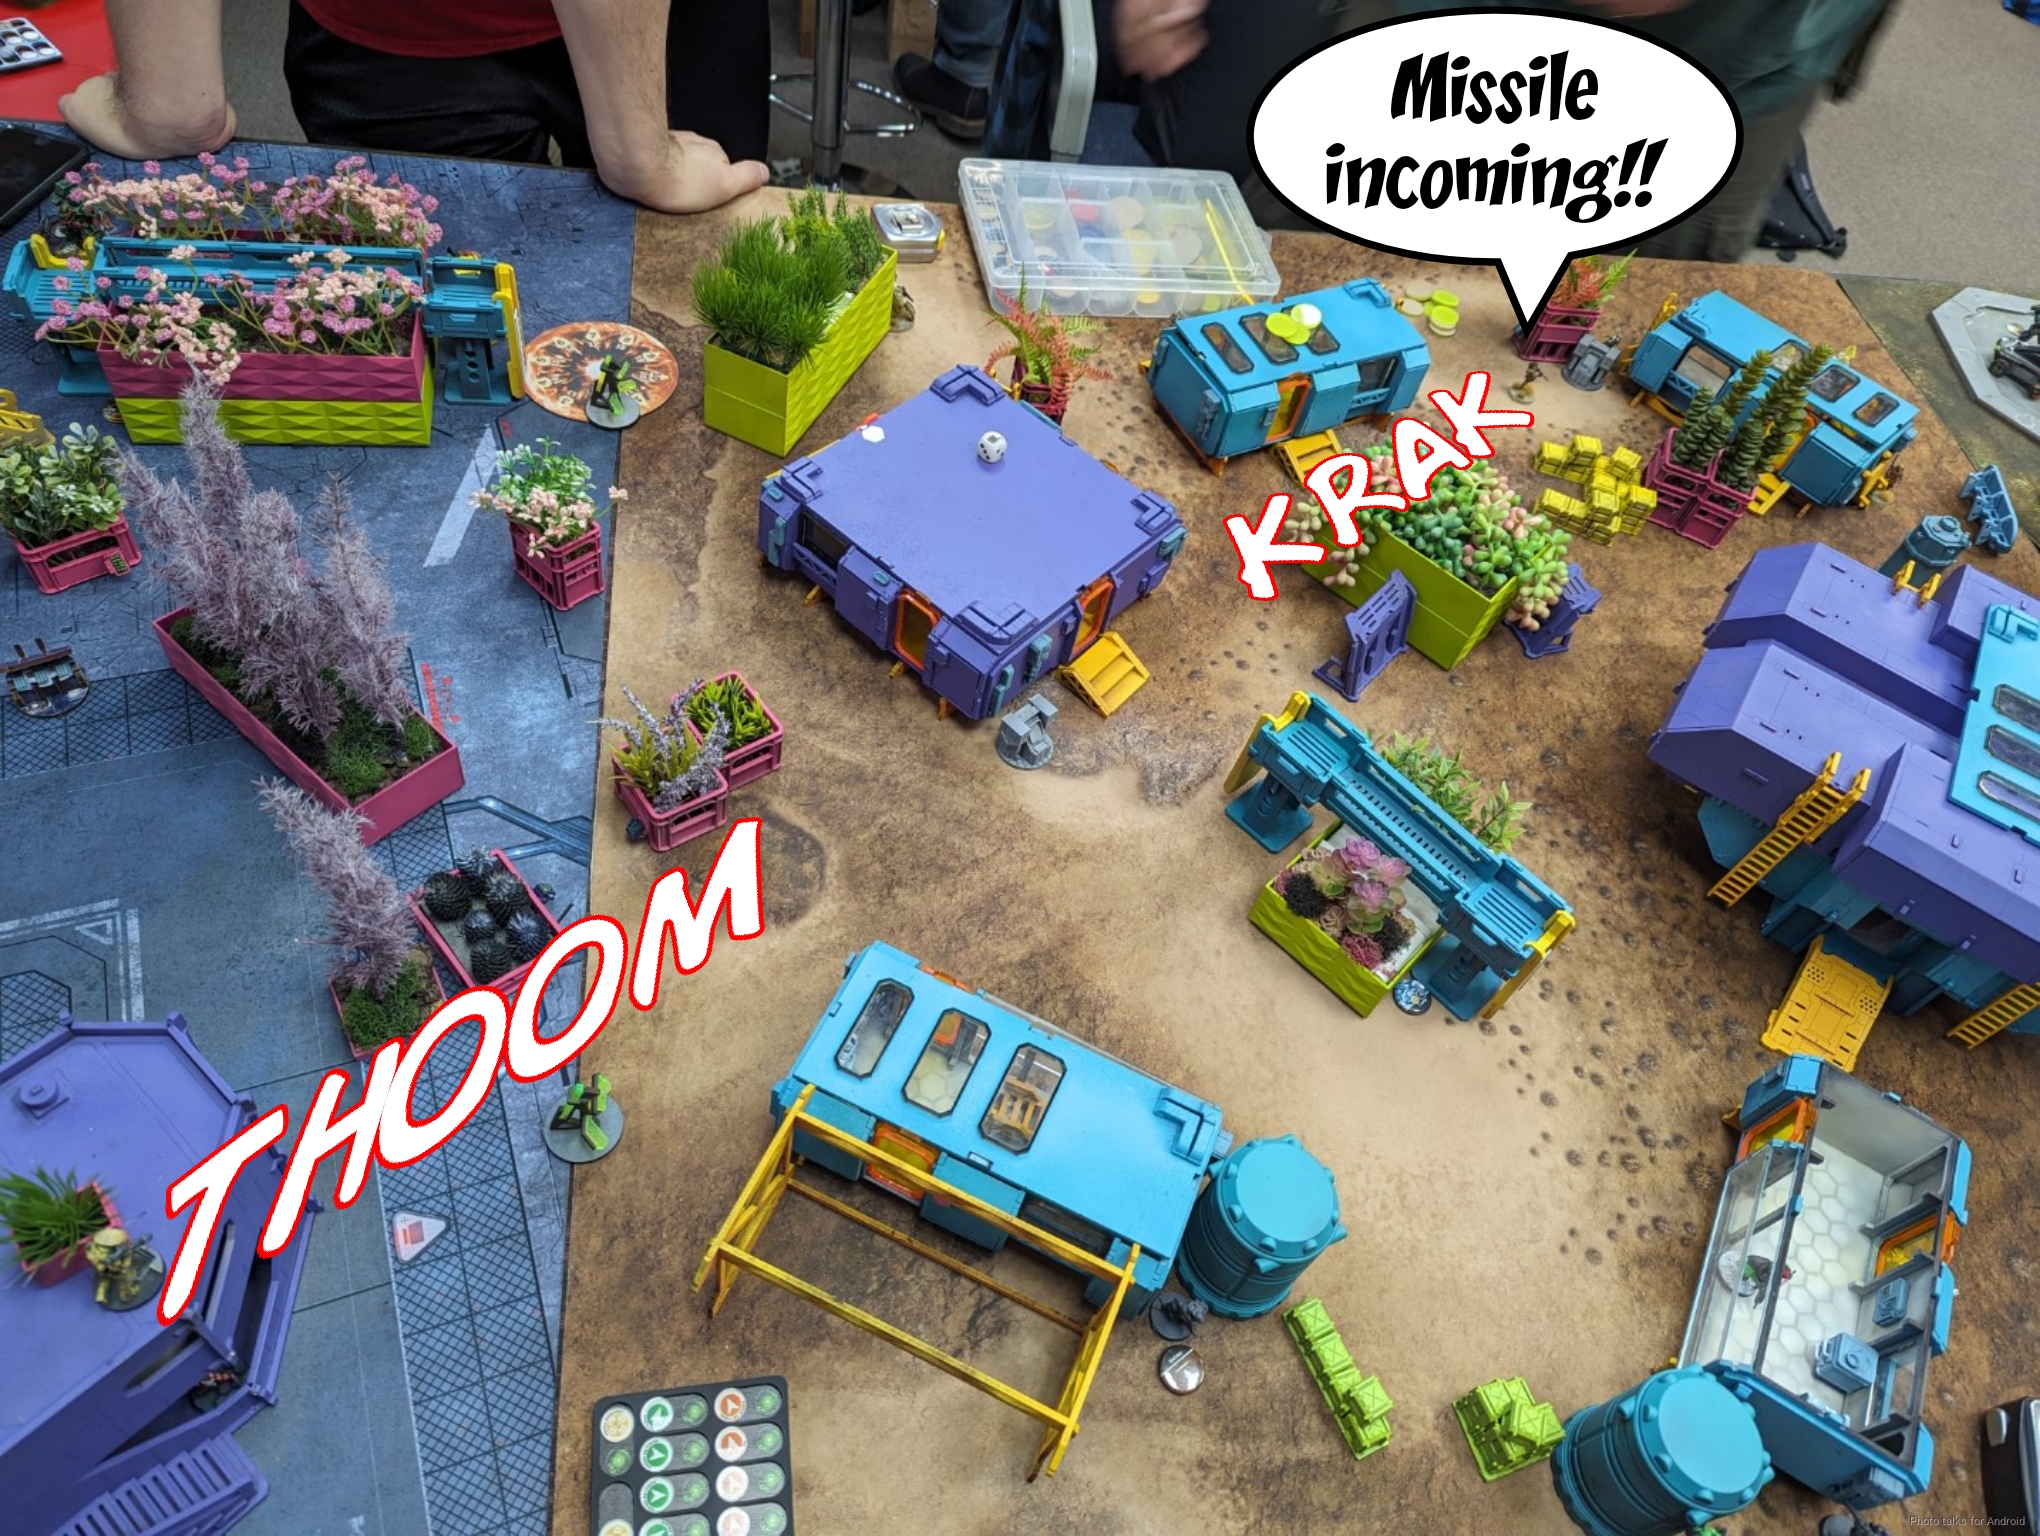
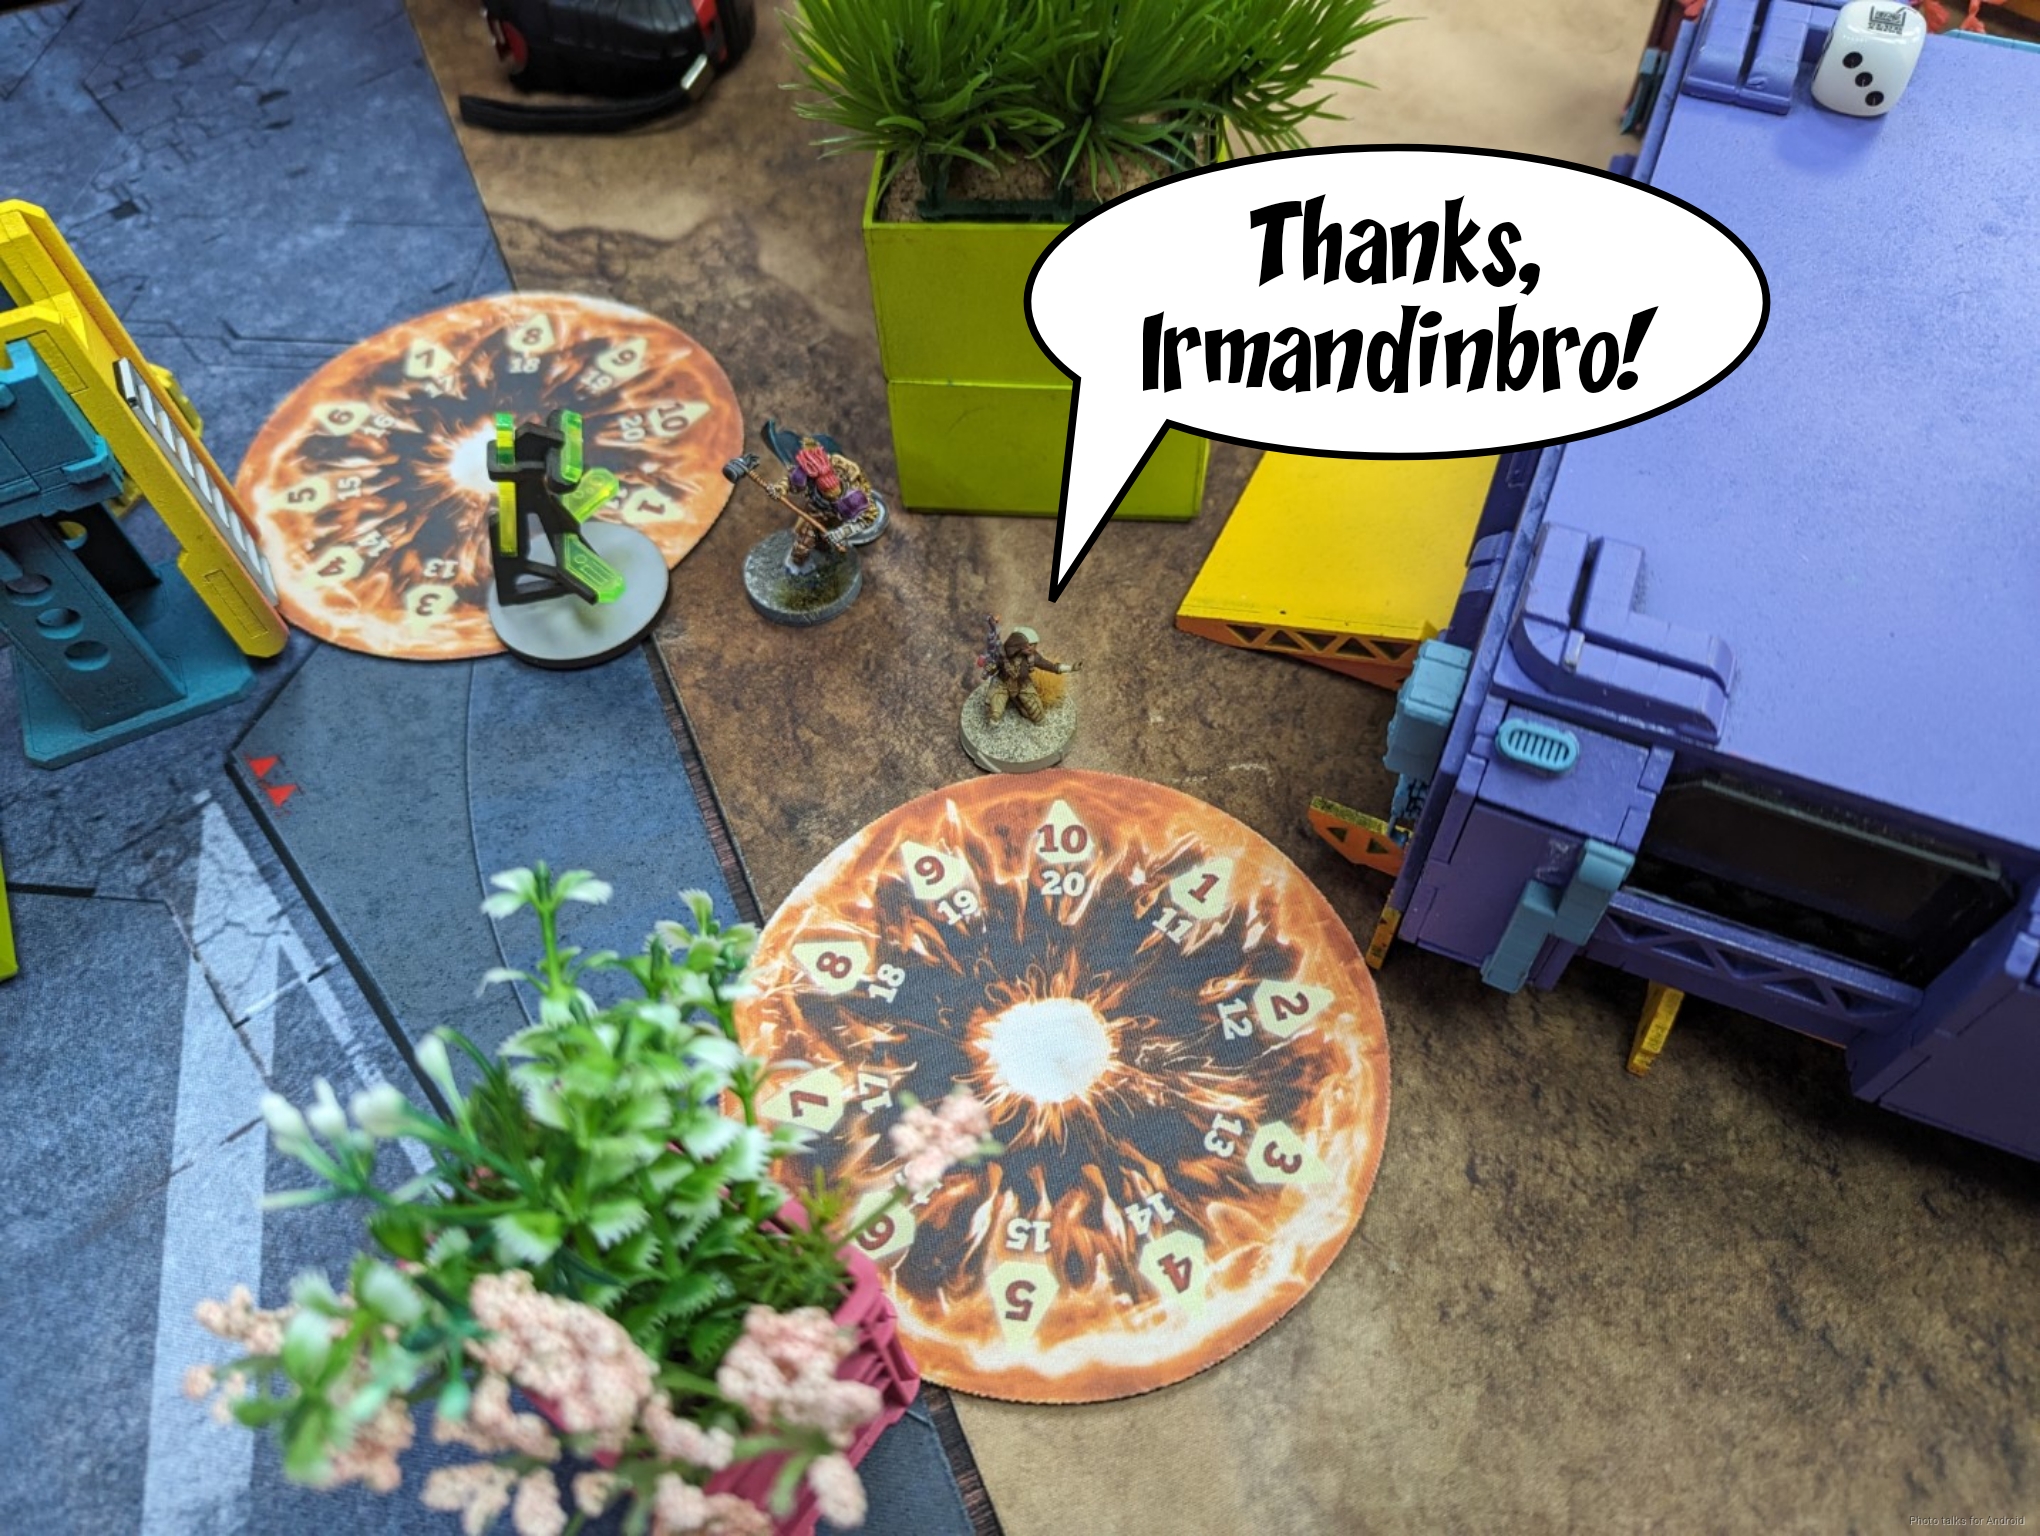
Tony continues forward to make a smoke screen with the Irmandinbro.
The Taureg challenges again, and this time is deleted by a missile.

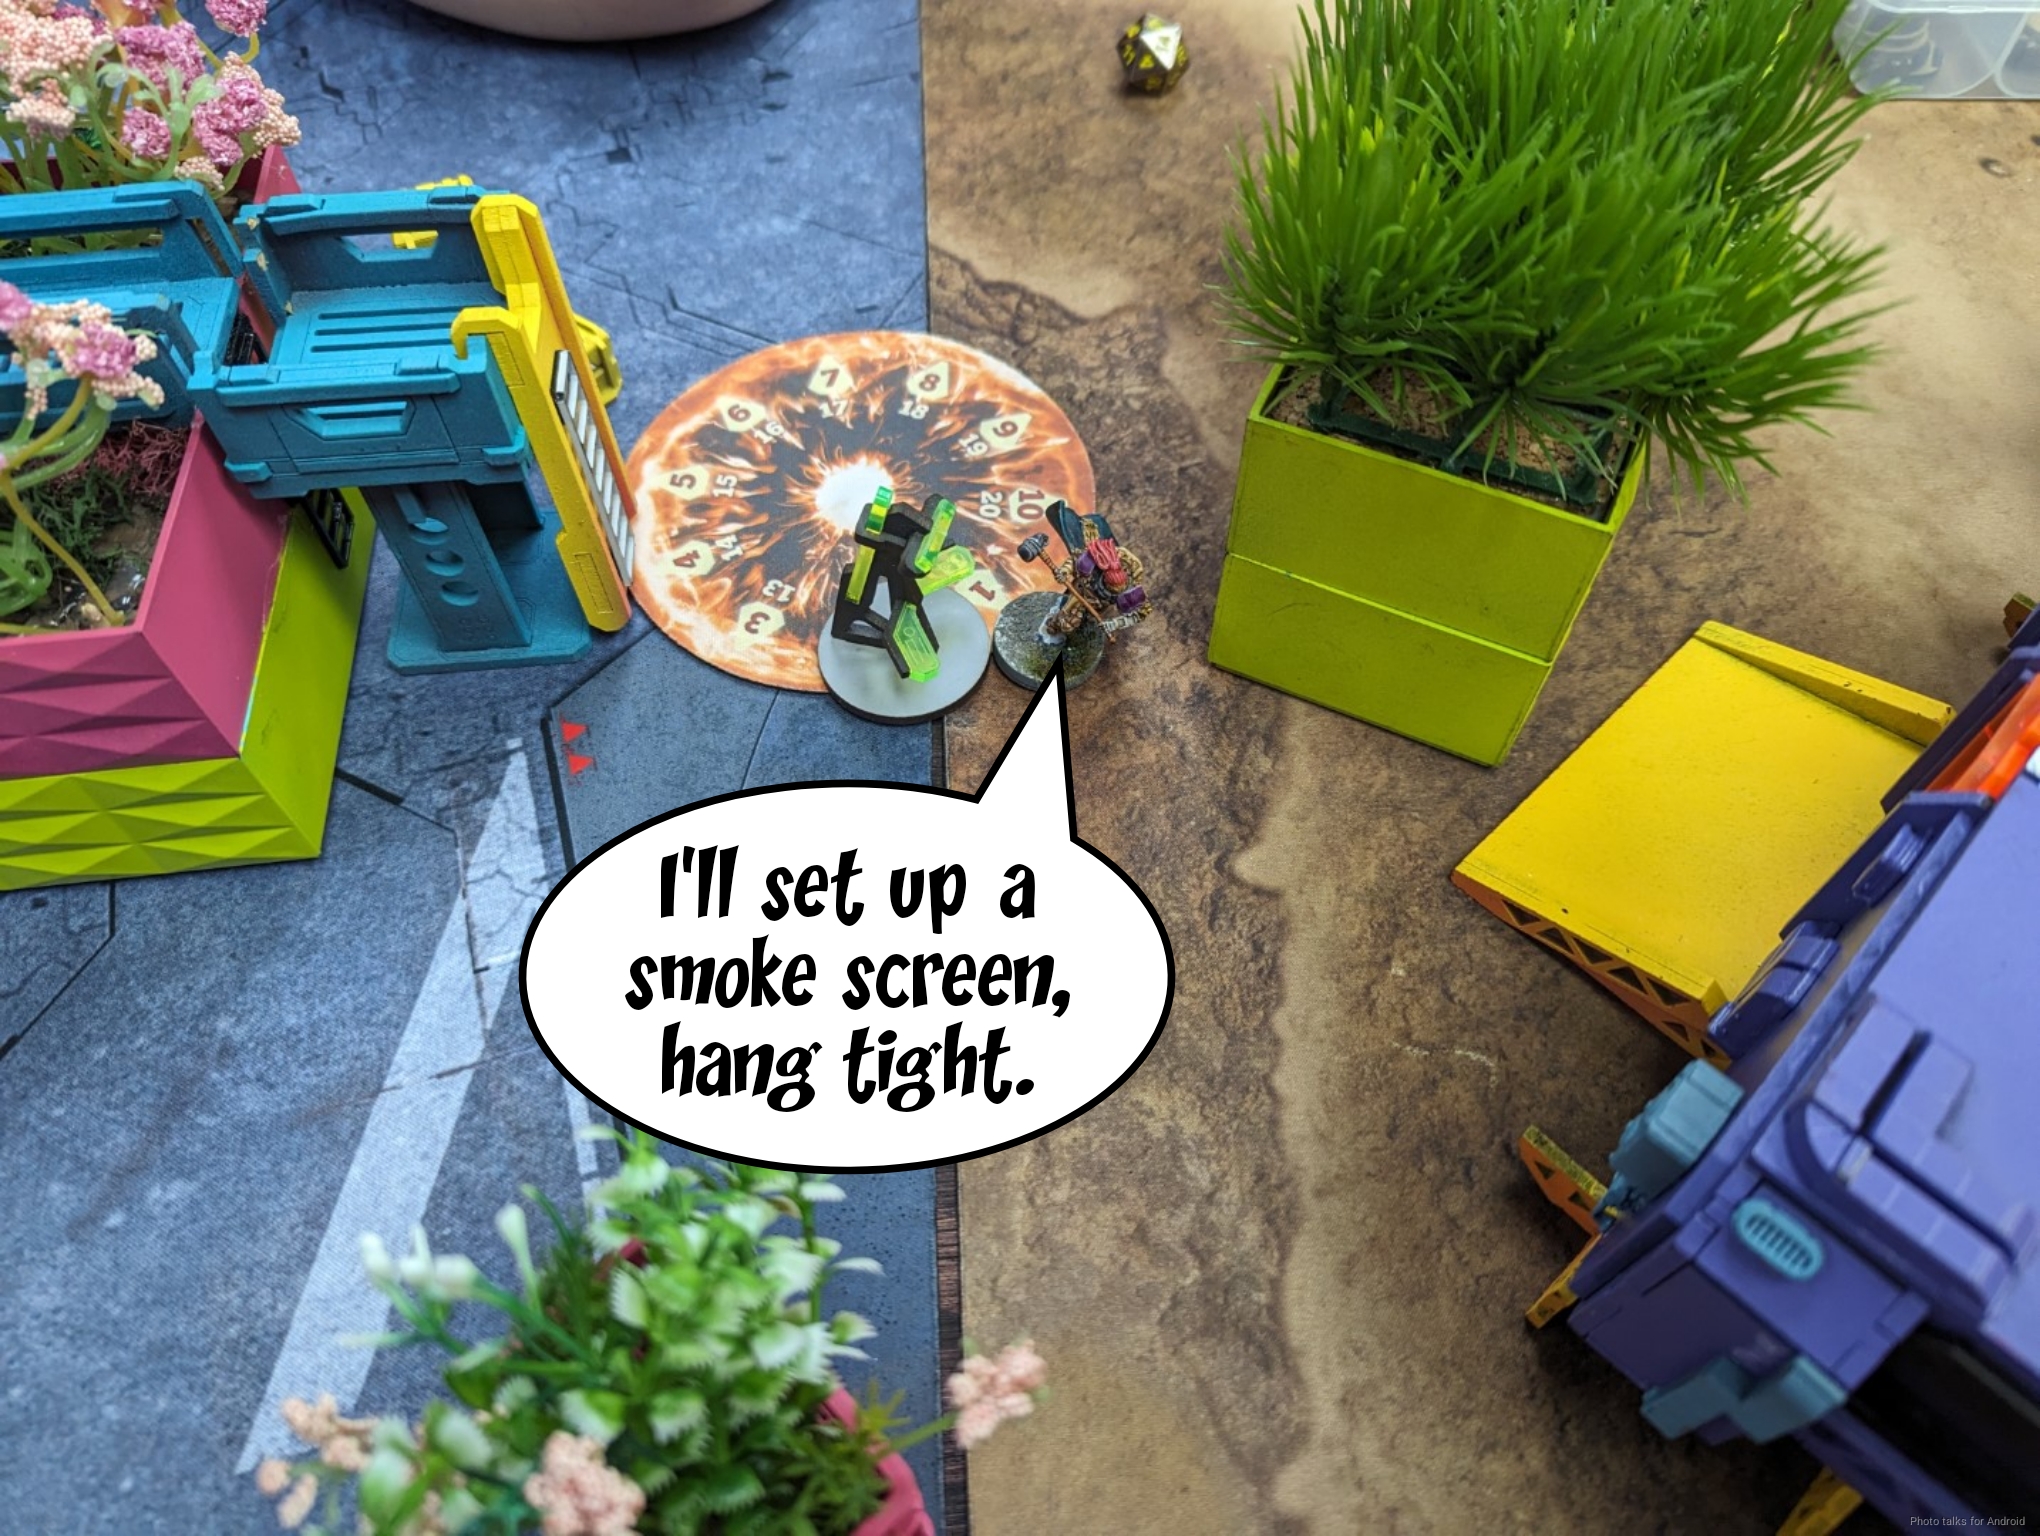
Tony’s Irmandinho sets up smoke for his link and some of Cole’s forces, and shuffles forward a bit.
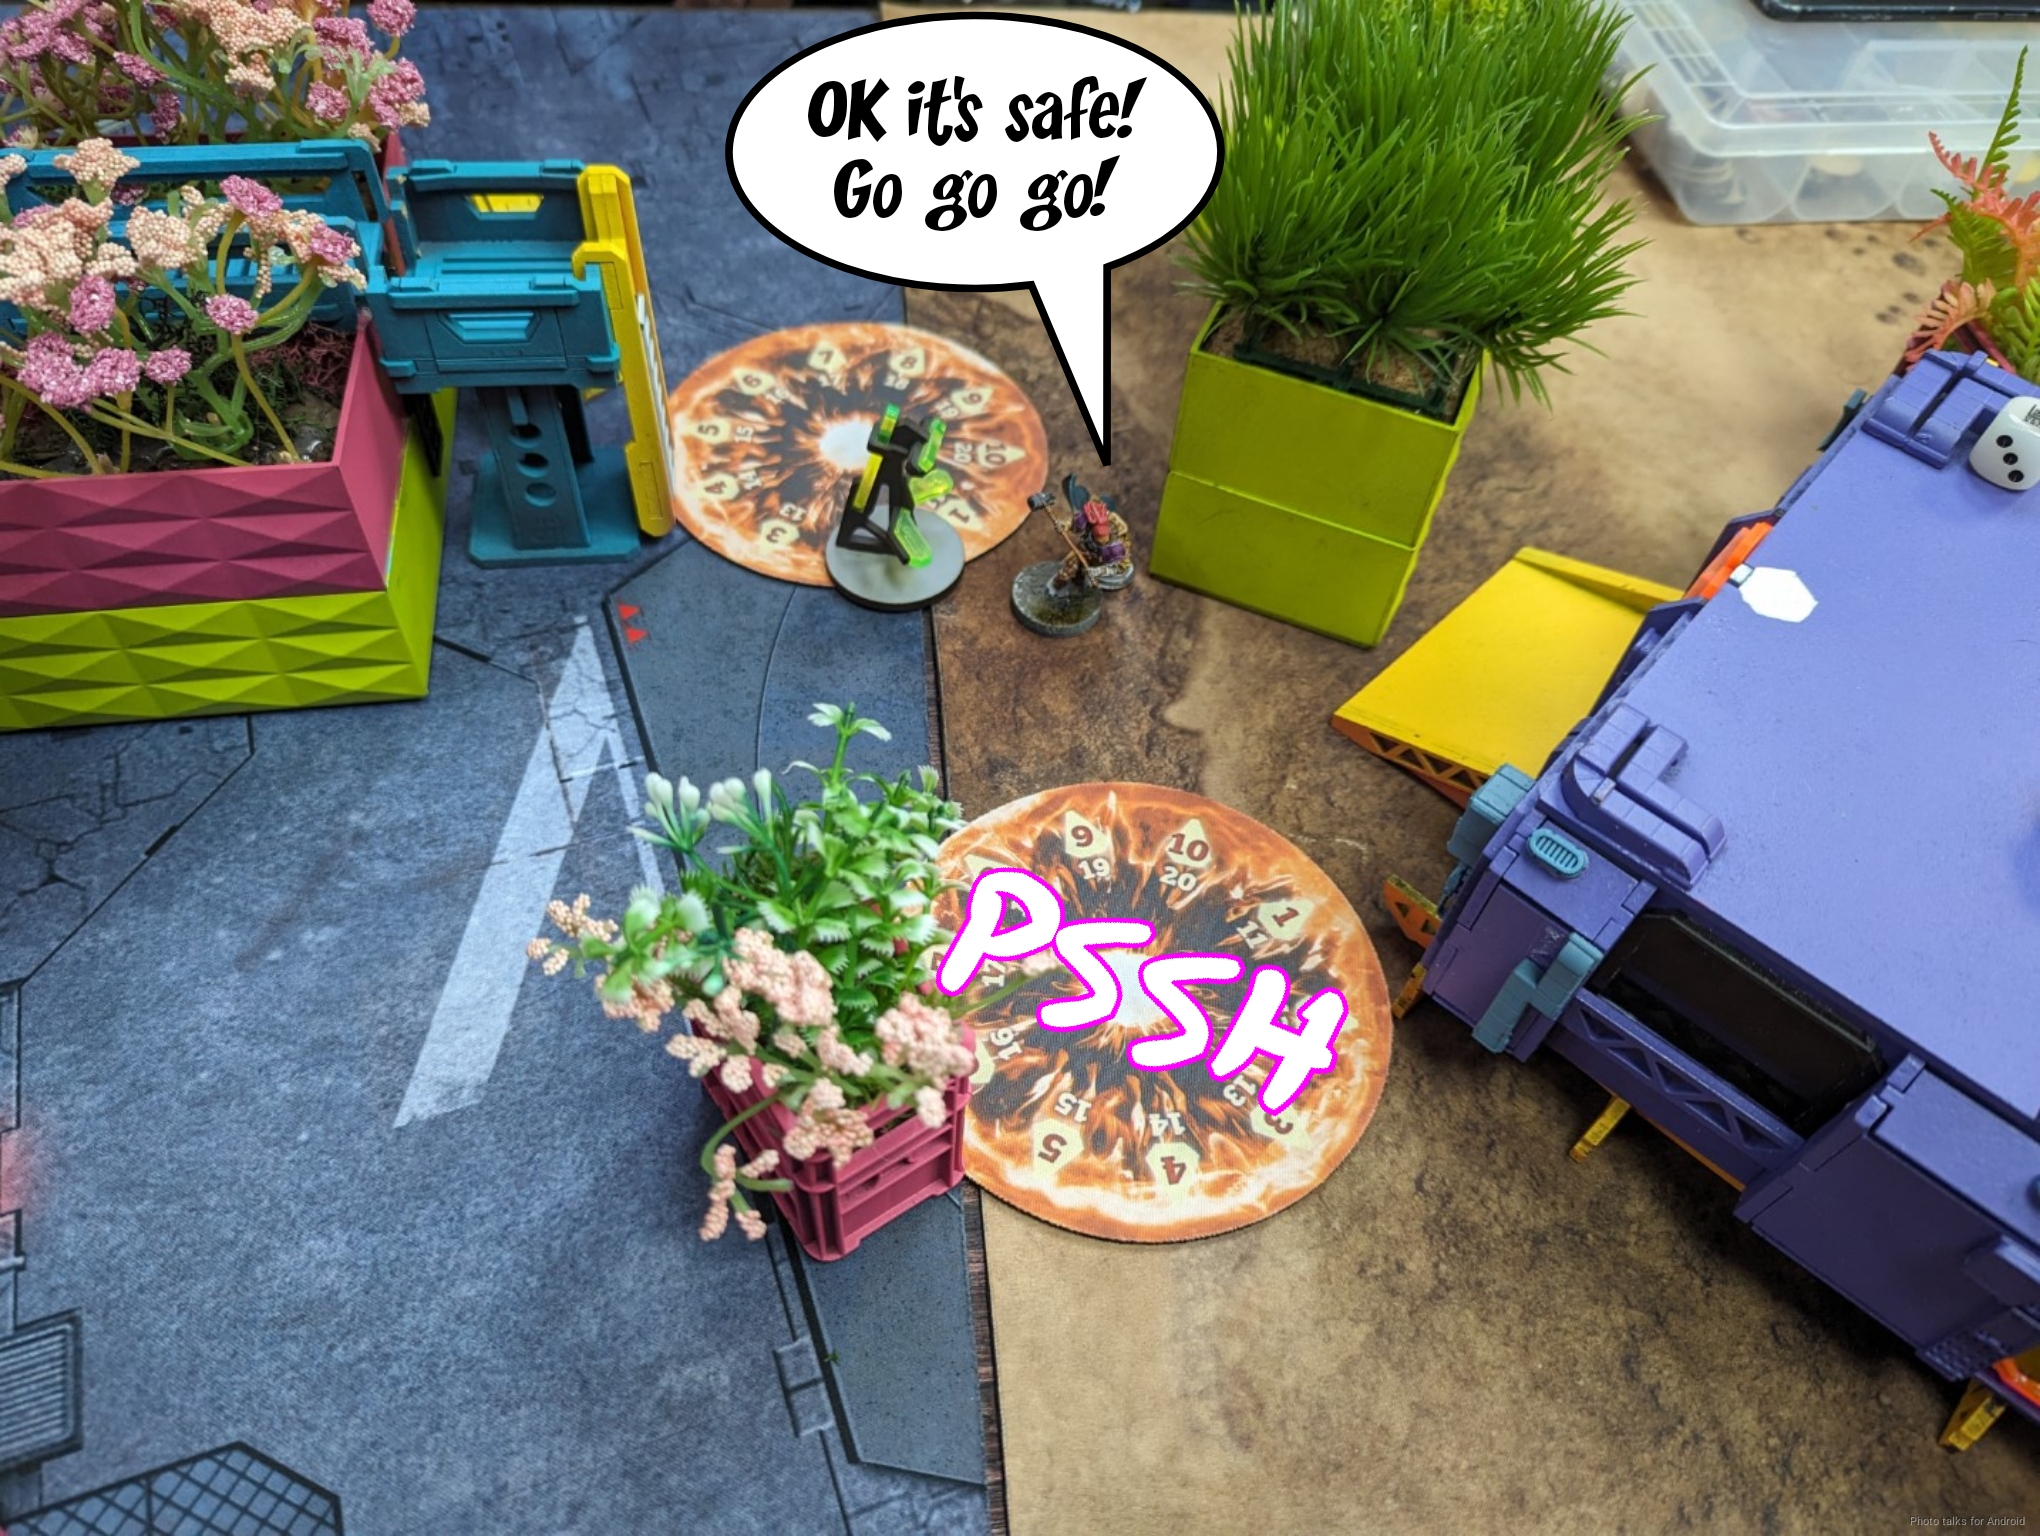
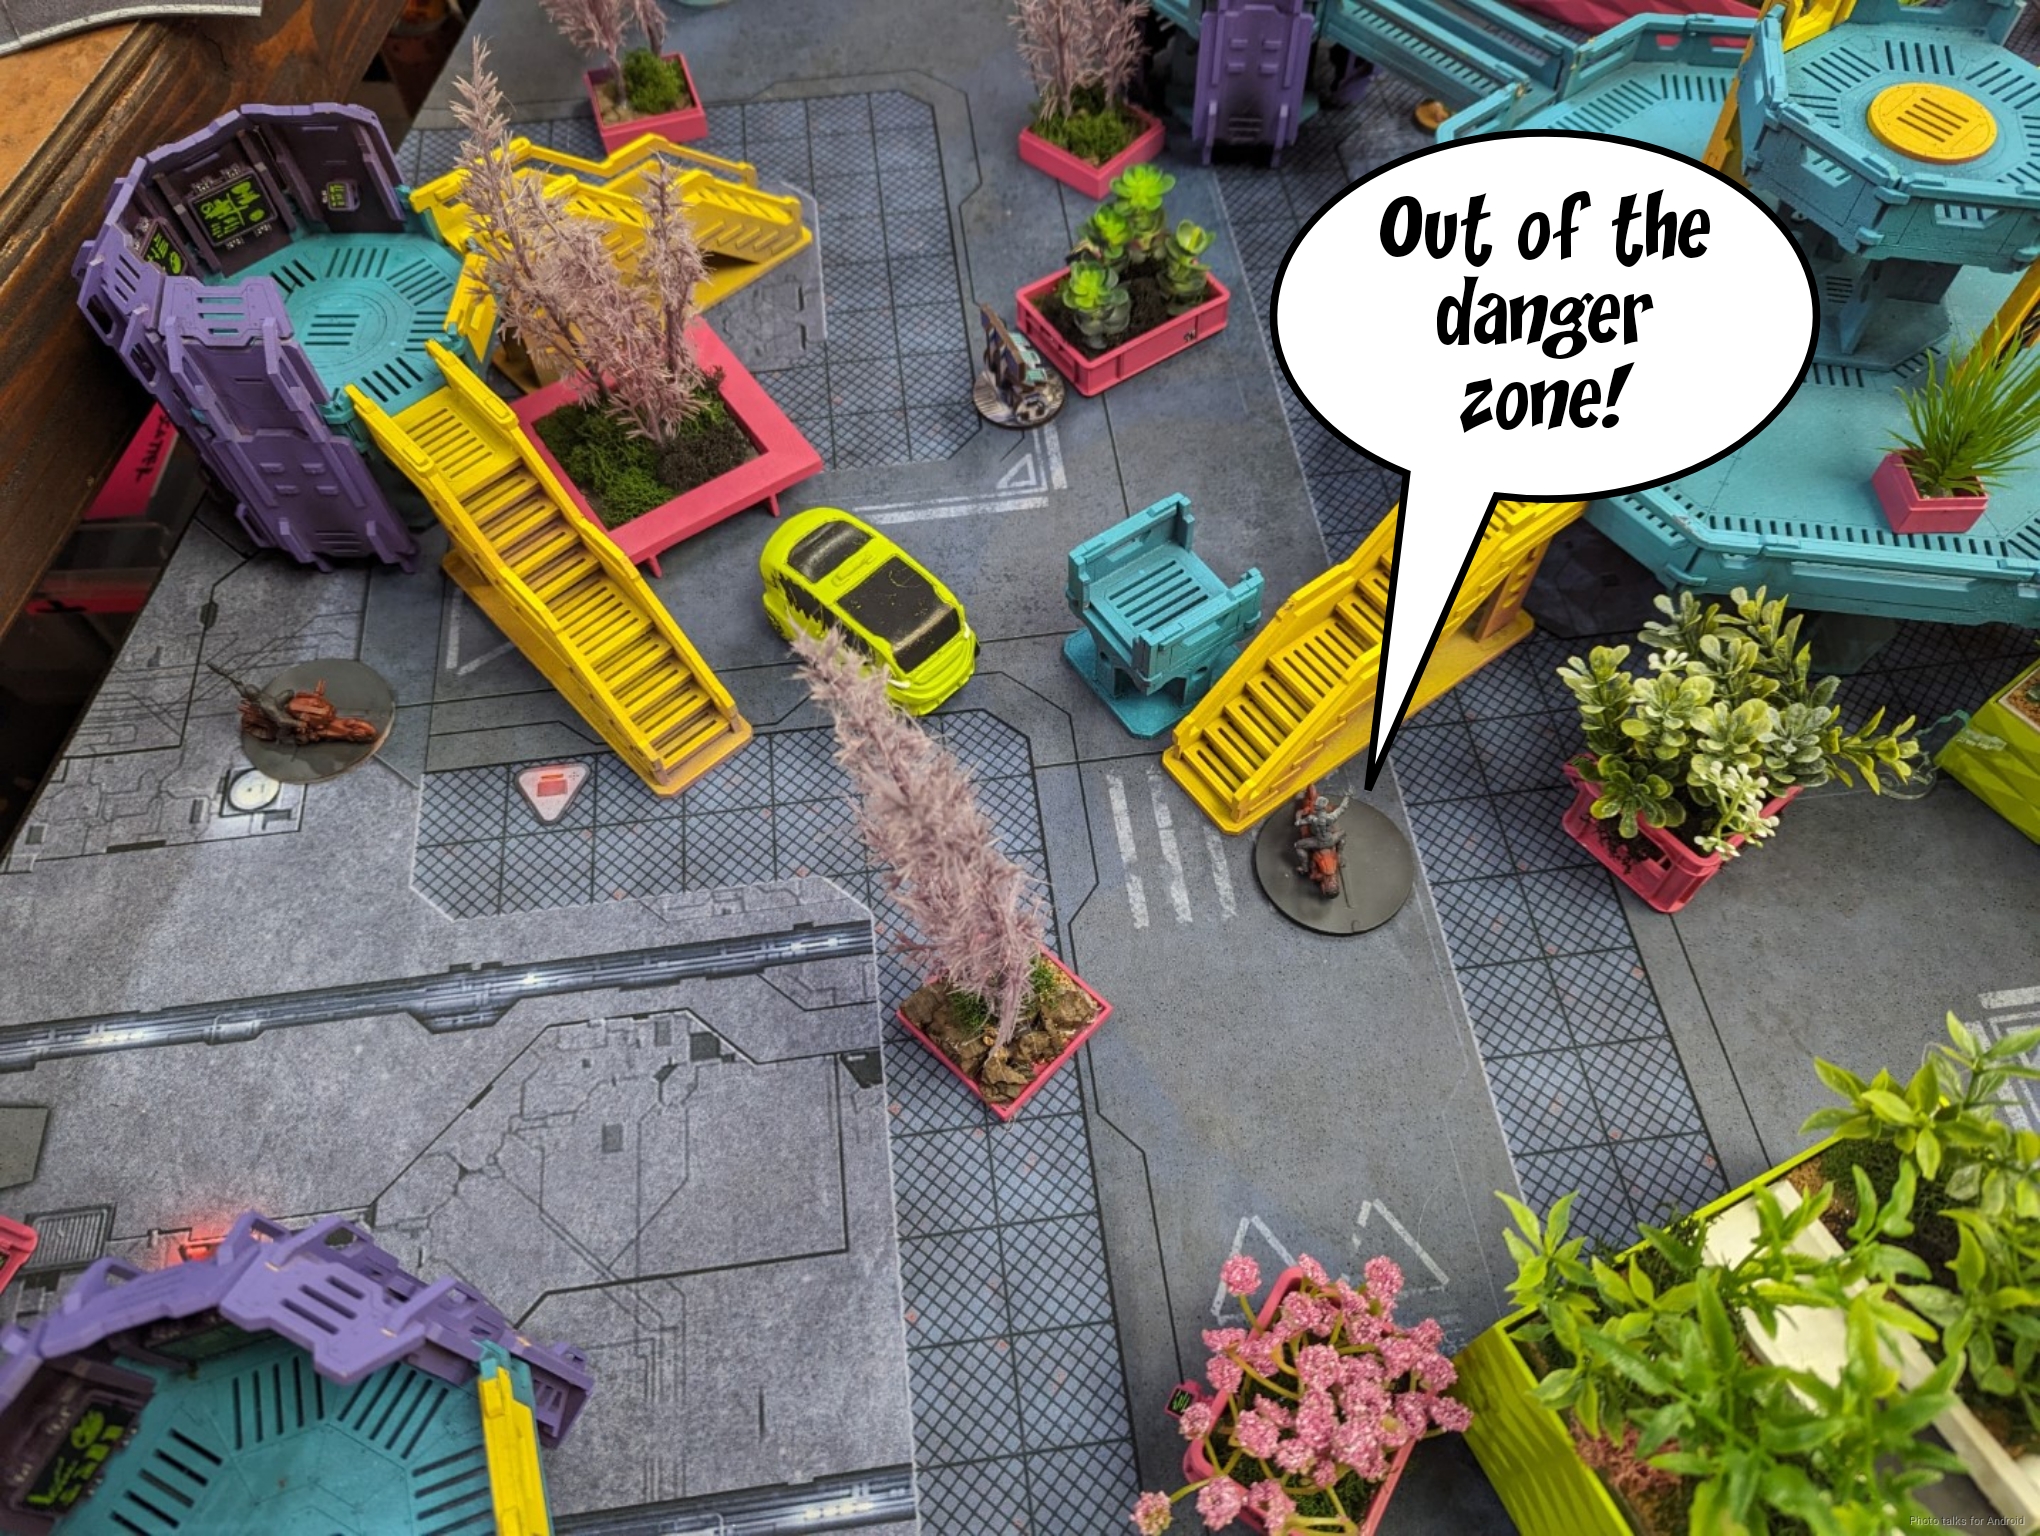
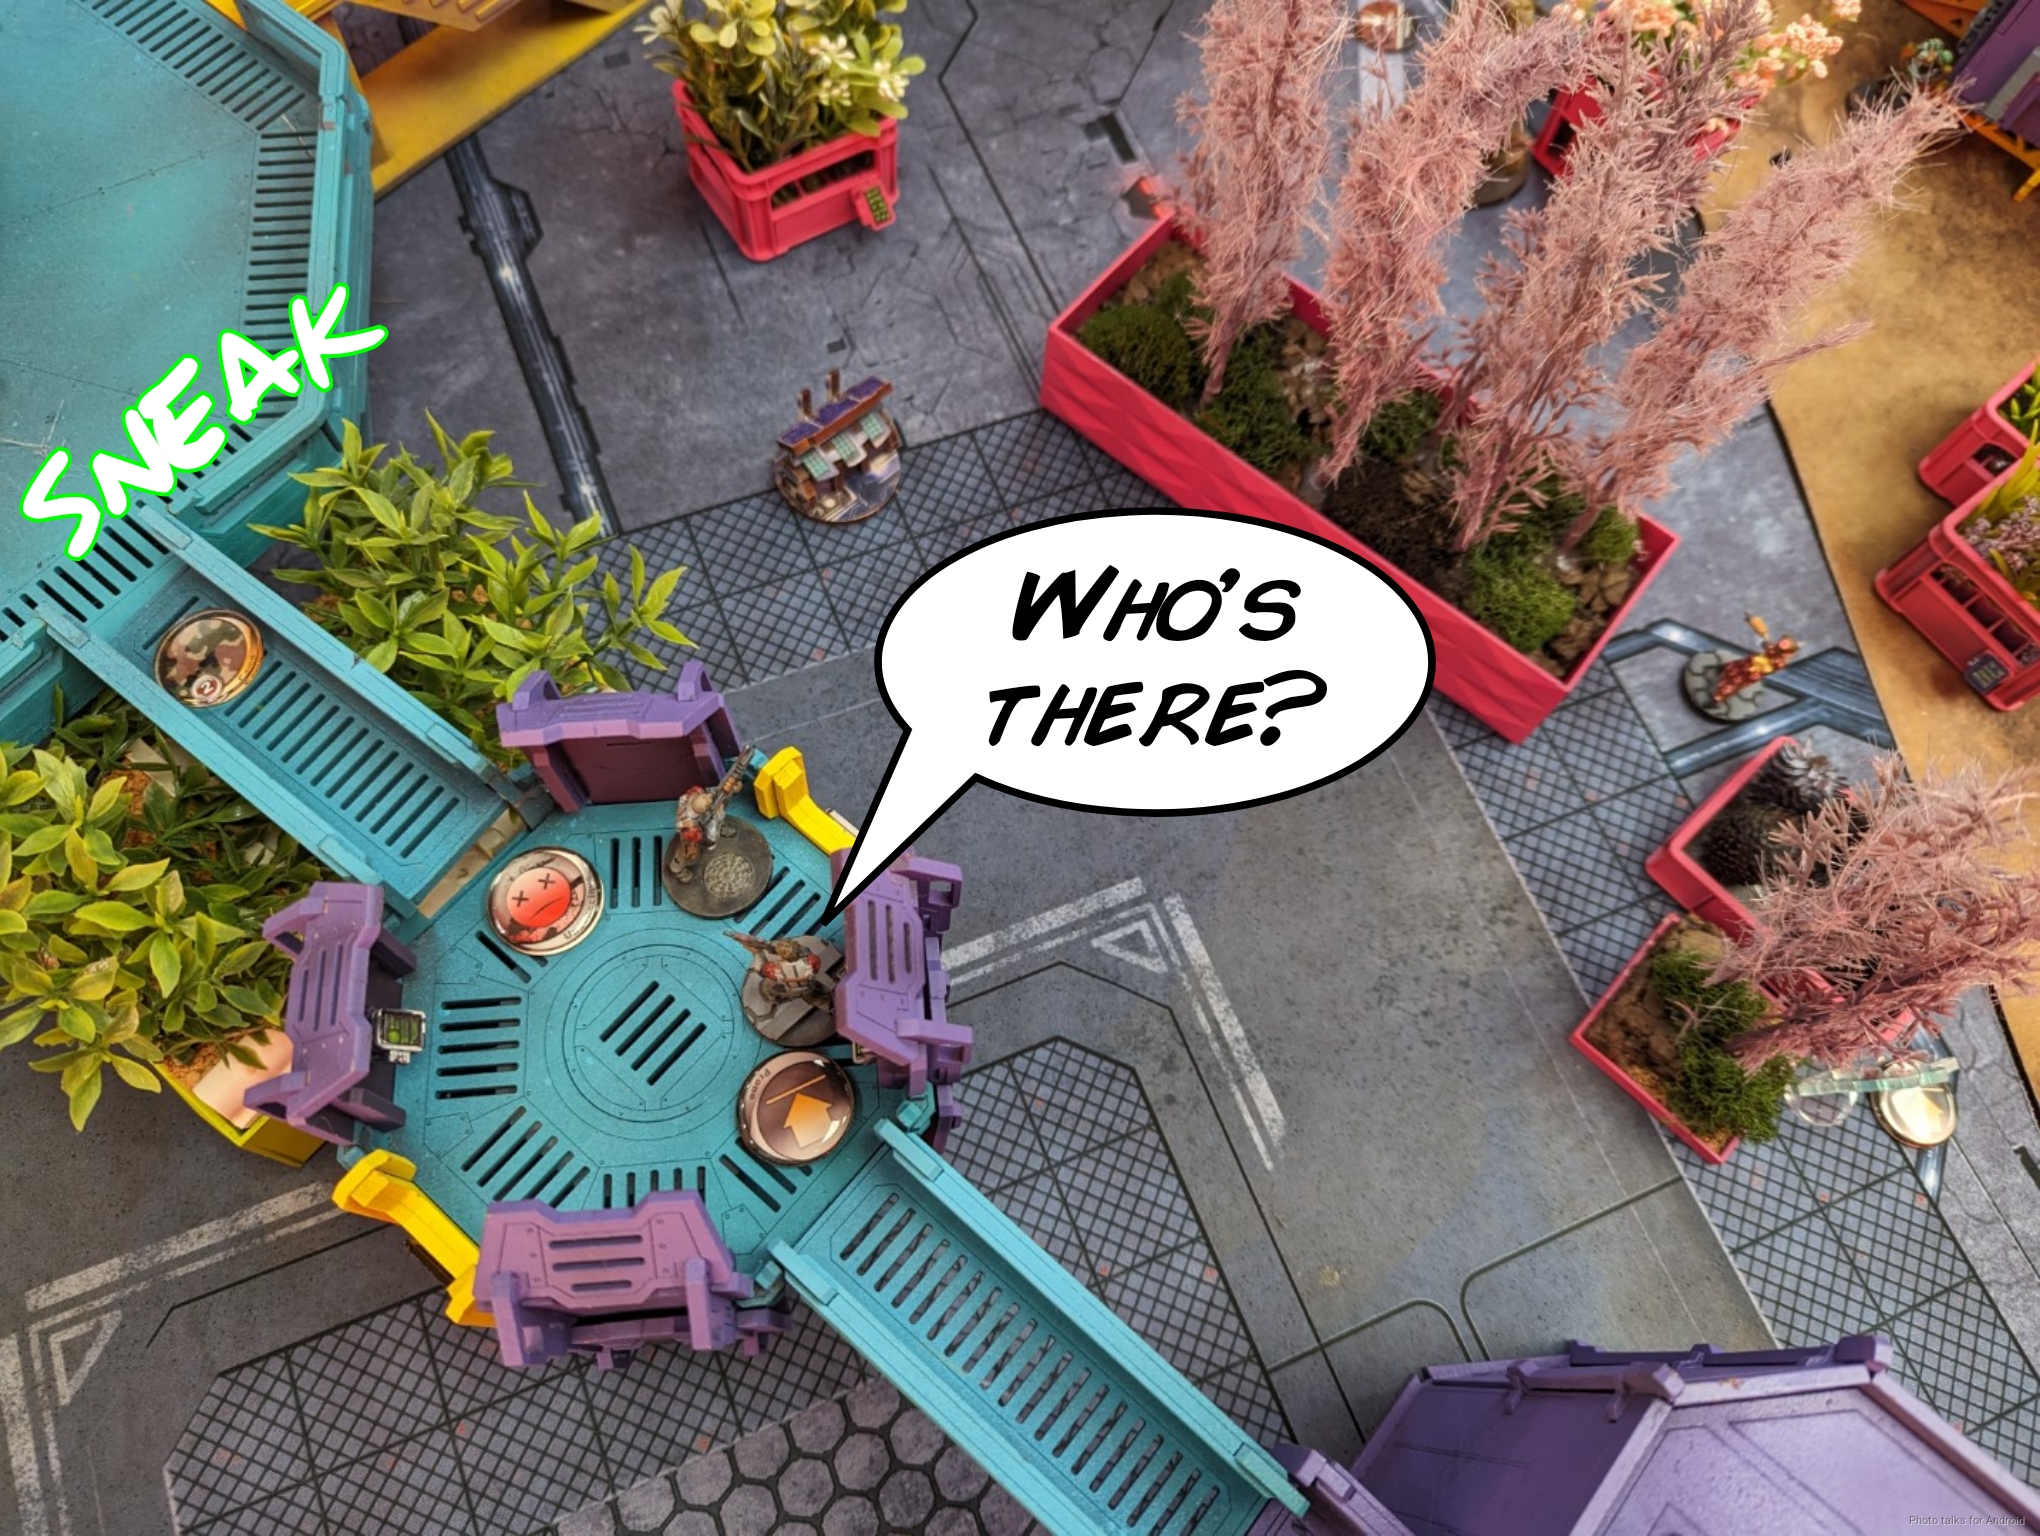
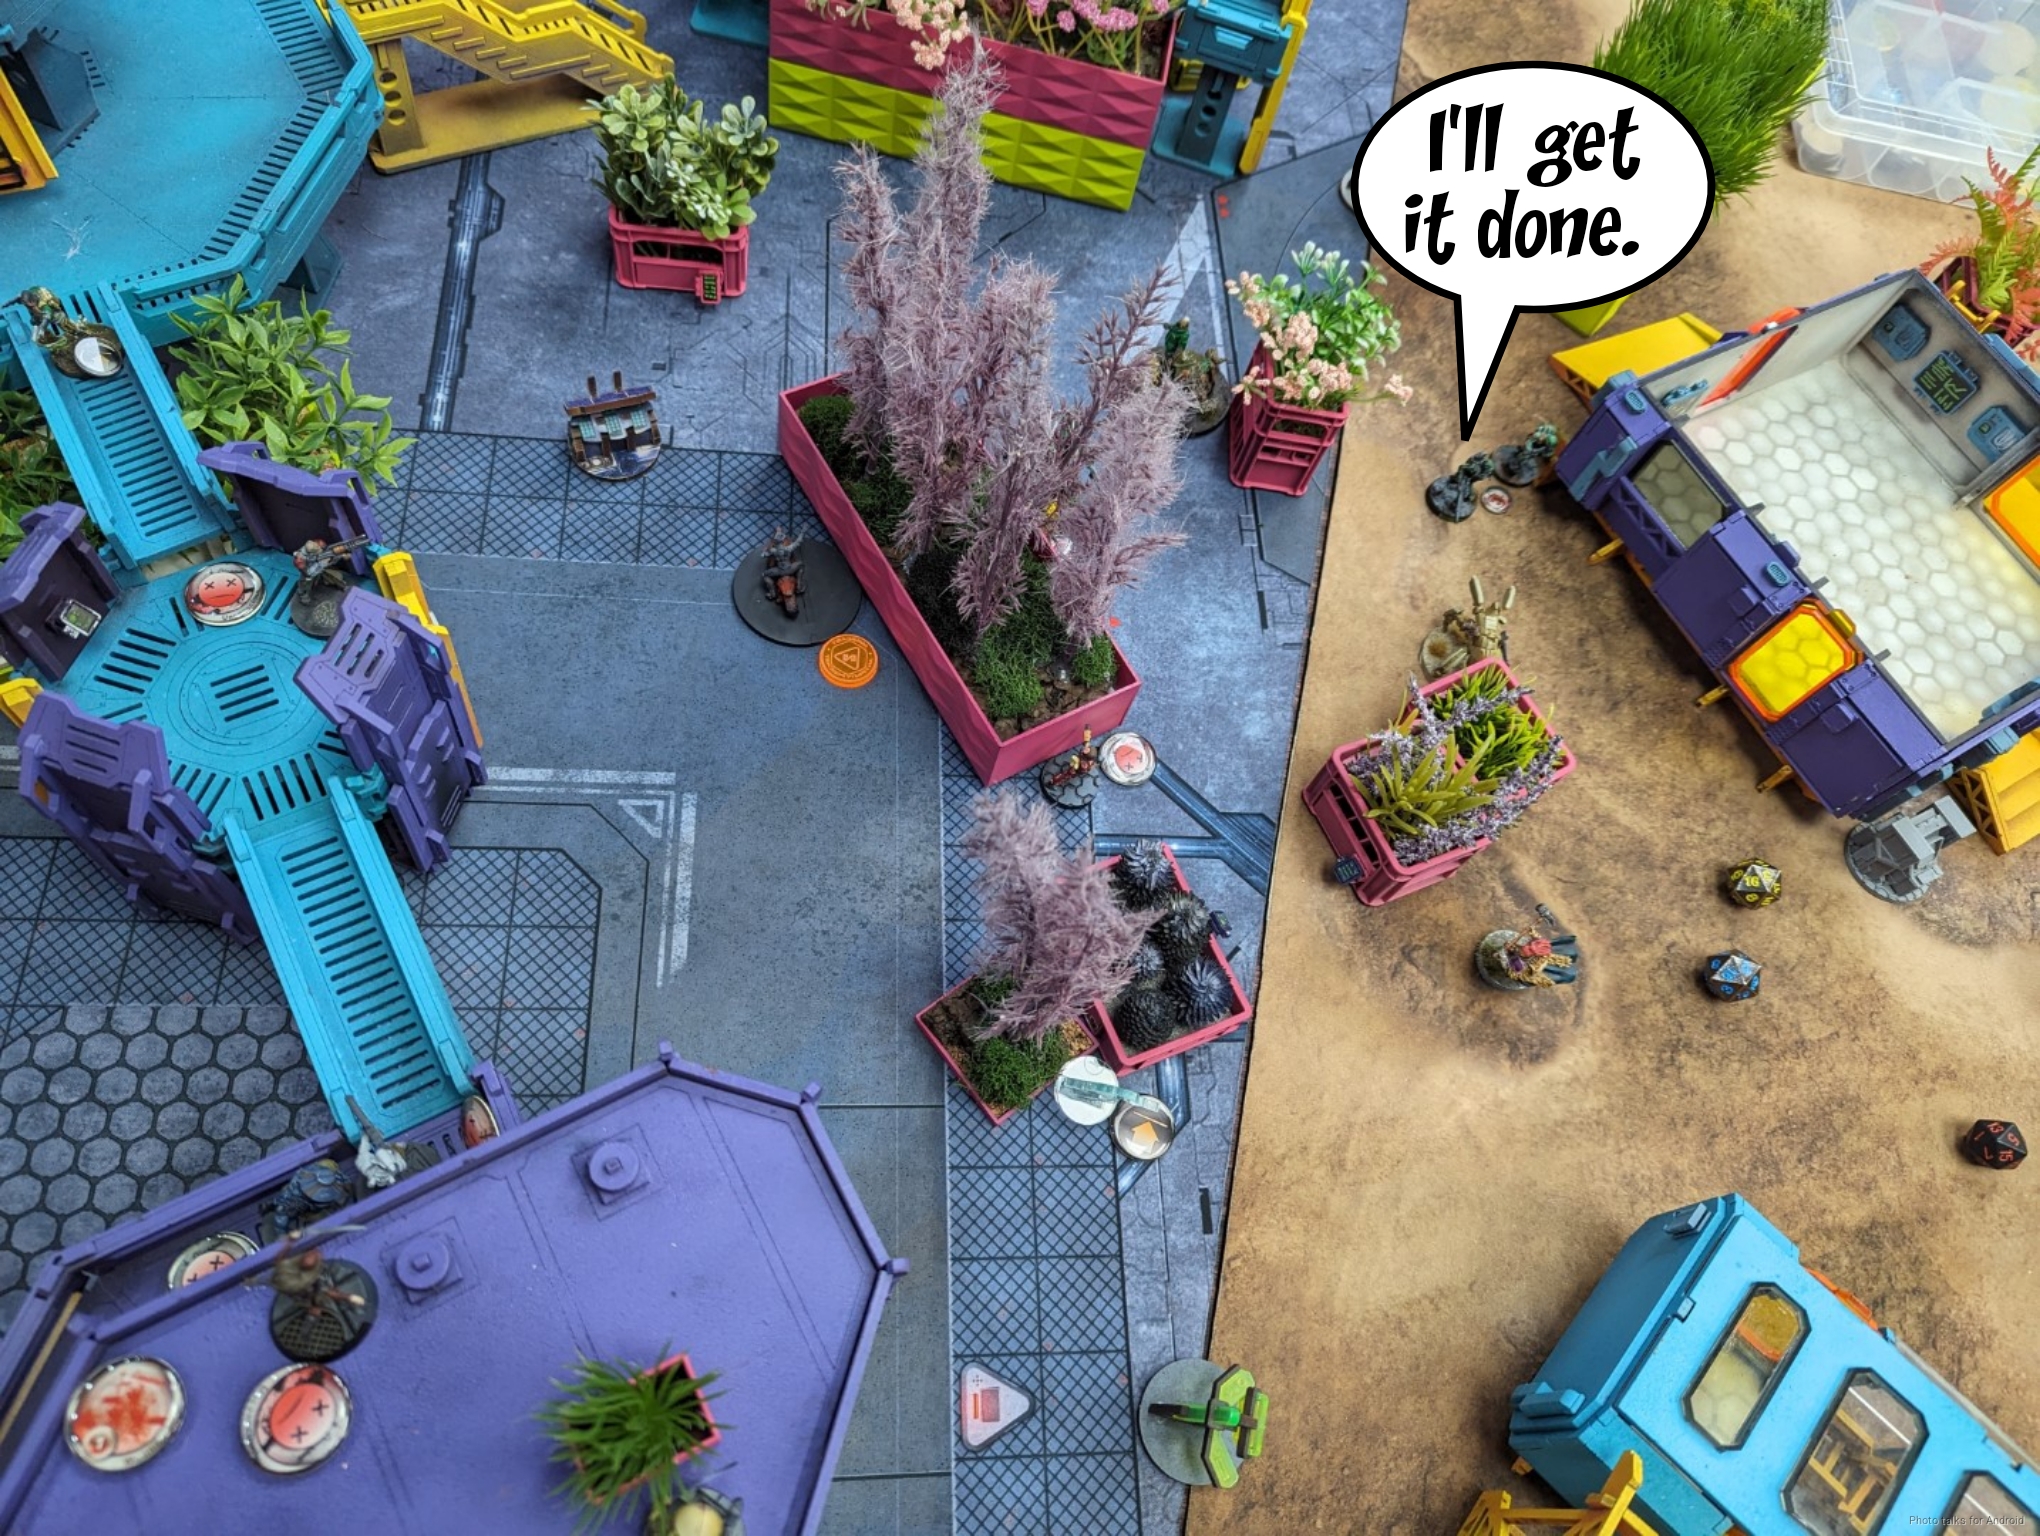
The Muhktar moves through the new safety of the smoke screen and parks near the console.
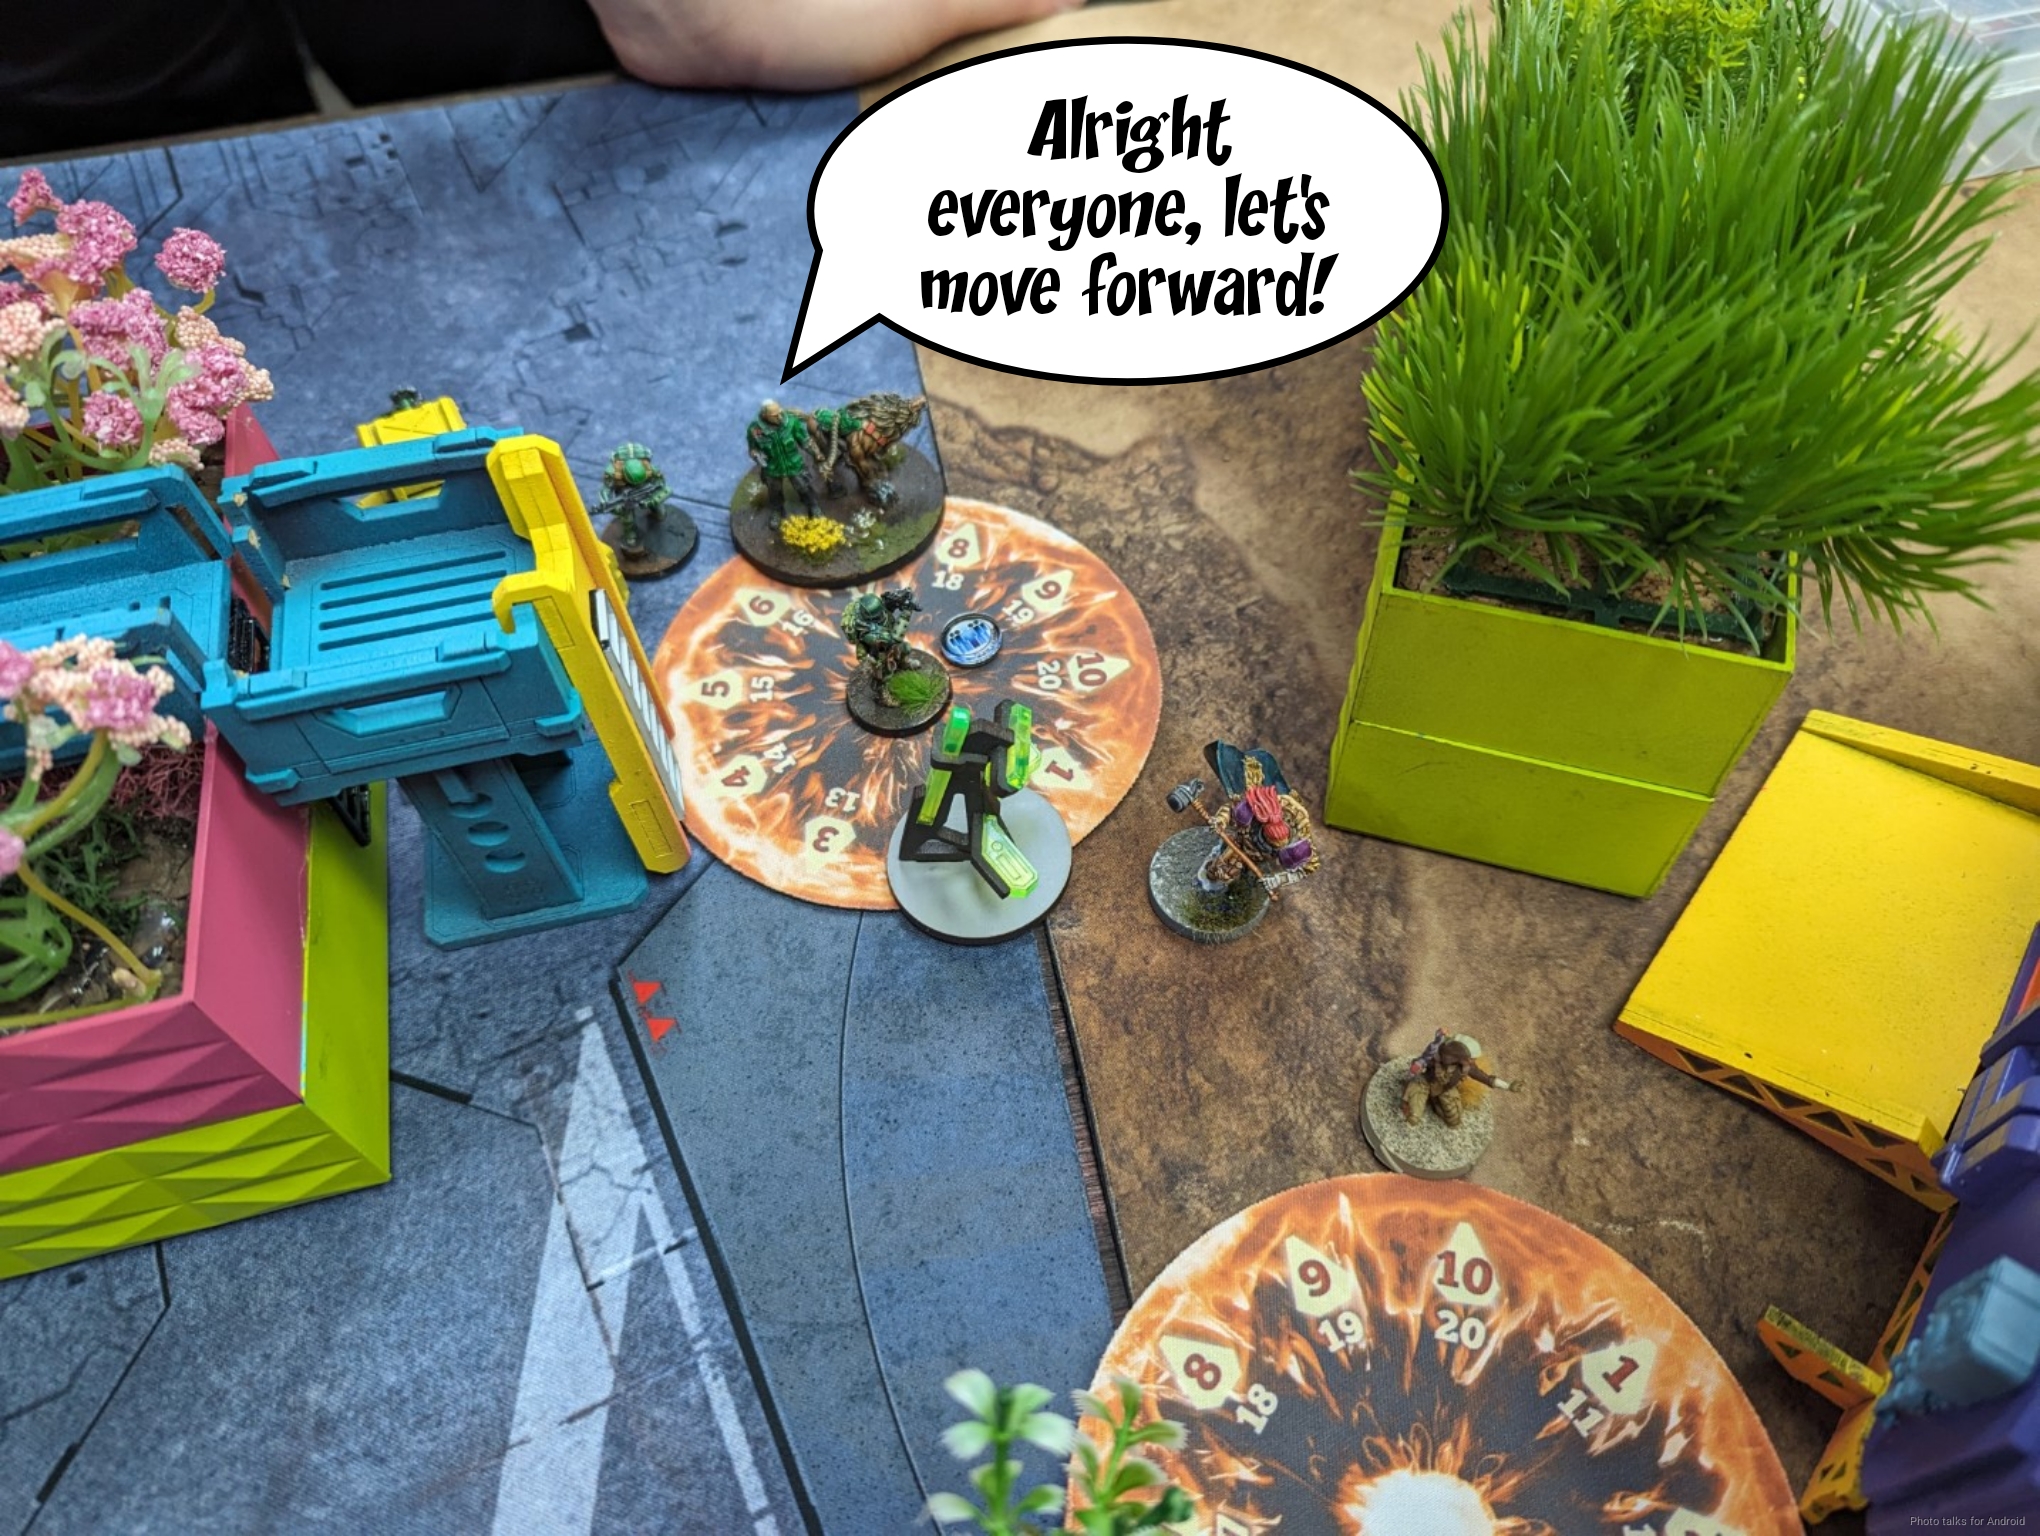
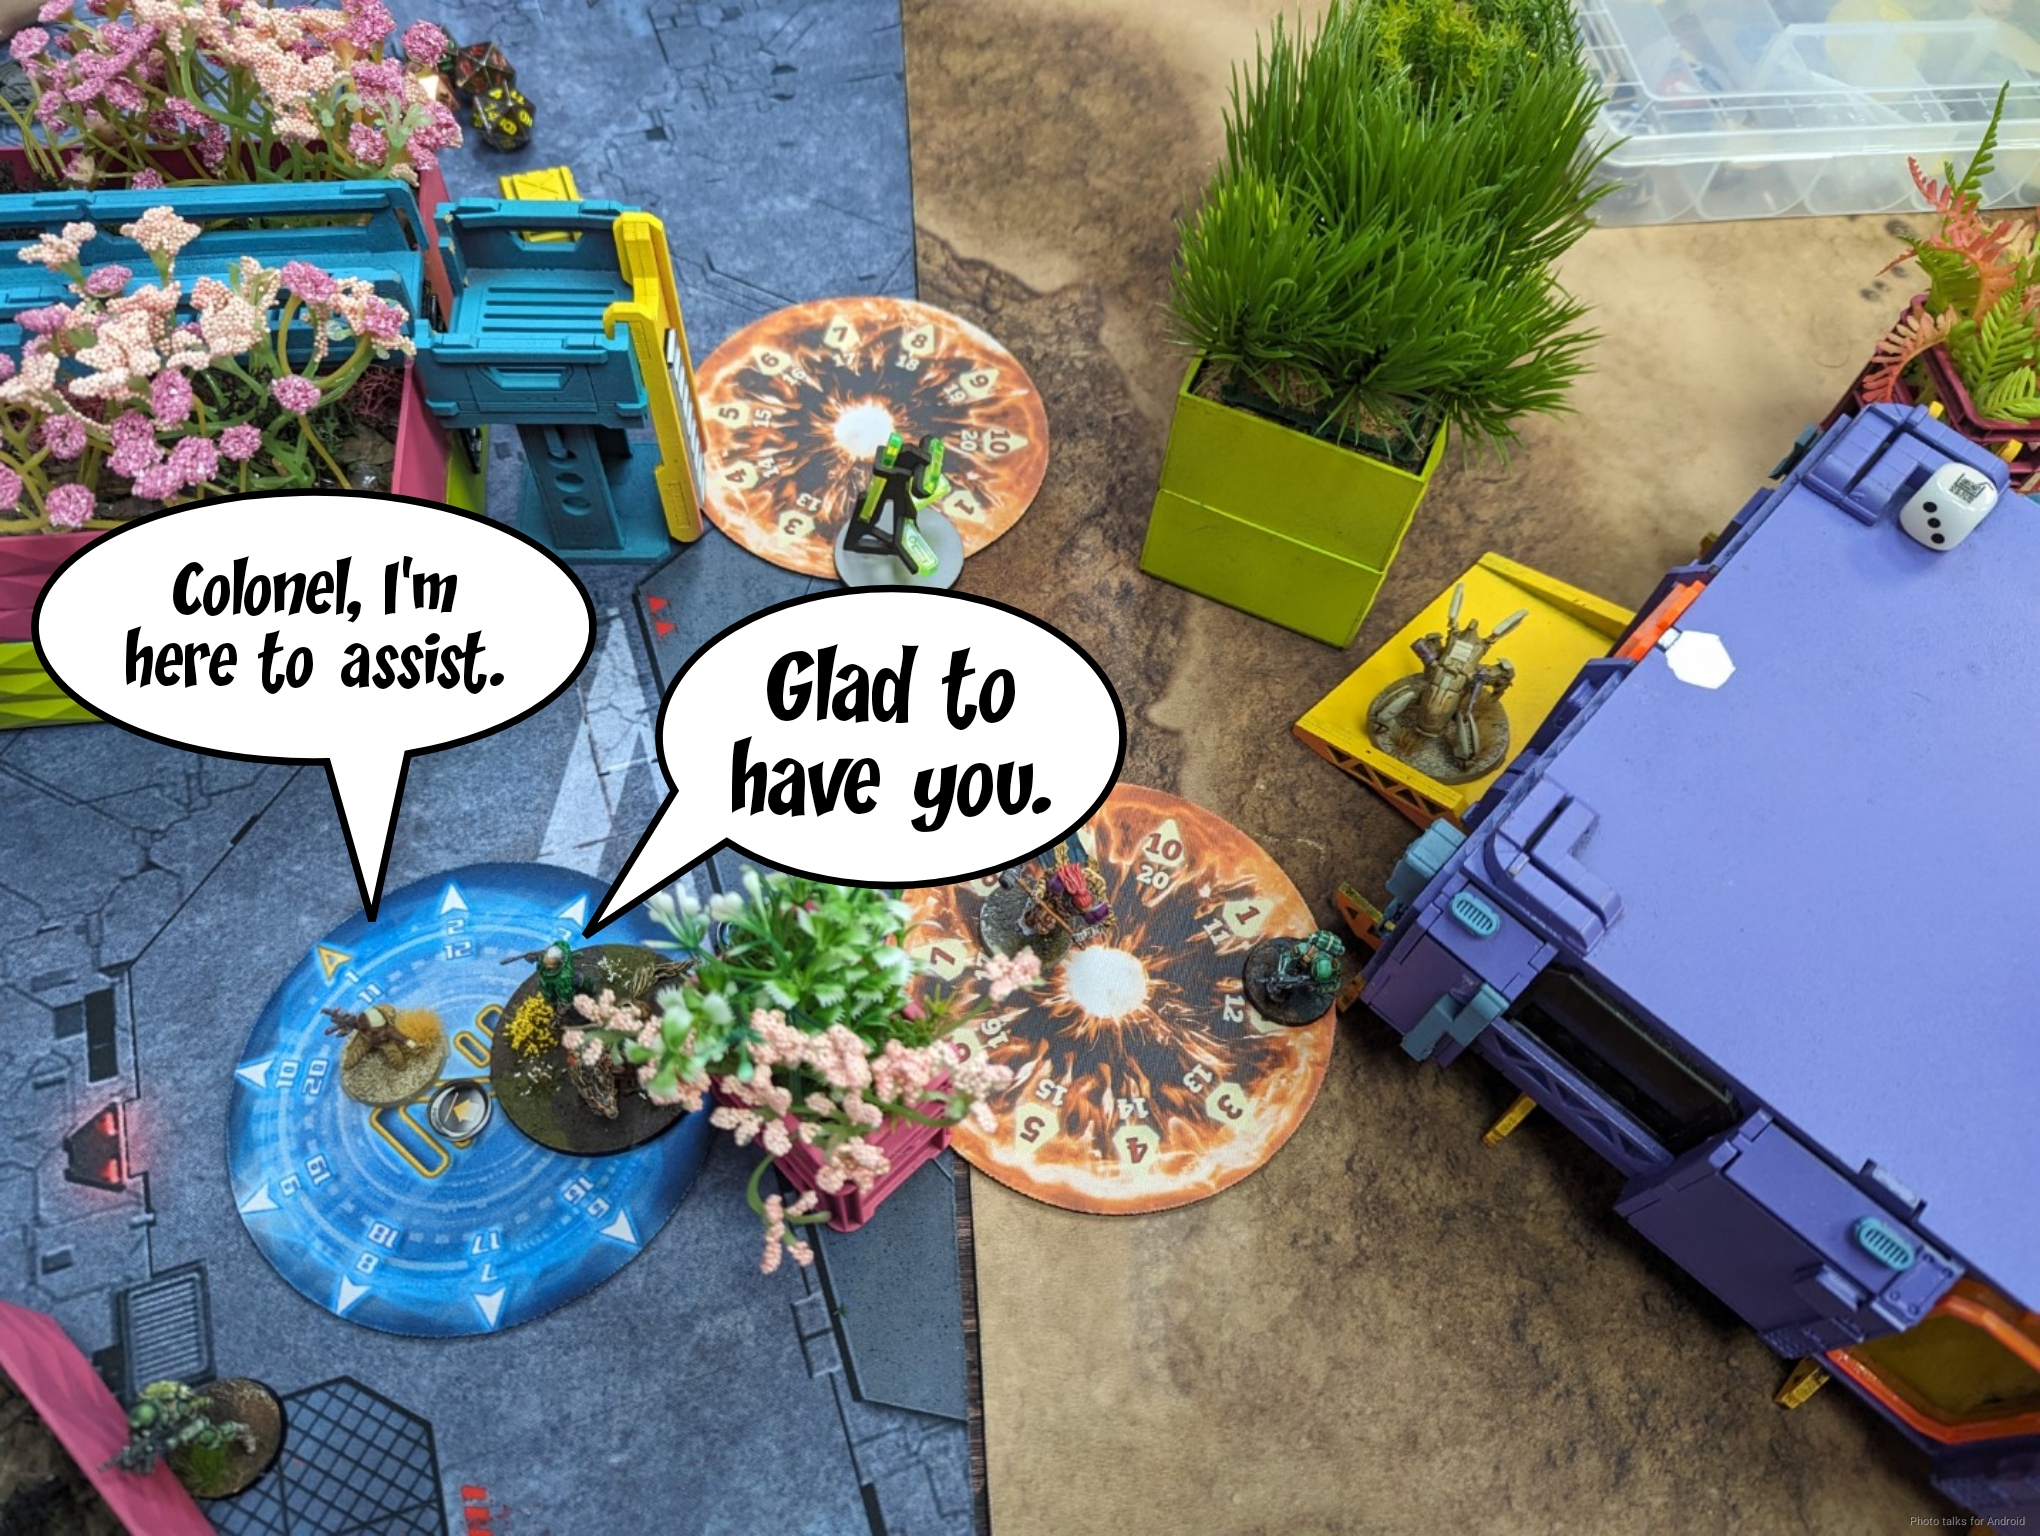
It’s now time to start moving up Tony’s link, lead by Voronin.
Cole’s Rafiq joins the party as well!
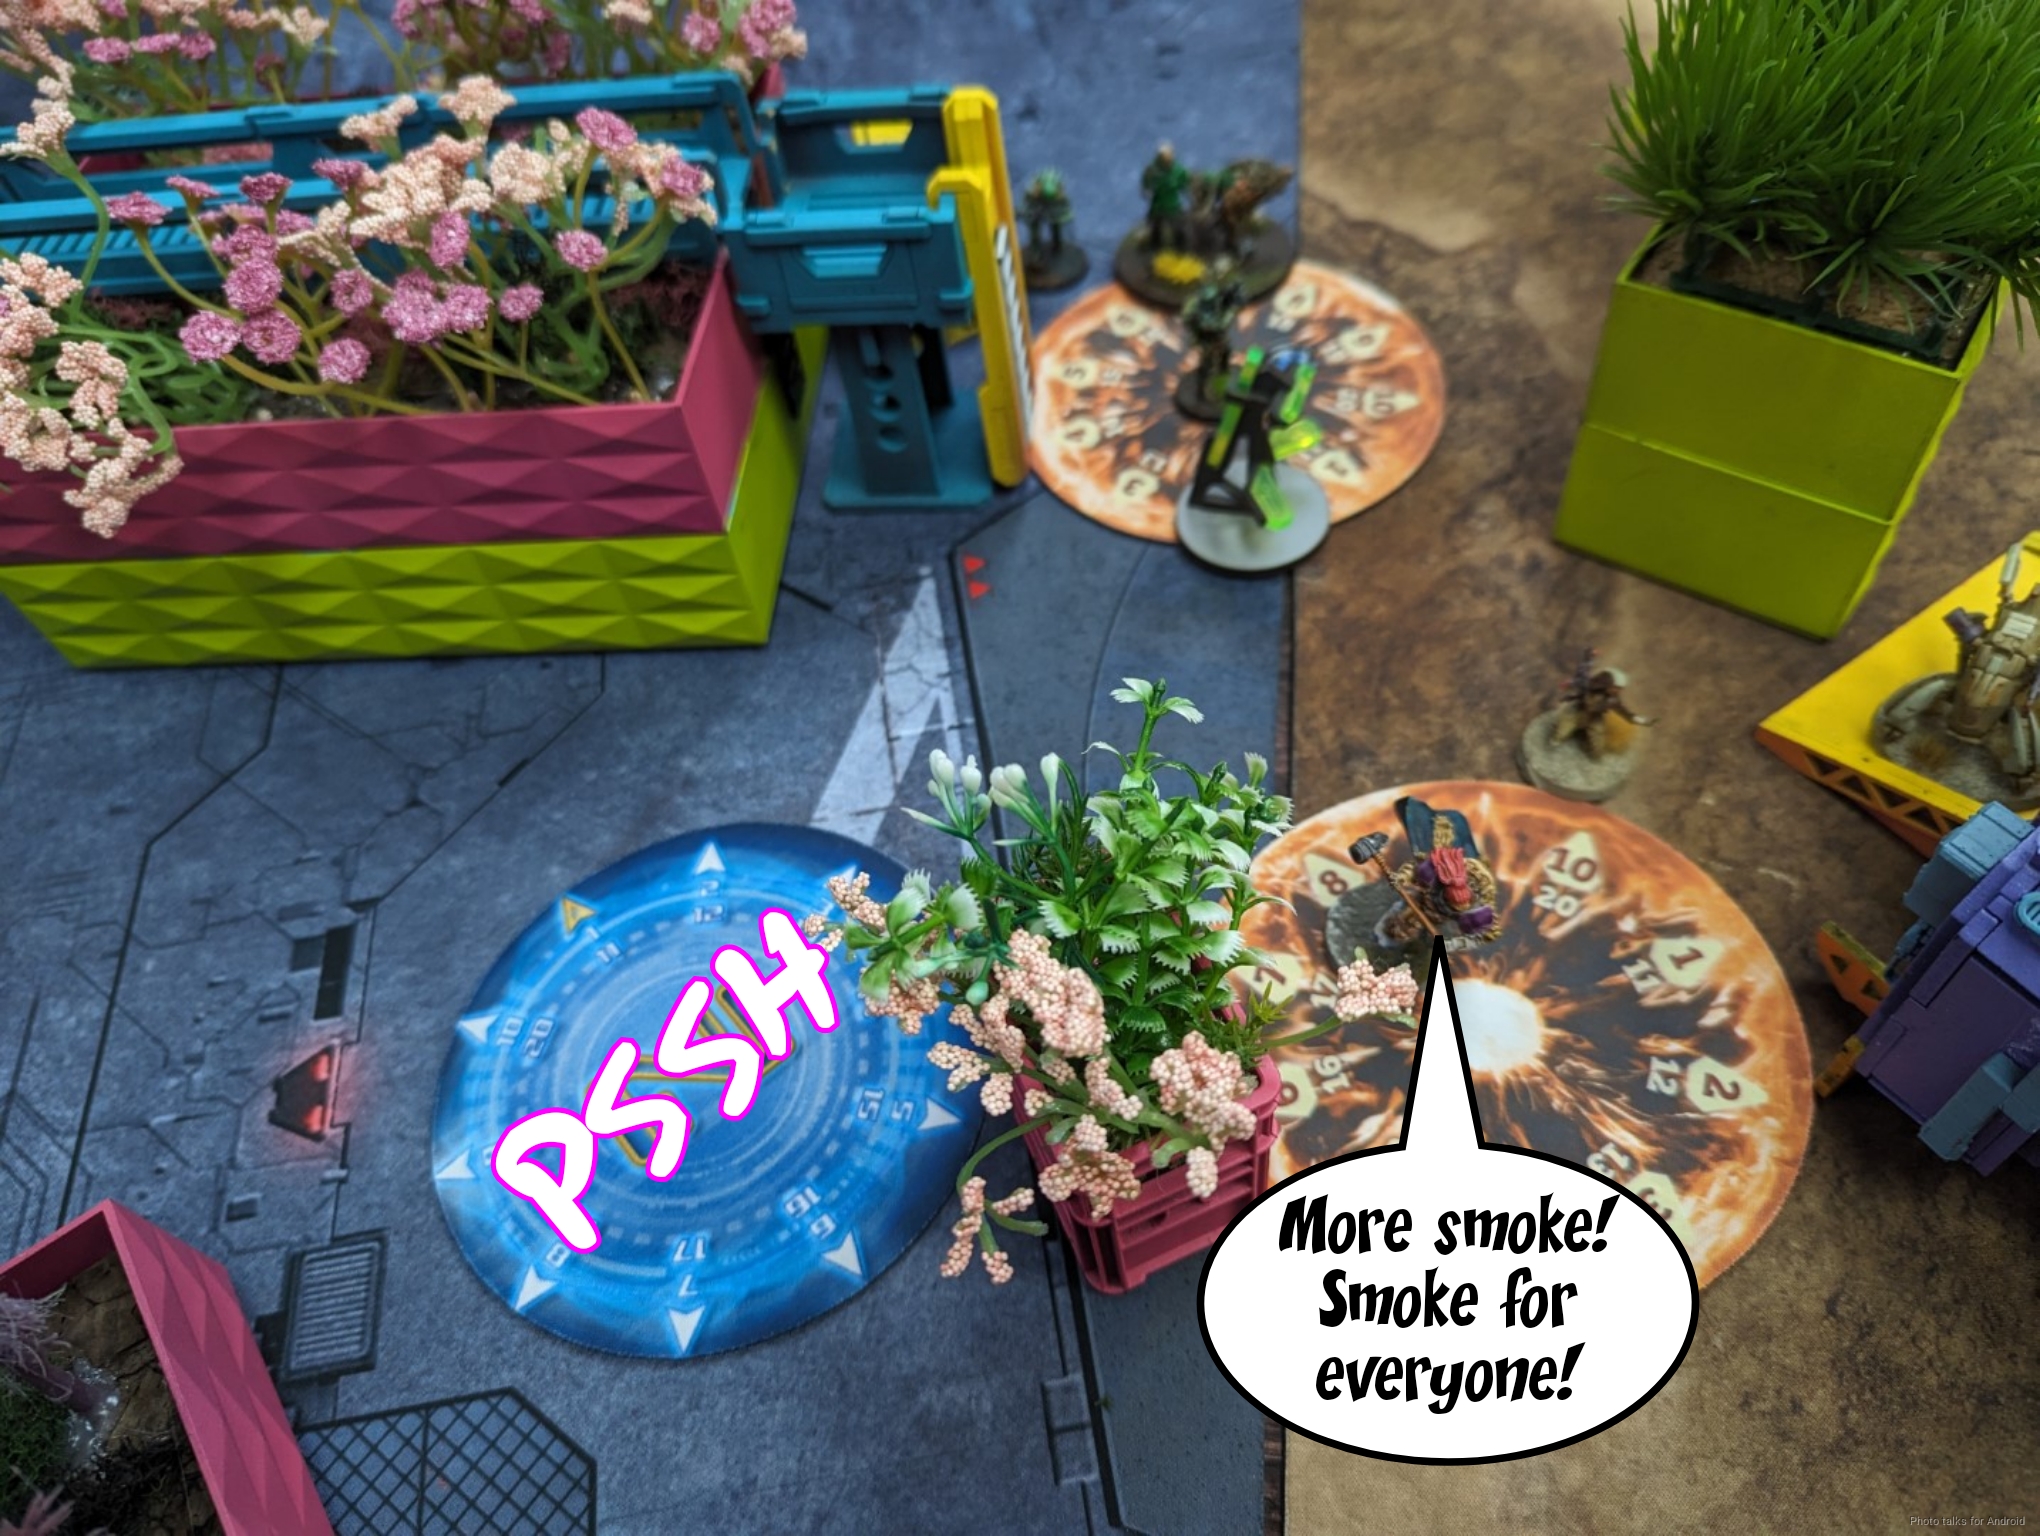
There’s still a danger zone for where Tony’s link needs to be, so the Irmandinho sets up one more smoke to plug the gap.
The Fasid and Namurr start making their way out of the deployment zone, just moving into and around a building.
Tony’s link continues advancing, and then the Fasid challenges the Tanko, doing a single wound.
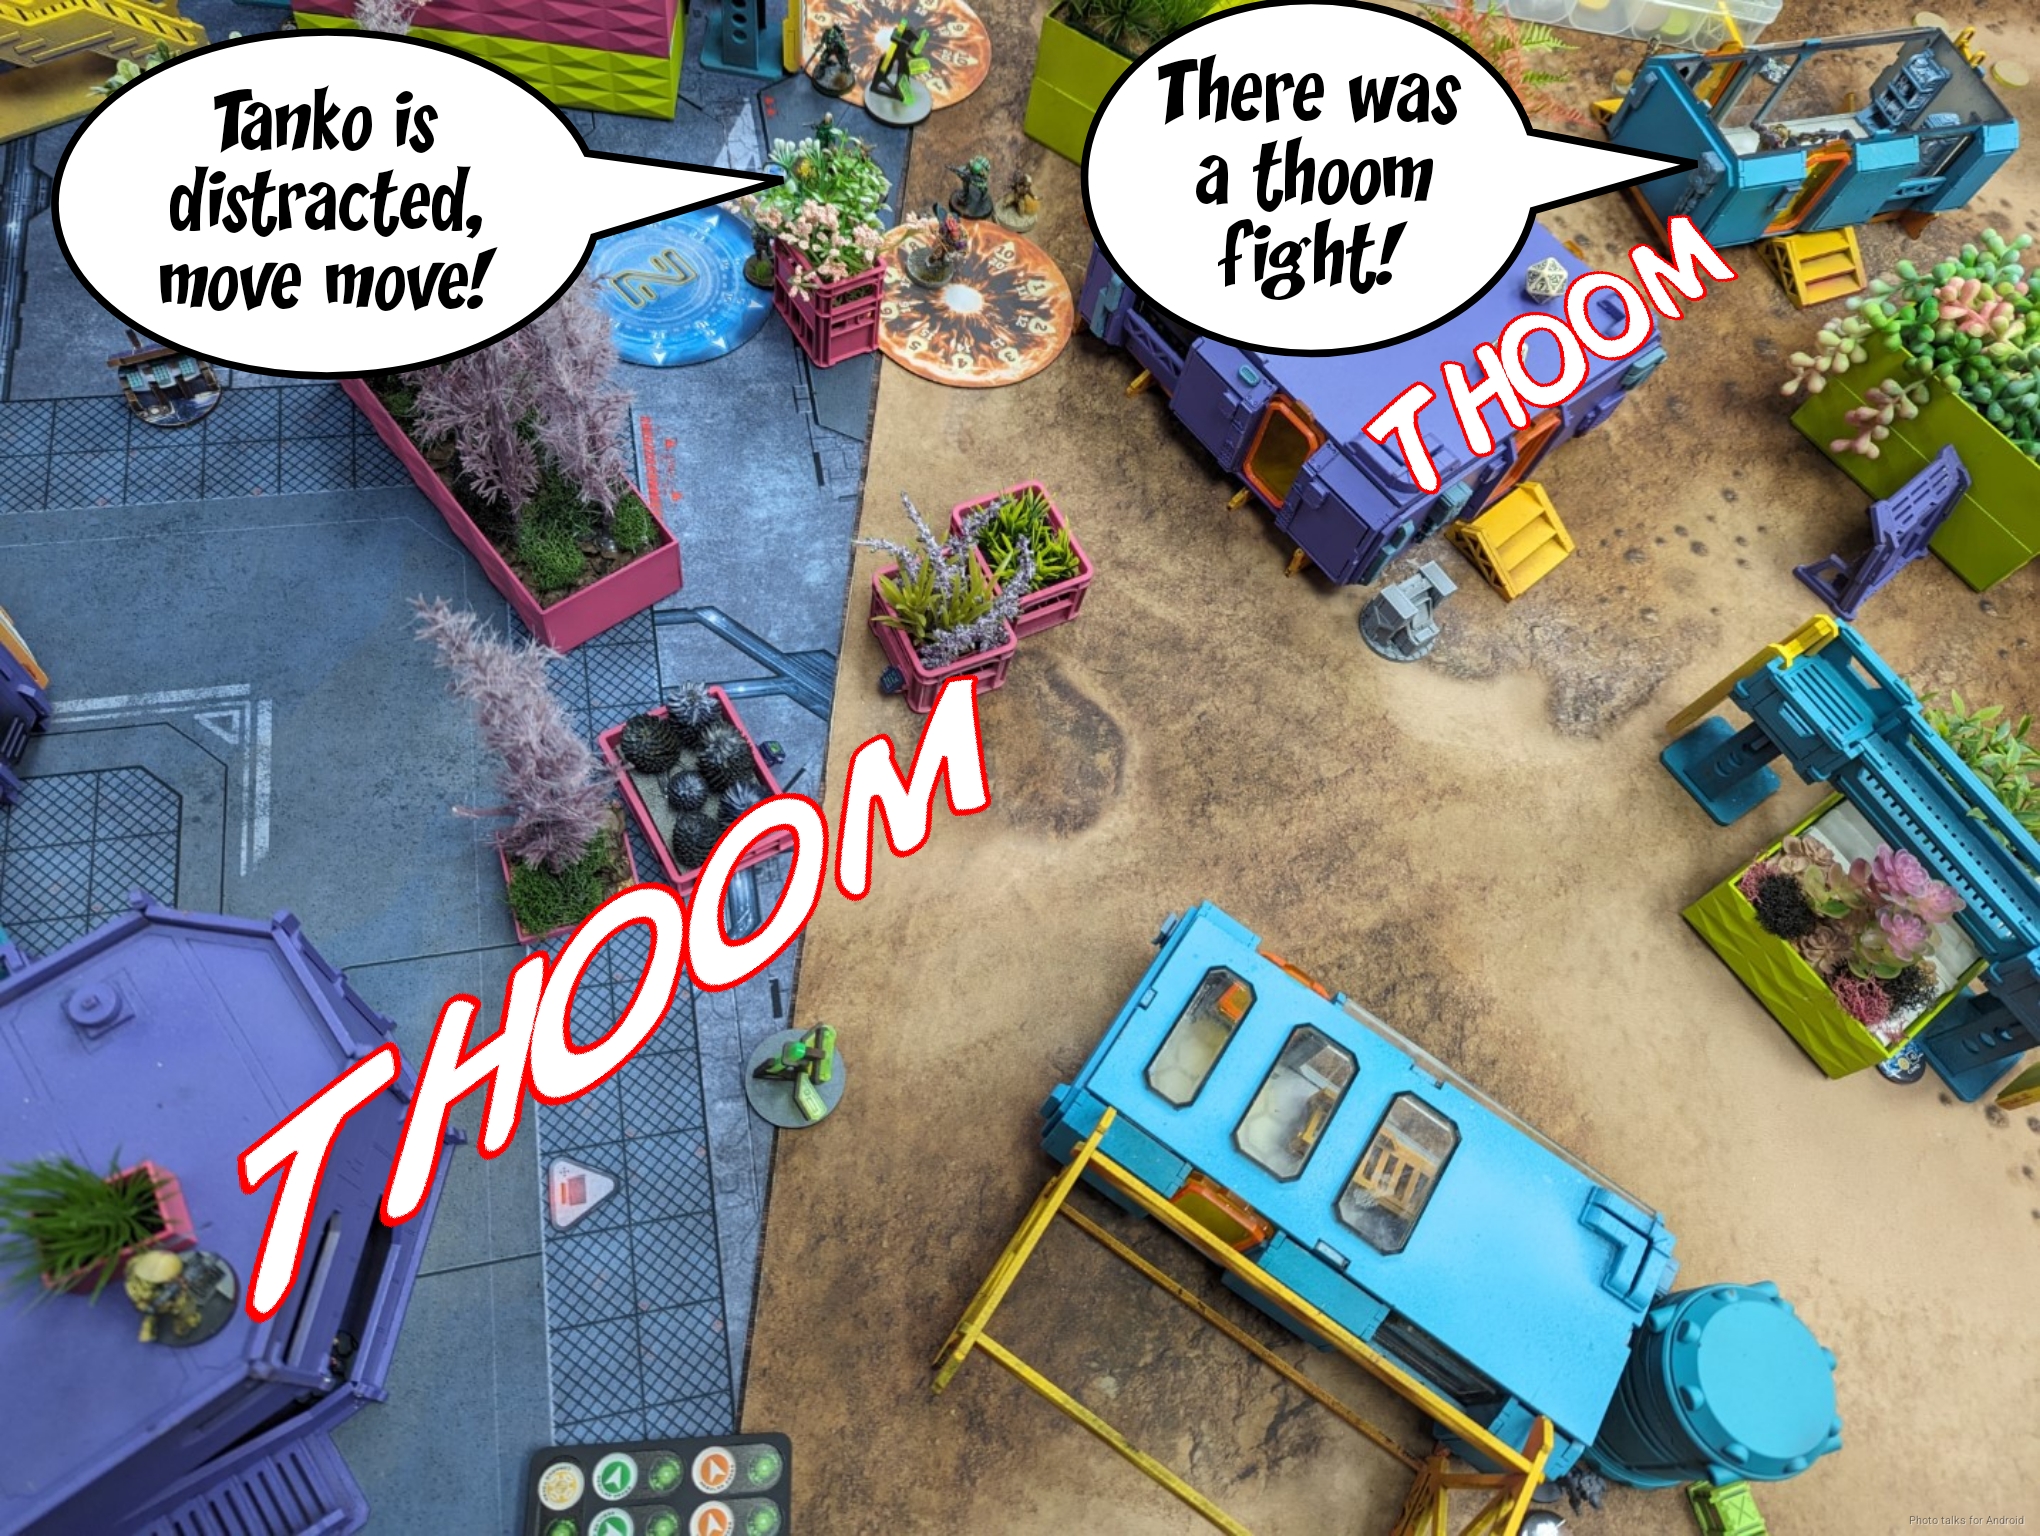
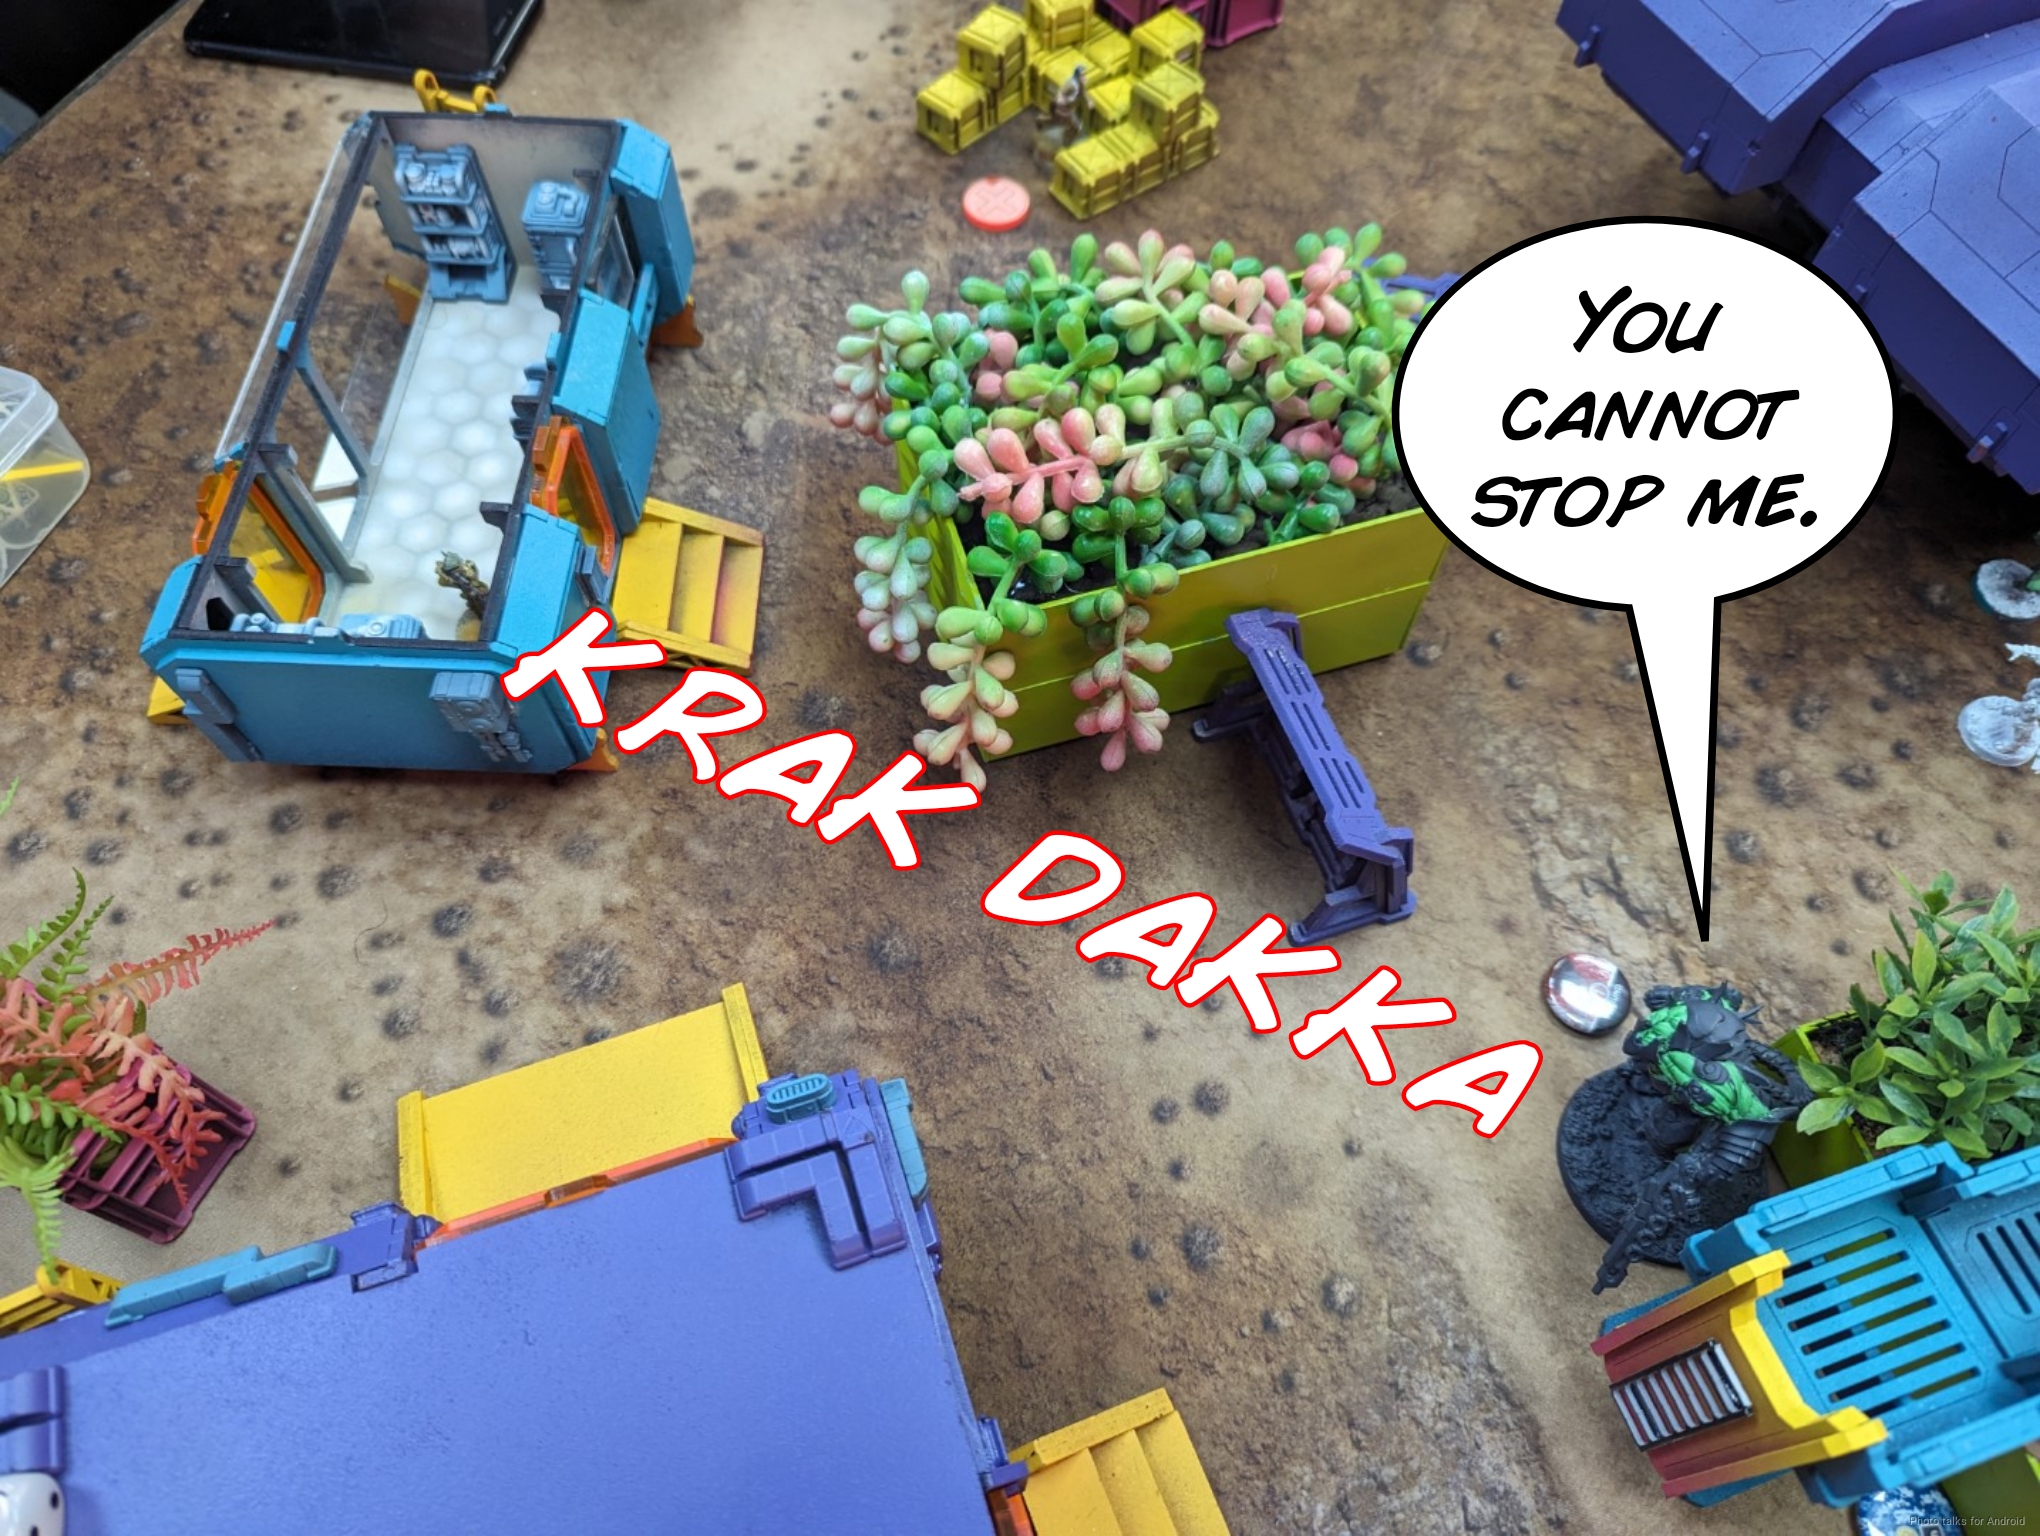
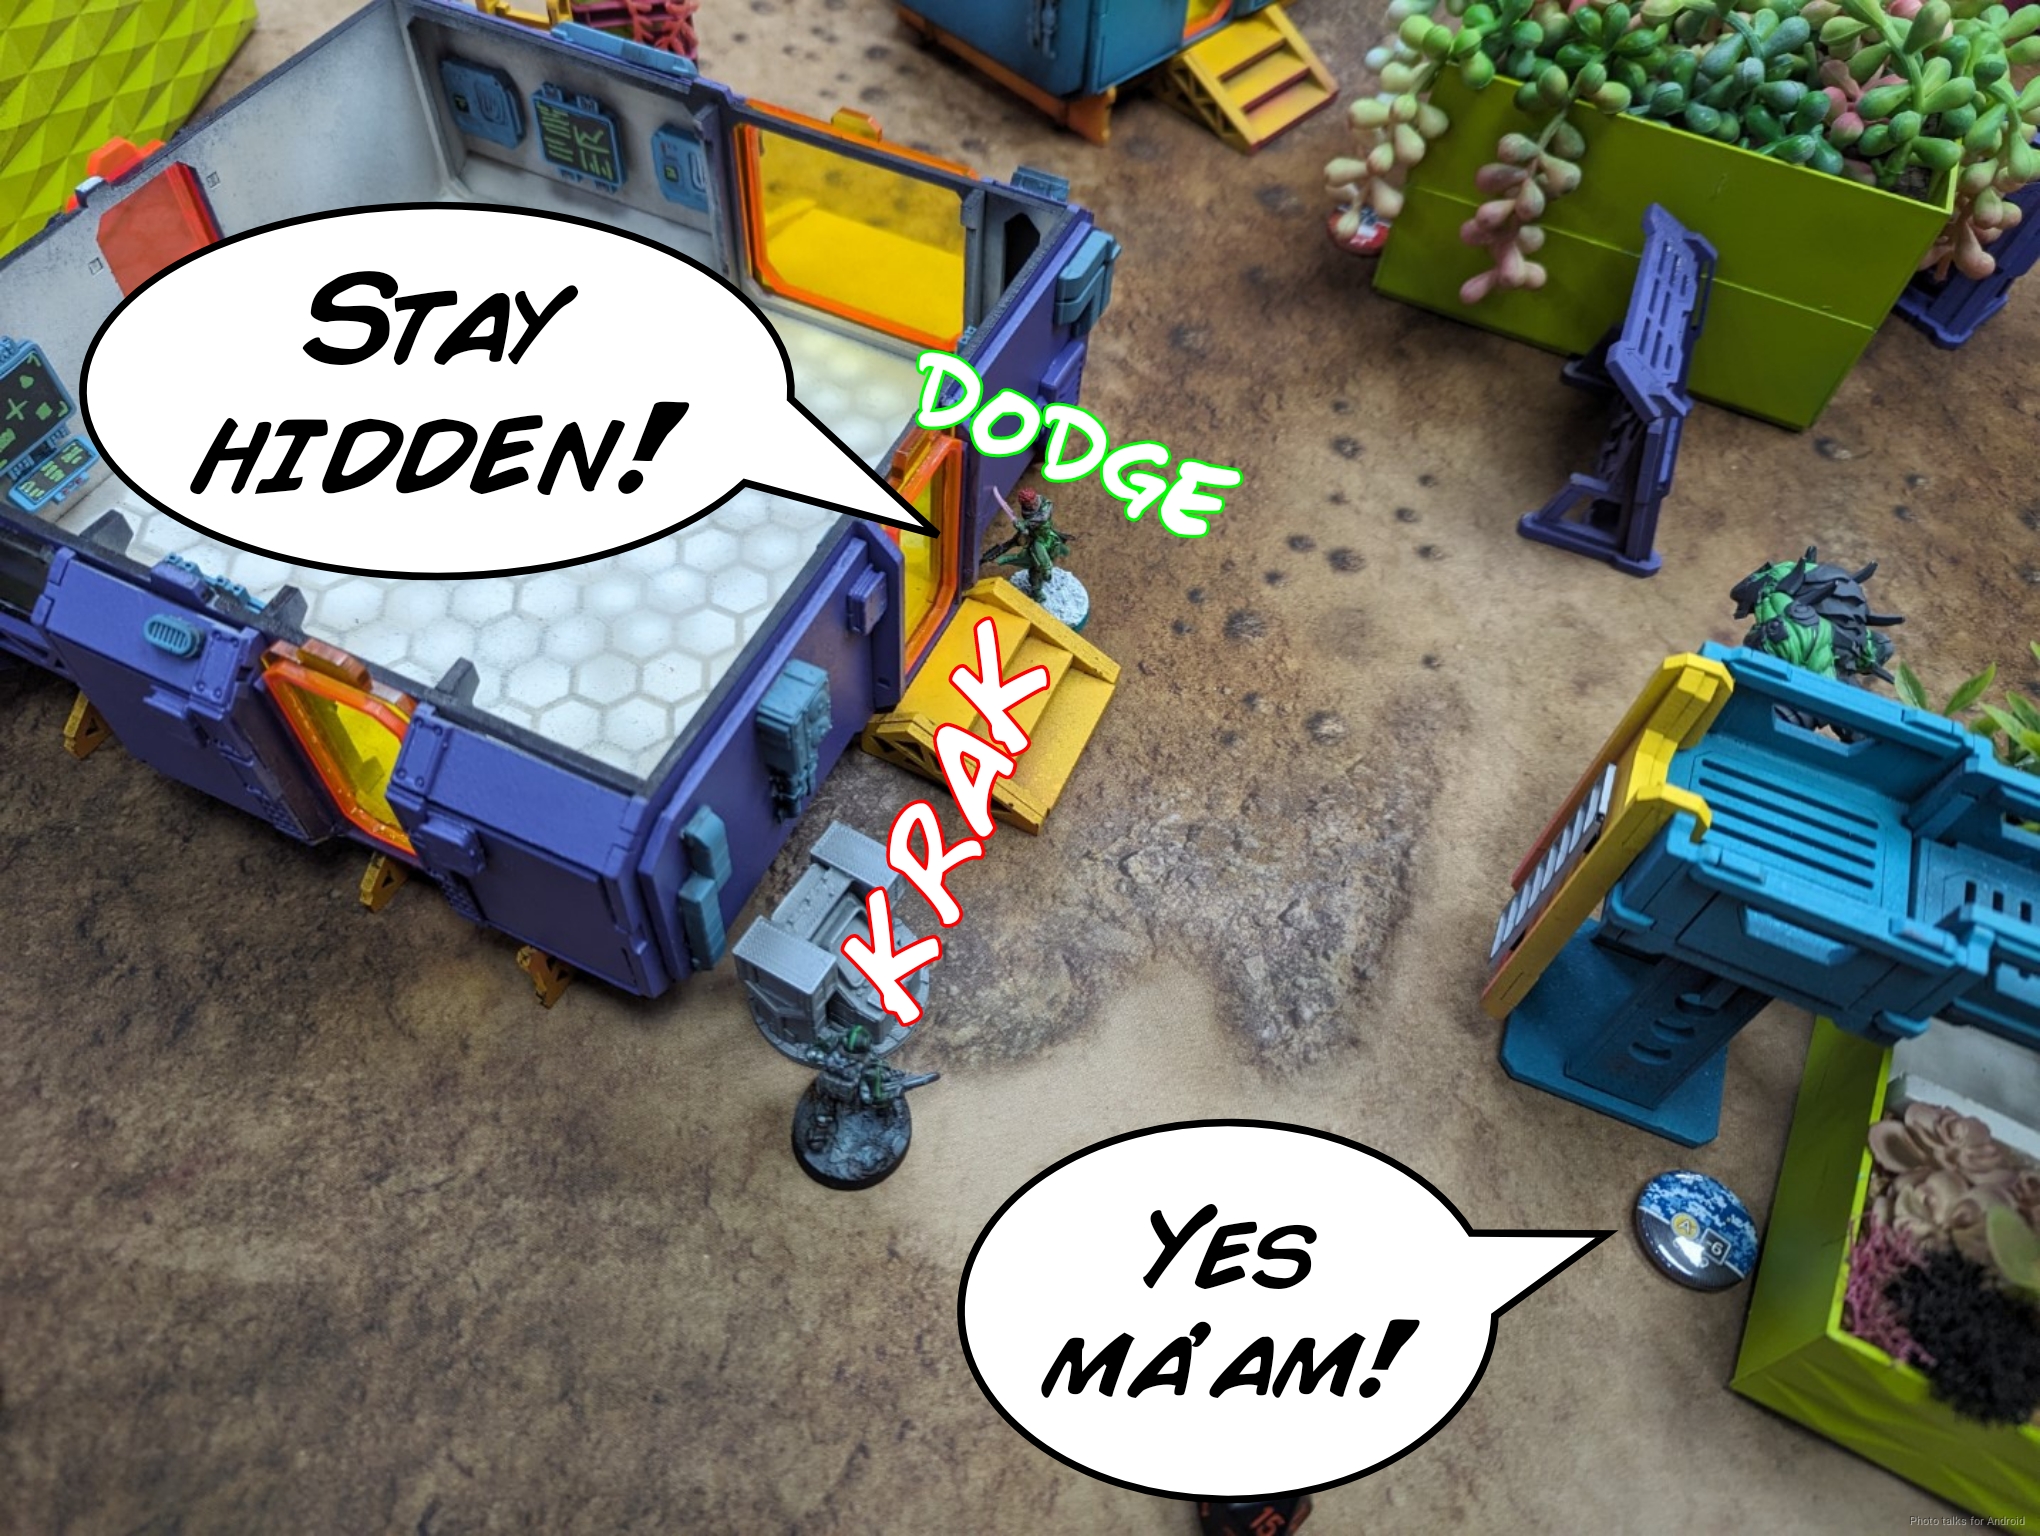
Tony then tries to break my link by showing an out-of-camo Scout. I’m forced to engage with a Blitzen from the Tanko LSG due to the range, and the Tanko and Warcor of course engage. The Tanko ML deletes the Scout, who shot exclusively at the Tanko LSG but failed to wound.
Link still intact, the Fasid engages the Tanko ML again. This time, I beat the Fasid’s rolls and it dies.
Unfortunately, the Tanko ML’s luck runs out now and the Ratnik finally drops it.
With the Tanko down, Voronin’s link is safe to leave the smoke and set up defensive positions.
This is augmented by the Muhktar.
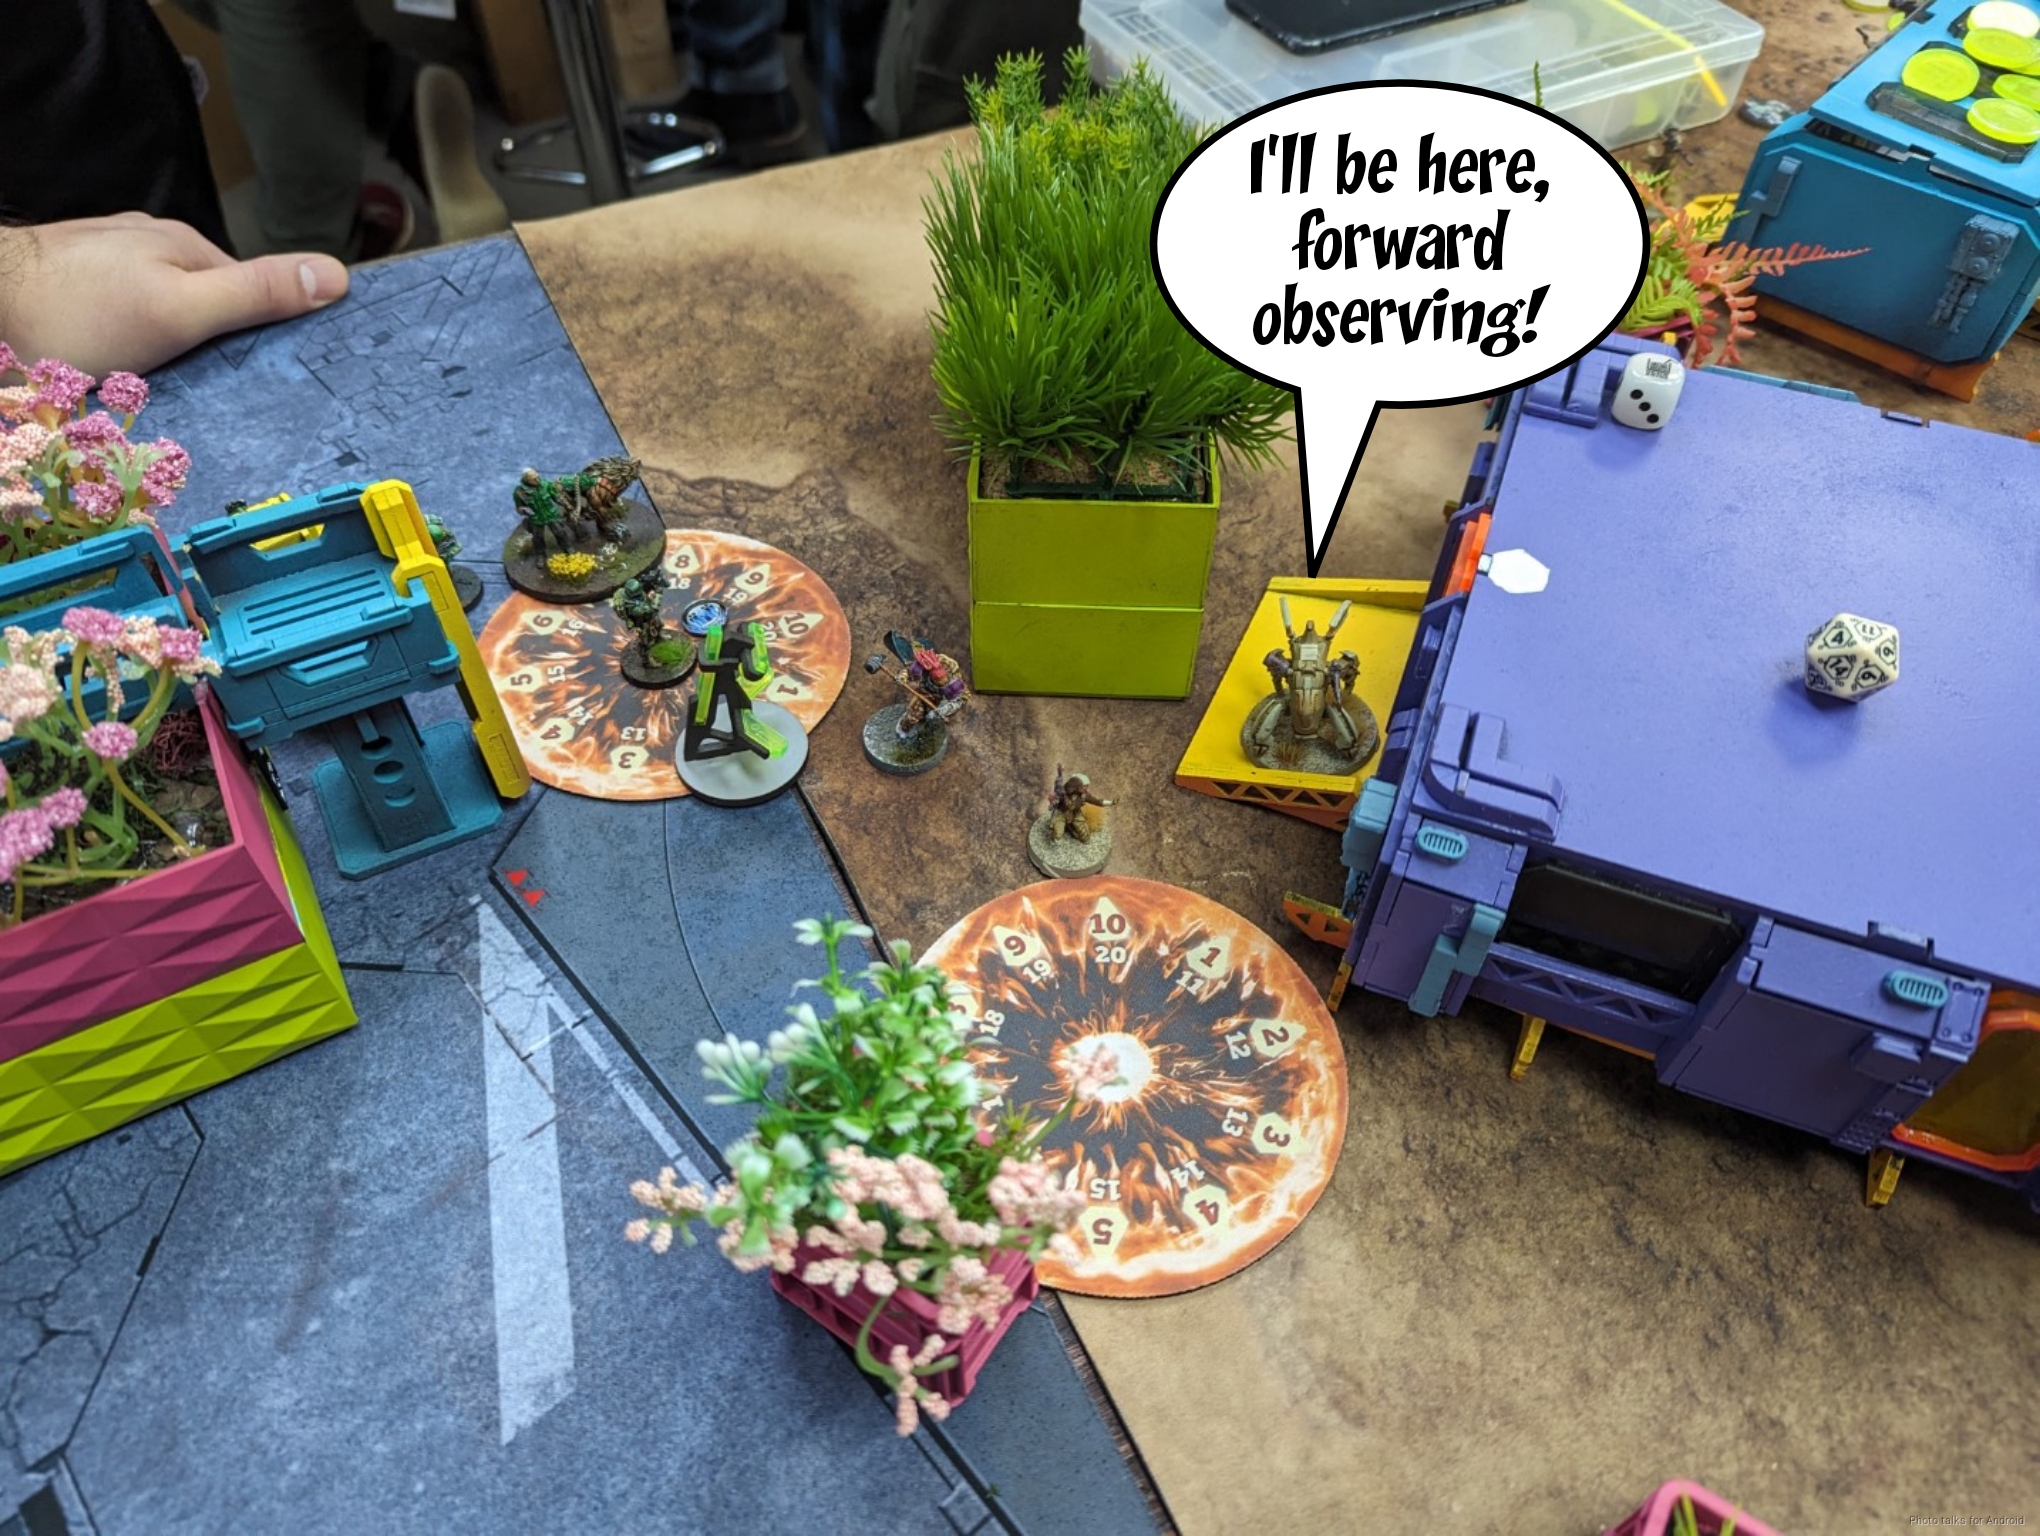
With the AROs gone and with a few orders left, Tony’s Spetznaz scoots to safety.
The area near the Tony/Cole’s console is quite crowded.
Most of their forces survive the biotechvore zone or are out. Most importantly, the Tankhunter autocannon passes BTS!
Bottom of 1 – CA/JSA
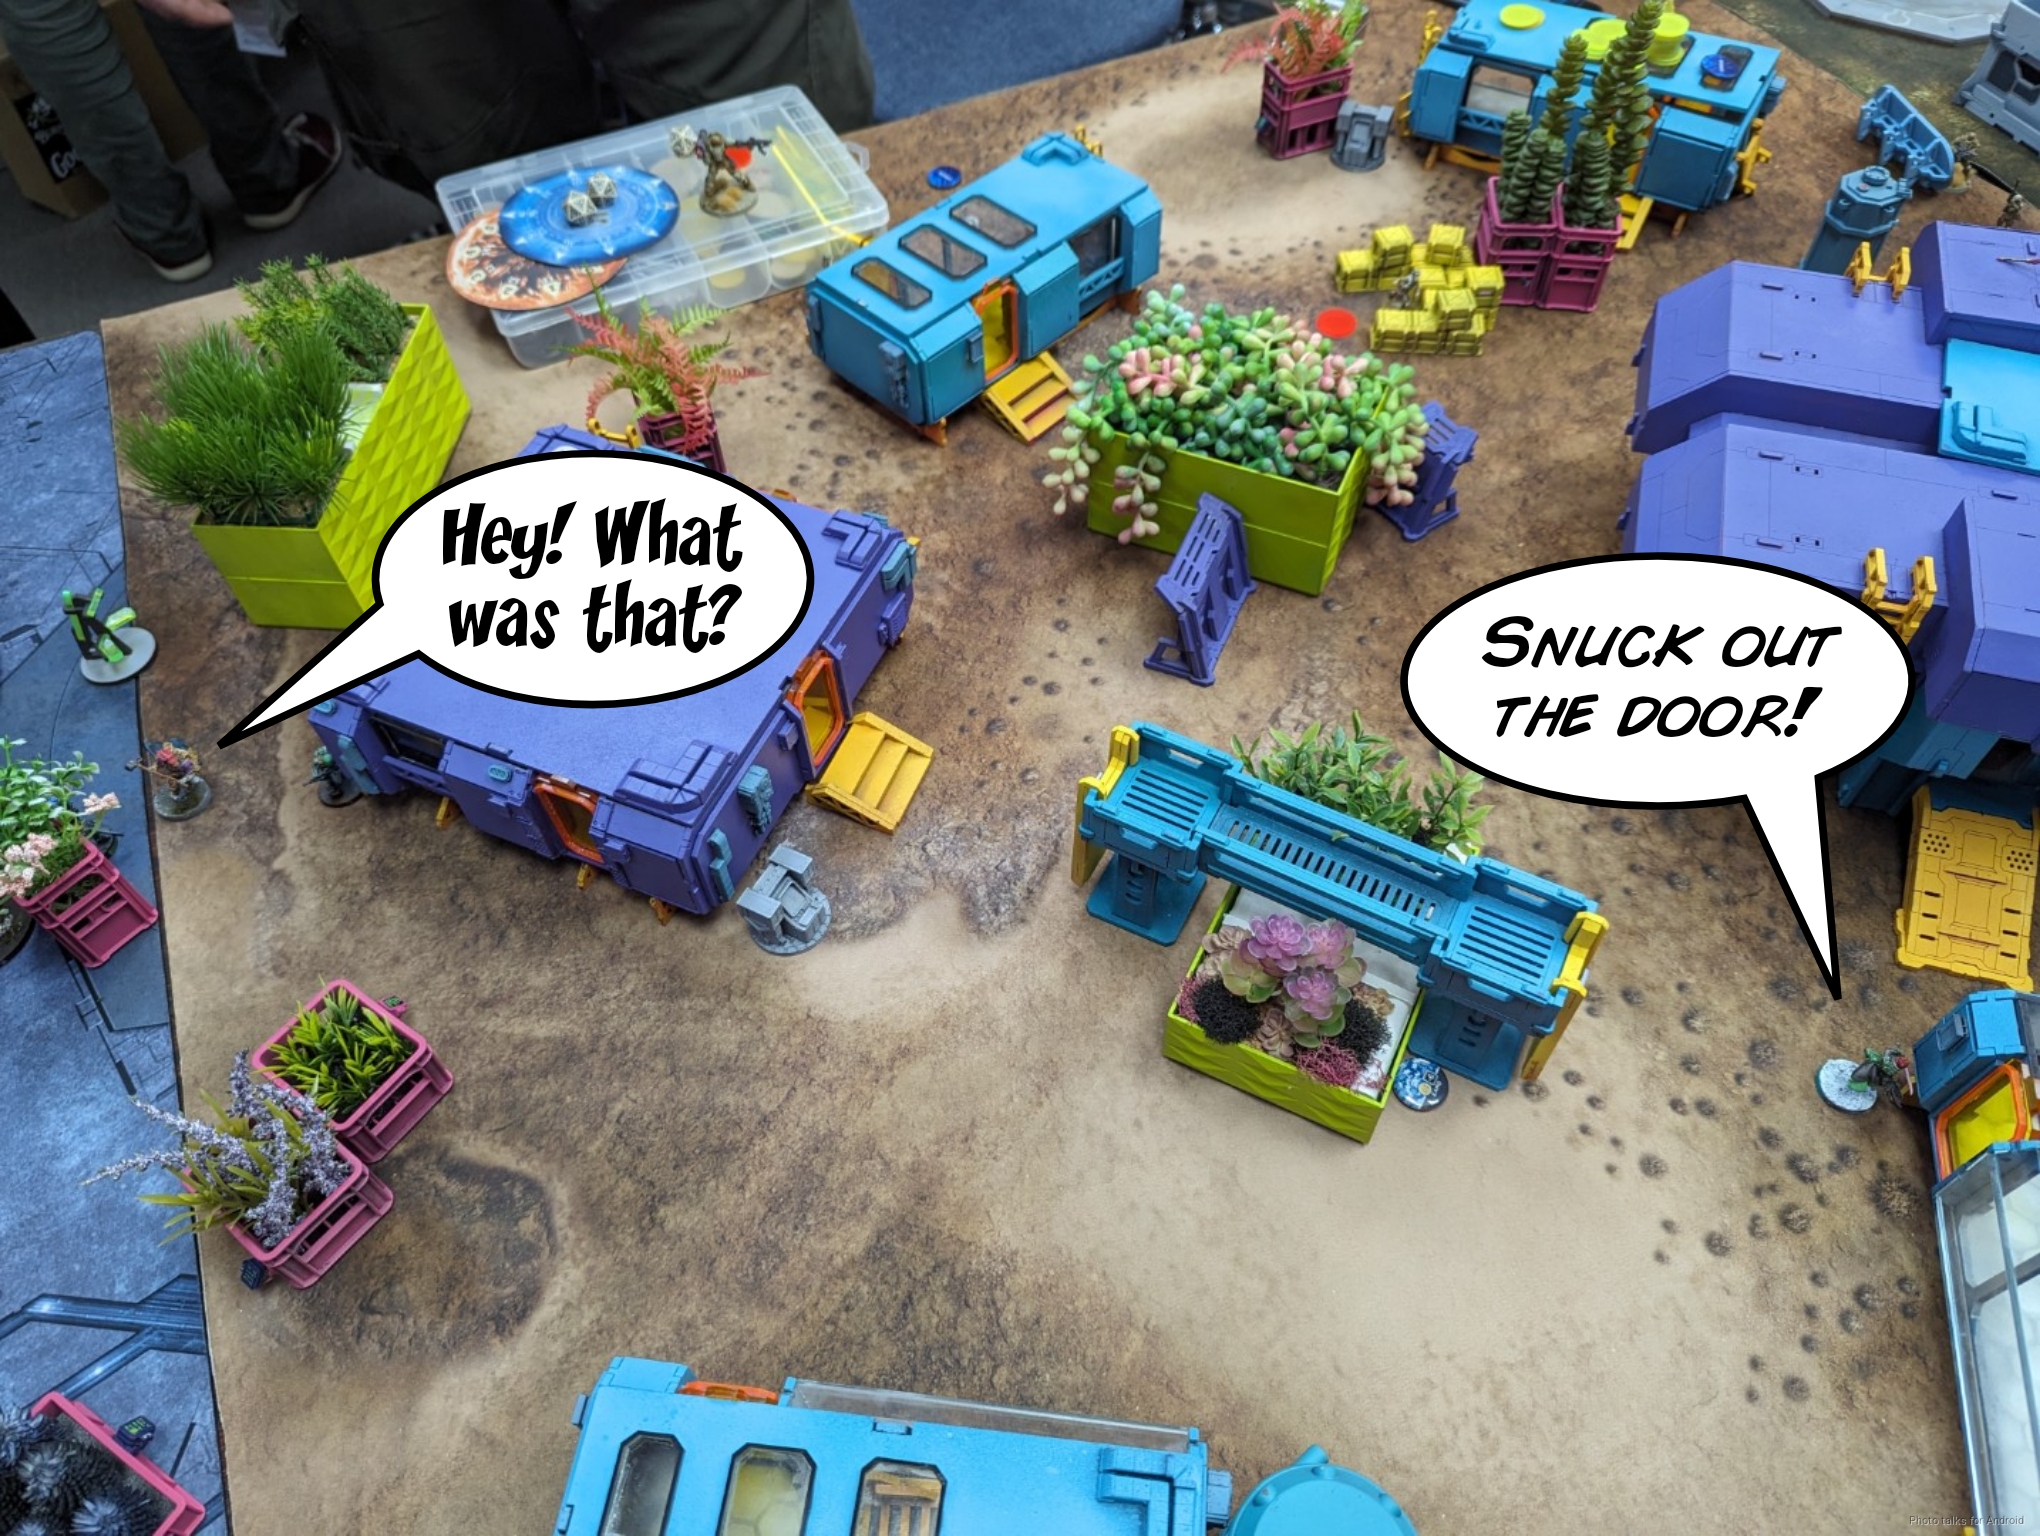
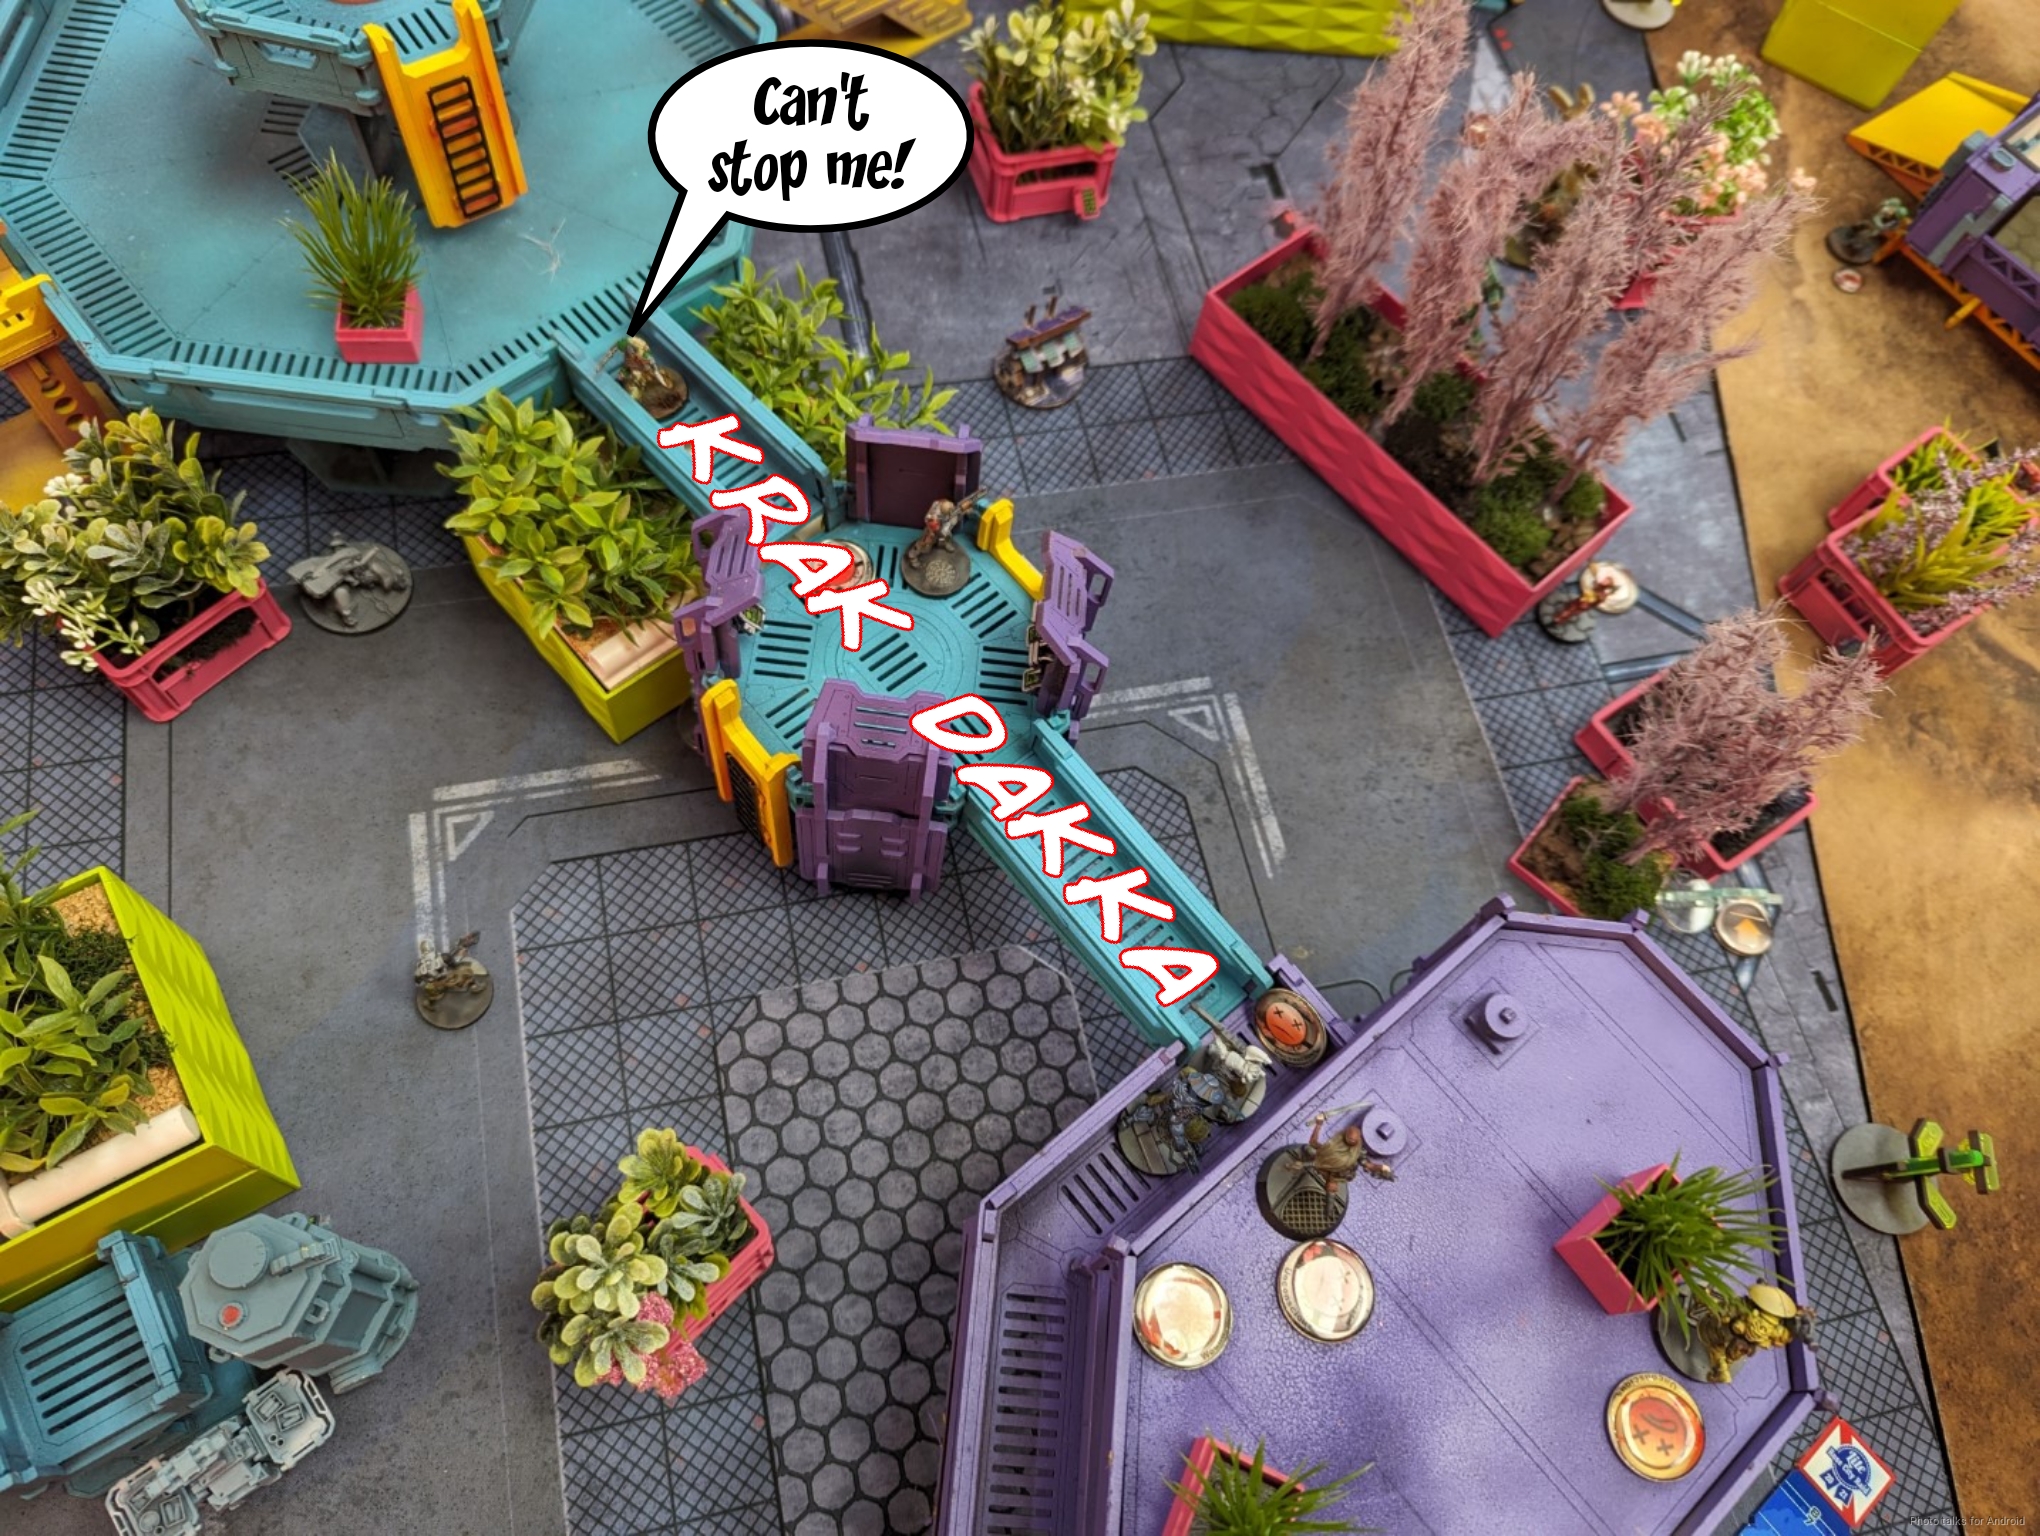
I really want to punish the large clumping of troops near Tony/Cole’s console, but I need to get out of the zone first. The Aragoto Spitfire makes it out easily with its impetuous order, and the KHD is non-impetuous to use Cybermask.
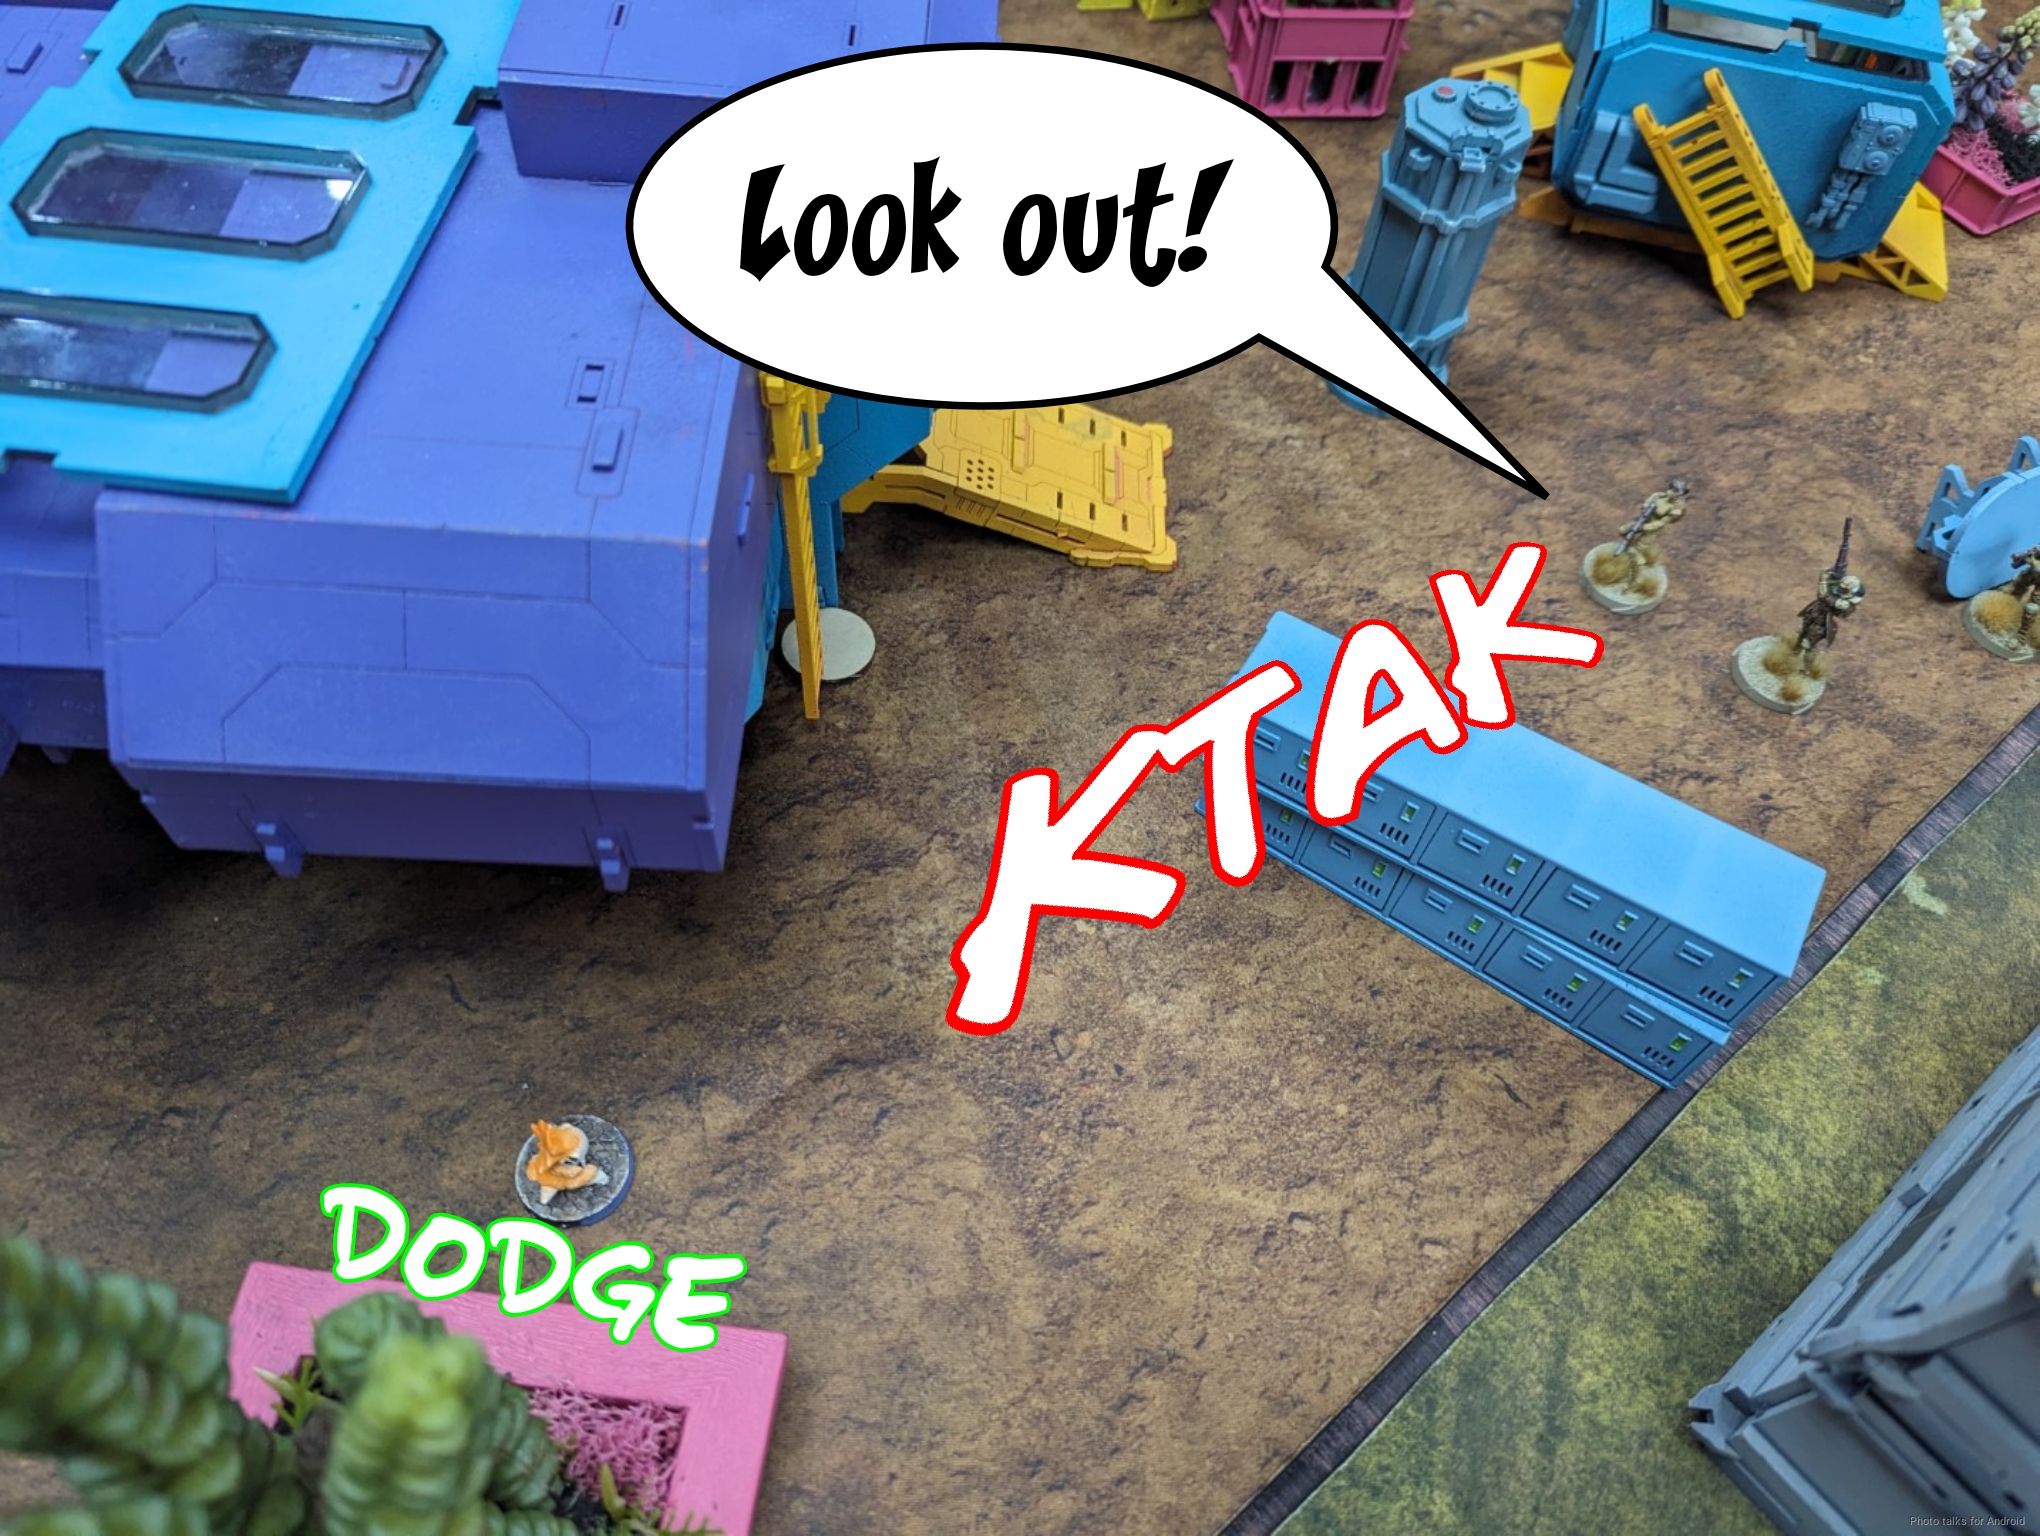
Birman’s Taigha dodges forward while some Ghulam take pot shots.
The other Aragoto makes it out safe.
Sheeskin scoots out of her building and starts making her way forward.
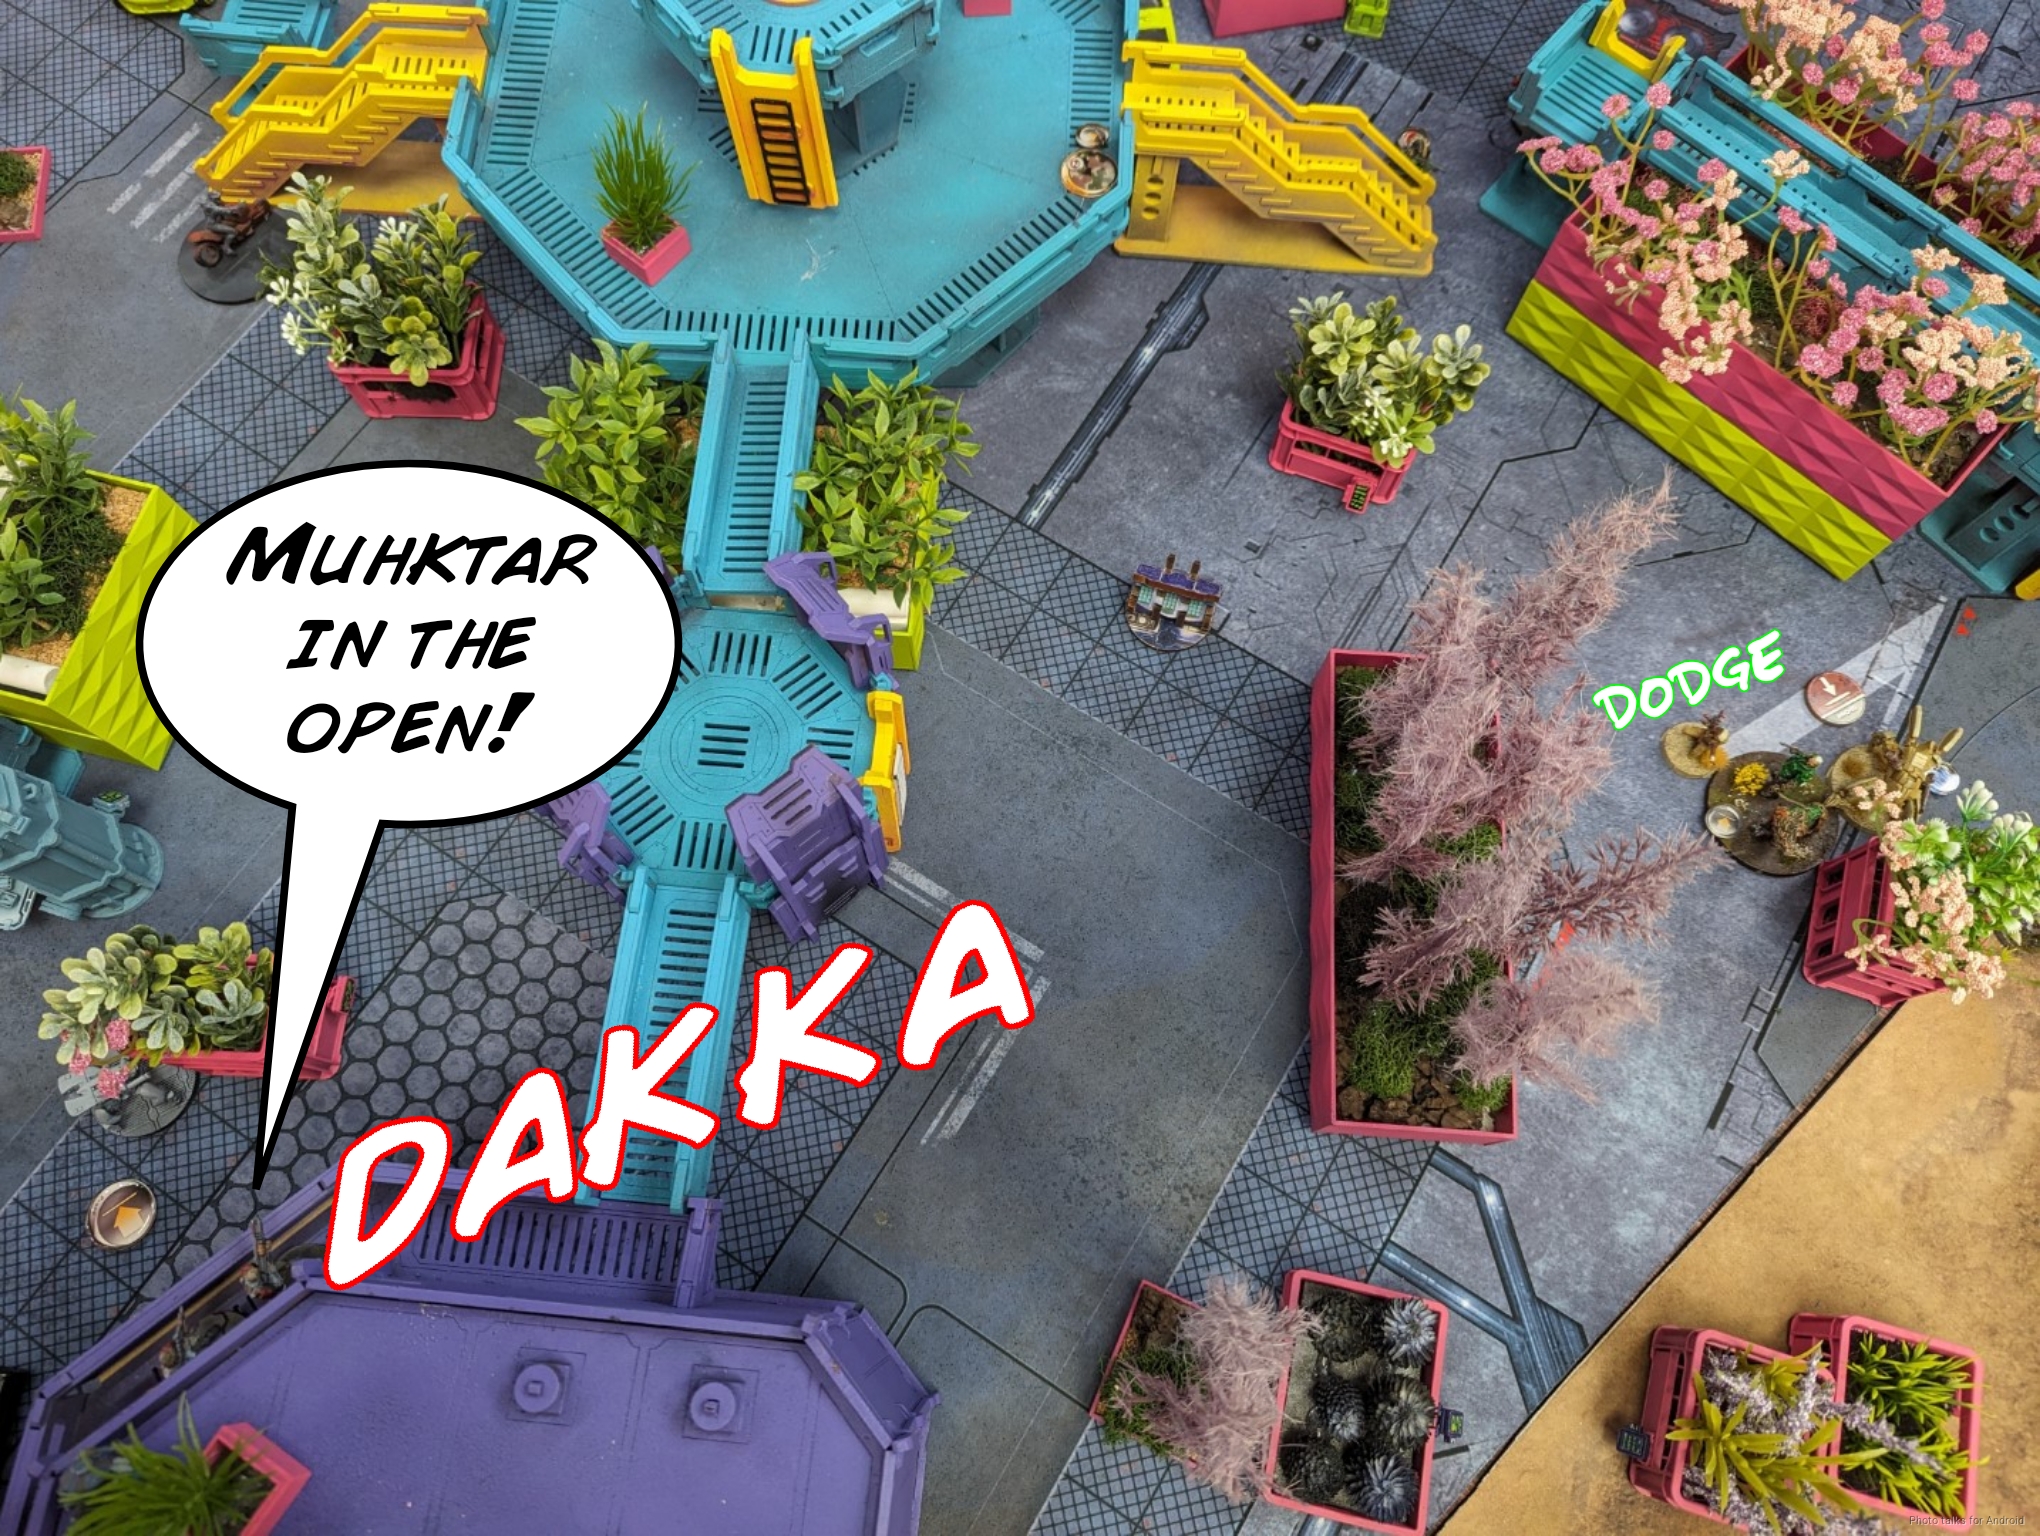
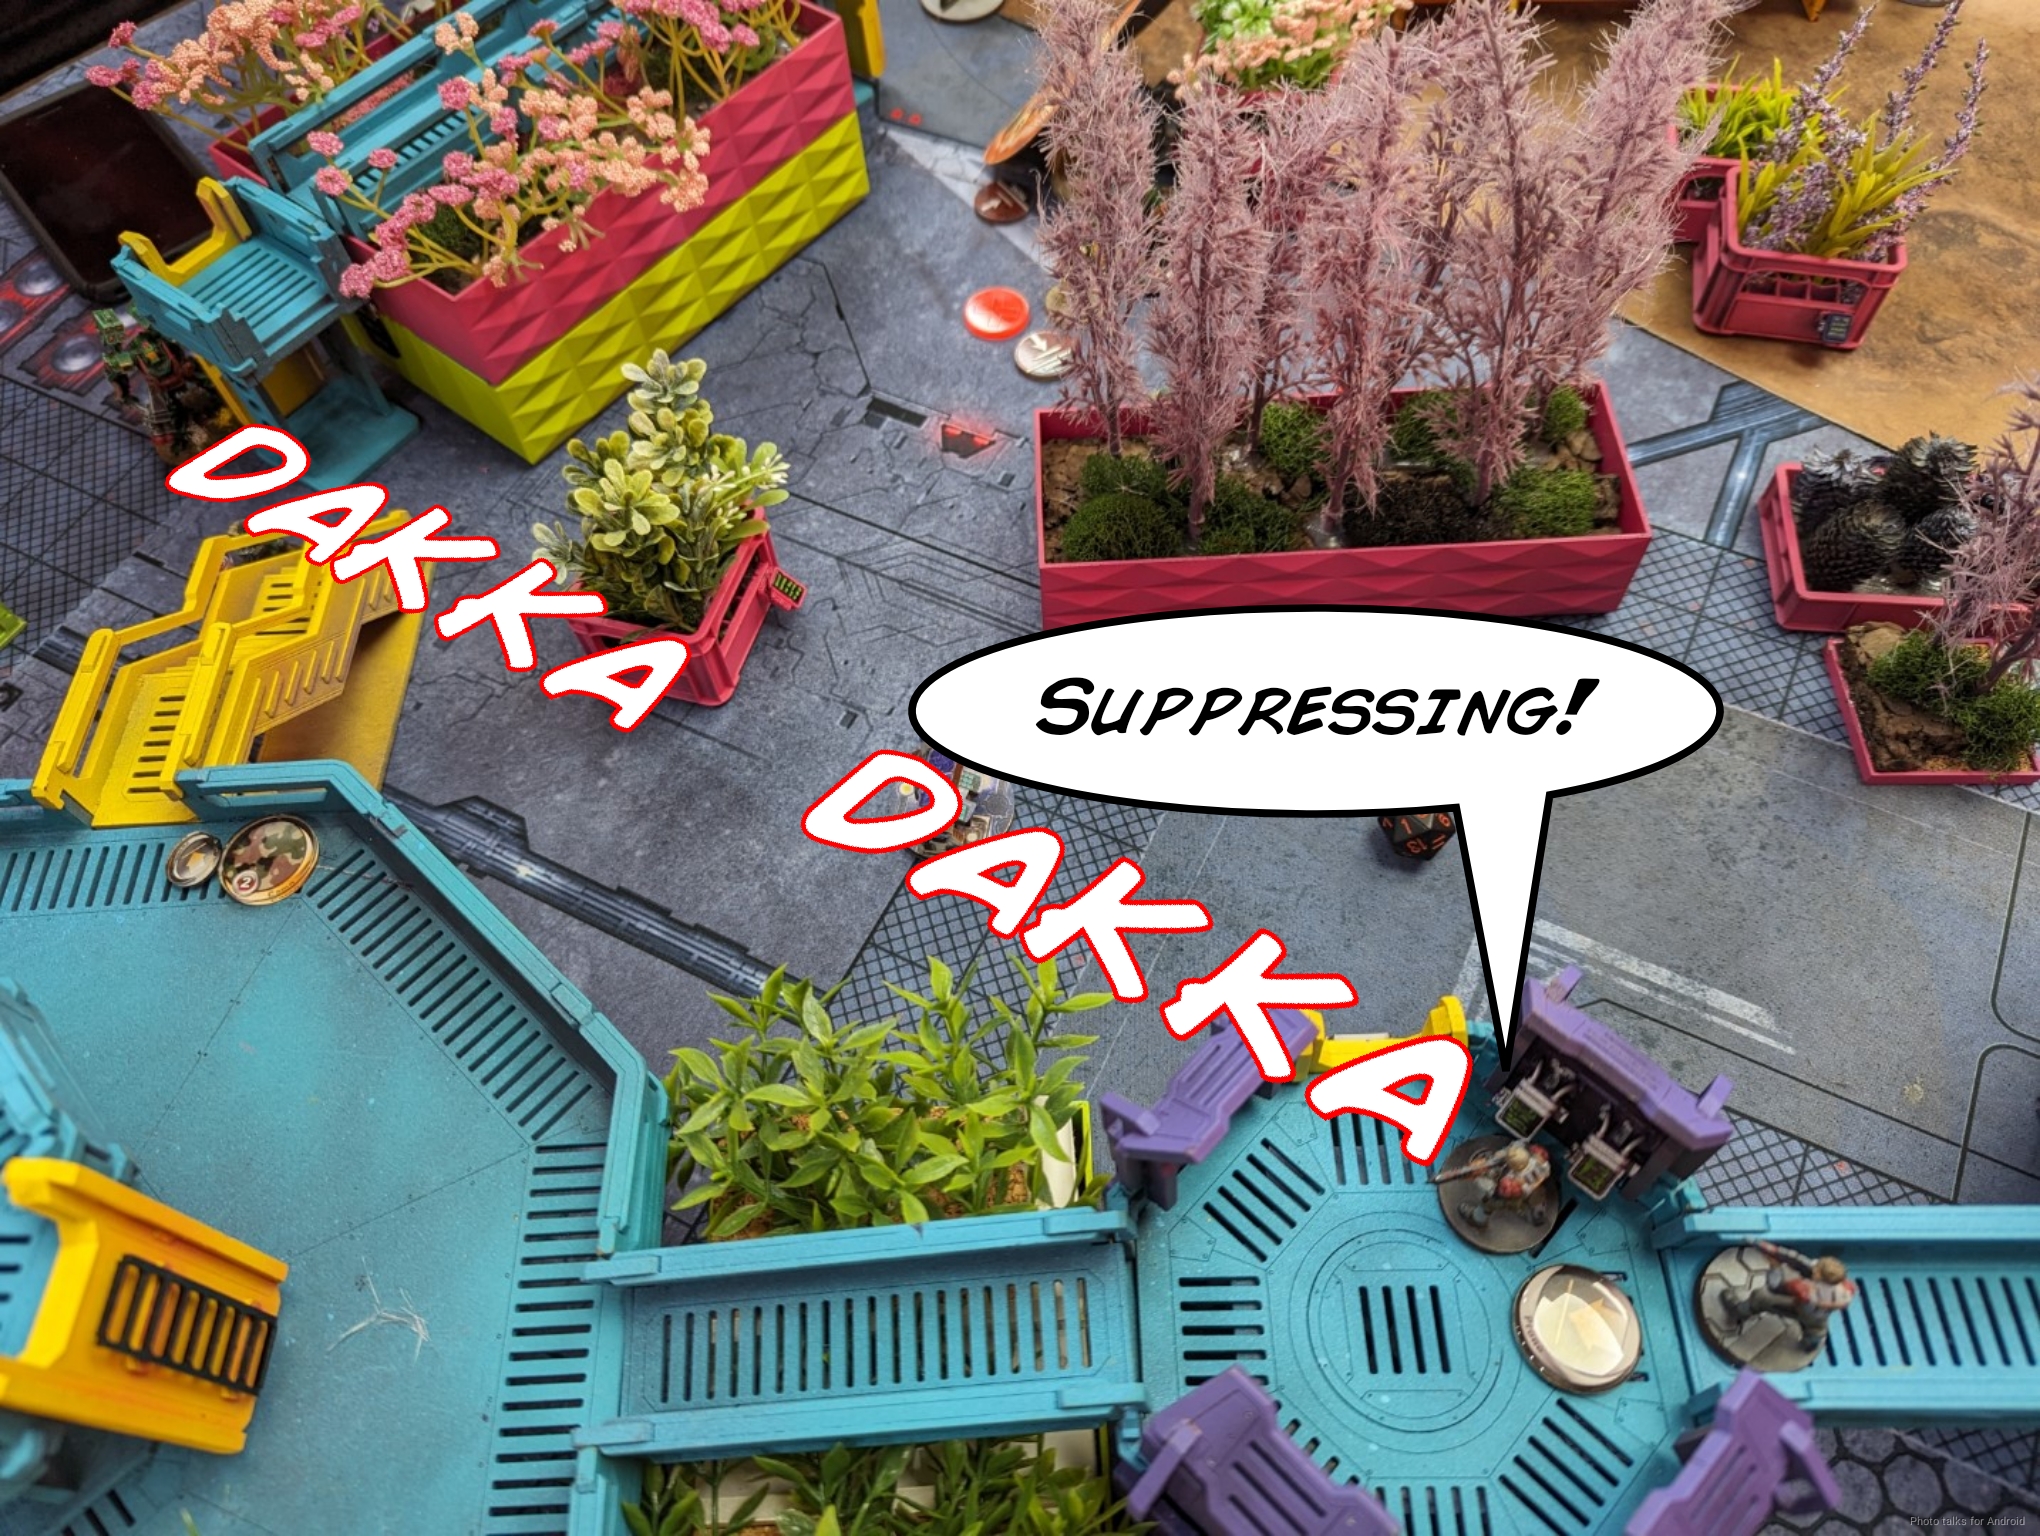
I choose to push the Keisotsu “duo” forward, engaging the Muhktar with the HMG and doing a wound.
Birman moves his Bultrak up, KOing the Frontovik and canceling the Irmandinho’s smoke, although the Irmandinho remains up.
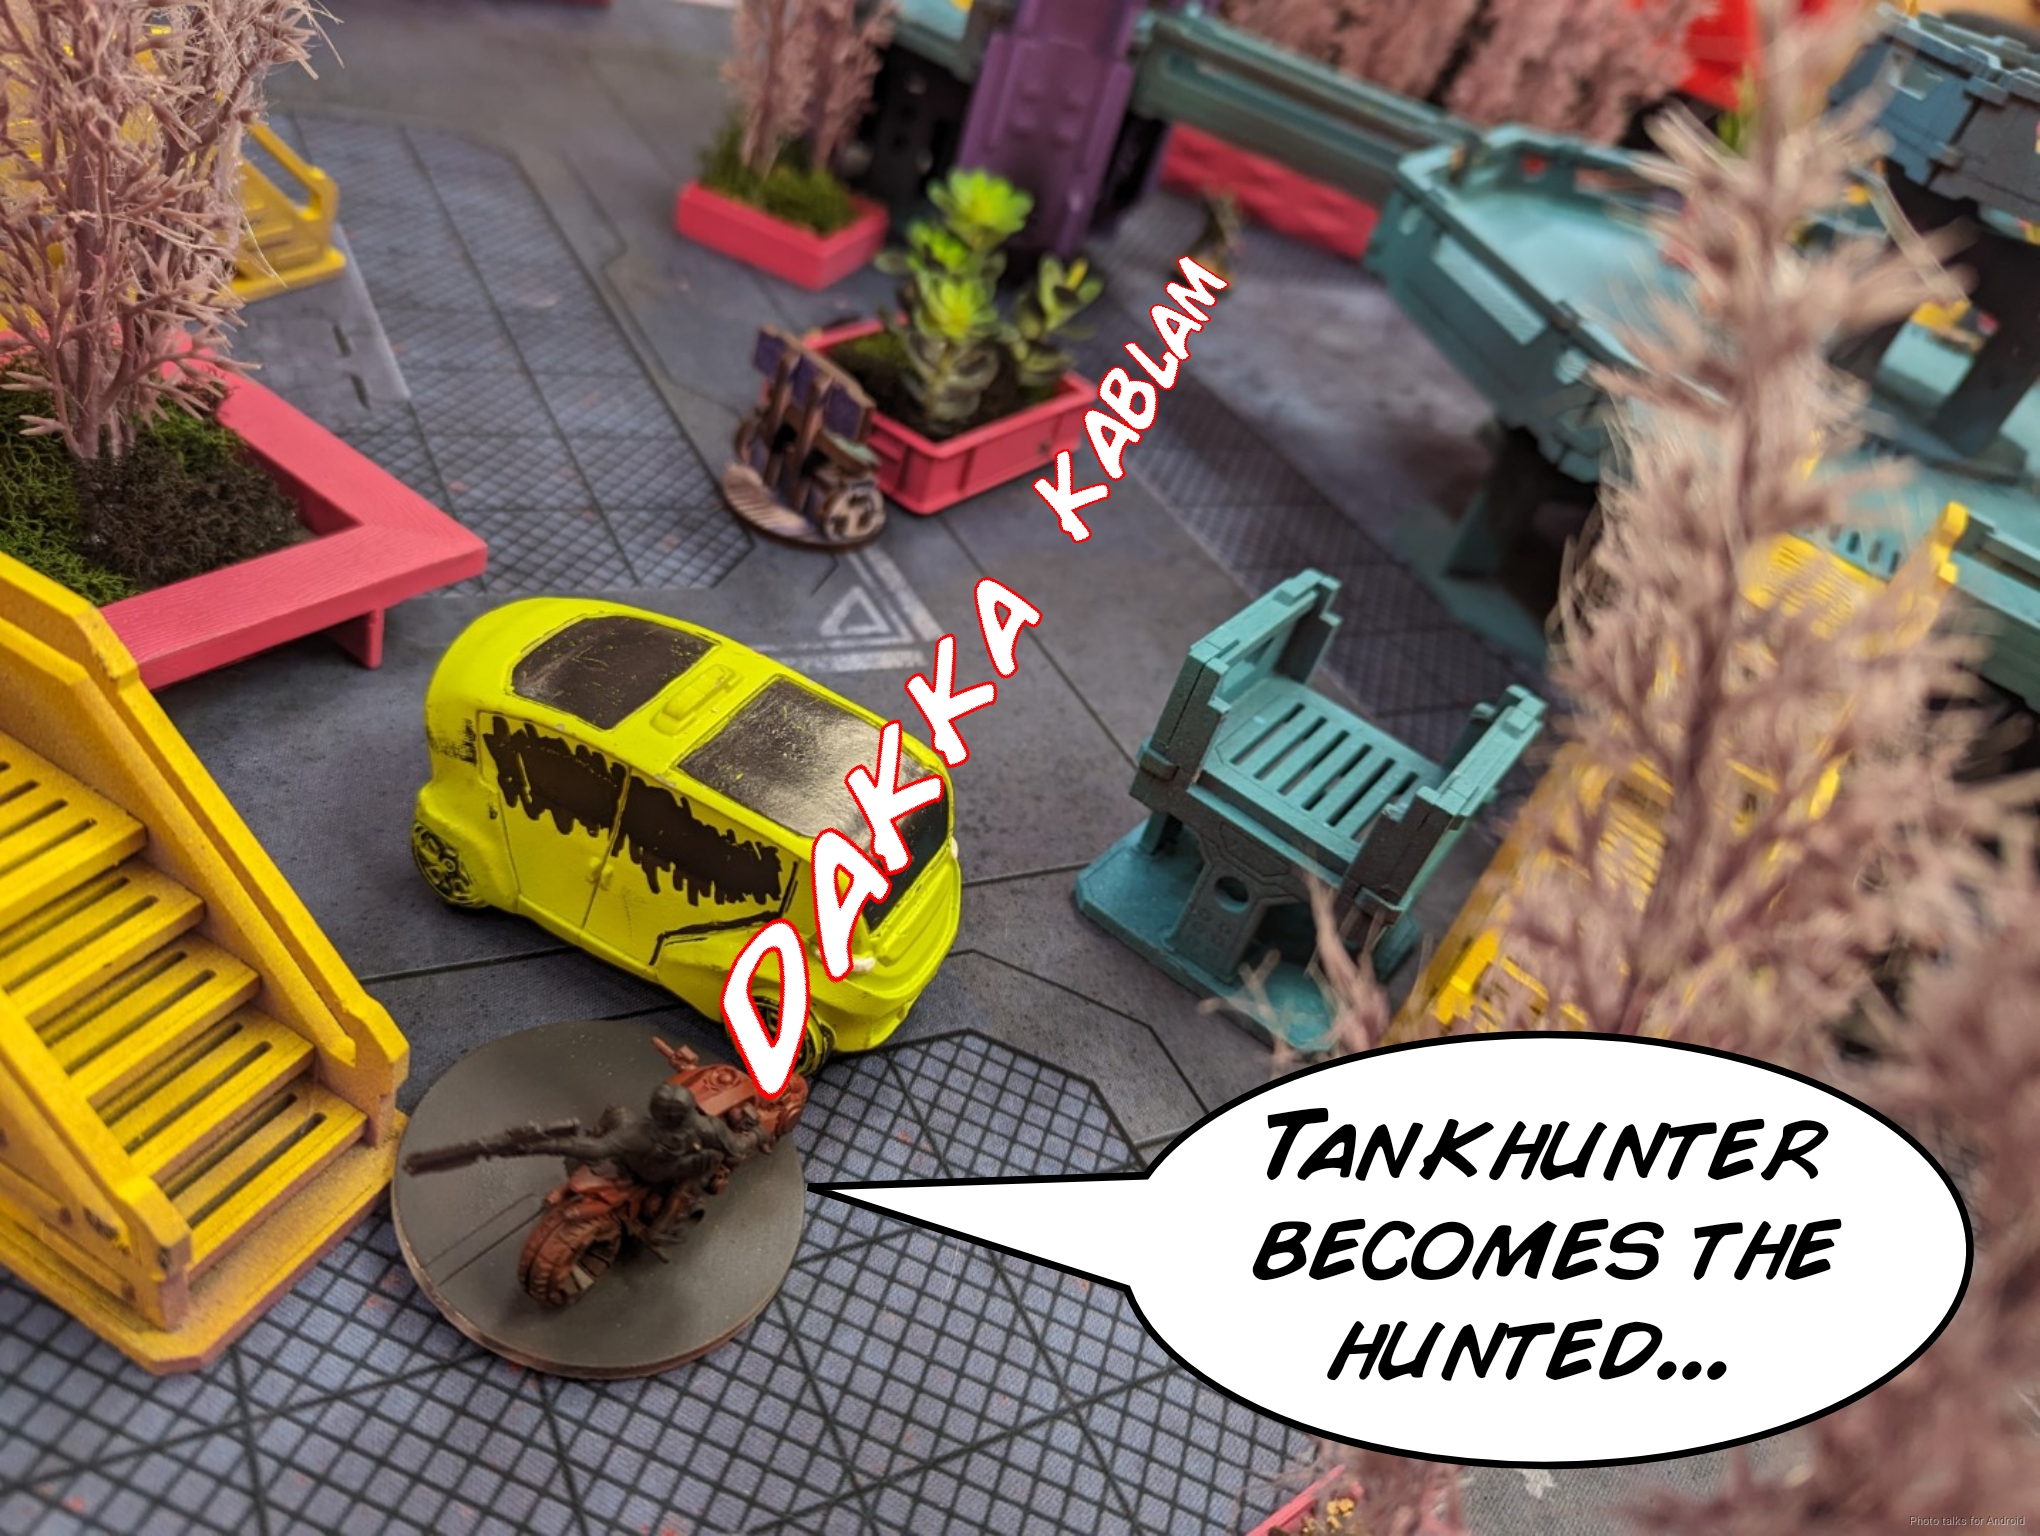
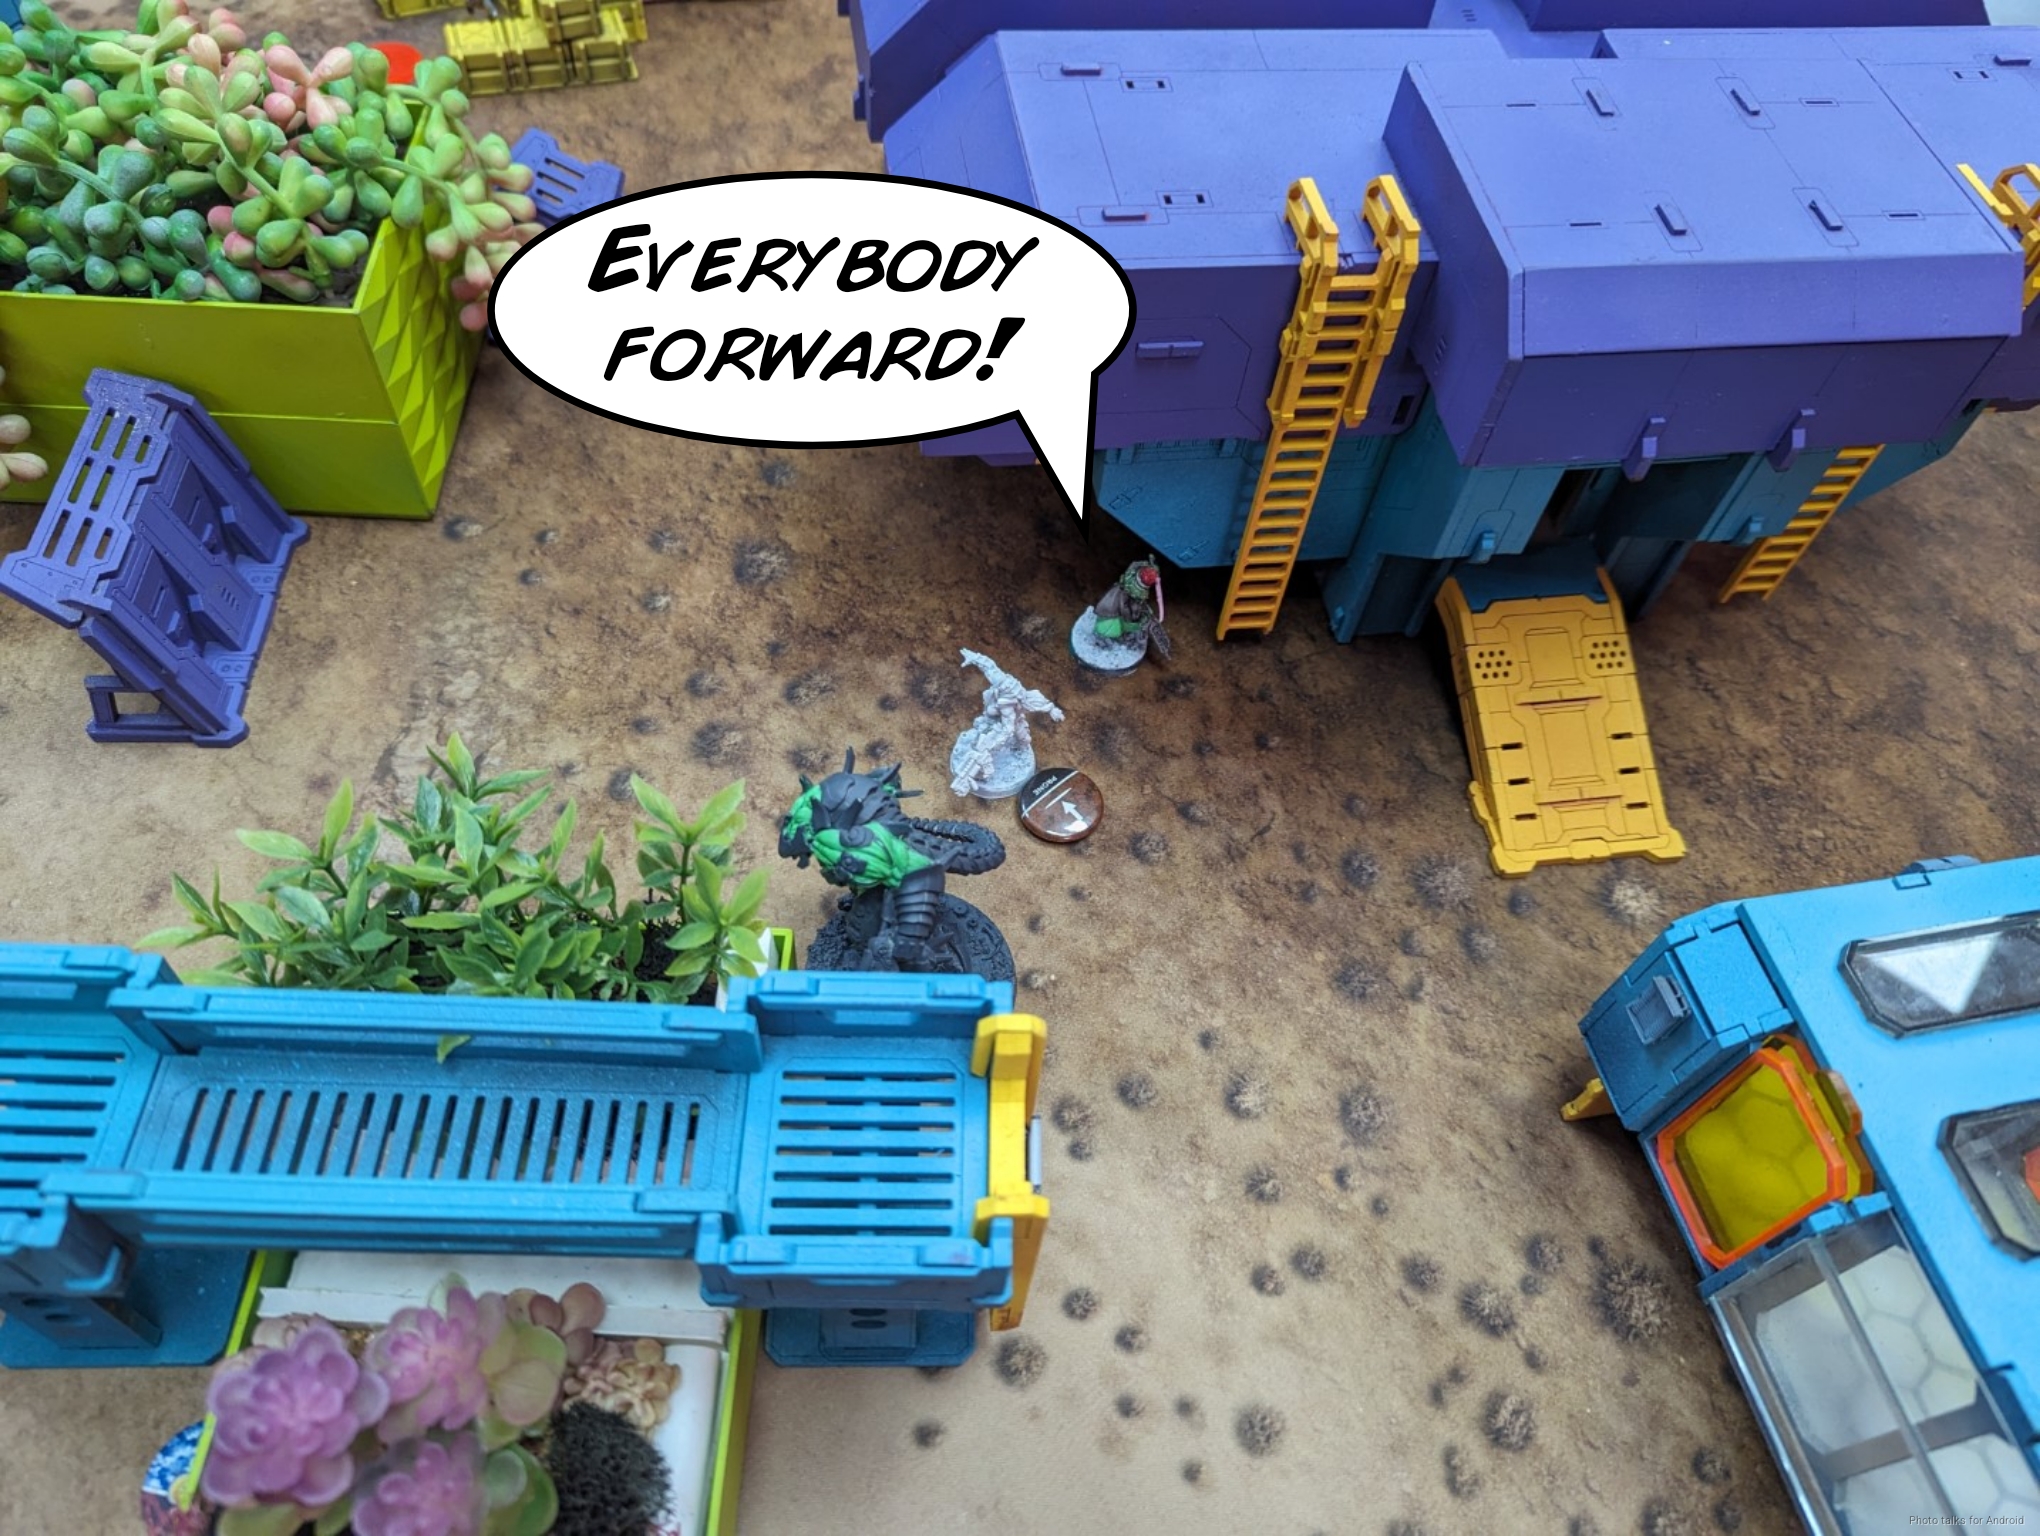
I coordinate my second group forward to save the Chaiyi’s order, get the Ninja forward, and set the Aragoto spitfire up for a run on the Tankhunter.
The Xeodron takes care of one of the Ghulam…
and the Aragoto Spitfire deletes the Tankhunter.
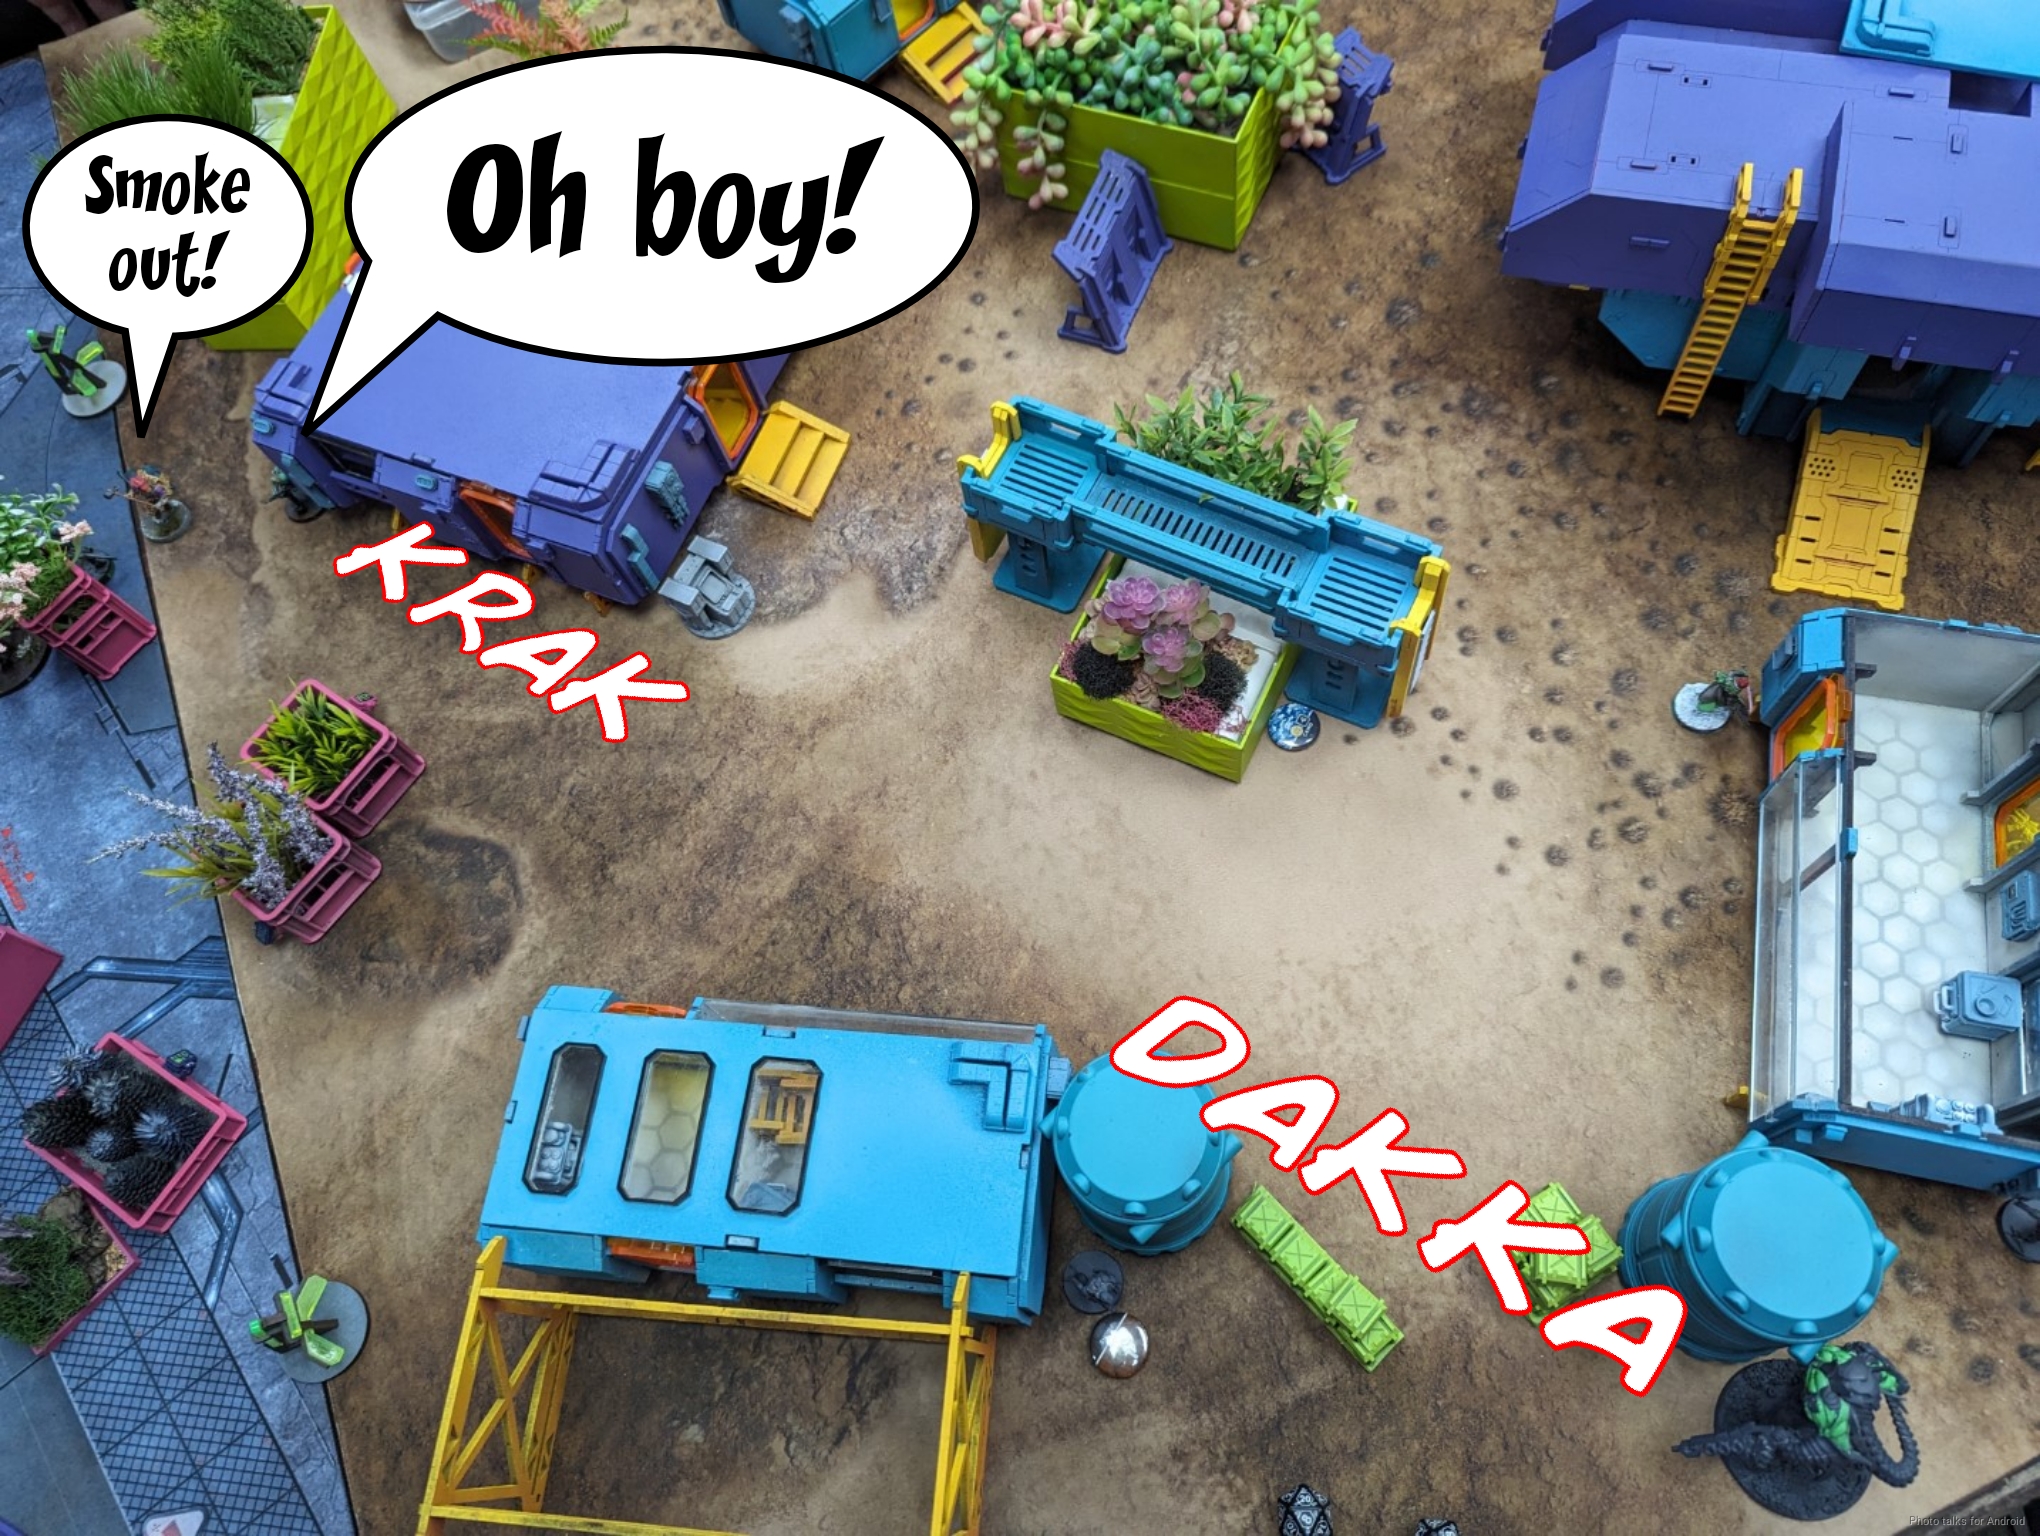
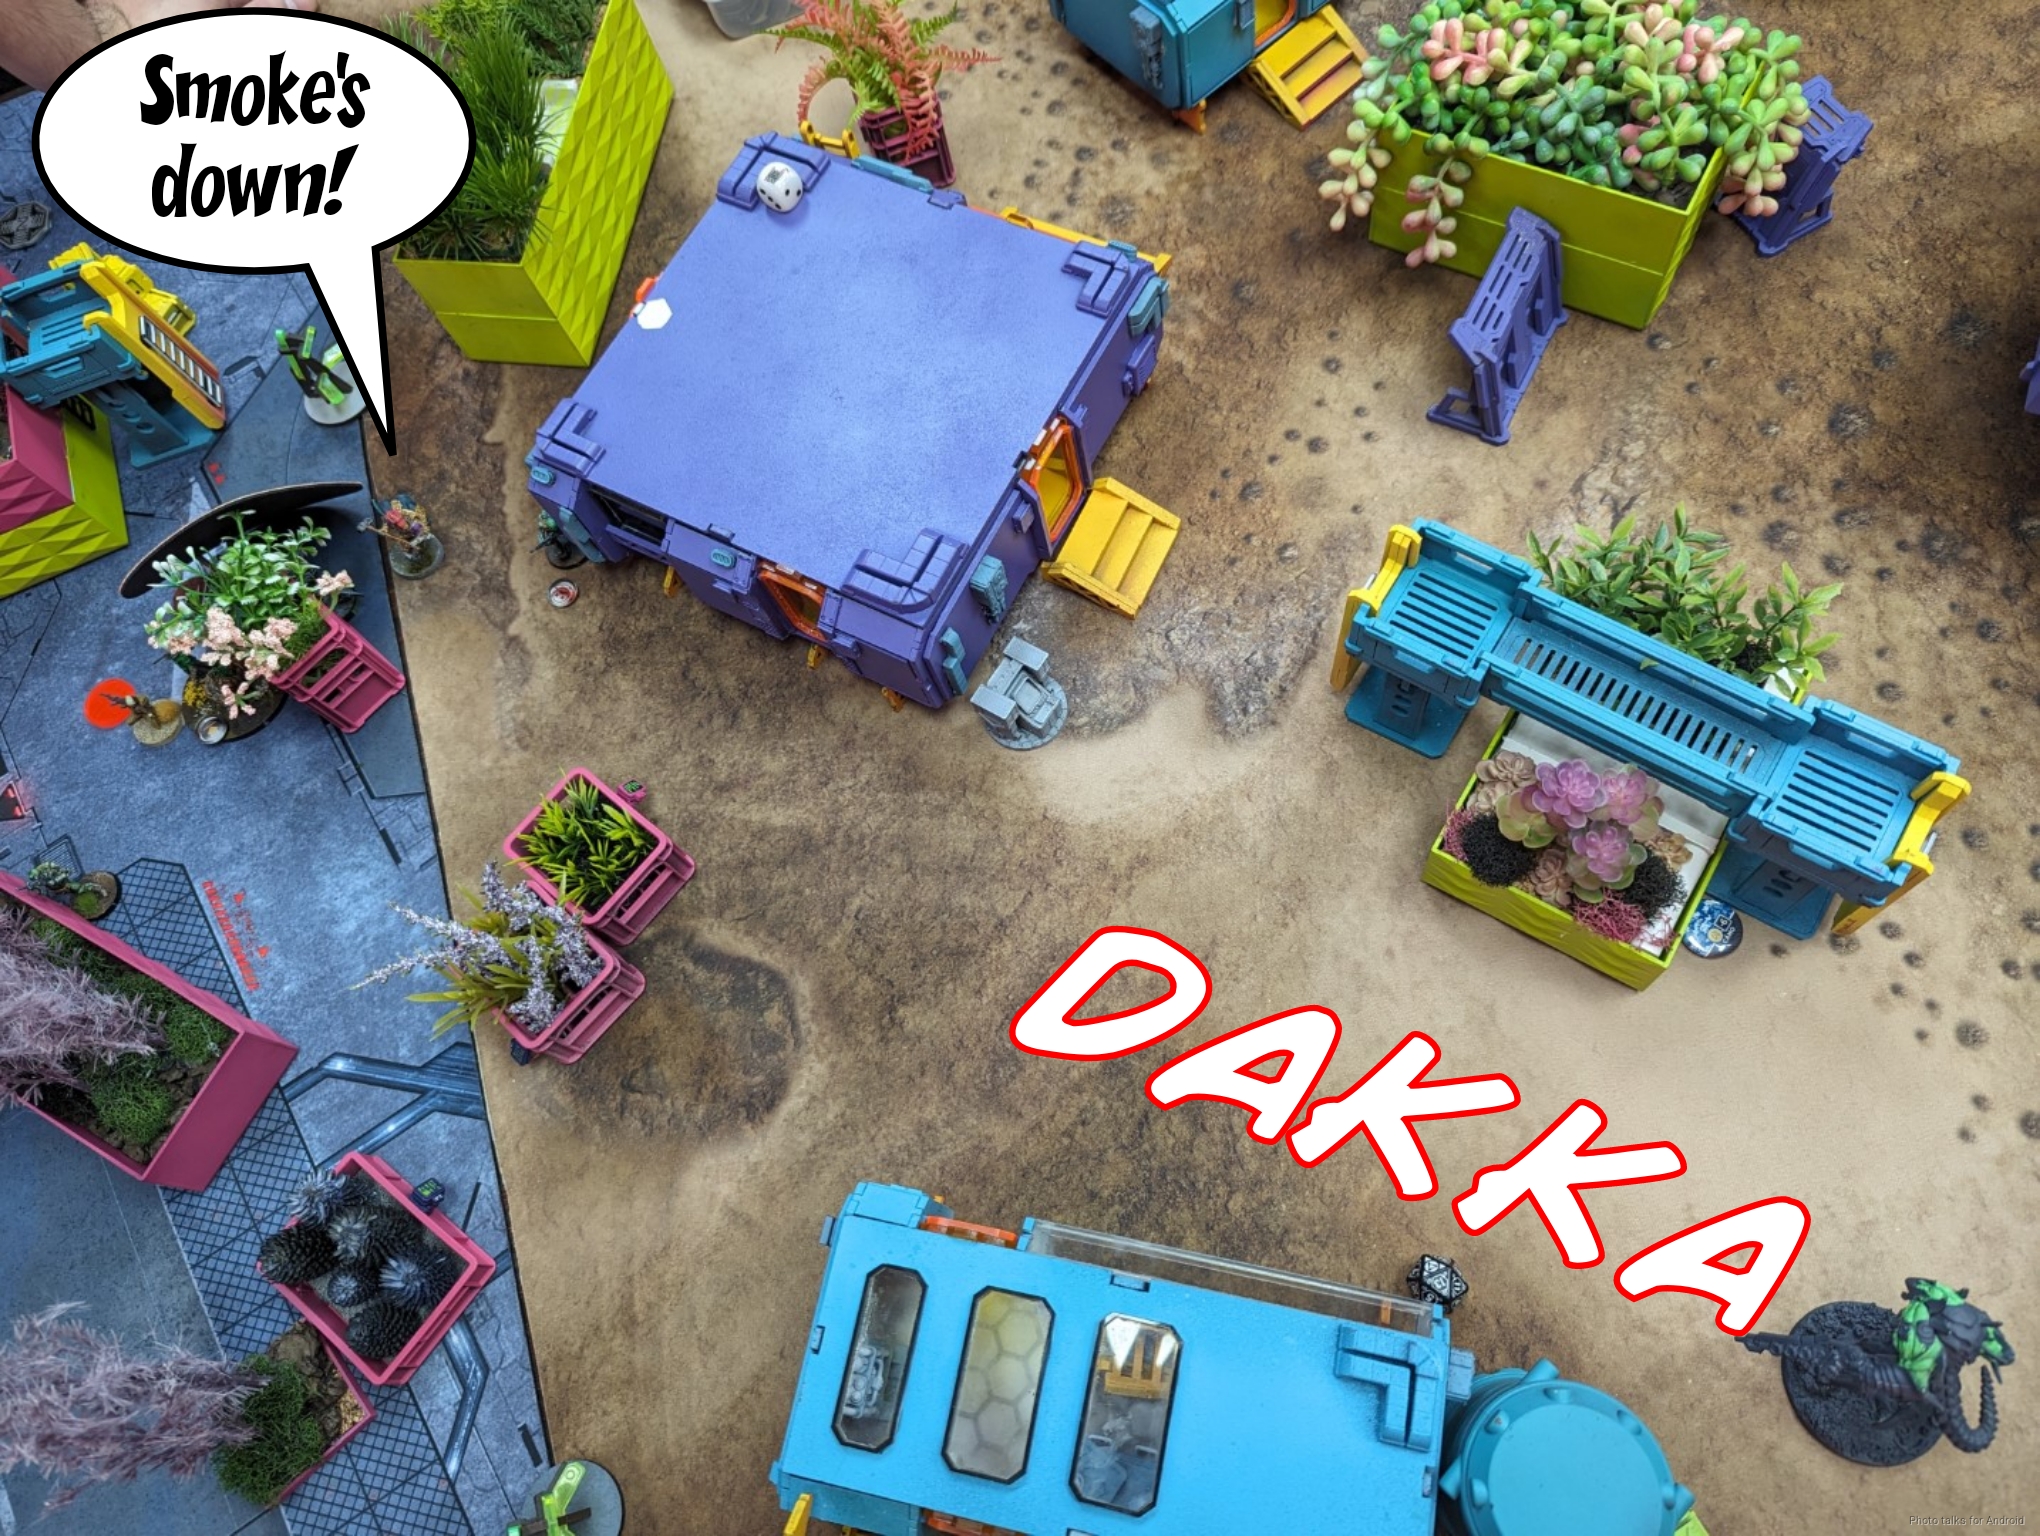
The Bultrak challenges the Irmandinho again, but this time gets smoked out. Importantly, much of the link is covered by smoke.
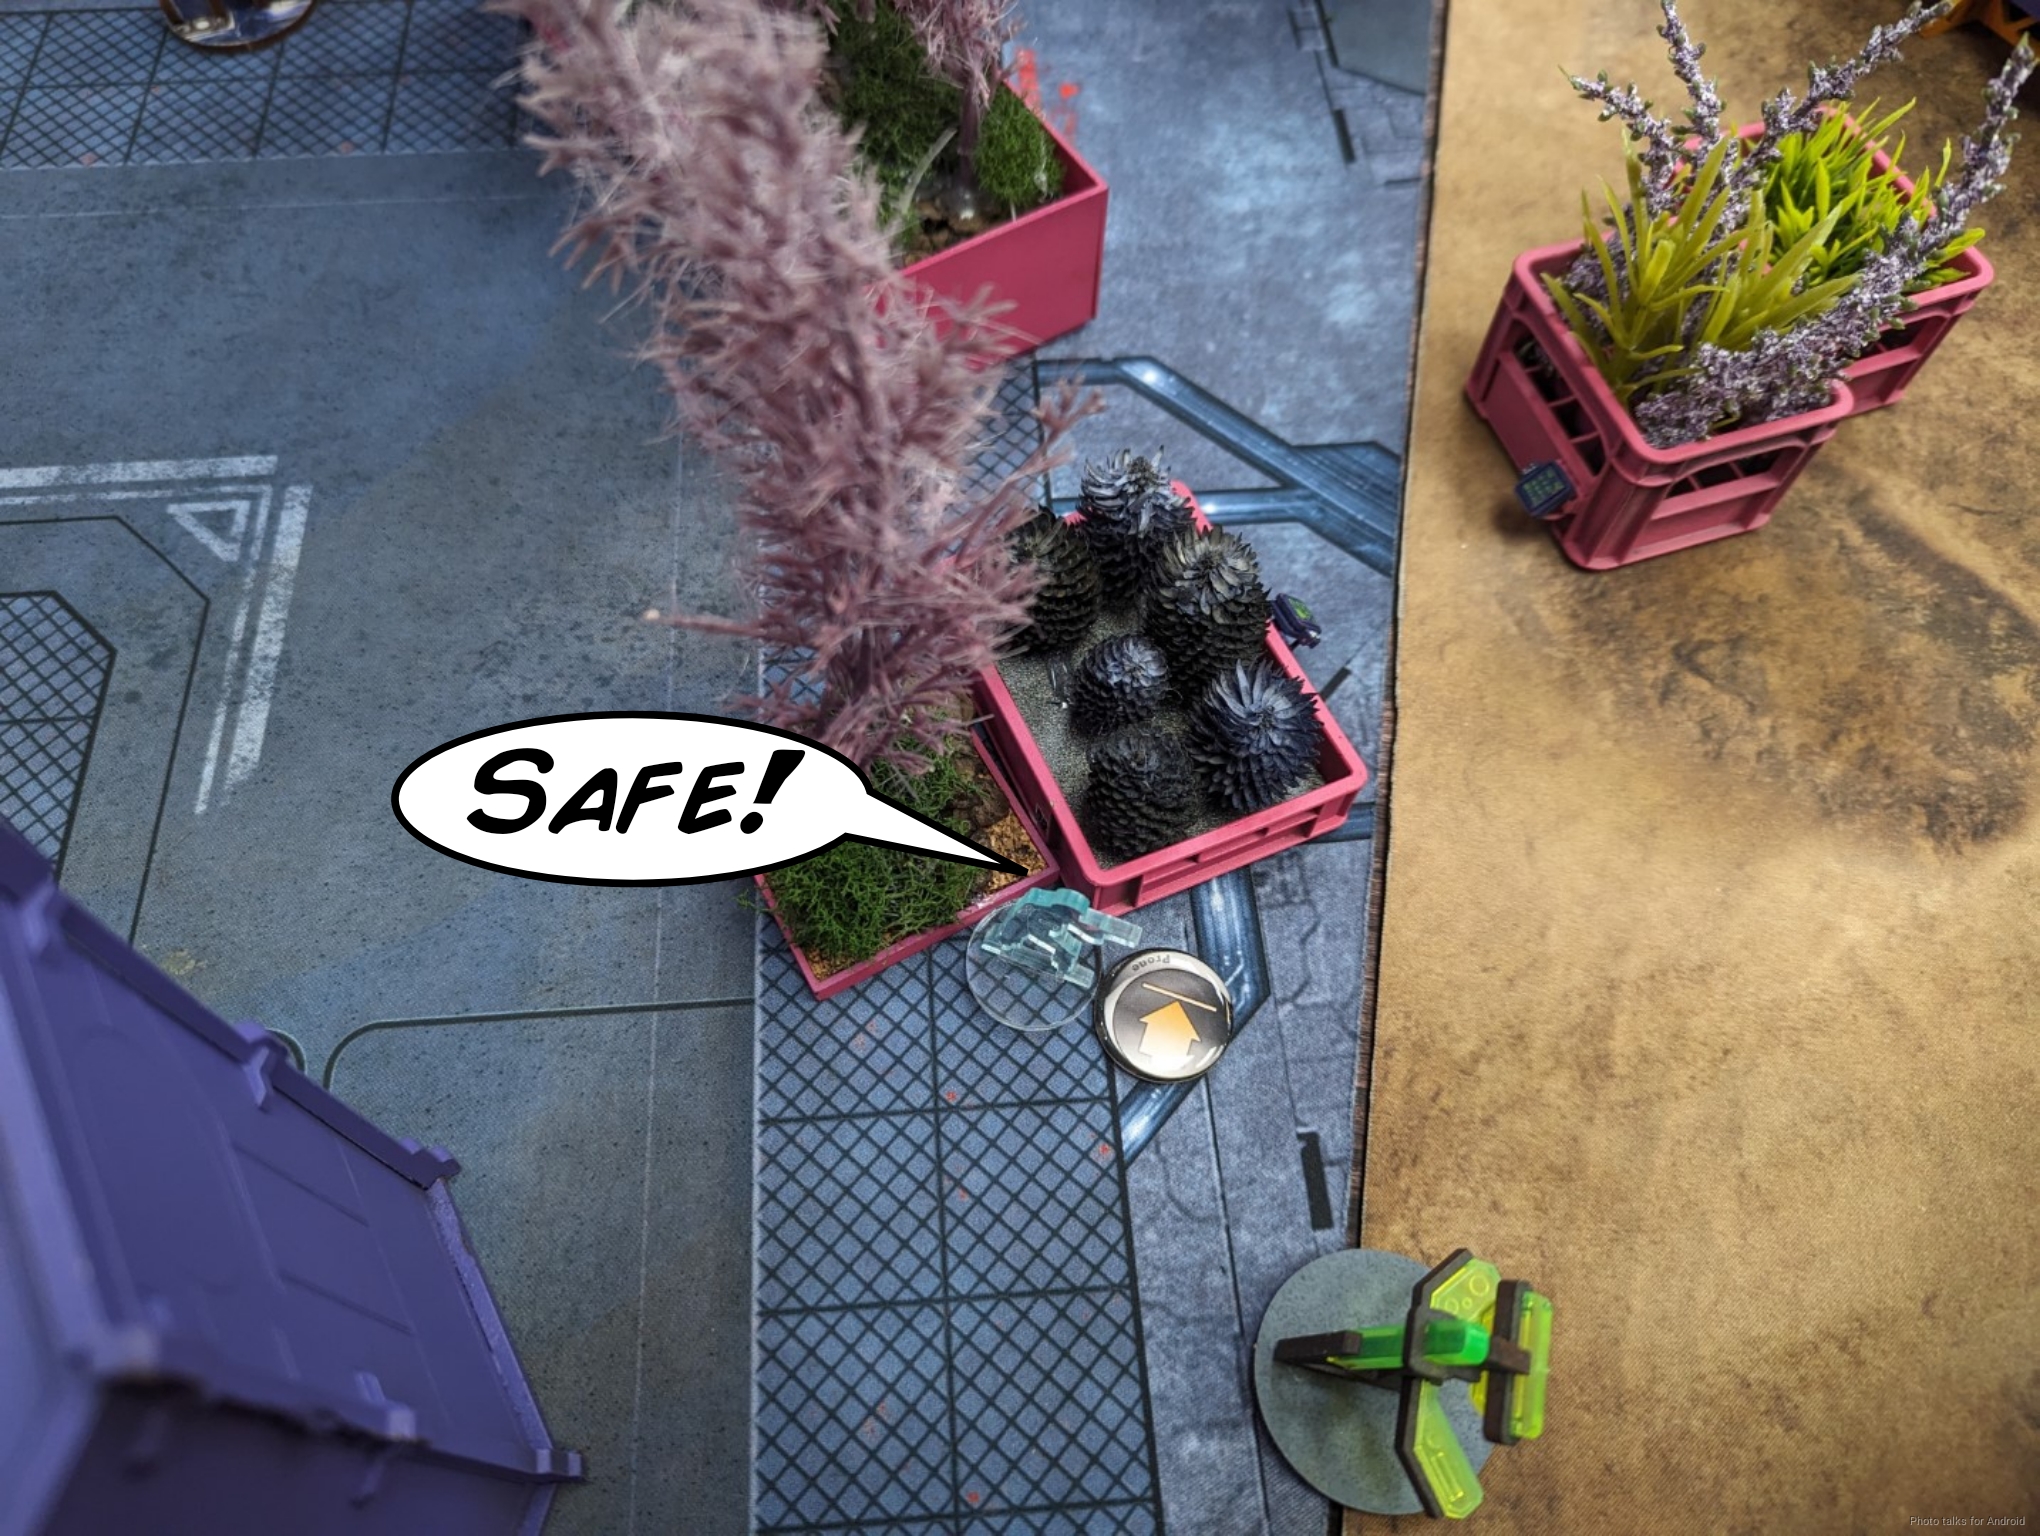
The Ninja continues shuffling forward…

and makes it to safety!
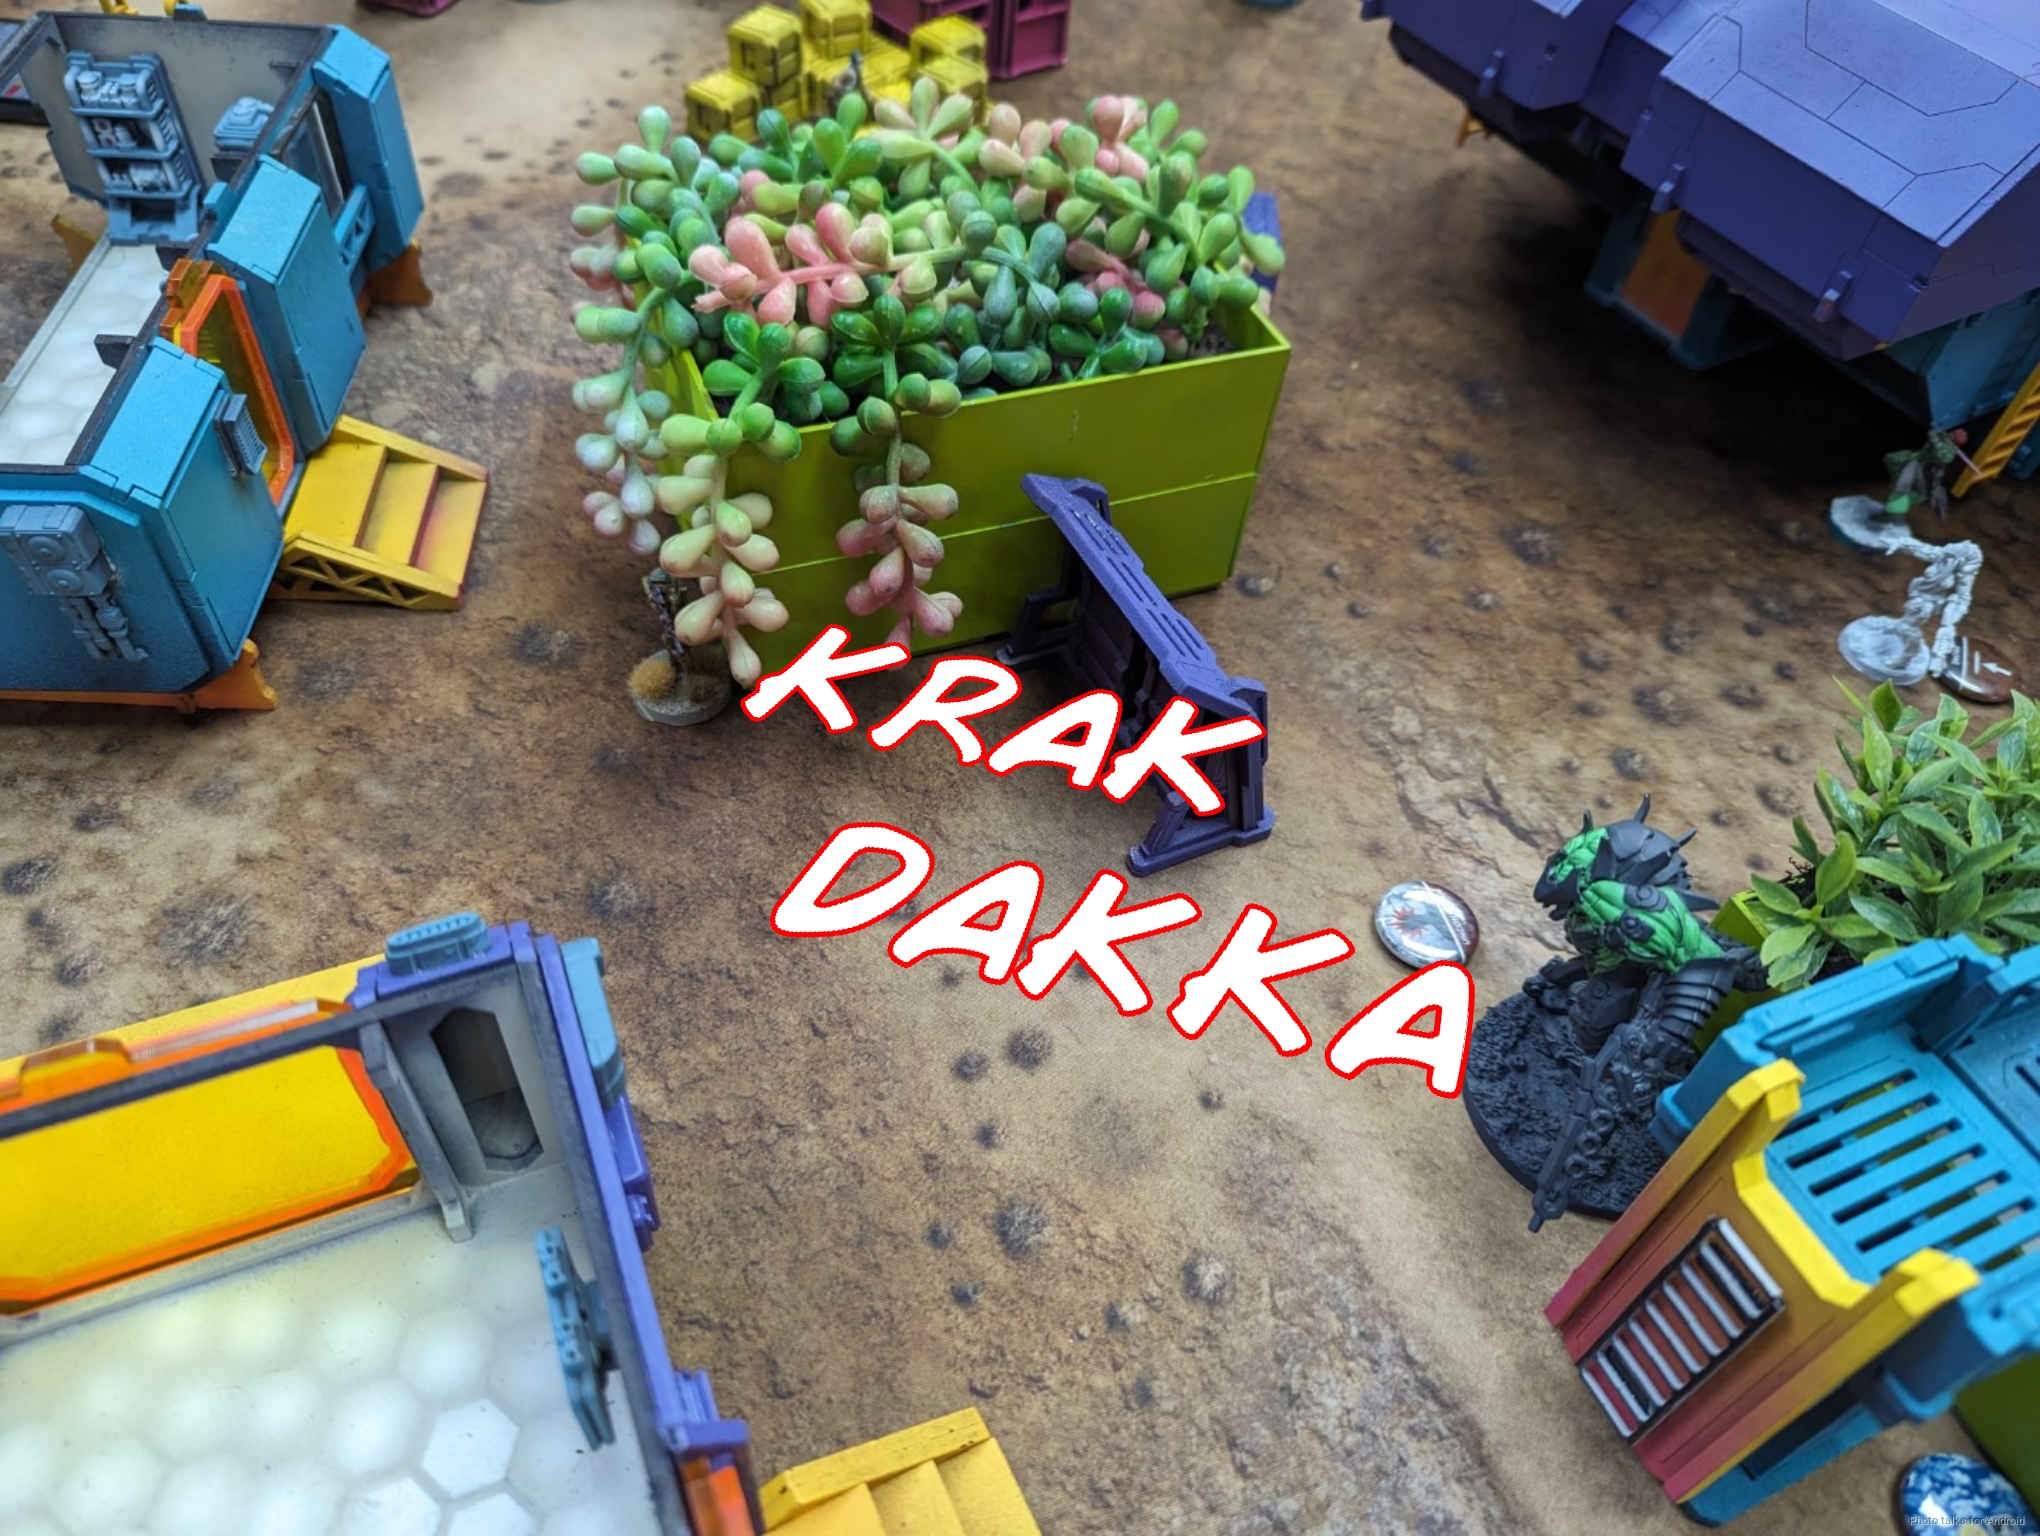
Tony’s Ratnik, annoyingly, is in the way of my Karakuri, so I’m forced to just trade fire with it as I advance. This does, however, start draining it of disposables.
Birman continues advancing his Taigha.
Finally, the Karakuri makes it past where the Ratnik can see but suffers a wound.
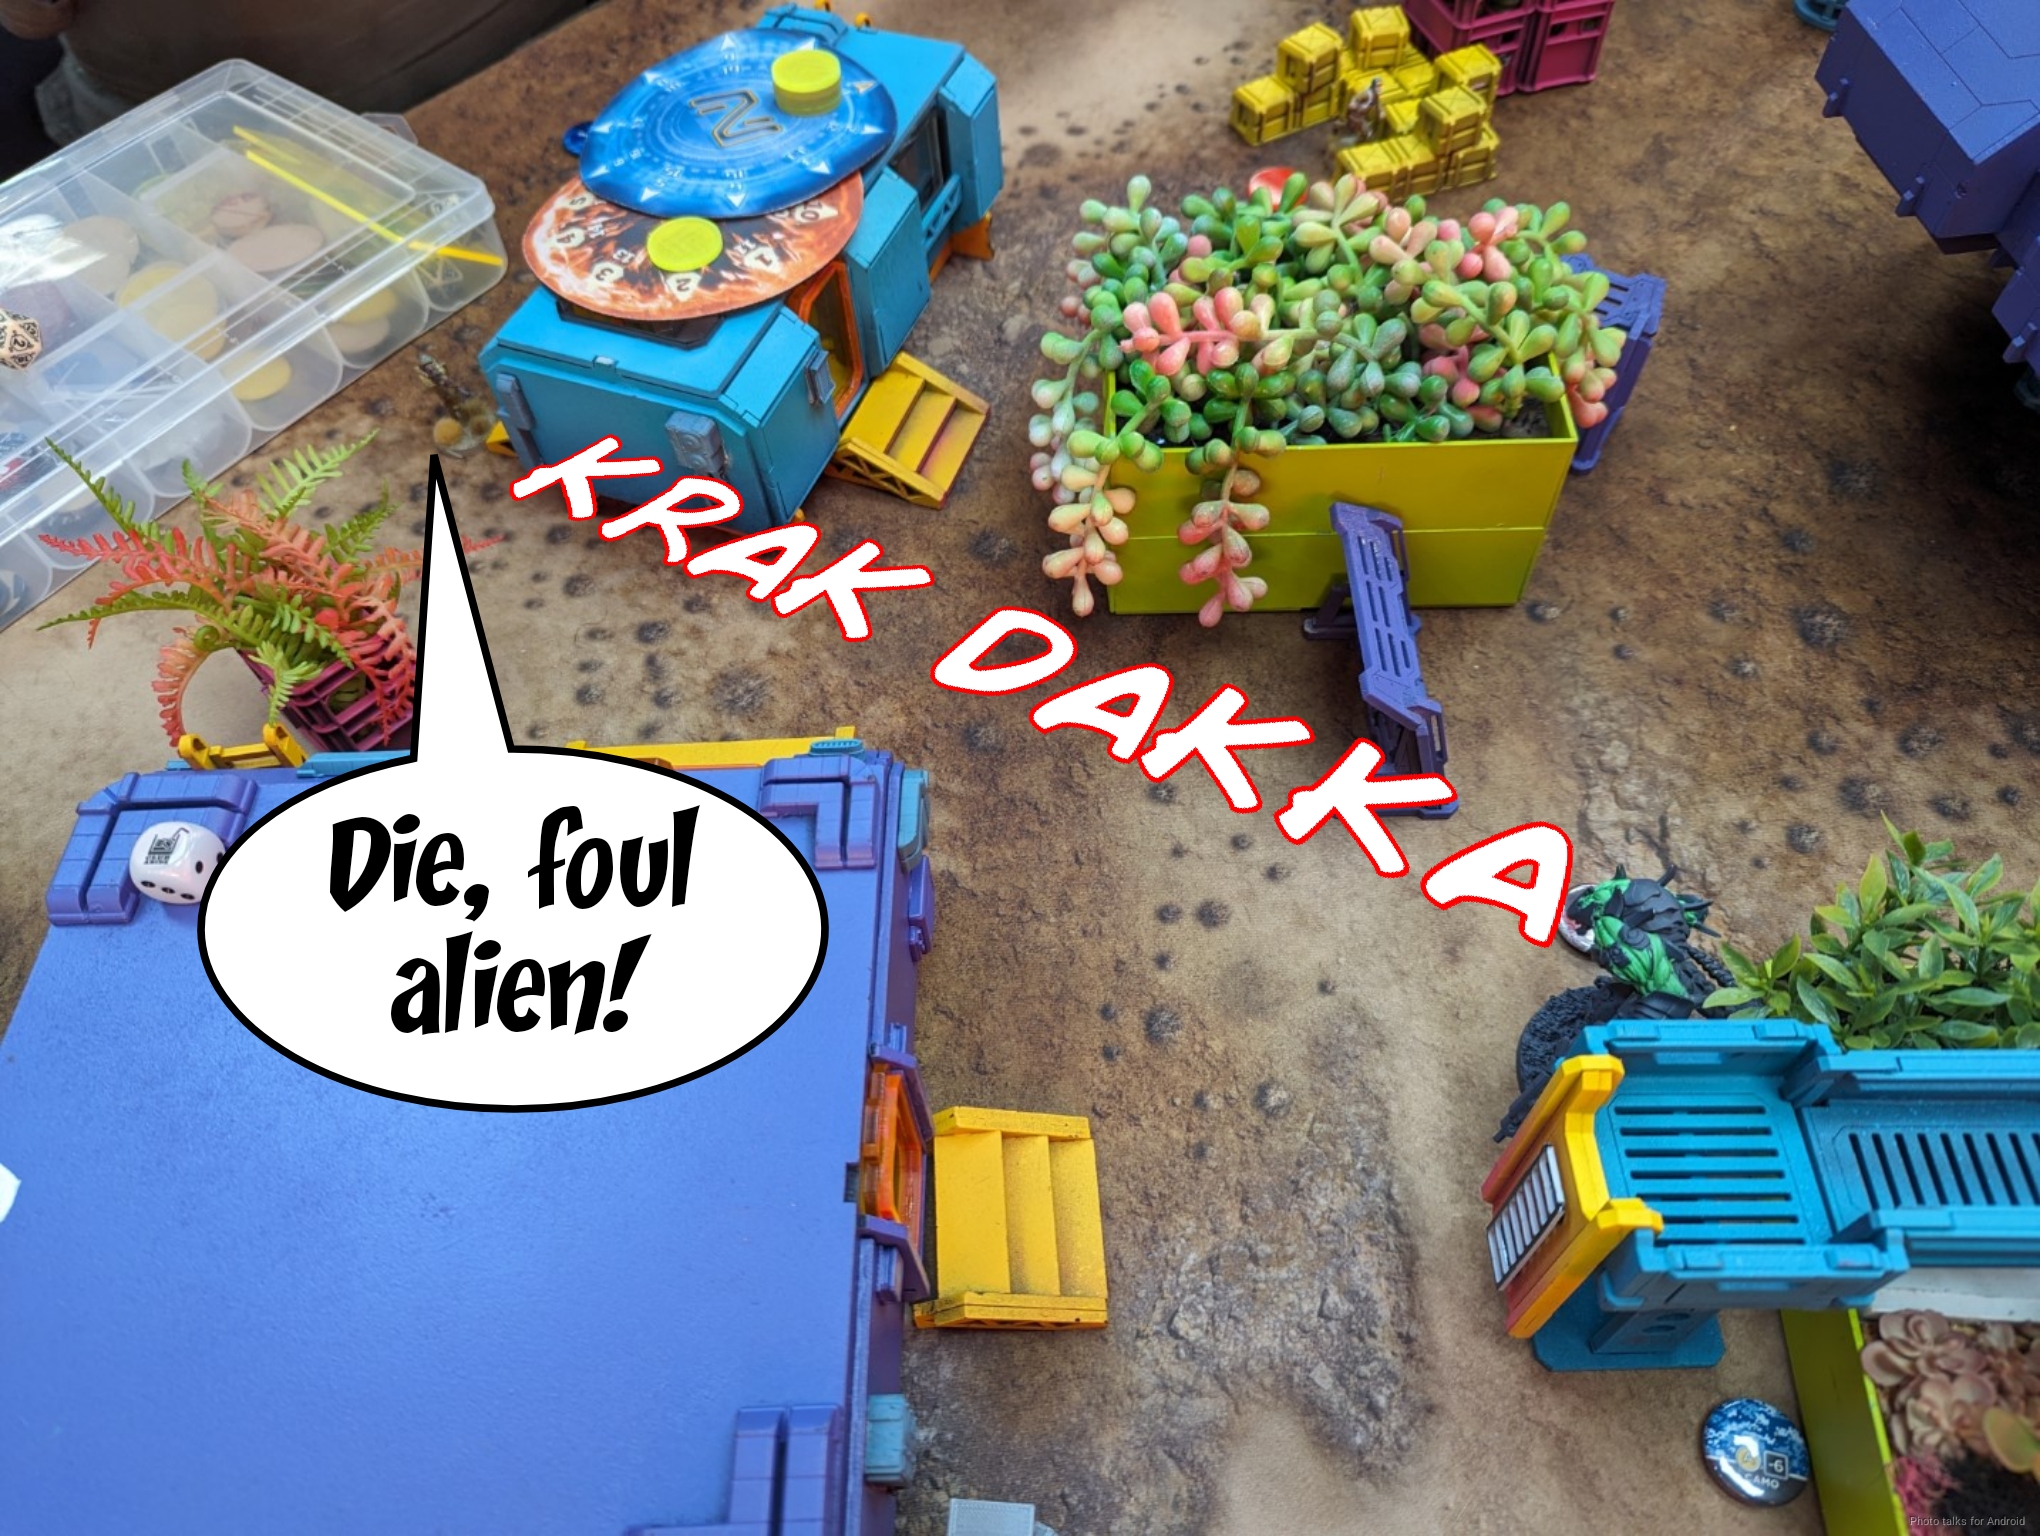
Cole’s Namurr, having dodged into view when the Taigha moved forward, is engaged by the Xeodron and forced back into cover.
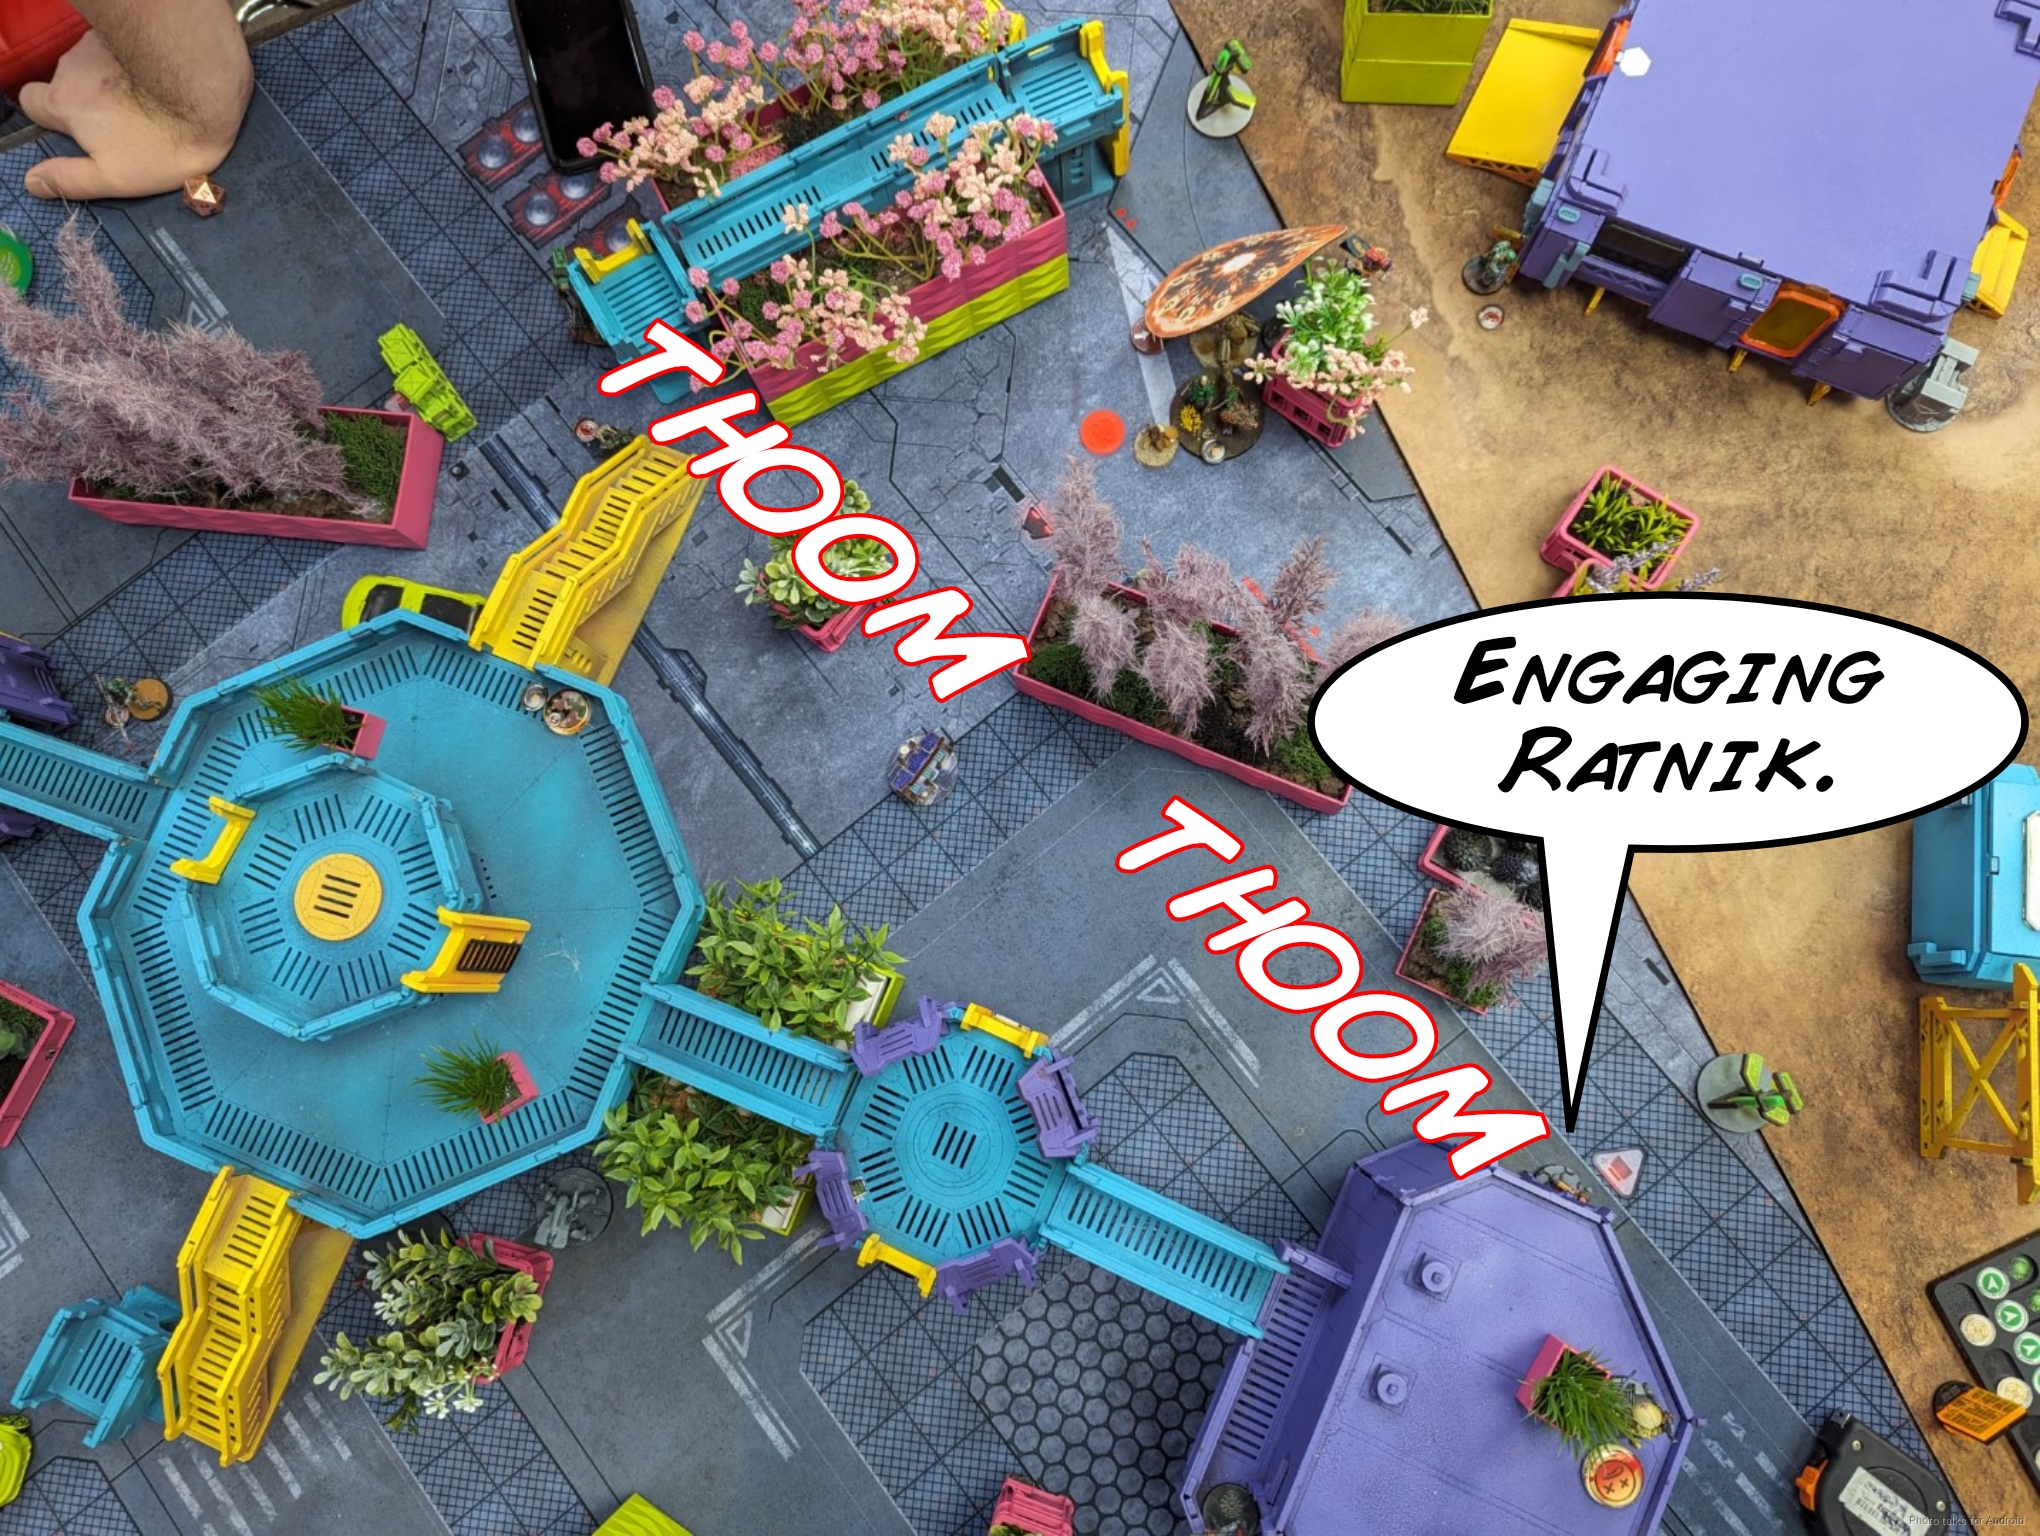
I start engaging the Ratnik with my Keisotsu HMG, trying to stay just out of 24″. Tony’s out of Flammenspeer now thanks to the Karakuri, so I can do this with the other Keisotsu in tow.
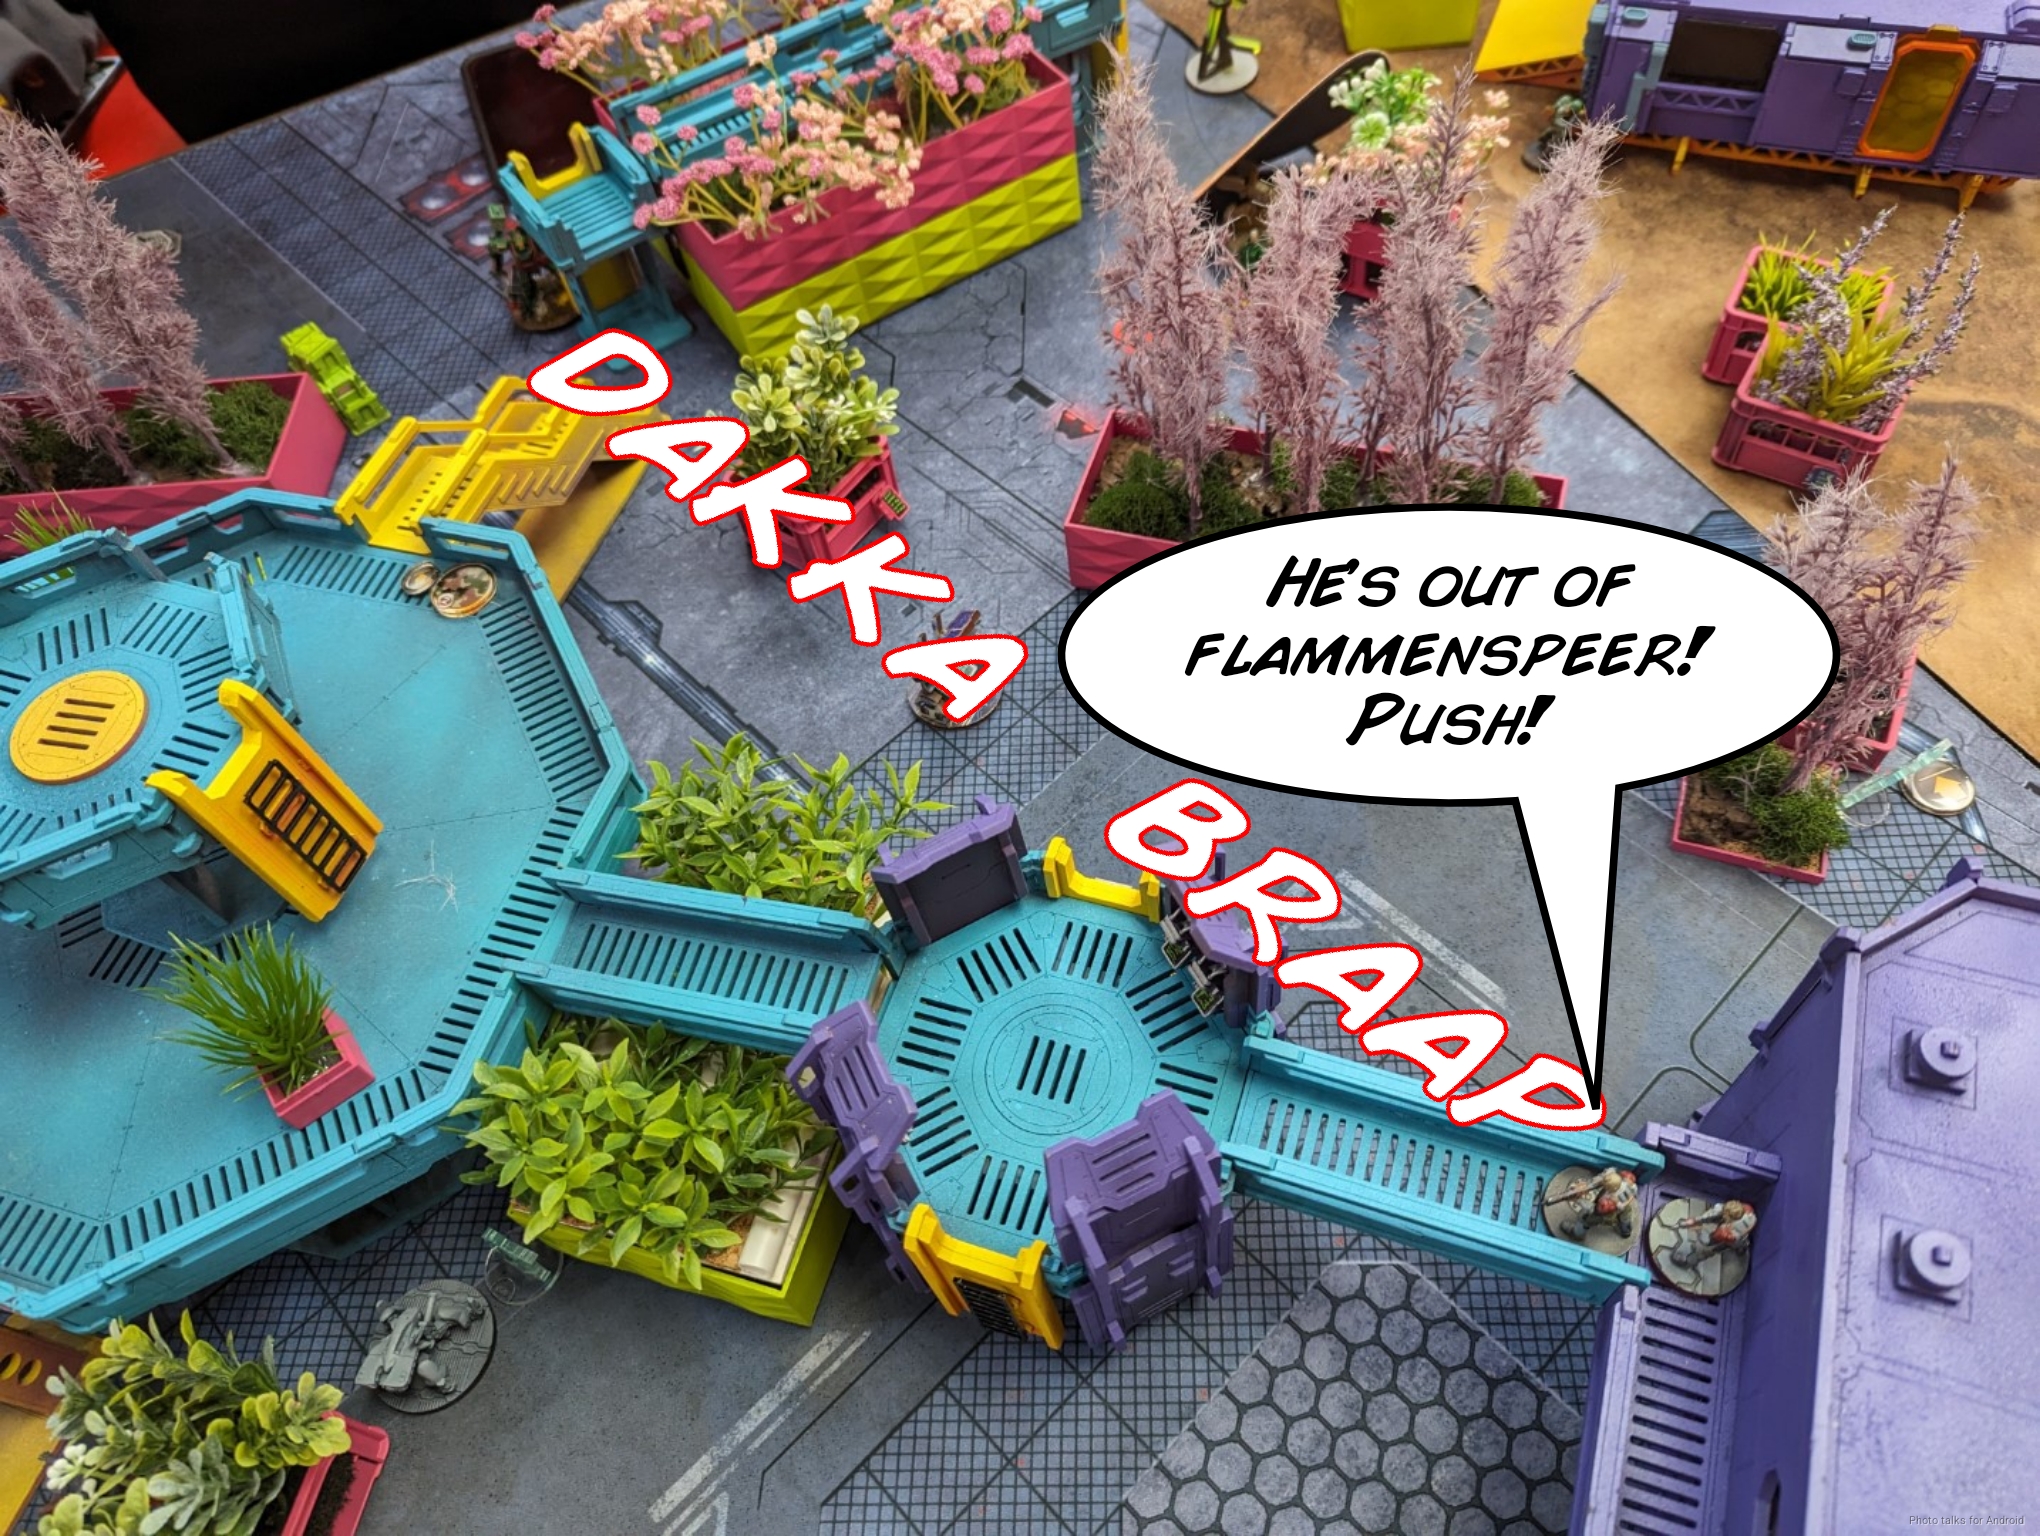
I continue pressing the issue but can’t hurt the Ratnik…
as Birman scurries much of his force forward, dropping another Frontovik on the way.
I have one more order to throw at the Ratnik, and the Keisotsu HMG goes down to the return fire.
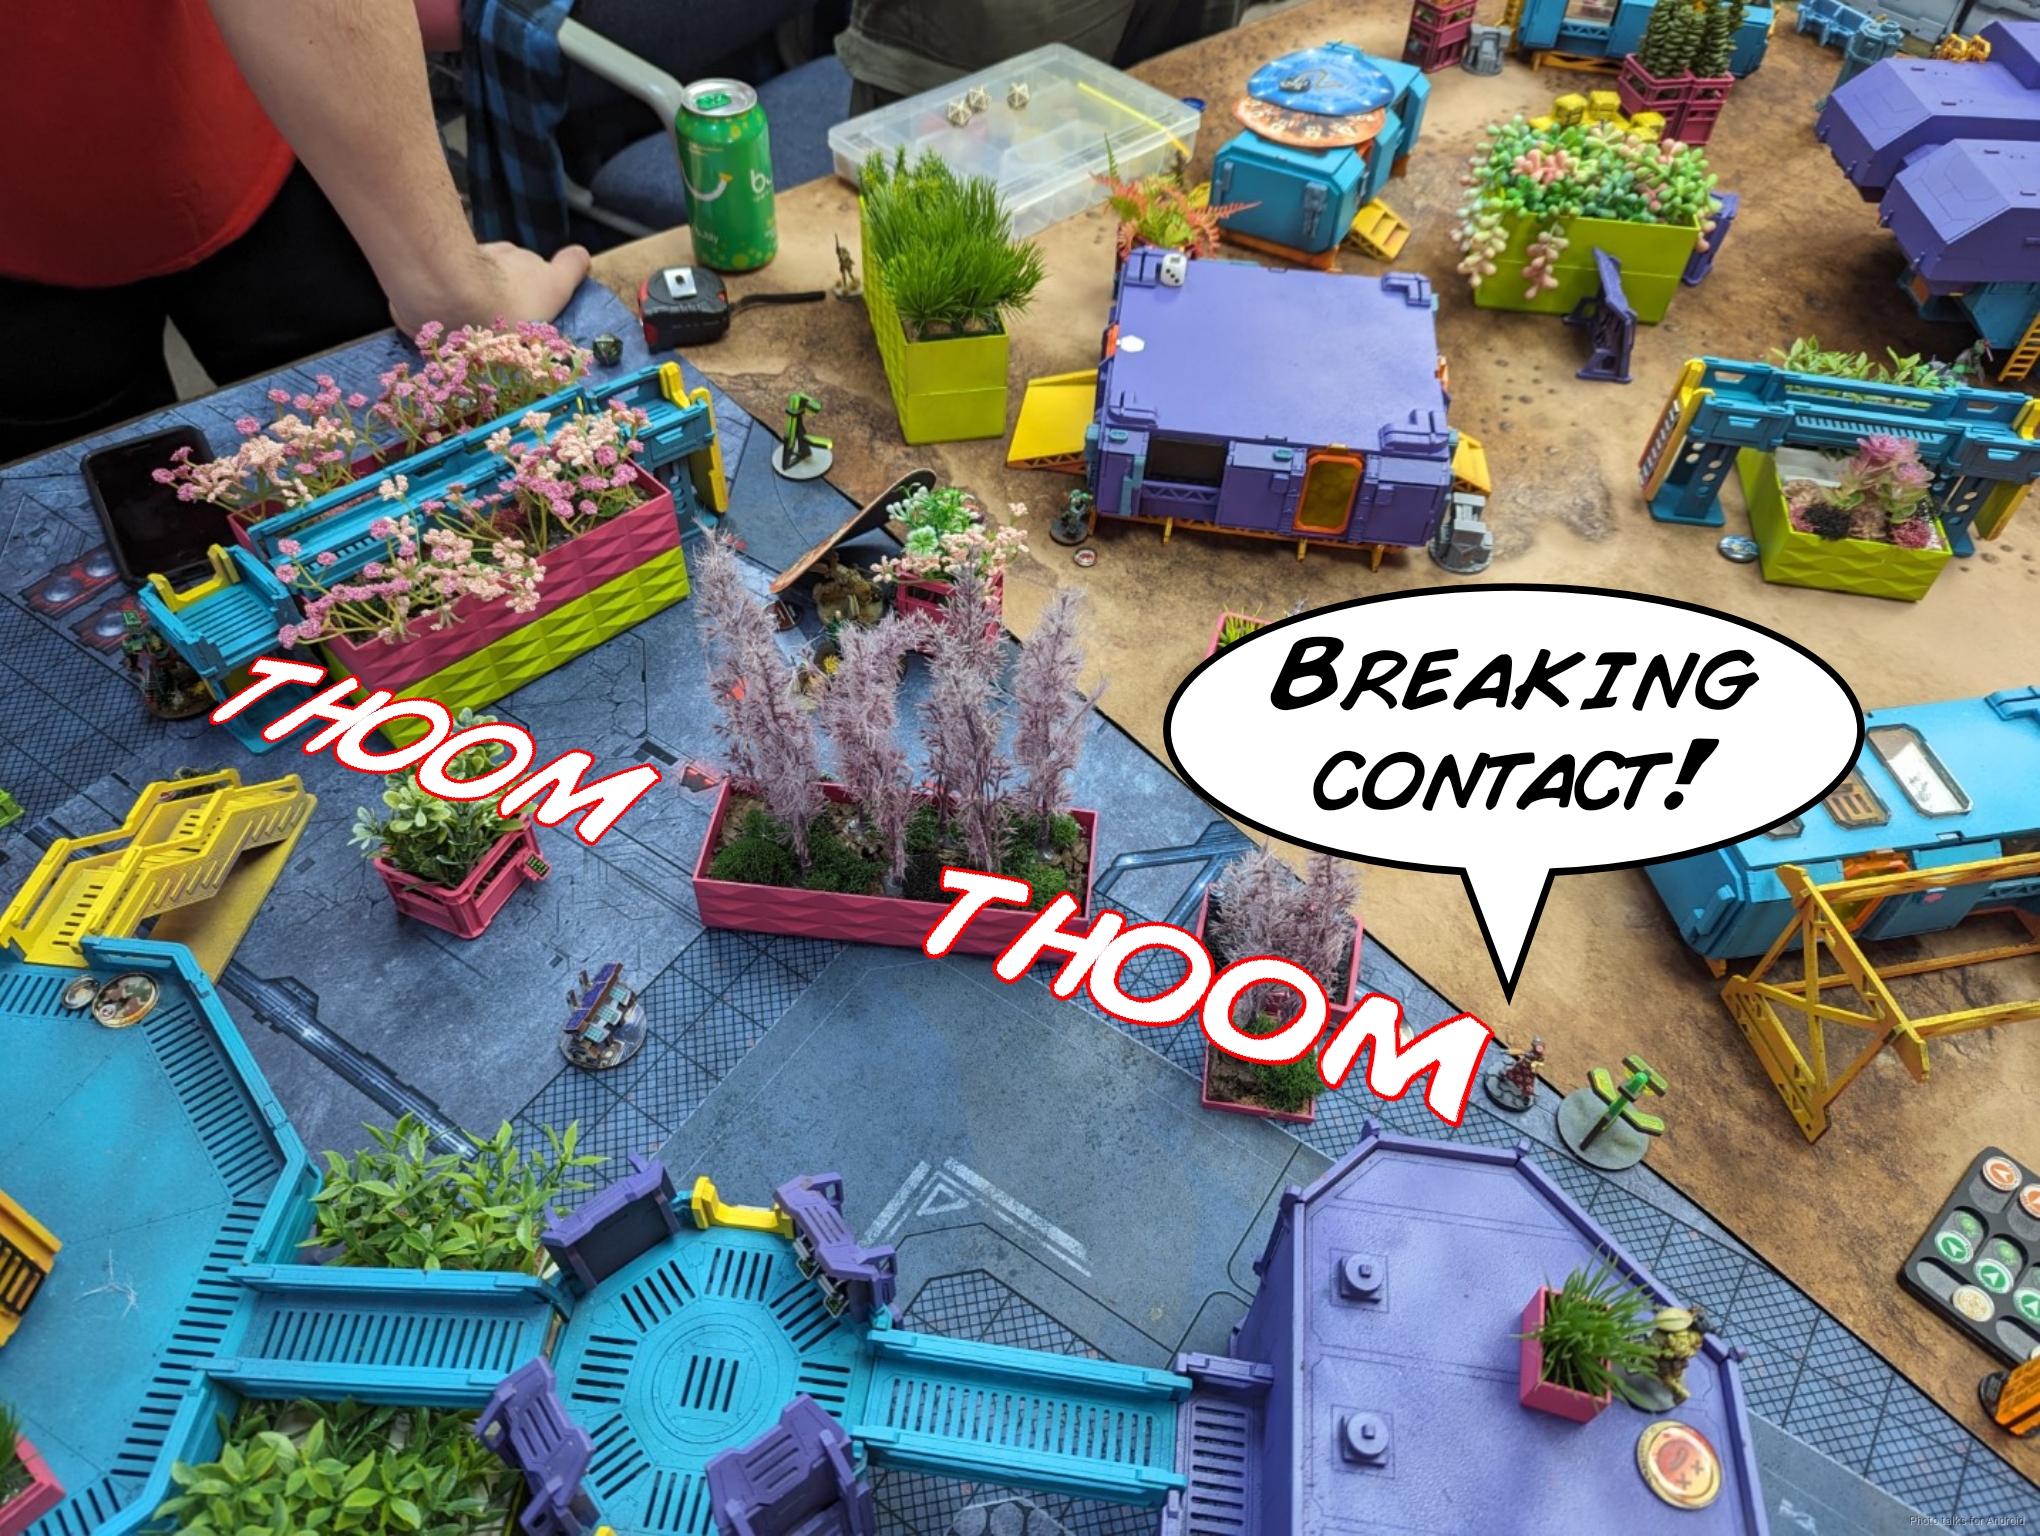
At this point, Birman’s more or less moved everything out of the zone.
I’ve got some more orders to go, so I start by dropping the Muhktar with the Karakuri.
I then bounce a chain rifle off of the Bultrak’s latest Frontovik victim, which extends into the smoke to hit Voronin! Voronin fails his dodge and ARM save and goes down.
All of Birman’s stuff is out. I lose the EVO, the Warcor, and take a wound on the Tanko LSG and Domaru, who didn’t move at all.
Turn 2
Top of 2 – Ramah/TAK

Tony starts with his Strelok and easily takes out the remaining Keisotsu.
The remaining Tuareg tries to fight the Bultrak and fails.
Tony’s Irmandinho starts trading chain rifles with the Karakuri, doing a wound and passing its ARM save. This Irmandinho is MVP, easily.
Cole’s Tuareg keeps engaging the Bultrak, this time doing a wound.
Finally, the Karakuri goes down to the Irmandinho, again failing to wound the Irmandinho.
The Taureg makes it into one of the buildings…
and the Ratnik puts the pressure on the Bultrak while advancing.
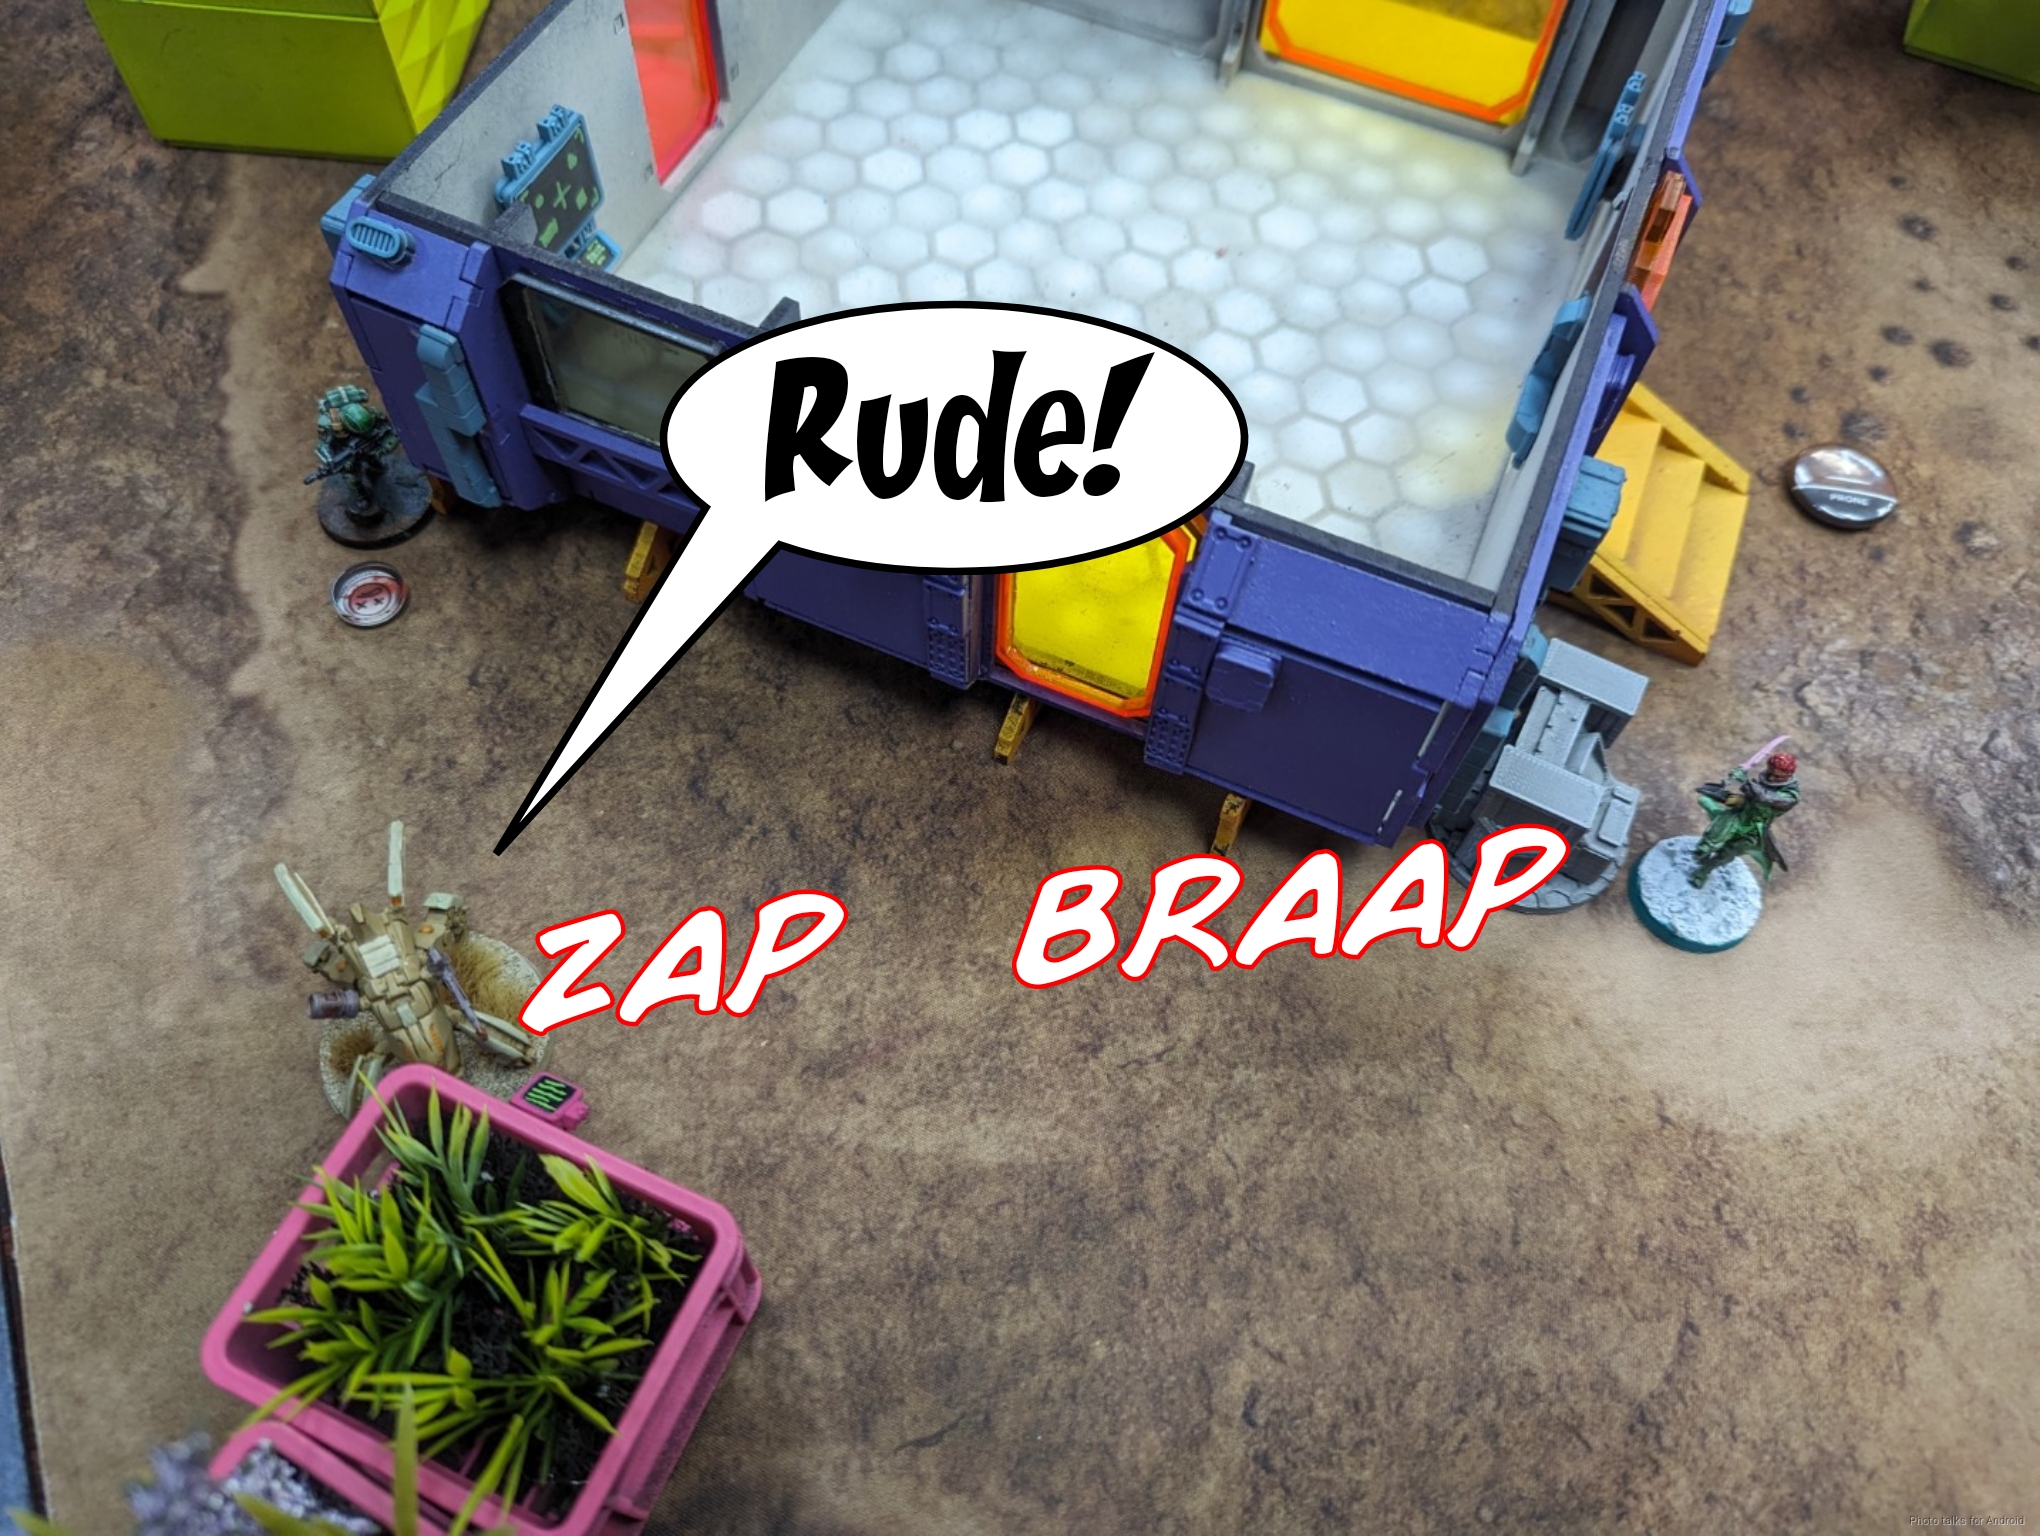
Unfortunately for the Taureg, Yaogats have MSV2 and panzerfausts. That’s all that really needs to be said about that interaction!
Cole has one more model which tries to engage the Bultrak, I forget what it is at this point, and that’s turn.
Bottom of 2 – CA/JSA


We start things off with Sheeskin bullying the remnants of the Ghulam link.
The Domaru is still alive, though, as is the Tanko LSG, so they start their run forward.
The Xeodron does a wound to the Namurr and takes out the Warcor.
The Domaru pie-slices the Ratnik and takes it out, finally!

Unfortunately, the Strelok somehow wins the face to face and drops the Domaru, who was already wounded by the biotechvore zone.
Sheeskin takes out one of the last Haqq units near the console.
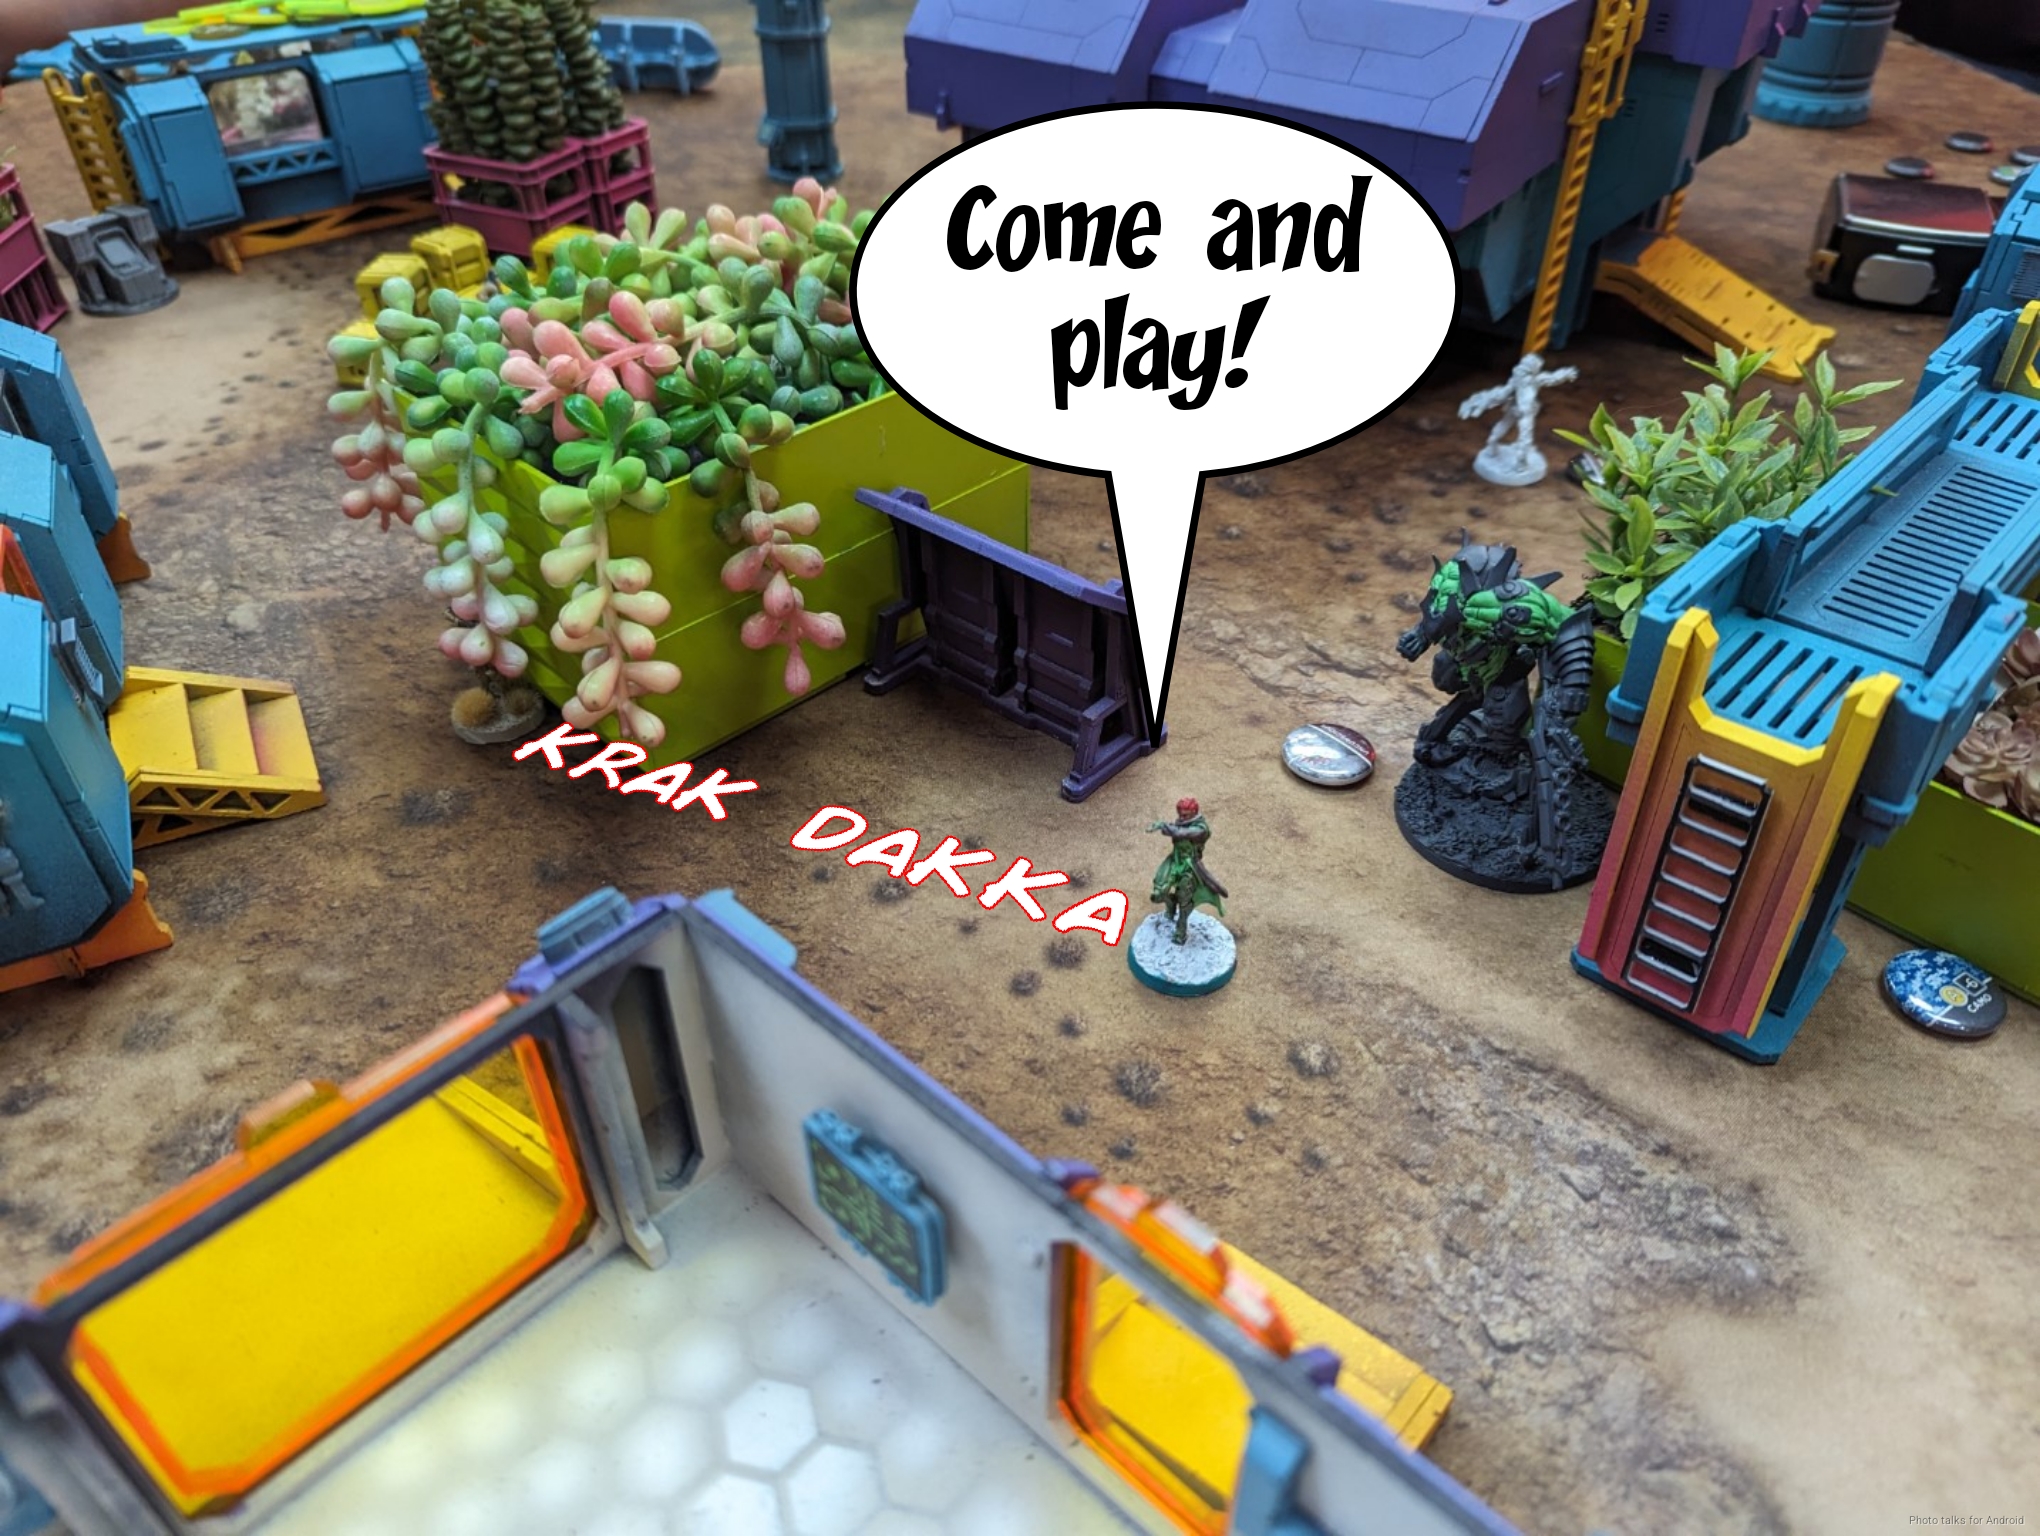
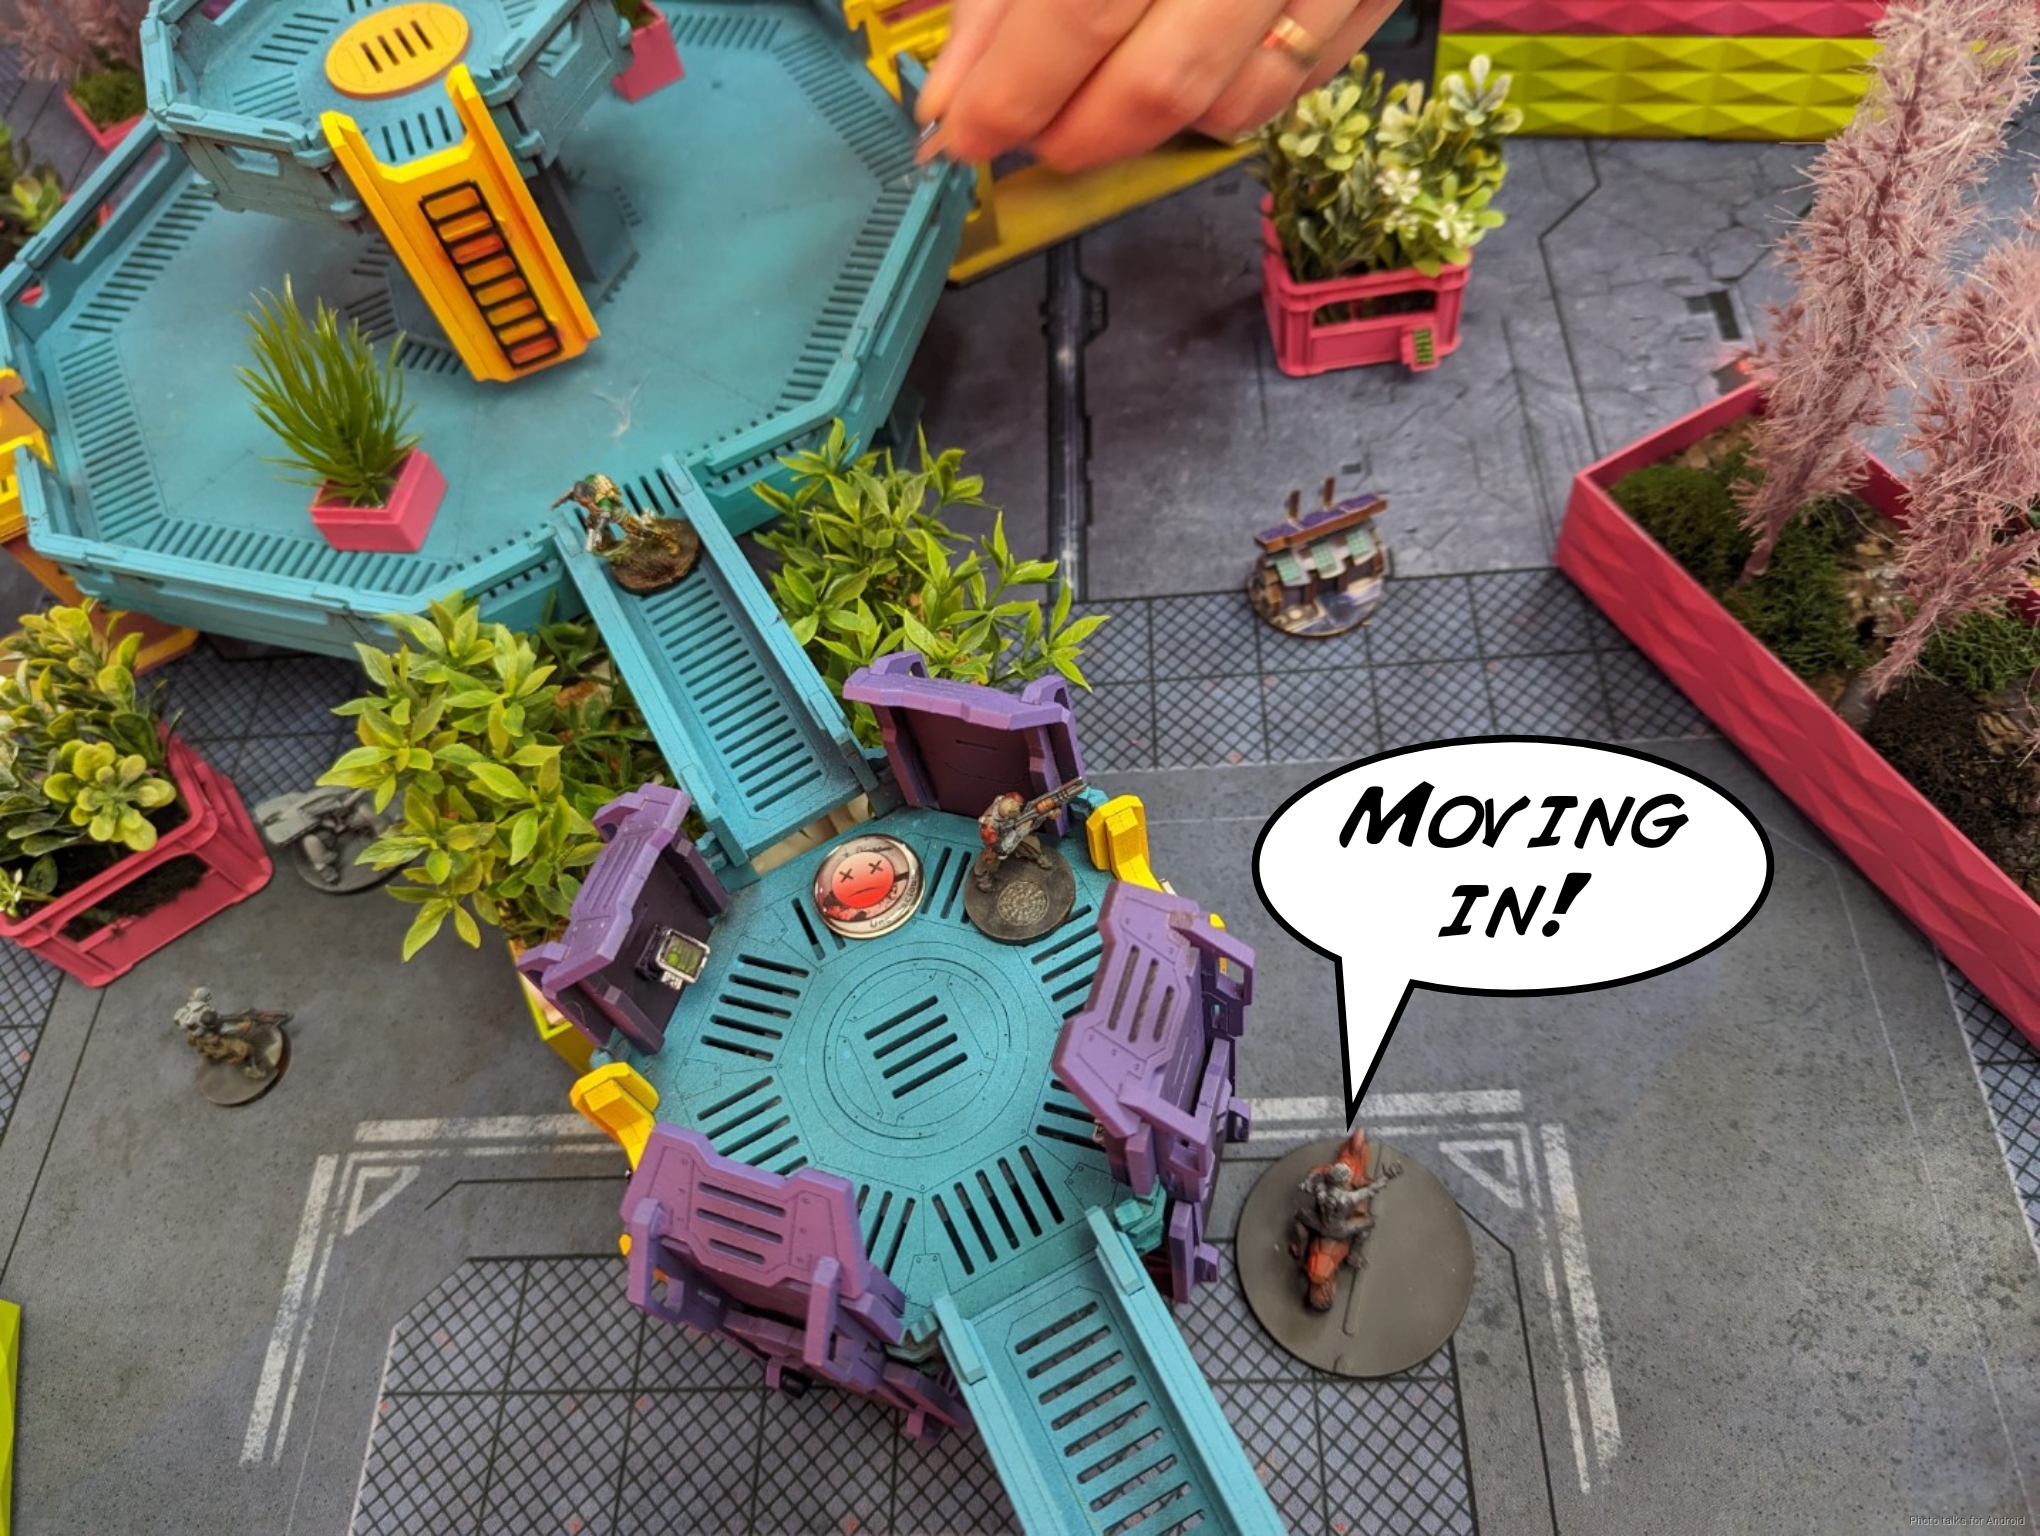
Then I set up the Aragoto KHD for a run on the console.
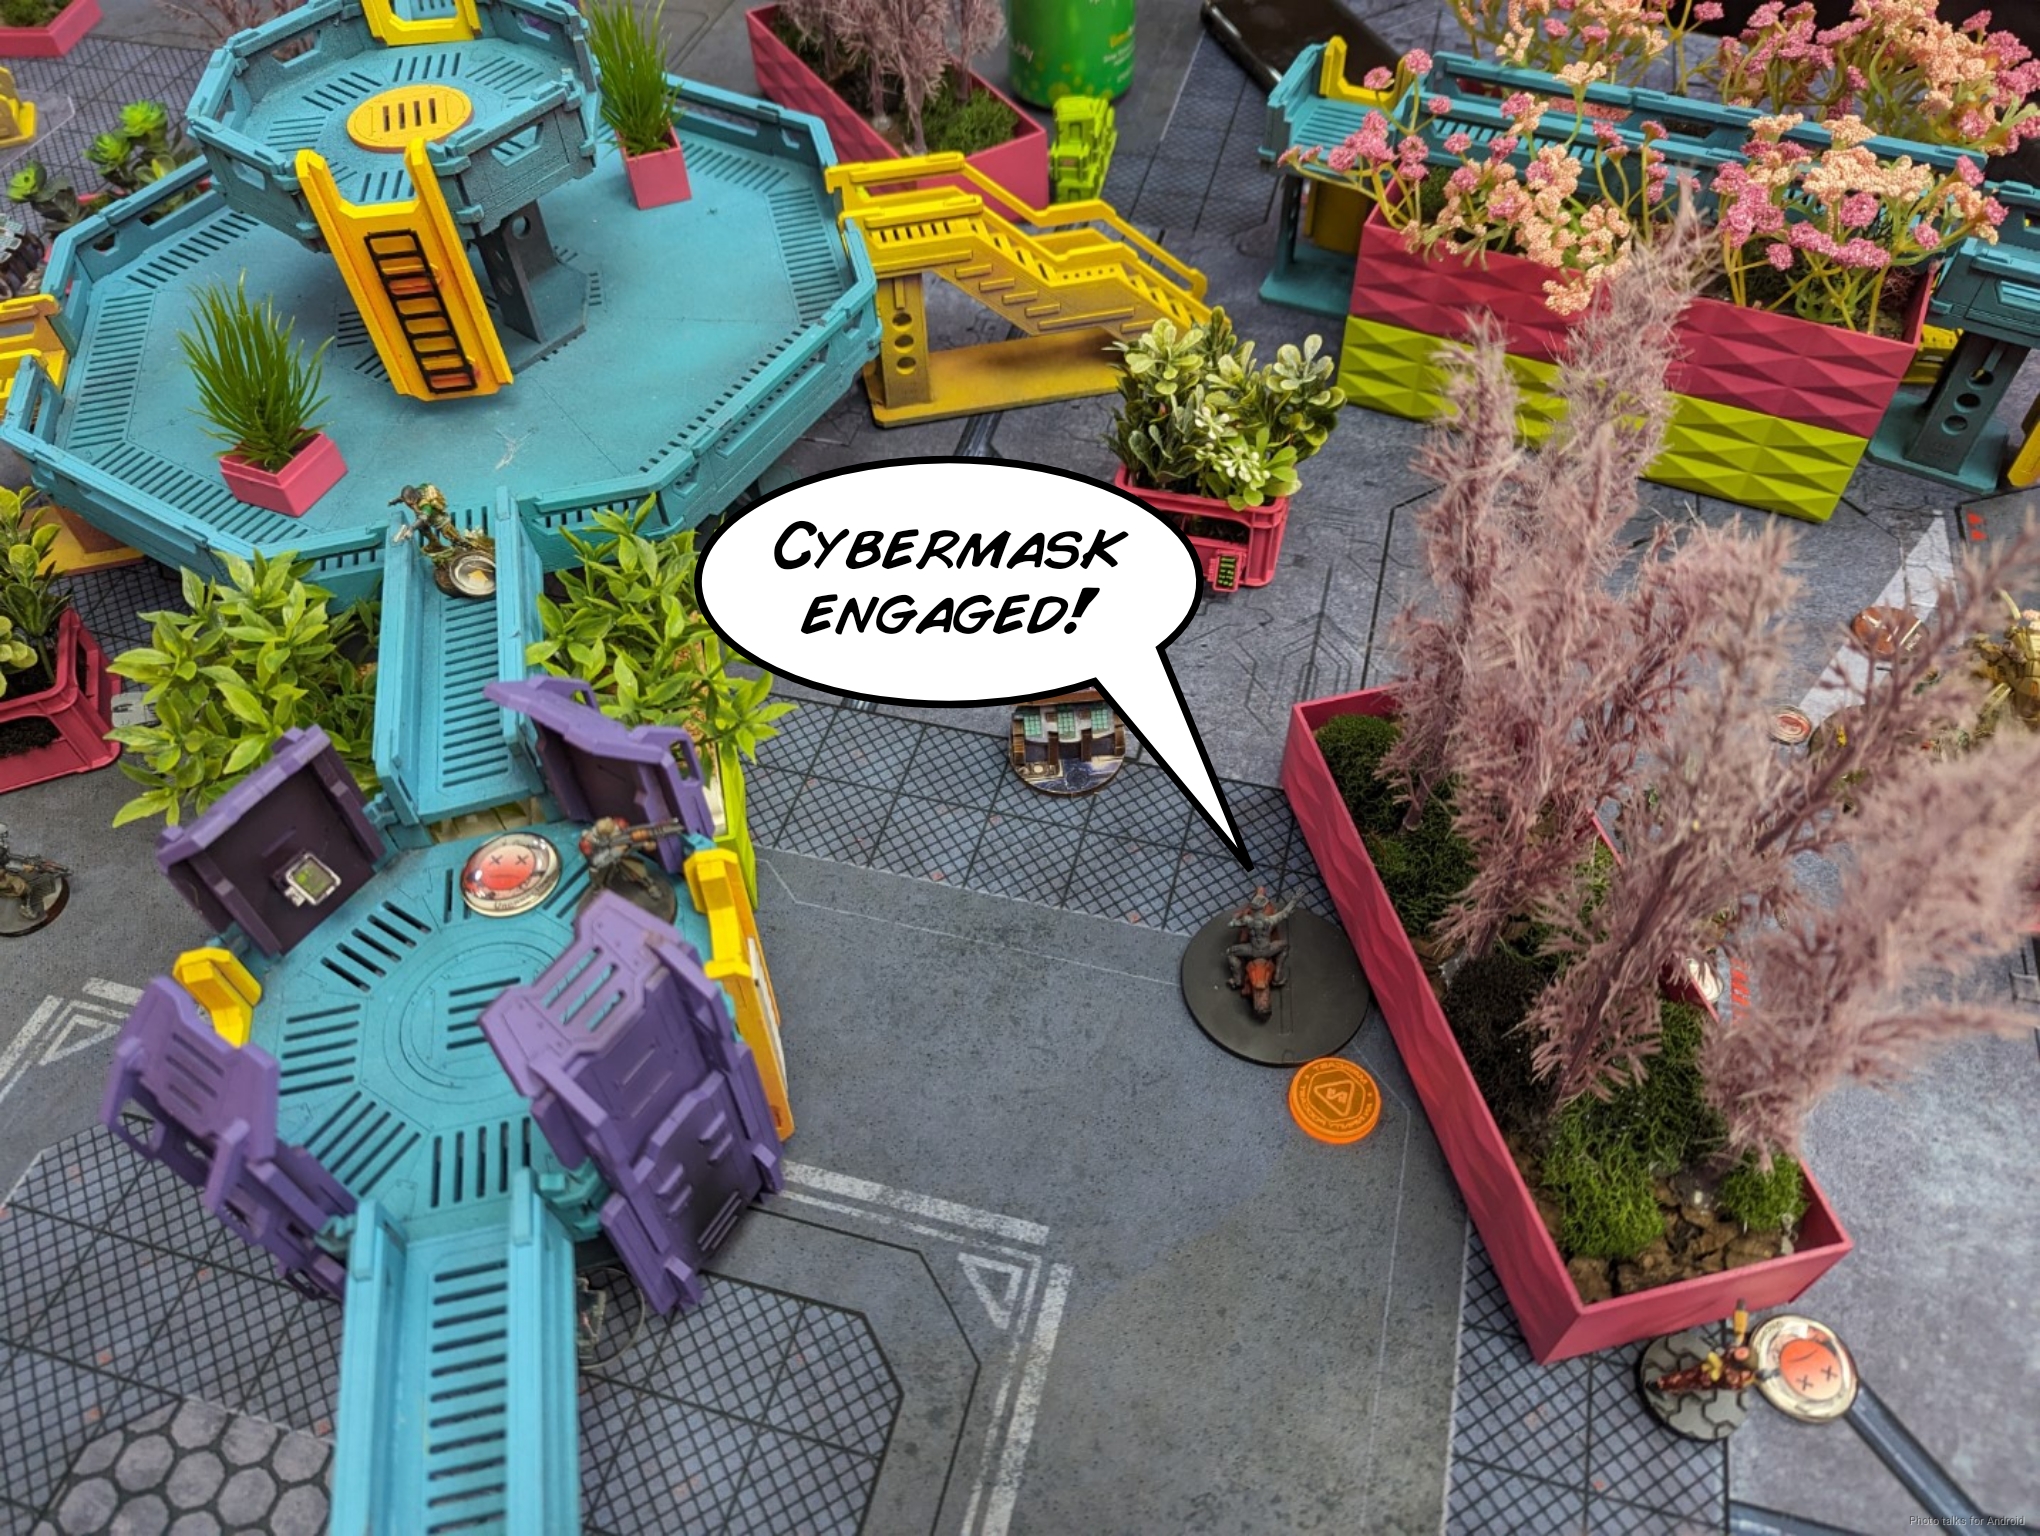
I engage Cybermask for good measure.
Turn 3
Top of 3 – Ramah/TAK

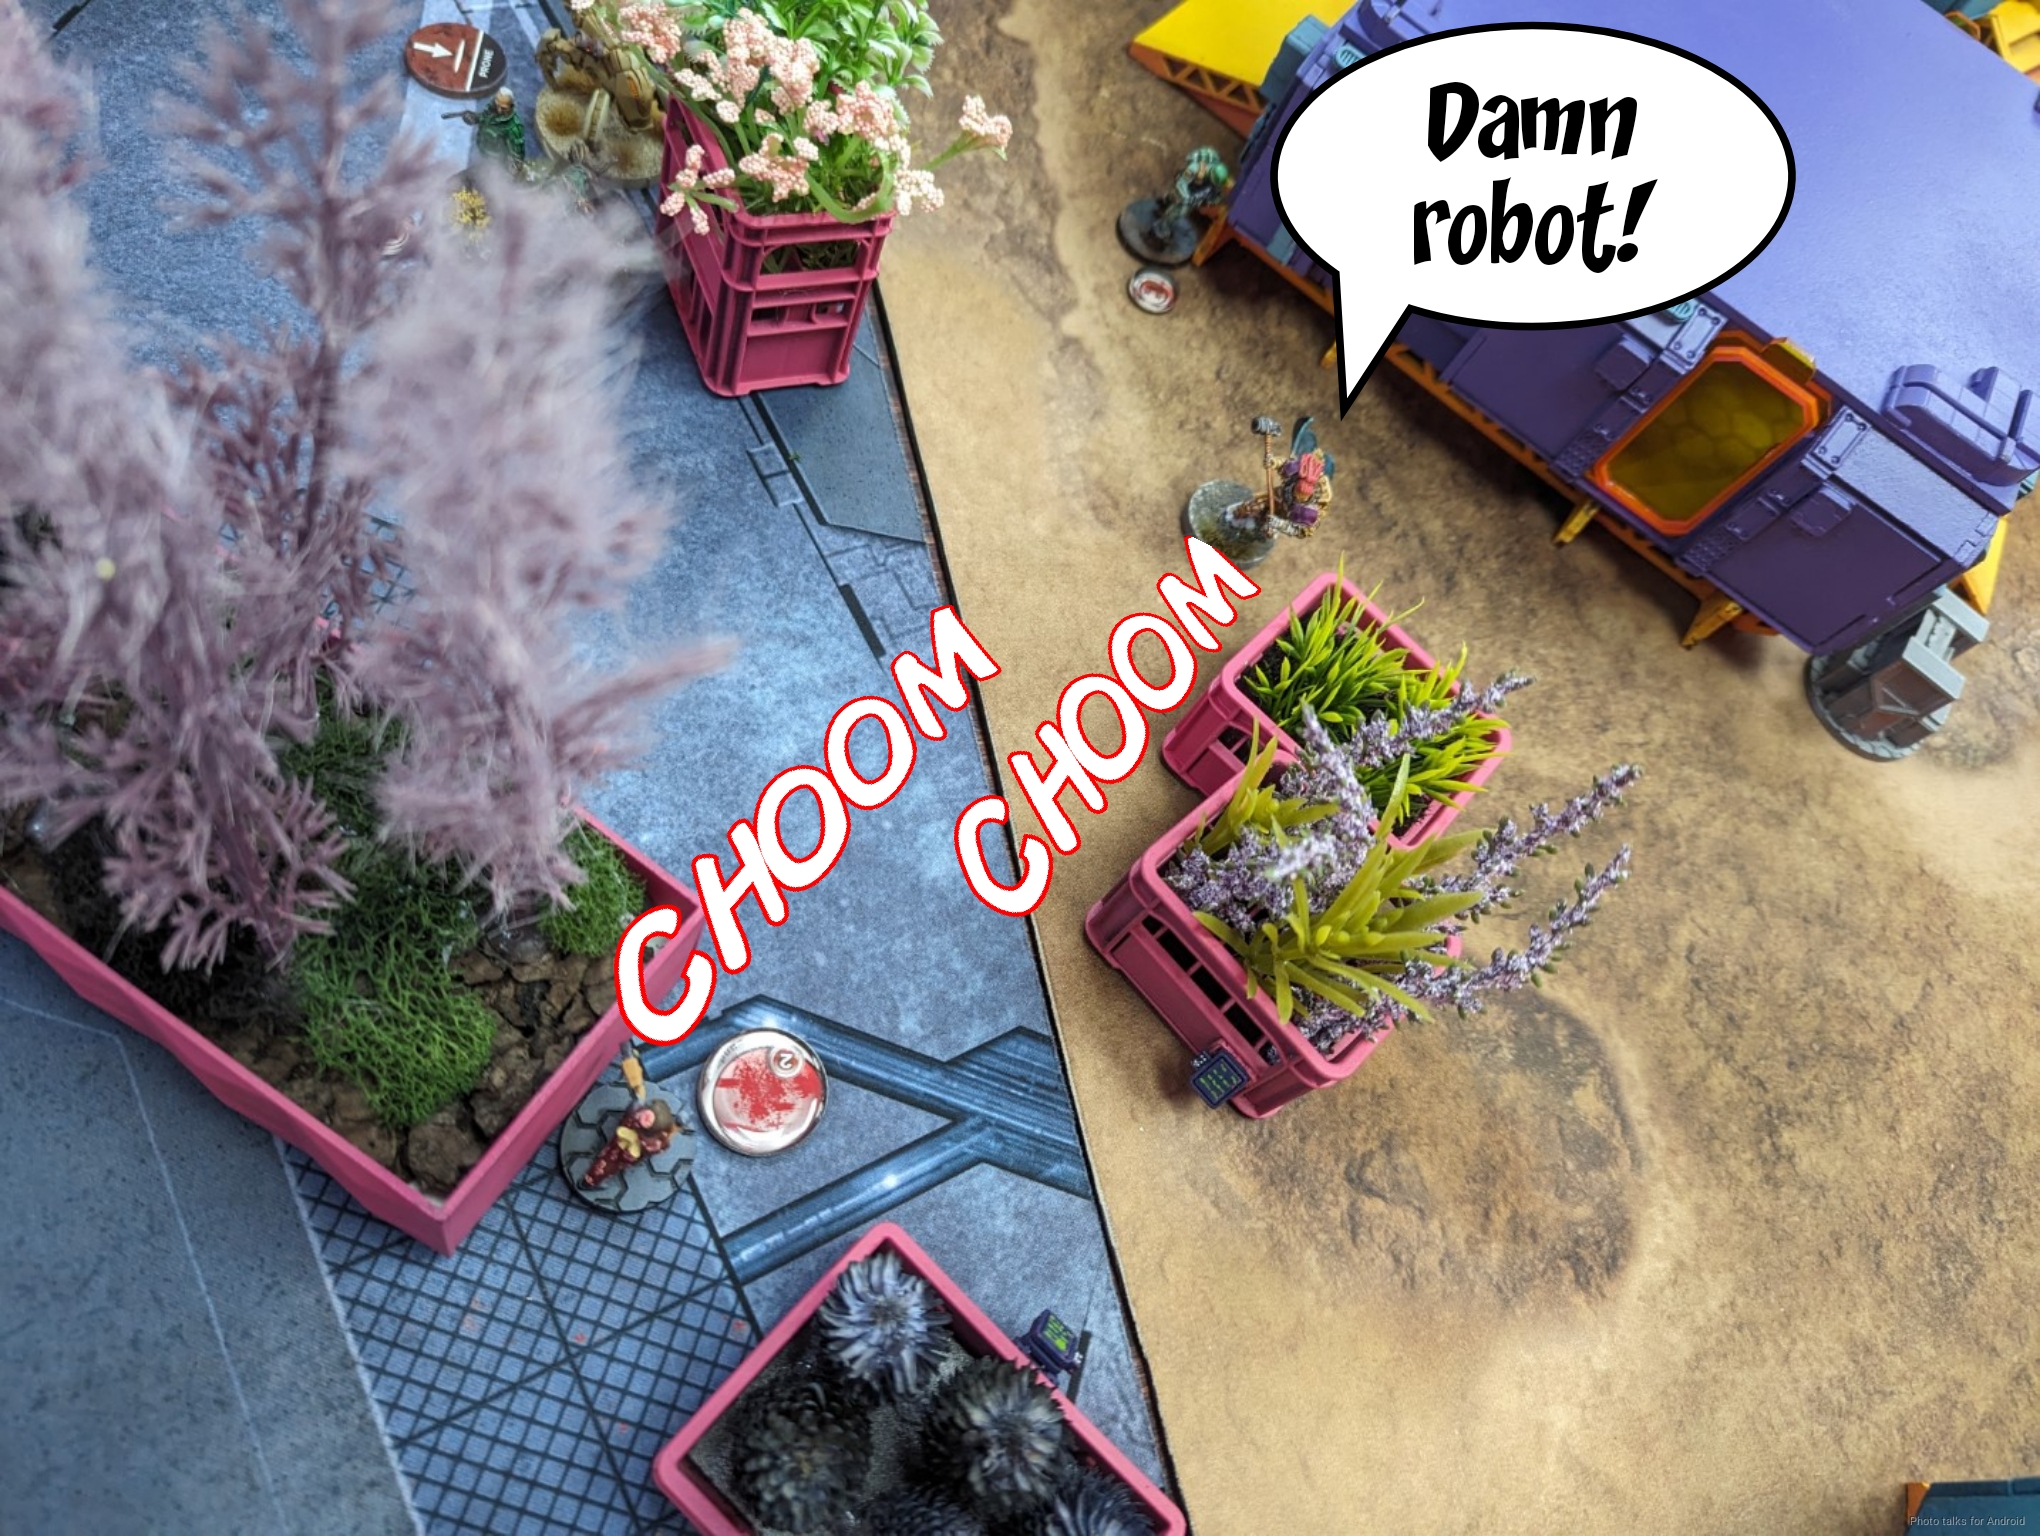
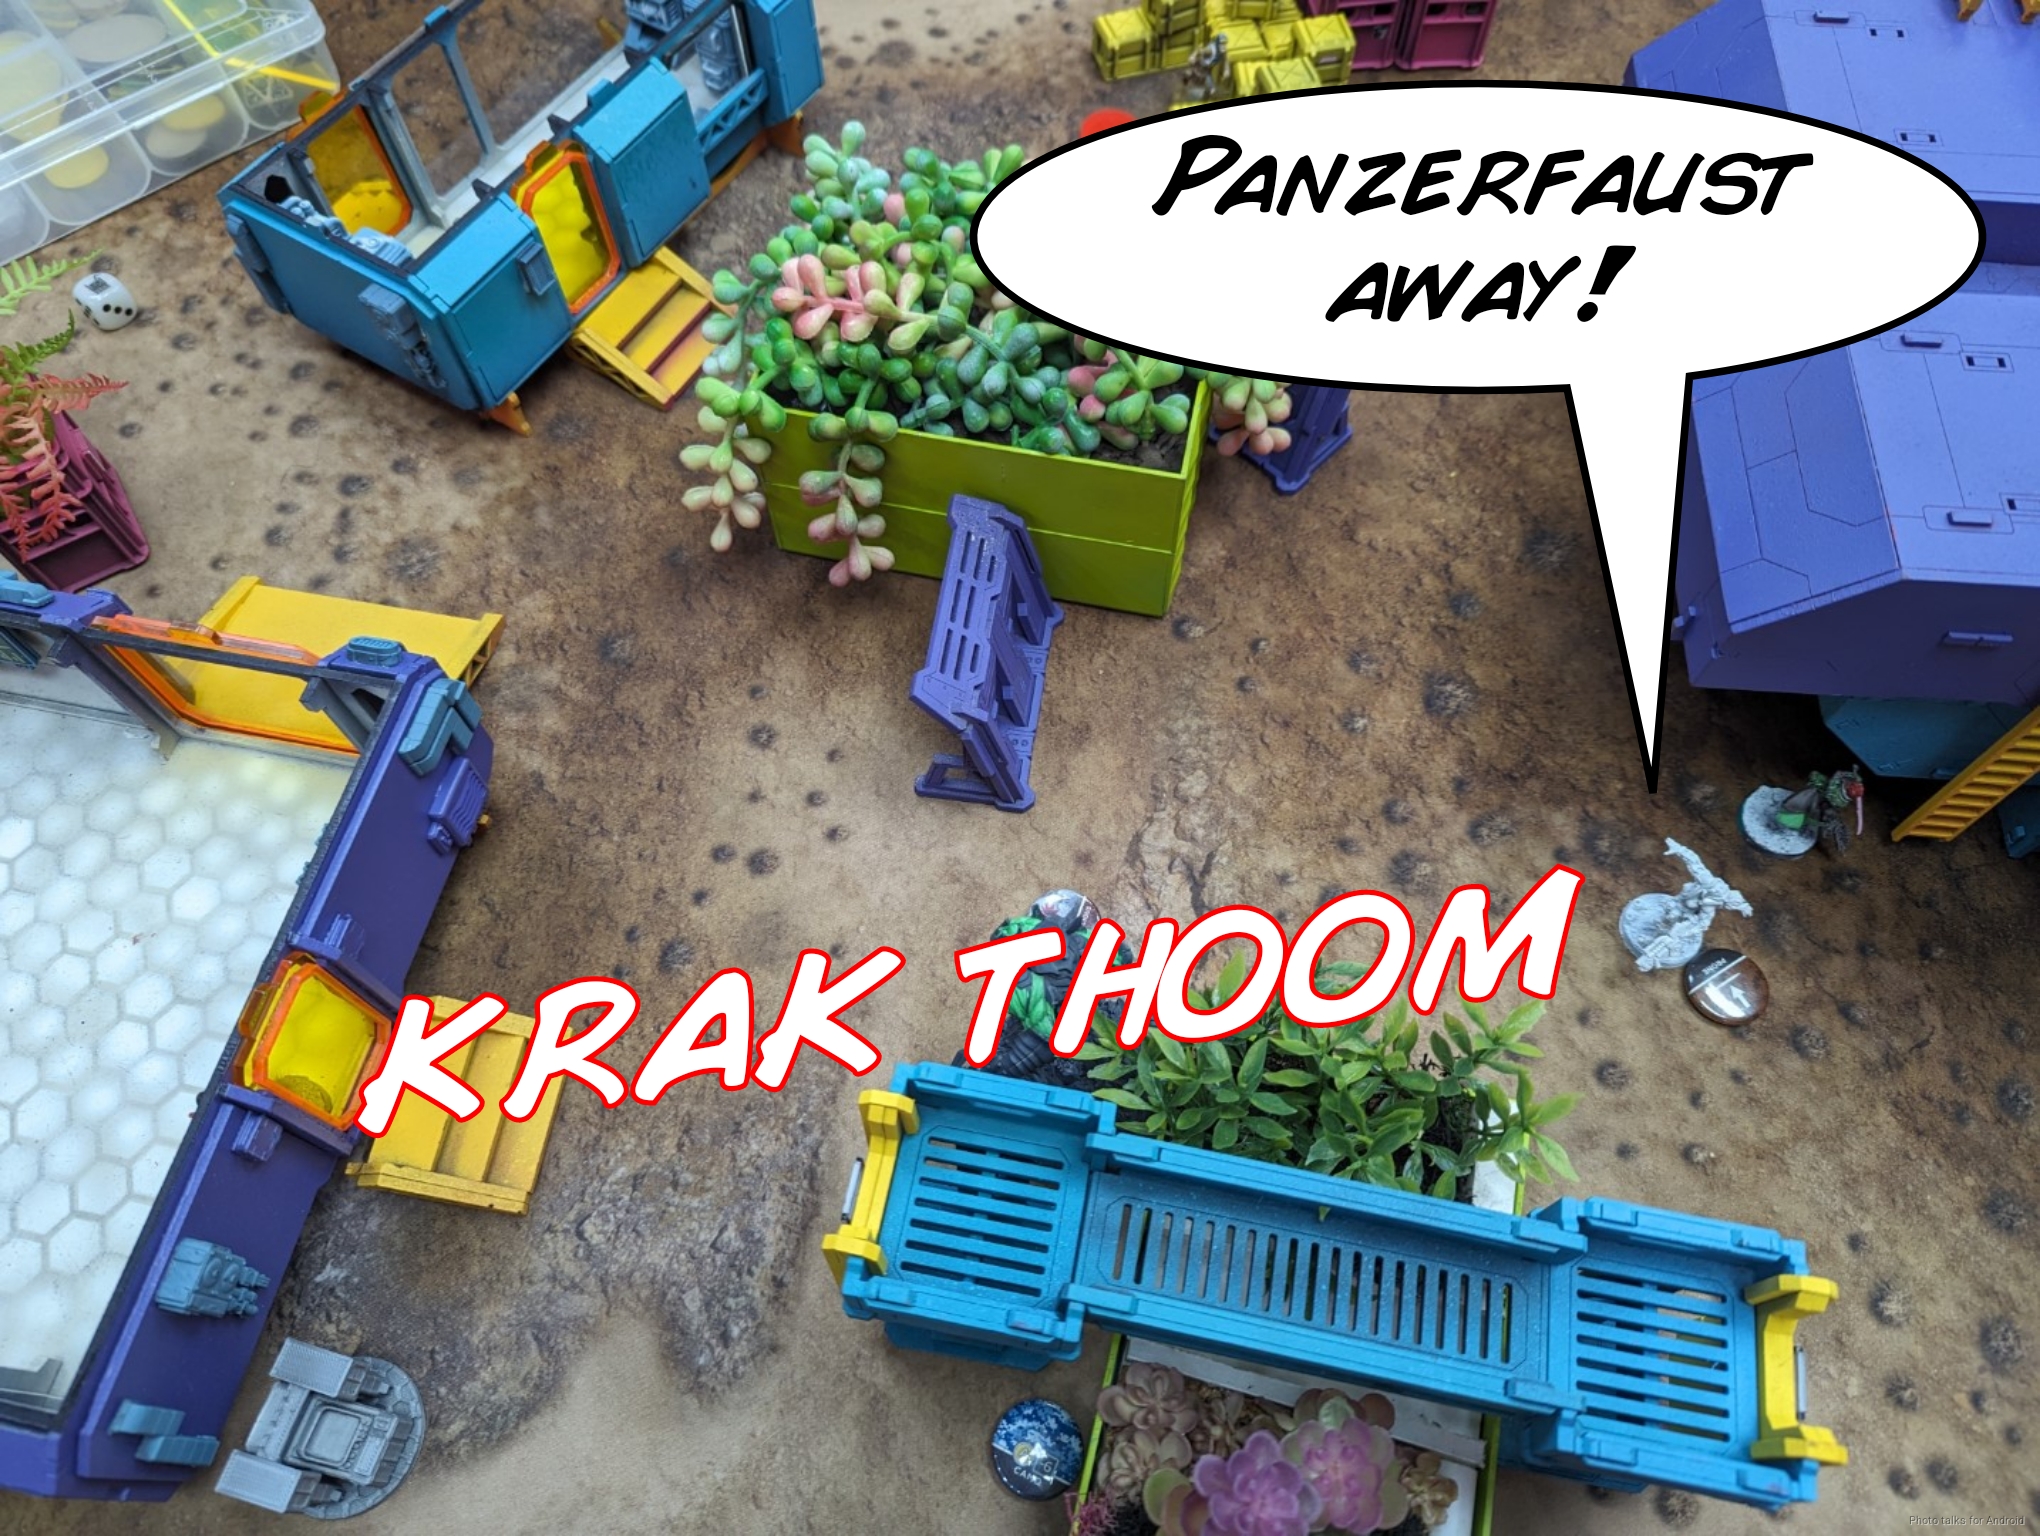
Somehow, the Irmandinho survives a shotgun to the face from the Tanko LSG…
and proceeds to kill the Tanko with a Panzerfaust to the face.
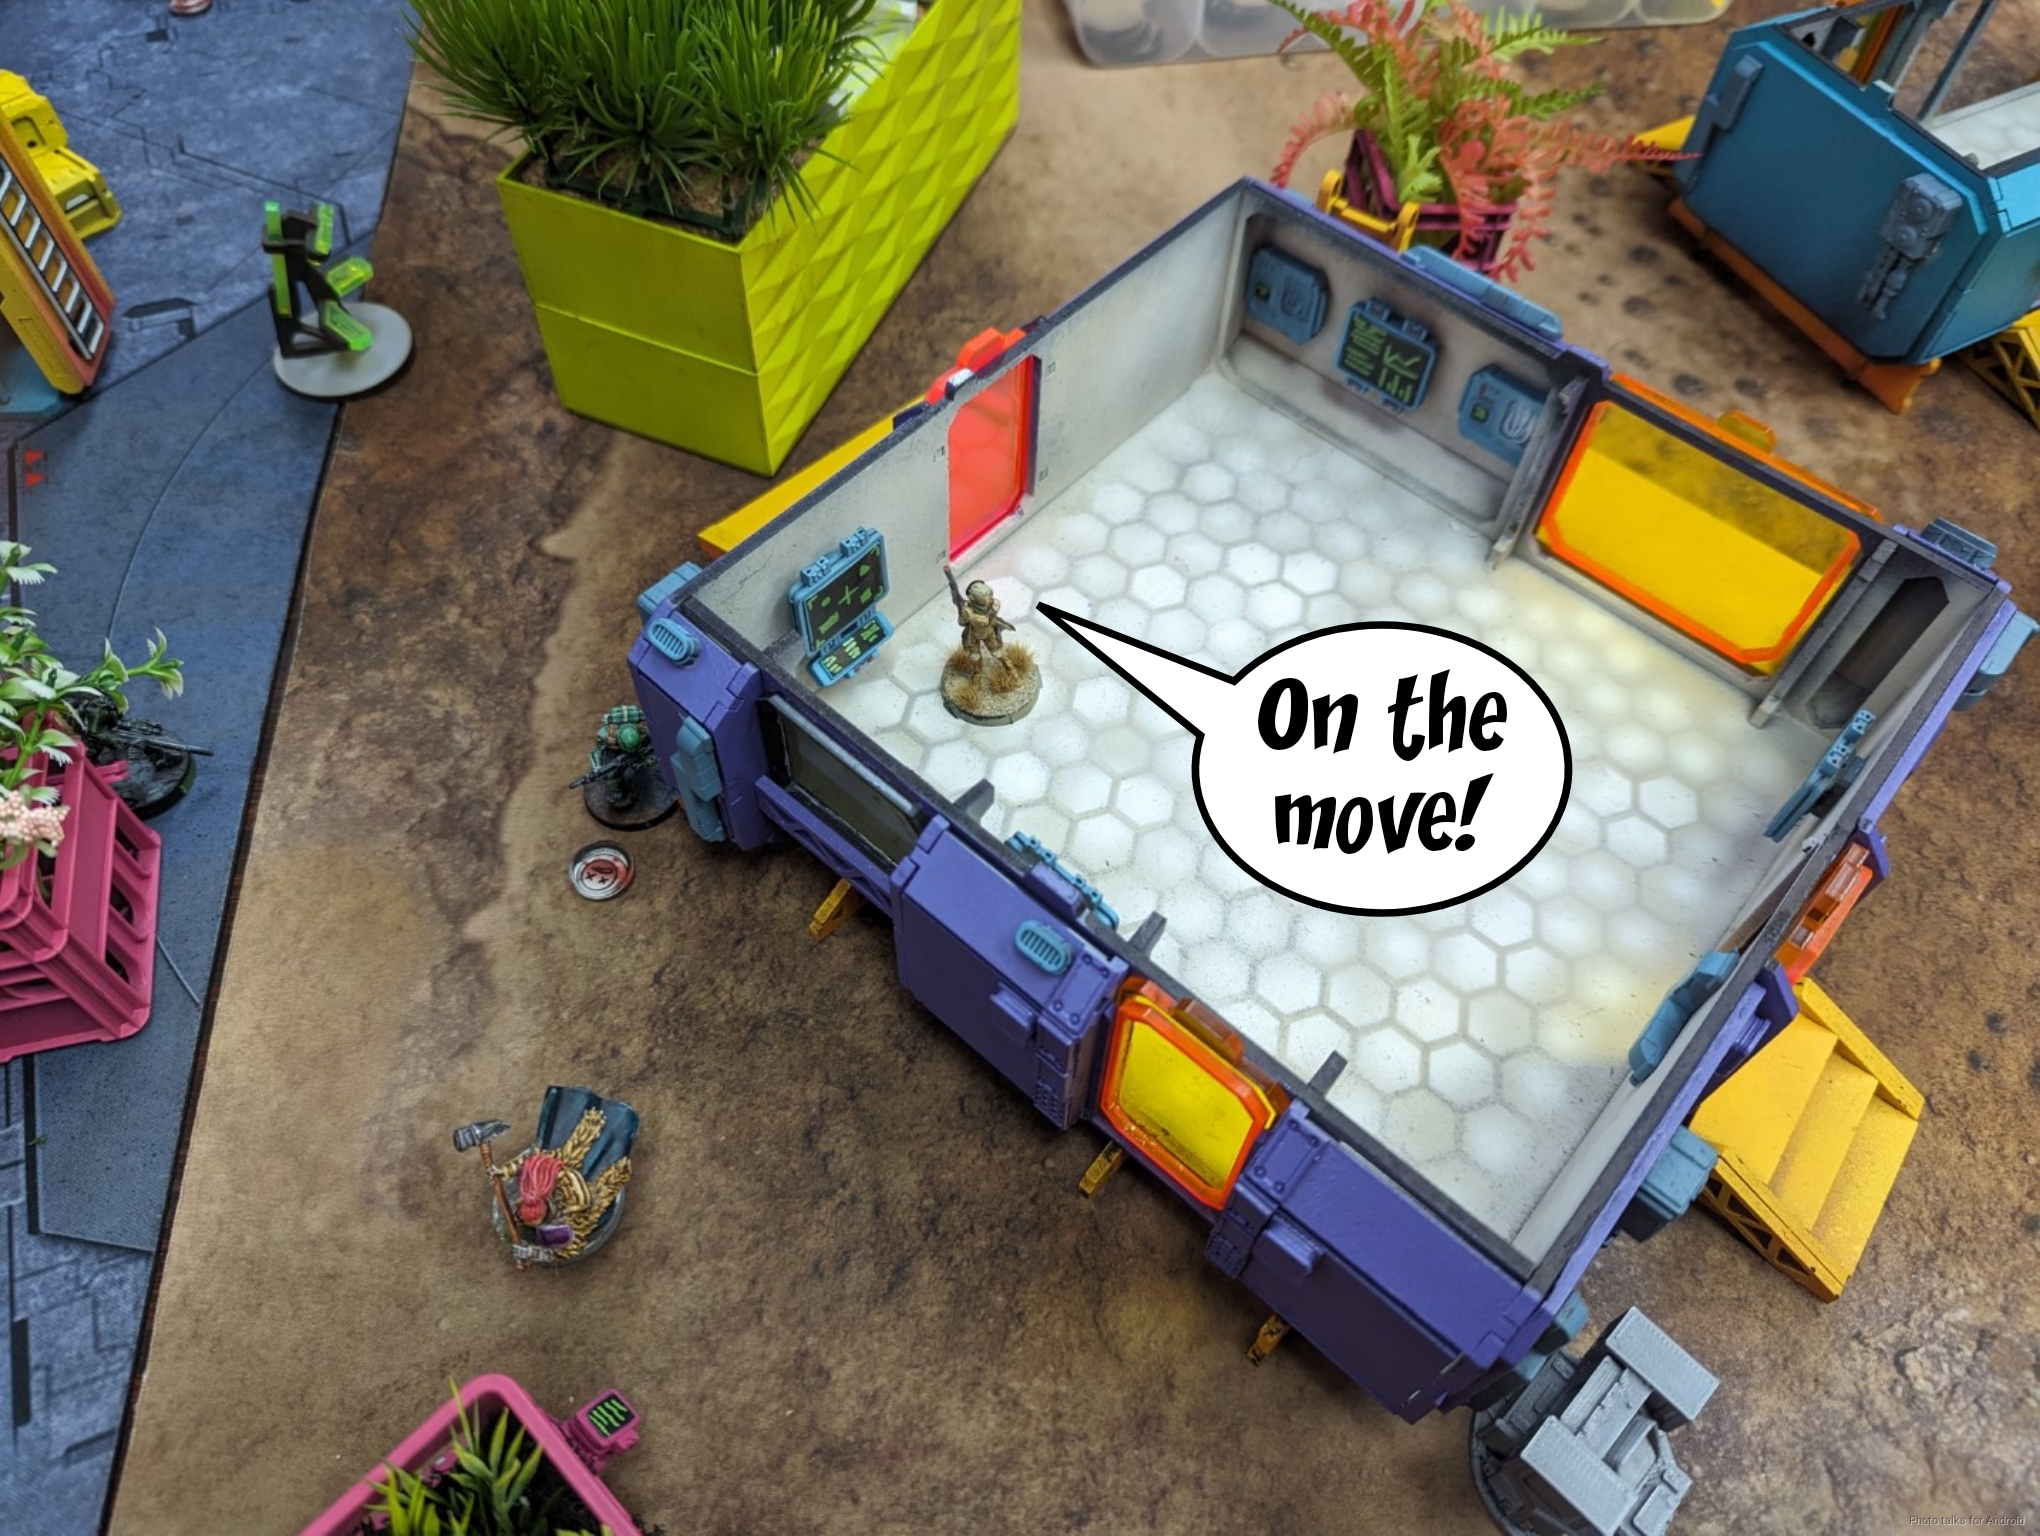
The Rafiq moves forward, now that the Tanko is down…
With the Tanko down, the Vet Kazak starts hurrying forward.
It has one shot on Sheeskin, and then turn’s over.
Bottom of 3 – CA/JSA

Sheeskin easily kills the Vet Kazak…
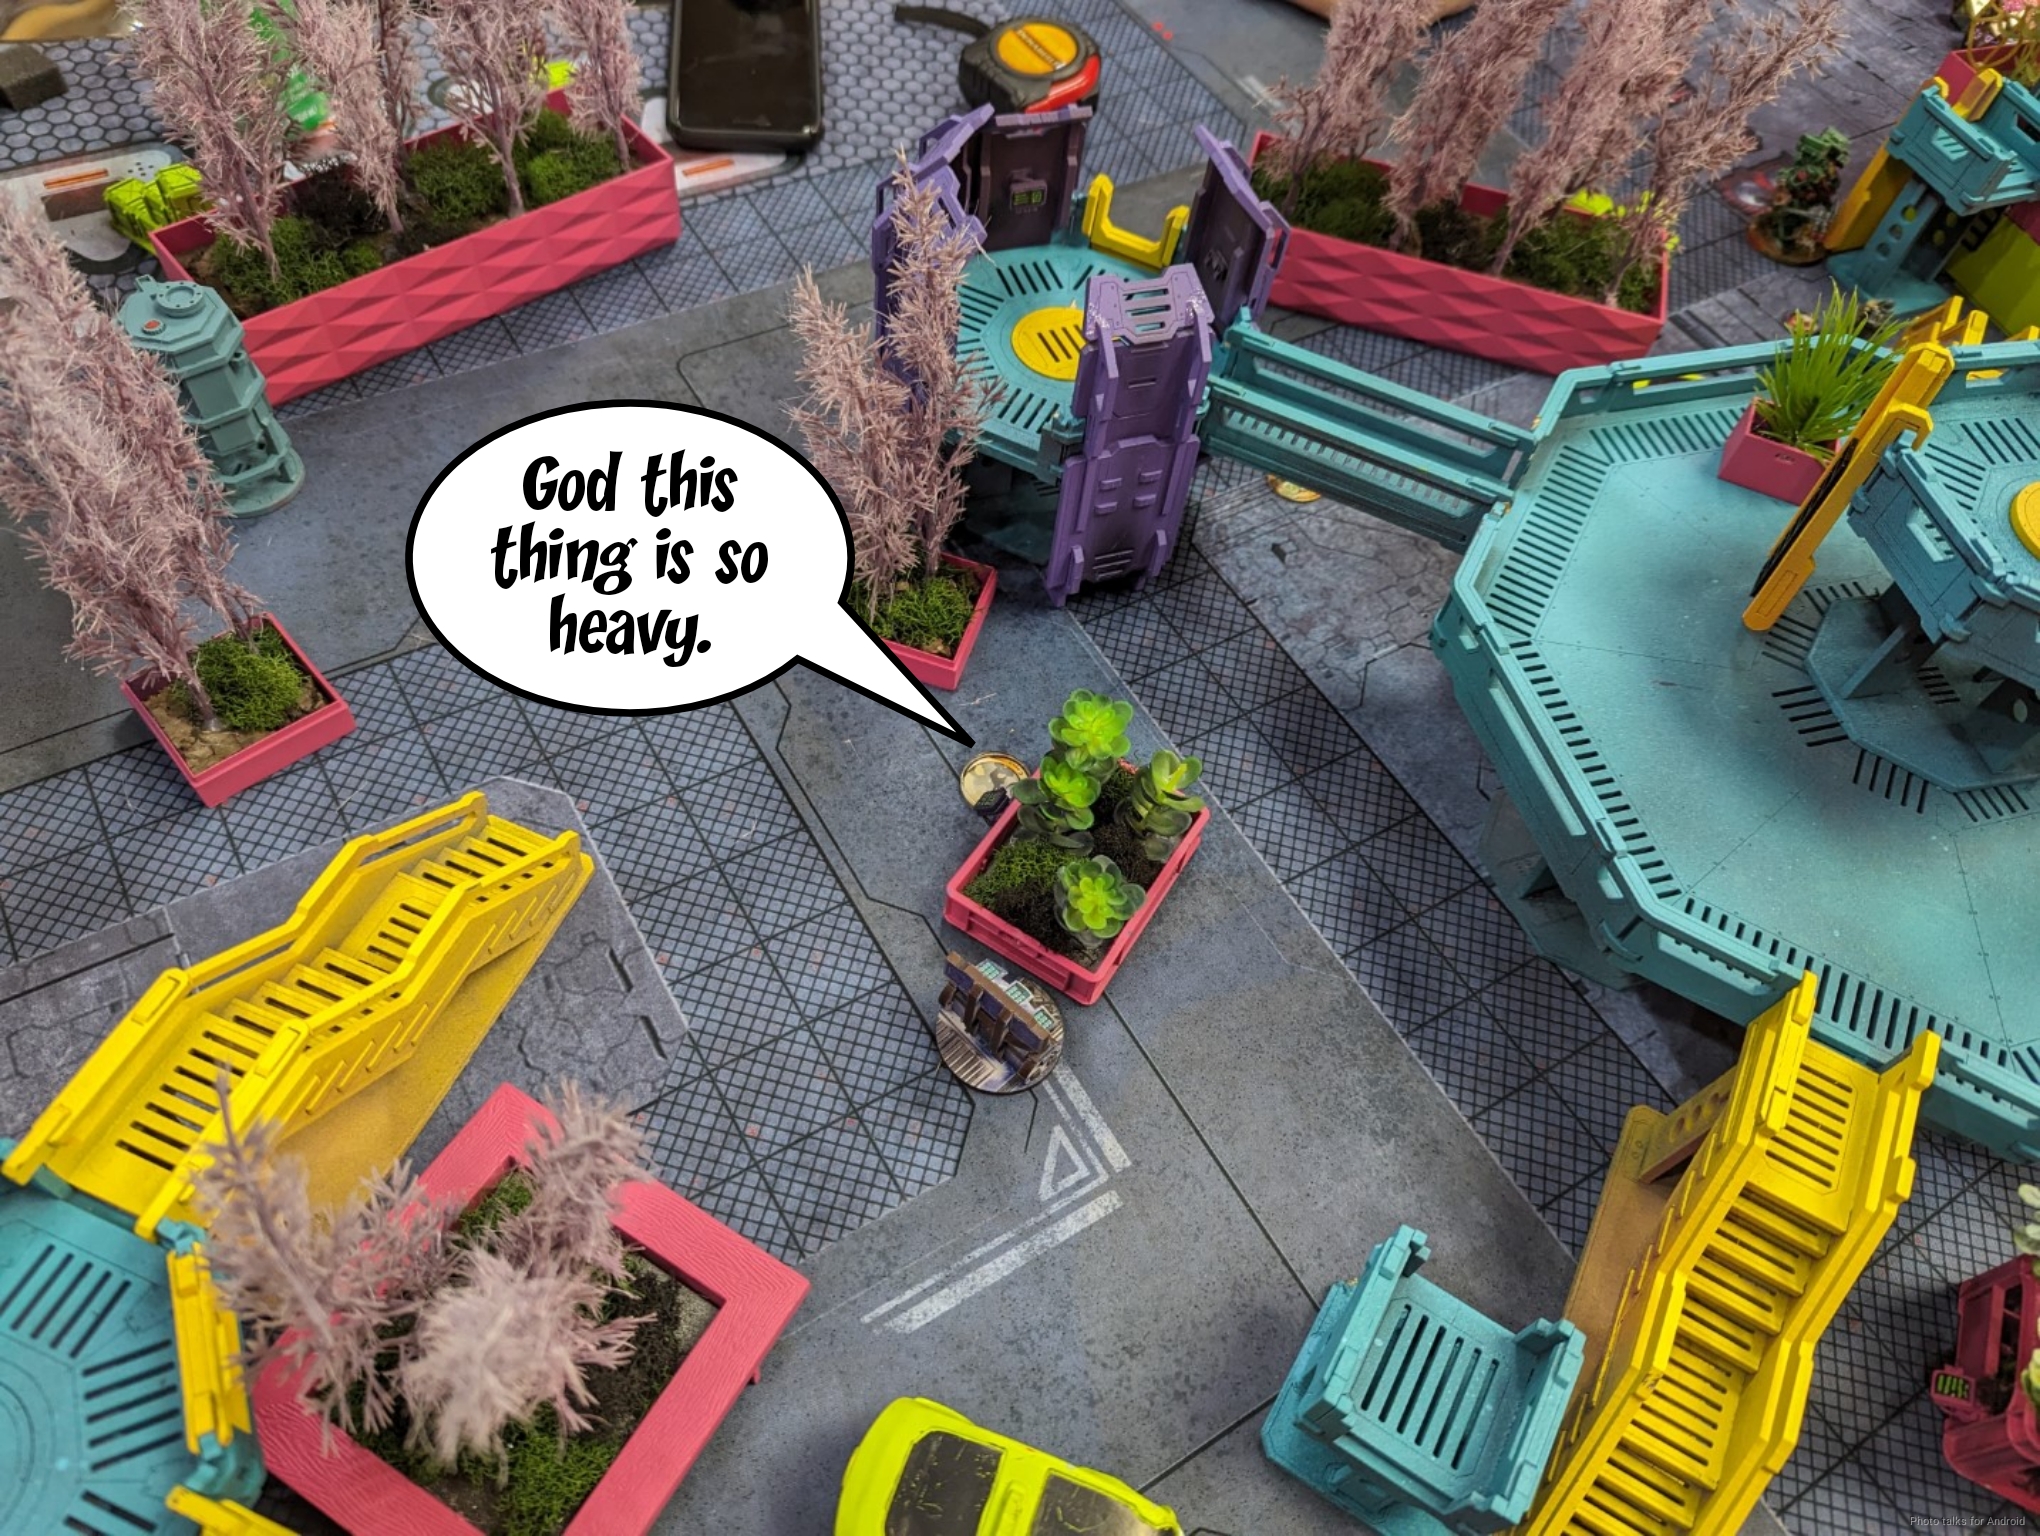
The Aragoto KHD snags the beacon…
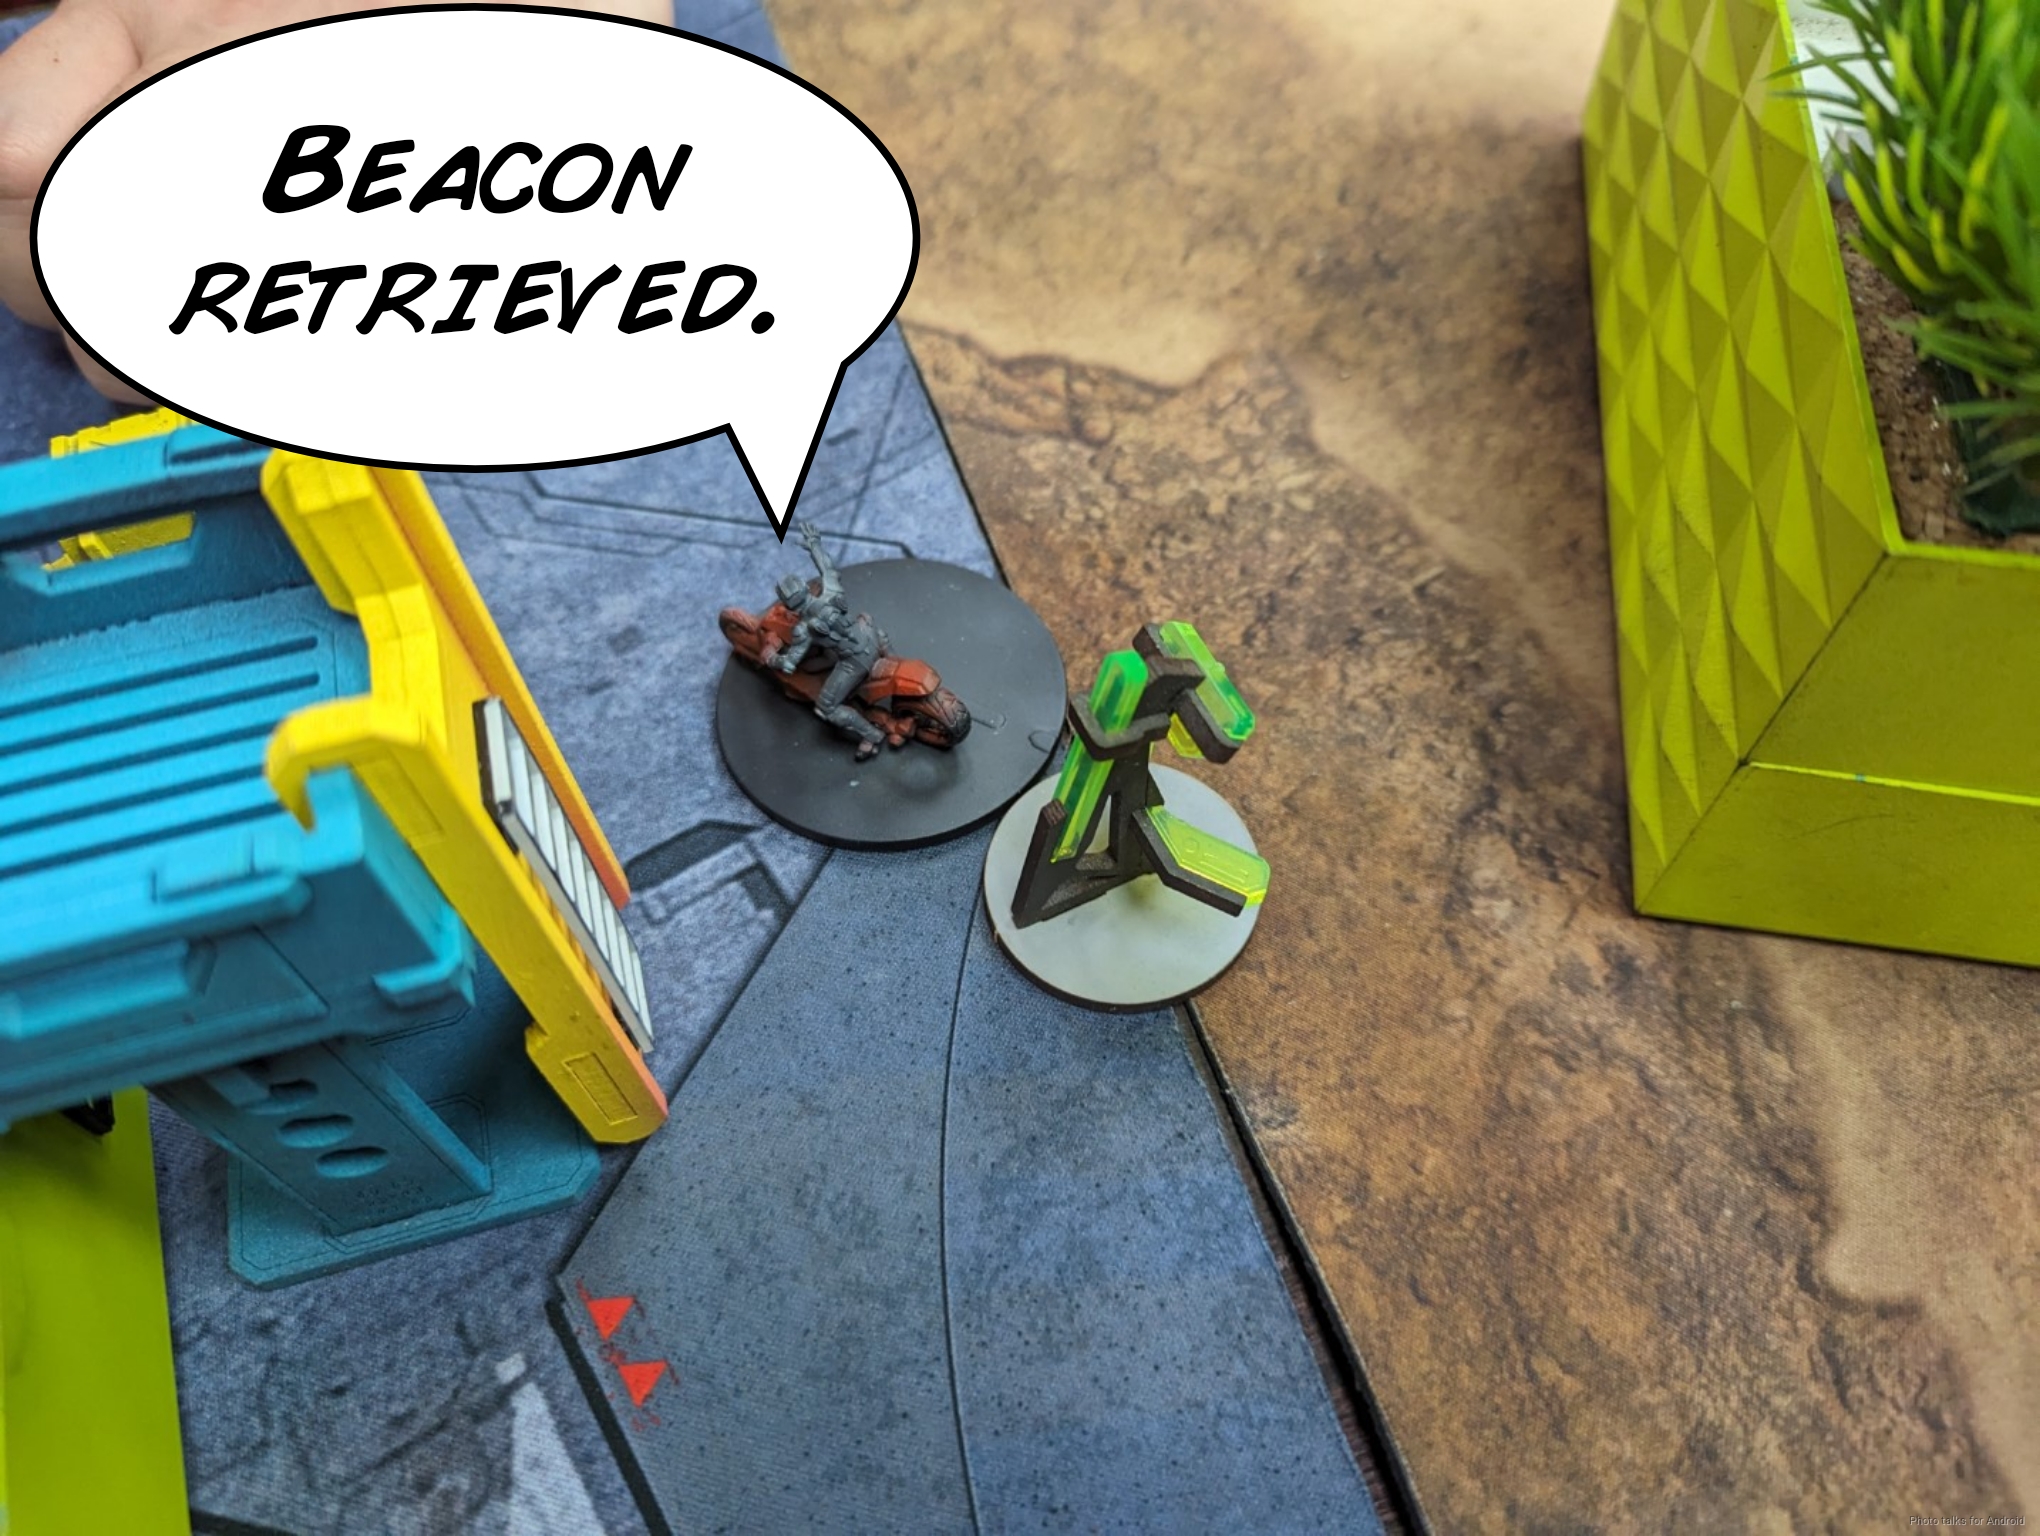
and then Sheeskin finishes off the Rafiq.
At this point, we call it. We killed more stuff, have the beacon, Tony and Cole don’t have our beacon, and we have enough stuff left alive to score 2 points.
7-0, 388-177 JSA/Combined Victory!
Post Game Analysis
Tanko ML won this game, pretty much, killing a ton of stuff:
and boxing both Tony and Cole just outside their deployment zones. Then it was just continual pressure from the right tools for the job–Birman’s TAGs (I’m including Sheeskin here) and the Karakuri pushing very hard. I’m really starting to respect the Keisotsu HMG. It’s so cheap and dice are dice. What’s funny is I’m just not really considering the Ryuken-9 SMGs anymore. I should probably start messing around with them more. In any case, I think there were just some pretty brutal exchanges in this game and Birman and I didn’t take our foot off the gas in either reactive or active turns.
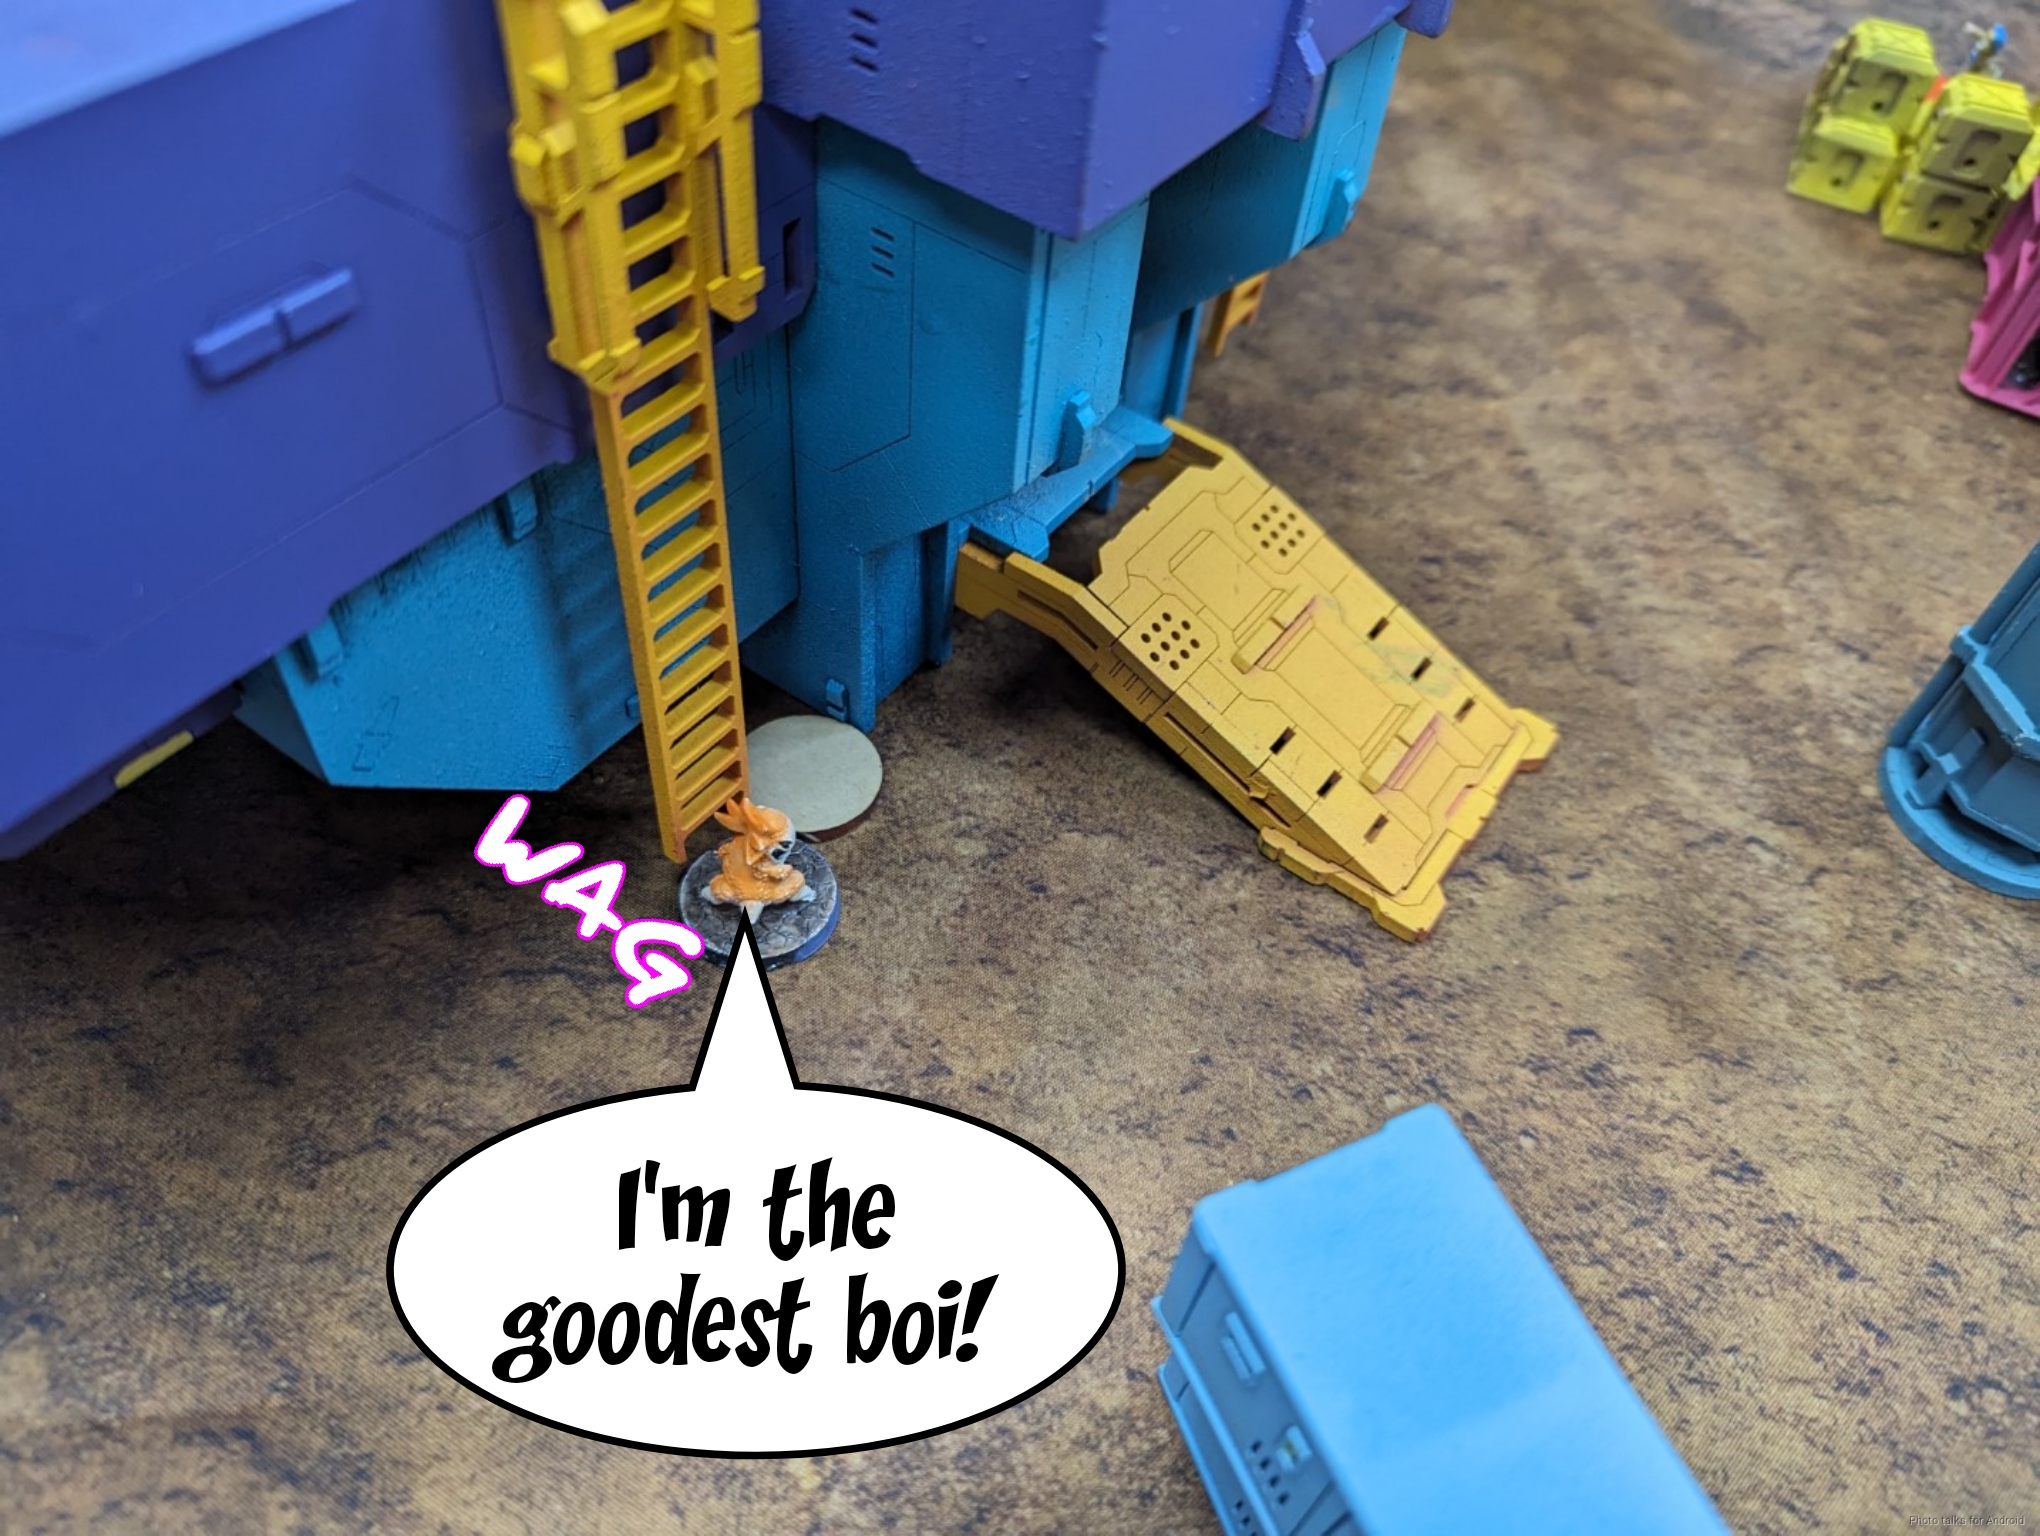
A big thank you to Tony, Cole, and Birman for all agreeing to do this silly exercise with me. I gotta say, I really like the mission and would love to start playing some games that are just combo missions like this, just to have a different gaming experience. With that, Shitshow was over! I scored 2nd, right behind Steve (KingButt), and got this hilarious trophy, made by the illustrious Stratton:
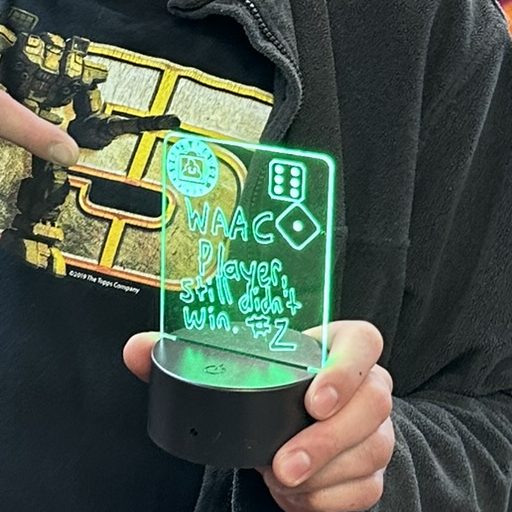
If you can’t read it, it says “Win at All Costs (WAAC) Player, still didn’t win. #2.” Jeff was very enthused to give me this trophy, saying that it was the best possible trophy for me to get. What really was fortuitous was I won the raffle draw for the Foreign Company army painted by Steven:
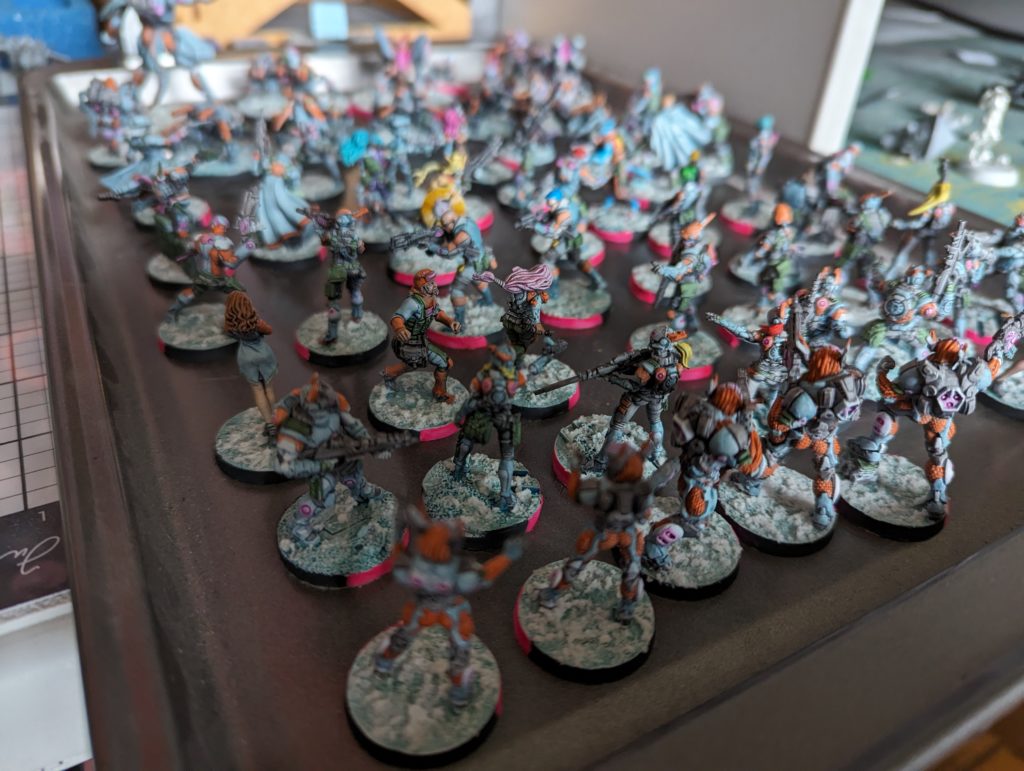
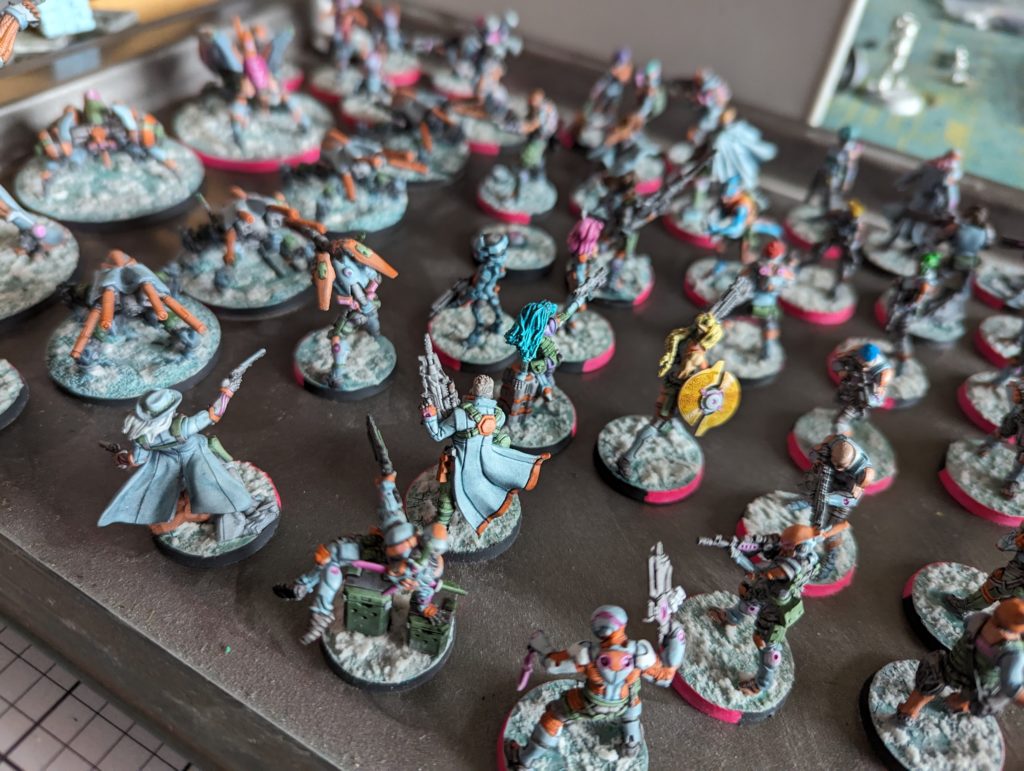
Needless to say, you’ll be seeing some more Foreign Company battle reports out of me soon! A huge thanks to the Shiv crew for putting together such a wonderful event. If you can make it next year, please help Jeff and Shiv make it the largest Infinity tournament in the world!a Thanks for reading, hopefully this was intelligible even after several months of time have elapsed…
Pingback: Amazon Delivery – MERC Recon