Picking Up the Pieces
Cole had asked me for a rematch ages ago, and we did get our rematch in the night before the tournament.
Still, we were paired round 2 on the table we had our first game on!
Overview
We ended up playing Resilience Operations with an edit suggested by I think Tater, which was that each player contributes two face up objectives. This changes the flavor of the interaction, since you don’t have to guess as to what your opponent is doing and can instead just commit resources to counterplay. I liked it so much I added it to the BAMS v0.1 release candidate:
- Mission: ITS15 Resilience Operations
- Cybersiege
- Interrupt the Signal
- King of the Hill
- Night
- Space Combat
- Triangulate The Signal
- Forces: Japanese Secessionist Army versus Ramah Task Force (300)
- Deploy First: JSA
- First Turn: JSA
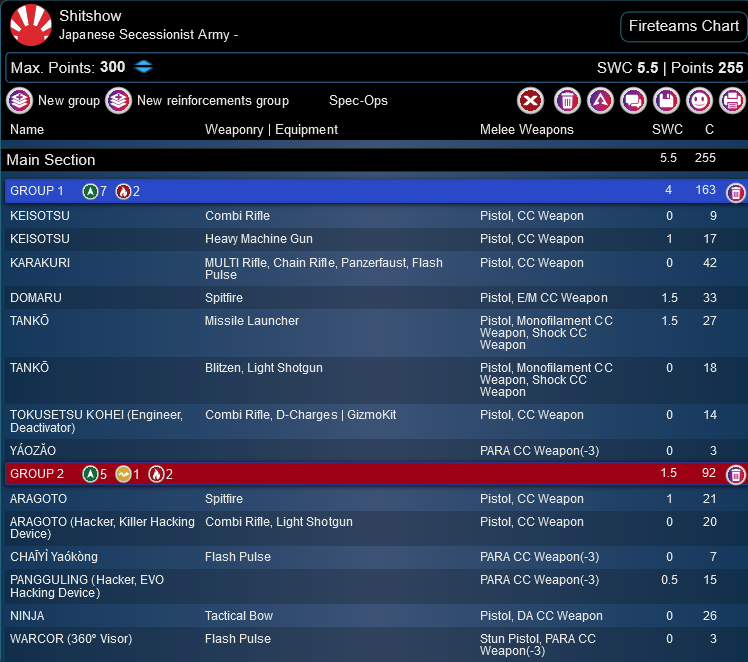
I’m still playing my JSA list because it feels good.
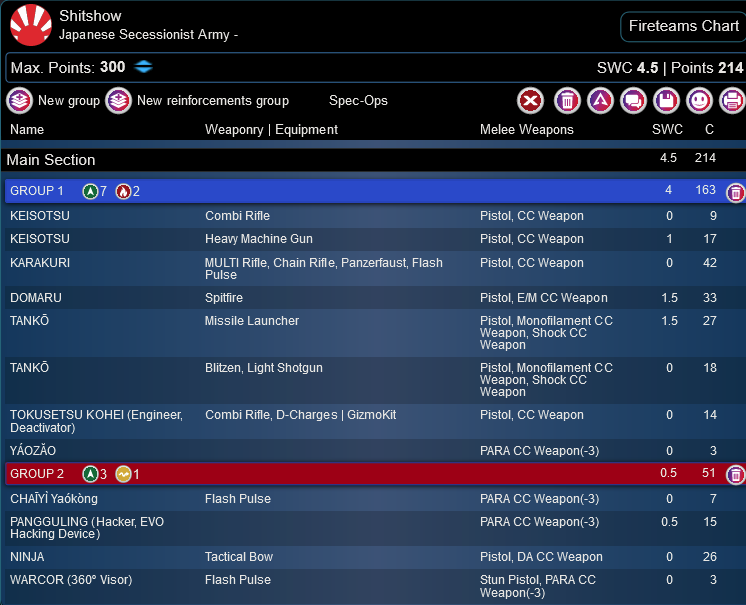
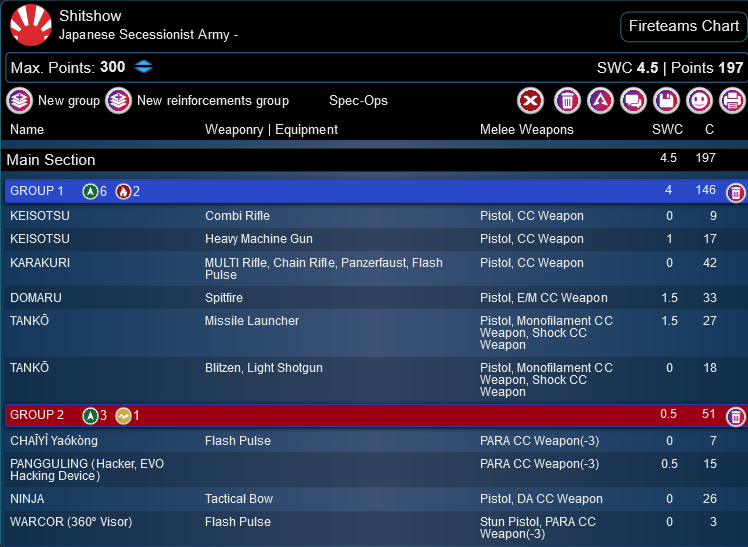
Shitshow
GROUP 1
8
2
SHINOBU (Lieutenant) Combi Rifle, Nanopulser, Smoke Grenades / Pistol, Monofilament CC Weapon. (0.5 | 44)
KEISOTSU Combi Rifle / Pistol, CC Weapon. (0 | 9)
KARAKURI MULTI Rifle, Chain Rifle, Panzerfaust, Flash Pulse / Pistol, CC Weapon. (0 | 42)
DOMARU Spitfire / Pistol, E/M CC Weapon. (1.5 | 33)
TANKŌ Missile Launcher / Pistol, Monofilament CC Weapon, Shock CC Weapon. (1.5 | 27)
GROUP 2
TOKUSETSU KOHEI (Engineer, Deactivator) Combi Rifle, D-Charges ( | GizmoKit) / Pistol, CC Weapon. (0 | 14)
YÁOZĂO PARA CC Weapon(-3). (0 | 3)
1
ARAGOTO Spitfire / Pistol, CC Weapon. (1 | 21)
CHAĪYÌ Yaókòng Flash Pulse / PARA CC Weapon(-3). (0 | 7)
PANGGULING (Hacker, EVO Hacking Device) ( ) / PARA CC Weapon(-3). (0.5 | 15)
NINJA Tactical Bow / Pistol, DA CC Weapon. (0 | 26)
WARCOR (360º Visor) Flash Pulse ( ) / Stun Pistol, PARA CC Weapon(-3). (0 | 3)
6 SWC | 299 Points | Open in Army | Copy Code
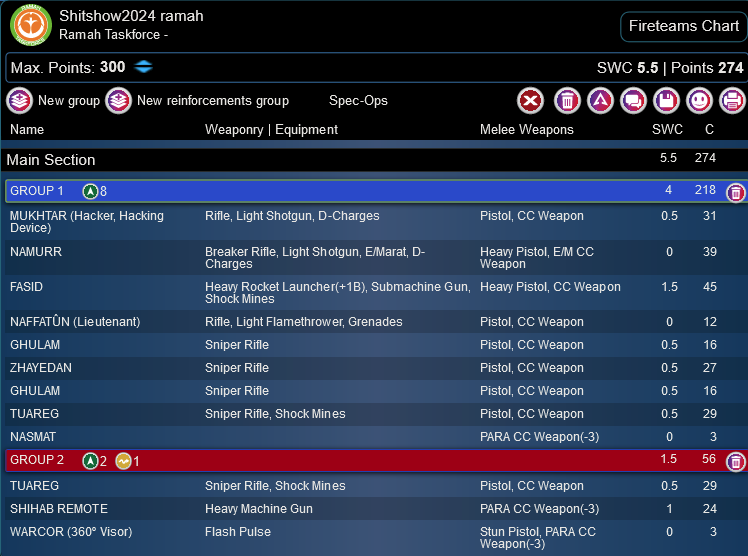
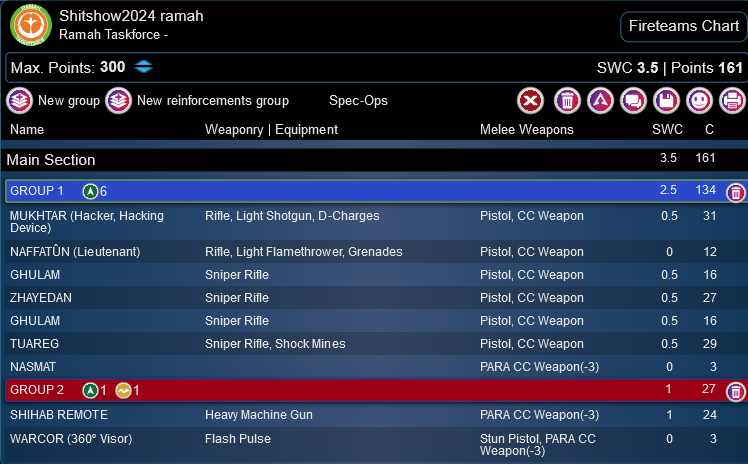
Cole ended up having this Ramah list with six sniper rifles, two of which are Mim -6! How irritating to deal with. He’s also got a Fasid and Namurr for me to deal with too, which will definitely present an issue.
Shitshow2024 ramah
GROUP 1
HORTLAK AP Sniper Rifle / Viral Pistol, CC Weapon. (0.5 | 35)
MUKHTAR (Hacker, Hacking Device) Rifle, Light Shotgun, D-Charges ( ) / Pistol, CC Weapon. (0.5 | 31)
NAMURR Breaker Rifle, Light Shotgun, E/Marat, D-Charges / Heavy Pistol, E/M CC Weapon. (0 | 39)
FASID Heavy Rocket Launcher(+1B), Submachine Gun, Shock Mines / Heavy Pistol, CC Weapon. (1.5 | 45)
NAFFATÛN (Lieutenant) Rifle, Light Flamethrower, Grenades / Pistol, CC Weapon. (0 | 12)
GHULAM Sniper Rifle / Pistol, CC Weapon. (0.5 | 16)
ZHAYEDAN Sniper Rifle / Pistol, CC Weapon. (0.5 | 27)
GROUP 2
TUAREG Sniper Rifle, Shock Mines / Pistol, CC Weapon. (0.5 | 29)
RAFIQ REMOTE Rifle, Light Shotgun, Flash Pulse / PARA CC Weapon(-3). (0 | 14)
5 SWC | 296 Points | Open in Army | Copy Code
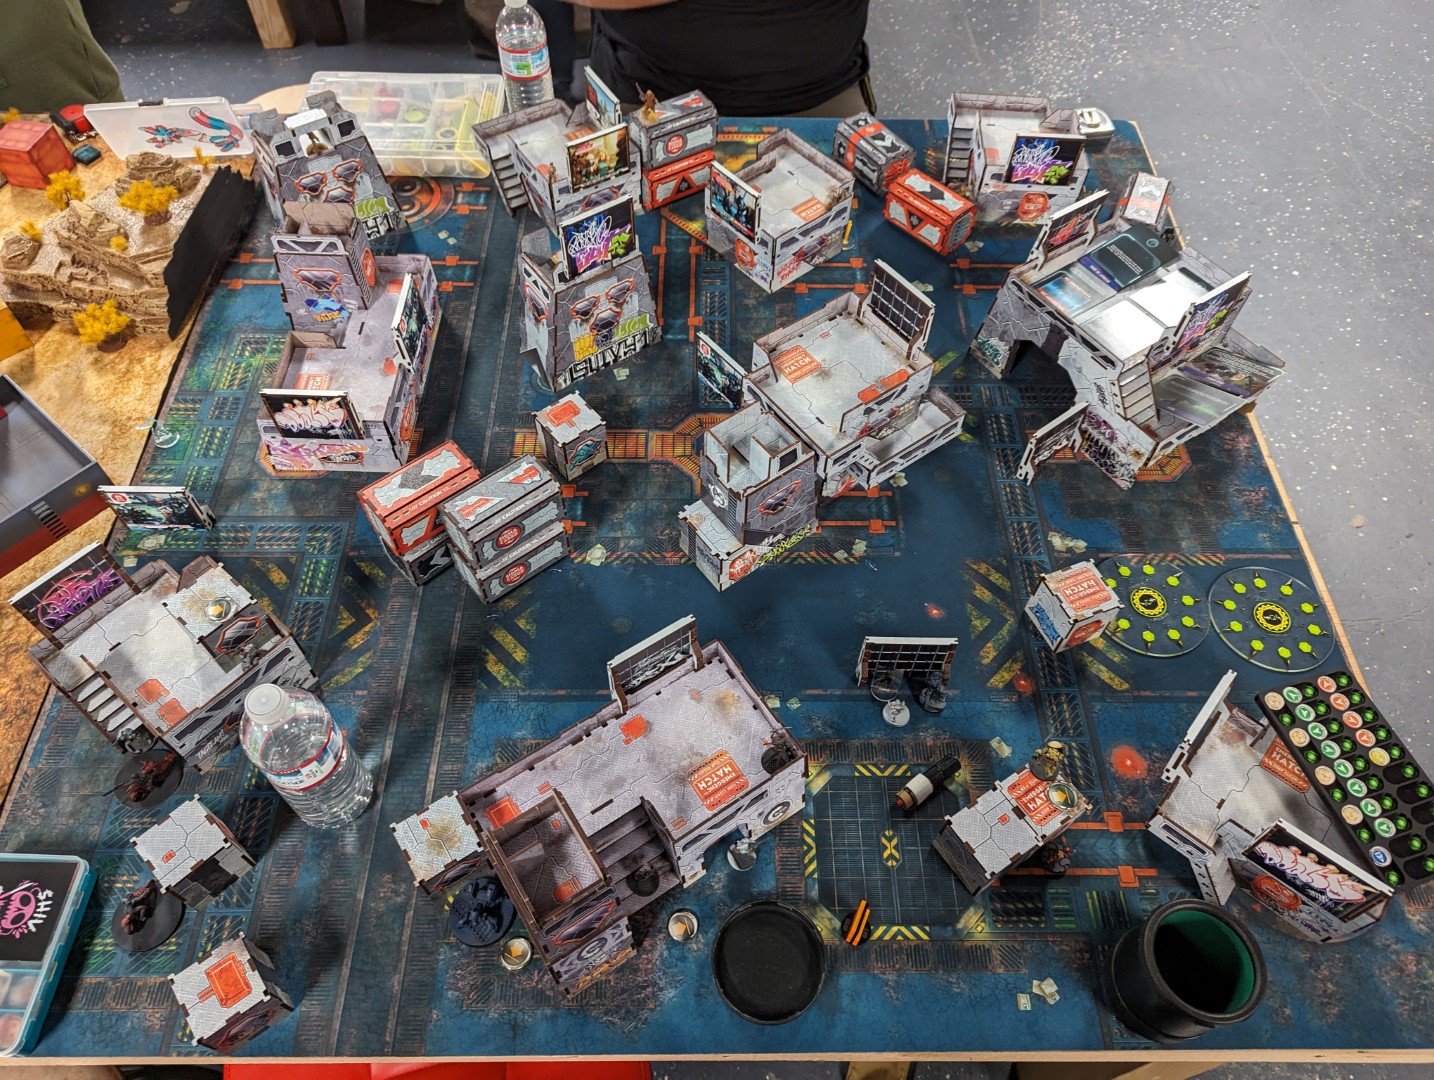
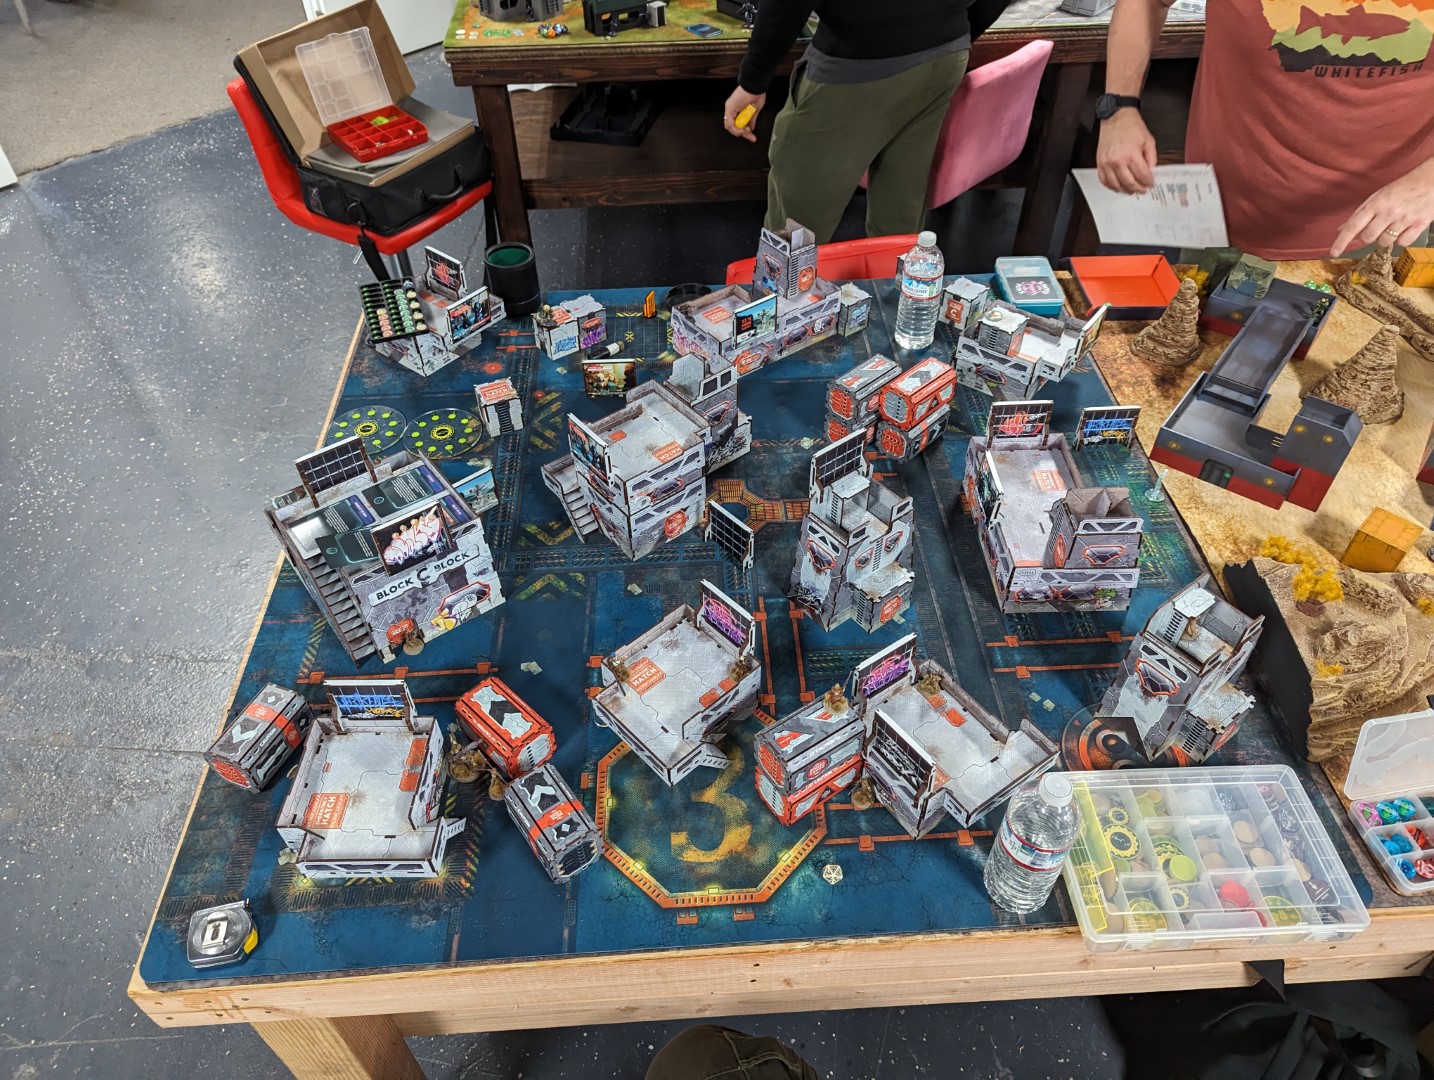
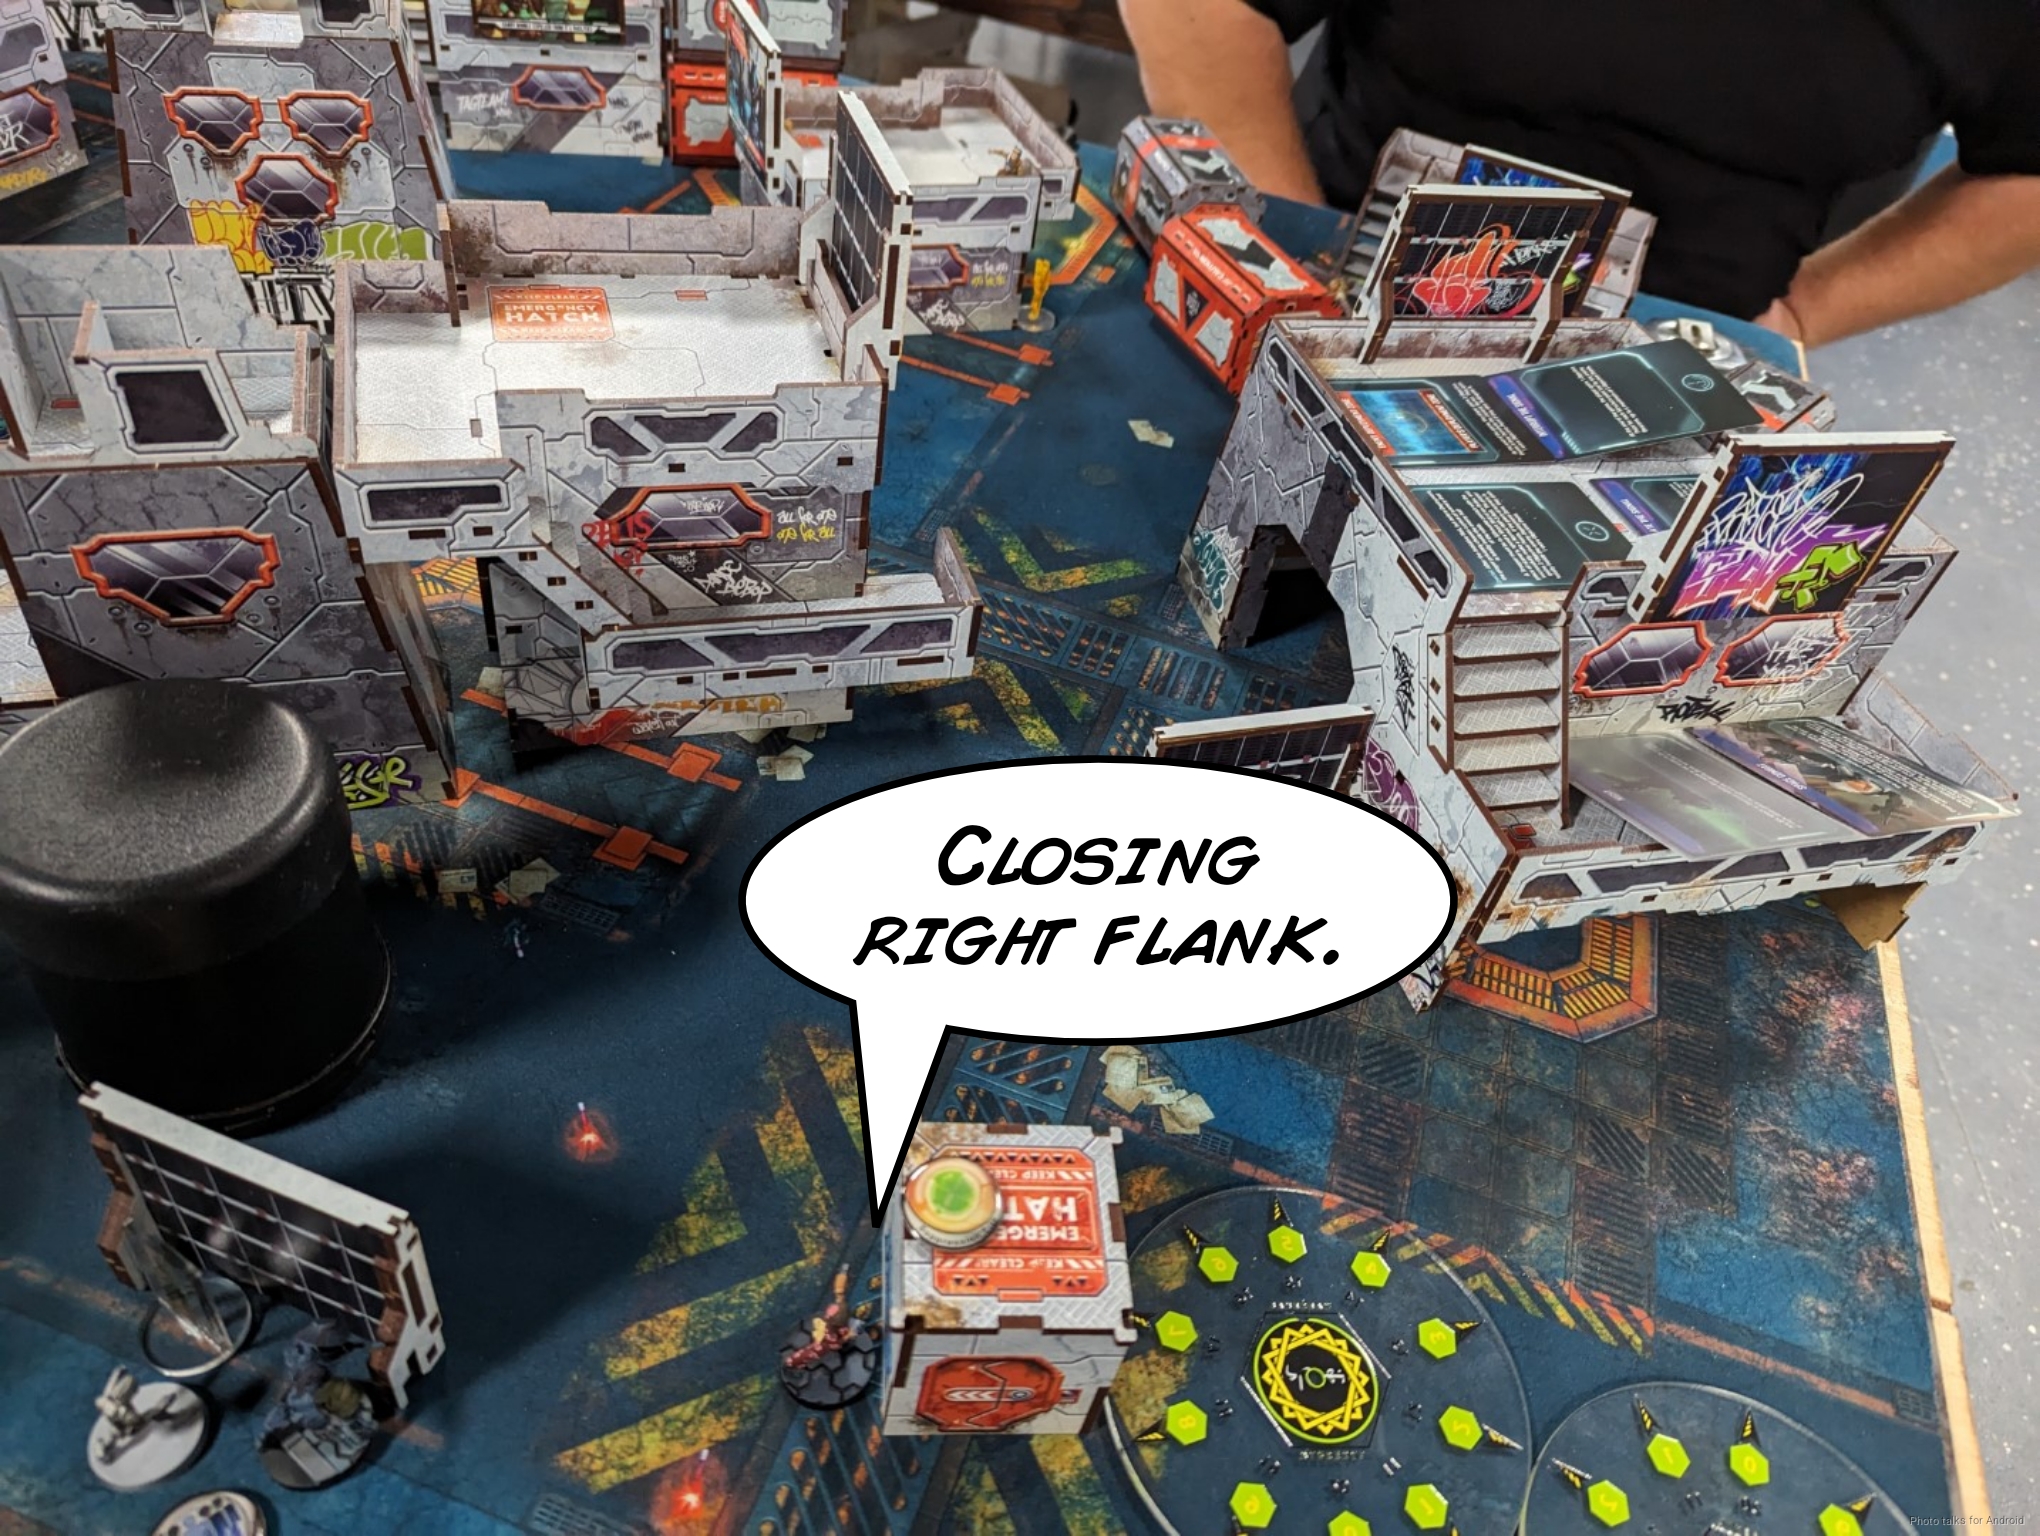
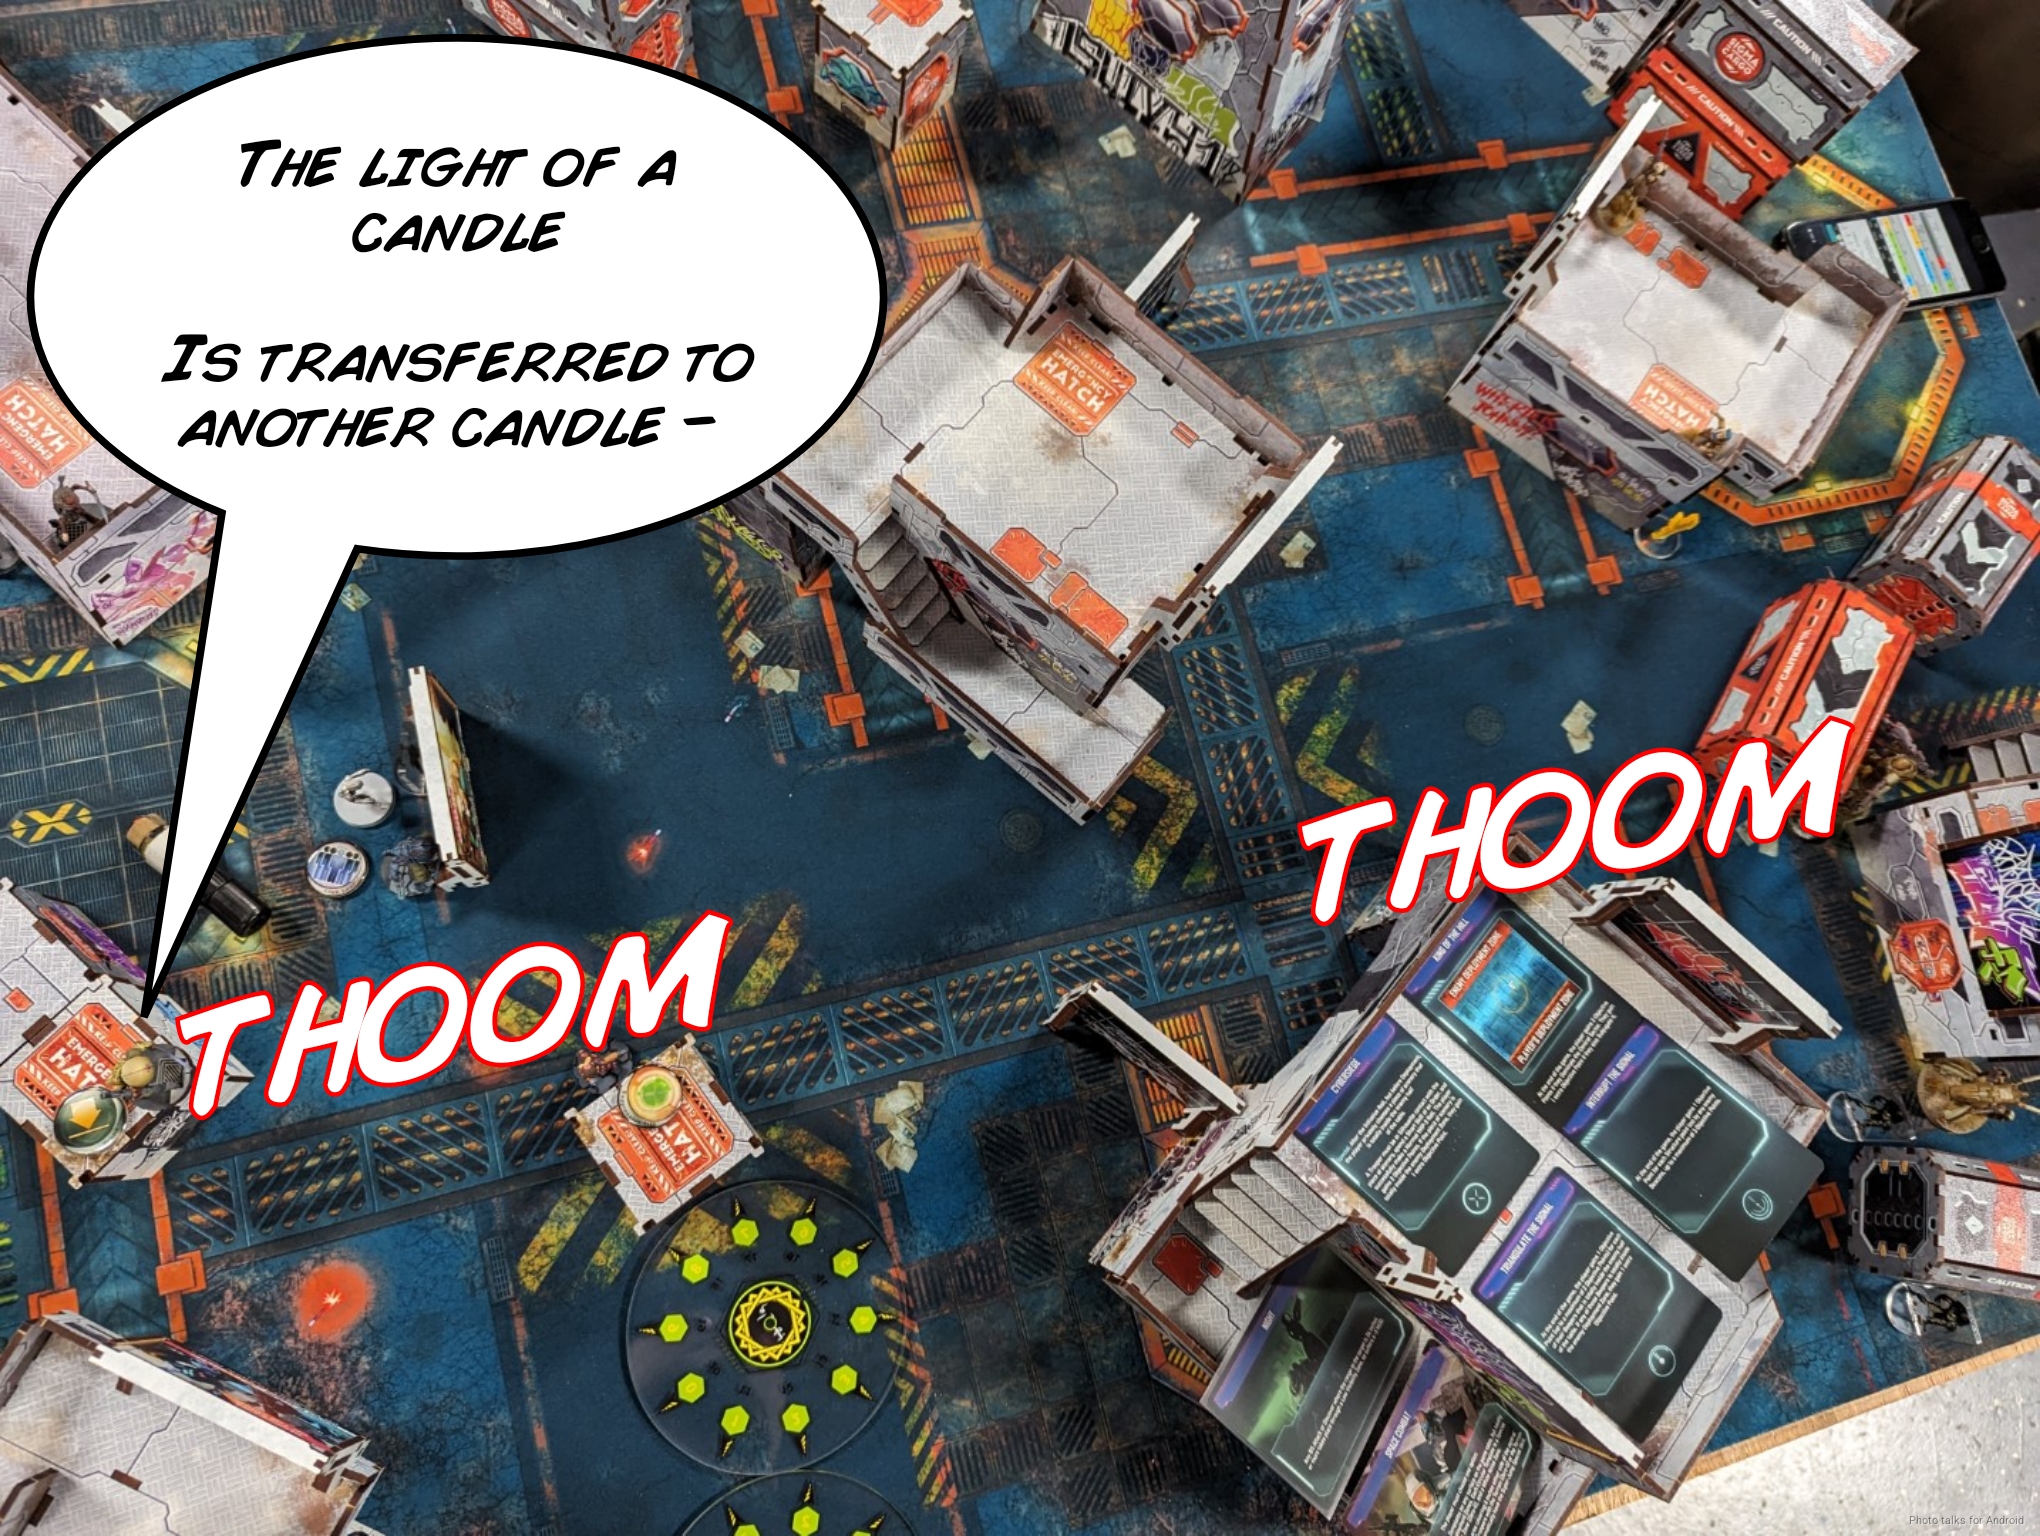
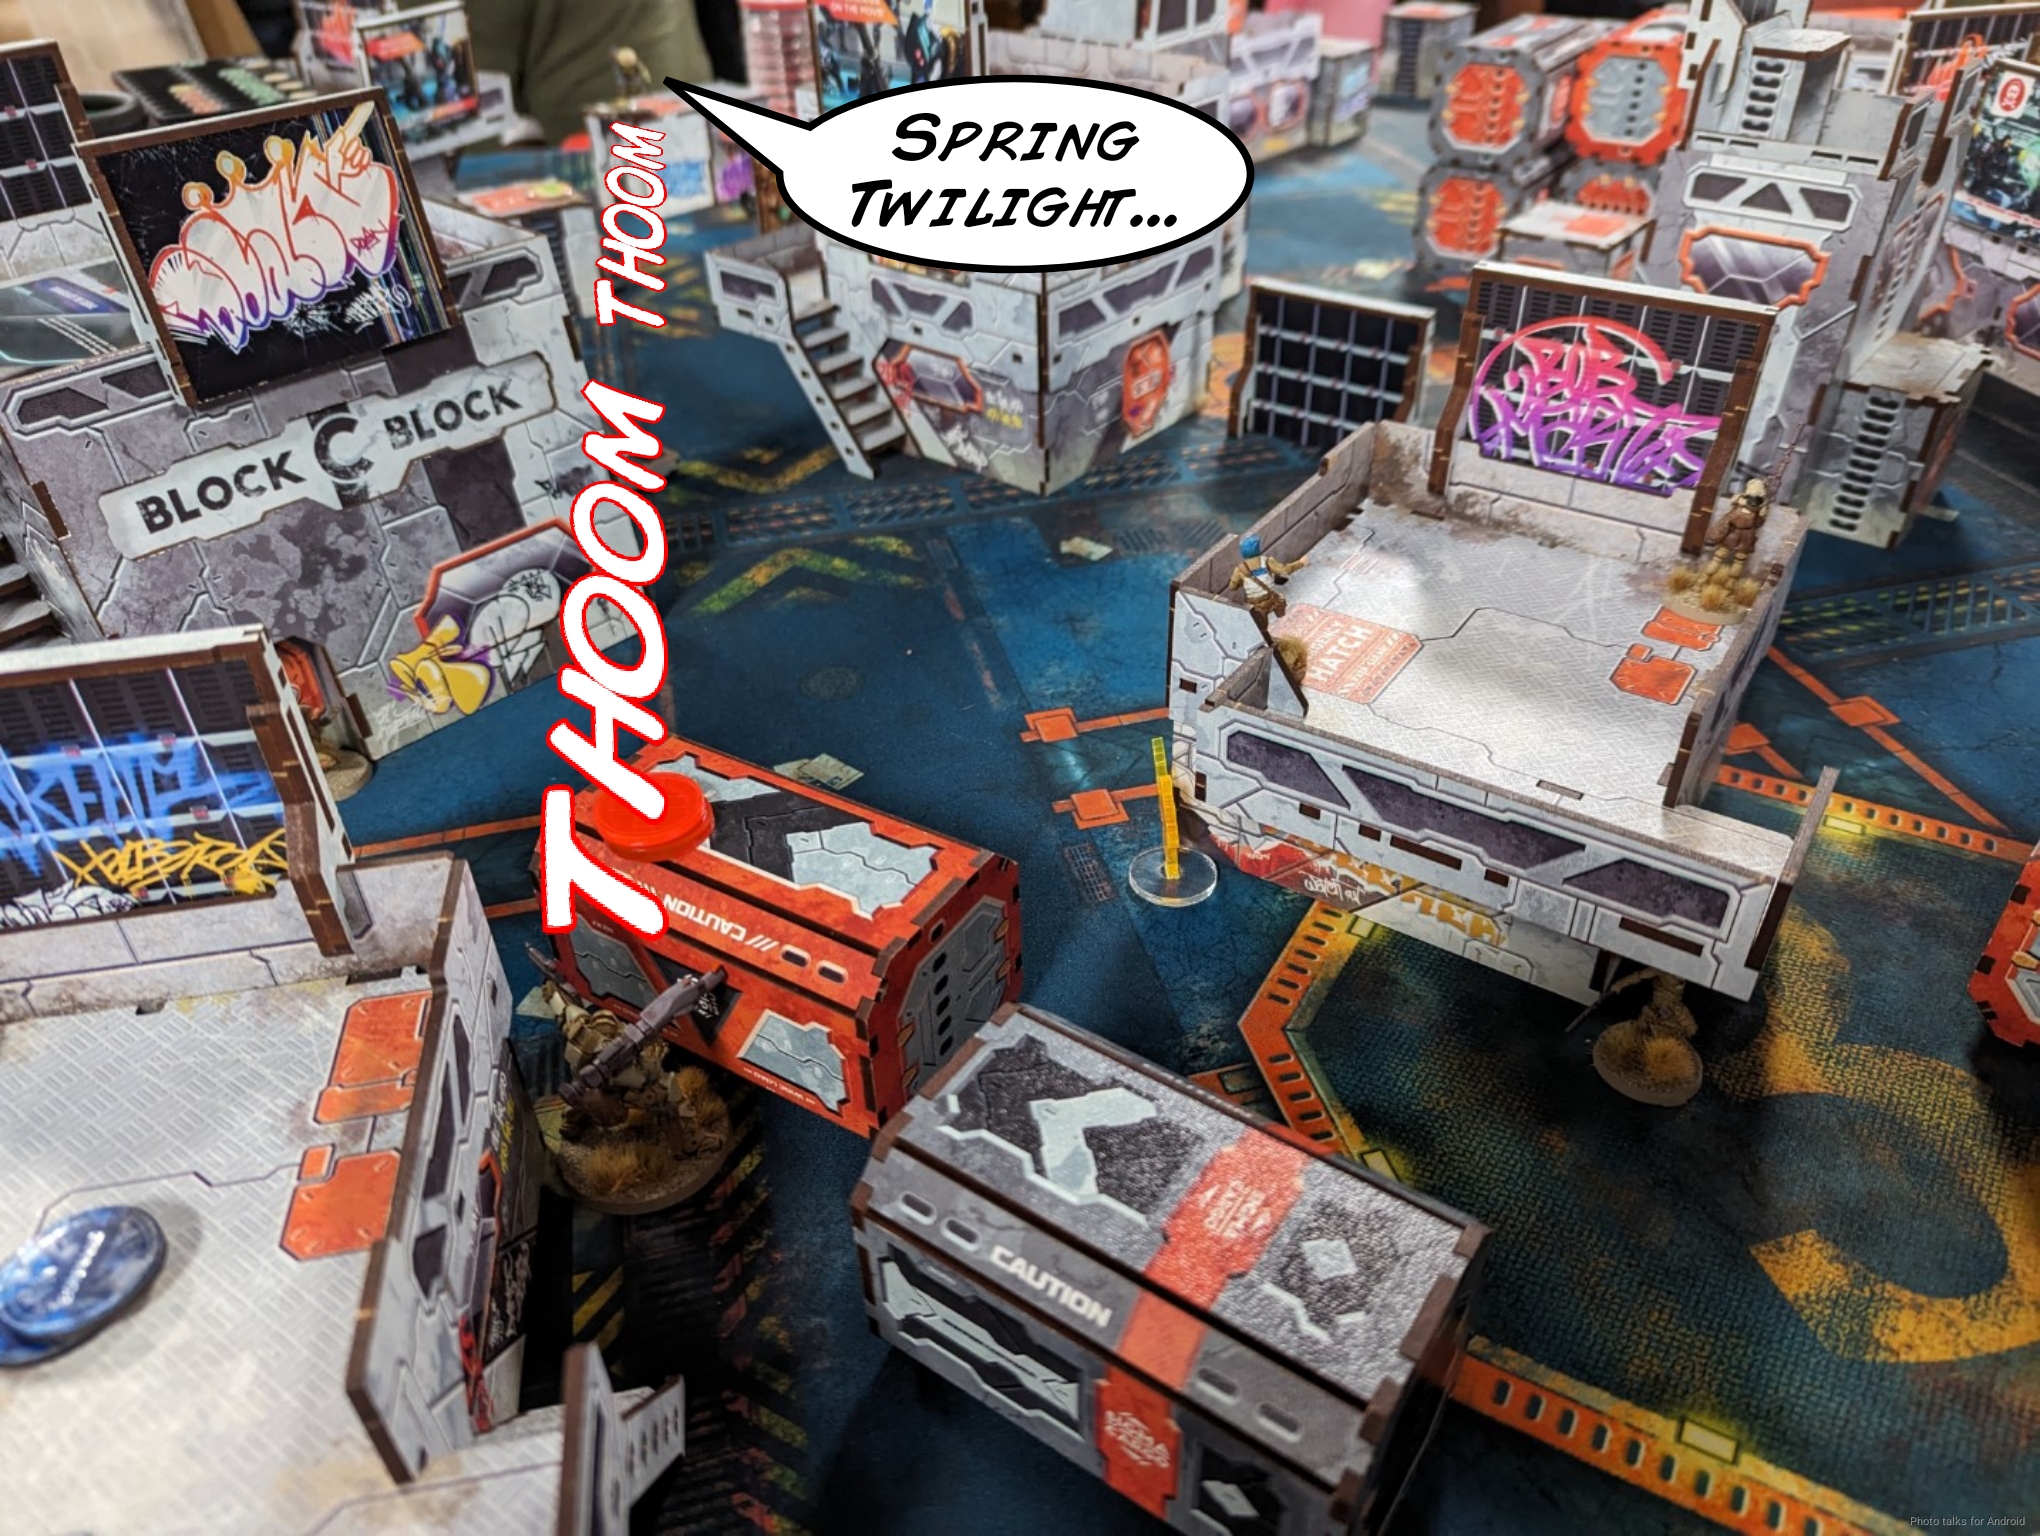
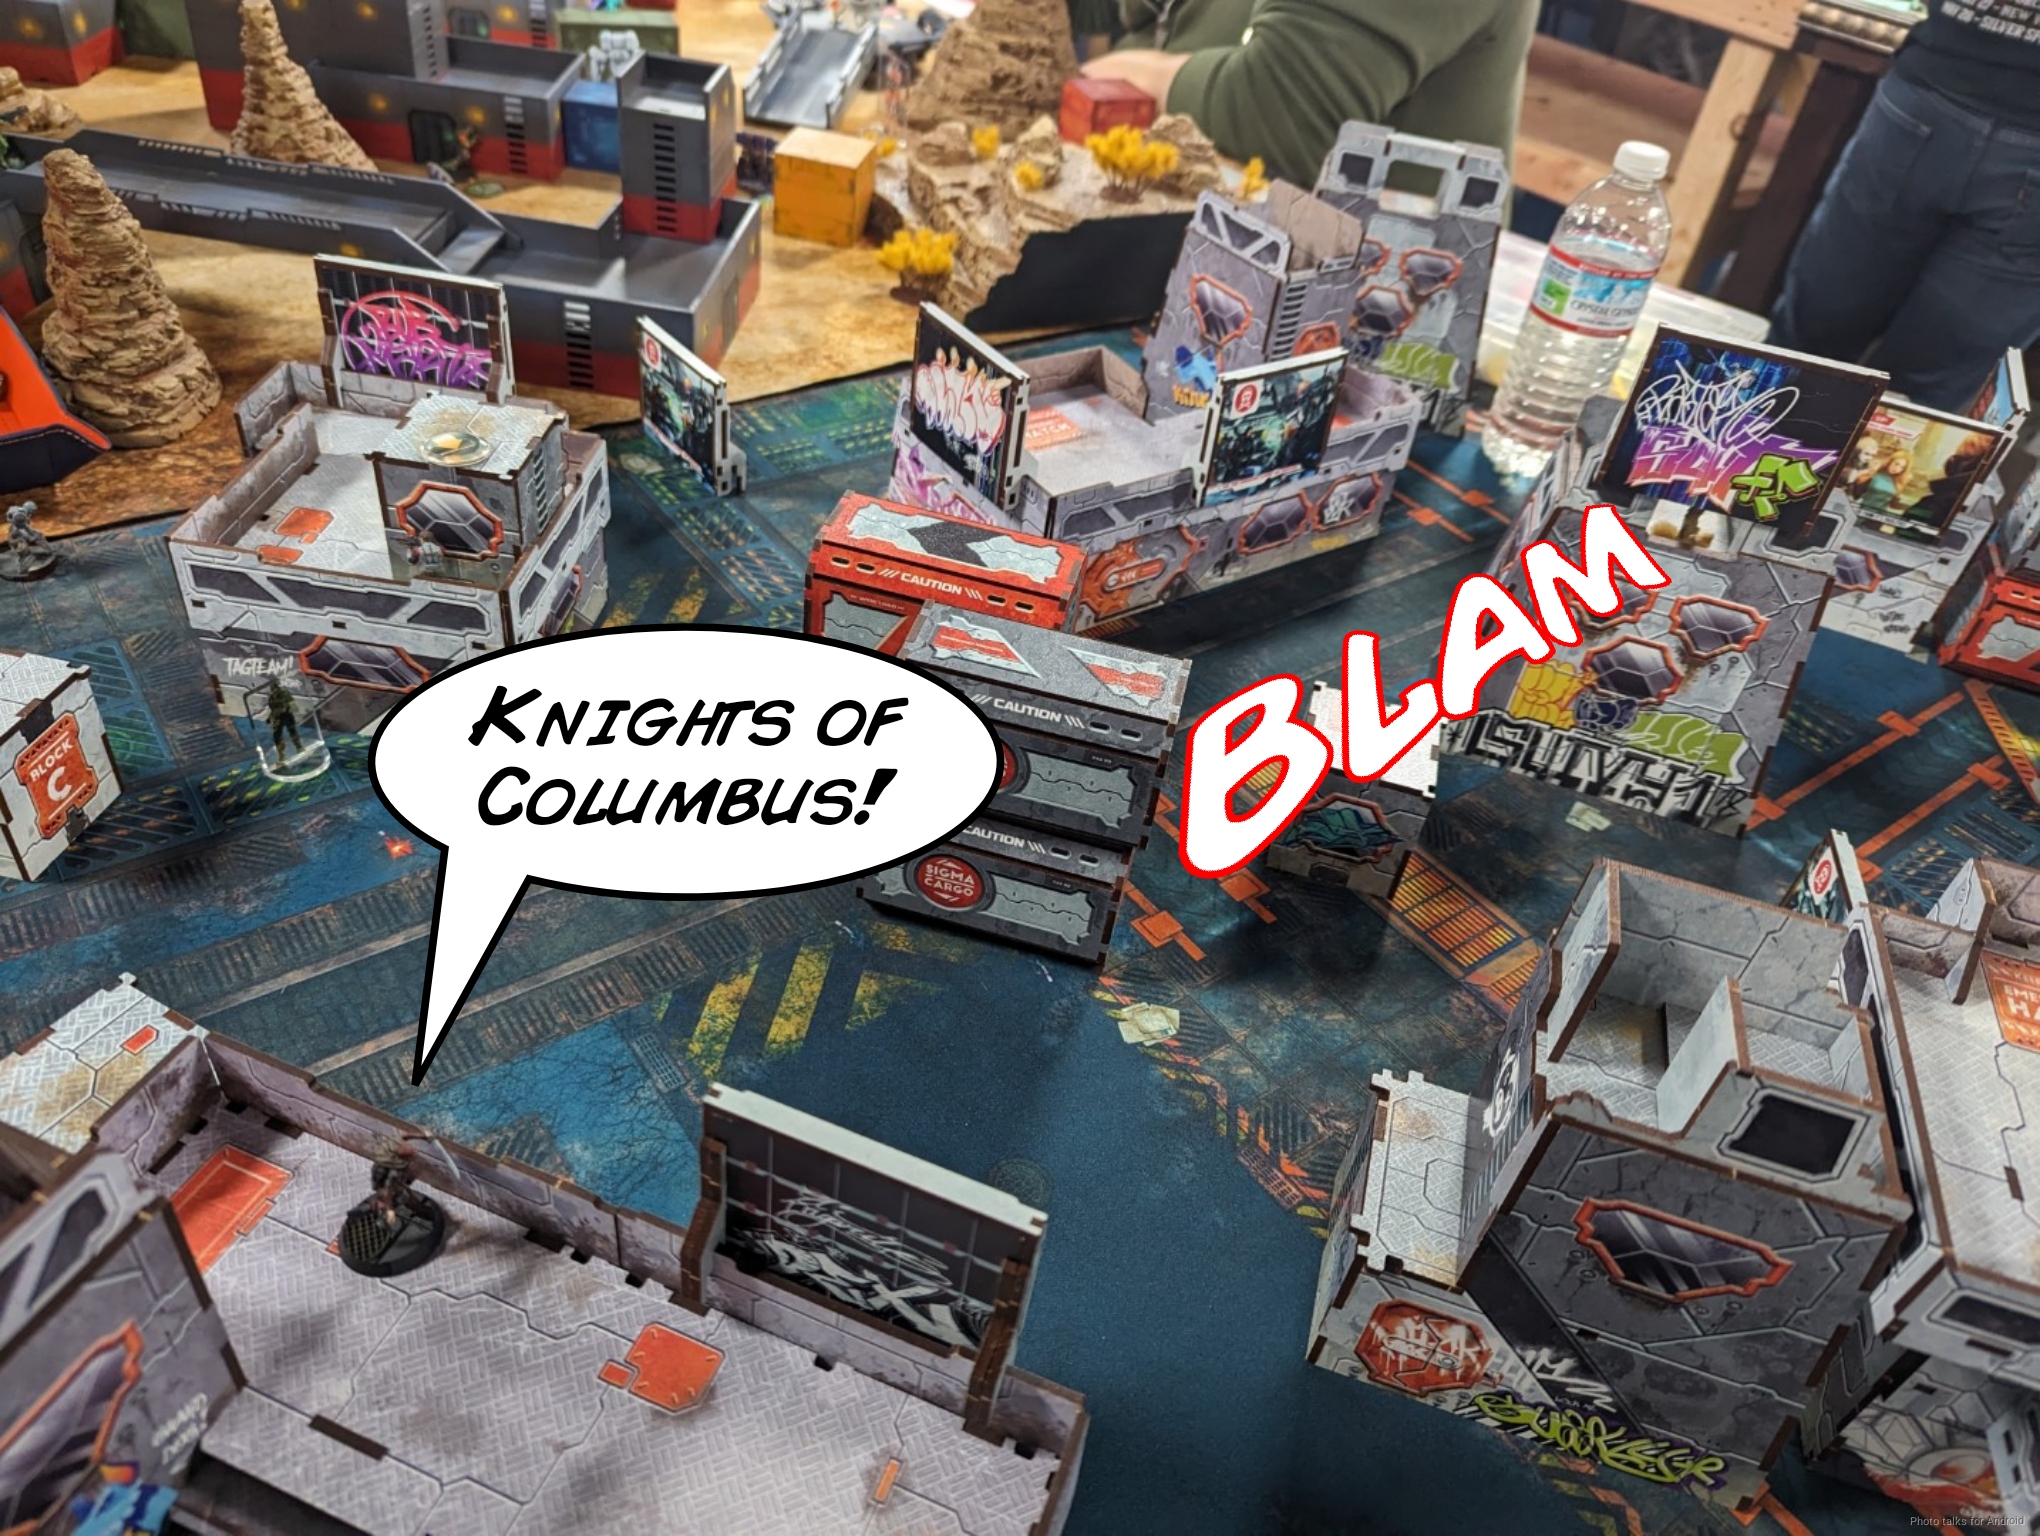
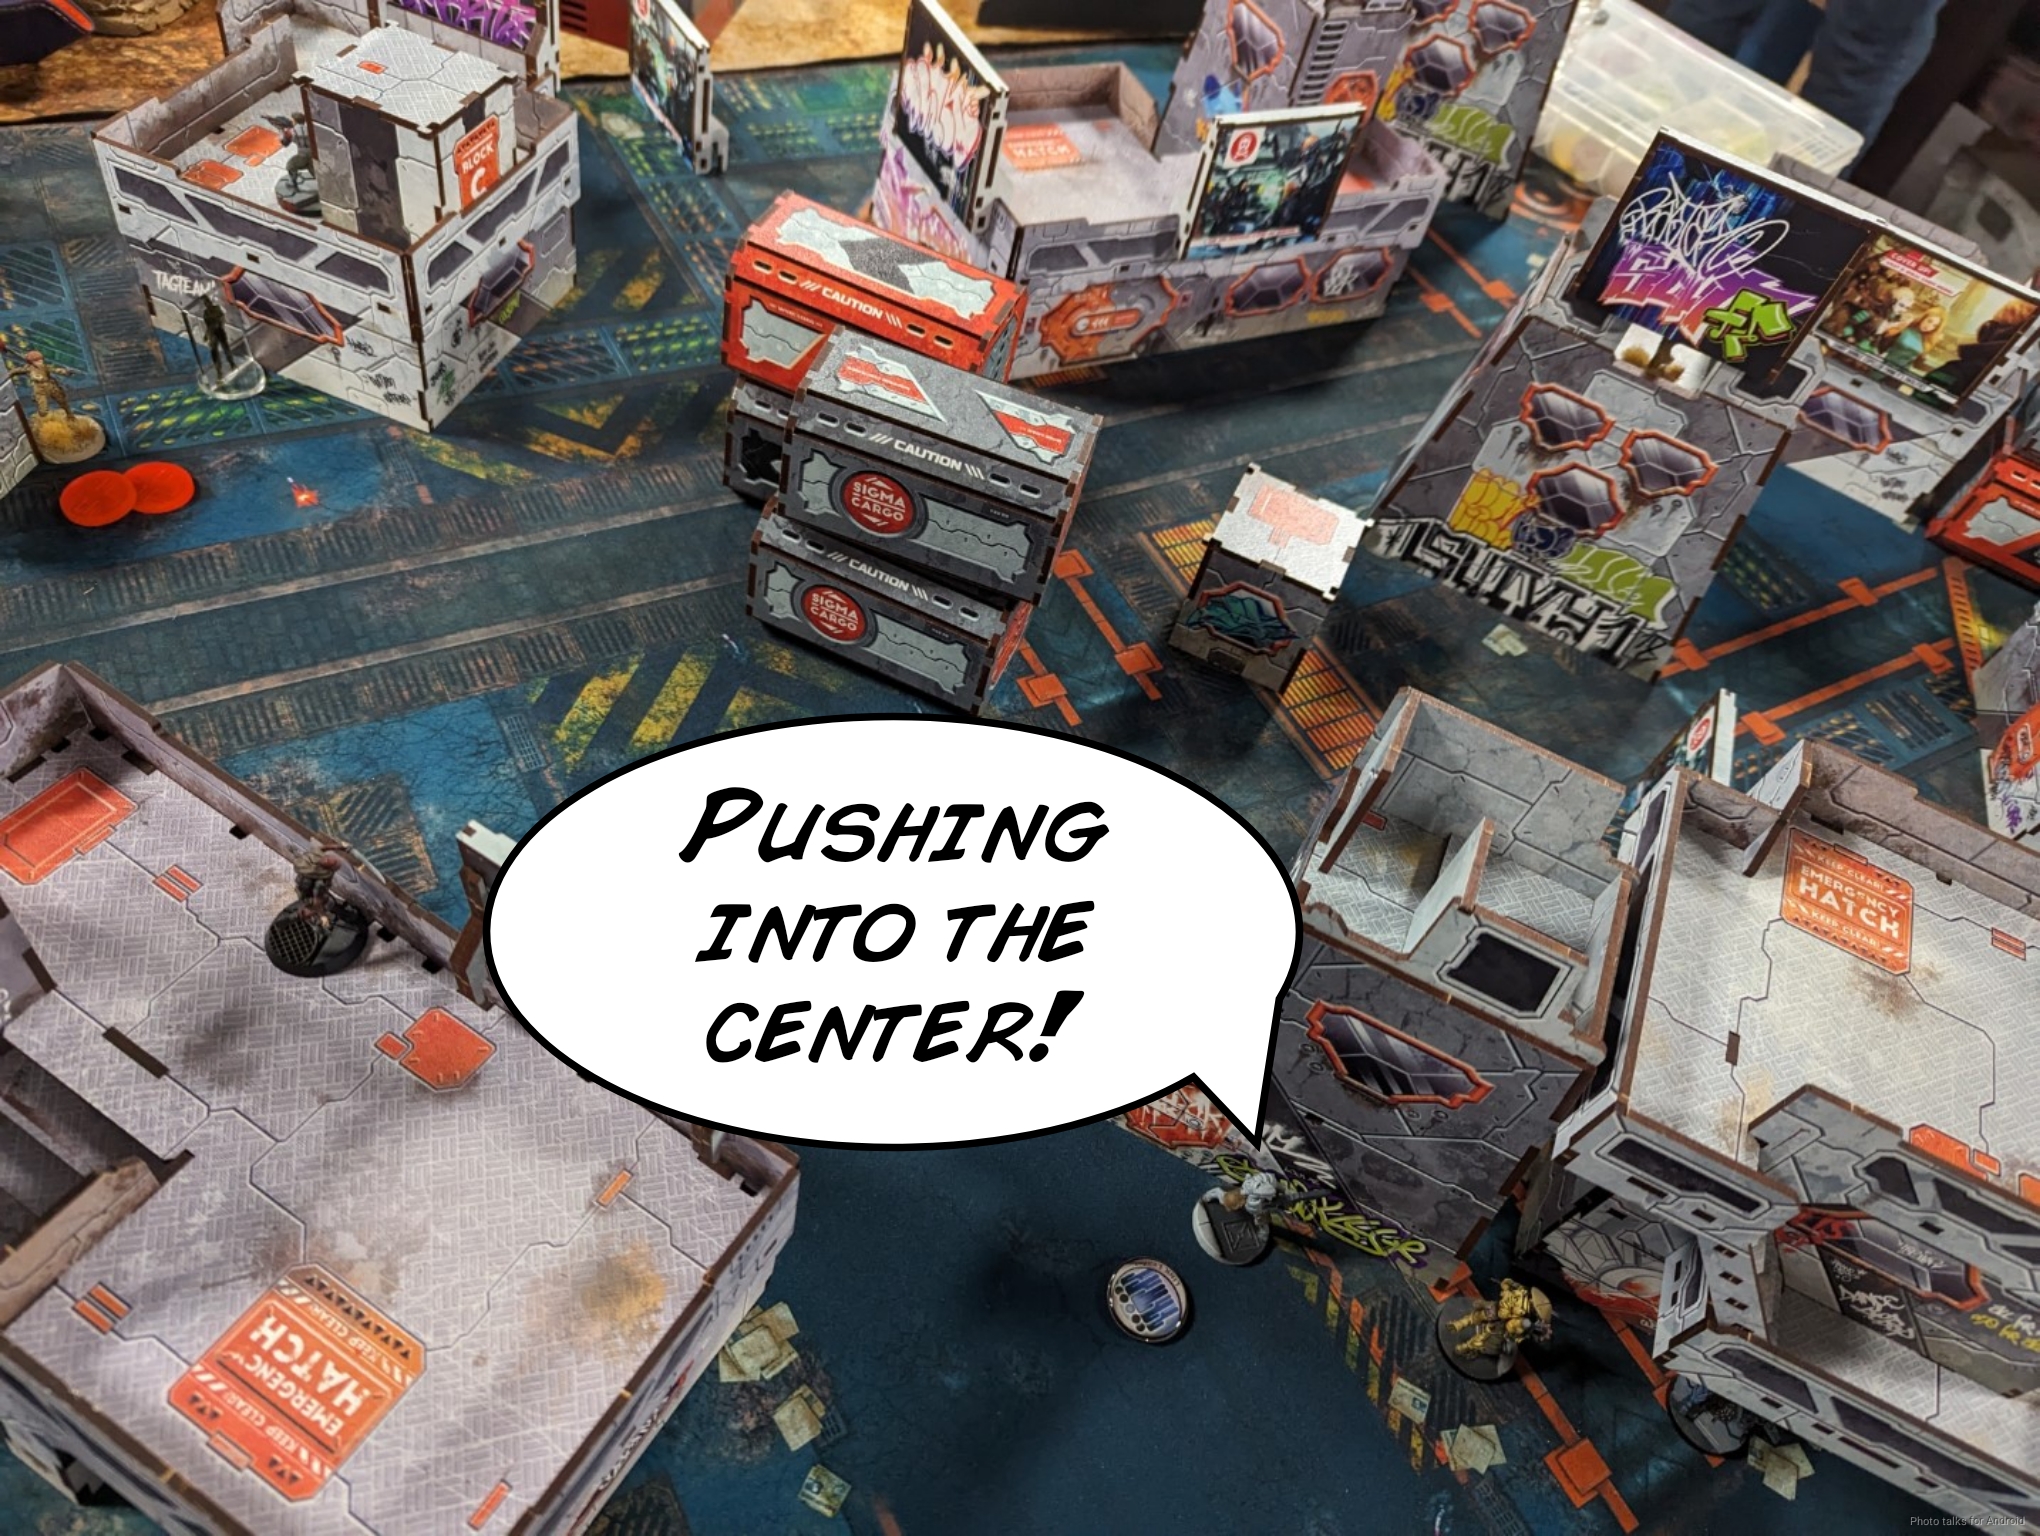
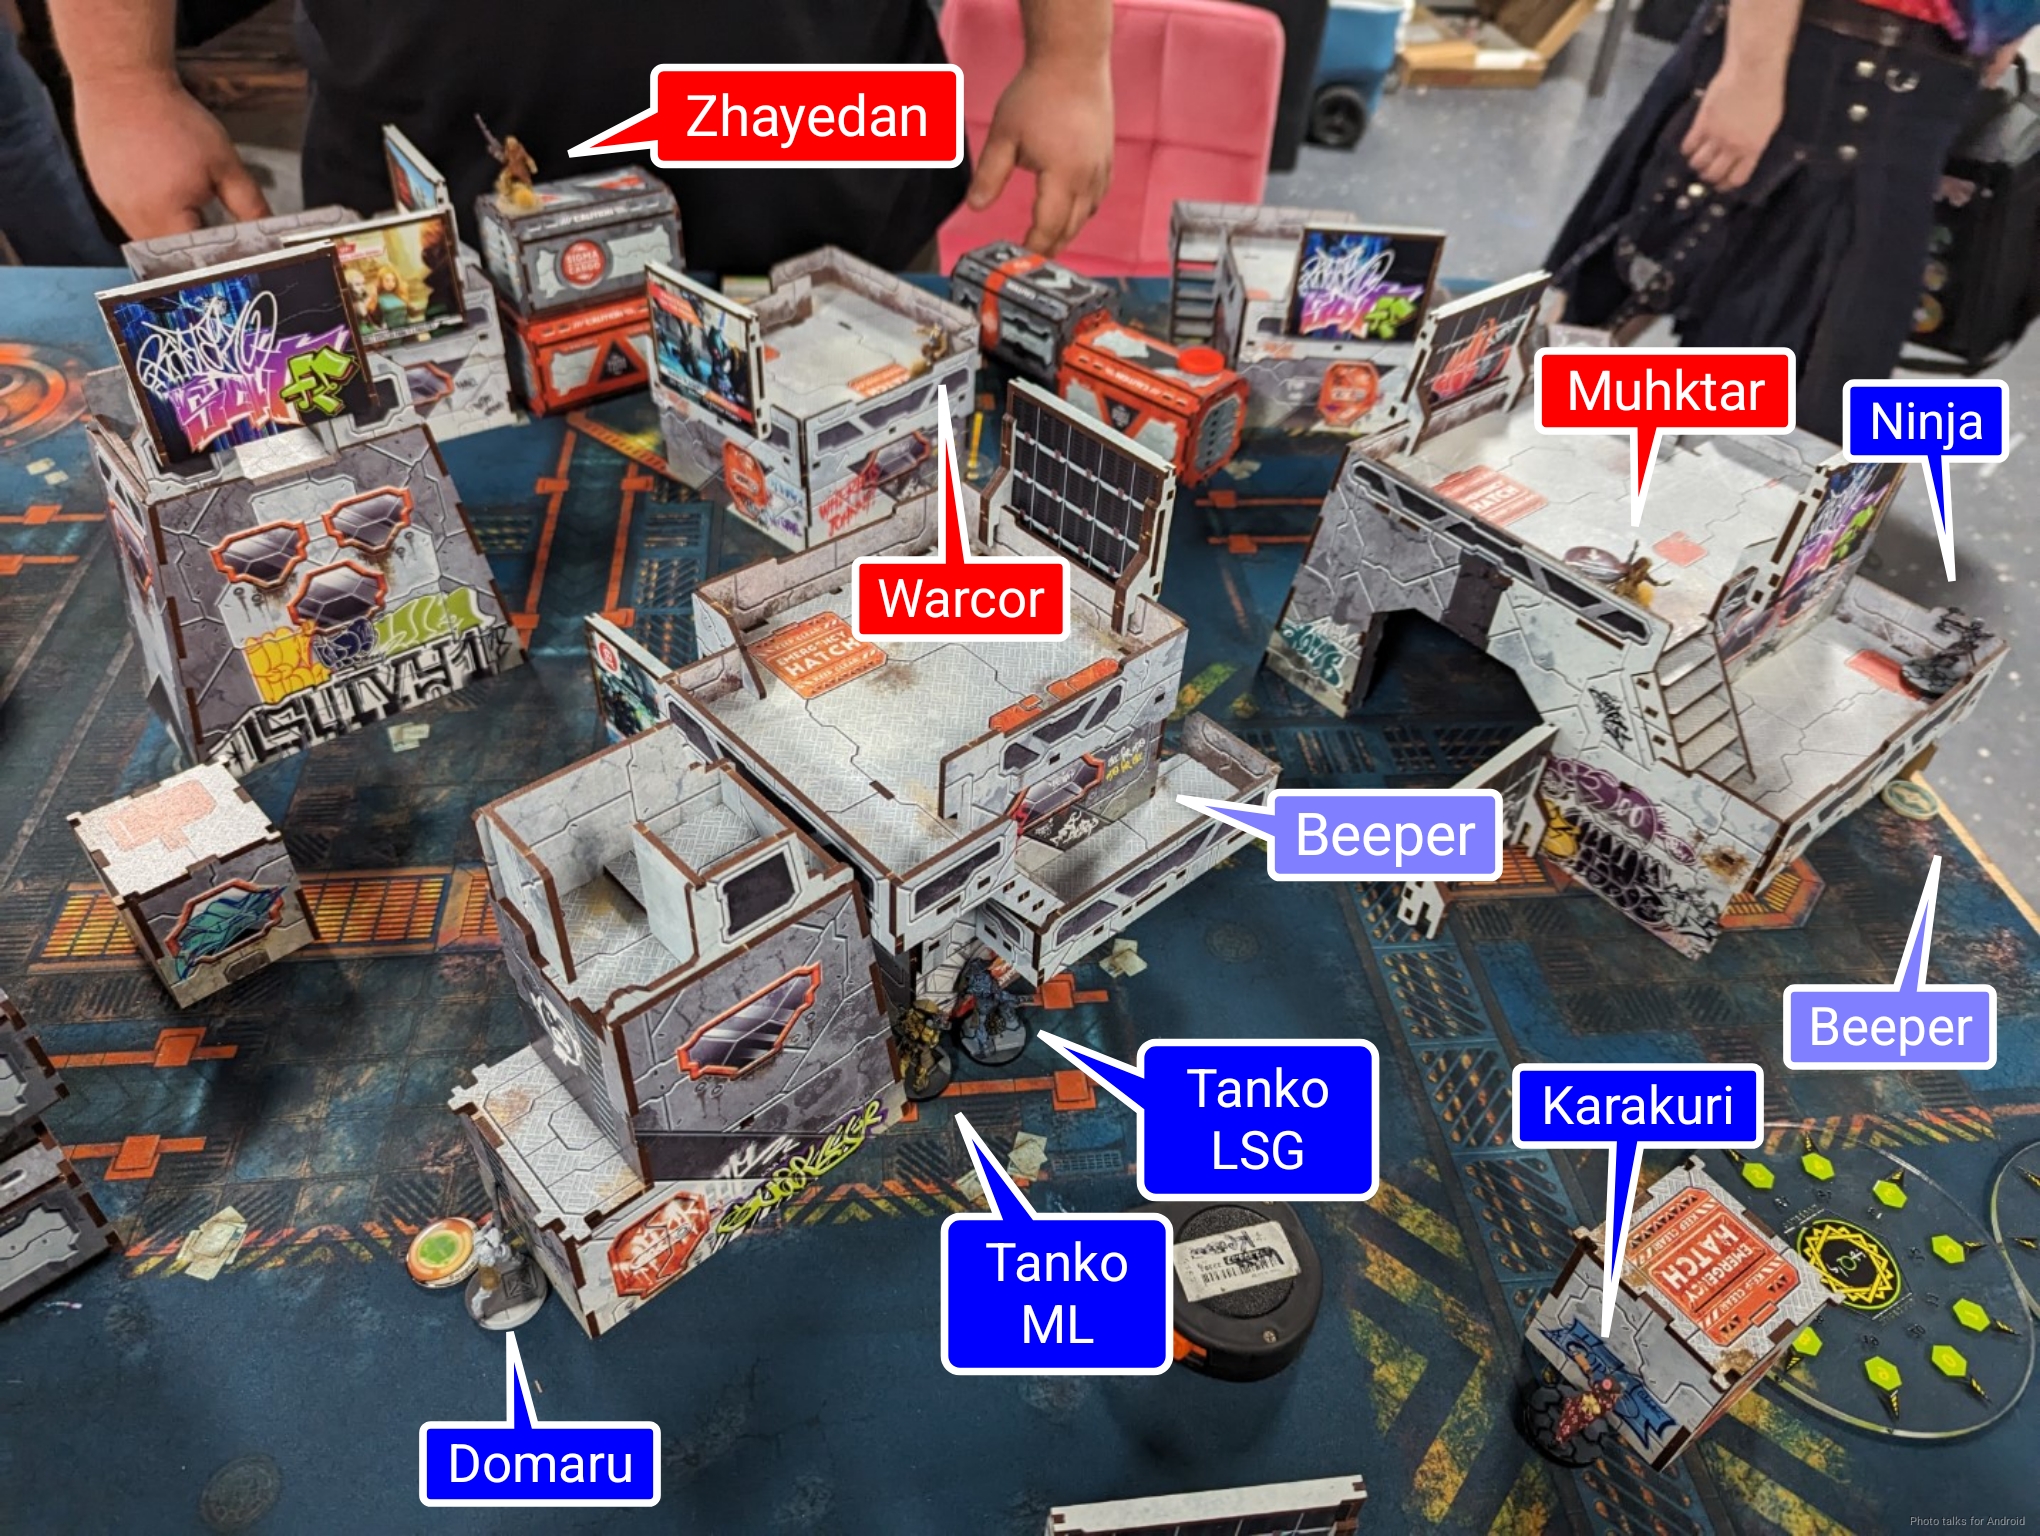
Deployment
Cole took deployment, so I decided to take firs turn, figuring I would try to get some objectives done and remove some threats. This was a very complex table with lots of sight lines to various rooftops but not much up and down the table itself except for some key firelanes. This meant Cole would have a pretty serious advantage by carefully deploying his snipers. There was an opportunity for me to cover one and half firelanes, the primary one being a DZ to DZ firelane on my right, so I locked it down with the Tanko ML and the Tanko LSG.
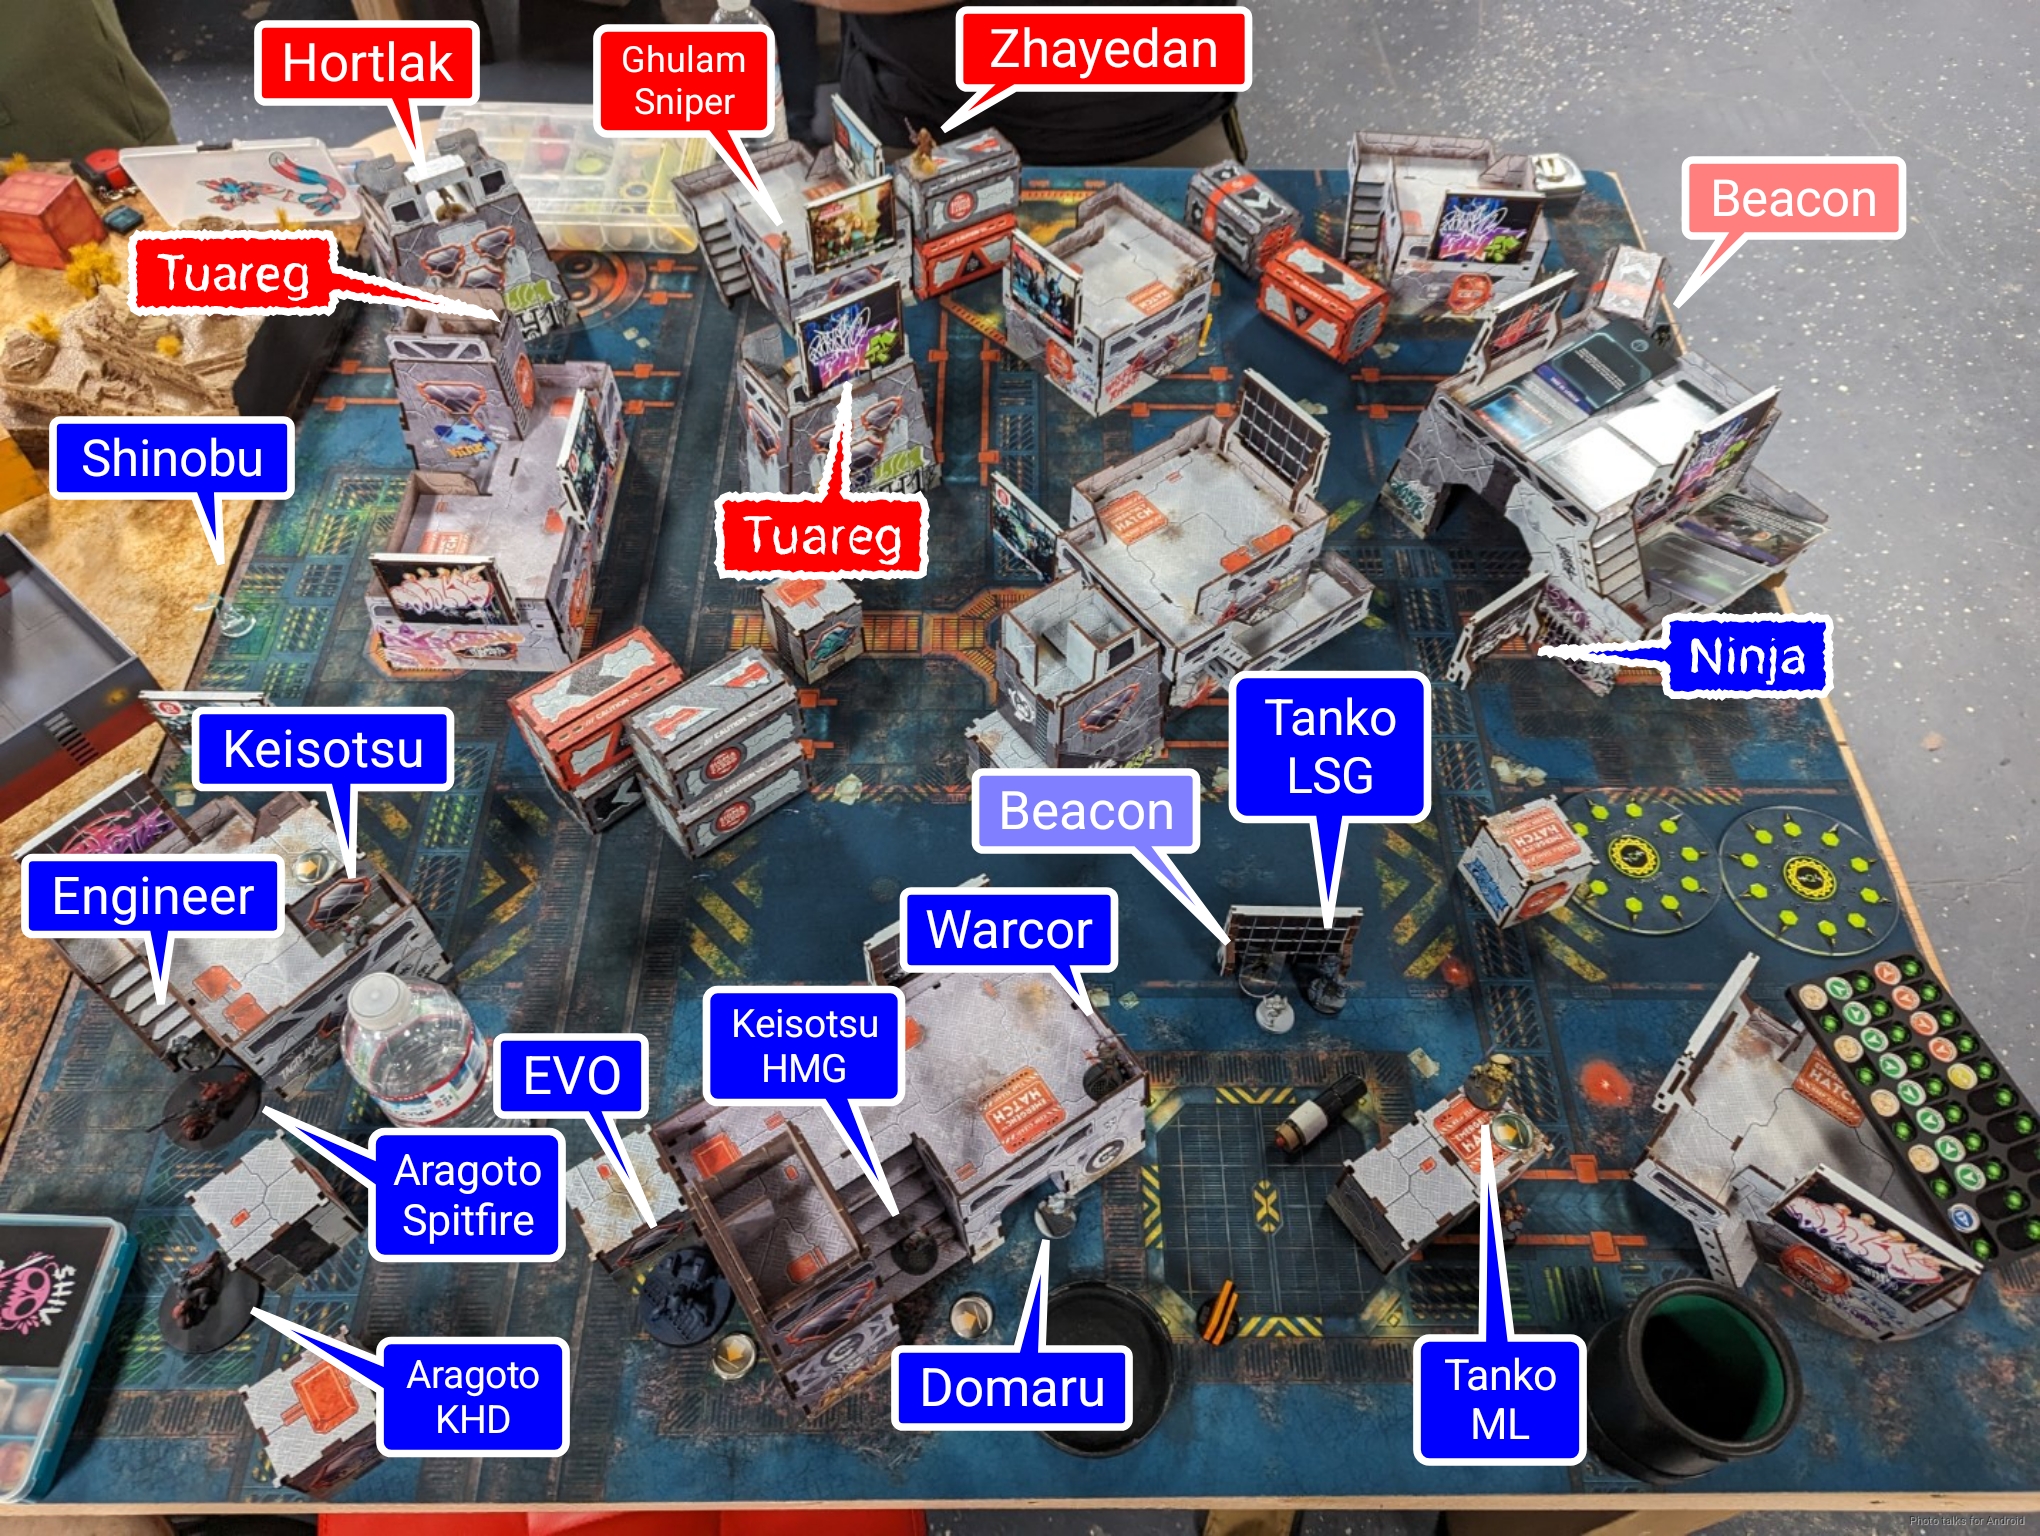
The Beacons and such were on the right so I put my Ninja over there. Like the last game, I put the Aragoto on the left and just sort of tucked stuff into the relevant spots best I could, holding Kusanagi in reserve. Cole set up two Taureg in the midfield in elevated positions, and then littered the rest of the of the firelanes with snipers of the Ghulam, Zhayeden, or Hortlak varieties.
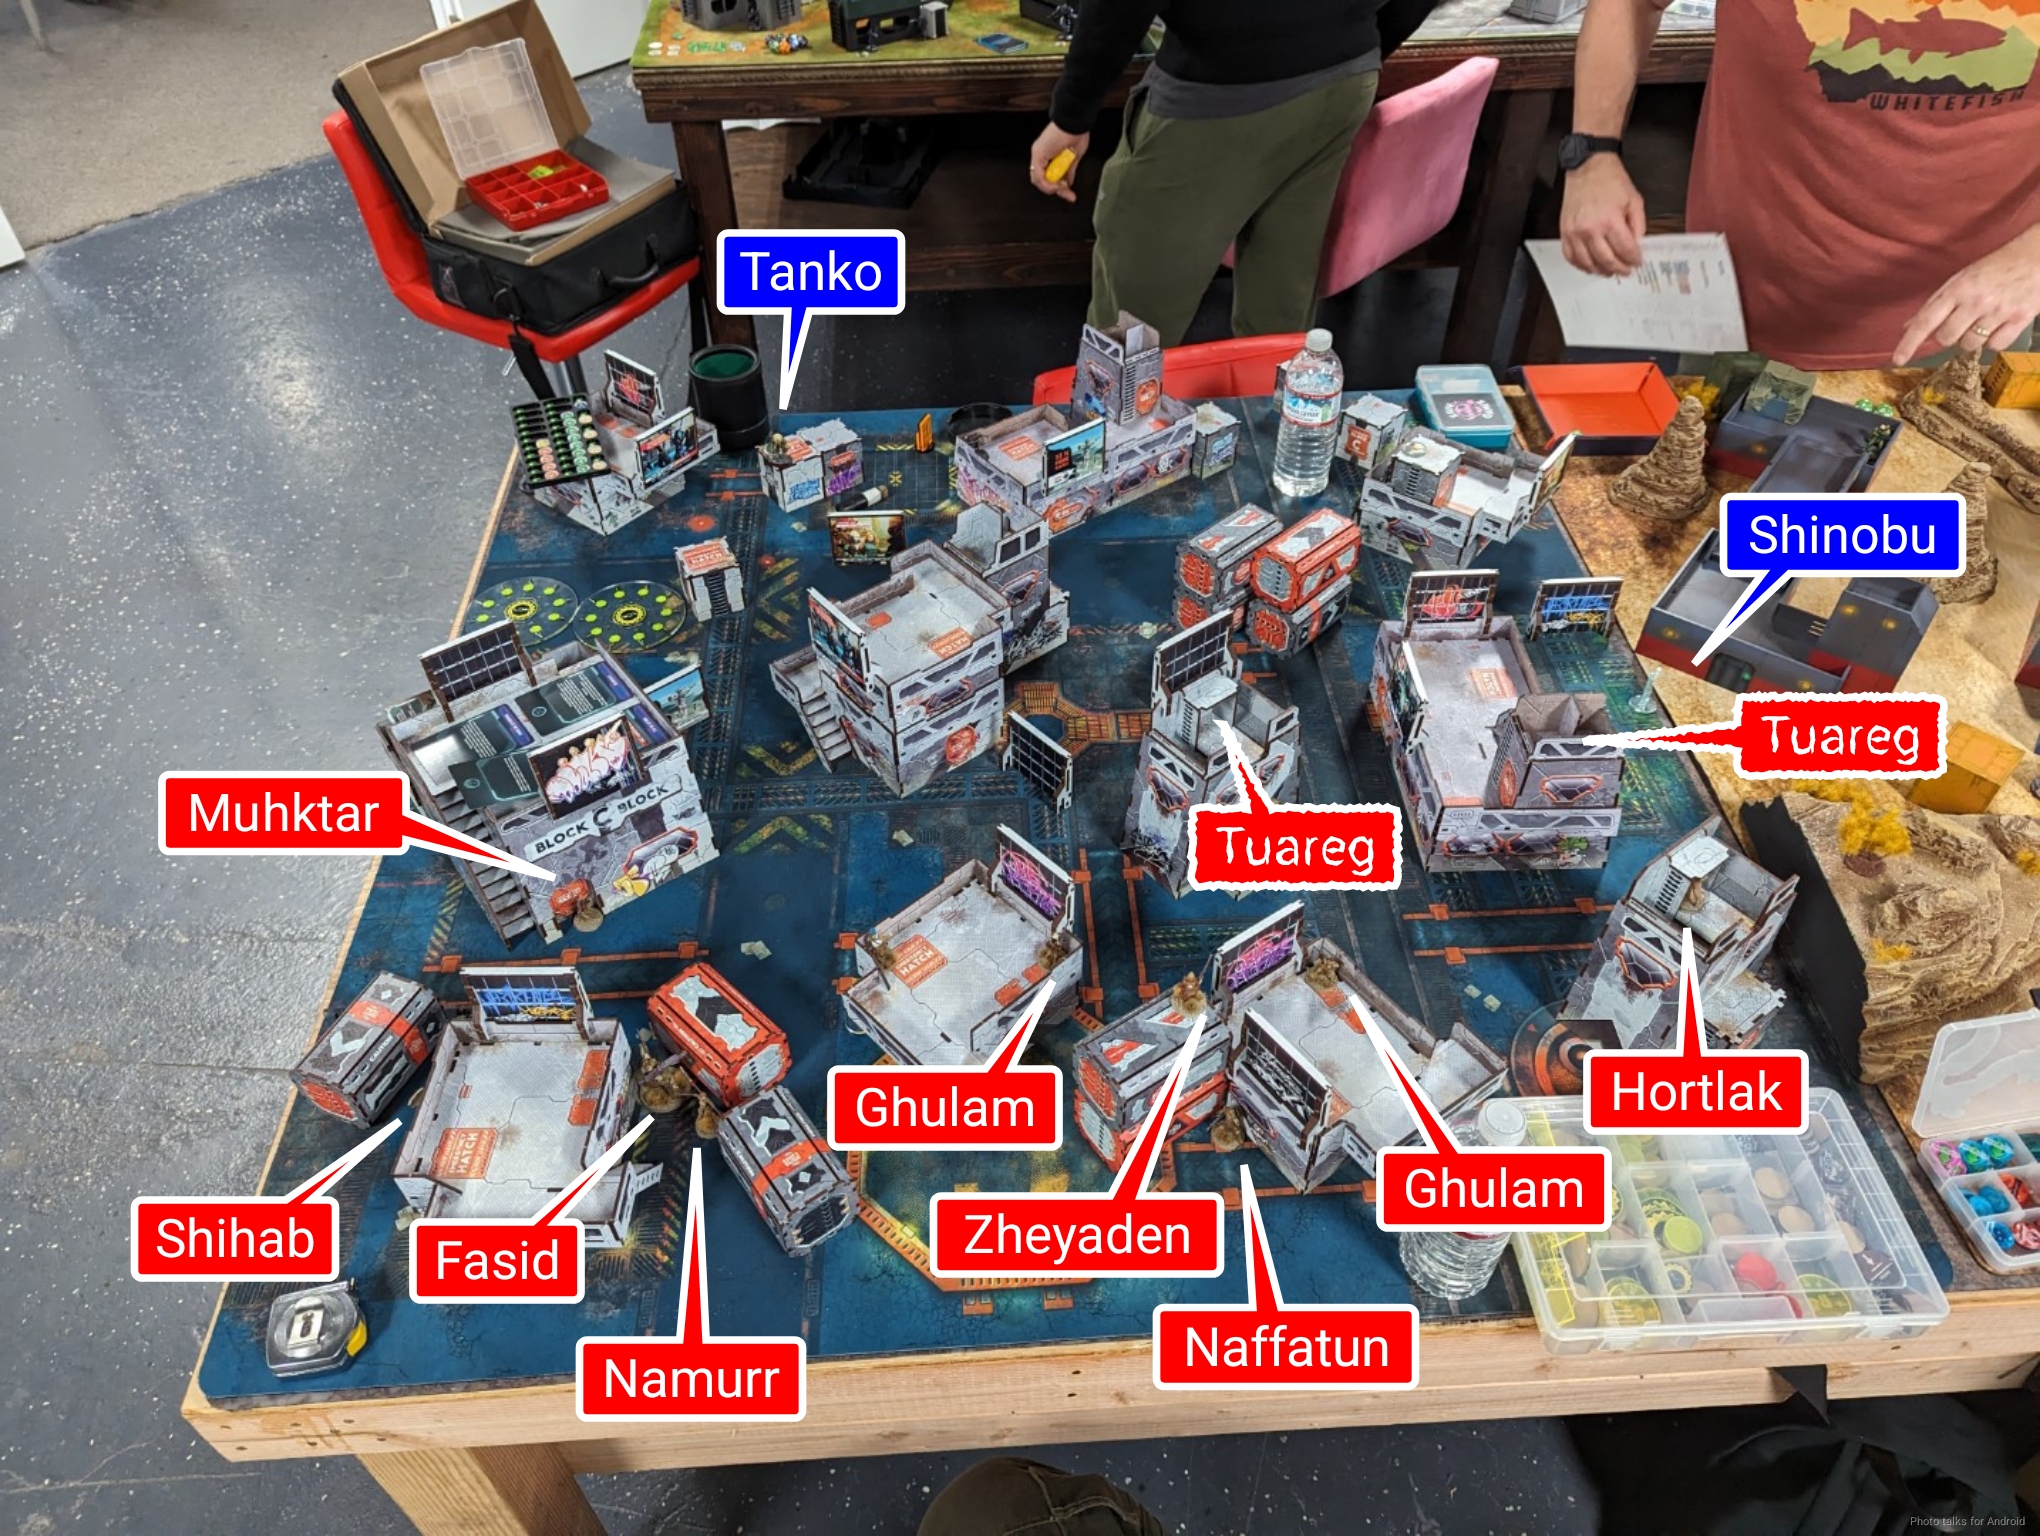
Of note is the Fasid, Muhktar, and Namurr on the left, along with a Shihab next to Cole’s two beacons. Funnily enough, the Shihab was actually a Rafiq in Cole’s list, he just misremembered, but we played it as a Shihab all game.
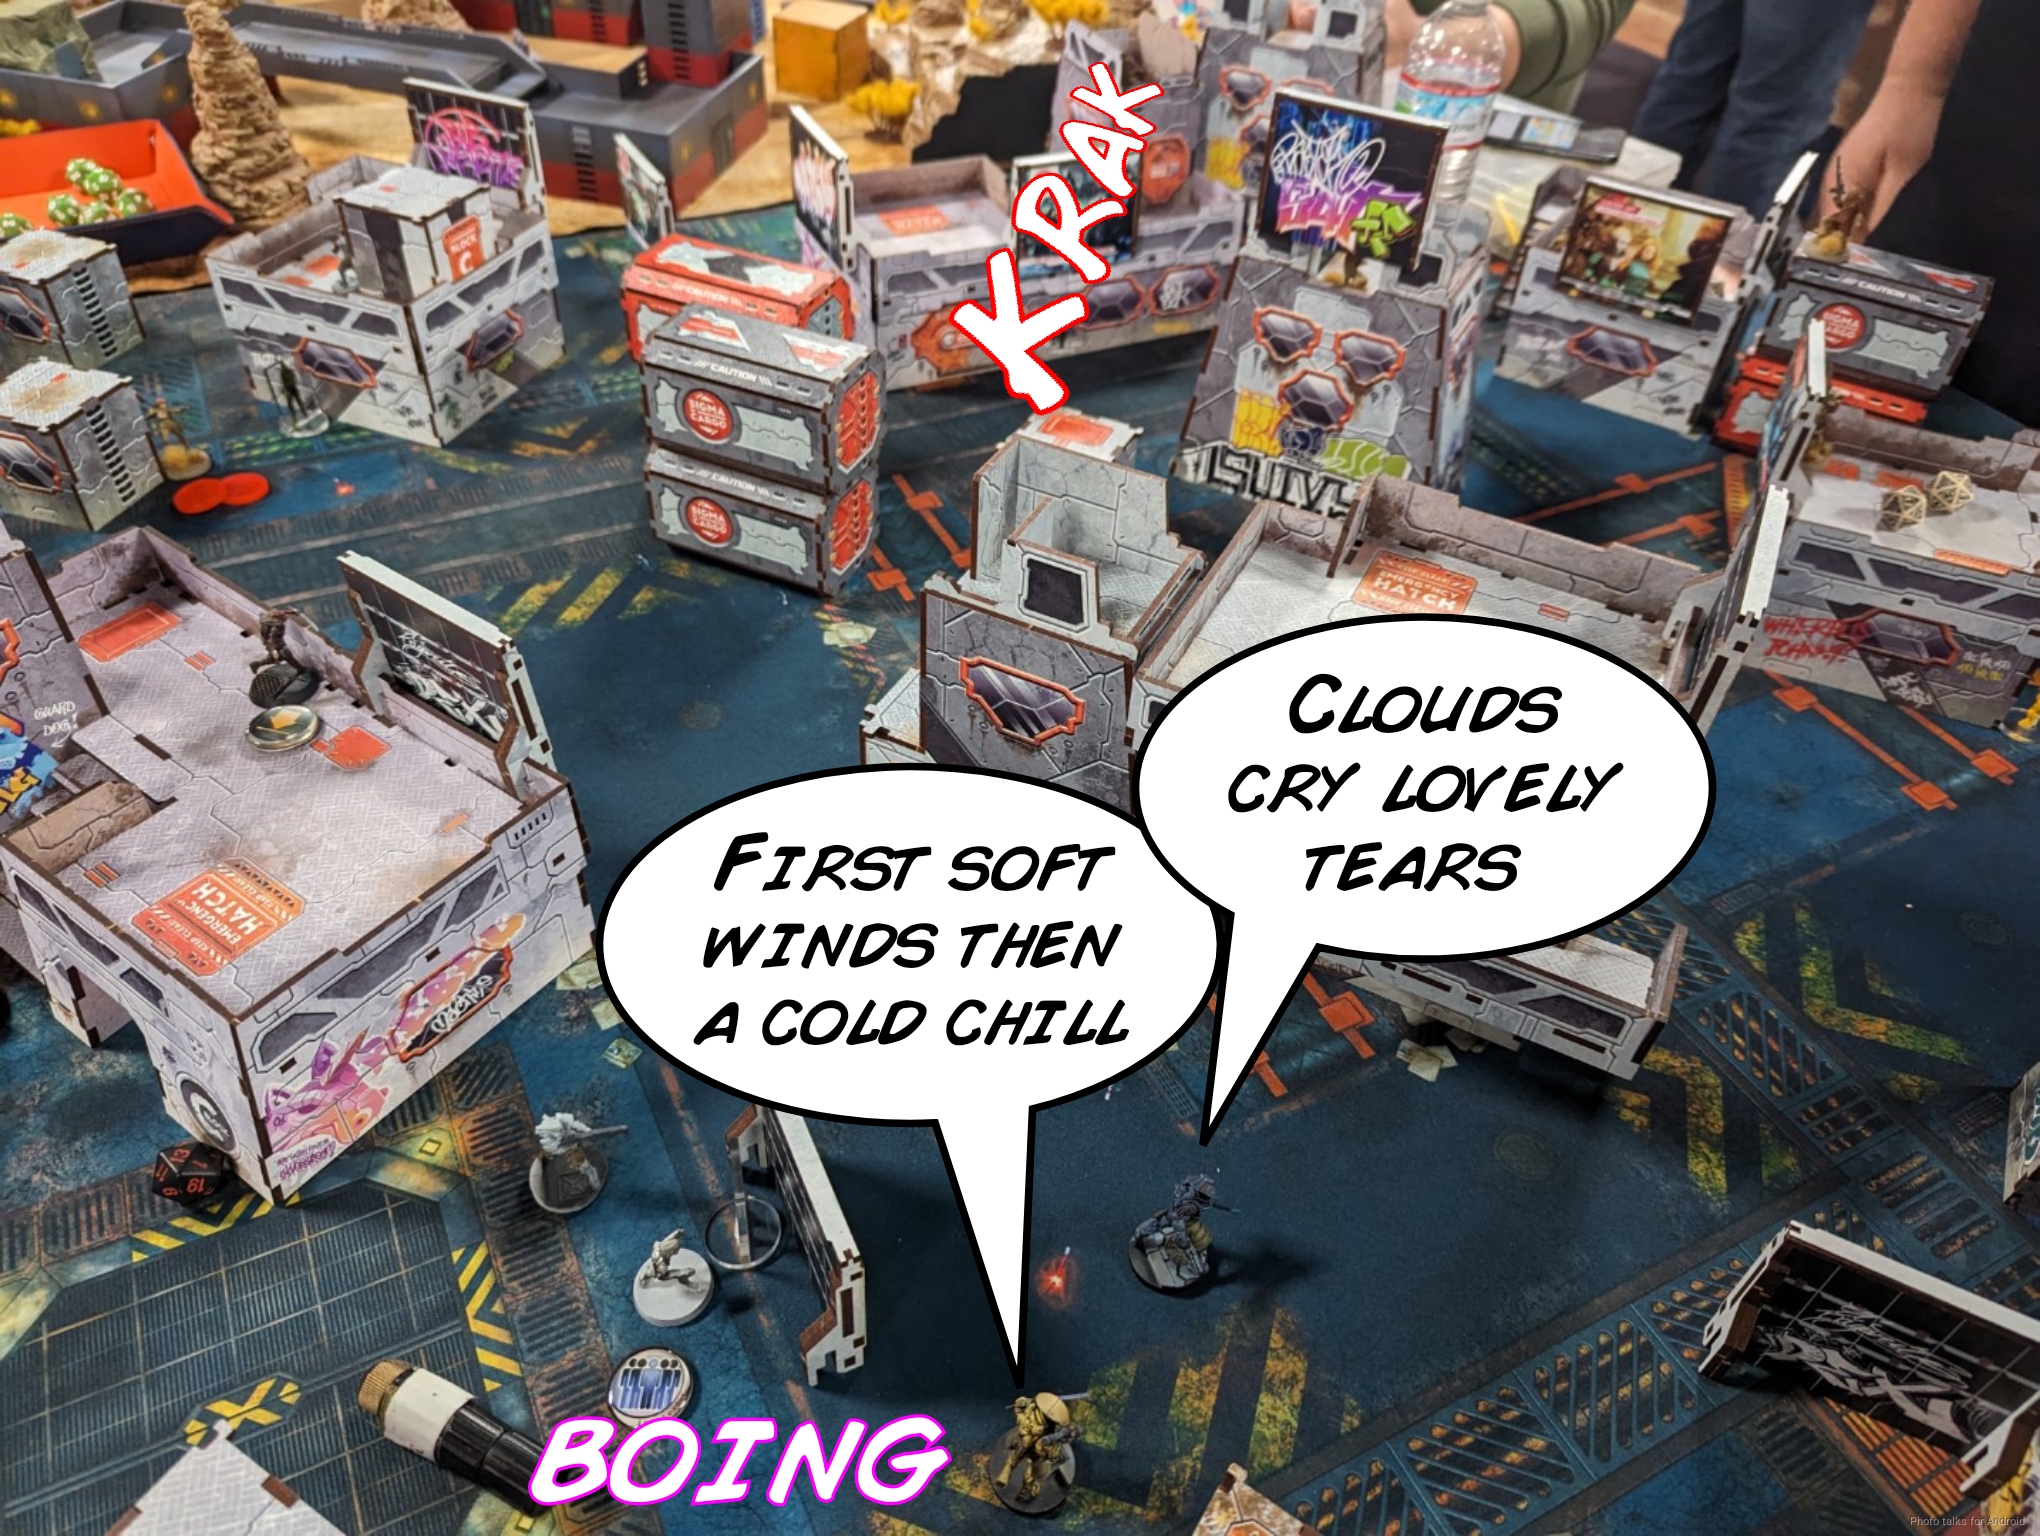
I decided to deploy Shinobu in a place where she could go after the Hortlak and then just cause trouble on subsequent turns, and Cole’s reserve was I believe the Namurr.
Turn 1
Top of 1 – JSA
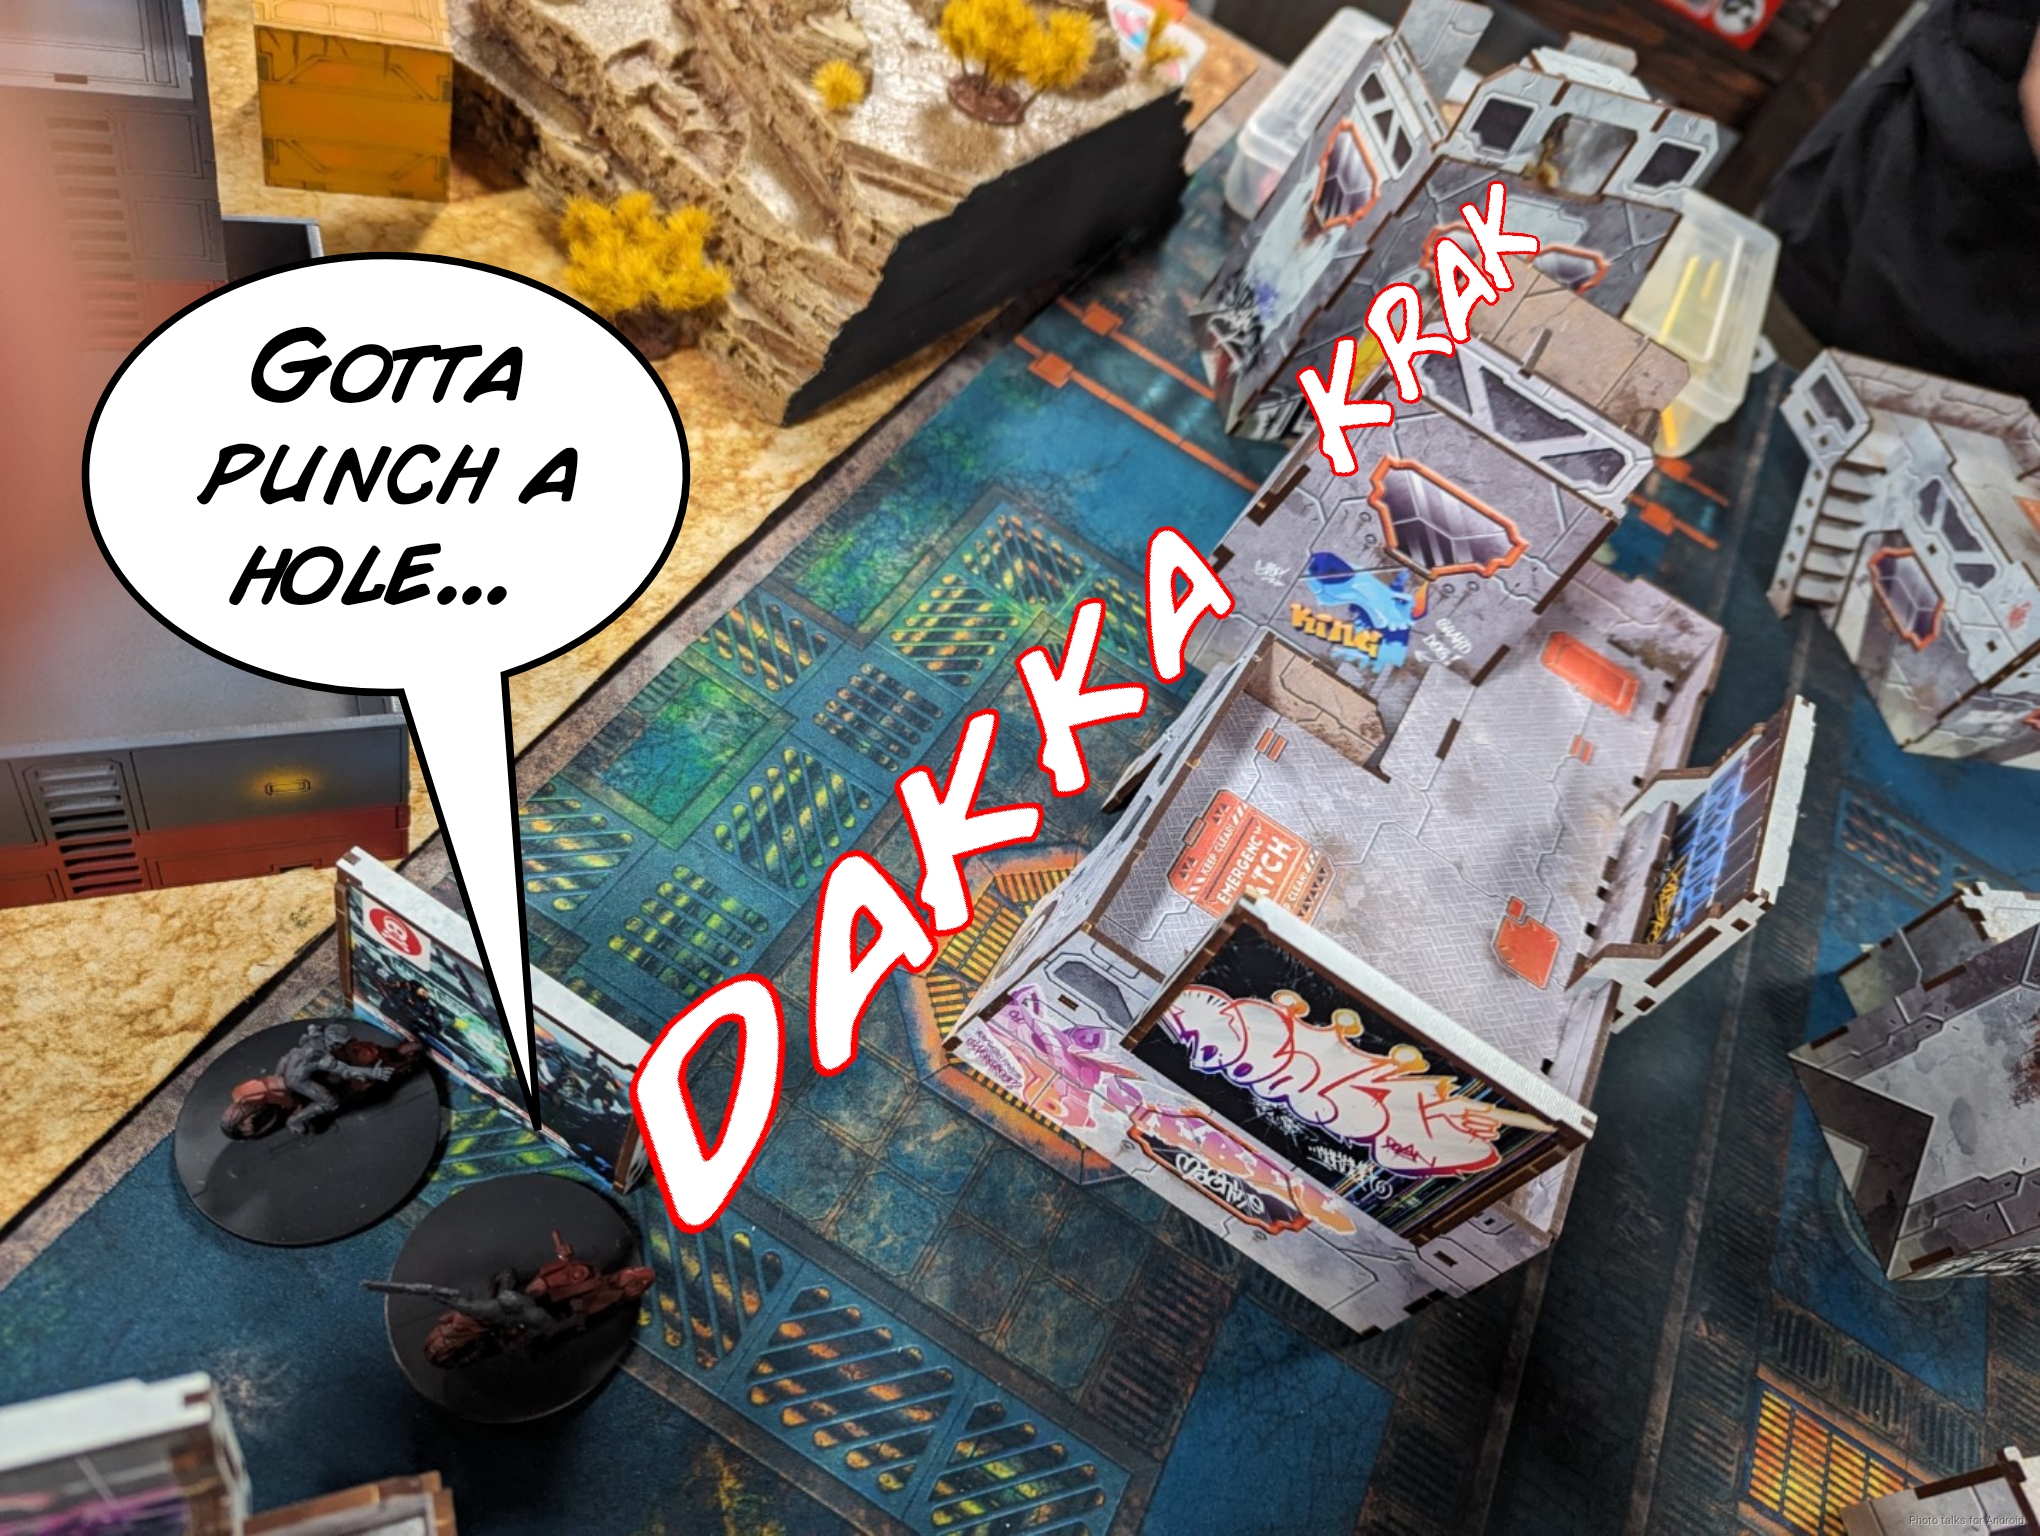
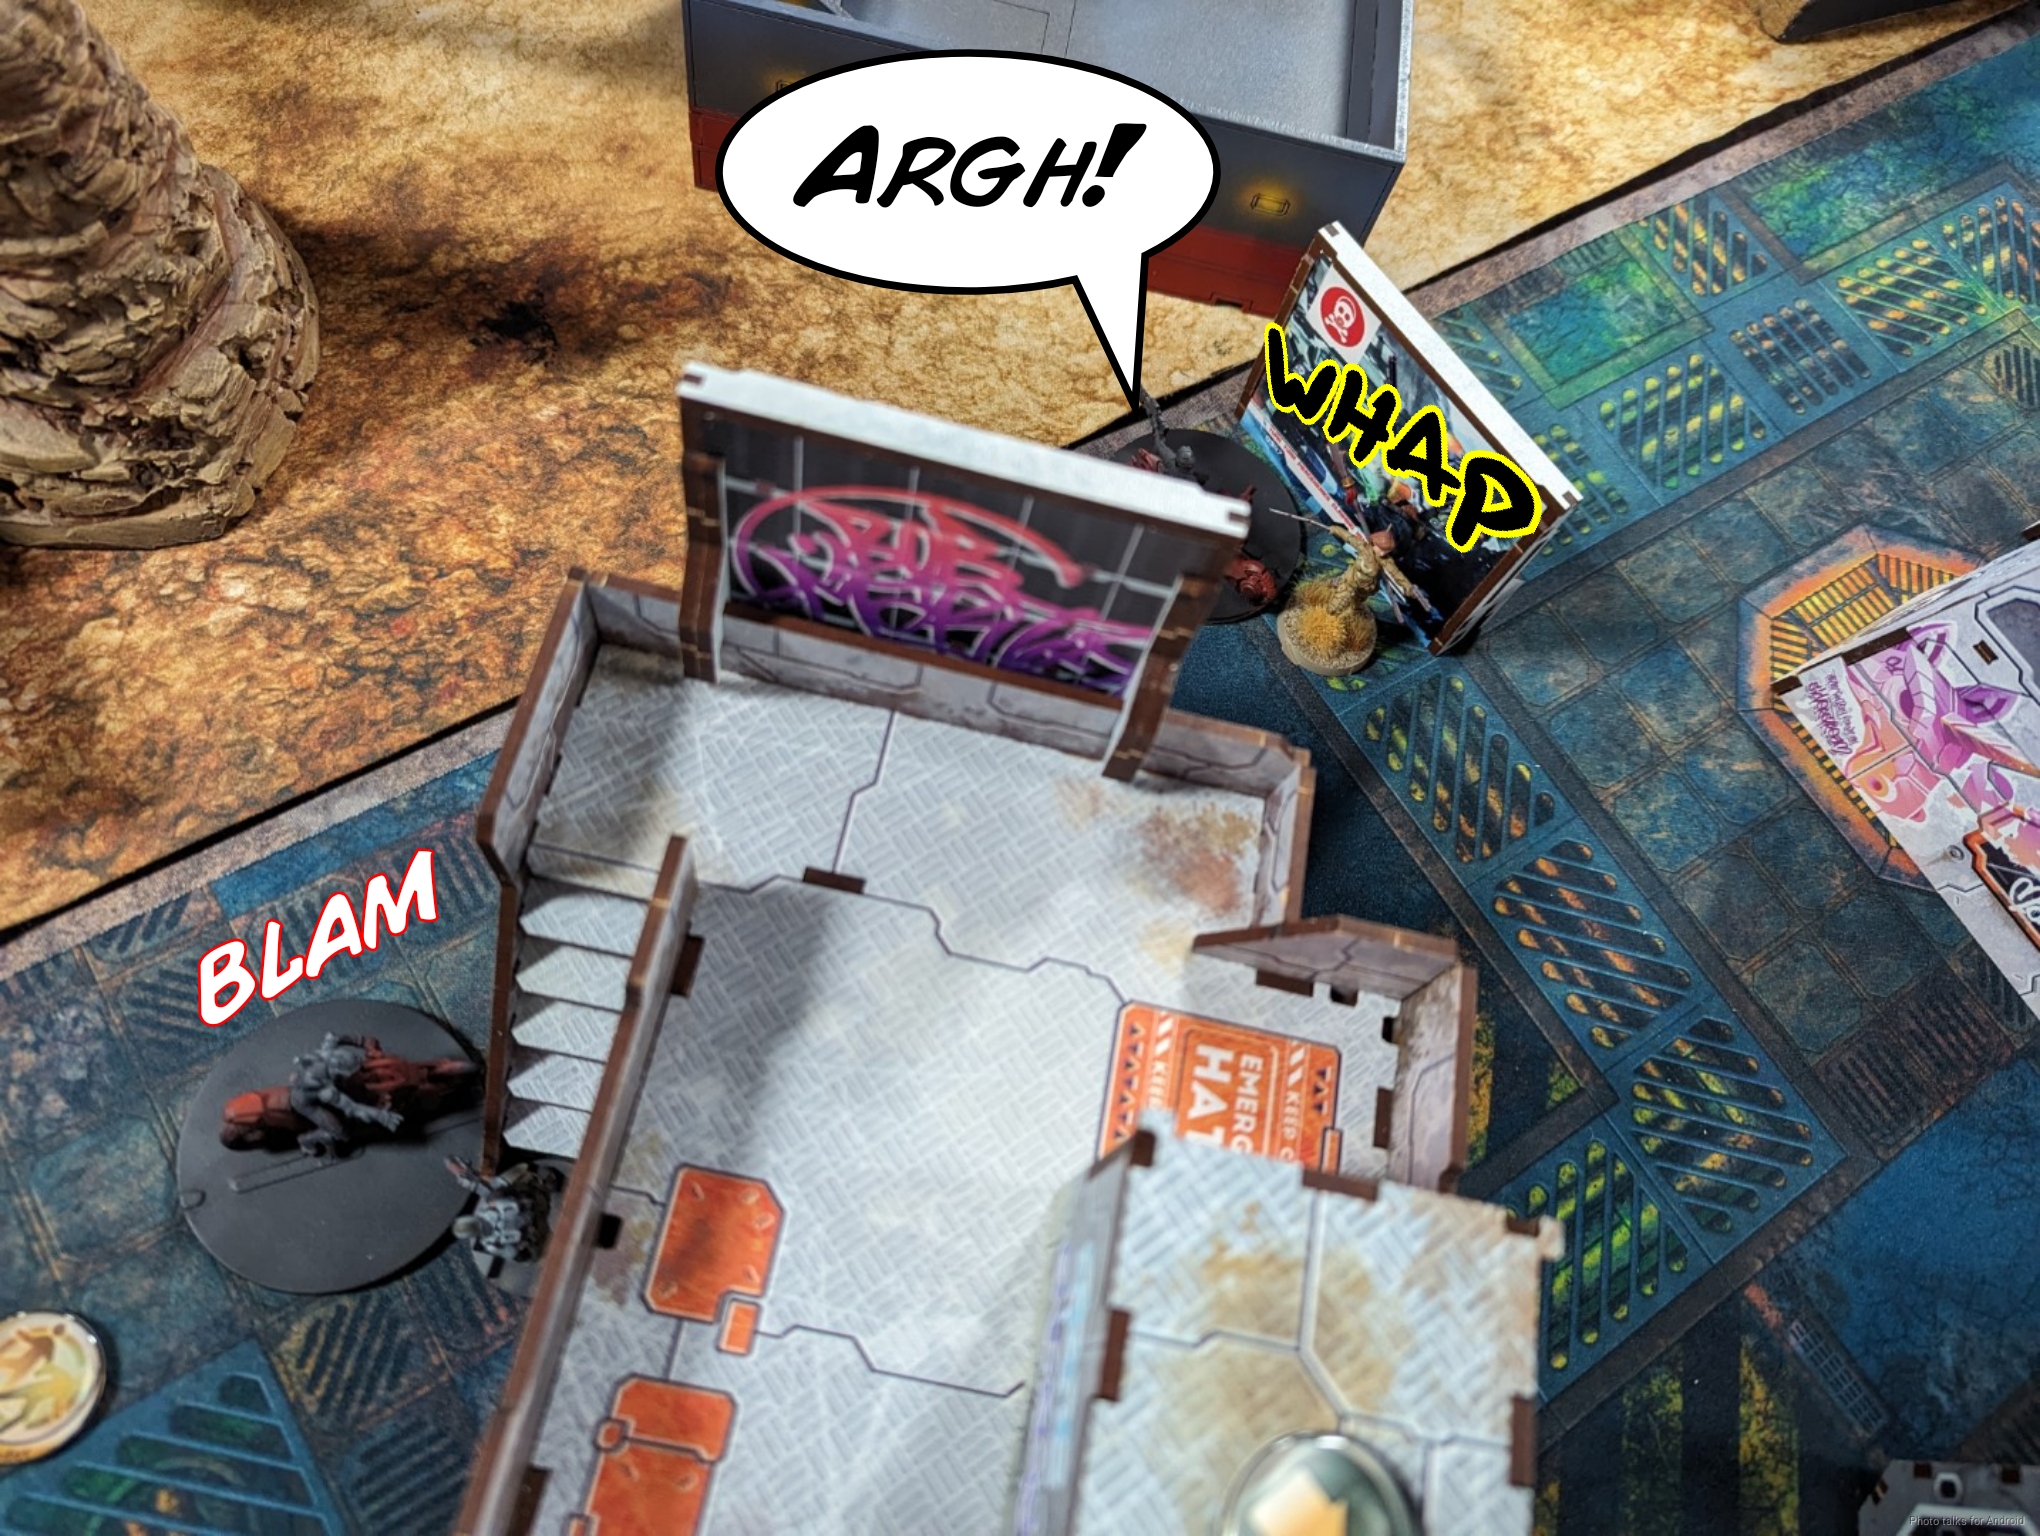
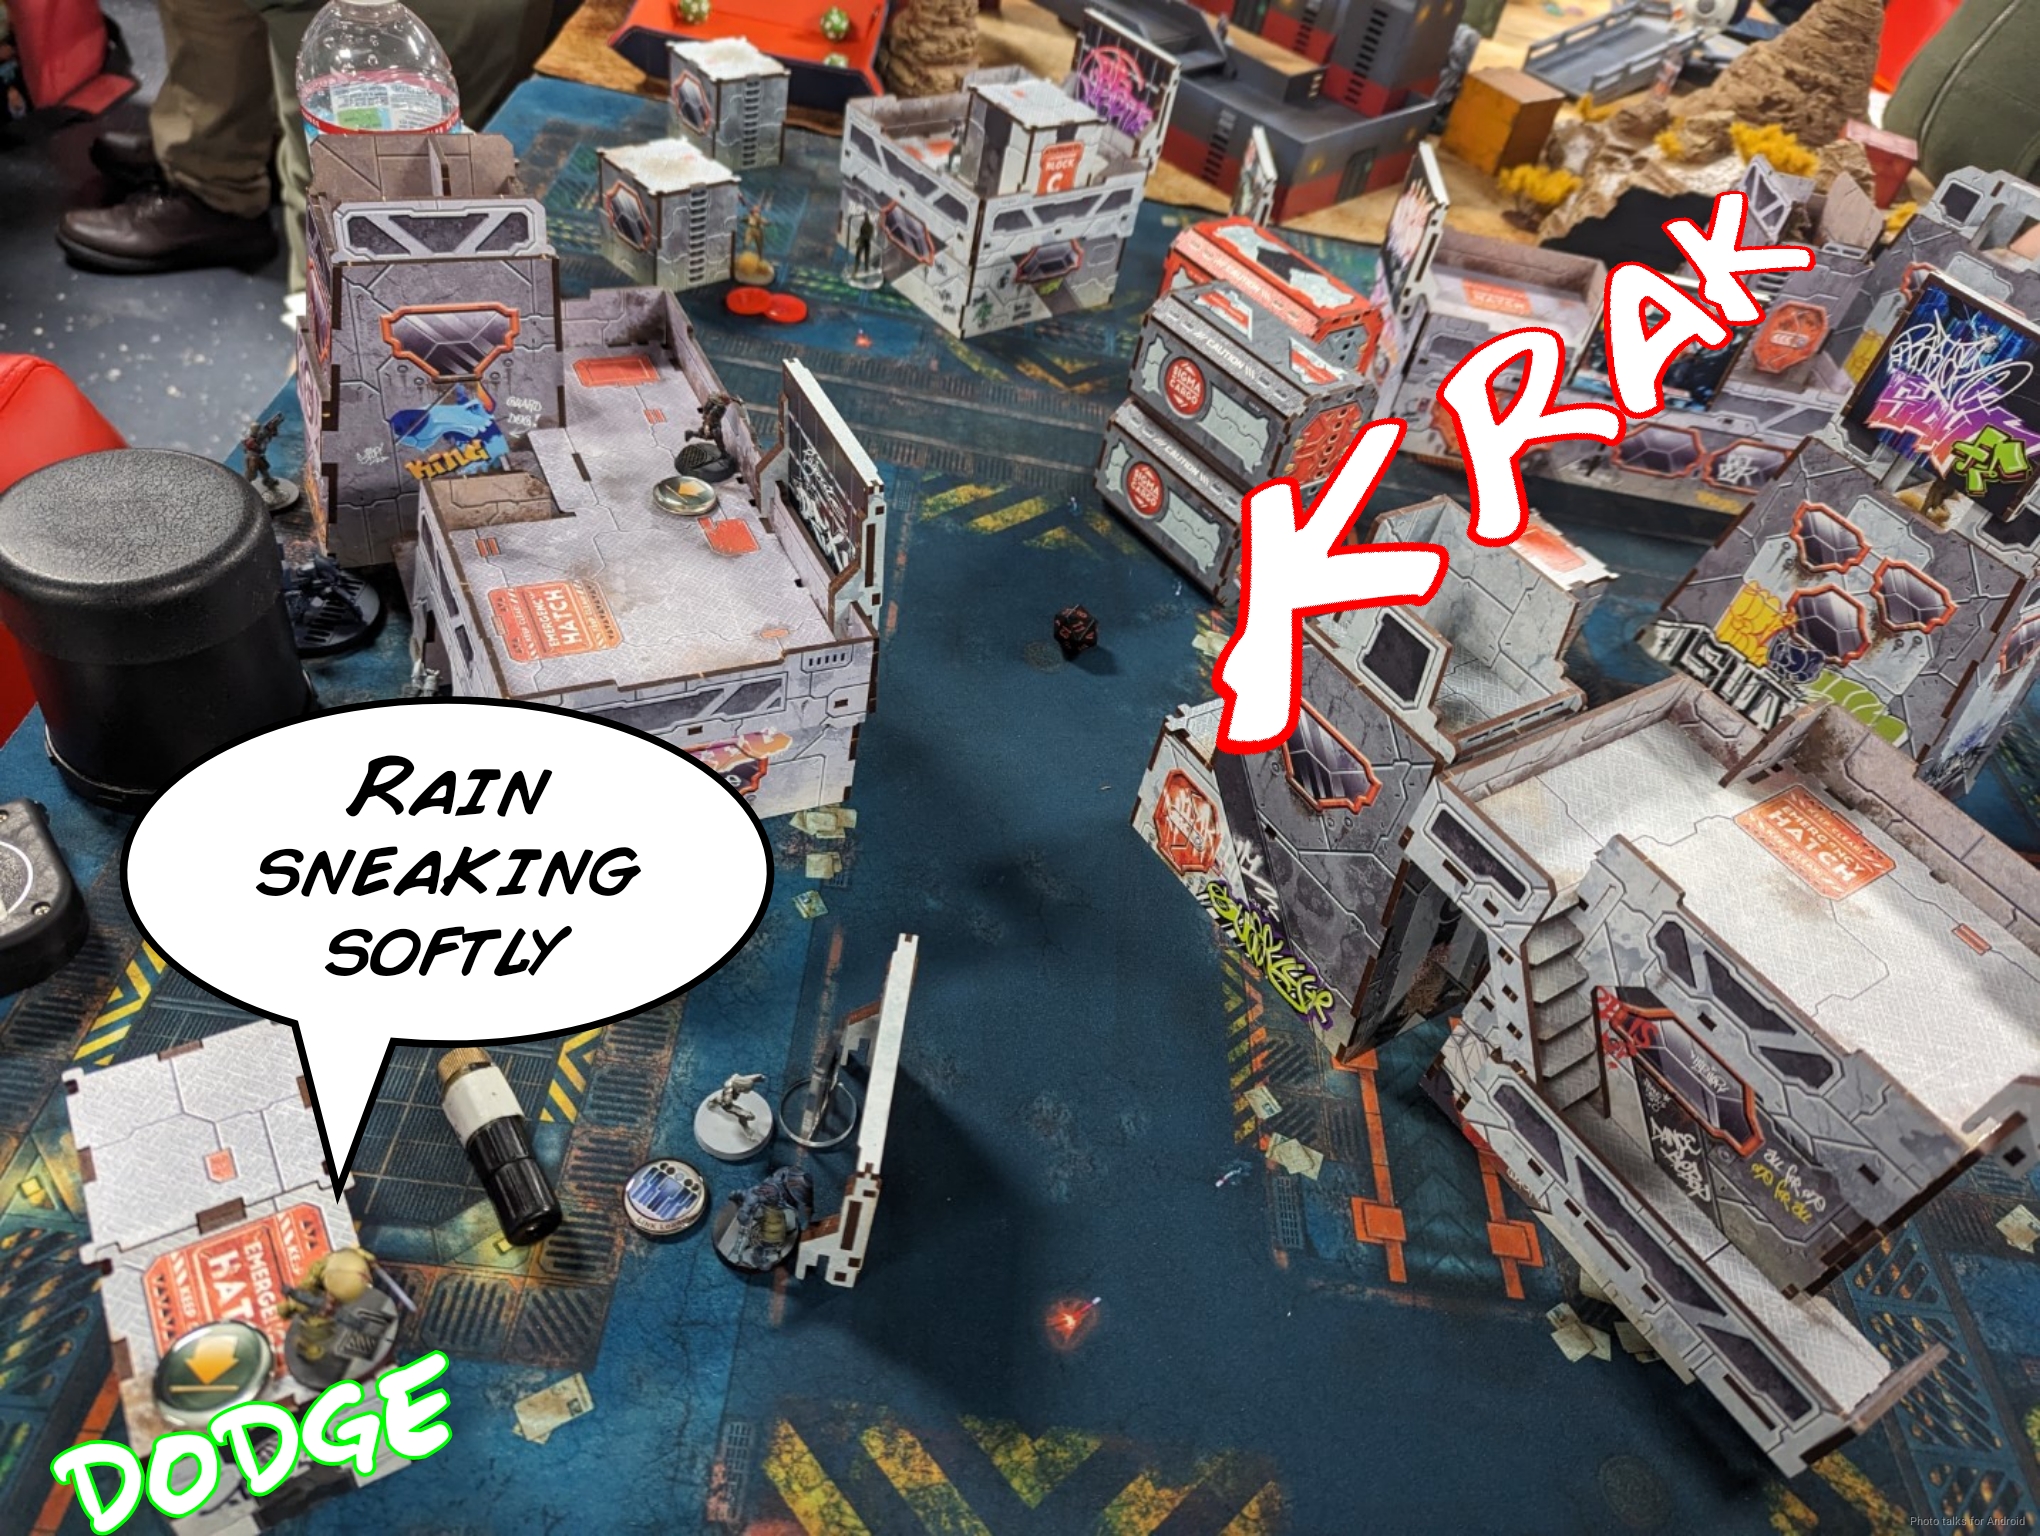
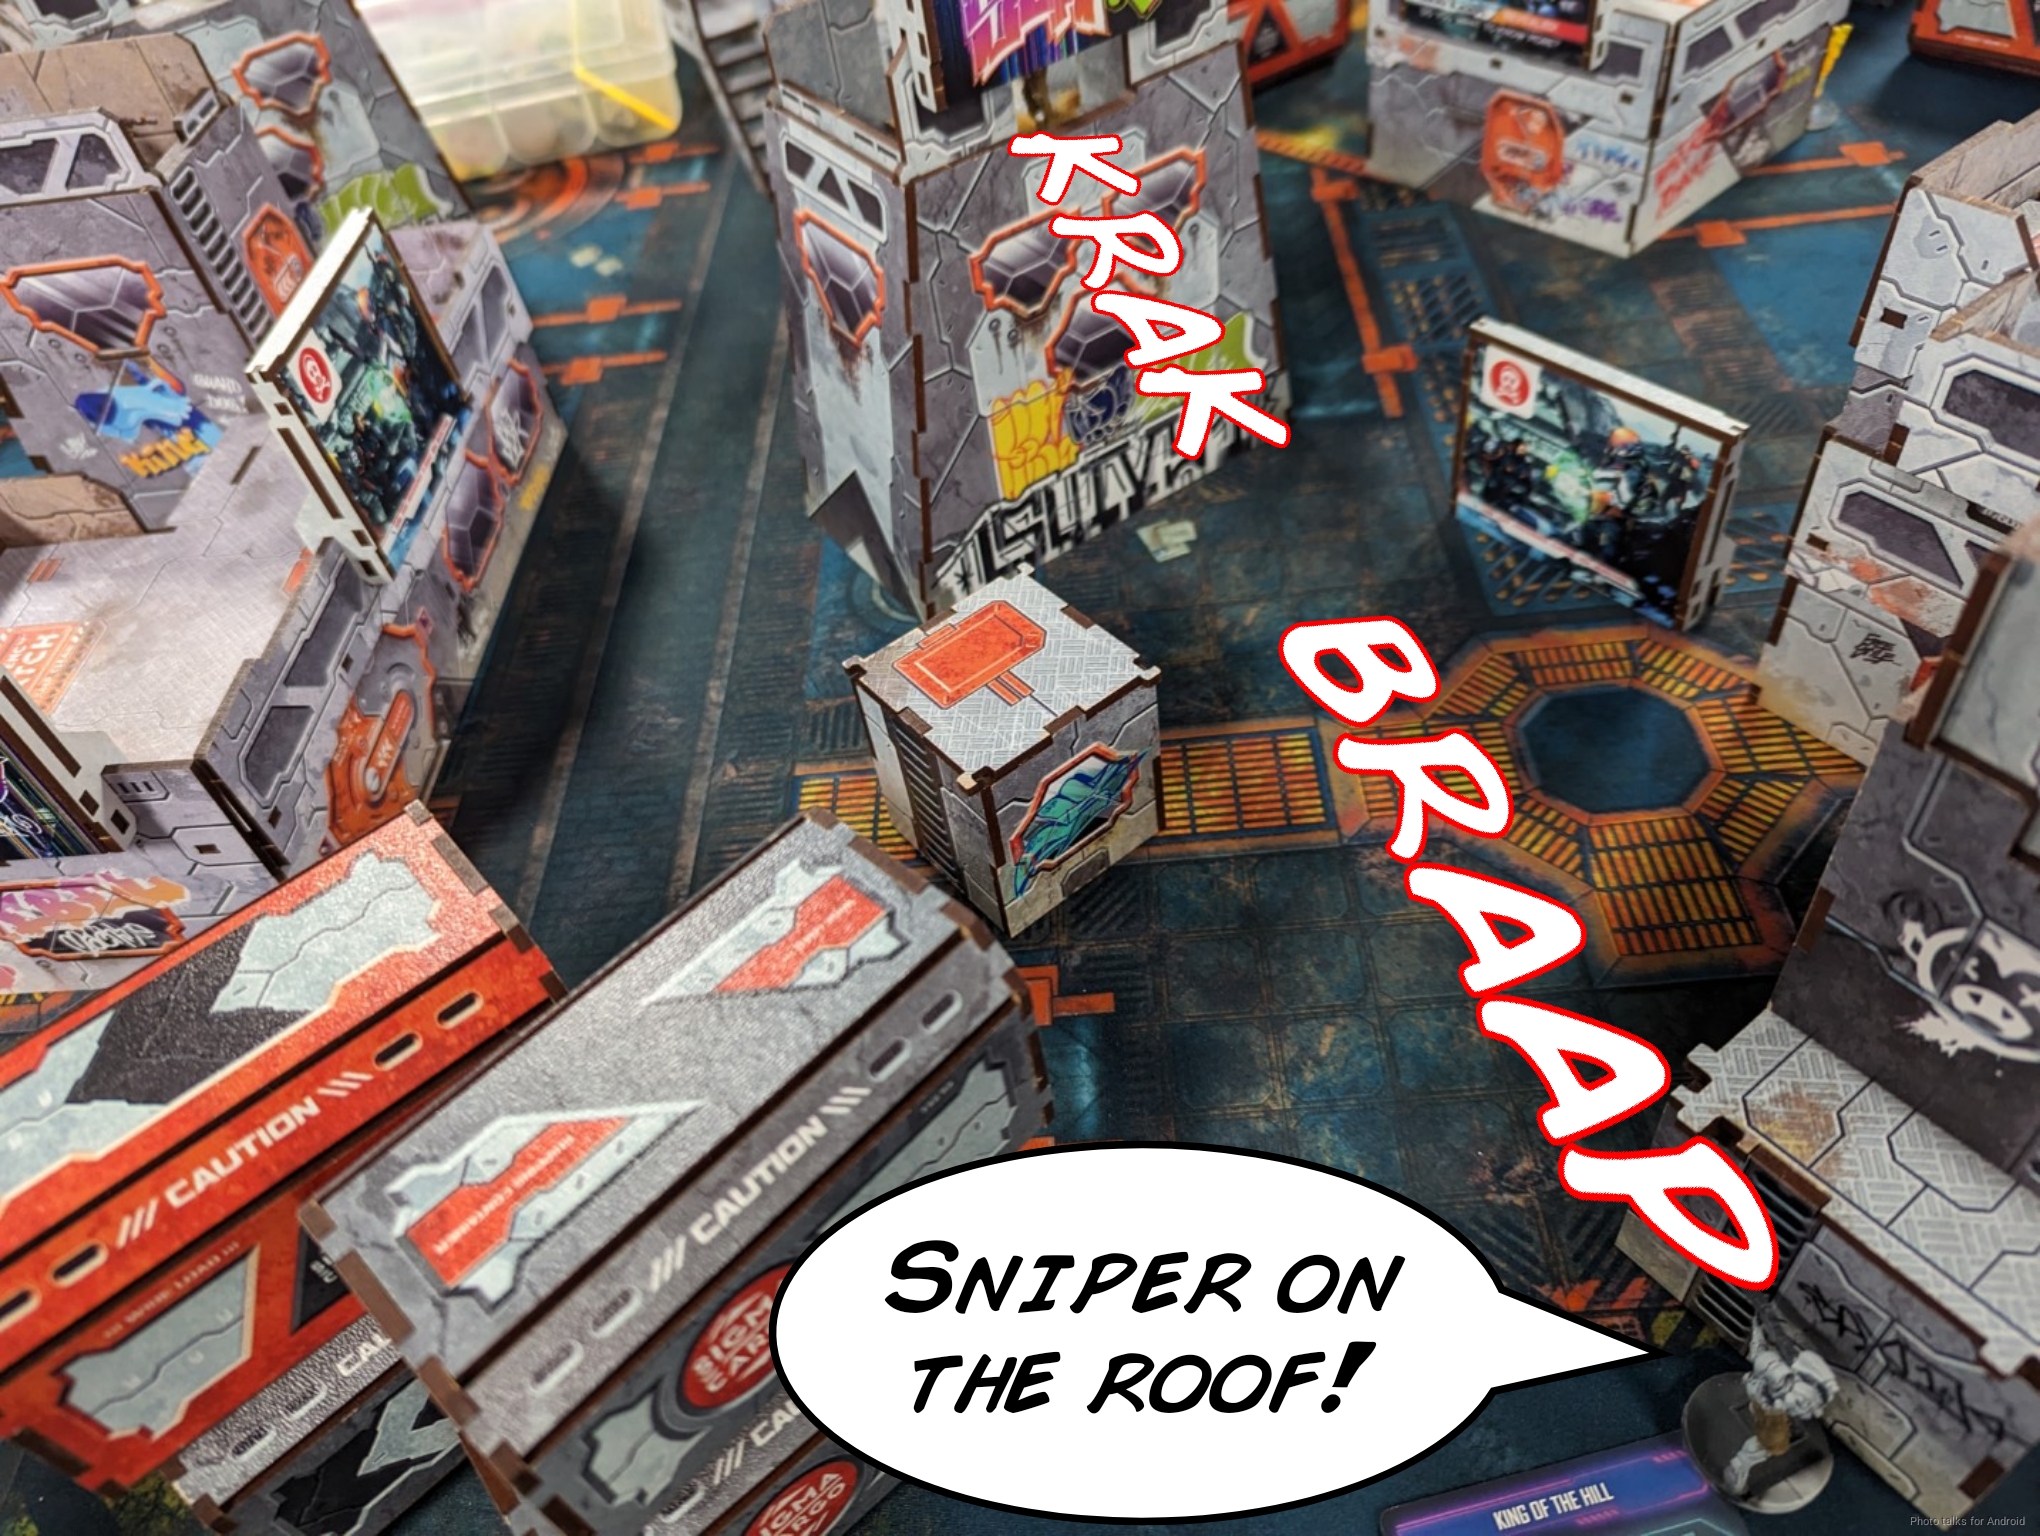
I almost lose the game on the first turn by not focusing on the objectives. I could have gotten points for Cybersiege and Triangulate the Signal with Shinobu but instead wanted to drop the Hortlak first. Have I learned nothing from Blood Bowl? Always do the non-interactive, zero risk stuff first! In any case, I’m on good odds to take out the Hortlak. It really doesn’t get much better than this–I suppose I could have re-camoed to get surprise attack, but it really is a negligible difference.
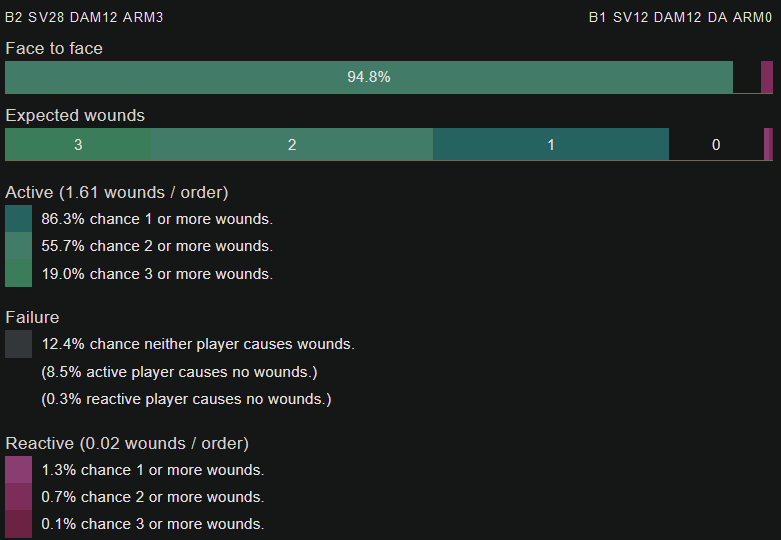
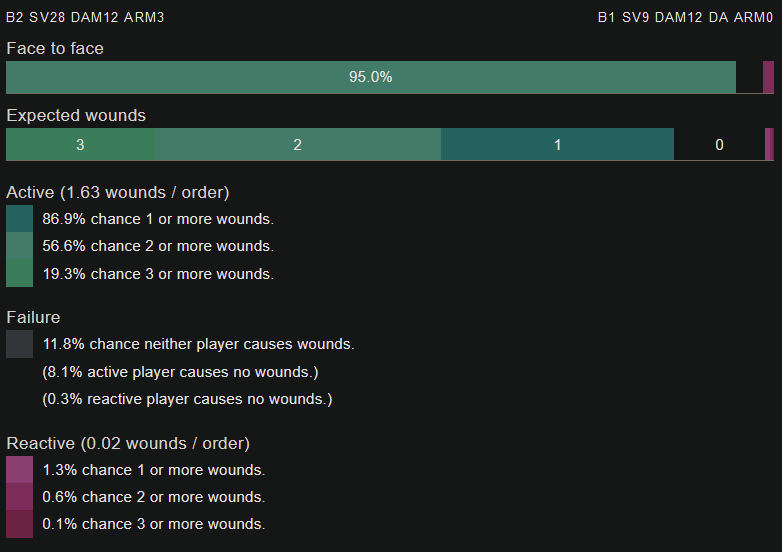

In case you haven’t guessed the Hortlak crits Shinobu and kills her. Sigh. I need to get rid of the Hortlak or I can’t go anywhere, so I try the Aragoto Spitfire. I hit several times but nothing happens…
over the course of several orders.
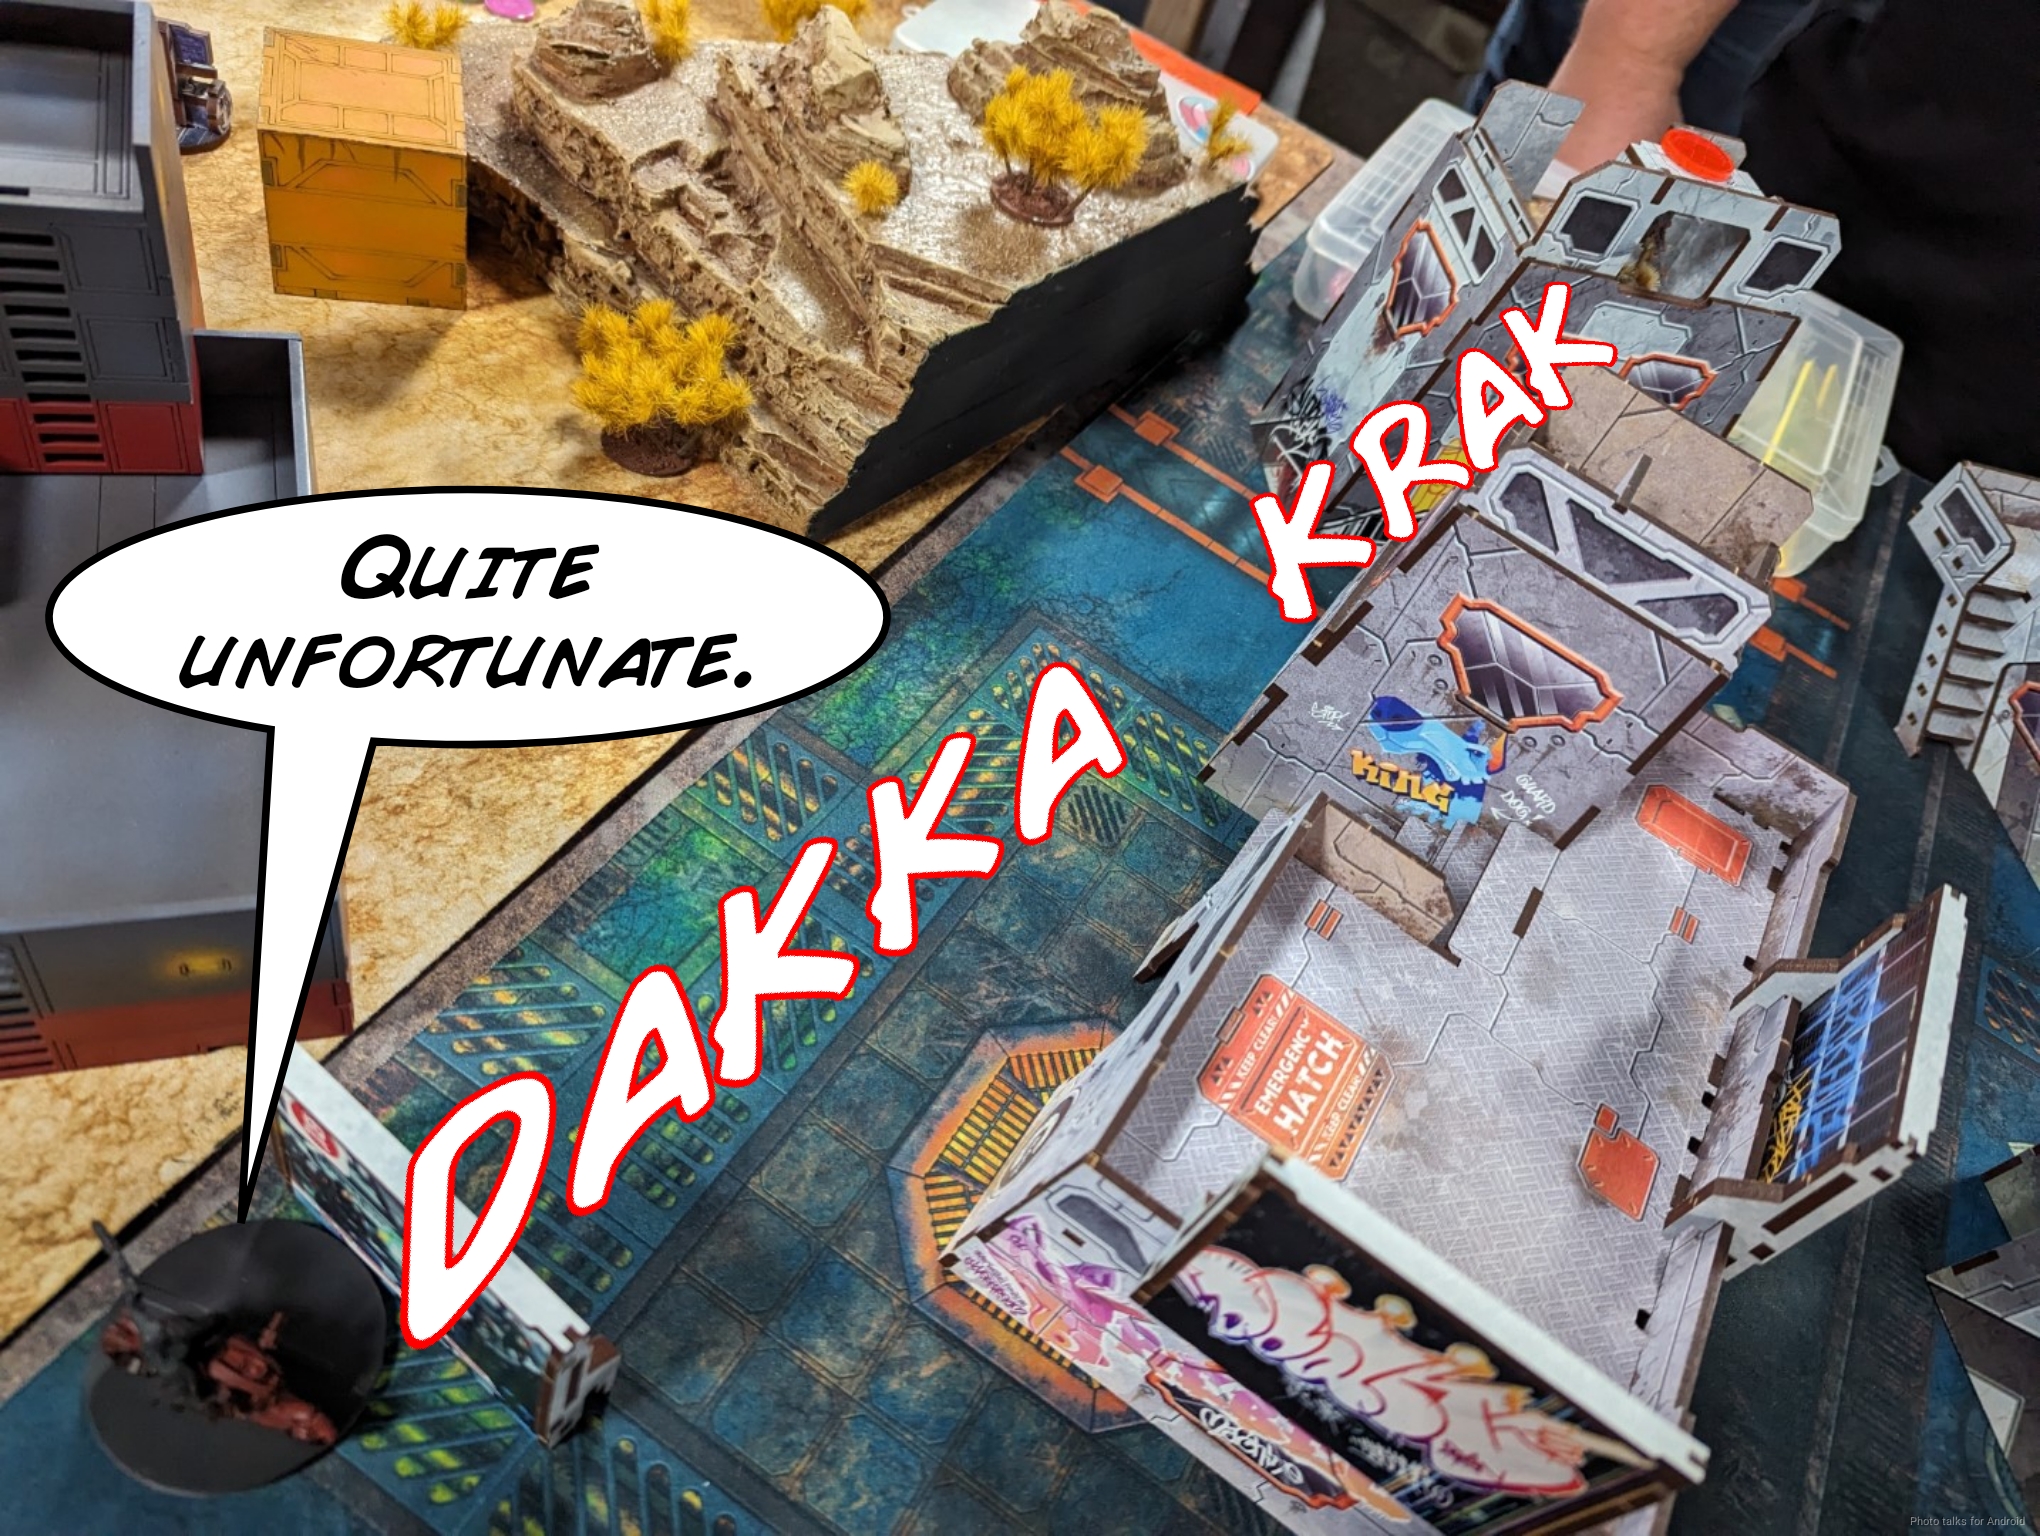
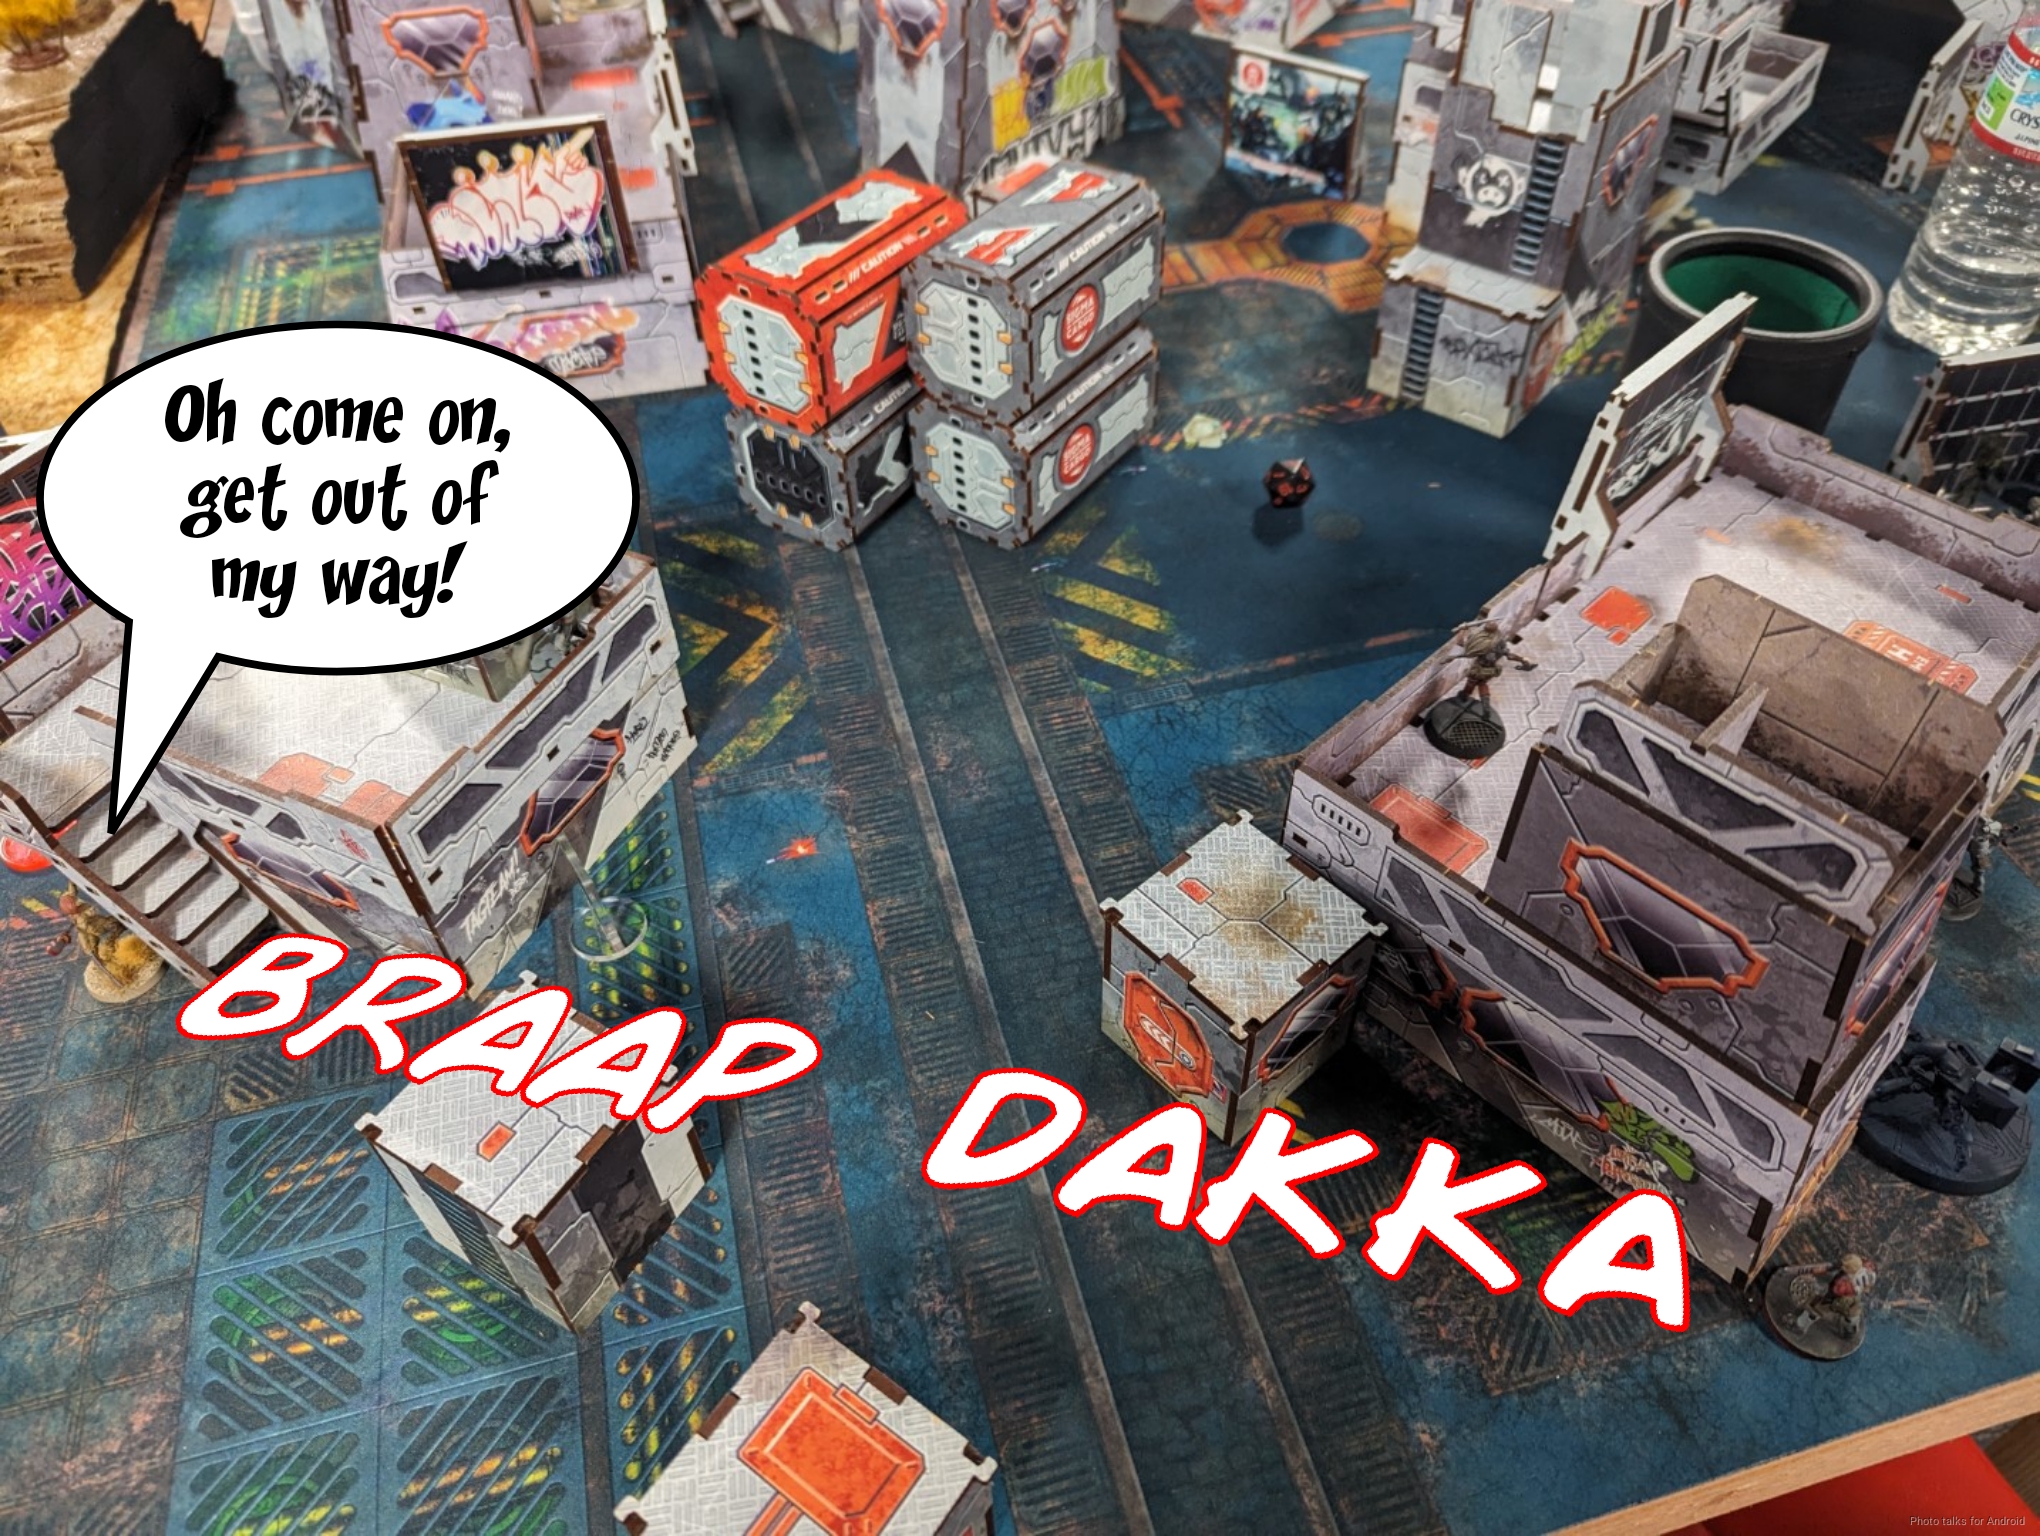
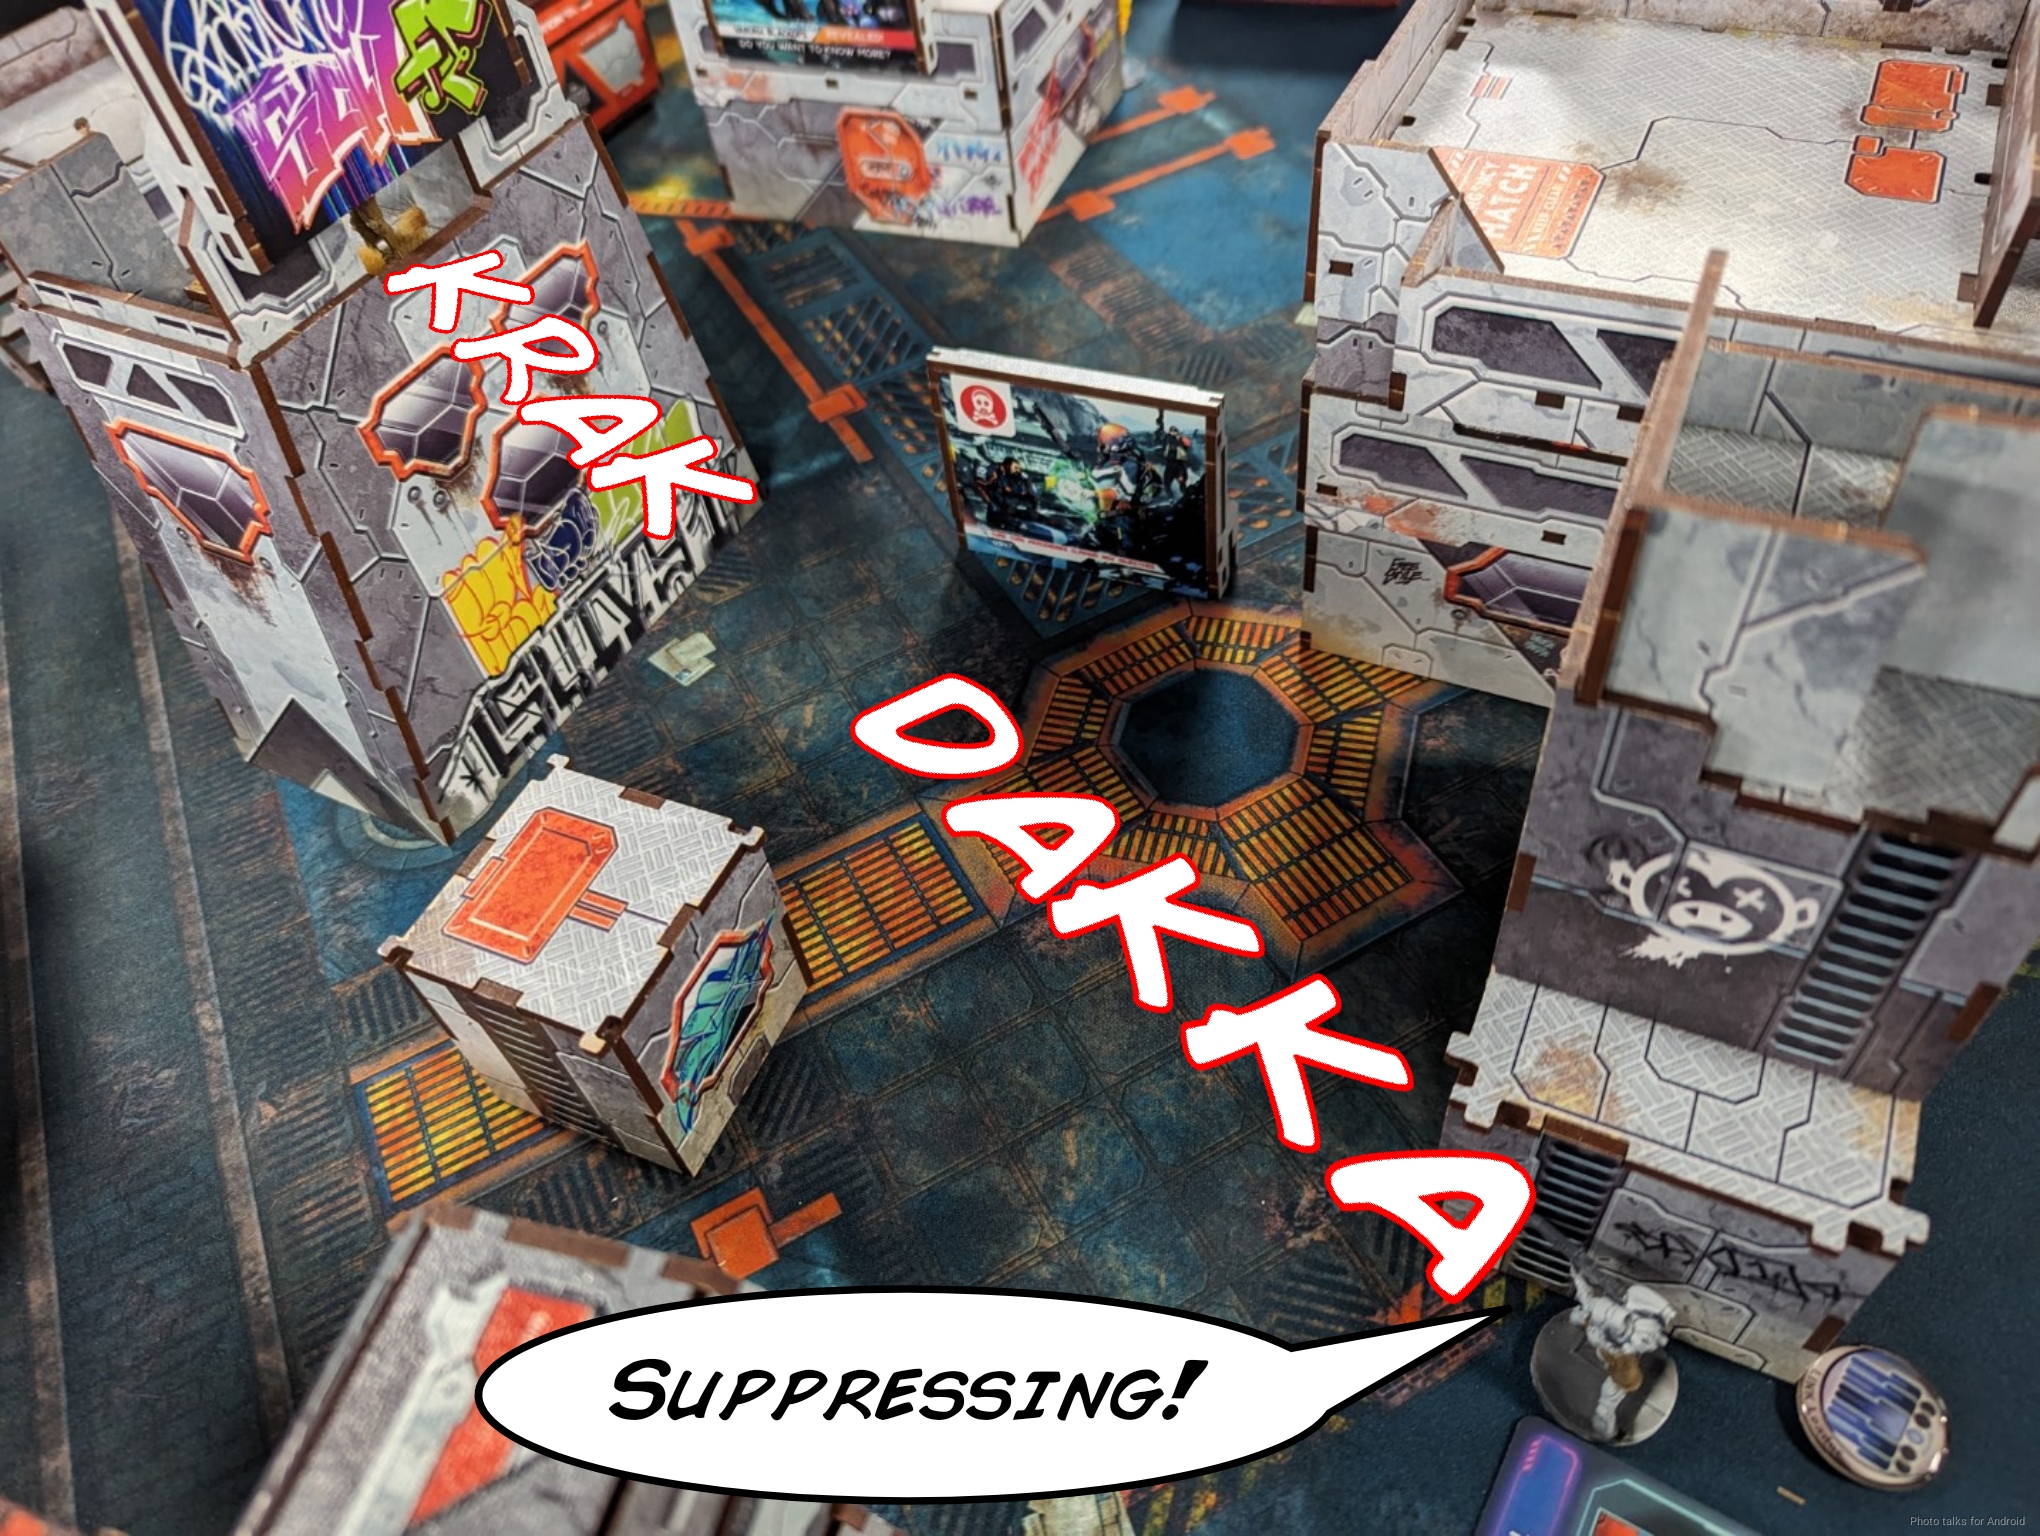
I throw the Karakuri into suppression on the right to really try and lock it down against the Namurr…
and then spent my last order going for the Hortlak one final time, this time dropping it.
Bottom of 1 – Ramah
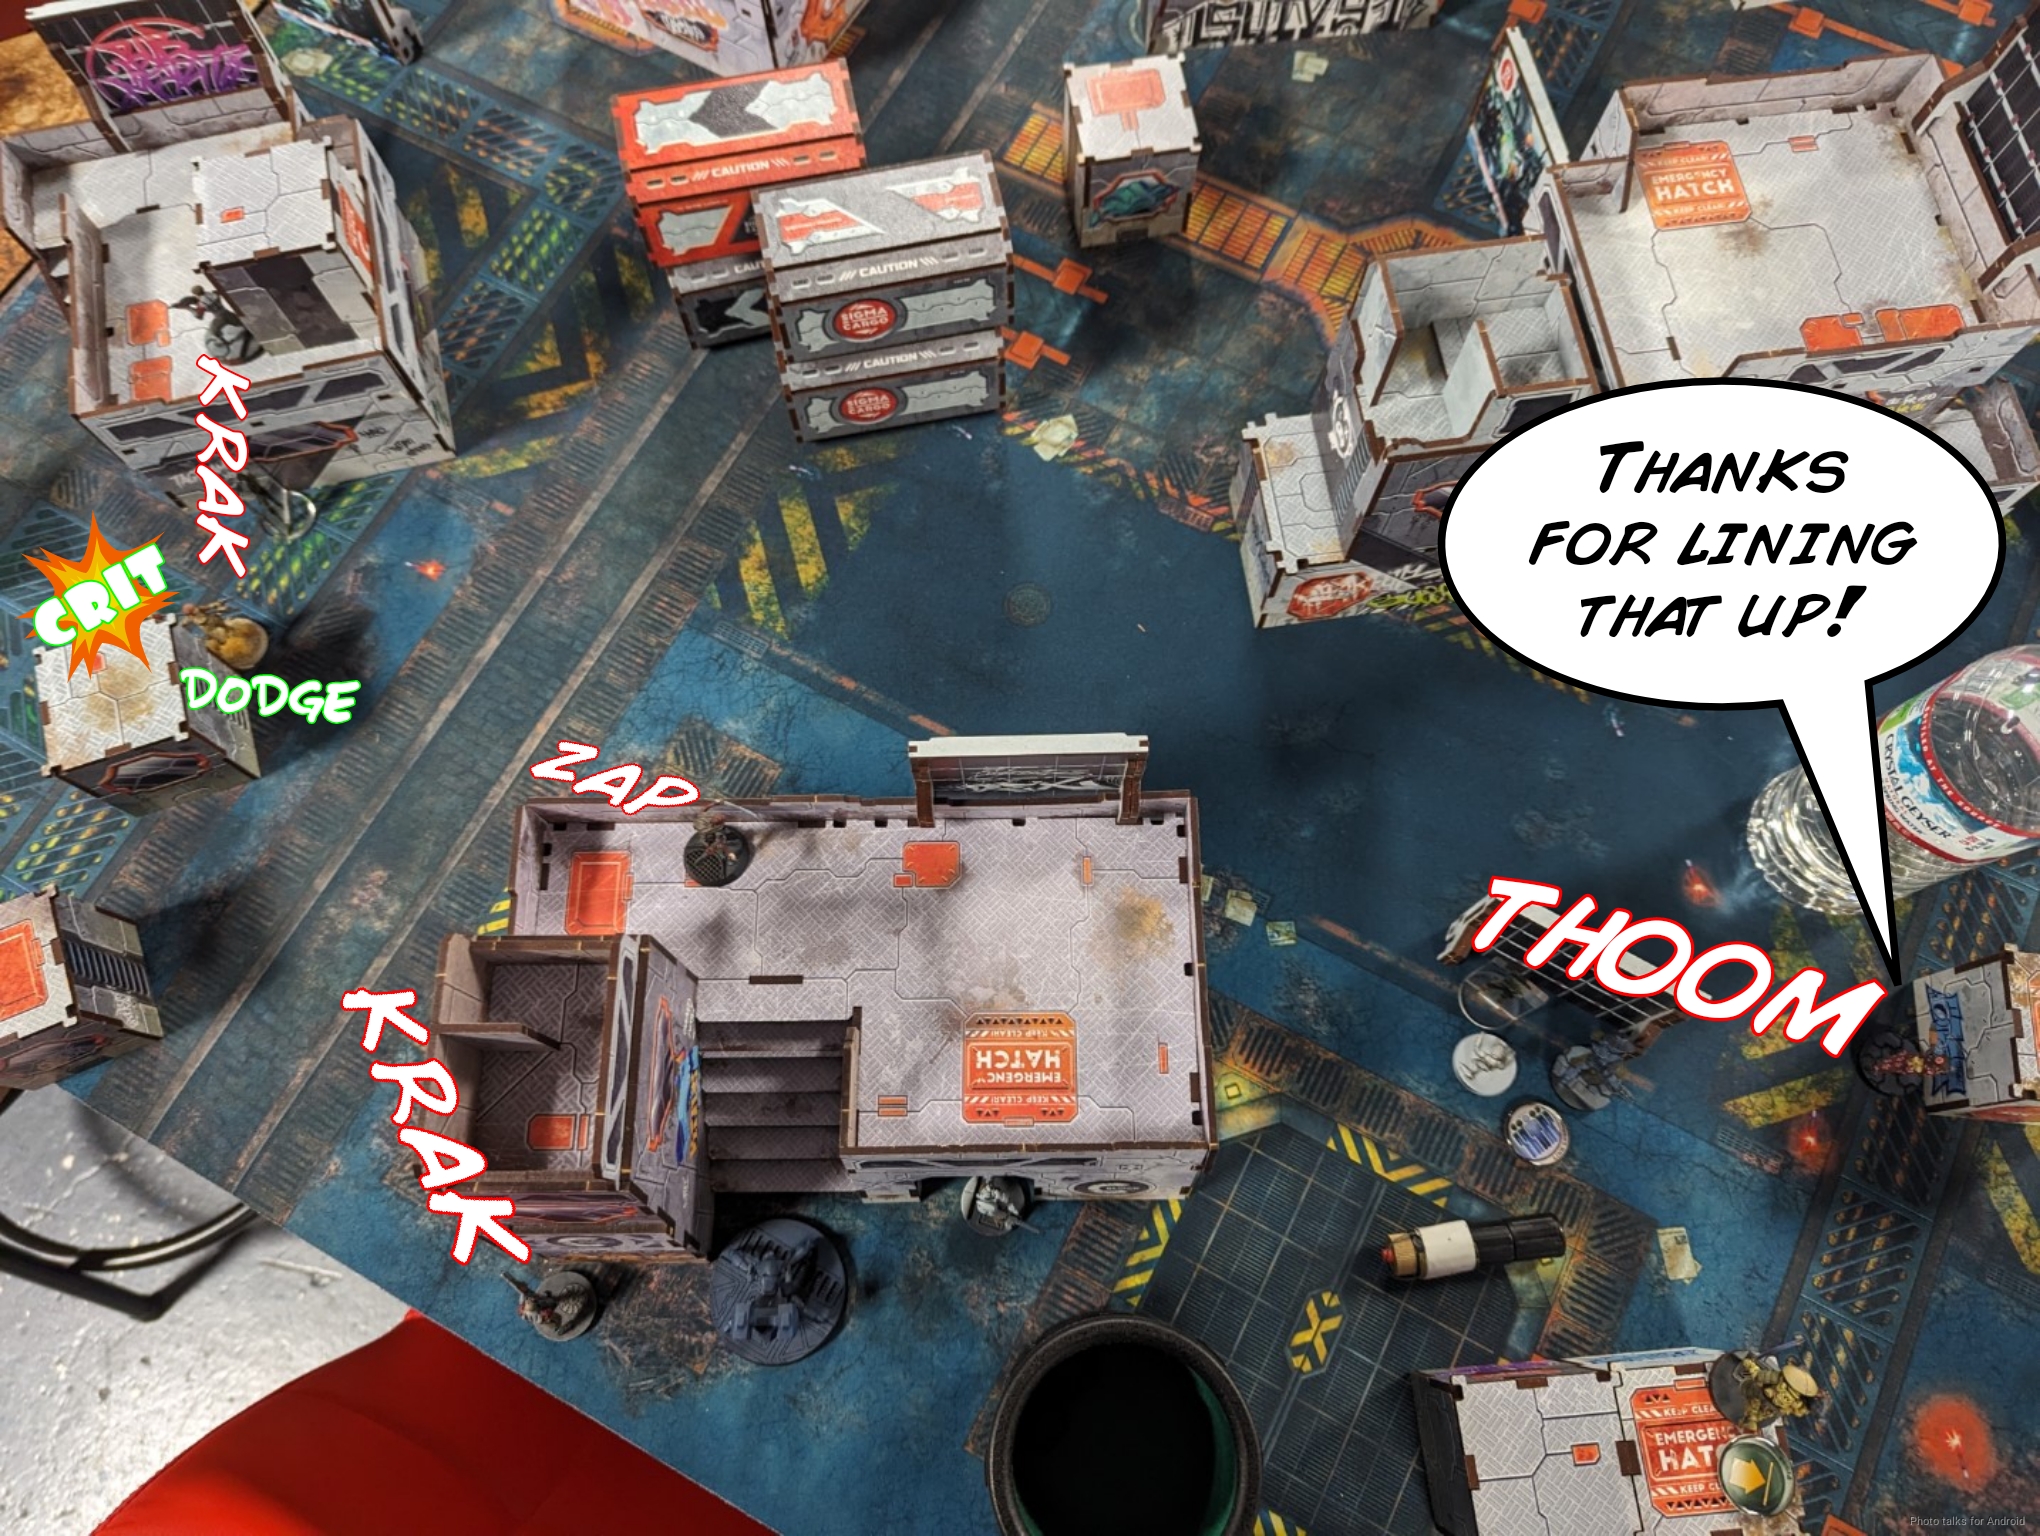
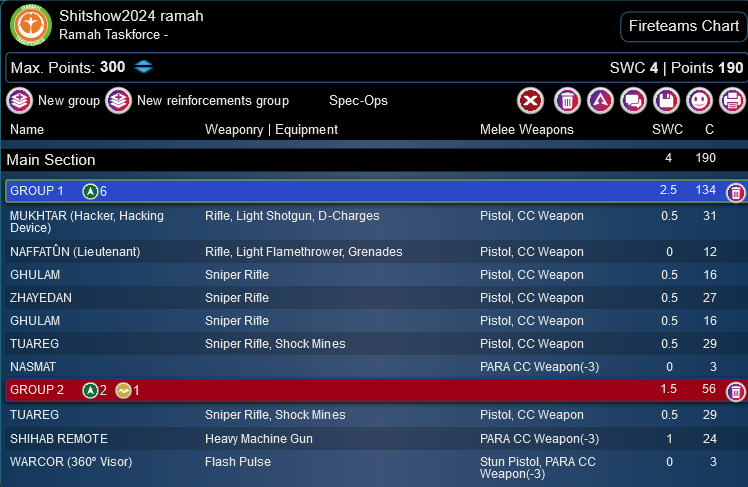
Well, what I really need to do is just preserve my order pool and keep my options open for turn 2. Anything I can do whittle down material in ARO, I’ll take. I’m feeling pretty okay about my right flank, and in my mind the left is reasonably safe as there’s nothing over there. We start with the Fasid engaging the Tanko ML. I take a hit and pass ARM. Great! One order down.
Another order in and the Tanko splats the Fasid with a missile to the face. Wunderbar!
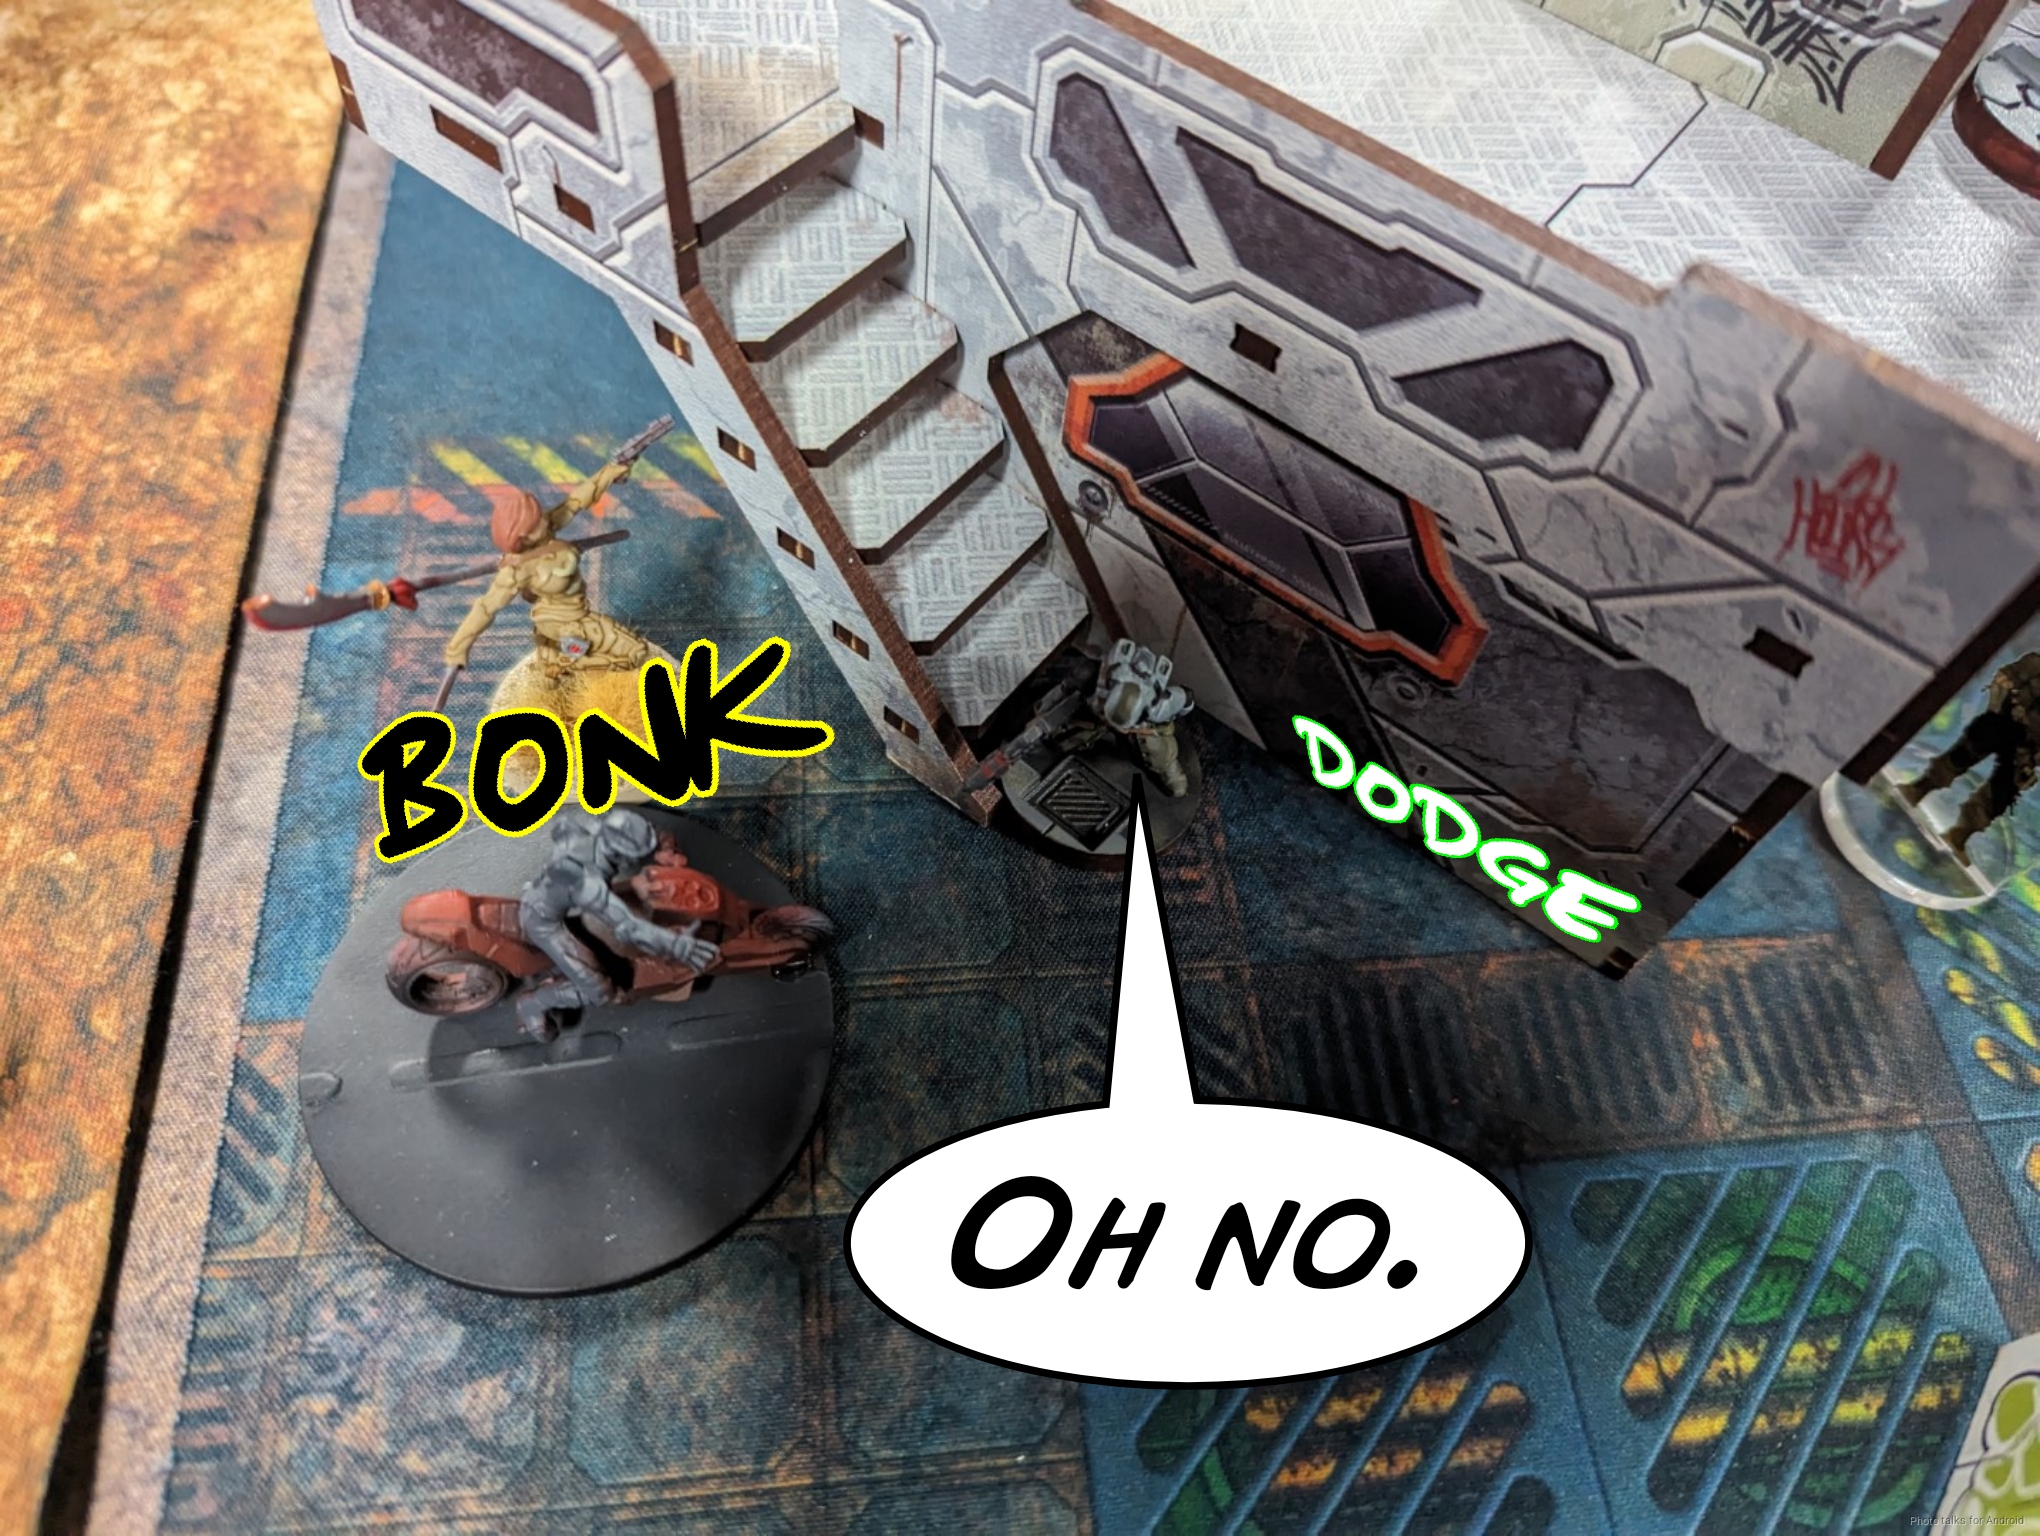
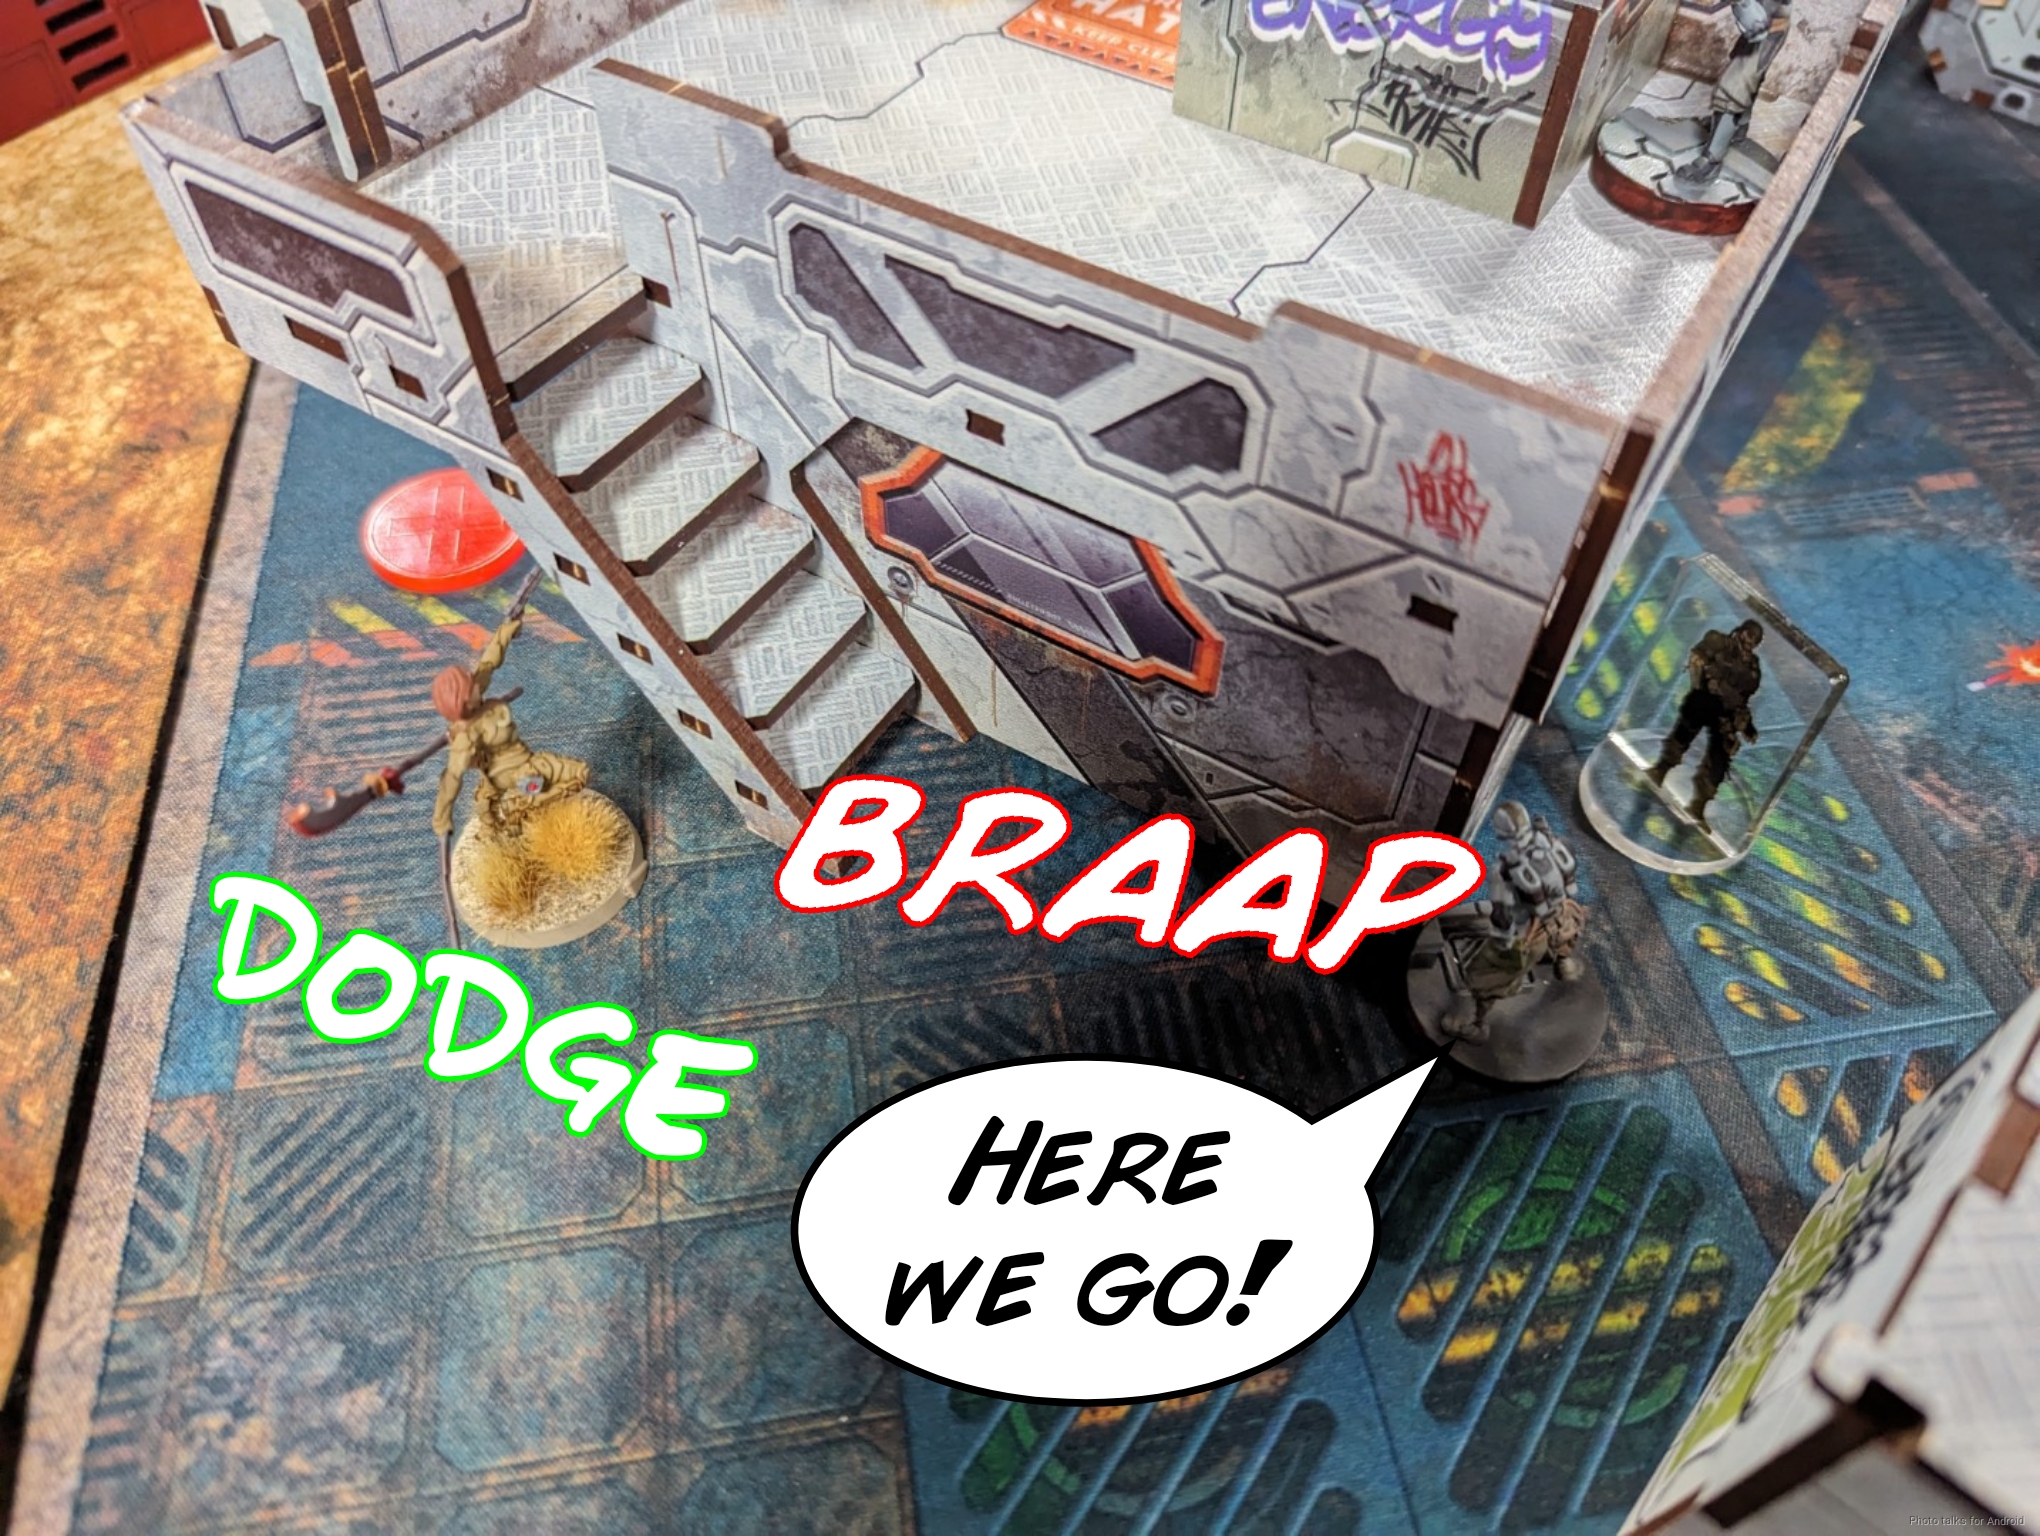
Cole correctly identifies the Aragoto as a pressing threat, and with the Fasid down, the Namurr is off its leash and starts her run. My Warcor can see all of this, but the Namurr couldn’t care less about the flash pulse, so my ARO net is open.

I just need to get dice onto the Namurr, so when she rolls around the corner and starts beating on the Aragoto Spitfire, i just blast her with the Aragoto KHD’s shotgun, but she passes ARM (this will be a trend).
She takes out the Aragoto KHD, getting hit with a shotgun on the way in as she dodges and also with a template when she rolls into CC, but ARM 2 apparently is just JOTUM plate or something.
Thankfully, this is all I lose, because it did take most of Cole’s orders to get her over there. My left flank wasn’t safe, it was more just that it was costly to engage it.
Turn 2
Top of 2 – JSA
Well, I can’t let the Namurr live if I want a third turn. I think I have enough material to do that on that flank to do it without spending all my command tokens, which will allow me to recover into Turn 3. I’m really going to have to cut down on what objectives I can accomplish here, because I’m so tight on resources now.
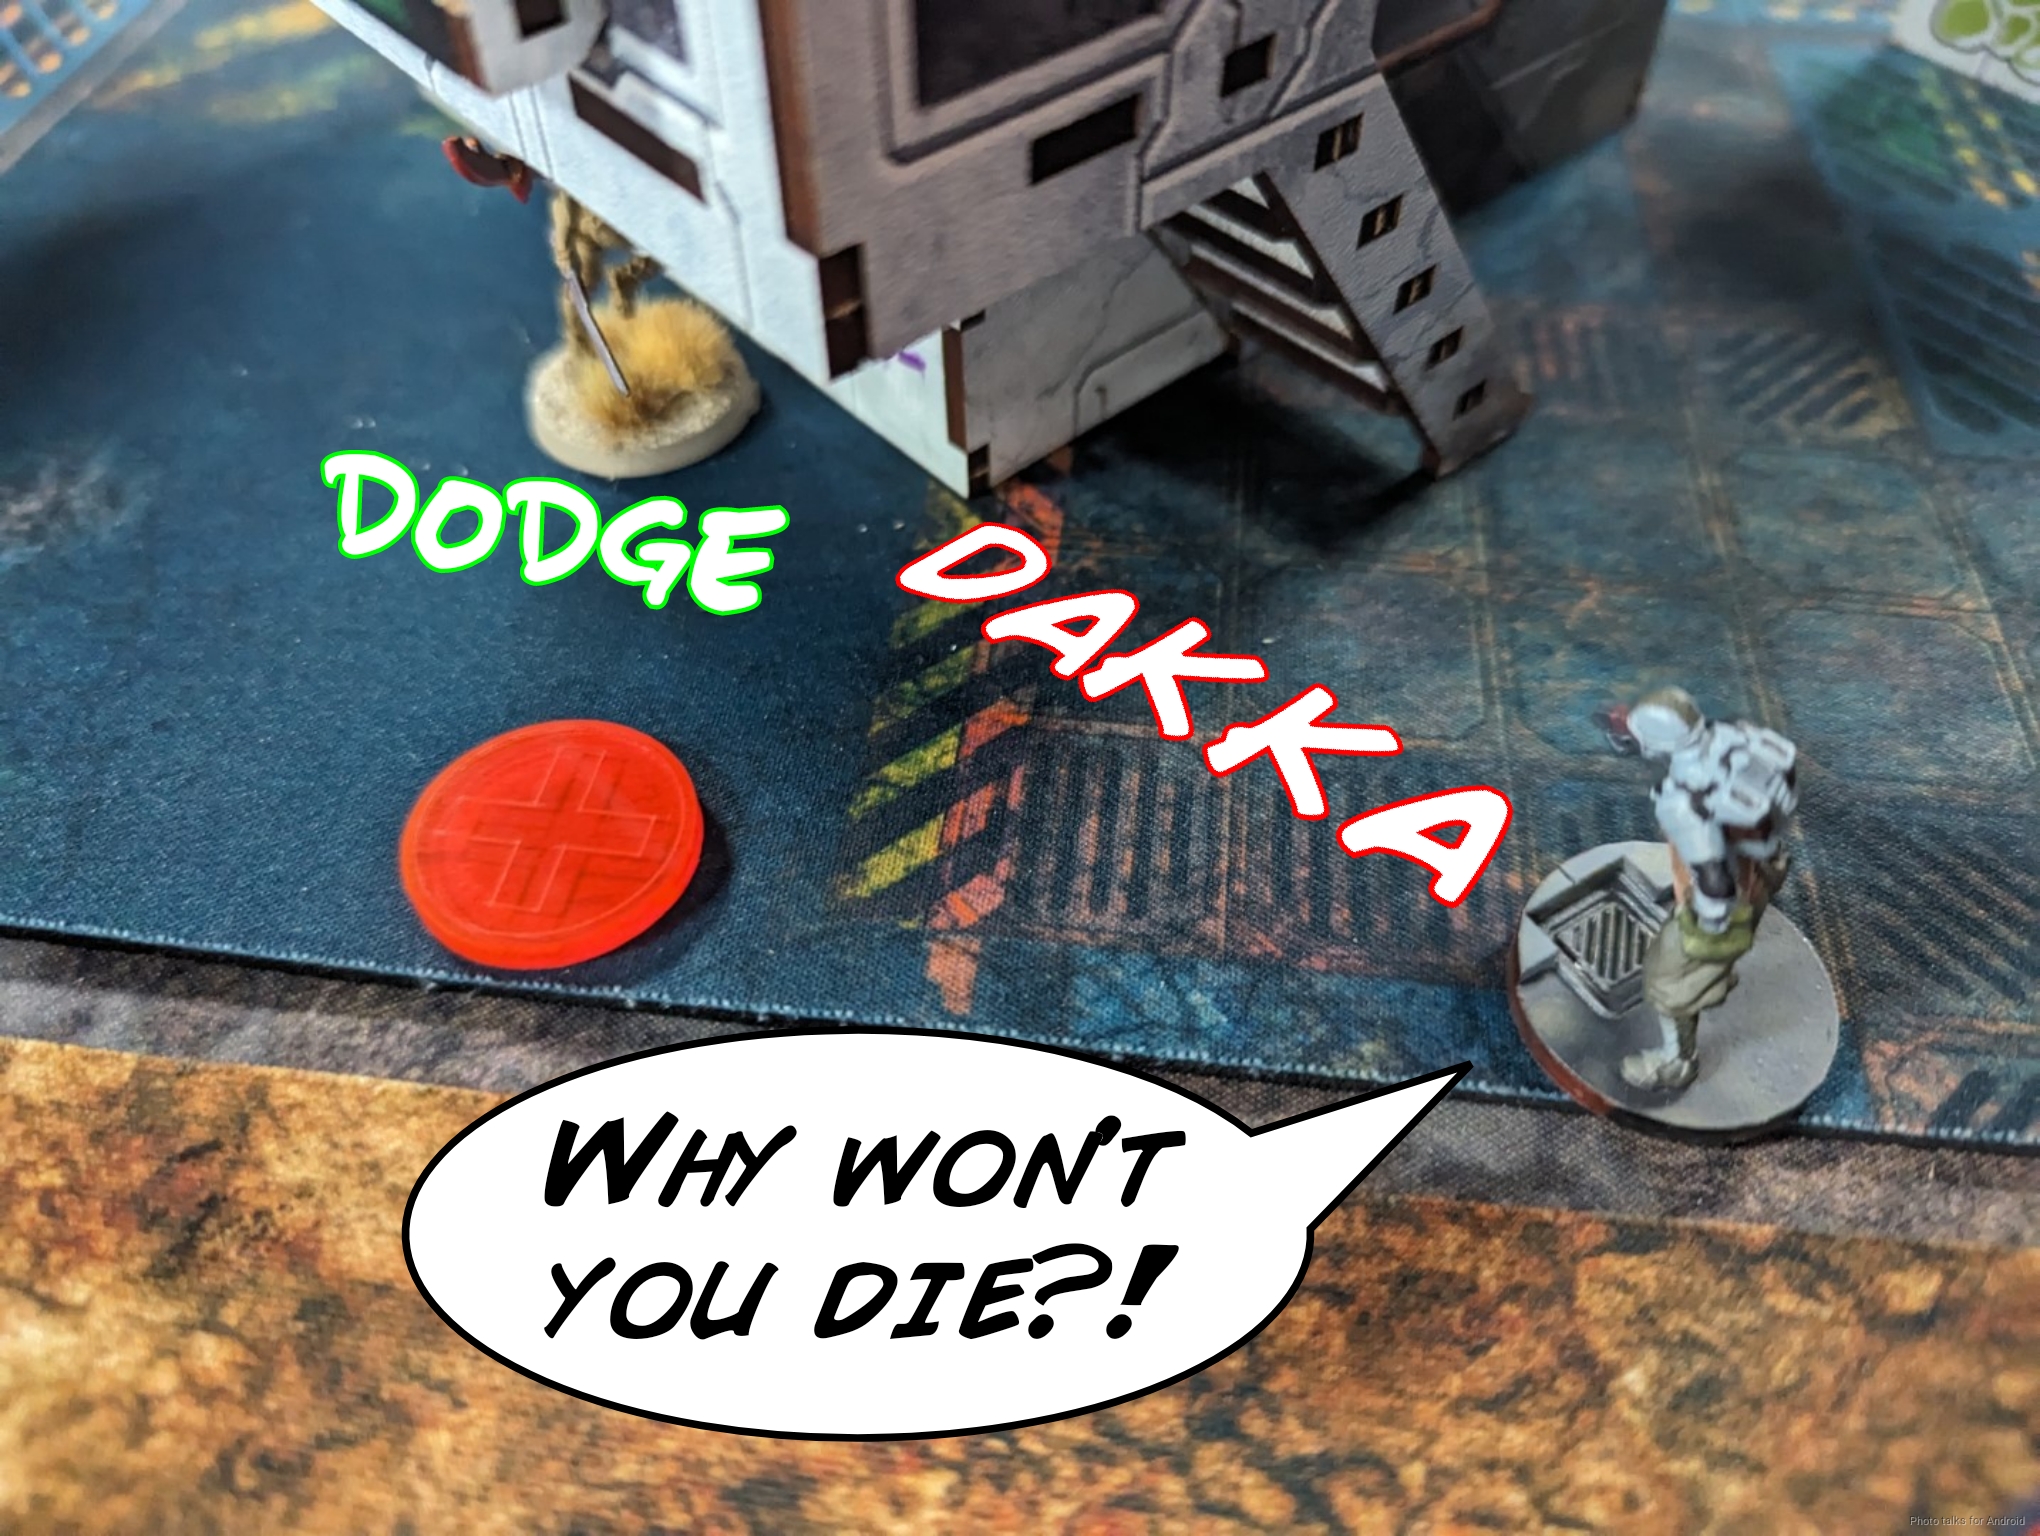
I don’t want to start activating anything in dodge range or in template range, so I make use of the Keisotsu HMG’s long range and dump 4 rounds into the Namurr. I hit, but again the Namurr passes saves.

The Engineer goes next with its amazing BS of 10 and somehow manages to get a wound on the Namurr.
I keep on pushing with the Engineer, as it’s in place to get the Namurr out of cover, but with the dodge beating so many of my rolls I can’t stack enough hits to force enough ARM saves to get the job done.
I decide to shift the Warcor to put more dice on the Namurr to at least contest the dodge on the follow up turn, and Cole reveals a Taureg on my second short skill. The Taureg whiffs.
I get one more shot on the Namurr, but this time it takes out the Engineer in ARO. Sigh. I stand the Lt decoy Keisotsu on the roof up (not that it’s a good lie anymore with Kitsune revealed as my Lieutenant) to get more AROs on the Namurr and pass turn.

Bottom of 2 – Ramah
Well, the Namurr makes its way into my deployment zone, figuring it will be able to kill the Keisotsu HMG first and then take out a nearby Beacon. The Keisotsu HMG hits the Namurr again, but you guessed it, passed ARM save.
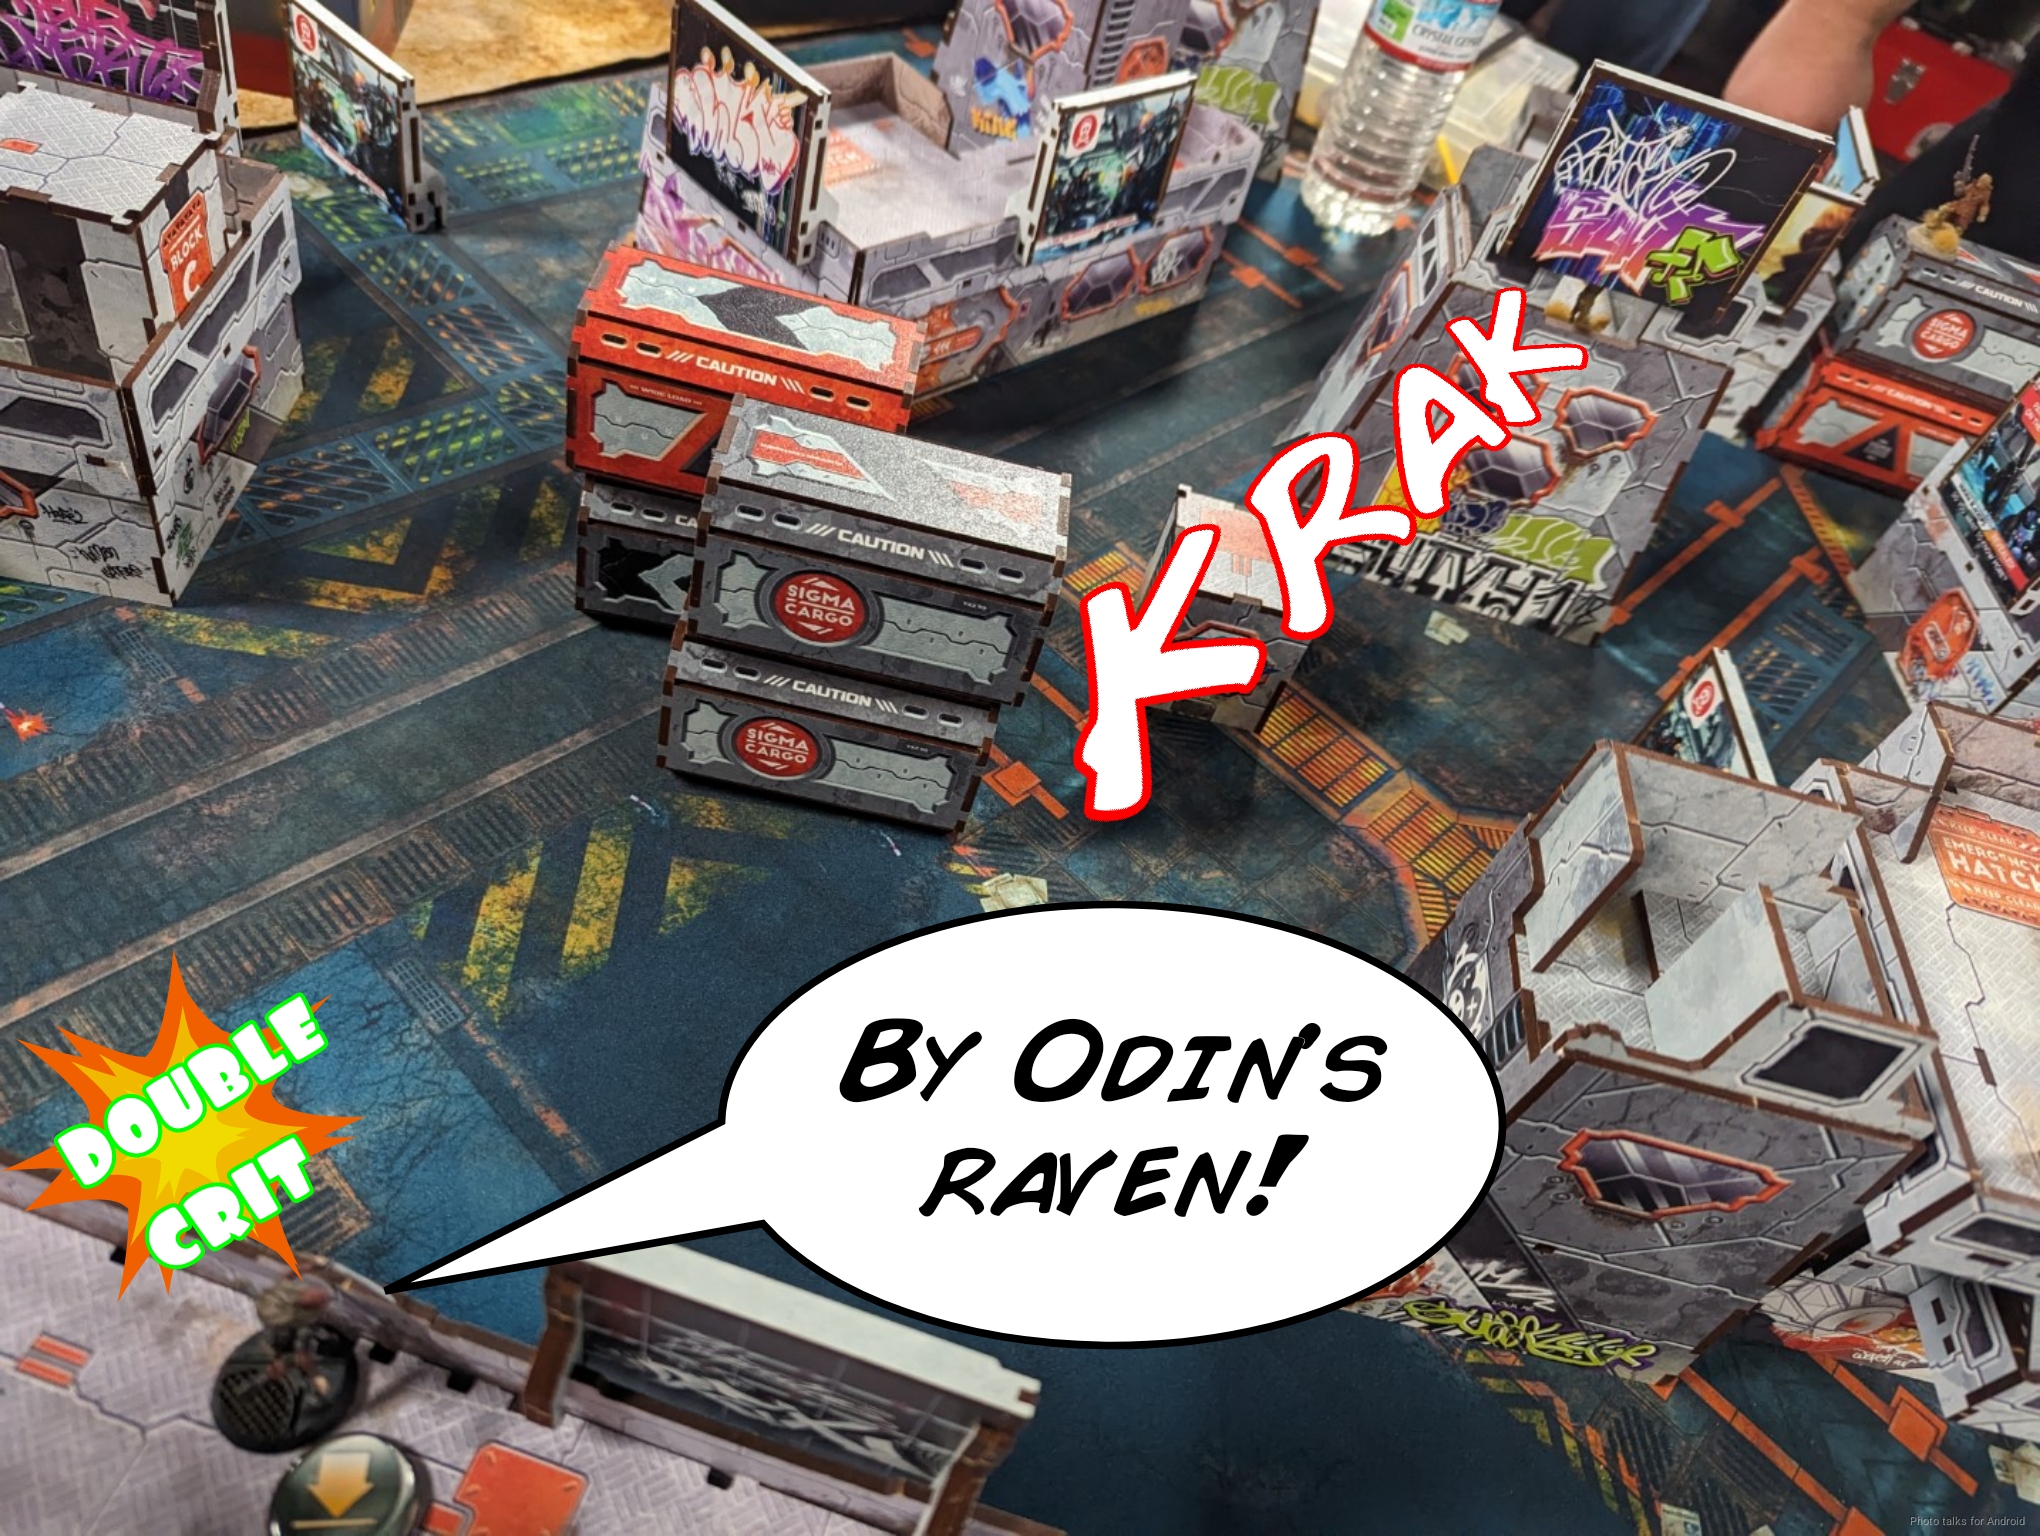
The Namurr pushes forward to just fight the world and attempts a dodge against the Keisotsu HMG, the Warcor, the other Keisotsu, and the Karakuri. We’re just going down the line and I’m either whiffing or getting beat the dodge, but then the Karakuri lands a crit Panzerfaust. Ordinarily this would be much more impressive, but with Total Immunity it just forces two saves. Finally, the Namurr goes down, after at least 7-8 ARM saves.
Lady luck smiles on Rhonda Burgundy, my Warcor, when the Taureg that can see her opens up and doube crits her. I pass all four saves and Rhonda kisses concrete while flipping double birds over the parapet.
The other Taureg reveals to engage the Tanko ML, doing a wound. Finally, the Muhktar moves forward to be annoying, and then the turn is over.
Turn 3
Top of 3 – JSA
Well, with the Domaru as my new lieutenant, I survey the situation and try to figure out a solution. As a reminder, the 4 public objectives are:
- Cybersiege
- Interrupt the Signal
- King of the Hill
- Triangulate The Signal
Cybersiege and Interrupt the Signal are definitely not…

in the cards. This means I have to get King of the Hill conclusively and get beepers down. I think I can do both, but it will be very hard to prevent Cole from doing both as well. I’ll have to hope for an unforced error or some serious dice luck.
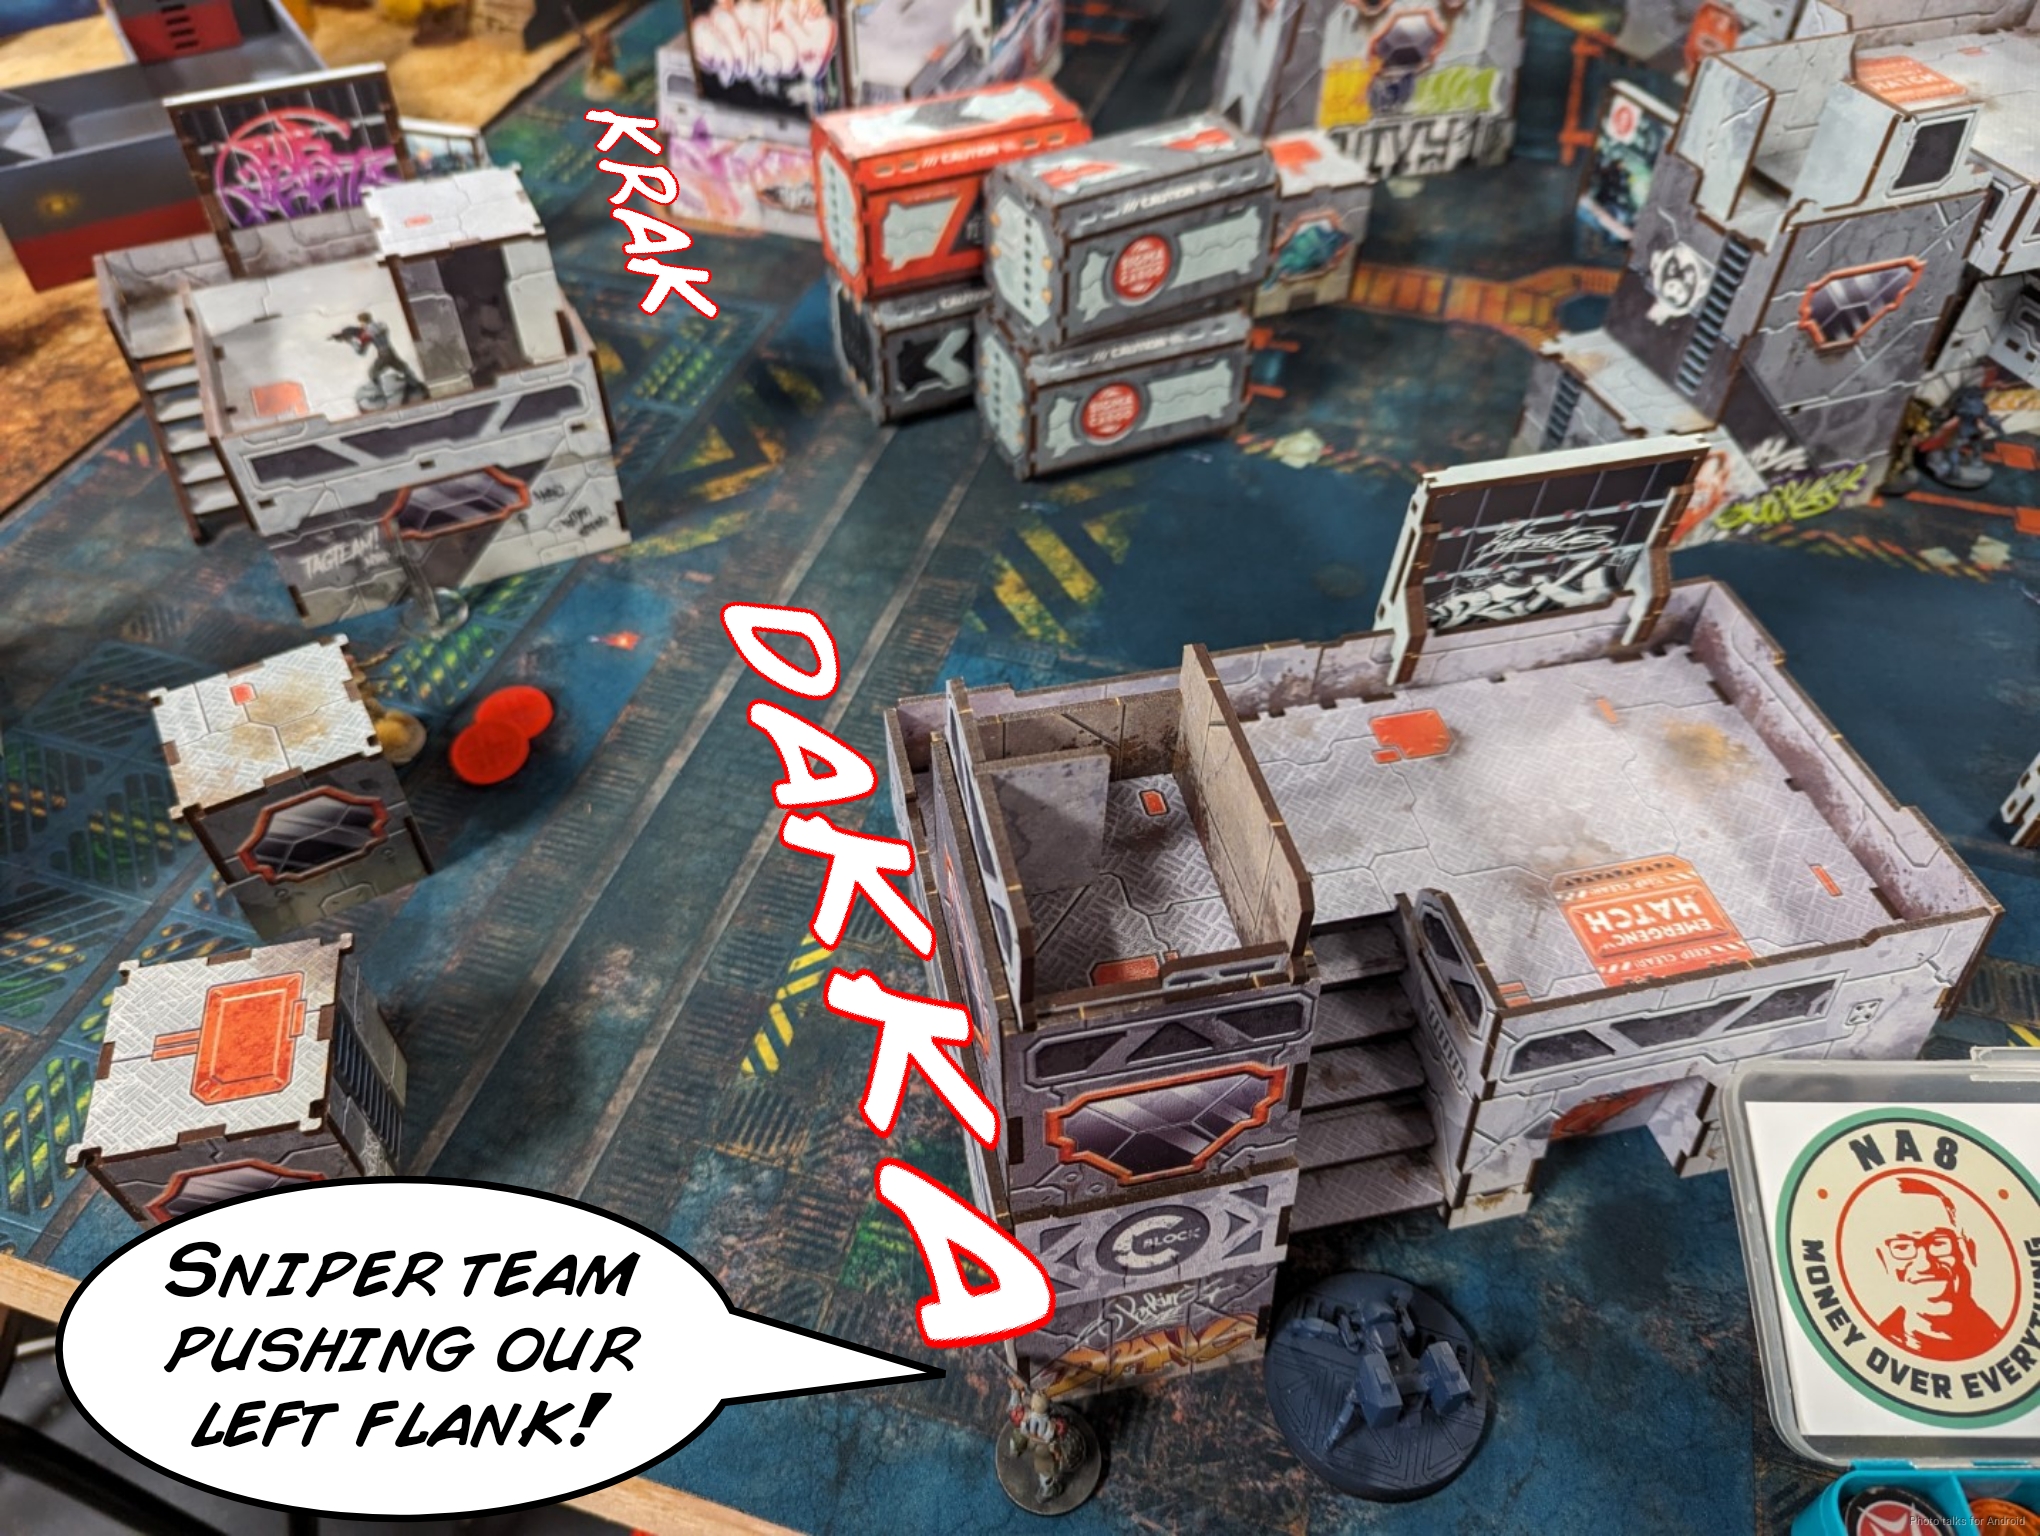
I start by long-skill jumping the Tanko ML off its perch while getting jump movement on the other two link members. This procs an ARO from the Taureg that engaged the Tanko earlier, but the Taureg whiffs and that’s that. They’ve all now broken contact and can move freely.
I reveal the Ninja in group two and drop a beeper across the centerline.
I stack both Tankos and the Domaru up in the King of the Hill bubble, using the link team’s movement efficiency to also get another set of beepers down.
I blap the Taureg that’s in the King of the Hill bubble with the Domaru’s Spitfire, figuring I have orders to make the attempt.
It takes two orders but I get it done.
My last order is spent sneaking the Ninja into position to harass the Muhktar should it peek the stairs or try to fight my Tanko.
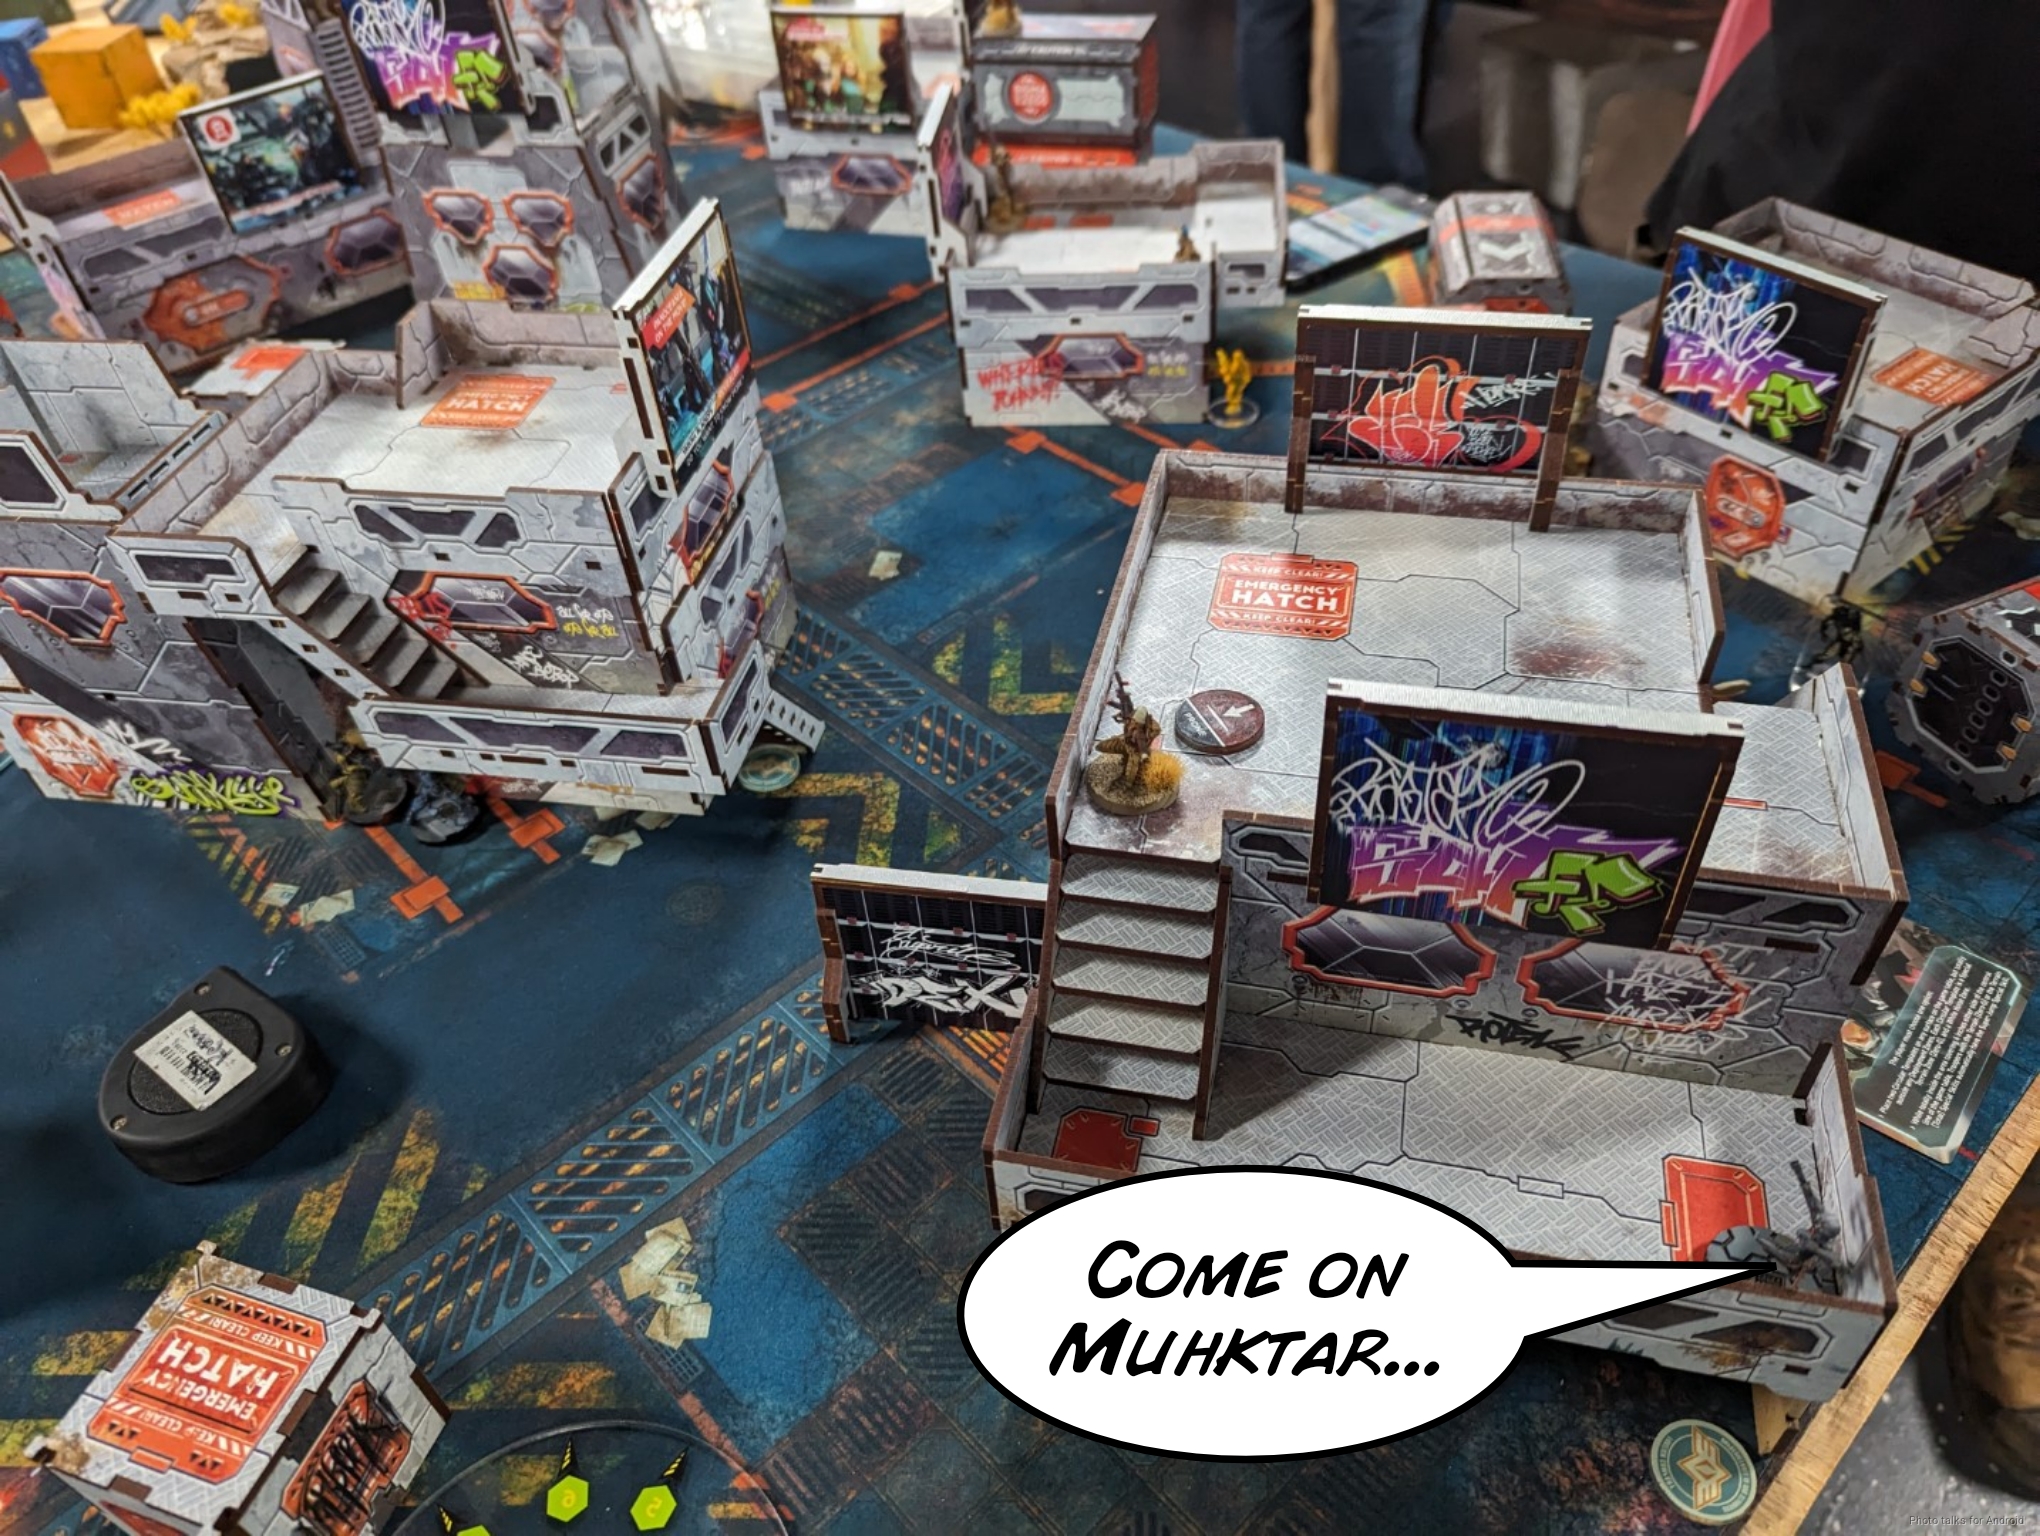
I’ve got Beepers down, the Tanko in the bubble, and the Domaru in suppression thanks to its Lieutenant order watching the approach.
I think I can defend my beepers and maybe out-point Cole in the center, but I can’t stop him from advancing into the midfield and dropping his own beepers.
Bottom of 3 – Ramah
Cole more or less agrees with my assessment, apparently, because he makes a play for the beepers. The Ghulam core climbs off its perch and then starts the long march to my left flank. The Zhayedan easily ices my Keisotsu HMG that I left out, but this is an order tax. I’ll take it.
The Ghulam core crosses the centerline and just dumps a load of beepers, and that’s game.
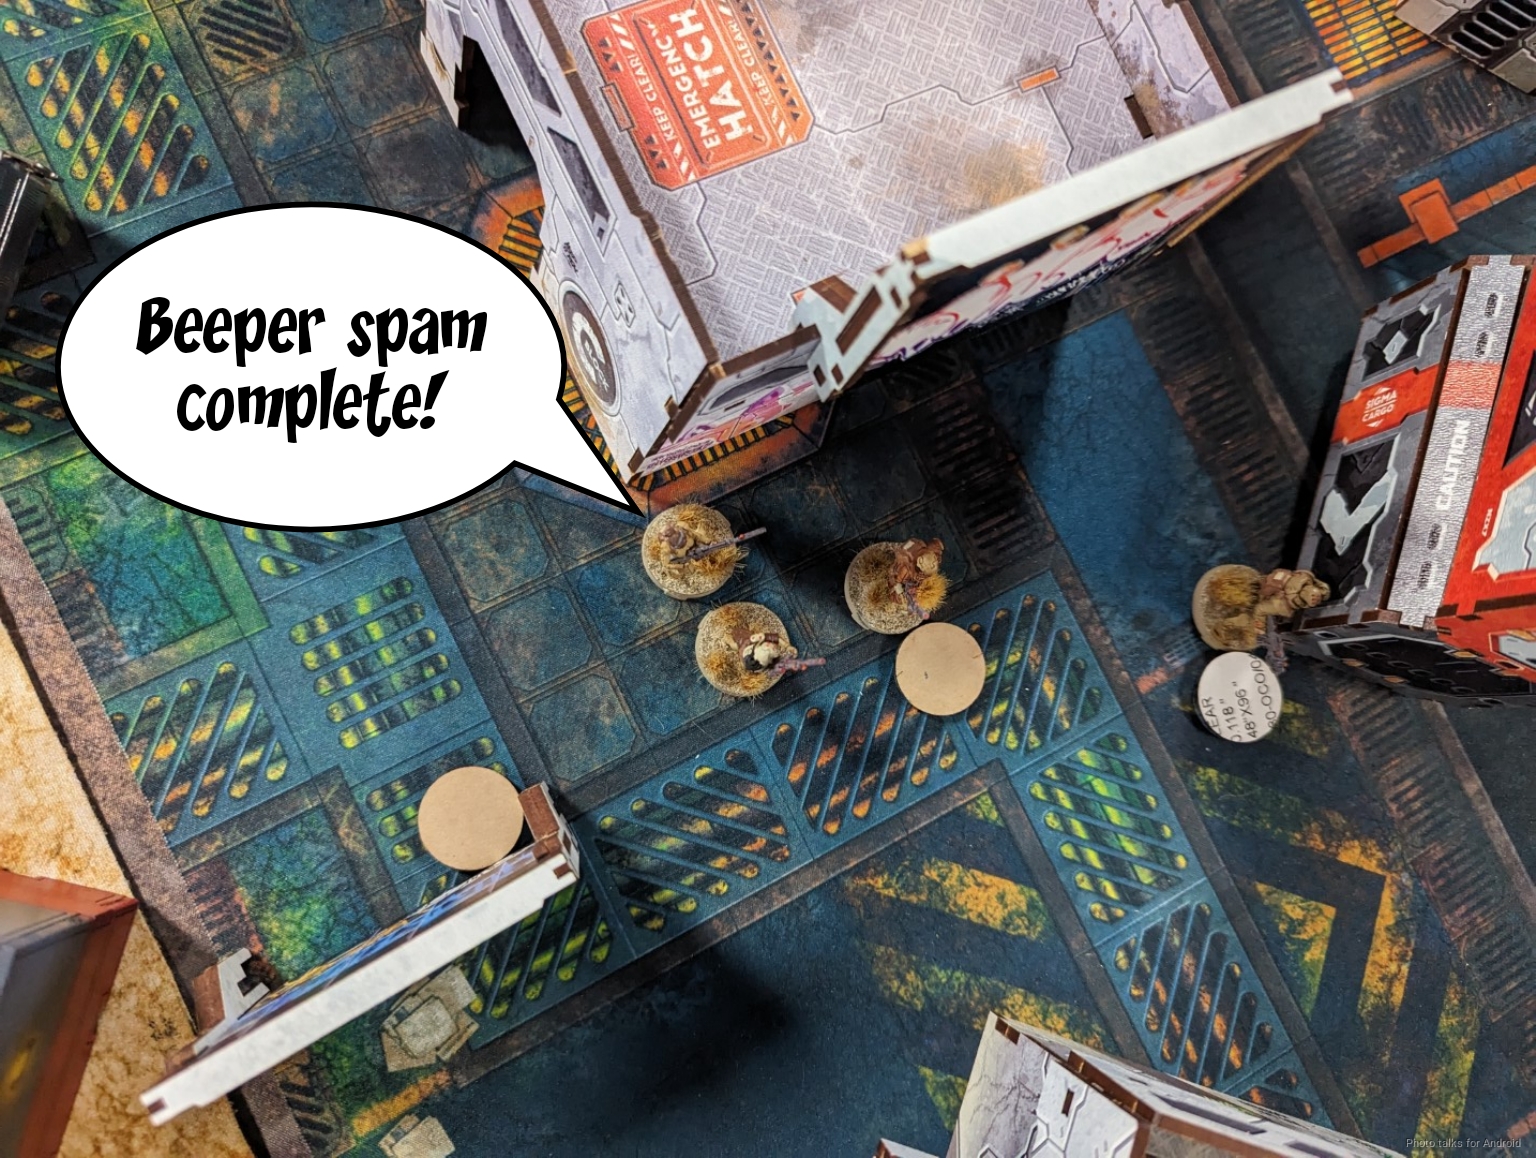
We’ve both got 2 points from the beepers, but I have King of the Hill, making it a
6-2, 177-145 Japanese Secessionist Army Victory!
Post Game Analysis
So, 1 in 100 odds of Kitsune getting punked aside, I think I made some pretty huge mistakes. I think I should have just gone for the objectives first with Shinobu, letting the Hortlak take its dodge or whatever, and then maybe even just leaving Shinobu as bait for something. That would have forced a response, and probably would have kept much of my material intact by forcing a split of resources, an overcommit, or some other issue. I’m of course operating with complete knowledge here.
I do think that Cole made a big mistake in his second turn by losing the Namurr. If he had just left it alone, literally done nothing with it, I think that would have been a better turn. Sure, he doesn’t get the objectives done, but it’s also forcing me to deal with it and dividing my attention on my third turn, which is not really what I want at all. I think developing the sniper link would have been a far better use of resources, but I suppose it was pretty tempting to just go after the Beacon to get points, even though I set up a lot of material to deal with it. Being really conservative and slowly chewing through my orders might not have been a bad plan either.
In short, I think we both were in a rush to kill stuff and didn’t rein ourselves in enough to make sure we accomplished objectives while also setting up forks for the other player. Still, I kept my attention focused properly in Turn 2 and 3, and that got me where I needed to go. Definitely looking forward to the next game, Cole. Thanks for reading.