Hobby Progress, Jan-Feb 2018
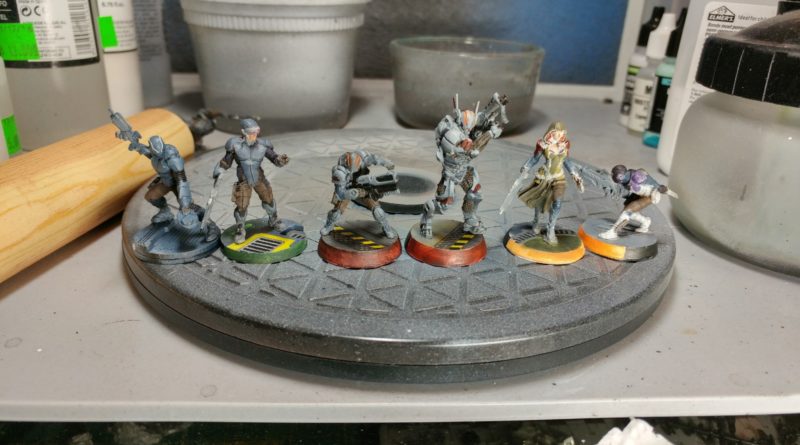
Well, work has slackened a bit, so I’ve had some time to spend on hobbying. Not a lot, but some! Someone was asking me about my color schemes on one of my Infinity chat groups, so I took these photos to illustrate the intent. I’ve chosen 3 highlight colors: red, orange, and green, which I use for glow effects and LoF arc markings, rotated between the three sectorials, and I tried to tie my force together with grey, brown, blue, and purple base armor and cloth colors.
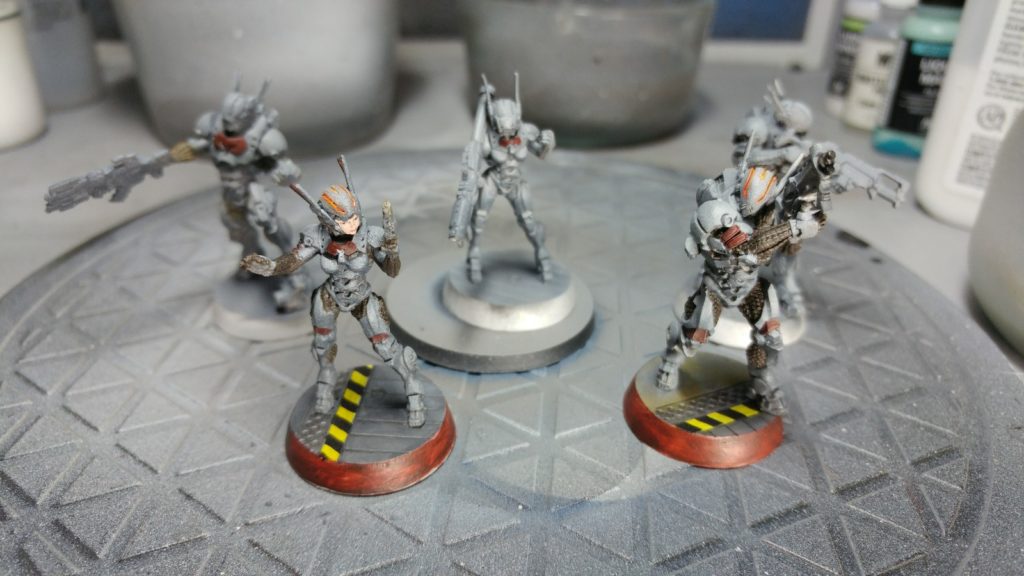
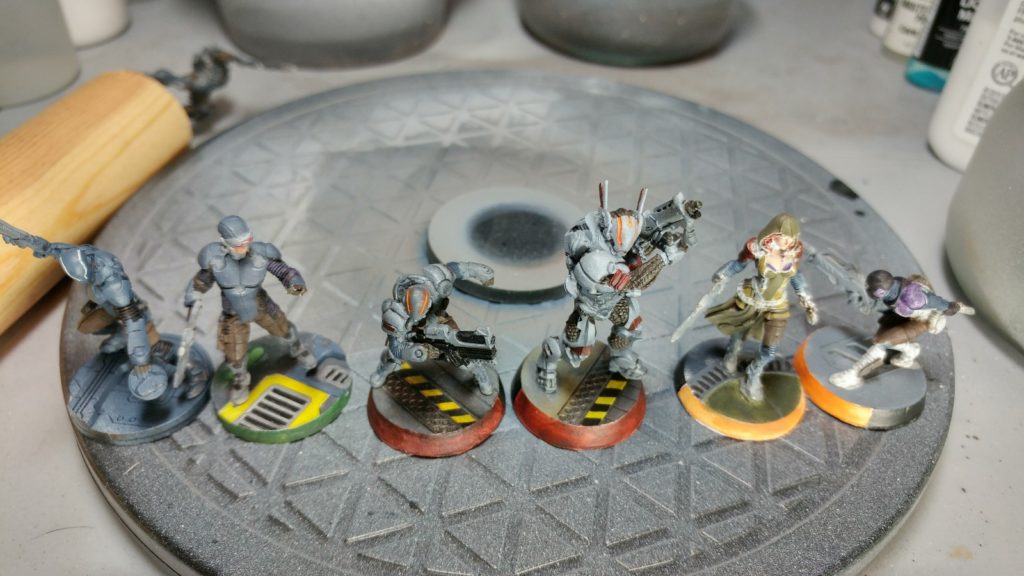 I really like this picture because it covers my entire Infinity painting history. The Wildcat Spitfire (3rd from left) was the first Infinity model I declared “finished.” He was done entirely with Army Painter brushes and a mix of Reaper and Army Painter paints, with all the highlighting, washing, and blending done by hand with a brush. The Reverend Healer and Interventor (5th and 2nd from left, respectively) were done with airbrush priming, airbrush color blocking, and finished by hand (well the Interventor is done, the Healer is still a work in progress). So basically I would airbrush the armor a particular color, then the pants a different color, and so on.
This sped things up immensely from the original brush-only workflow, and you can see the Zero all the way on the right as an example of a model more in the early stages of this flow. I’ve done the lighter purple with a brush and really don’t like the way it’s turned out so far, so I may strip him and start over again. These days, I’ve arrived at a new flow which has further increased my painting speed!
I start by priming the model, and then I airbrush on the shadow, midtone, and highlight of the most dominant color (by area) all over the entire model. I use the zenith highlighting technique, where I spray the darkest color (often black) up from the model’s feet, the midtone perpendicular to the model, and then the highlight from the top down, often straight down onto the model’s head.
You can see an example of a partially finished model with the Spetkr (all the way on the left)–the highlight spray is done, and I’ve painted in the pants colors and the beginning of the eye-slit highlighting by hand with a brush. The Mobile Brigada BSG (4th from left) is a basically finished version, and I did the zenith highlighting technique and then blocked in the rest of the colors. I’ll talk more in detail about exactly what I did later. The key difference is that he looks almost as good as my Wildcat, if not better. I took me the better part of two weeks under PJ’s tutelage to finish the Wildcat, and while I’ve gotten faster, the Brigada took me an afternoon. That’s crazy! Now I don’t feel so bad about having such a giant model backlog, I feel like there’s a chance that I’ll be able to chew through it all!
Bakunin
Speaking of backlog, I’ve been putting some Vallejo German Fieldgrey on my Observance models. Oh my goodness do they look good in green! I love these models and picking out the cape and the beginning of the pants and that sort of thing really makes them pop. The Reverend Healer is the farthest along, and I’ve started picking out her shirt colors and all that in different shades of green and grey. It doesn’t wash her out, and the red shoulder pads and hair really help offset all the green.
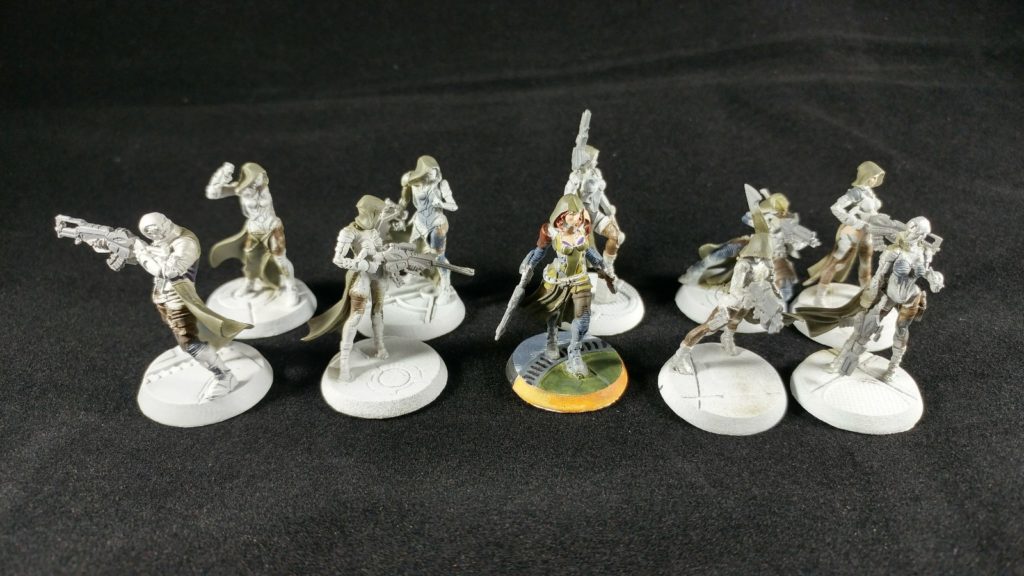 To keep things tied together with the rest of my force, I used the dark blue for Tunguska on her base and Bakunin purple for her… ah… undergarments.
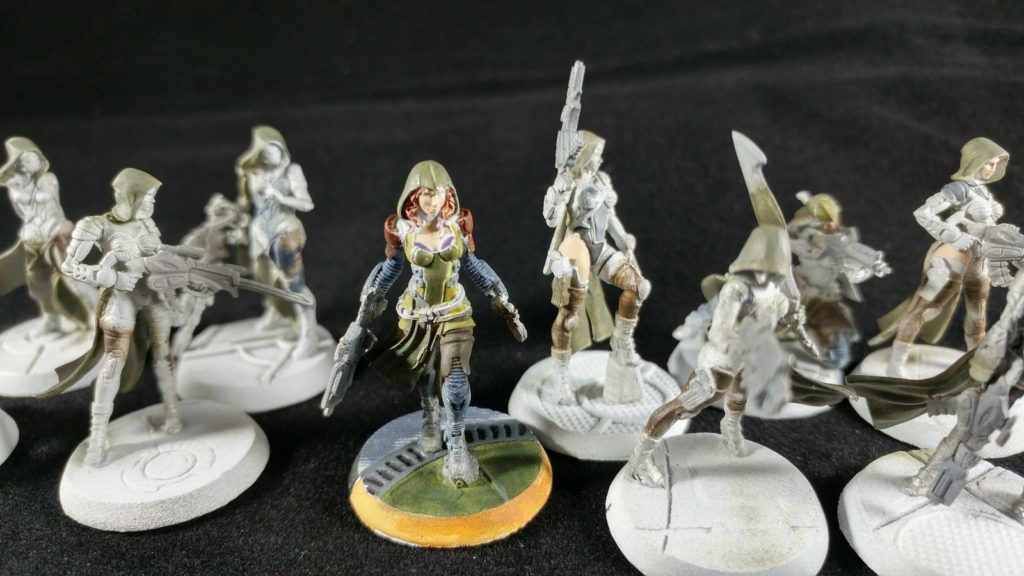 I really like where this color scheme is going and I can’t wait to put a Observance Bakunin list on the table! It’s going to look so good! I’m thinking about some sort of unit designation color on their shoulderpads. Red for Healers, maybe green for Moira, and perhaps orange for Custodiers, to keep things in the trio of color that I’ve chosen for my Nomads. This would let me do a nice green/orange contrast with the glow effects on the Custodier’s facemask. Also, these photos are a test of my lightbox. Looks pretty good but I need to straighten out the cloth some.
Corregidor
Okay, I promised a quick breakdown of how I did the Brigada. You can see them here after priming and the zenith highlight process. I neglected to take a picture between airbrushing steps, but perhaps I will do an article on that sometime with better pictures. I did a color scheme test on the Djanbazan you see in the back, but wasn’t happy with it so I stripped them later.
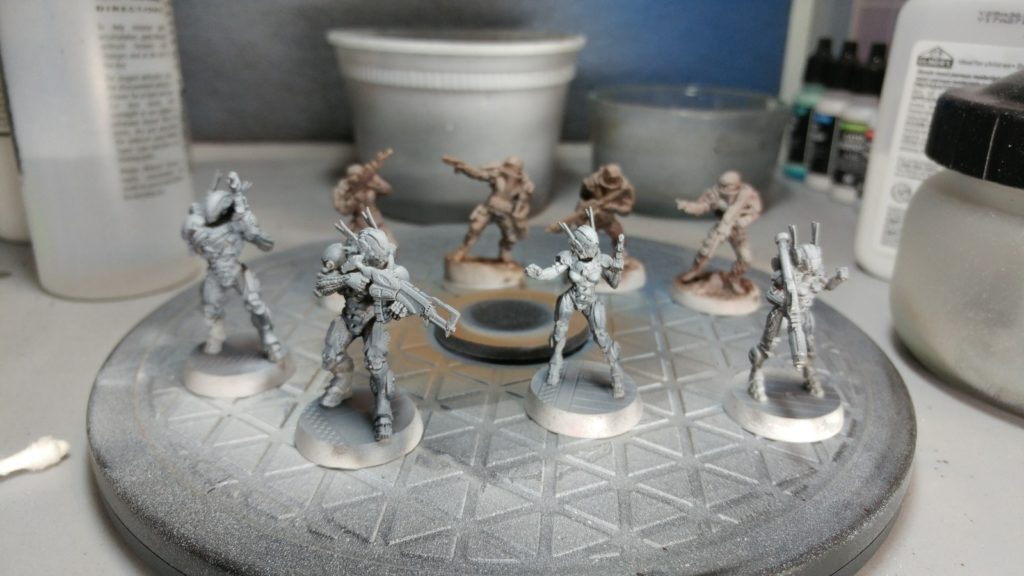 Here are the Brigada again, and I’ve started blocking in the artificial muscle bits in olive drab. Doesn’t look like much yet, but once everything is tied together it looks great, I think.
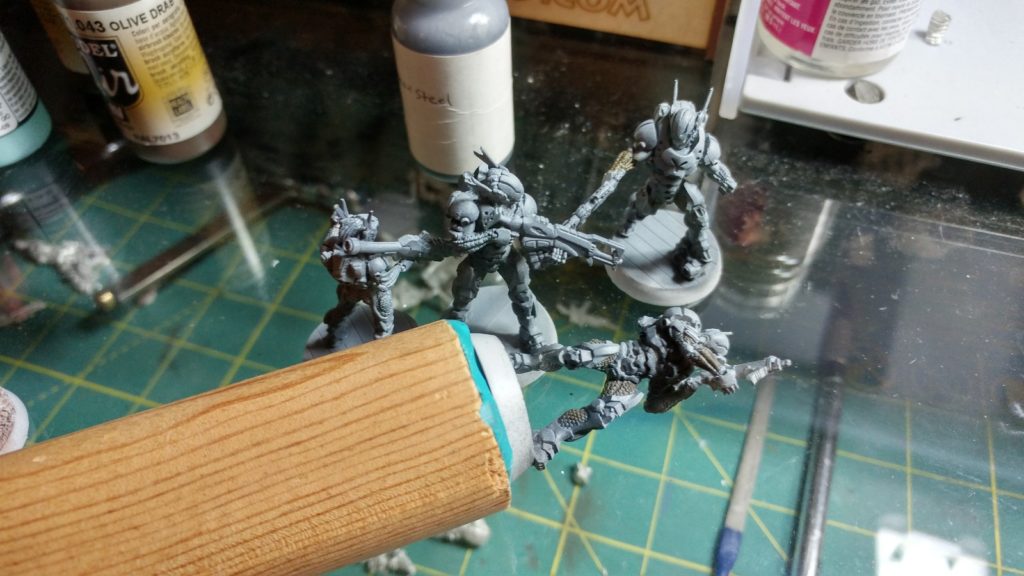 Same Brigada, only difference is most of the muscle bundles are blocked on in olive drab, breaking up the uniform grey and giving them some contrast.
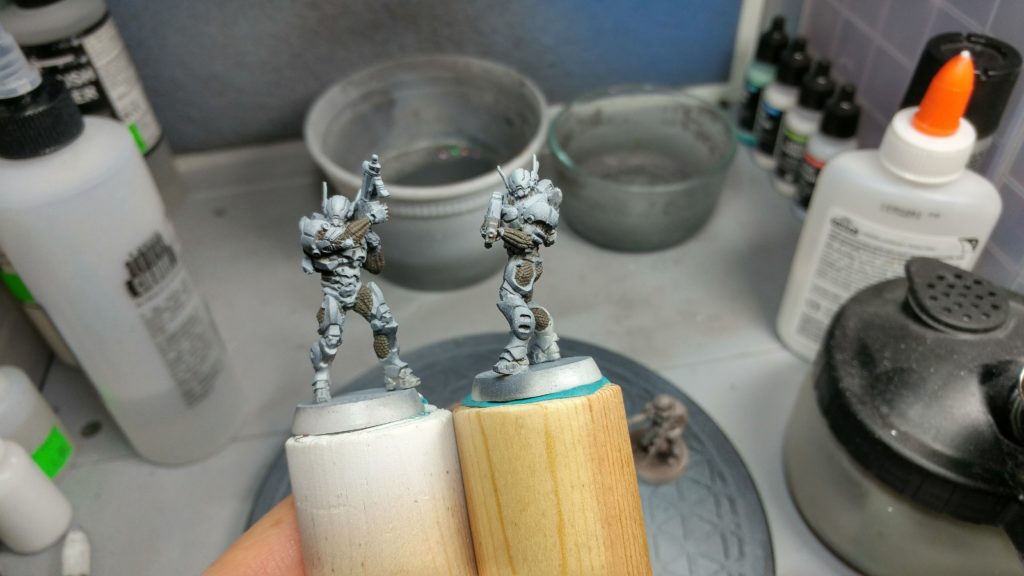 Here’s a close up of my Brigada hacker. I’ve blocked in some more color on the Nomad logo, her face, various red bits of armor like the antennas, and tidied up most of the muscle bundles. What’s most noticable (at this scale) is some speckling on my white highlight. Pretty sure this is airbrush flow related, but I sorted it out. A bit too late for her but I don’t really have time to go back and fix it up, as that would require a strip and repaint to get it to a standard that I’m comfortable with.
 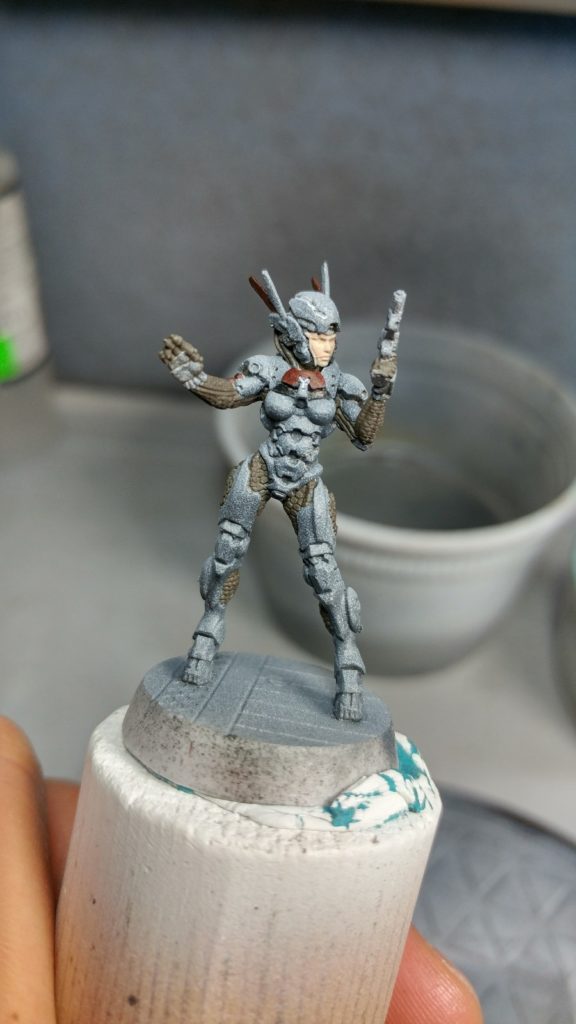 Here she is again, major difference is I’ve painted in her eyes. I cheated for the pupils and just used a 0.3mm Copic Pen. Can’t recommend them enough for eyes. Really saves you about an hour of heartache.
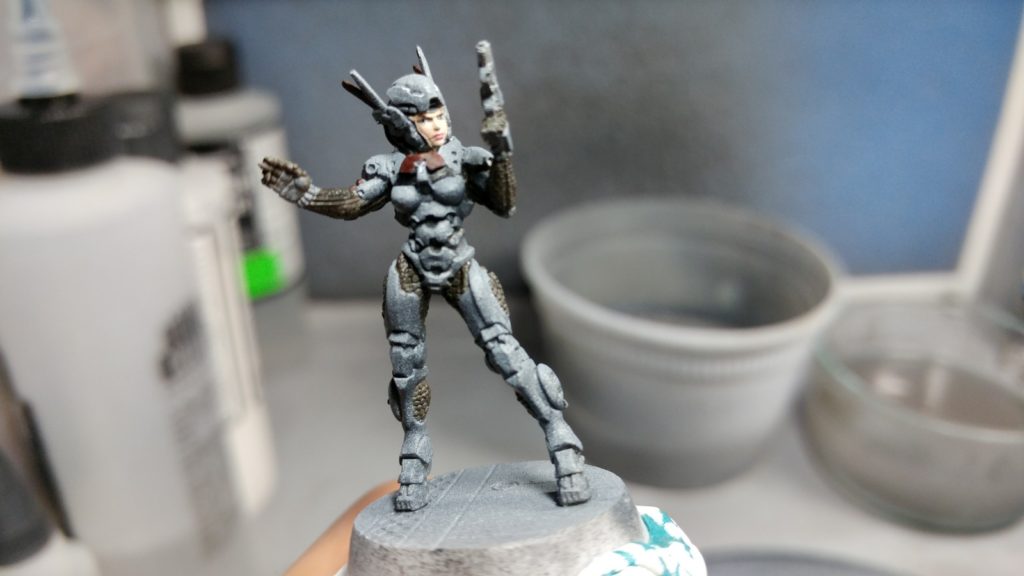 Now with glow effects. Some light blending of a dark orange around the eyeslits, and then a wash of brighter orange in the slits.
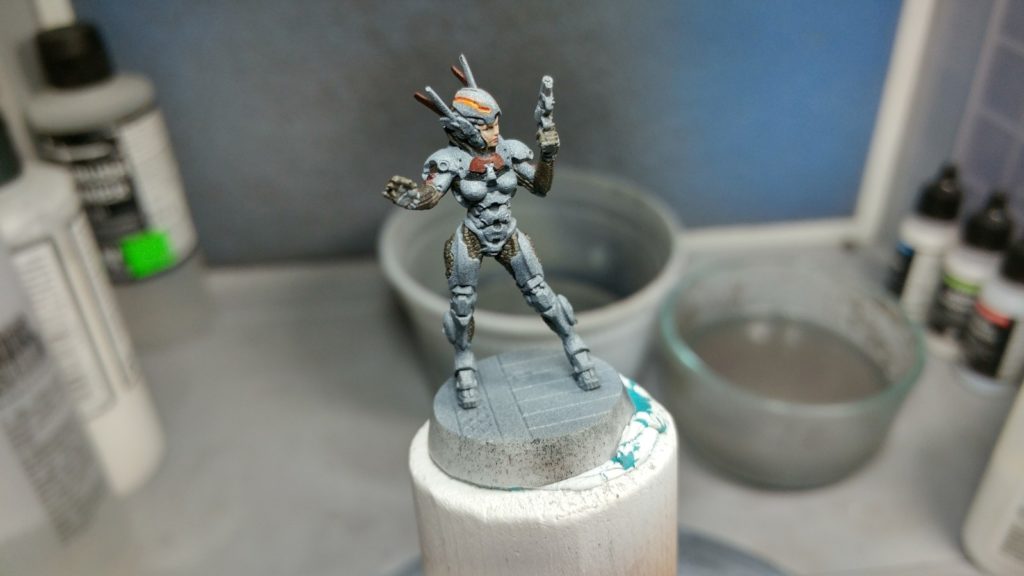 Now I’ve push some wash into the recesses, especially the crevices of the artificial muscles. Darkens up the model and gives some more contrast.
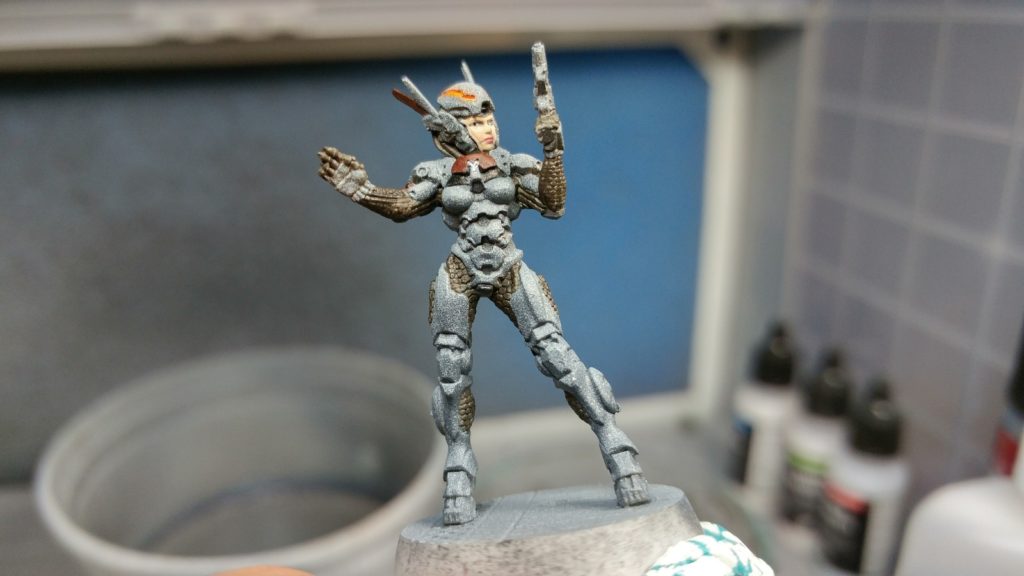
 Now complete! Base has been painted and LoF marked, and I added some knee armor color to break up her legs a little more. I’ve also added the tiniest amount of weathering powder to her pistol, to just give that some color too. I went with orange just to tie things together.
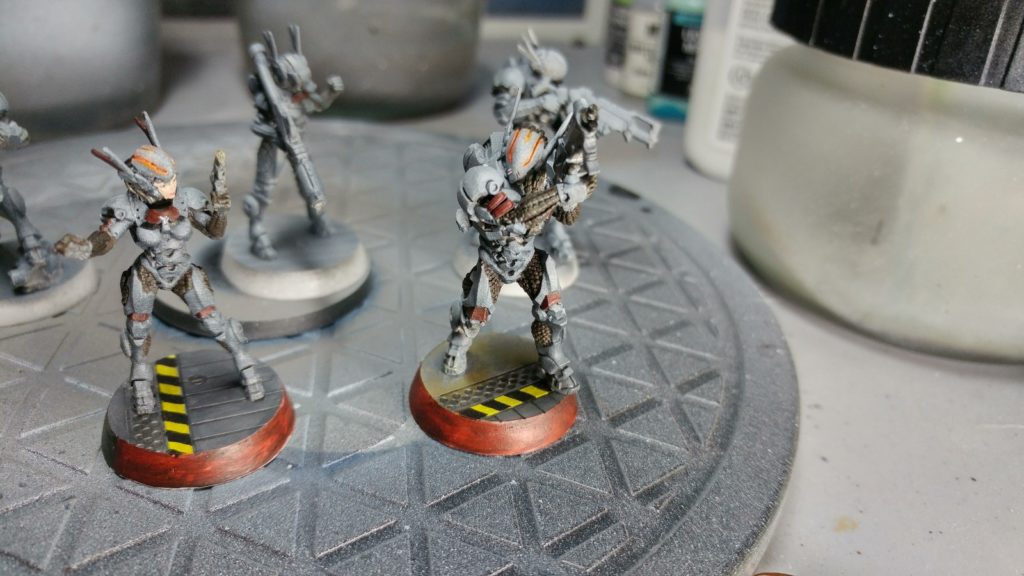 I’ve given the boarding shotgun Brigada the same treatment, and I think he came out a little better, probably because he was my second model using the flow. Some light orange weathering rust on the base to make it slightly less boring. And that’s it! They each took about an afternoon of work, and I’m sure I’ll get even faster as I get better at this. Maybe I can even basecoat some things with the airbrush if I get really good at that. Probably not though. In any case, from weeks to hours is a a dramatic improvement for me!
Force de Réponse Rapide Merovingienne
I wrote about this in another post, but I finally got around to assembling my French! I’ve wanted to play them since the beginning. You can see some Loup Garou here, with their Djanbazan and Hellcat buddies.
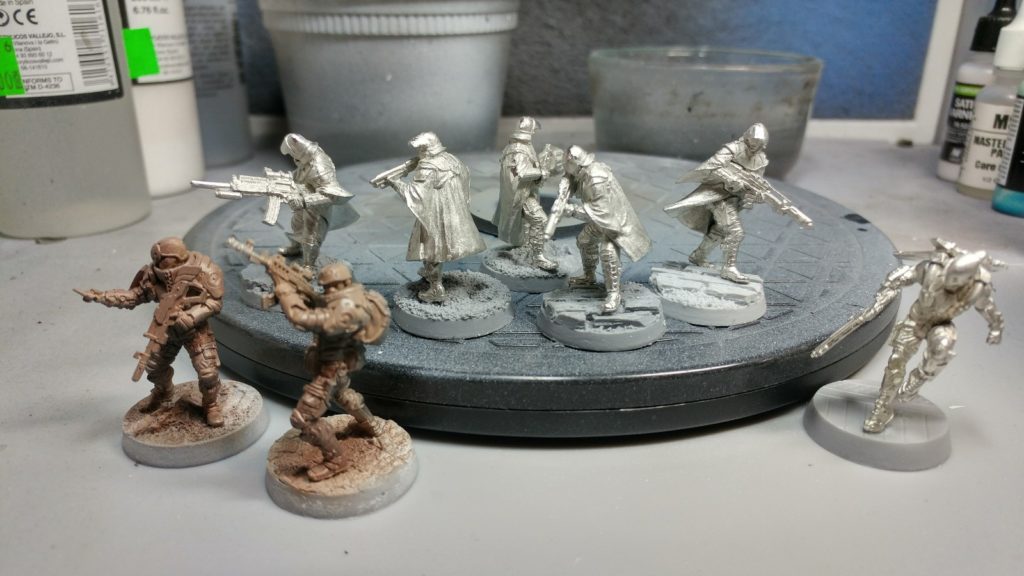 The Briscard are mountain troops, so they went on mountain bases. I’m going to do all my Ariadna in snow, much like my Khador of old. But better. I’m better at things now!
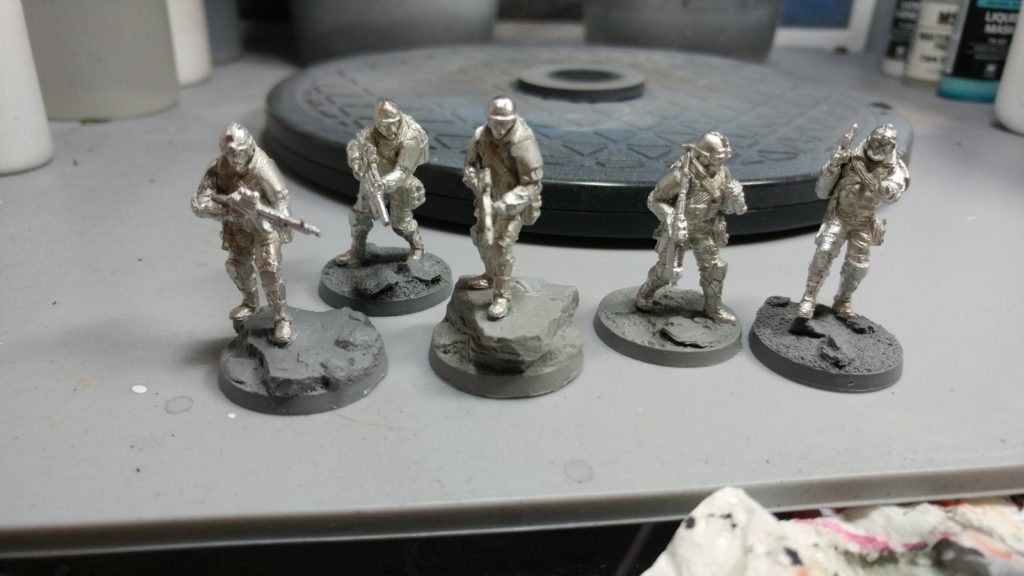 And finally, the rest of my French. Knauf is looking all proud and sassy there. I’m particularly proud of the way I posed Duroc on the scenic base, and how it looks like he’s grabbing the rock with his hand to steady himself for a leap.
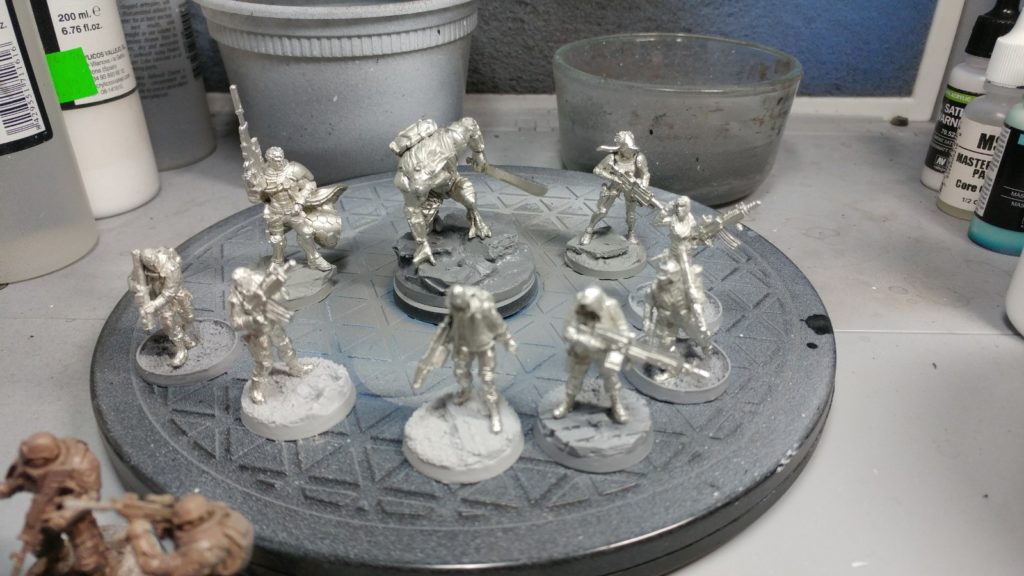 I’ve played a few games with them now, and I’m really happy with how they perform. I really like the old models too.
Other
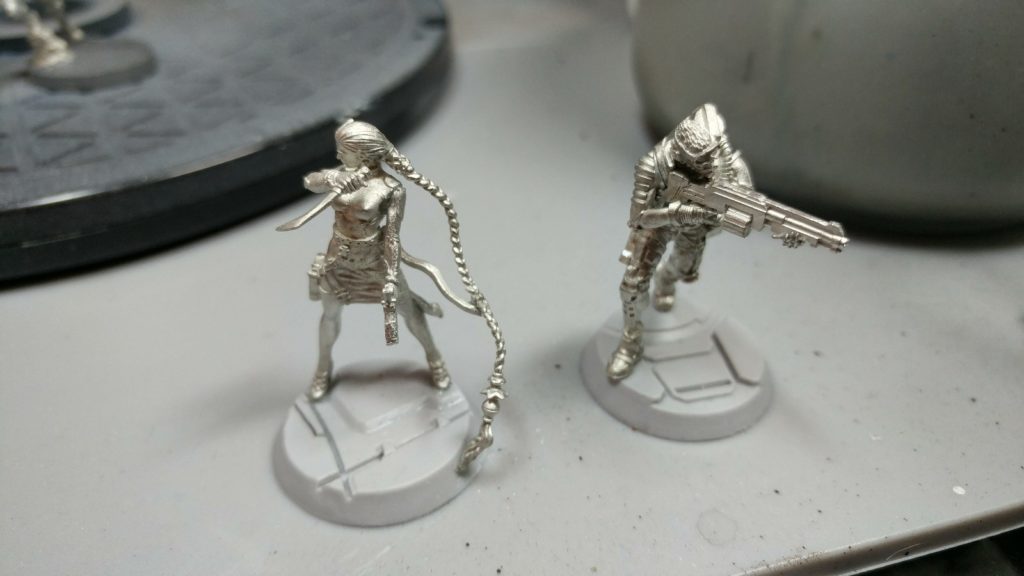
Speaking of old models, here’s Yasbir. I posted him in super dynamic fashion on his base, primarily to protect his sword arm and to make it easier to get him to cover. It does make him a little tippy though.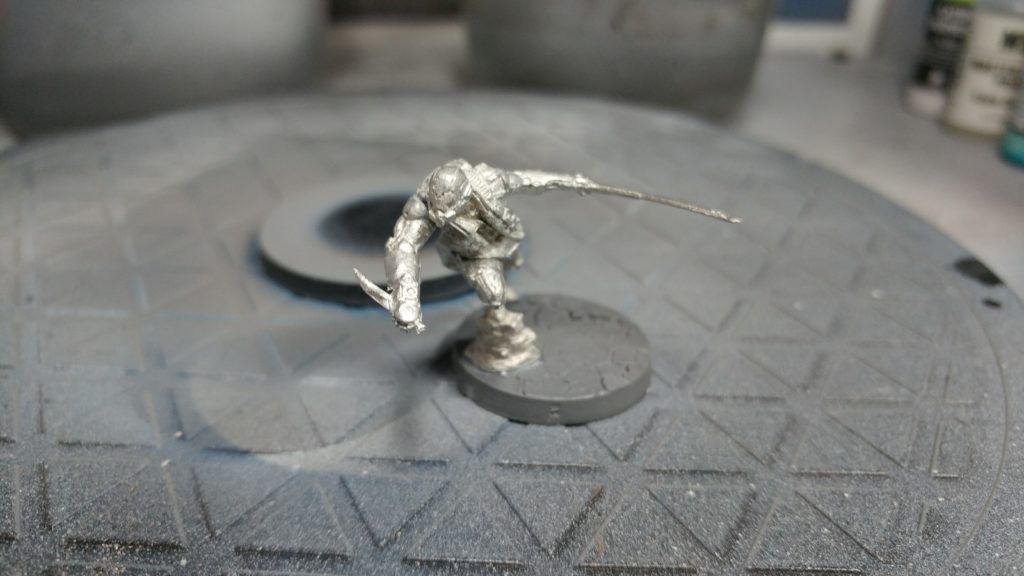 Finally put together my ITS winner’s pack Cube Jager too, and Avicenna. Broke her ponytail, so I reposed it to take advantage of her little.. ribbon.. belt… flowy thing as another anchor point for the break, and then glued the end of the ponytail to the base. Hopefully that works out. We’ll see in the long term!
 Thanks for reading! I hope to continue to chew through my giant model backlog… and keep having fun while doing it.
