
Samsa Senpai
Finally got a free night to make it to game night. Marko and Nathan both wanted a game, so I ended up playing them both simultaneously (although the game with Nathan lagged a turn behind due to him showing up a little later). We set this up with some new store terrain. It’s a bit fiddly, but it looks great and has some fun verticality to it.


Overview
- Mission: ITS15 Supplies
- Forces: Japanese Secessionist Army versus USAriadna Ranger Force (300)
- Deploy First: USARF
- First Turn: USARF
I really wanted to work a Samsa into my JSA lists, but was having some trouble fitting it and a Shikami. I’ve dropped the Shikami from the last list, so I figured I’d just go for broke here. It’s not a crazy departure from recent lists, really it just slots the Samsa, giving JSA some much needed shooting teeth in the midfield. I didn’t know we were going to be playing supplies, but I think Kuroshi makes up for a lot of specialist deficiencies.
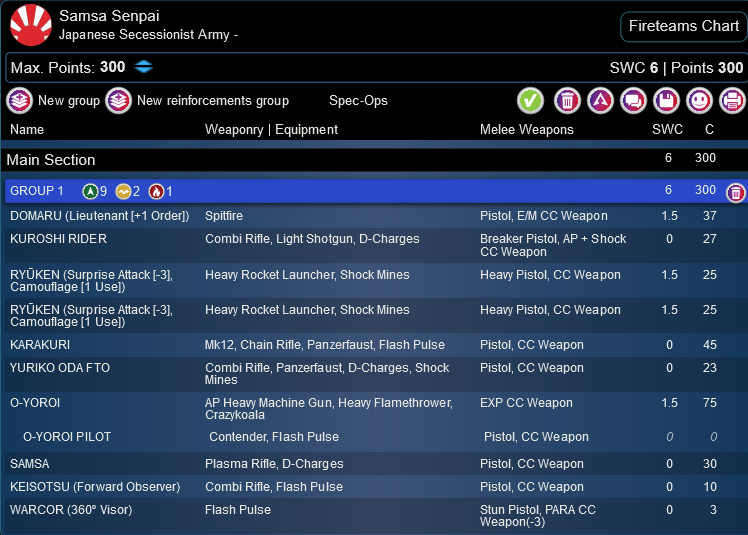
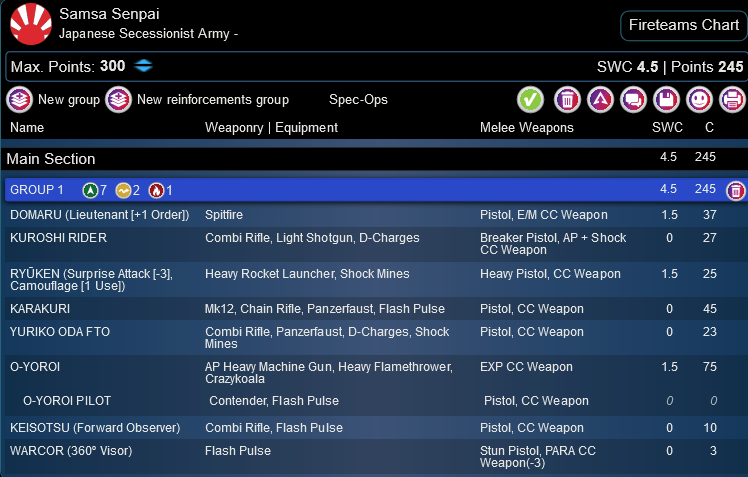
Samsa Senpai
DOMARU (Lieutenant [+1 Order]) Spitfire / Pistol, E/M CC Weapon. (1.5 | 37)
KUROSHI RIDER Combi Rifle, Light Shotgun, D-Charges / Breaker Pistol, AP + Shock CC Weapon. (0 | 27)
RYŪKEN (Surprise Attack [-3], Camouflage [1 Use]) Heavy Rocket Launcher, Shock Mines / Heavy Pistol, CC Weapon. (1.5 | 25)
KARAKURI Mk12, Chain Rifle, Panzerfaust, Flash Pulse / Pistol, CC Weapon. (0 | 45)
YURIKO ODA FTO Combi Rifle, Panzerfaust, D-Charges, Shock Mines / Pistol, CC Weapon. (0 | 23)
O-YOROI AP Heavy Machine Gun, Heavy Flamethrower, Crazykoala / EXP CC Weapon. (1.5 | 75)

O-YOROI PILOT Contender, Flash Pulse / Pistol, CC Weapon. (0 | 0)
SAMSA Plasma Rifle, D-Charges / Pistol, CC Weapon. (0 | 30)
KEISOTSU (Forward Observer) Combi Rifle, Flash Pulse / Pistol, CC Weapon. (0 | 10)
WARCOR (360º Visor) Flash Pulse ( ) / Stun Pistol, PARA CC Weapon(-3). (0 | 3)
9
2
1 6 SWC | 300 Points | Open in Army | Copy Code
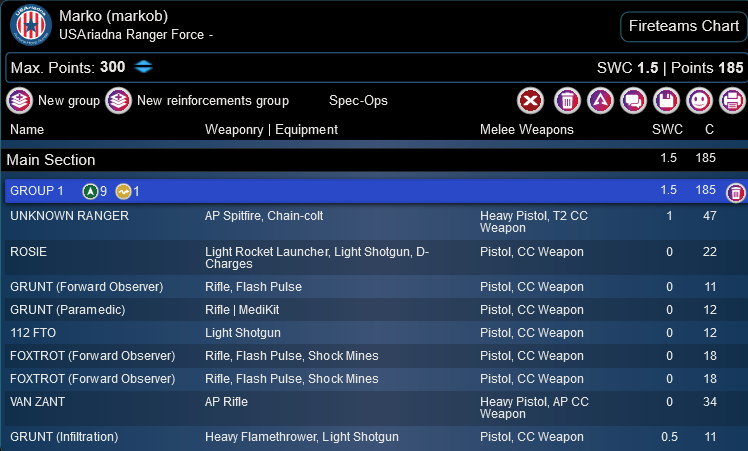
Marko hadn’t made a list, so he had a little bit of an advantage in that he knew the mission before he started his process. Foxtrot FOs are an obvious choice for Supplies, as are infiltrating Grunts. The UKR 5-man with Rosie has been a staple of his previous lists, so it made a showing here, with Van Zant to go get any boxes I stole.
Marko (markob)
GROUP 1
GRUNT (Lieutenant) Rifle / Pistol, CC Weapon. (0 | 10)
UNKNOWN RANGER AP Spitfire, Chain-colt / Heavy Pistol, T2 CC Weapon. (1 | 47)
ROSIE Light Rocket Launcher, Light Shotgun, D-Charges / Pistol, CC Weapon. (0 | 22)
112 FTO Light Shotgun / Pistol, CC Weapon. (0 | 12)
GROUP 2
FOXTROT (Forward Observer) Rifle, Flash Pulse, Shock Mines / Pistol, CC Weapon. (0 | 18)
VAN ZANT AP Rifle / Heavy Pistol, AP CC Weapon. (0 | 34)
MINUTEMAN (NCO) AP Heavy Machine Gun / Heavy Pistol, AP CC Weapon. (1.5 | 35)
MARAUDER (Multispectral Visor L1) Heavy Rocket Launcher ( ) / Assault Pistol, CC Weapon. (1.5 | 23)
5 SWC | 300 Points | Open in Army | Copy Code
Deployment
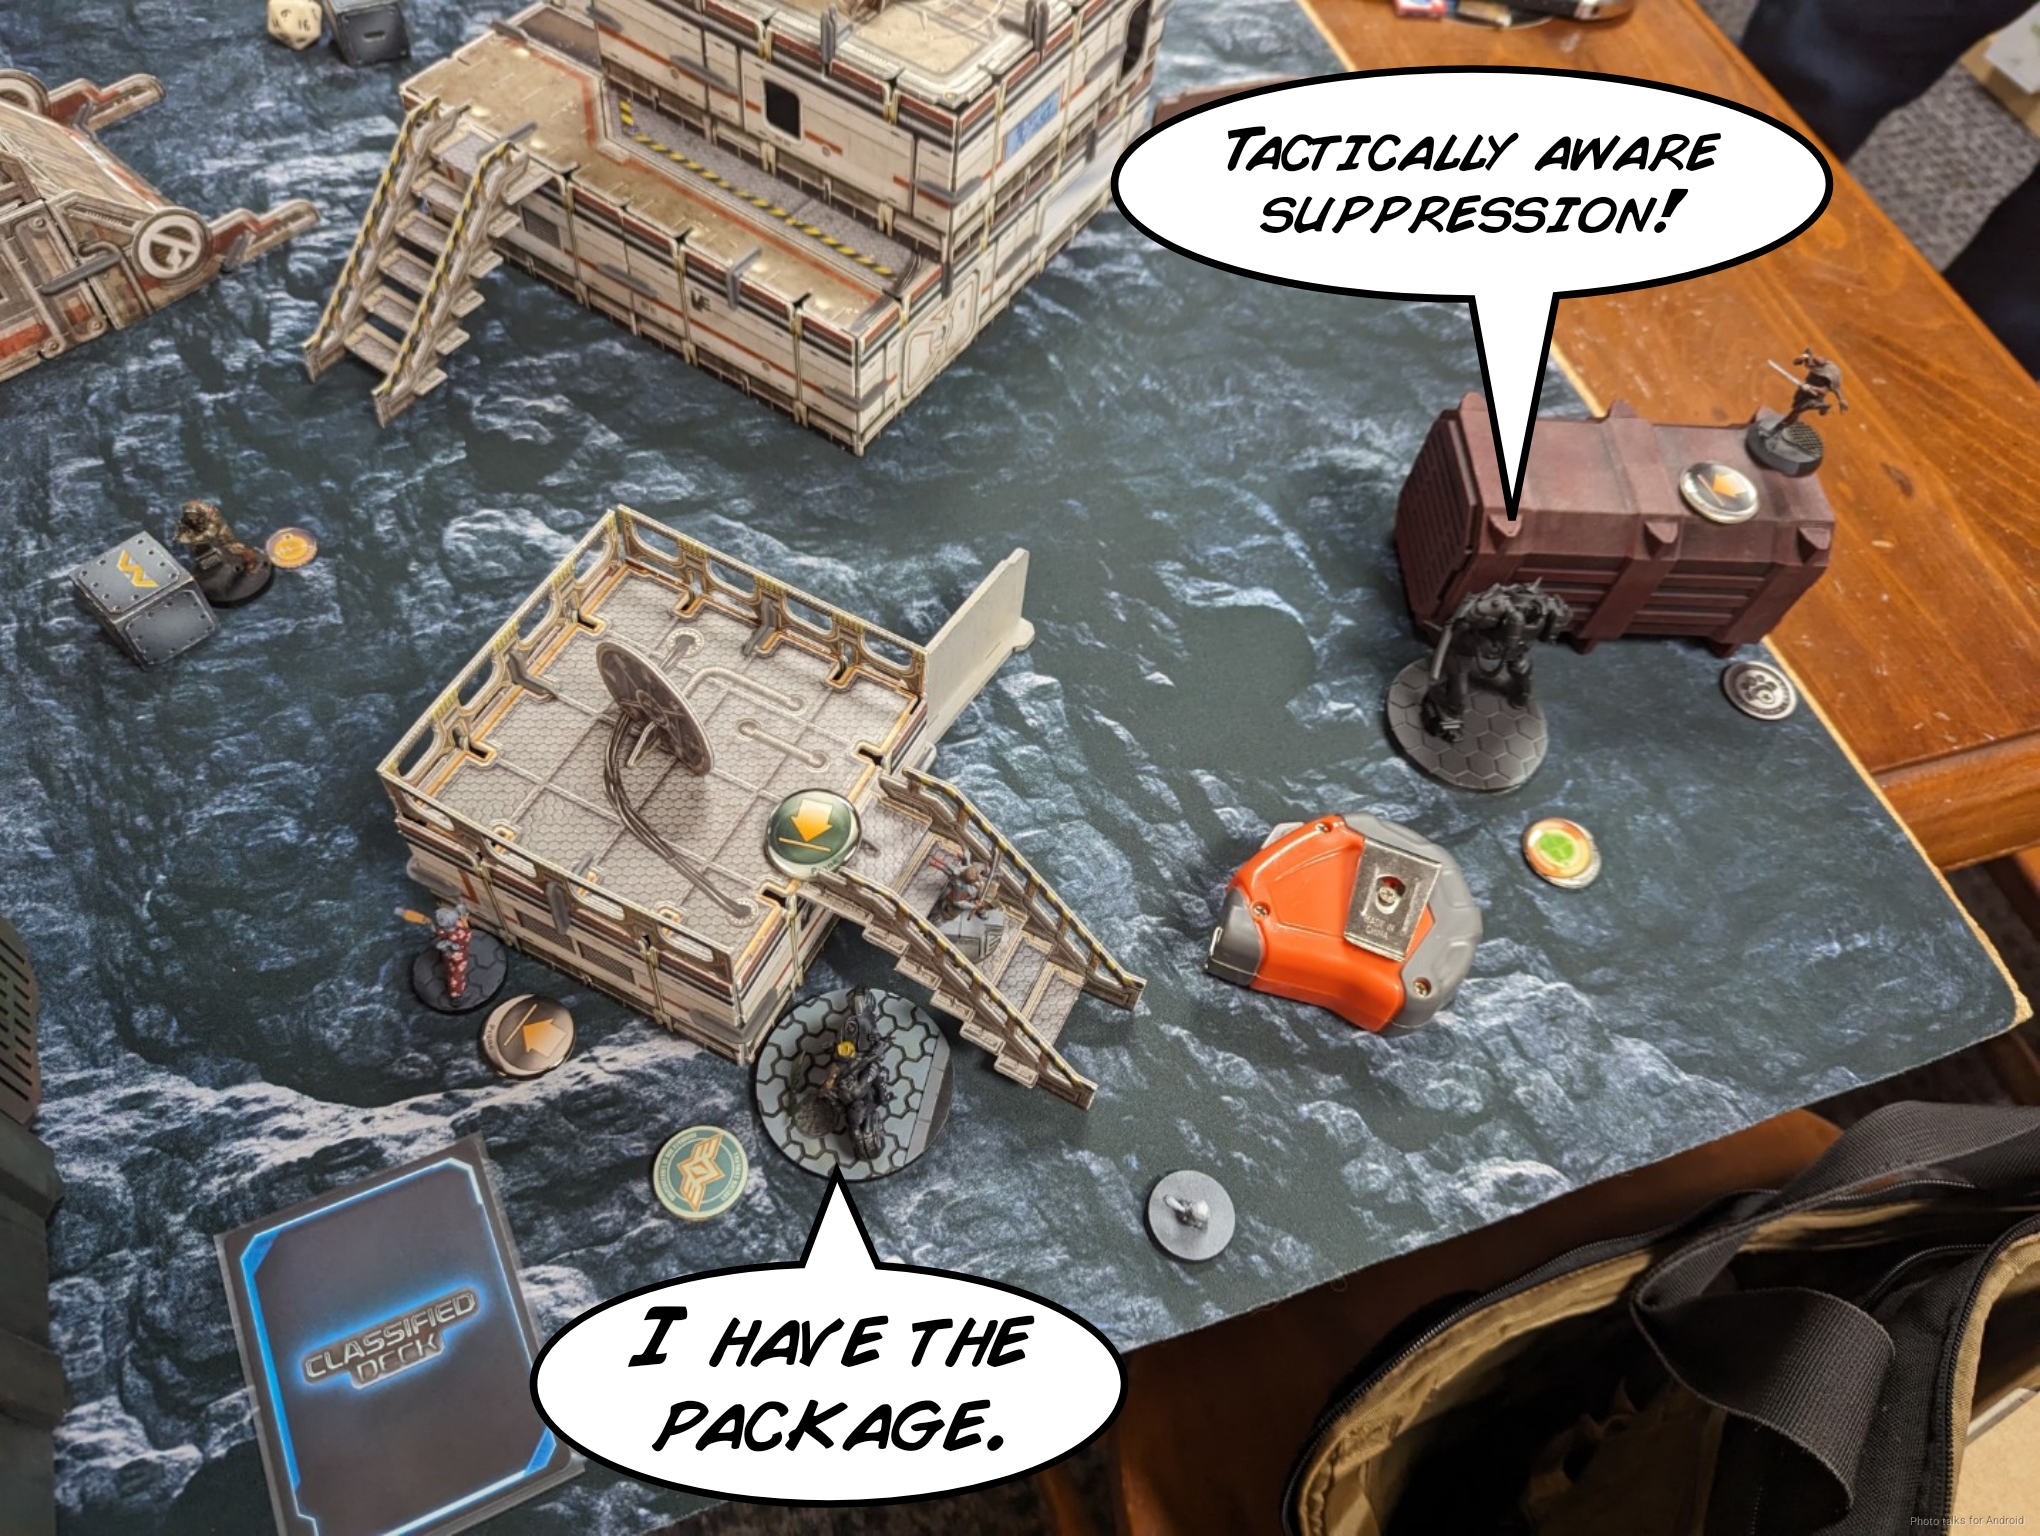
I won the rolloff and chose side to make my simultaneous game with Nathan manageable. Marko joked that I could get some exercise in, but it’s already enough of an ask of my opponents to have me be distracted, I didn’t want them to have to wait for me to jog around the tables too. In any case, Marko set up pretty simply. The UKR and the linkable units went on the left, with the Marauder/Ohio link on the right. He set up his QAZ creature to box me in on my right and I set up my QAZ to protect the easiest supply crate for him to grab on the right.
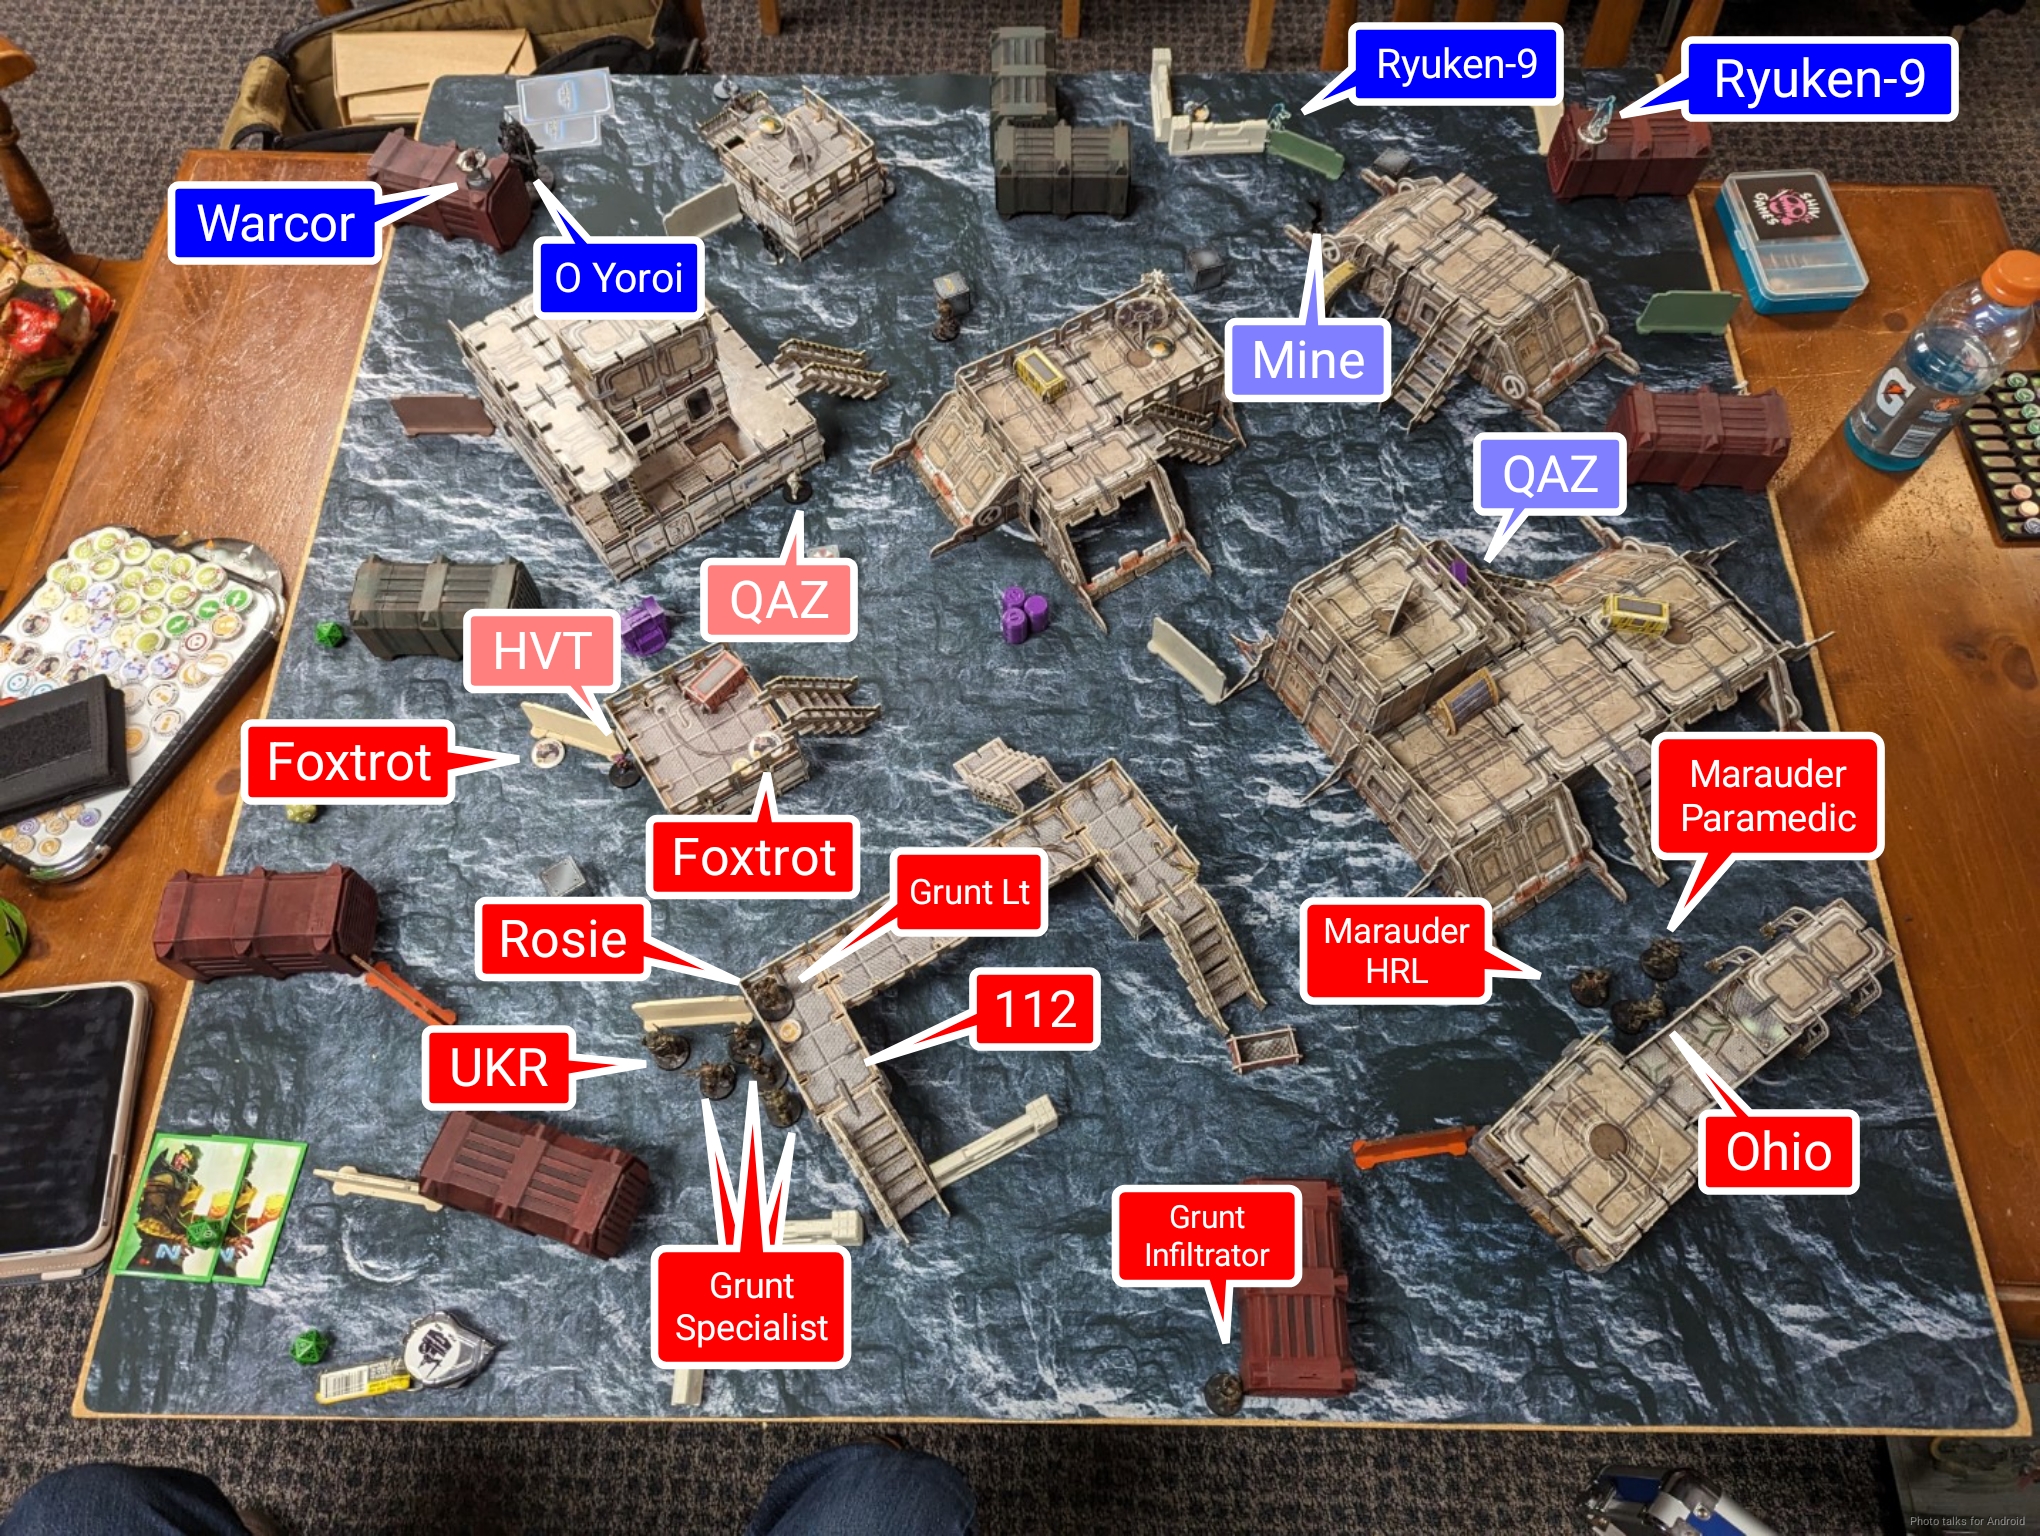
One Grunt infiltrator made it into the region just outside my deployment zone, which meant I knew there was going to be another in reserve. The Grunt on the catwalk prone was the only legal lieutenant profile, so I made a quick note of that. I set up one Ryuken on the low ground to watch the console on the right, and the Karakuri to challenge the middle and the one on the left.
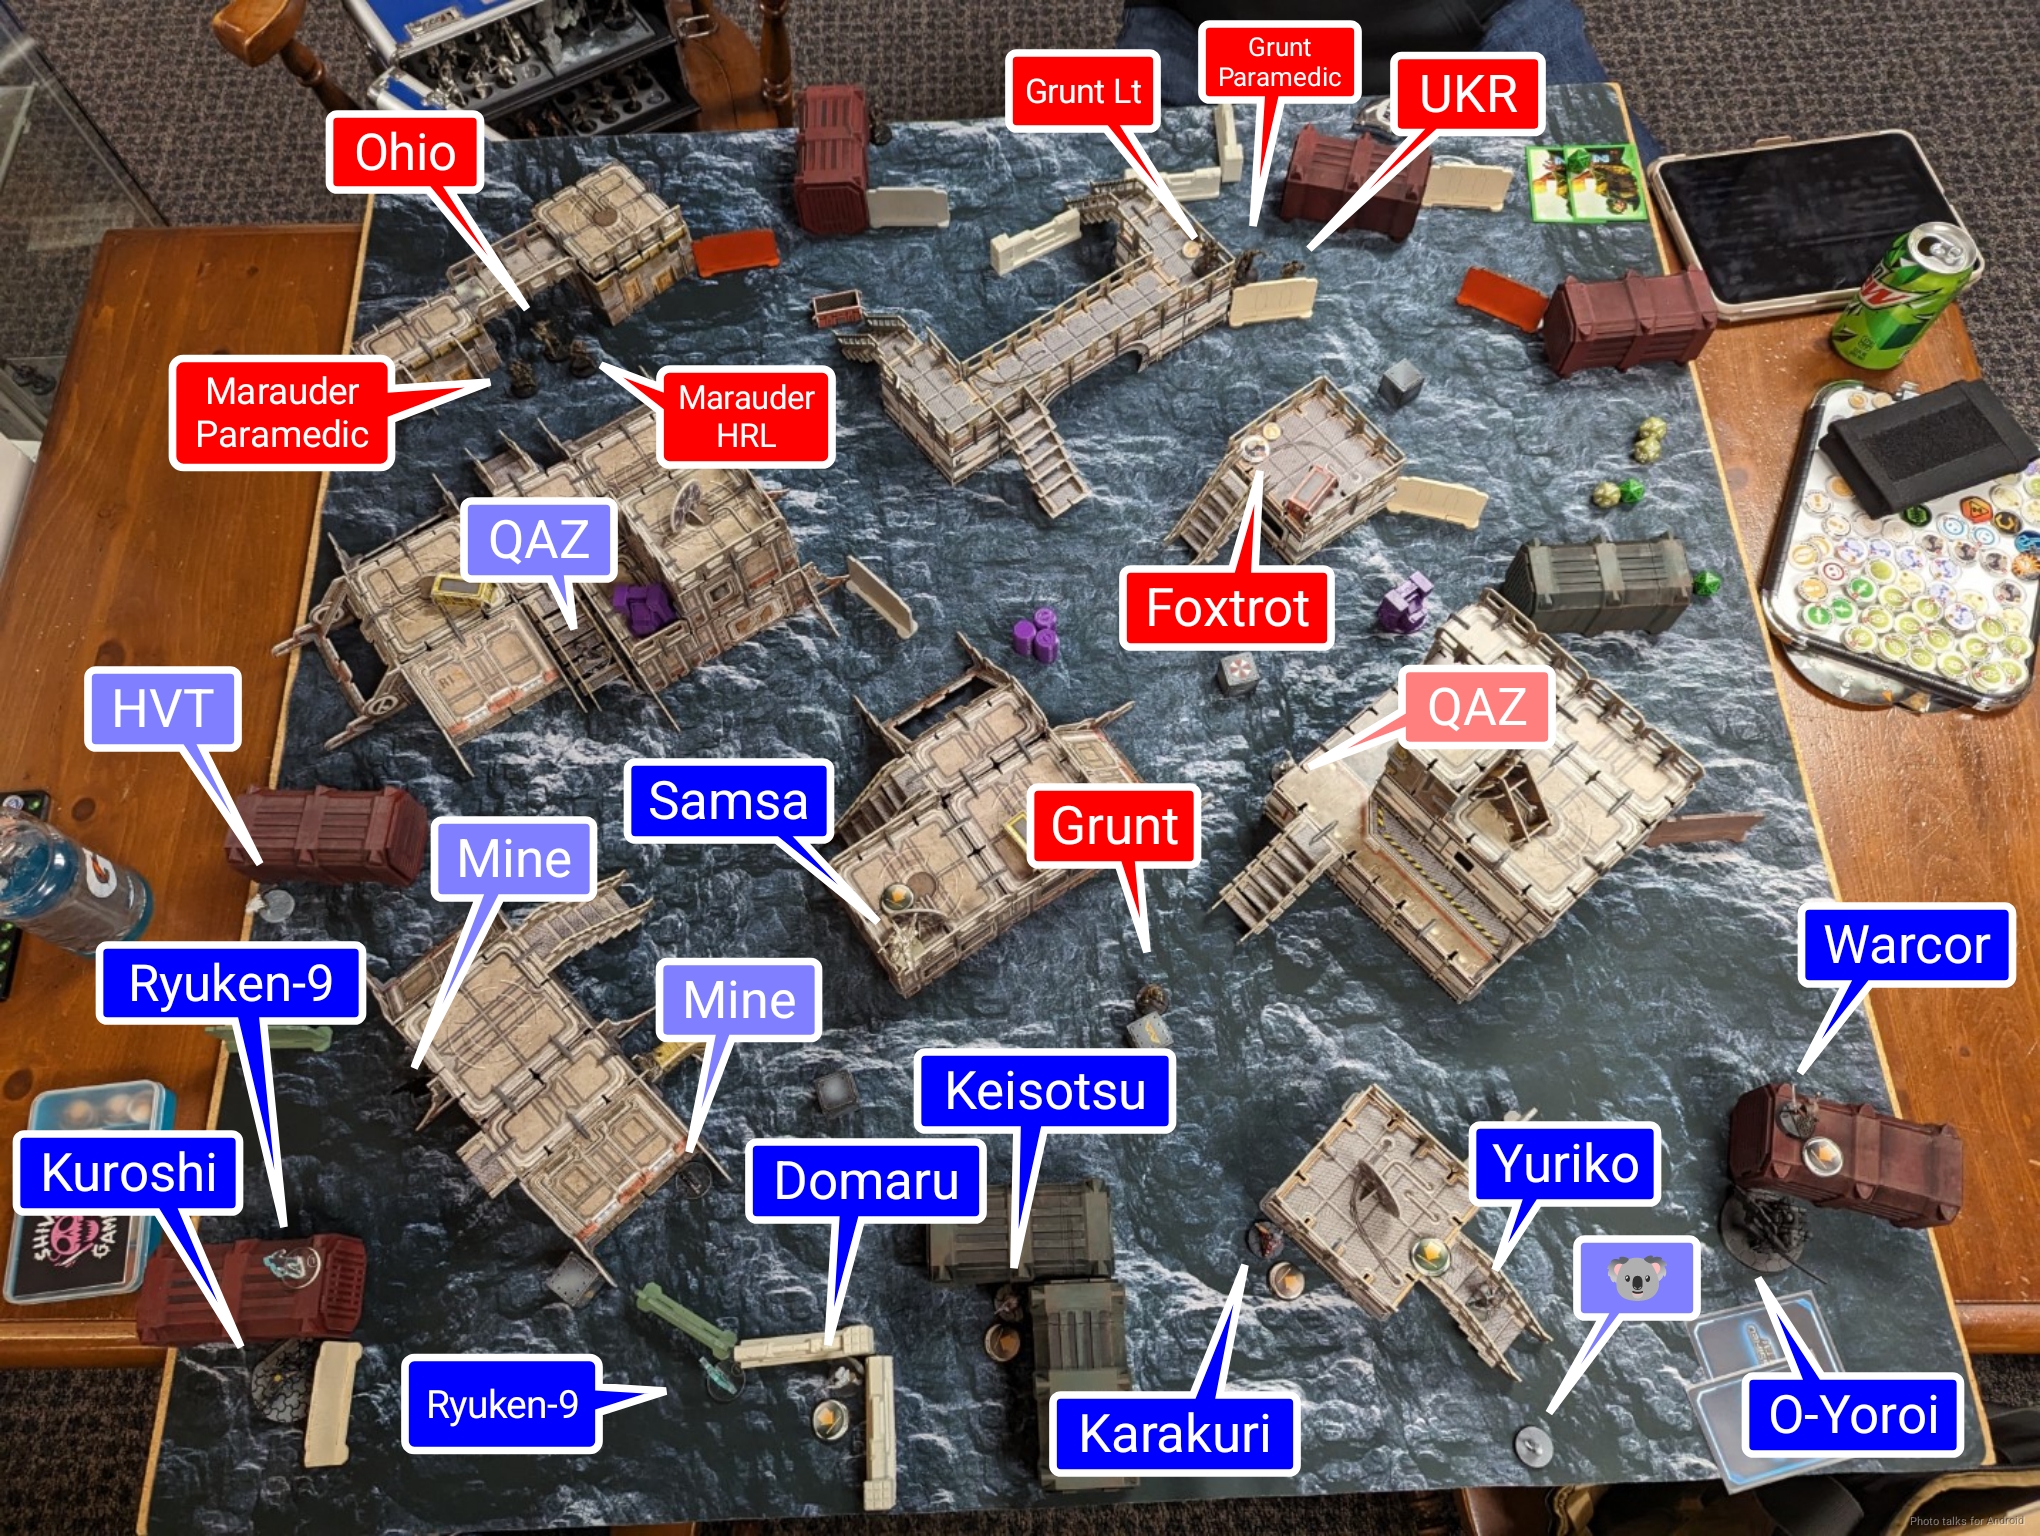
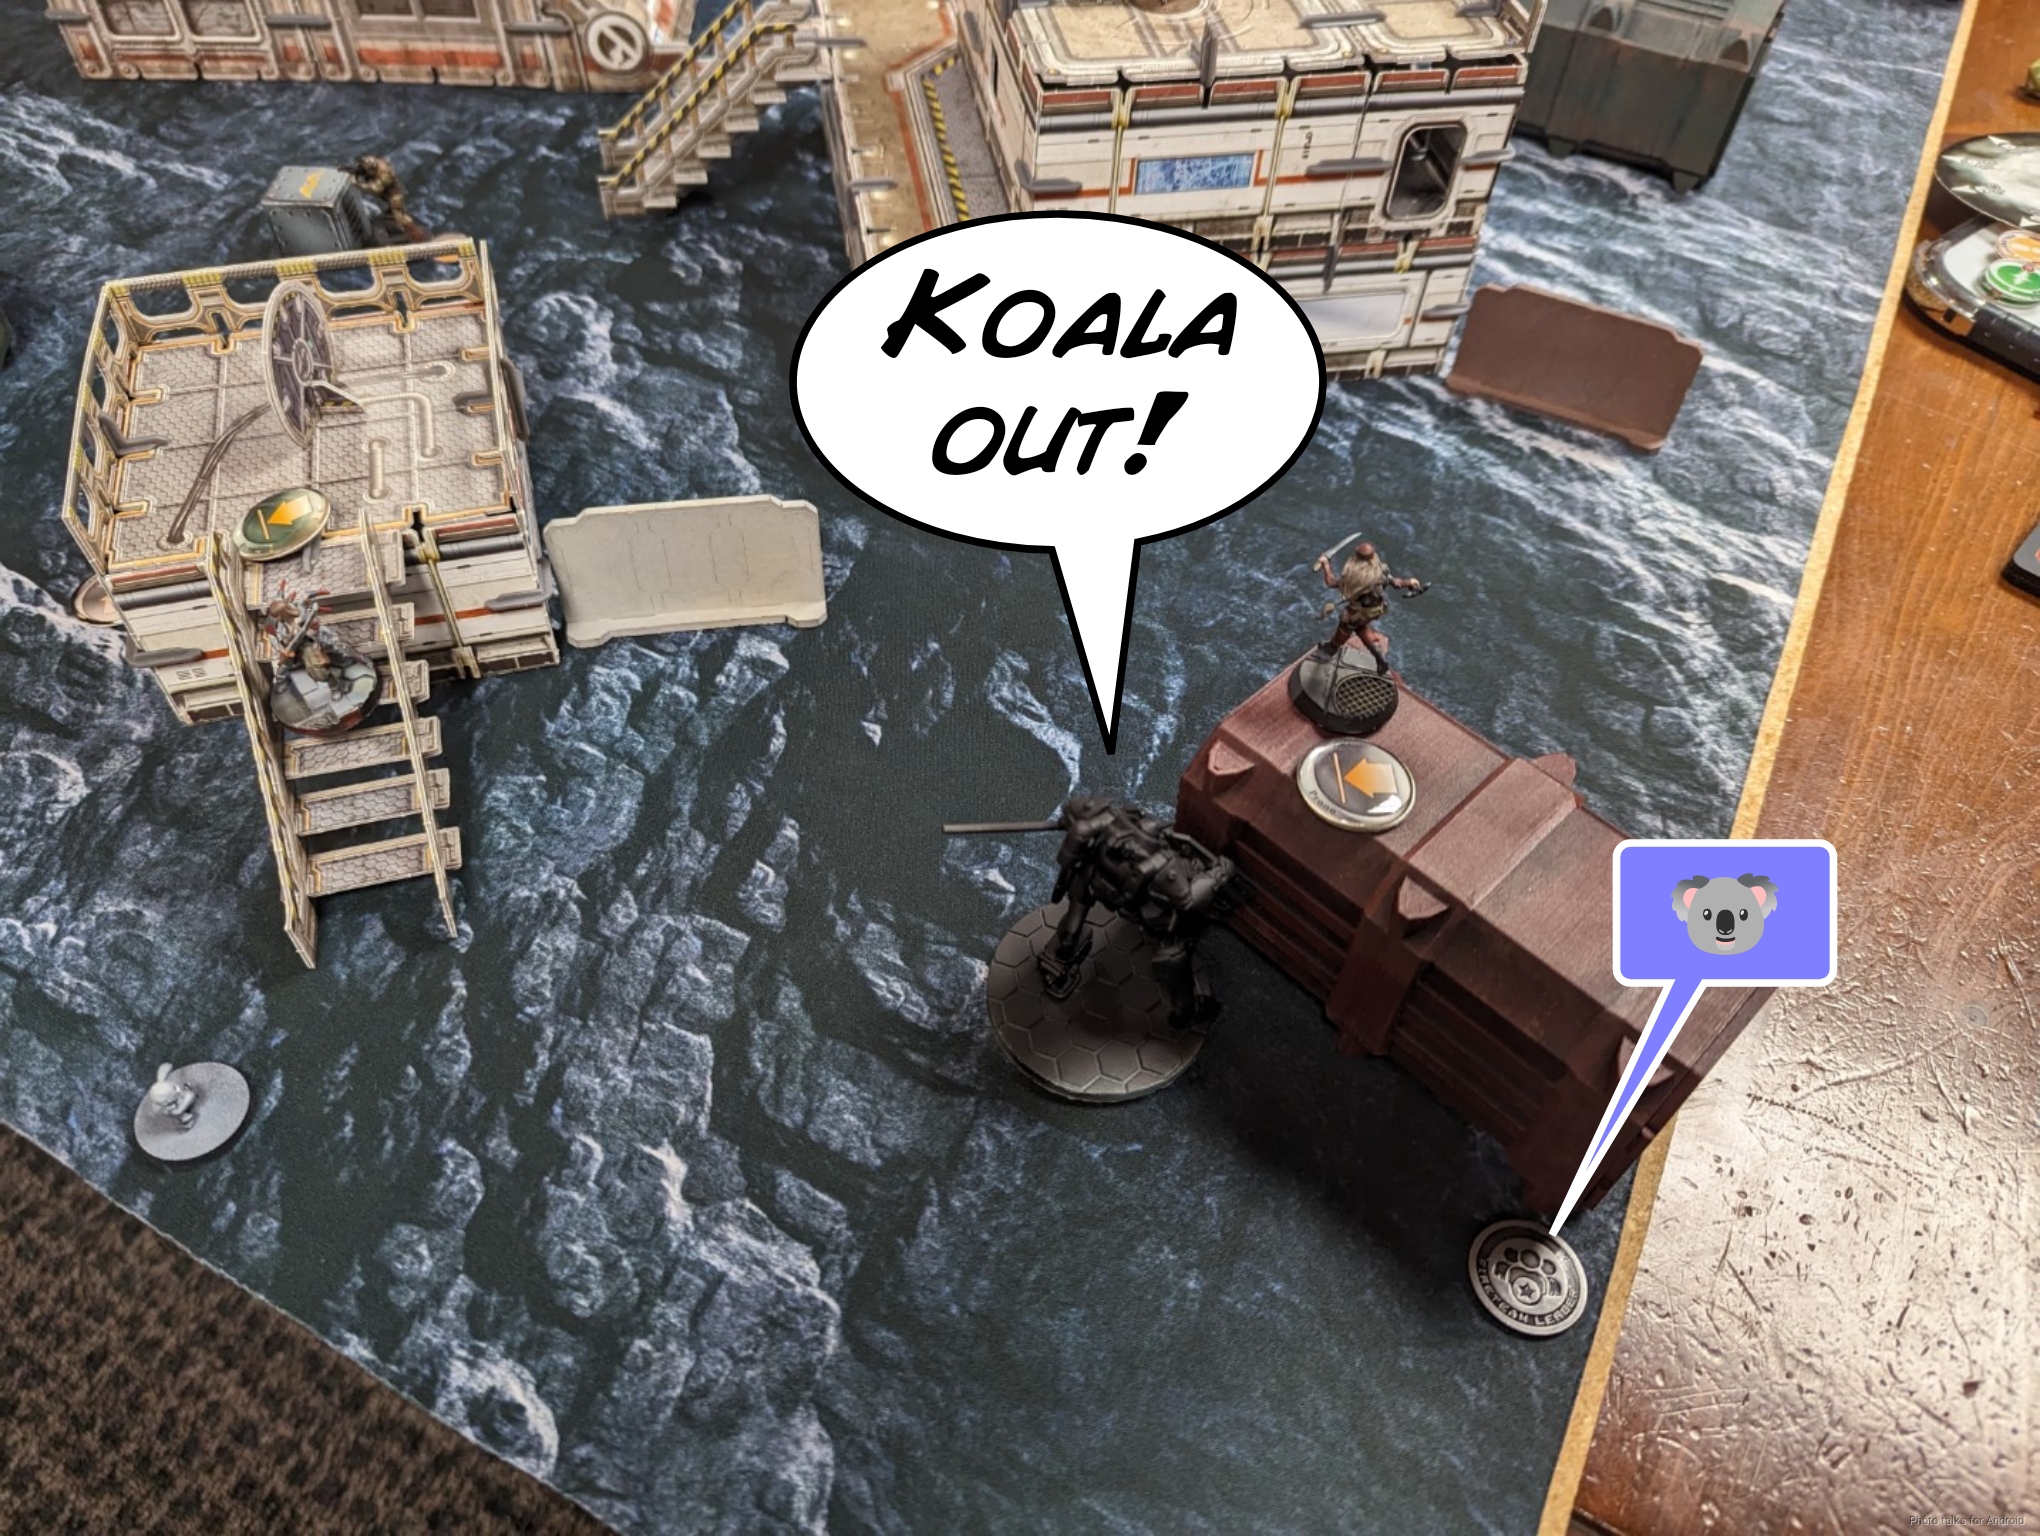
I knew there was going to be another Grunt, so I held the remaining Ryuken-9 in reserve to be able to drop a mine it its path. I set the current Ryuken’s mine and Yuriko’s to box the Grunt in if it moved, and then set up the O-Yoroi in the only reasonably safe spot with a Warcor to help out and the Koala to deal with Van Zant. Kuroshi and the Domaru went on the left, and then I stuck the Samsa on a roof just outside my deployment zone.
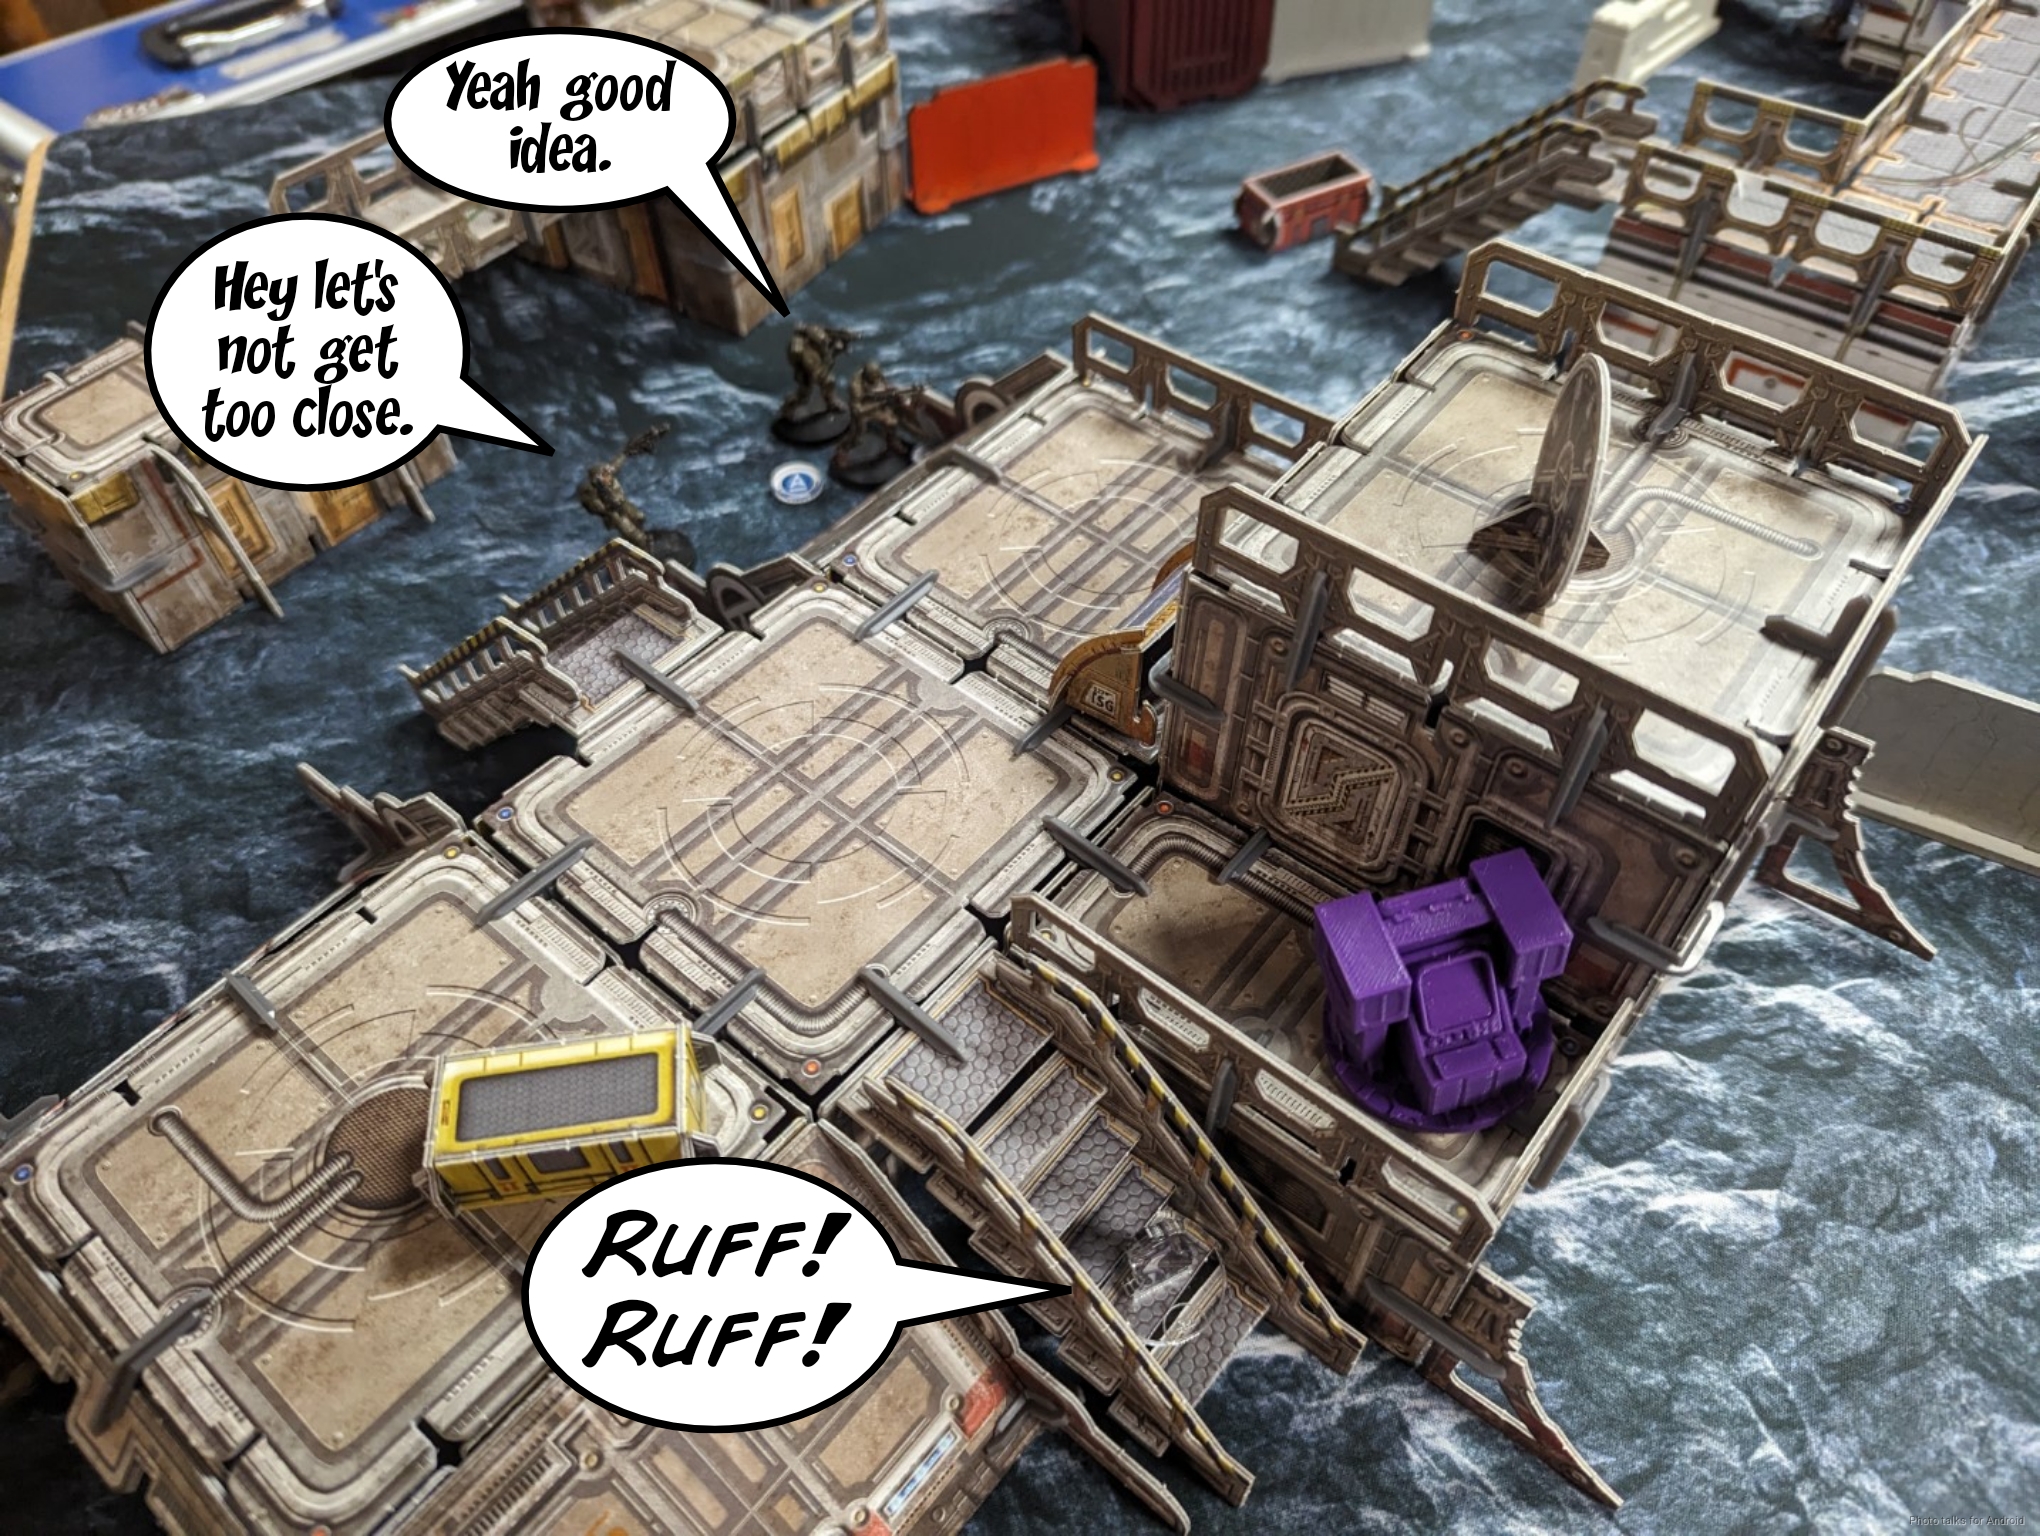
Marko surprised me by attempting to challenge the Samsa with the reserve infiltrating Grunt, not because it was a bad idea, but because I thought he would try to attack the TAG or something. In any case, that would have been really troublesome if it successfully infiltrated. Good thing it didn’t! With that option off the table (or more accurately at the back table edge), I put my last Ryuken-9 down covering a diagonal shot on the Unknown Ranger’s advance with its mine covering another possible Van Zant location. I think this is one really nice strength of JSA–while JSA’s shooting game is quite unusual, it makes up for it with excellent deployment zone defensive deployables like mines and Koalas.
Turn 1
Top of 1 – USARF
I started off by docking orders from Marko’s smaller pool. I didn’t want the Marauders to develop too much, or better yet, I’d want them to over-extend. The Unknown Ranger’s deployment was vulnerable to HRLs and I was set up for a potentially > 32″ shot on him with my Ryuken. I felt way more comfortable blunting that attack than I did an aggressive push by the Marauders, even with the QAZ creature there.
Marko did the smart play and spent the NCO order and the rest of his orders in that pool on the Ohio to fix the link’s positioning. He had deployed them blobbed up in the open behind a building with the intent to move and use them. Given that I had taken a bunch of his orders for that, this was the correct response to at least get to cover. Spreading them out to avoid being templated is also good though… some foreshadowing there.
Marko spent his orders in the first group on moving a Foxtrot into position on the rightmost console. It took some doing because he was playing around my Ryuken. I was more than happy to drain orders by forcing prone movement, etc, and him failing a WIP roll or two was also good for me. He did manage to rescue the Foxtrot and retreated into his deployment zone and throws the Grunt lieutenant into suppression.
The last of his orders was the Unknown Ranger’s tac aware. He poked it out to ARO stuff and gave me a shot with the Ryuken-9, but I declined to take it. I’d rather do it when we’re at parity on burst.
Bottom of 1 – JSA
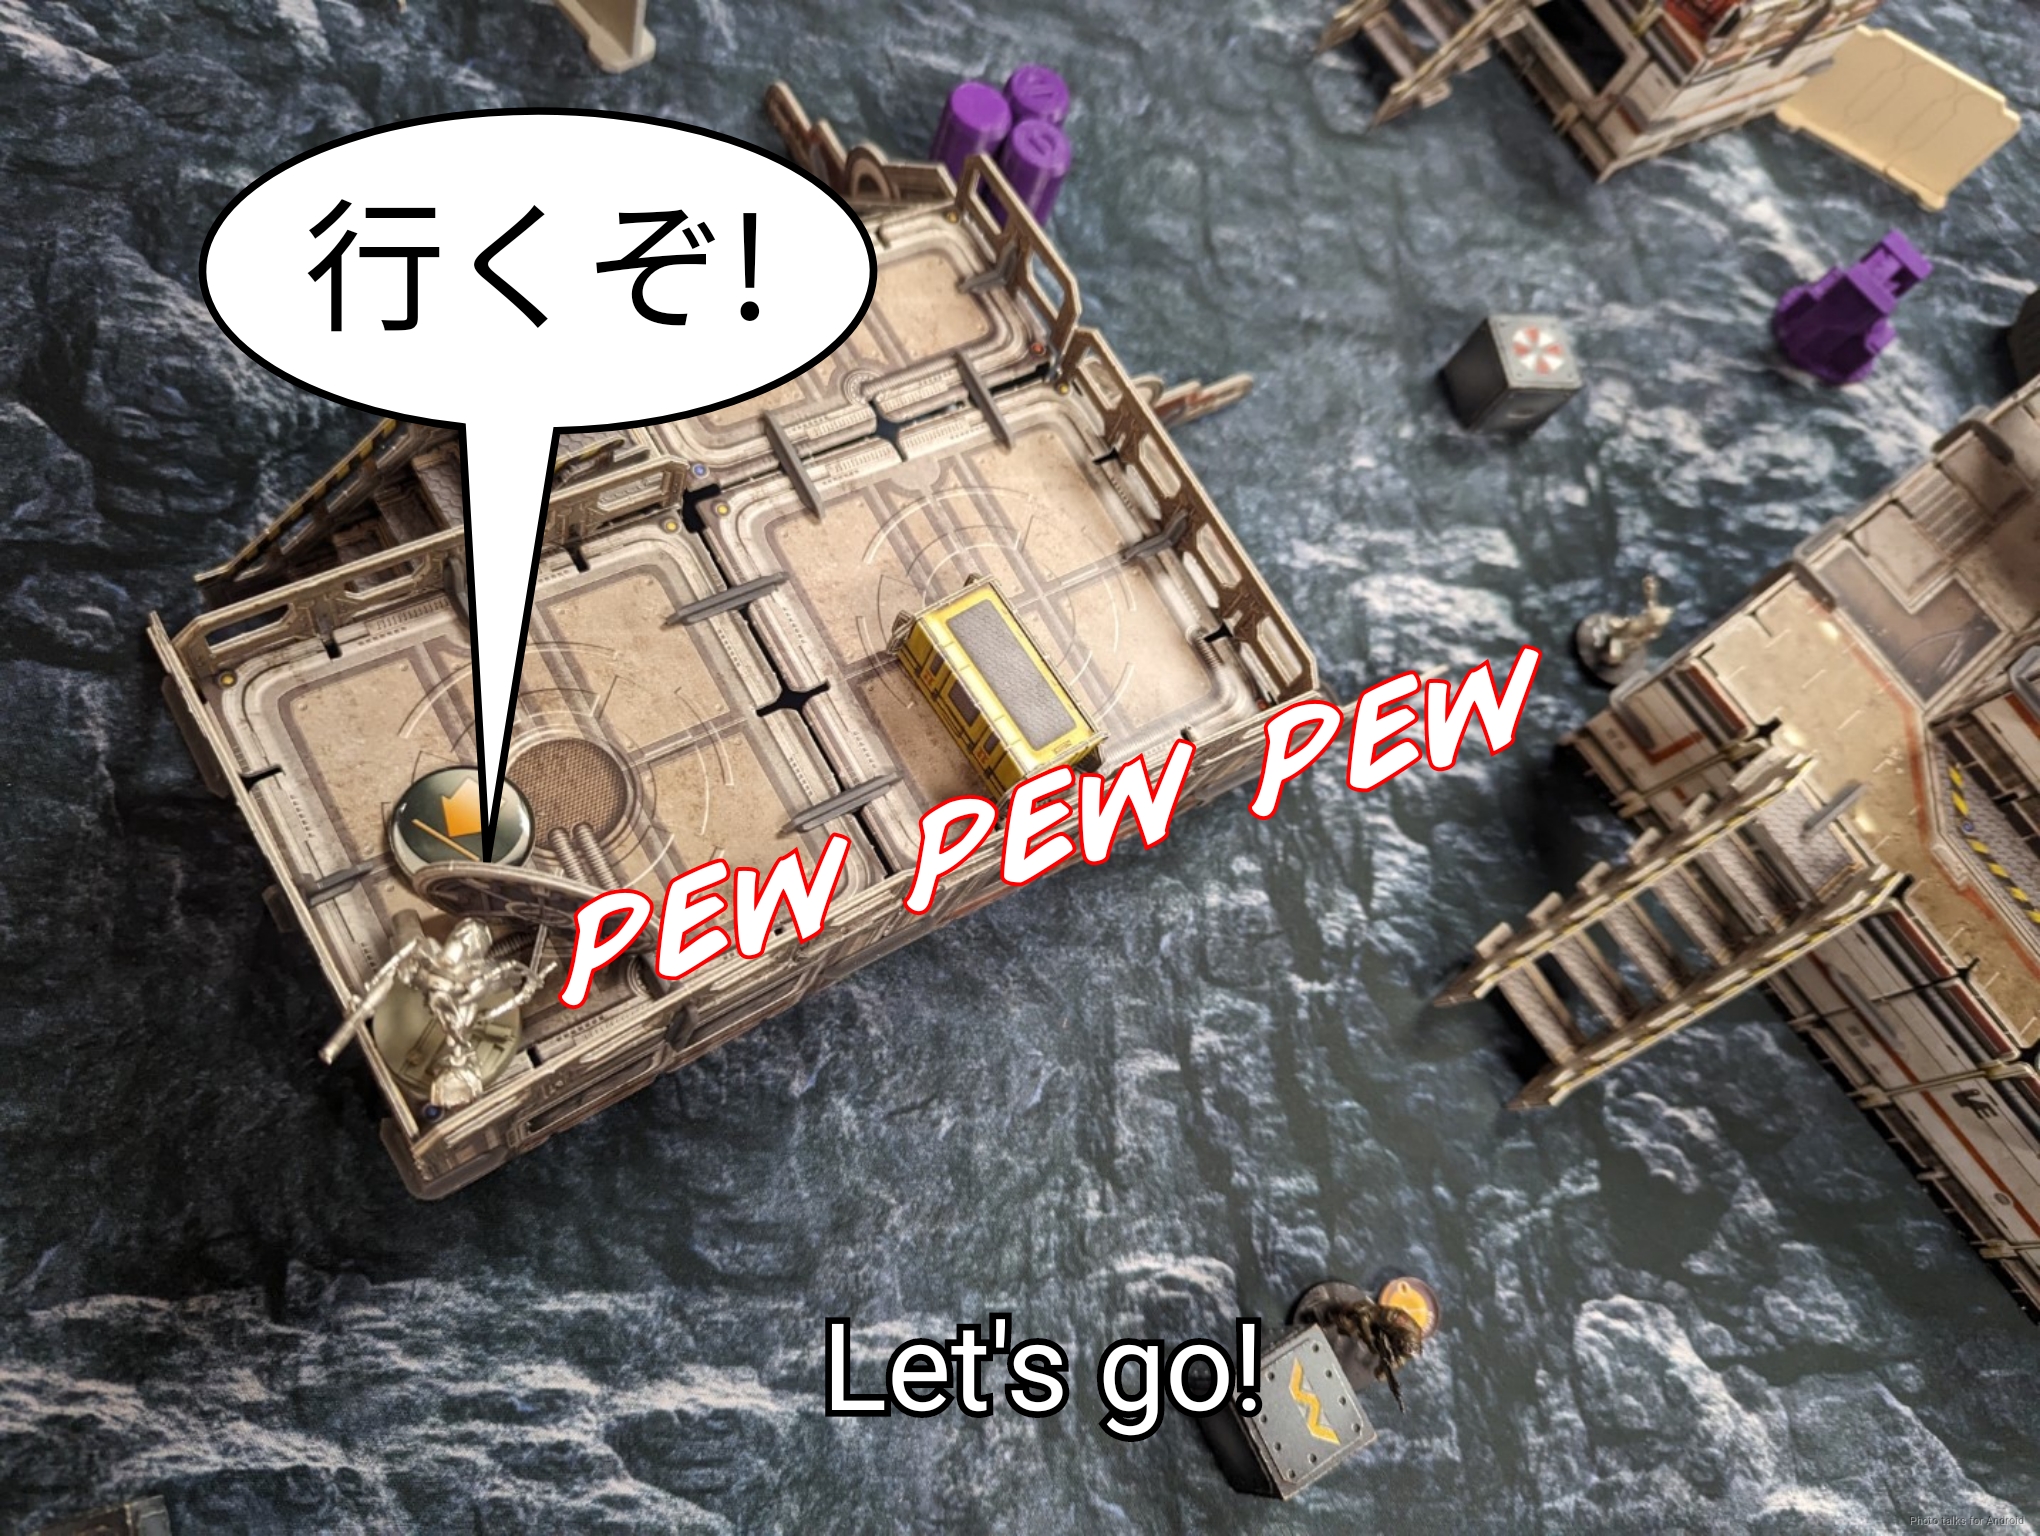
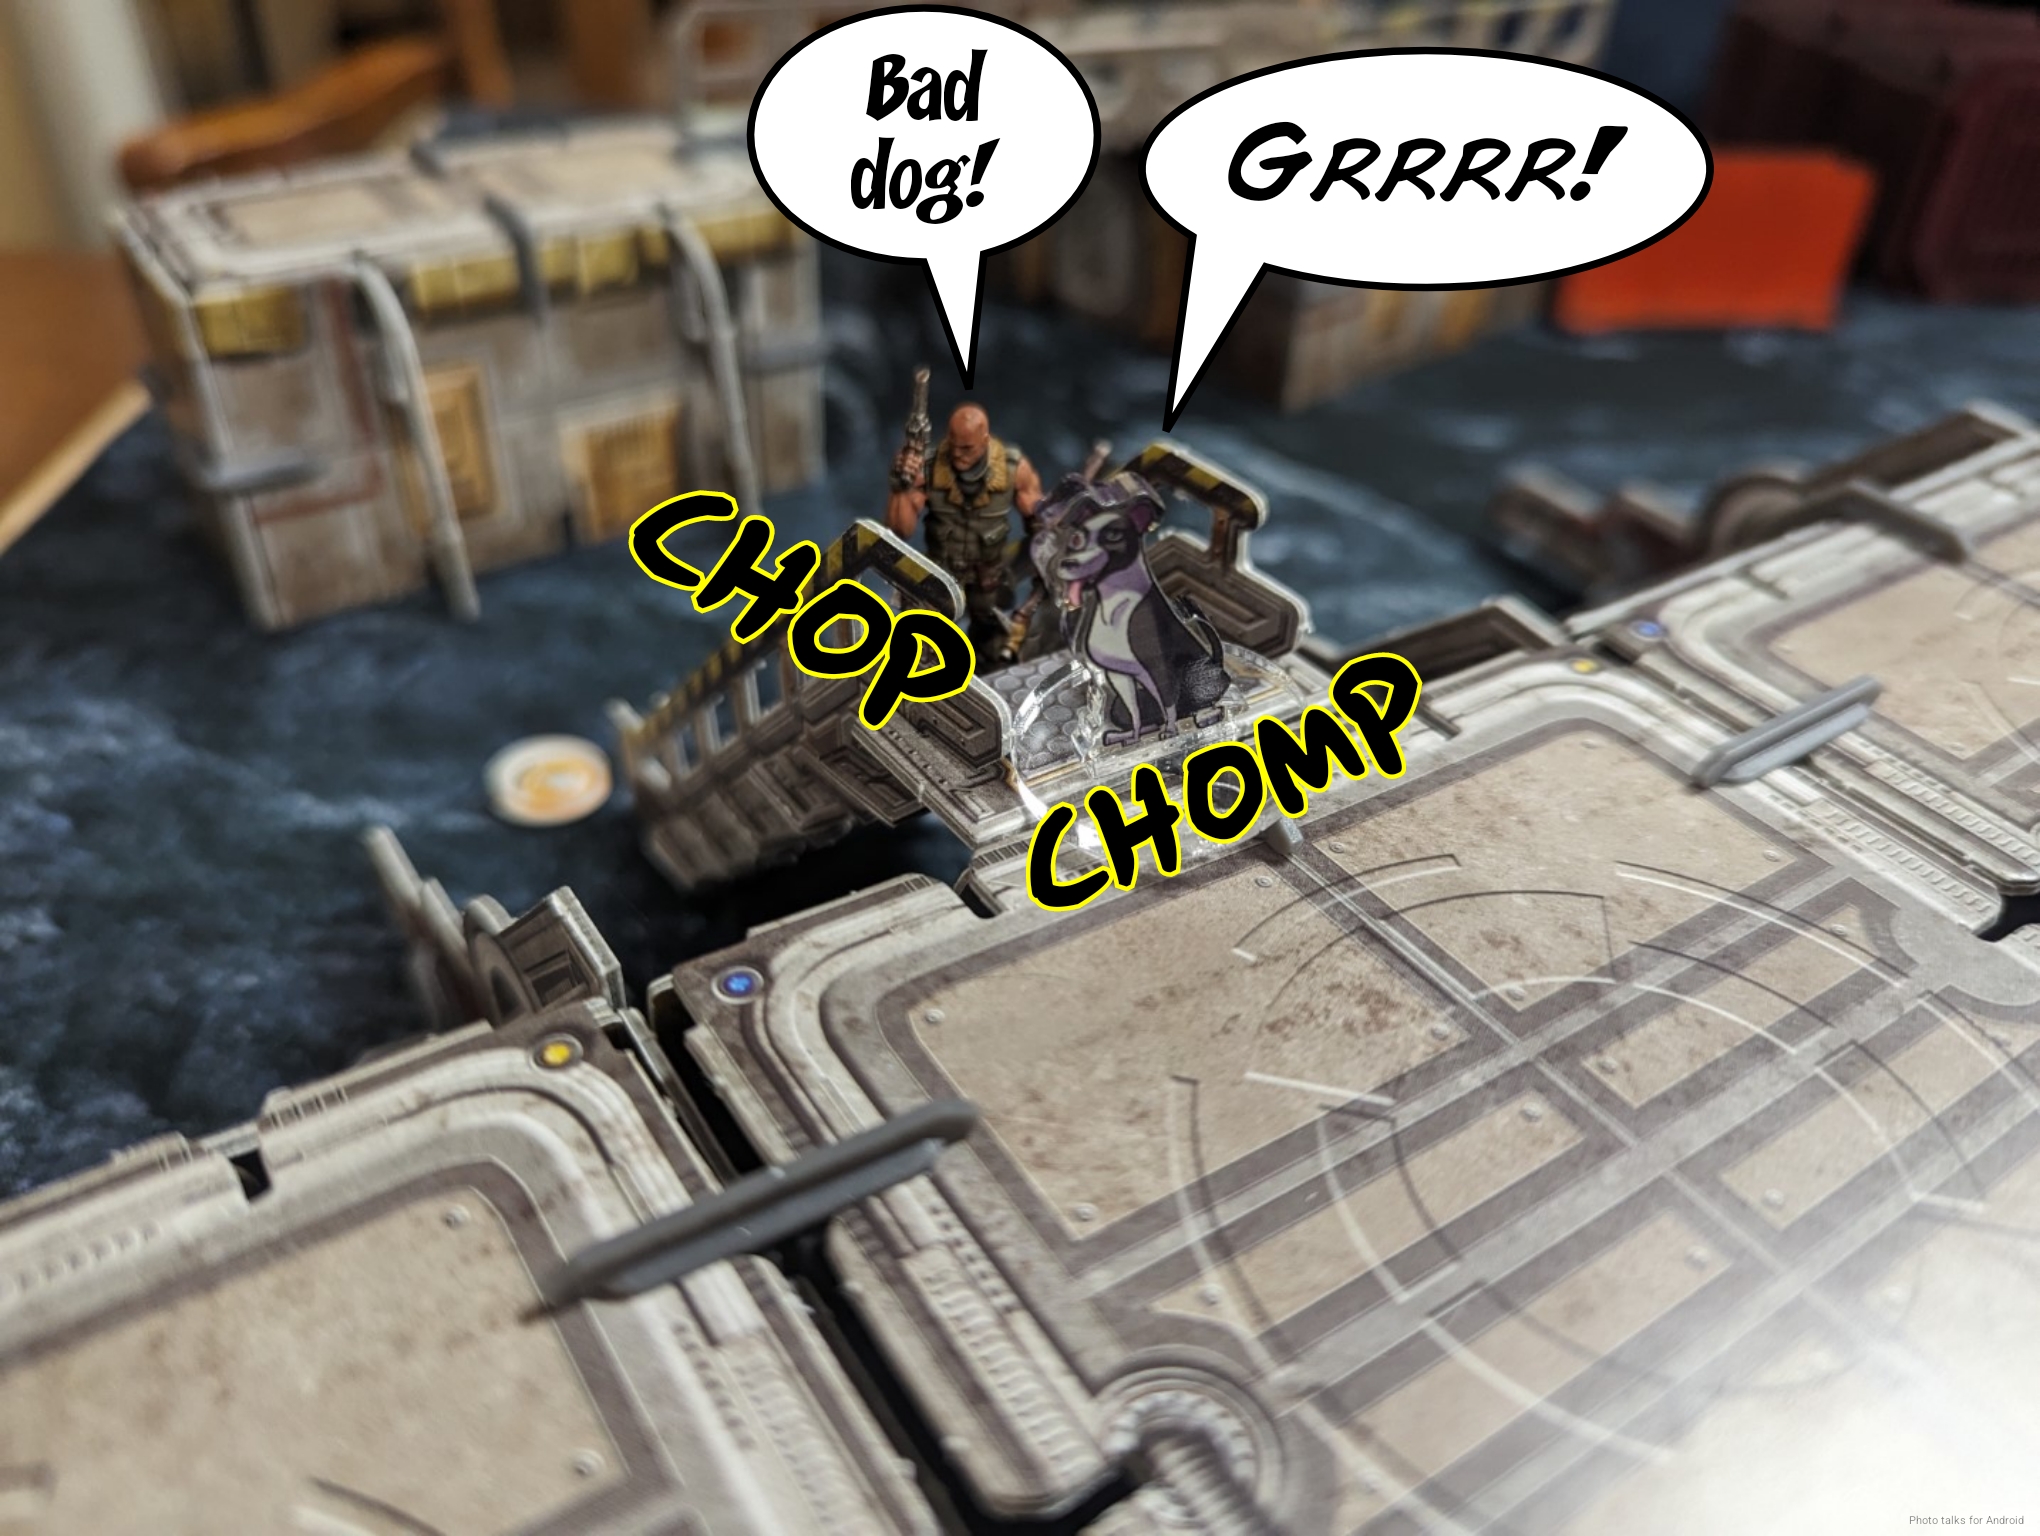
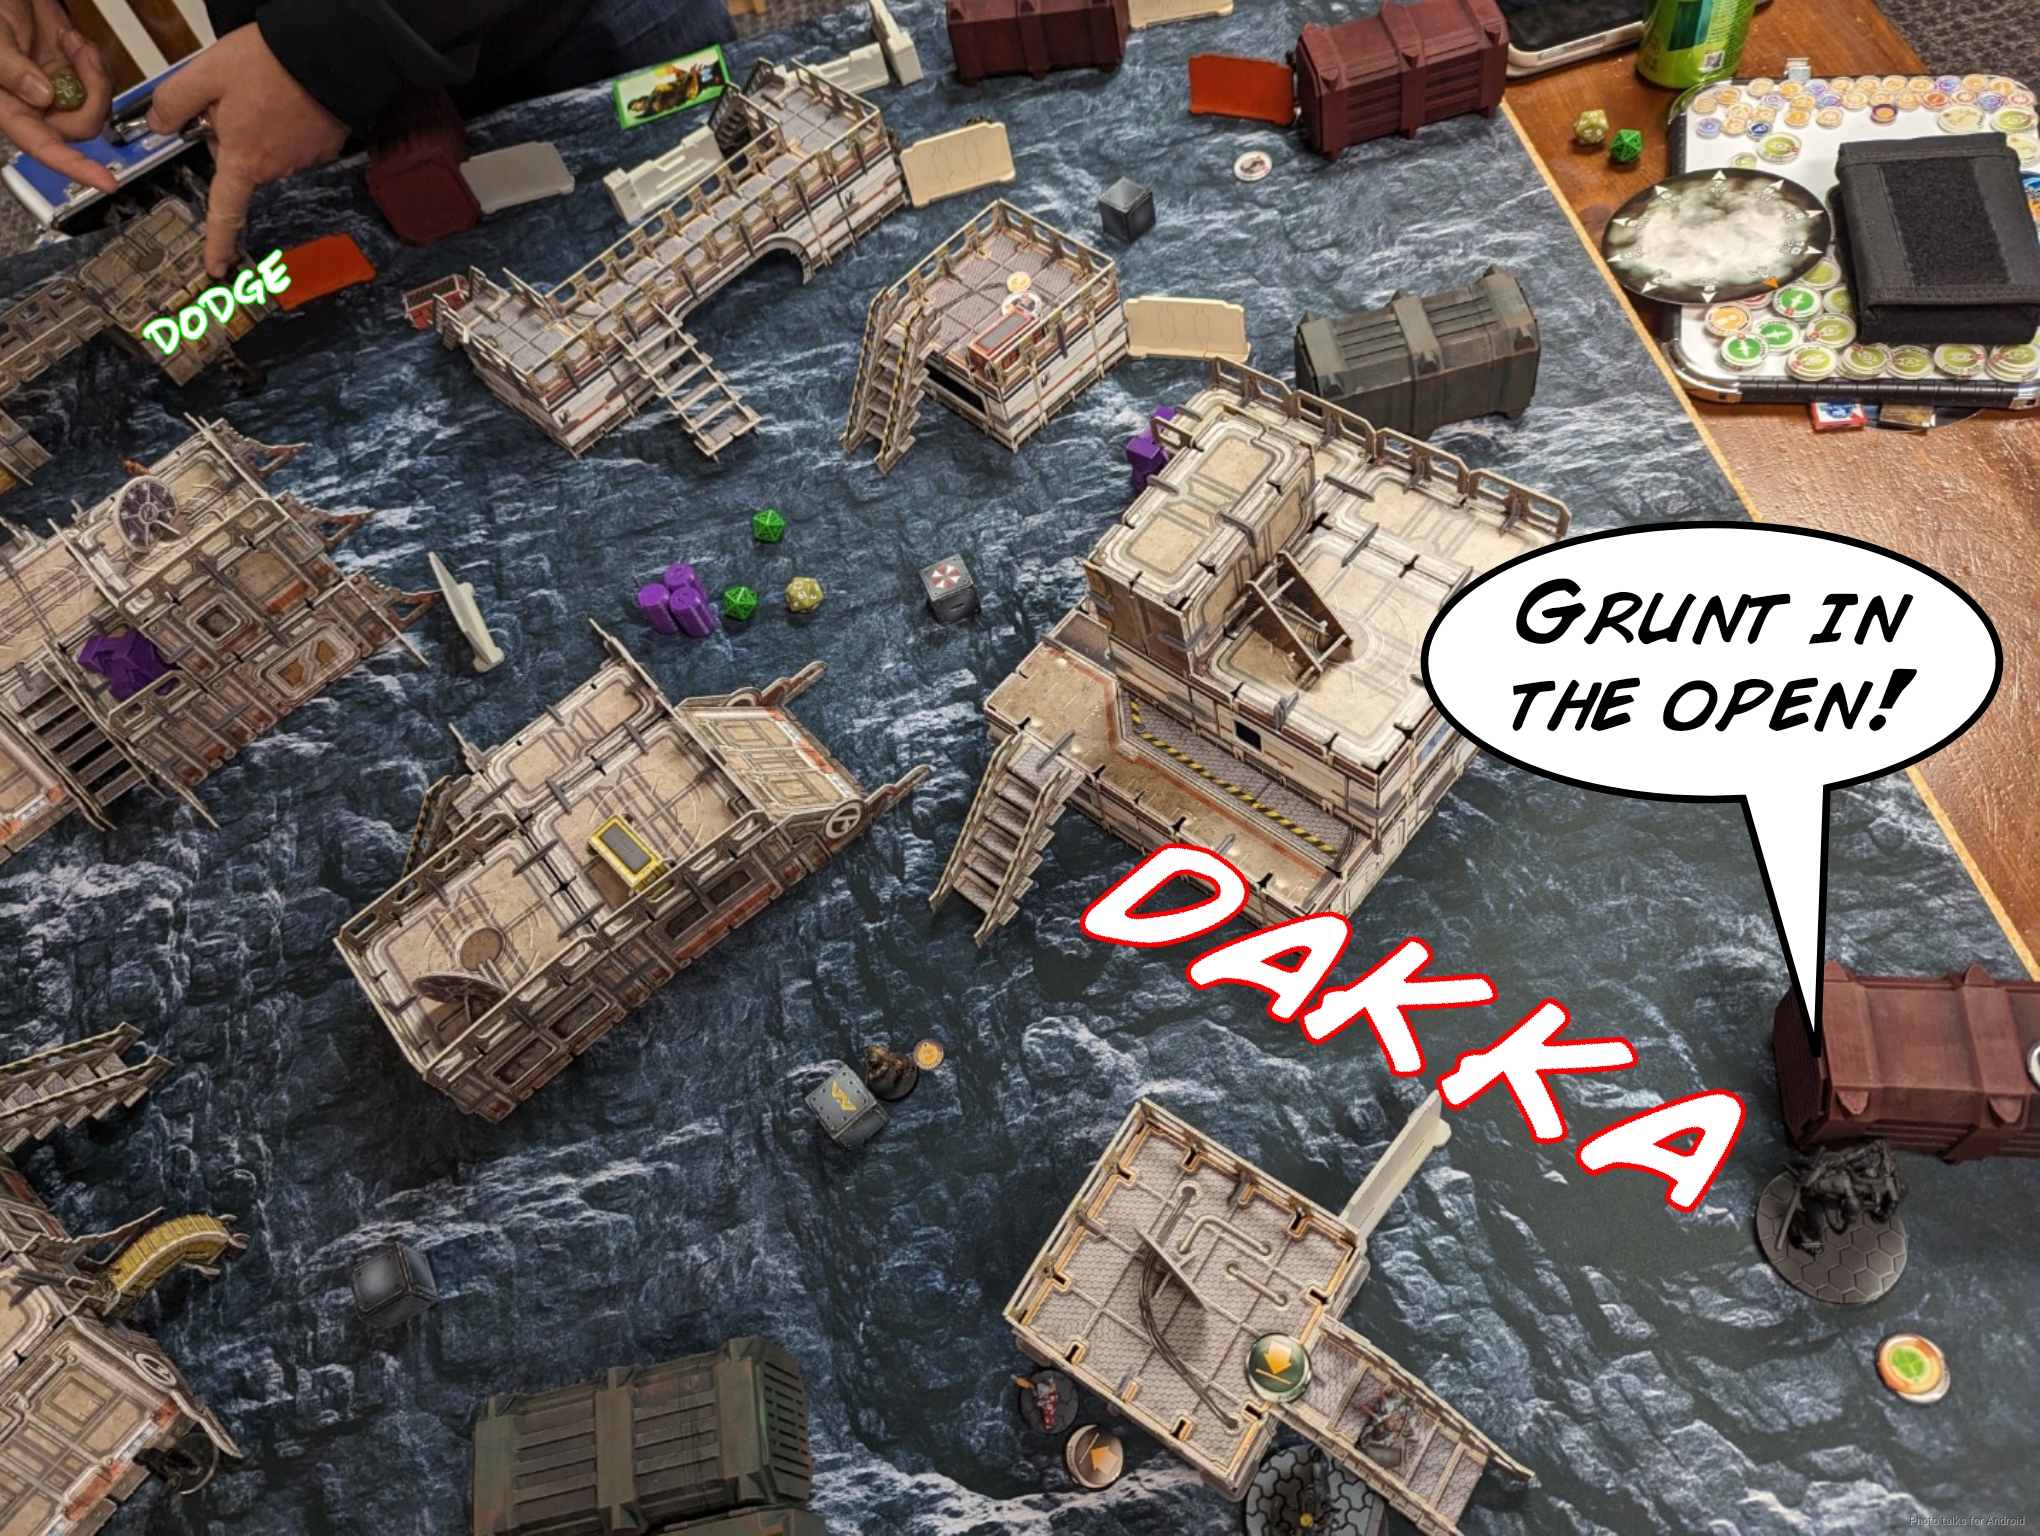
Absolutely no losses on either side during the top of 1, so I’ll skip the list screenshots for now. I obviously need to remove the Grunt infiltrator, and I start with Kuroshi’s impetuous order. I do hit it with an outside of 16″ combi burst, but even out of cover ARM 3 does its job and the Grunt survives to wrap around the box to be on the O-Yoroi’s side.
I want to set the O-Yoroi up to take shots on the Unknown Ranger if possible, so I use the tac aware order to move forward and shoot the Grunt while I’m doing it. I unload a full burst inside 16″ versus the Grunt’s shotgun blast, and manage to do one wound. This also sets off Yuriko’s mine, which the Grunt saves against. Regardless, the Grunt isn’t a problem anymore, so I move on with the turn.
At this point Nathan has finished his deployment and it’s my turn to deploy on the neighboring table, so I’m distracted enough to forget to pictures of my Ryuken-9 HRL revealing and shooting at the Unknown Ranger at like 38″ or something.
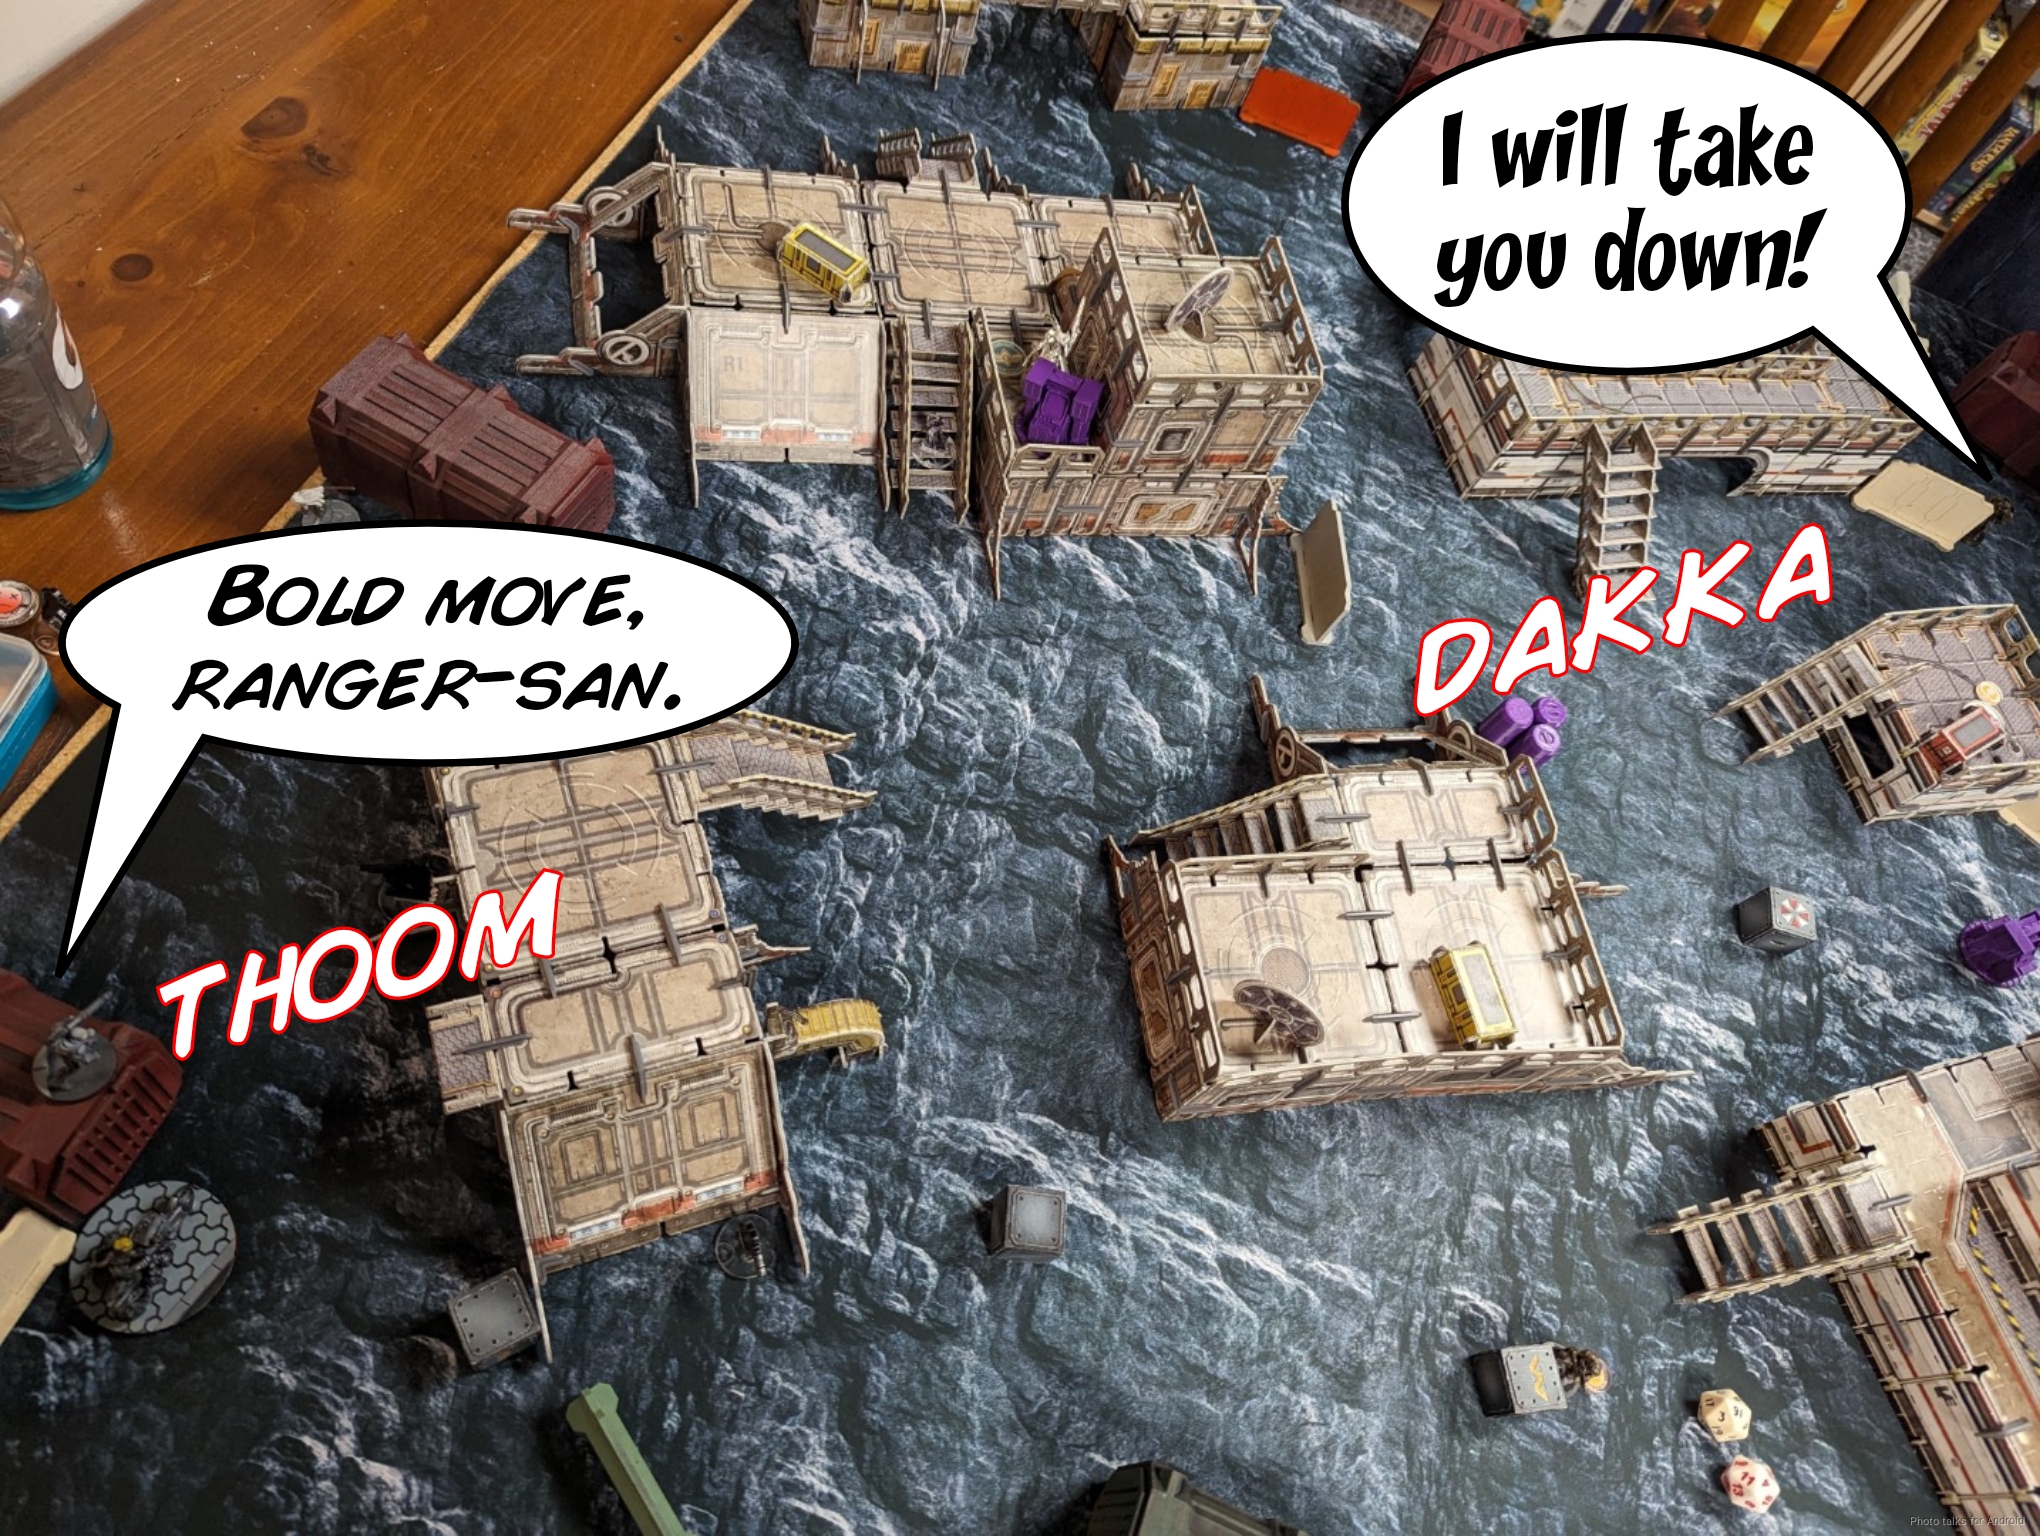
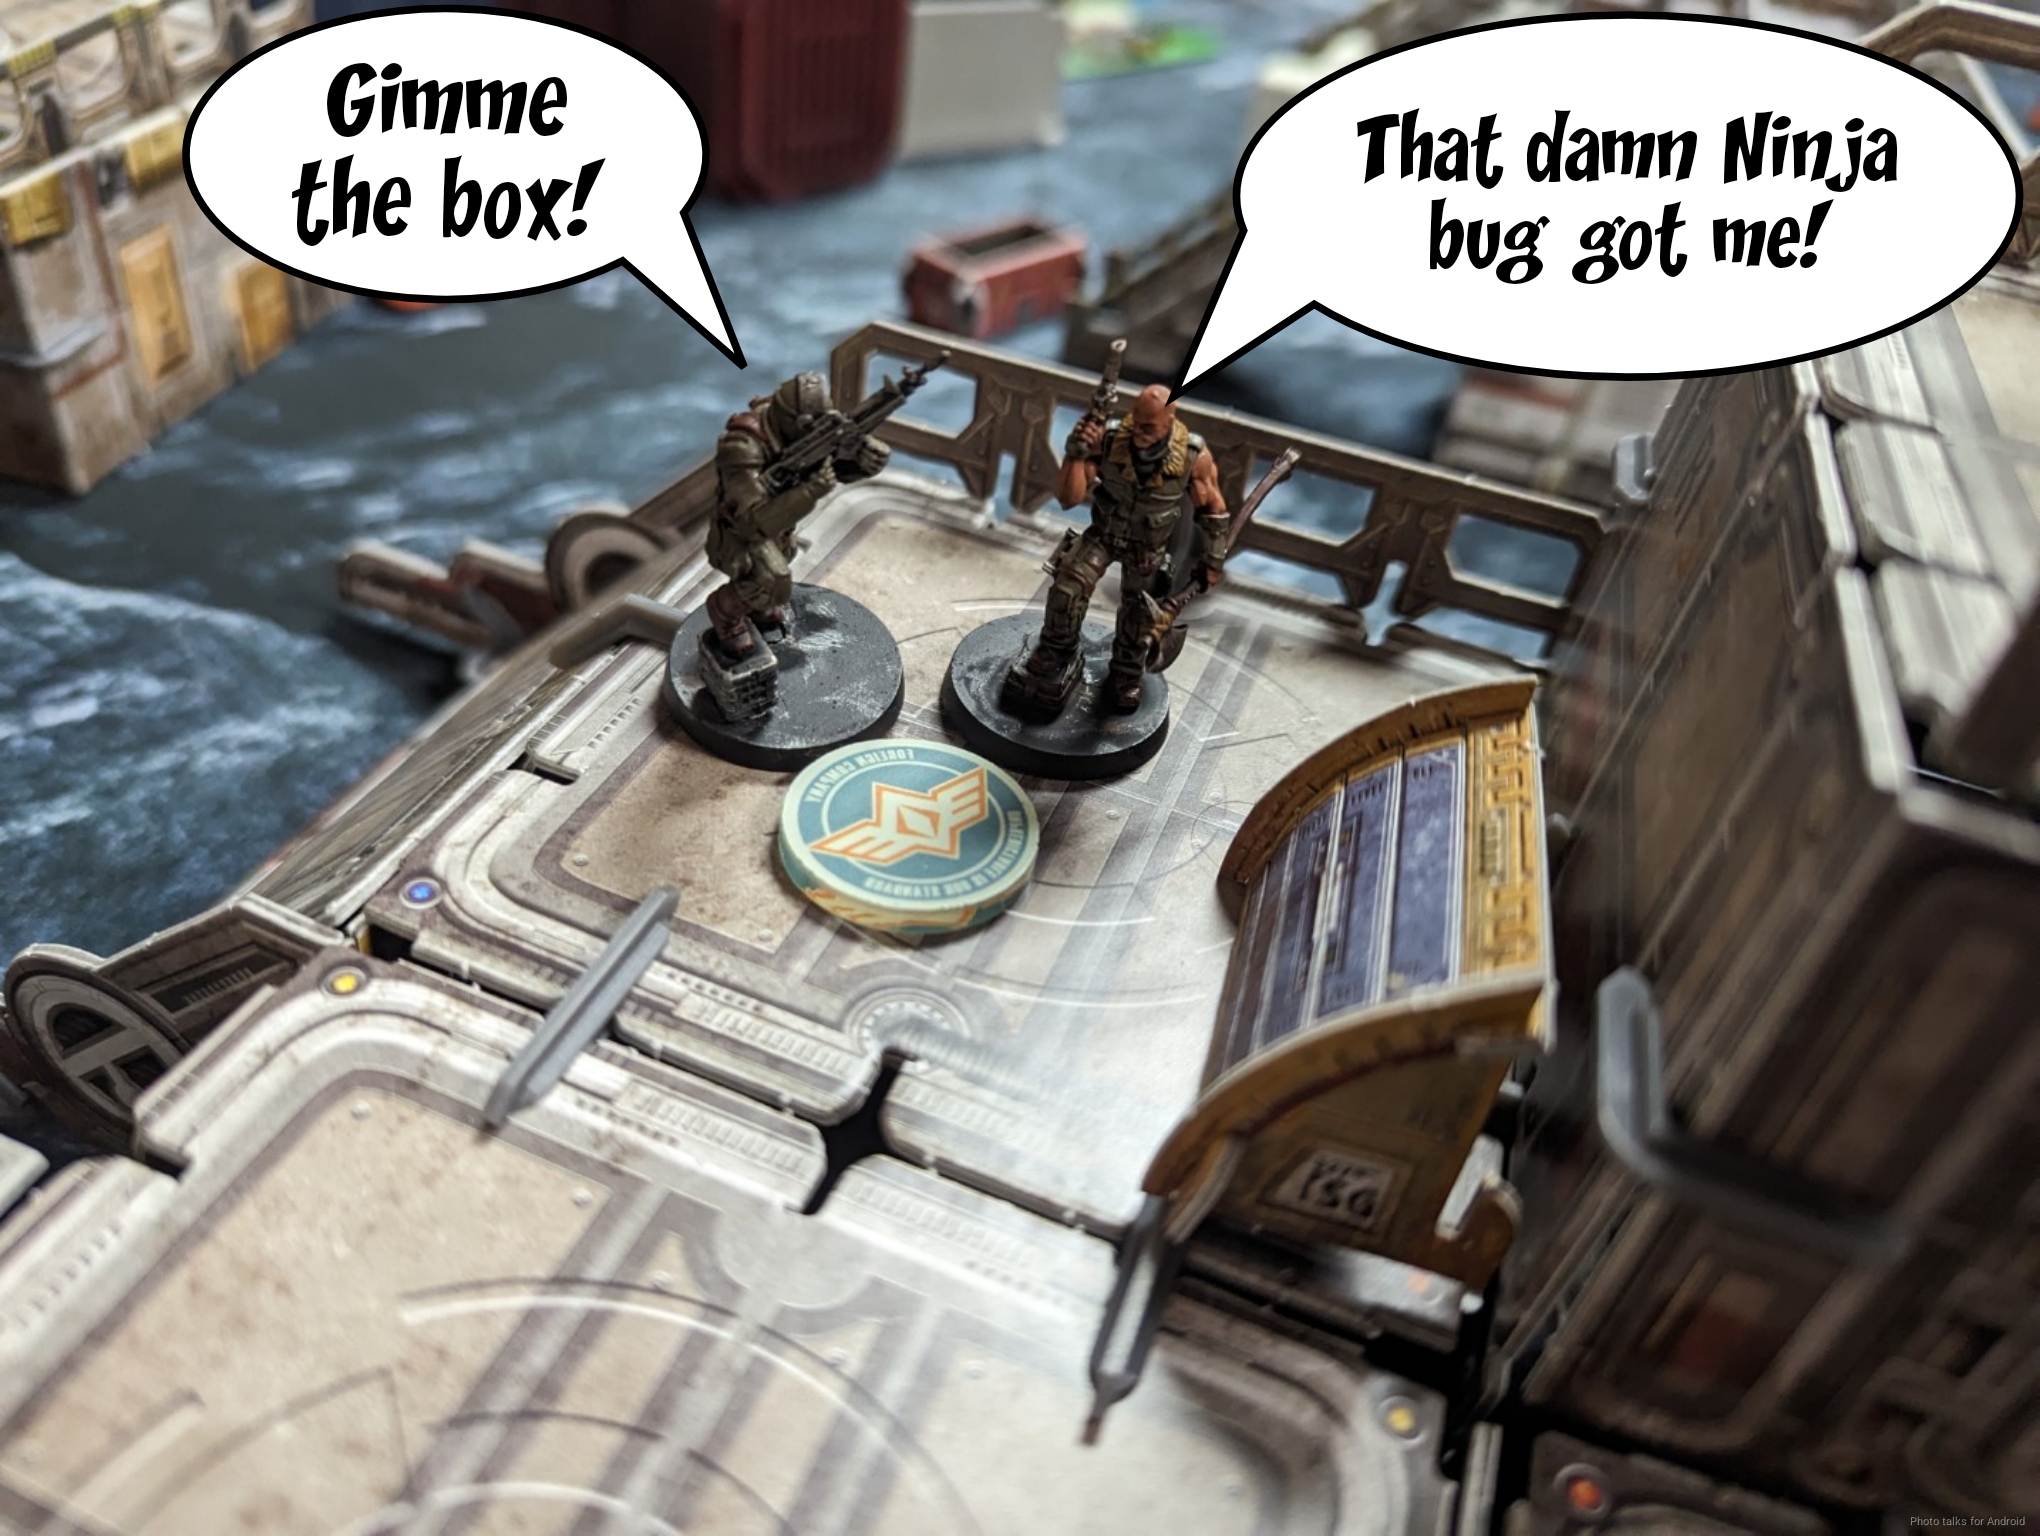
Really not great odds for either of us, but I manage to tag the Grunt Paramedic next to the UKR and knock it out. I’ll take it. Marko fails guts out of LoF, even from where the O-Yoroi can see. This un-pins the Samsa, so I get to work. I hop off the building its on and melt the QAZ creature from outside of 8″.
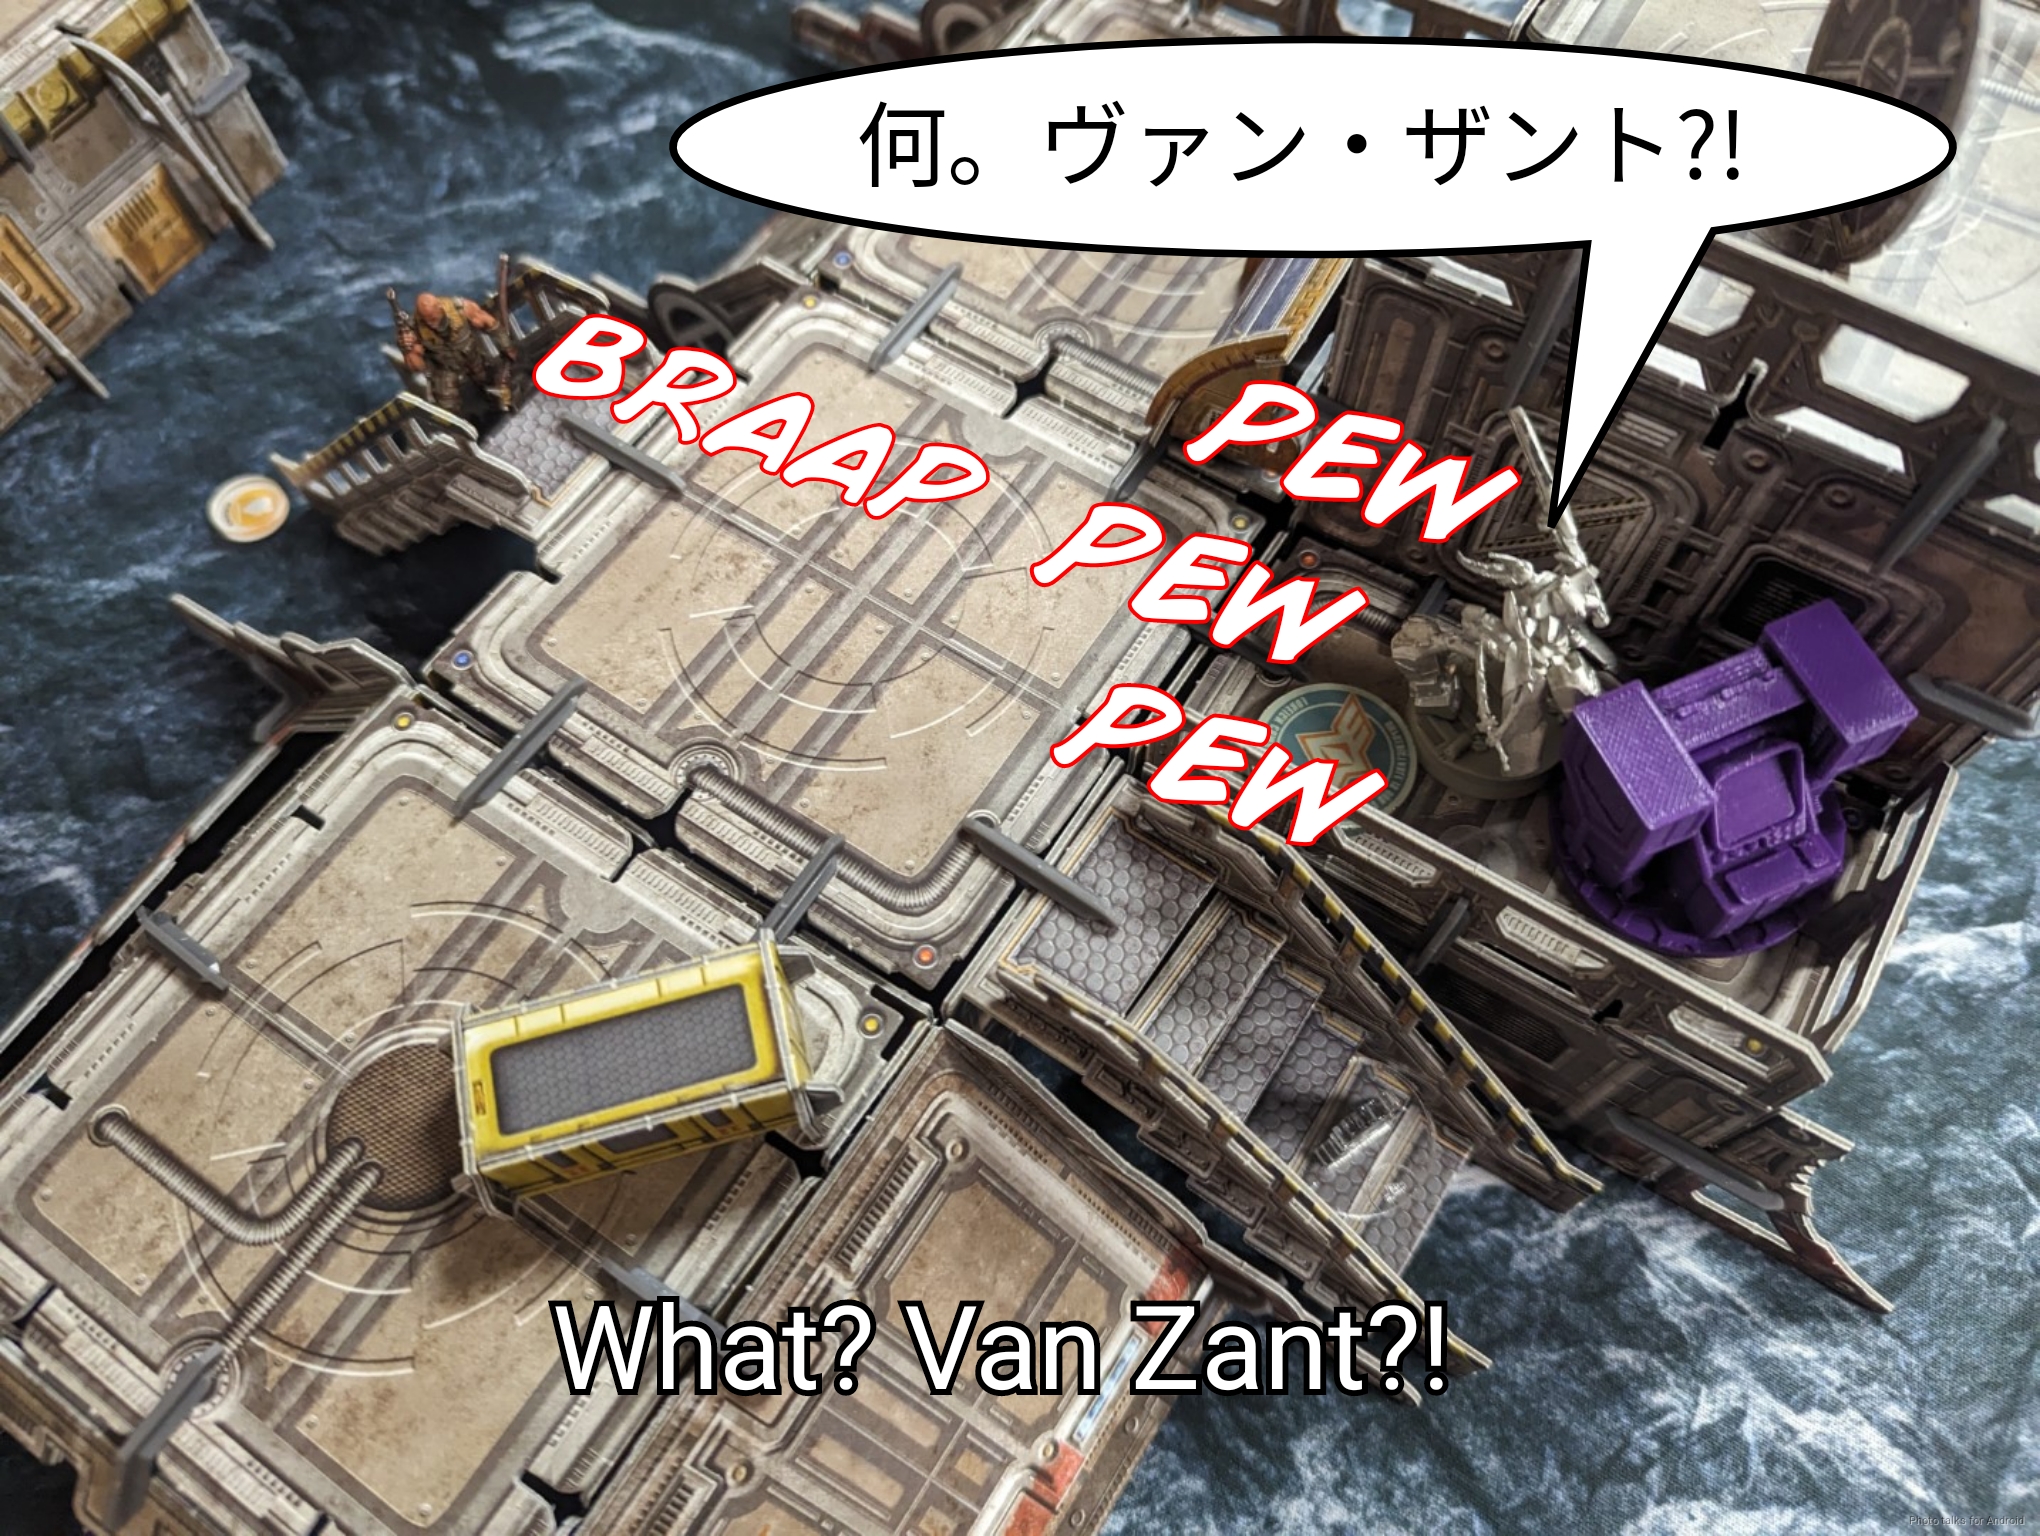
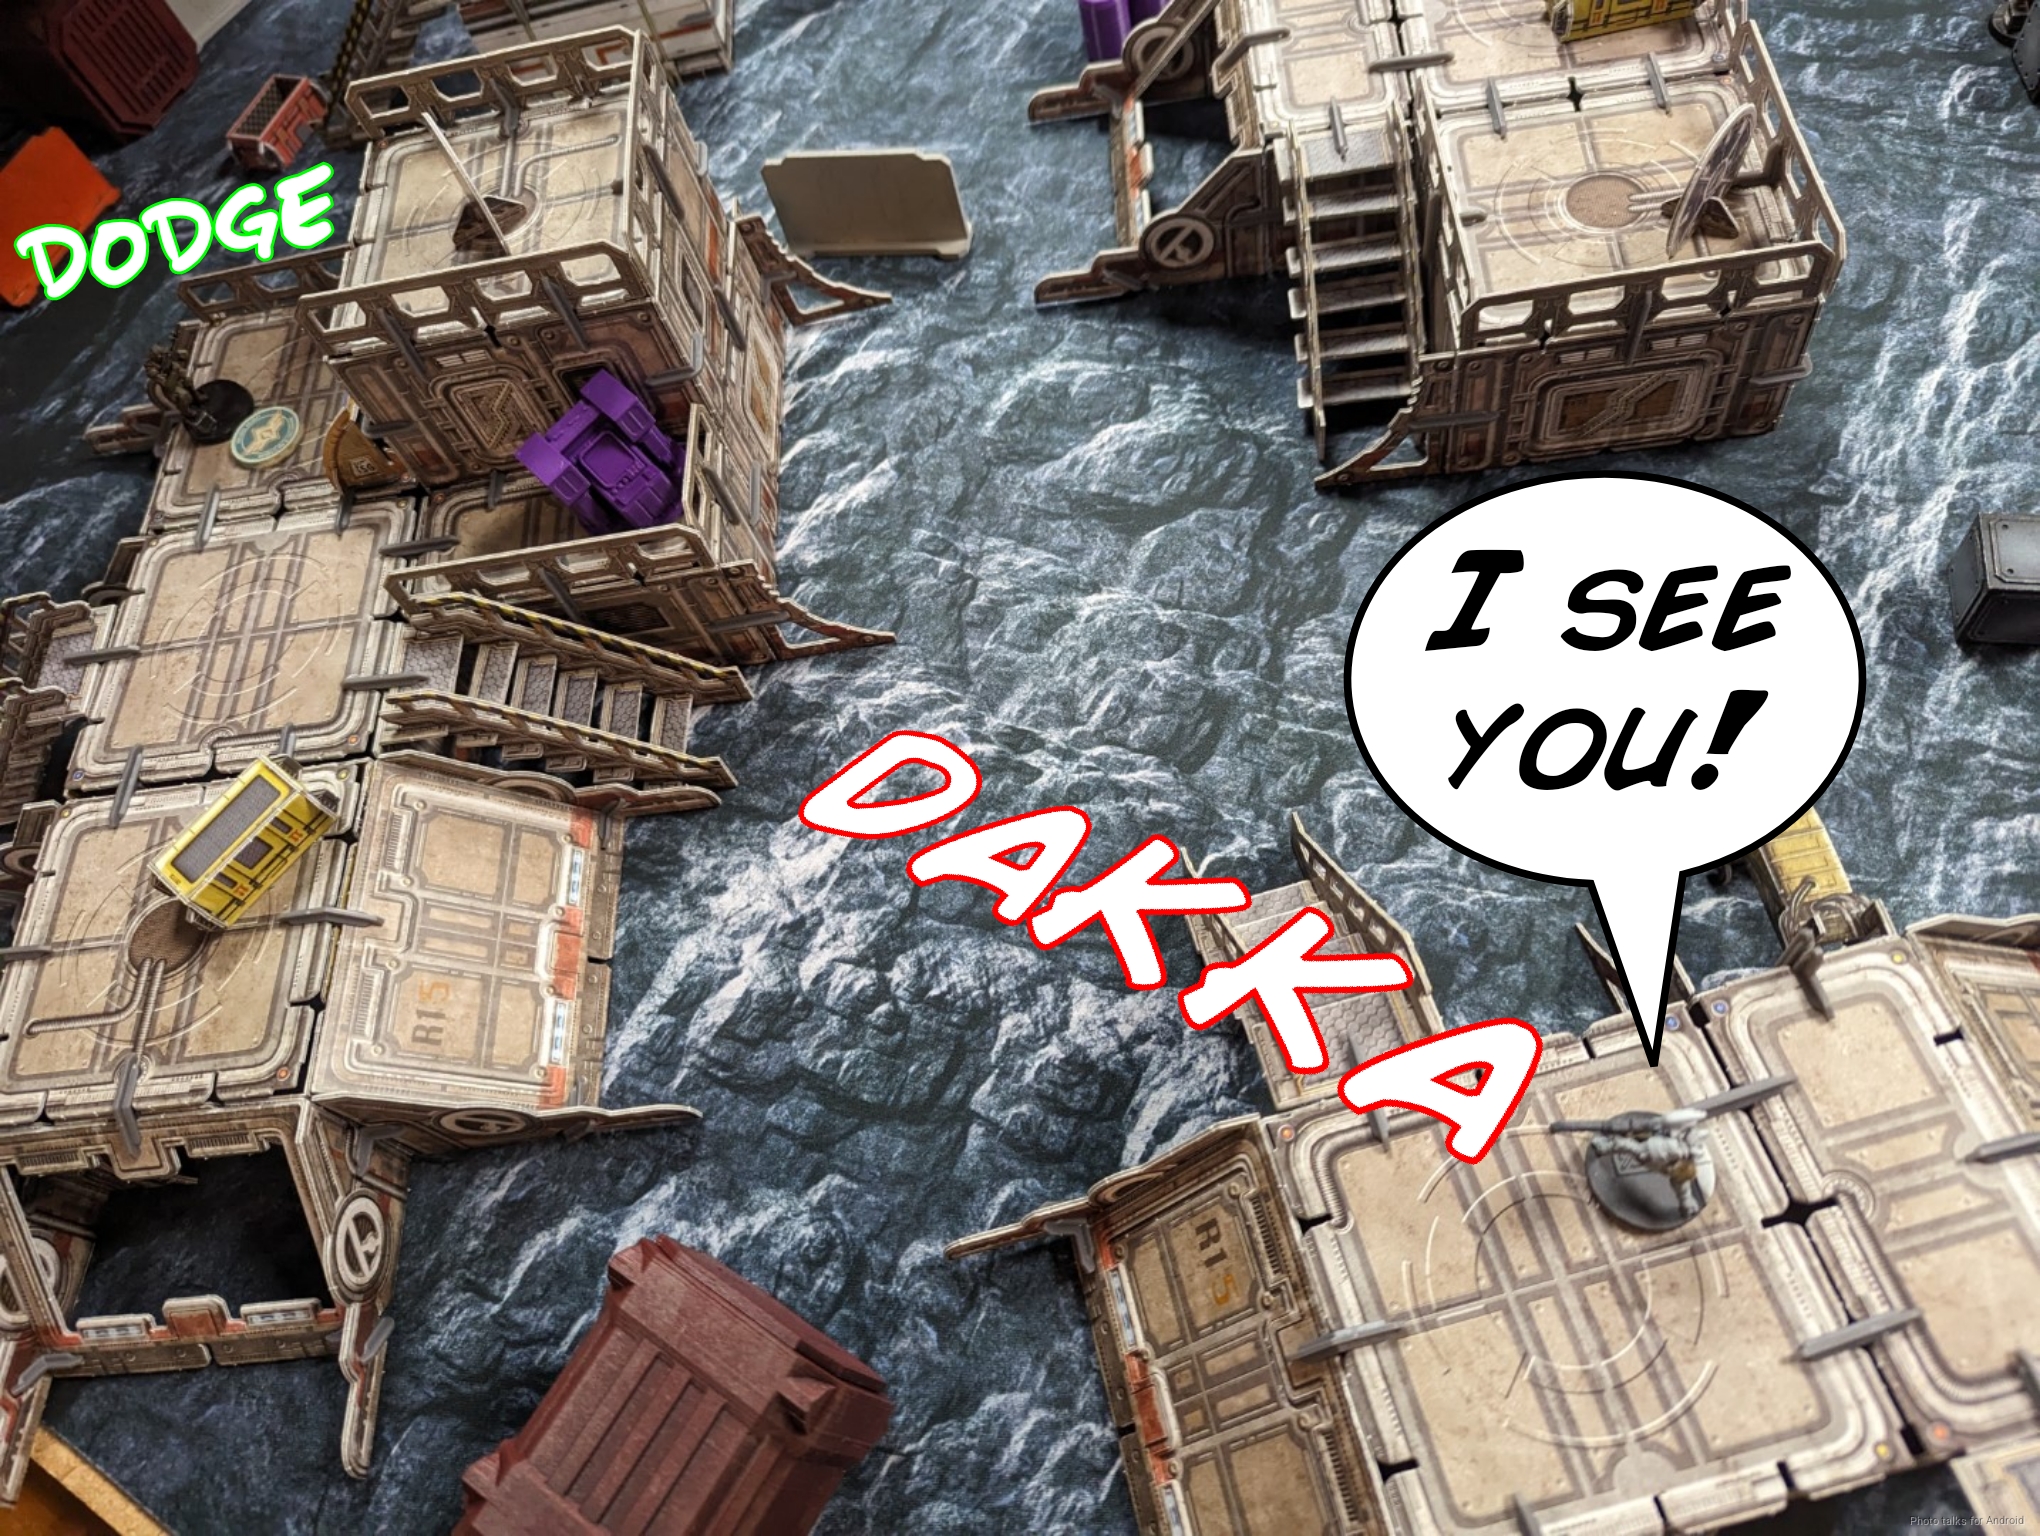
Unfortunately for Marko, with the UKR no longer watching, I push into within 8″ of the Marauder HRL and plasma template all three models in the link. I suggest dodging, especially the other models who can’t see the Samsa due to the weird vertical pie slicing. Marko insists on shooting back to keep burst two.
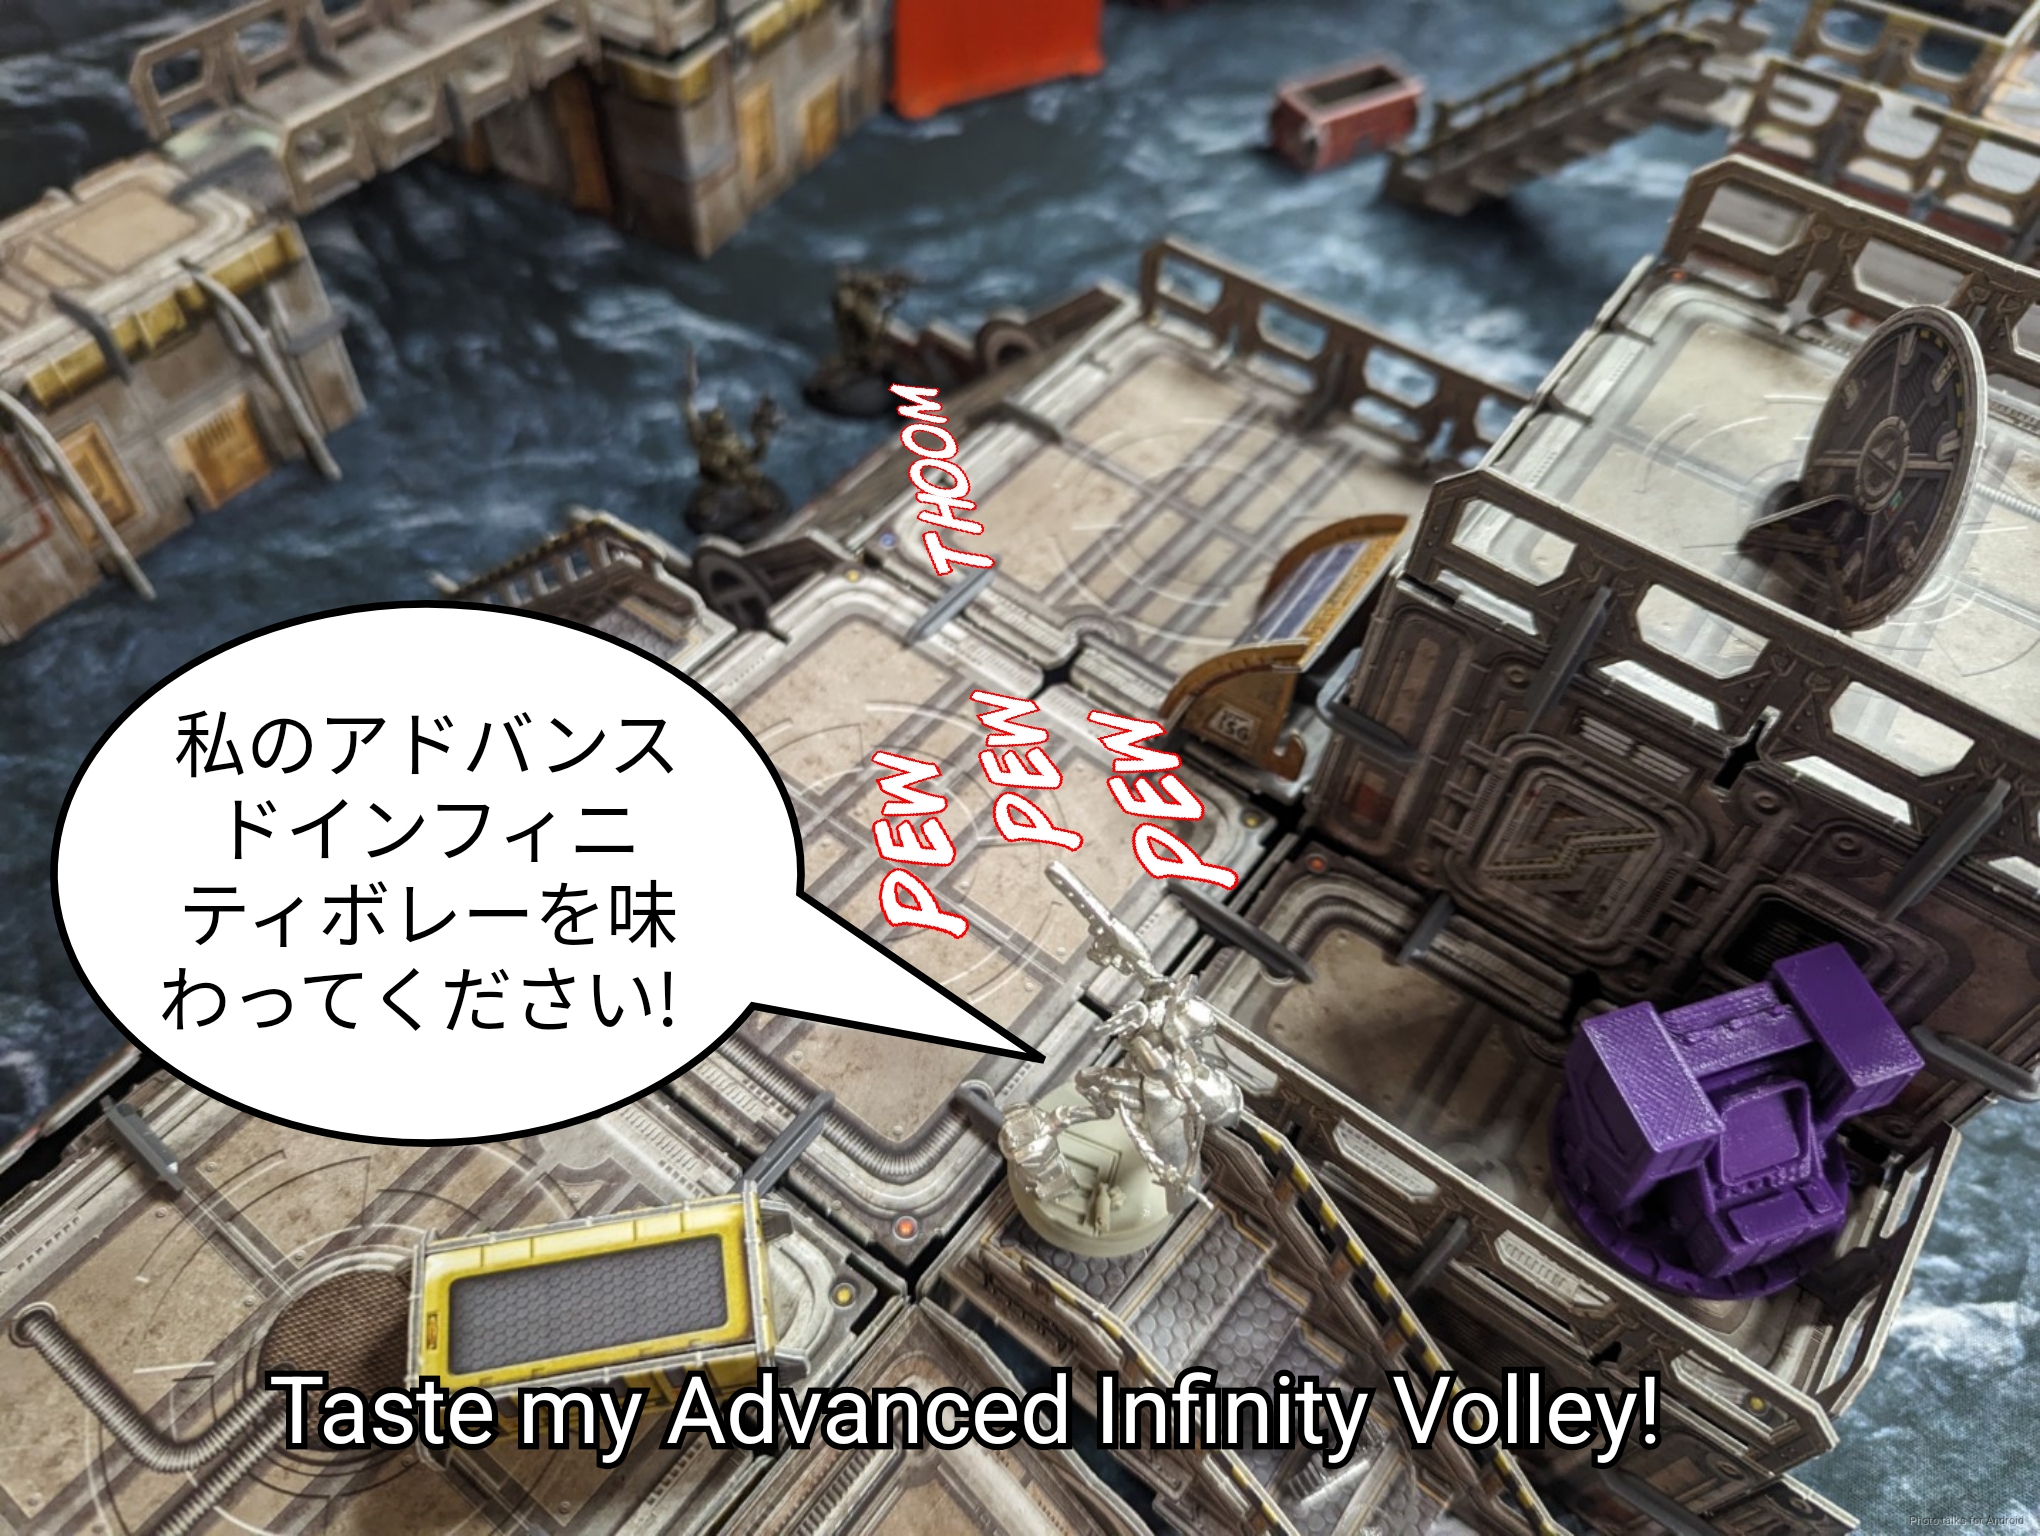
I hit three times and force six saves on all three models. None remain on the table. From there it’s a skip and a literal hop to a position where I can see the Grunt lieutenant. I delete it with plasma in spite of its suppression. For what it’s worth I didn’t come up with the silly attack name in the above picture, the Anime Attack Name Generator did!

The Samsa snags the box near it, and I retreat the O-Yoroi to cover and place another Koala with the Warcor’s order.
Turn 2
Top of 2 – USARF
Marko reforms the UKR link to get back up to 5 members and then attempts to remove the revealed Ryuken-9 with the UKR’s tac aware order. Good way around Loss of Lieutenant! It doesn’t go well and I instead finish burning the unconscious Grunt paramedic off the table. The UKR at least survives.
Bottom of 2 – JSA
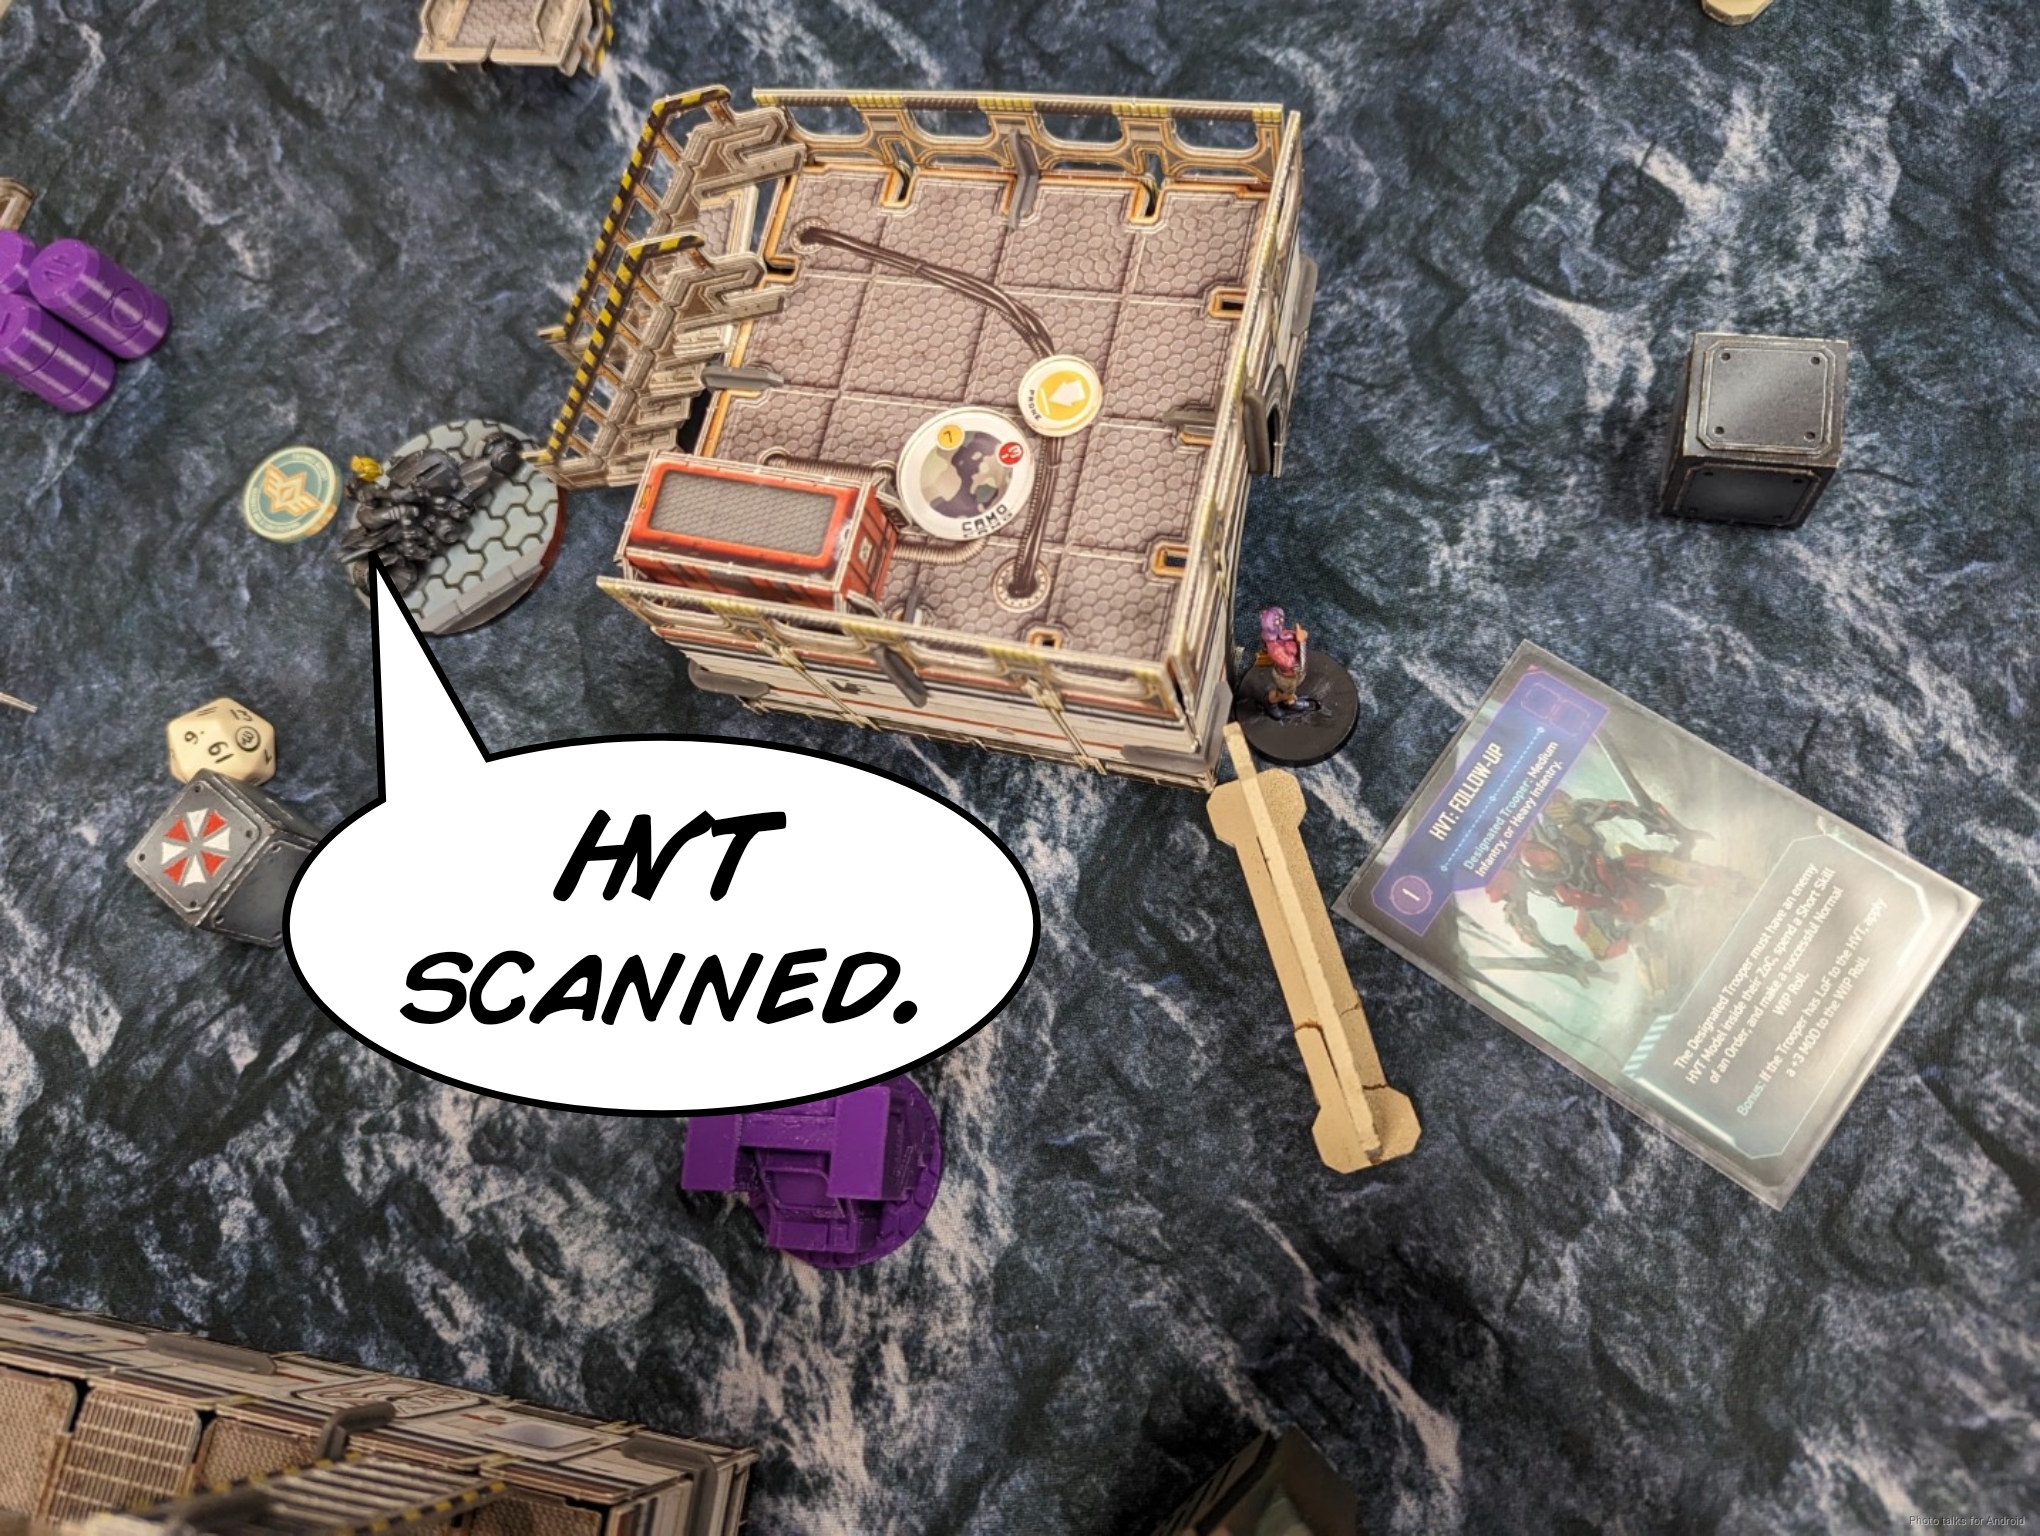
No change to list state, and we’re back to me. I have HVT: Follow Up so I snag it with Kuroshi while also grabbing the central console’s box. This gives me two boxes now.
I retreat Kuroshi to my deployment zone and then throw the O-Yoroi into suppression with its Tac Aware and move the Warcor to a new angle to cover the UKR’s approach on my right flank.
Turn 3
Top of 3 – USARF
Marko brings on Van Zant and makes a play for the Samsa’s box. He first clears the QAZ creature easily…
then guns the Samsa down. I do manage to put Van Zant dogged though.
Surprisingly, he also kills the revealed Ryuken-9. Dice, huh?
He moves the Grunt Infiltrator to go get the box from the mortally wounded Van Zant, failing a dodge past the O-Yoroi but passing ARM against my shot.
With that, Marko’s turn is over. He’s got two boxes now, which isn’t great.
Bottom of 3 – JSA

This is the moment the Domaru was made for. After taking an impetuous move on Kuroshi and handing off her box to the Karakuri, I send in my Domaru. I have some trouble cracking the Grunt’s armor…
but press the issue and eventually take out the Grunt and retrieve the box.

I send Kuroshi on a suicide mission to try and get the box, hiding just out of LoF from the UKR on the way in.
I don’t have a hope of her surviving, so I just double template the Foxtrot and deny Marko his box.
The O-Yoroi moves into range to secure the HVT now that Kuroshi’s gone, and that’s game.
8-0, 218-122 Japanese Secessionist Army Victory!
Post Game Analysis
I think Marko lost this game because he didn’t contest my movement on Turn 1. He had the tools to do so with the Marauder HRL–I would have had to challenge it with the O-Yoroi and that’s orders that I have to spend. He attempted to do so with the Unknown Ranger, which is so risky with its rangebands. Once I had forced it back into cover that let me move the Samsa around unopposed, and that resulted in a massive 115 army point swing by the top of 2.
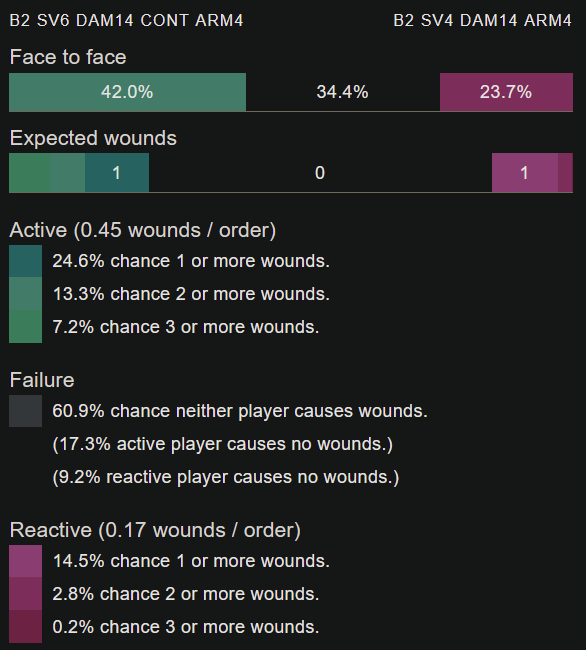
He also got very lucky with some ARM saves on the Unknown Ranger–even shooting back on 4s versus my 6s, he insisted on shooting instead of dodging, which might have saved his Grunt Paramedic. Not getting the UKR burned off the table is basically a coin flip he made 3-4 times this game, successfully, but I don’t think that makes the UKR a reliable option for contesting my movement. I was pretty nervous about attacking with the O-Yoroi, but now that I’ve seen the numbers at outside of 24″ I should have just pushed the O-Yoroi into position to take out the UKR:
If I had done that, there’s a realistic scenario where I take out the entire Marauder haris, the UKR, and the Grunt Lt. I don’t get the leftmost console/box turn 1, but Marko isn’t in retreat so I have plenty of time to address that on later turns and he’s forced to try to claw his way back into the fight with Van Zant. Forget breaker ammo as a solution for USARF, the real fix is clearly plasma! Really don’t know why the Samsa is in JSA, but you’d better believe I’m enjoying it! Big thanks to Marko for the game and for his patience while I scrambled to deploy/play my ALEPH on the other table versus Nathan. Always appreciative that people let me do this crazy thing. Thanks for reading.

Nice report. I was looking something like this. I’ve just started with JSA and I’m looking to have some inspiration about their play style. Also, taking into account the use of Samsa. By the way, may I ask what app do you sue for face to face rolls? Looks interesting.
Thanks!
Thanks! I use http://www.infinitythecalculator.com
Pingback: Big Evacuation – MERC Recon