Four, Four TAGs!
Thanks to Jordan for helping me test ISS for Biotechvore while this was happening. If you’re interested in that game, look here:
This game was against Nathan (Jhokalups) in a Bakunin mirror. This is also my first Reinforcements game!
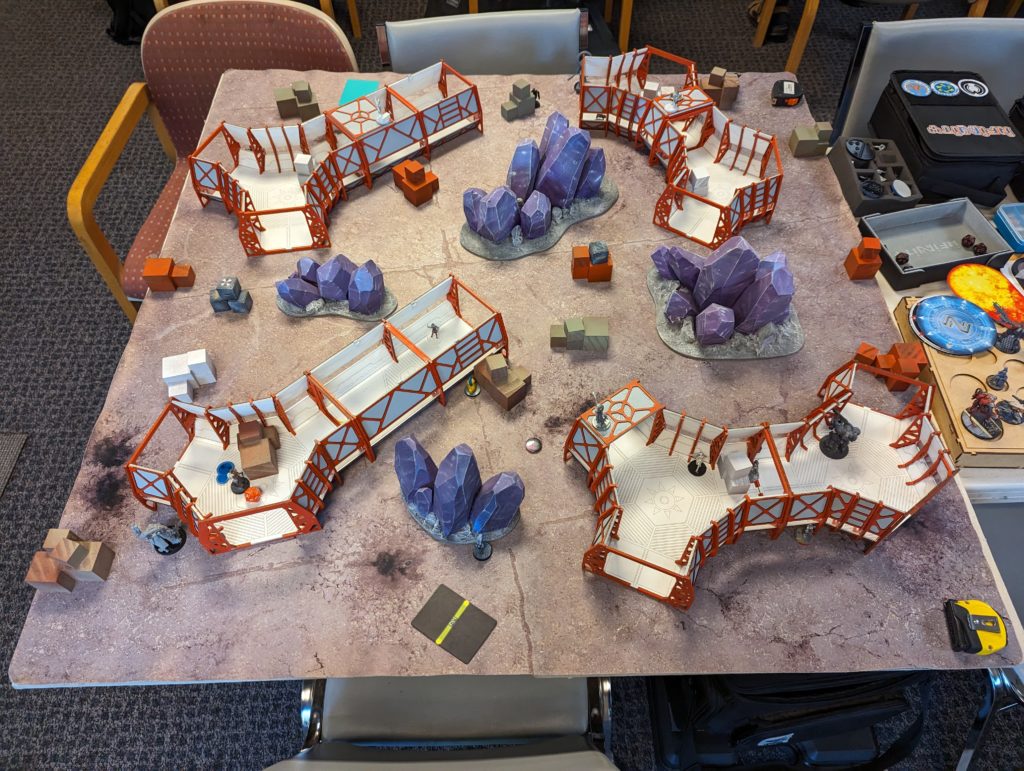
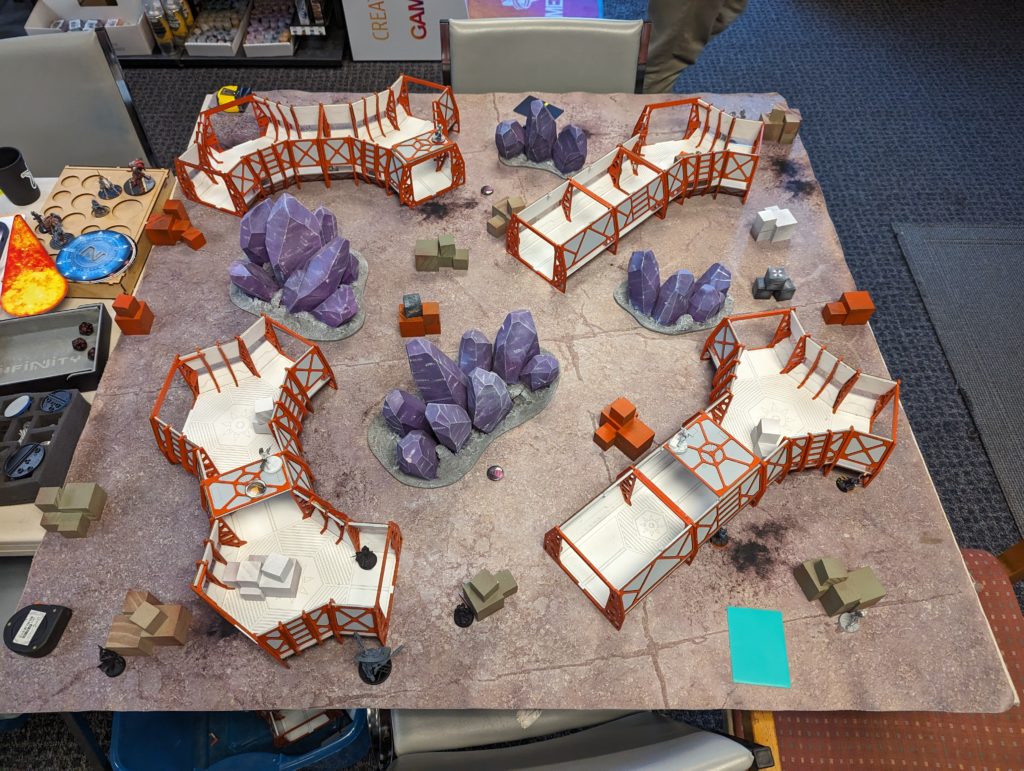
Overview
- Mission: ITS14 Capture and Protect
- Forces: Jurisdictional Command of Bakunin versus Jurisdictional Command of Bakunin (350 Reinforcements)
- Deploy First: Badkunin
- First Turn: Badkunin
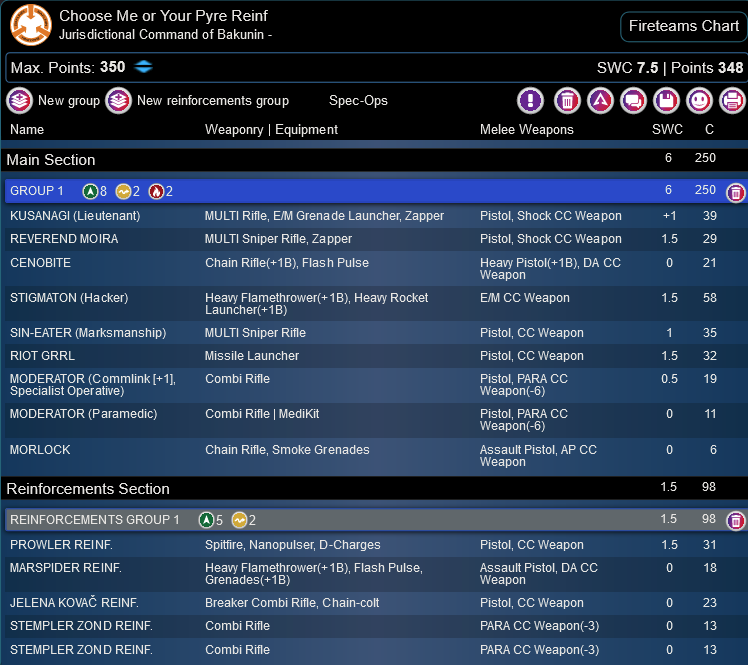
I’ve been building Reinforcement lists as an edit to a normal 300 point list. I had built this list
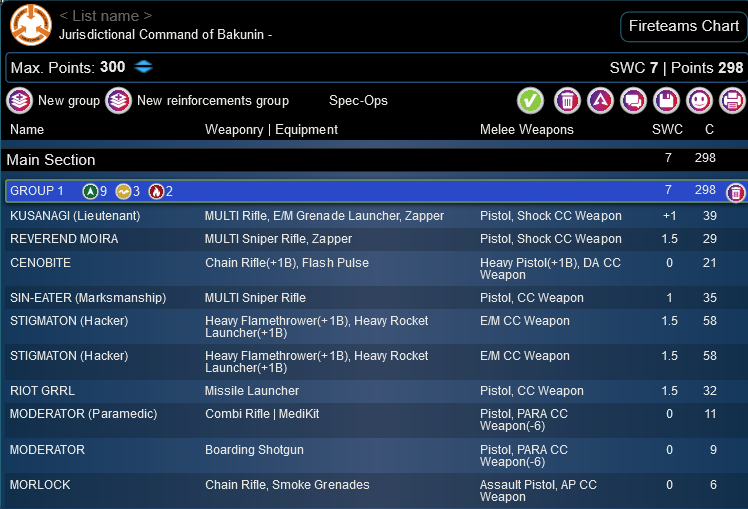
in response to the problems I was having with the double Stigmata list:
To get that 300 point list to a reinforcement list, I dropped one of the Stigmata to fit in 250 and used the extra points to pay for the irritating Commlink profile.
Choose Me or Your Pyre Reinf
GROUP 1

8
2
2
KUSANAGI (Lieutenant) MULTI Rifle, E/M Grenade Launcher, Zapper / Pistol, Shock CC Weapon. (+1 | 39)
REVEREND MOIRA MULTI Sniper Rifle, Zapper / Pistol, Shock CC Weapon. (1.5 | 29)
CENOBITE Chain Rifle(+1B), Flash Pulse / Heavy Pistol(+1B), DA CC Weapon. (0 | 21)
STIGMATON (Hacker) Heavy Flamethrower(+1B), Heavy Rocket Launcher(+1B) / E/M CC Weapon. (1.5 | 58)
SIN-EATER (Marksmanship) MULTI Sniper Rifle / Pistol, CC Weapon. (1 | 35)
RIOT GRRL Missile Launcher / Pistol, CC Weapon. (1.5 | 32)
MODERATOR (Commlink [+1], Specialist Operative) Combi Rifle / Pistol, PARA CC Weapon(-6). (0.5 | 19)
MODERATOR (Paramedic) Combi Rifle ( | MediKit) / Pistol, PARA CC Weapon(-6). (0 | 11)
Reinforcements
MORLOCK Chain Rifle, Smoke Grenades / Assault Pistol, AP CC Weapon. (0 | 6)


5
2
PROWLER REINF. Spitfire, Nanopulser, D-Charges / Pistol, CC Weapon. (1.5 | 31)
MARSPIDER REINF. Heavy Flamethrower(+1B), Flash Pulse, Grenades(+1B) / Assault Pistol, DA CC Weapon. (0 | 18)
JELENA KOVAČ REINF. Breaker Combi Rifle, Chain-colt / Pistol, CC Weapon. (0 | 23)
STEMPLER ZOND REINF. Combi Rifle / PARA CC Weapon(-3). (0 | 13)
STEMPLER ZOND REINF. Combi Rifle / PARA CC Weapon(-3). (0 | 13)
7.5 SWC | 348 Points | Open in Army | Copy Code
The reinforcement pool is just absolute filth. Basically I packed as many tac awares into a full core link as I possibly could. The only thing that doesn’t have tac aware is the Marspider, and it’s hard to not take a close combat monster that starts in the midfield. I’m missing some tools, perhaps, but I also have a whopping ten orders once the Commlink moderator hops over. I don’t think this sort of thing will make for a good play experience in the long run, but hey, it’s a beta game format. If nothing else, it certainly is different.
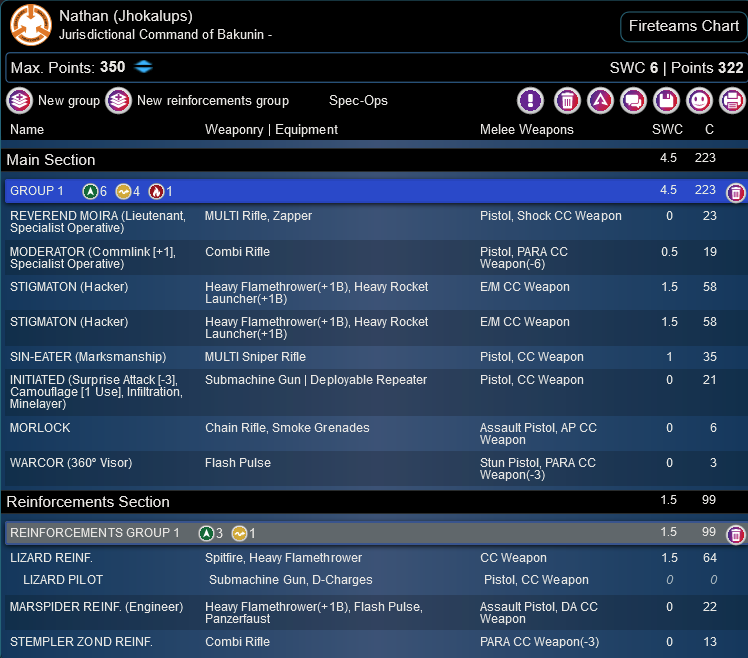
Nathan is playing Bakunin as well. He actually managed to pack in both TAGs in the 250, and then he’s got his favorite Initiate with deployable repeater. He’s also got a Sin Eater and a Morlock, and a duo of a Moira Lt and an Orphan with MSV2. In other words, really relying on the TAGs with some light backup.
Nathan (Jhokalups)
GROUP 1

7
4
1
REVEREND MOIRA (Lieutenant, Specialist Operative) MULTI Rifle, Zapper / Pistol, Shock CC Weapon. (0 | 23)
ORPHAN (Multispectral Visor L2) MULTI Marksman Rifle ( ) / Pistol, CC Weapon. (0 | 26)
Reinforcements
MODERATOR (Commlink [+1], Specialist Operative) Combi Rifle / Pistol, PARA CC Weapon(-6). (0.5 | 19)
STIGMATON (Hacker) Heavy Flamethrower(+1B), Heavy Rocket Launcher(+1B) / E/M CC Weapon. (1.5 | 58)
STIGMATON (Hacker) Heavy Flamethrower(+1B), Heavy Rocket Launcher(+1B) / E/M CC Weapon. (1.5 | 58)
SIN-EATER (Marksmanship) MULTI Sniper Rifle / Pistol, CC Weapon. (1 | 35)
INITIATED (Surprise Attack [-3], Camouflage [1 Use], Infiltration, Minelayer) Submachine Gun ( | Deployable Repeater) / Pistol, CC Weapon. (0 | 21)
MORLOCK Chain Rifle, Smoke Grenades / Assault Pistol, AP CC Weapon. (0 | 6)
WARCOR (360º Visor) Flash Pulse ( ) / Stun Pistol, PARA CC Weapon(-3). (0 | 3)


3
1
LIZARD REINF. Spitfire, Heavy Flamethrower / CC Weapon. (1.5 | 64)

LIZARD PILOT Submachine Gun, D-Charges / Pistol, CC Weapon. (0 | 0)
MARSPIDER REINF. (Engineer) Heavy Flamethrower(+1B), Flash Pulse, Panzerfaust / Assault Pistol, DA CC Weapon. (0 | 22)
STEMPLER ZOND REINF. Combi Rifle / PARA CC Weapon(-3). (0 | 13)
6 SWC | 348 Points | Open in Army | Copy Code
His reinforcements has a third TAG, the Lizard, with a Stempler and Marspider Engineer to make things a real problem in the midfield.
Deployment
I chose deployment and this time Nathan chose to go first, since it’s Capture and Protect and all. He deployed his Initiate and repeater near the central approach to his beacon, then tucked most of his forces in the right set of corridors in his deployment zone with a Stigmata. The Morlock and other Stigmata went on the left, and the Warcor was covering the back table edge.
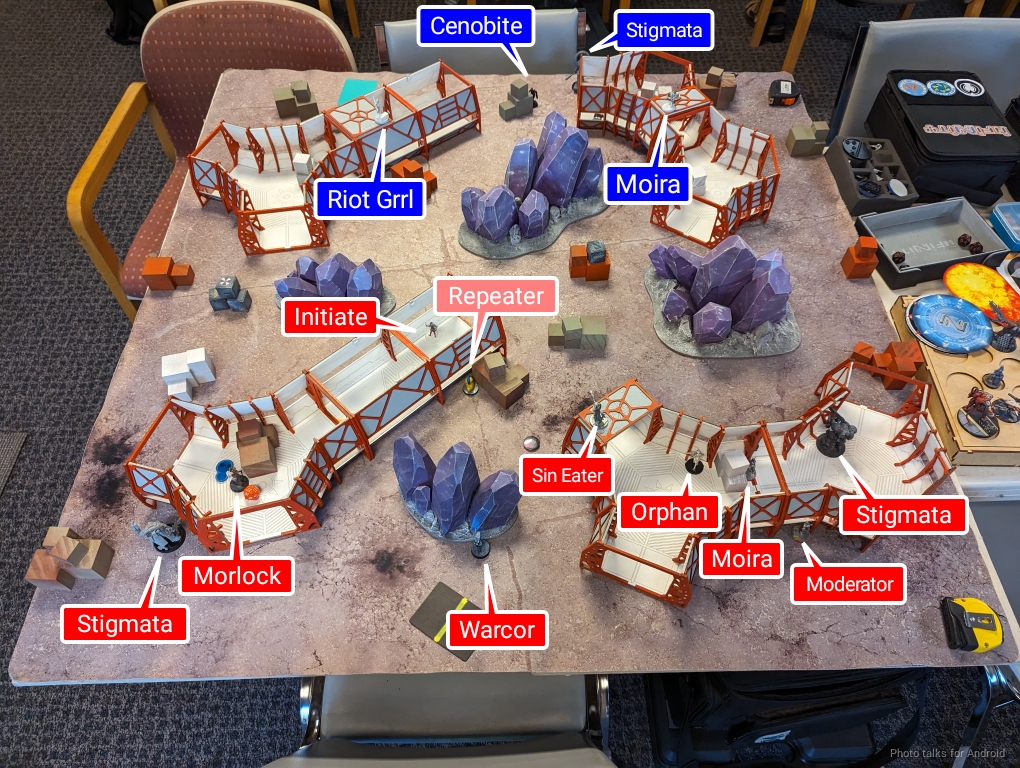
I believe the Sin Eater was his reserve. I had a good line of sight in to the corridor where the Initiate and Morlock were, so I put my Moira MSR there, tucking the Cenobite and Kisangani nearby to cover the Beacon. I set up my own Sin Eater watching down the left table edge, which let me contest the approach of the Stigmata on that side. It was basically completely out of the fight otherwise, but I couldn’t just leave that gap unplugged. I put my Riot Grrl down watching a set of crossfire lanes from the Moira, which gave me some options for AROs. My own Morlock was on the right, ready to punish an over-extended Stigmata if I needed to.
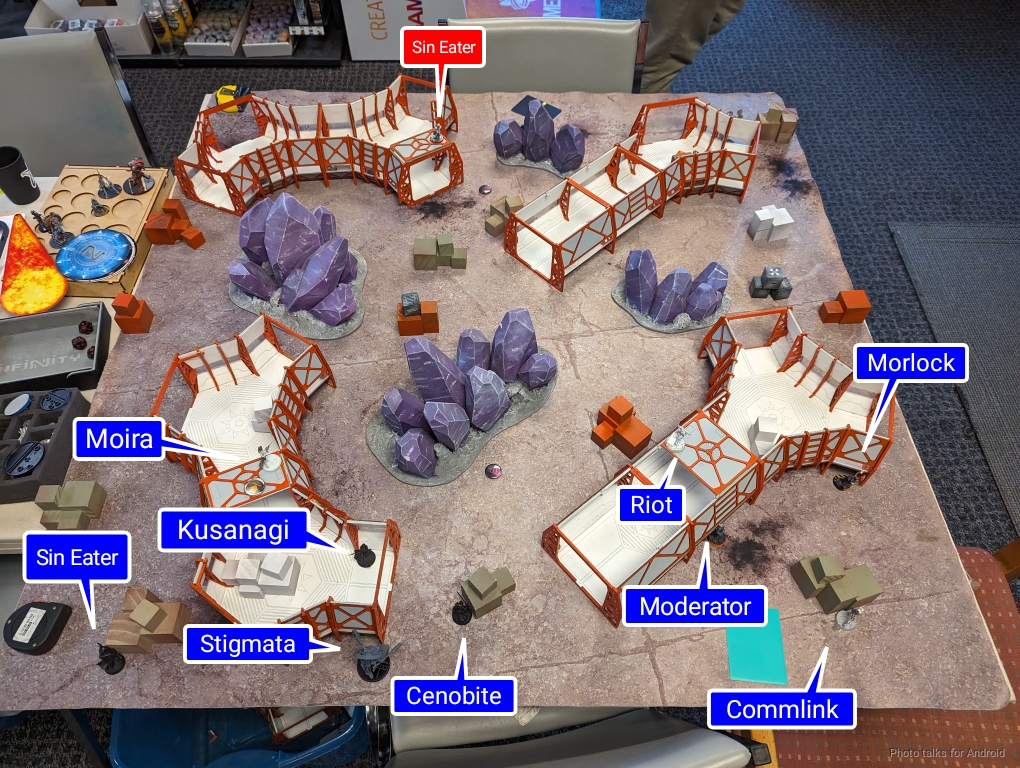
At this point, it was Nathan’s turn to deploy his reserve, so he plunked his Sin Eater down on the roof watching the world, and I put my Stigmata down covering my Beacon.
Turn 1
Top of 1 – Badkunin
I take two orders from Nathan and we’re off. The Moira can see the approach of the Morlock if it goes right, so Nathan forgoes the impetuous order and throws smoke to let the Morlock escape backwards out of the corridor system. This is great for me, I love it when models that want to be in the midfield go backwards.
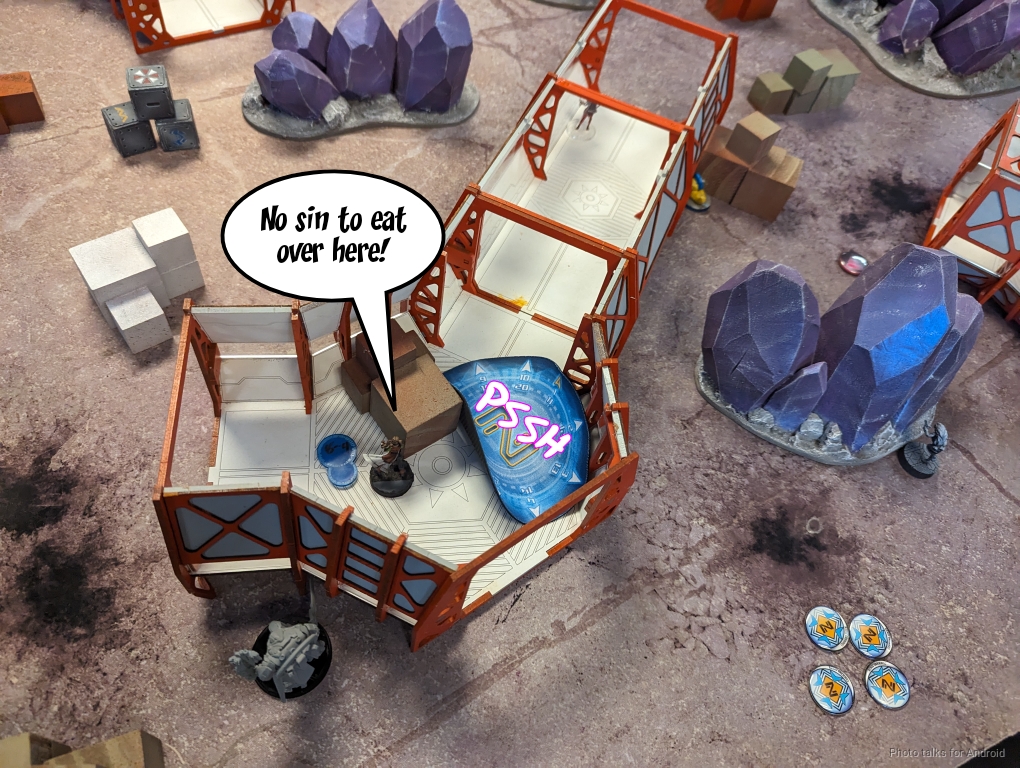
The Morlock then sets up smoke for the Orphan with MSV2, and then she goes to work.
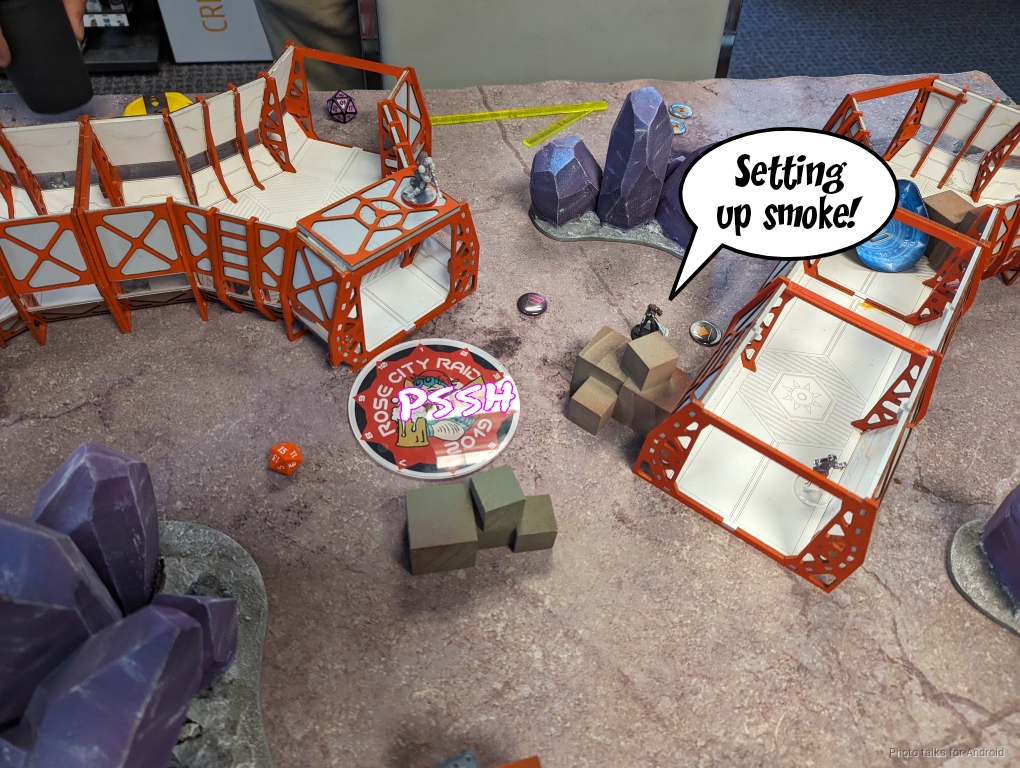
She starts by engaging my Riot Grrl, but it’s in bad range for her and it takes awhile. Eventually she gets a wound on the Riot Grrl and I fail guts out of the way.
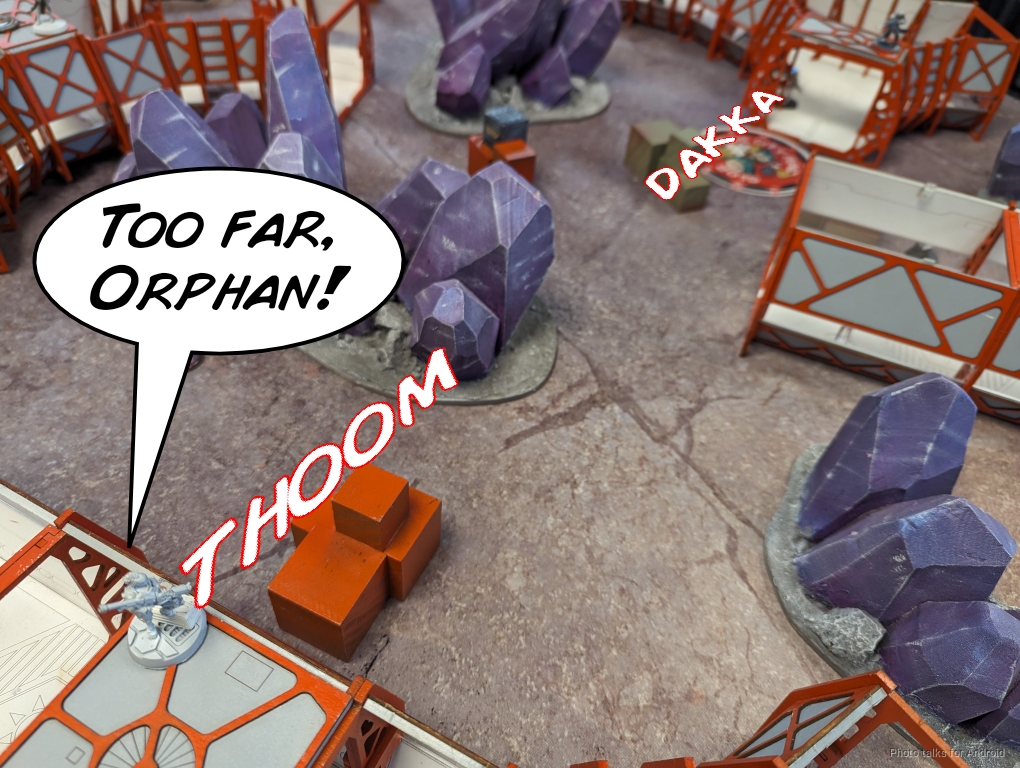
Next up is the Moira. Unfortunately for Nathan, his dice luck runs out here and I ace the Orphan with the Moira.
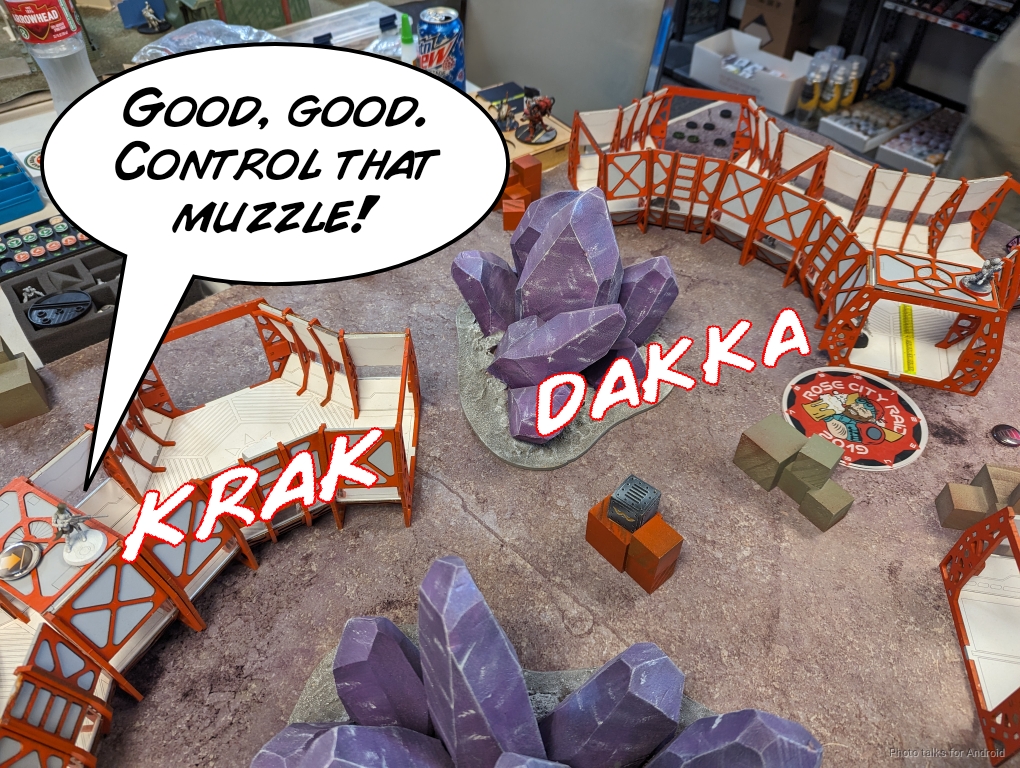
With the Riot Grrl off overwatch, this lets Nathan’s Stigmata advance and challenge mine, putting a wound on mine. With that, it’s over to me.
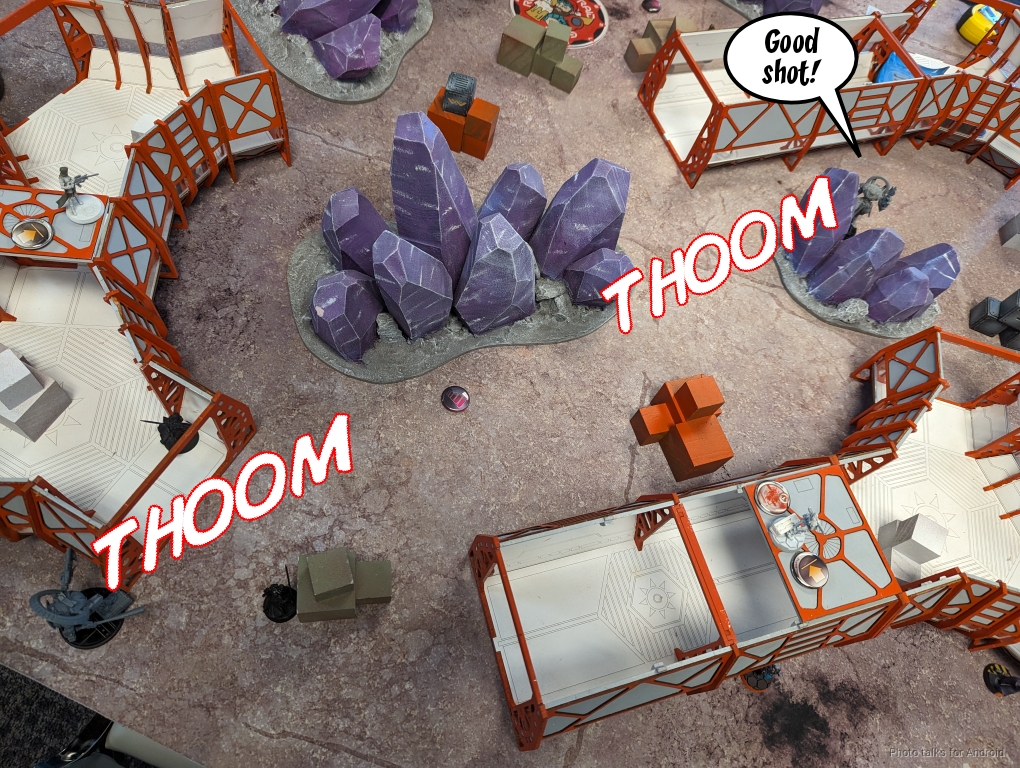
Bottom of 1 – Bakunin
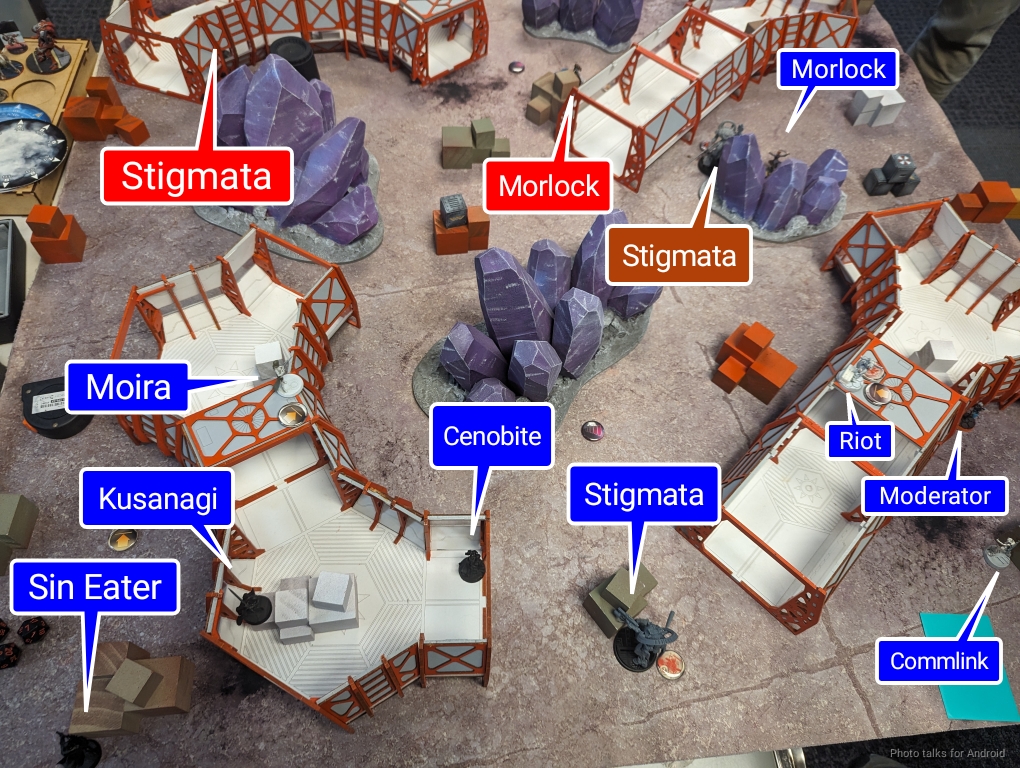
My plan for the turn is to stabilize and defang. I start off as planned by running the Morlock up and get smoke down on the Stigmata on my right. I’m outside of 4″, so the Stigmata has an opportunity to dodge away on my way in, and it does.
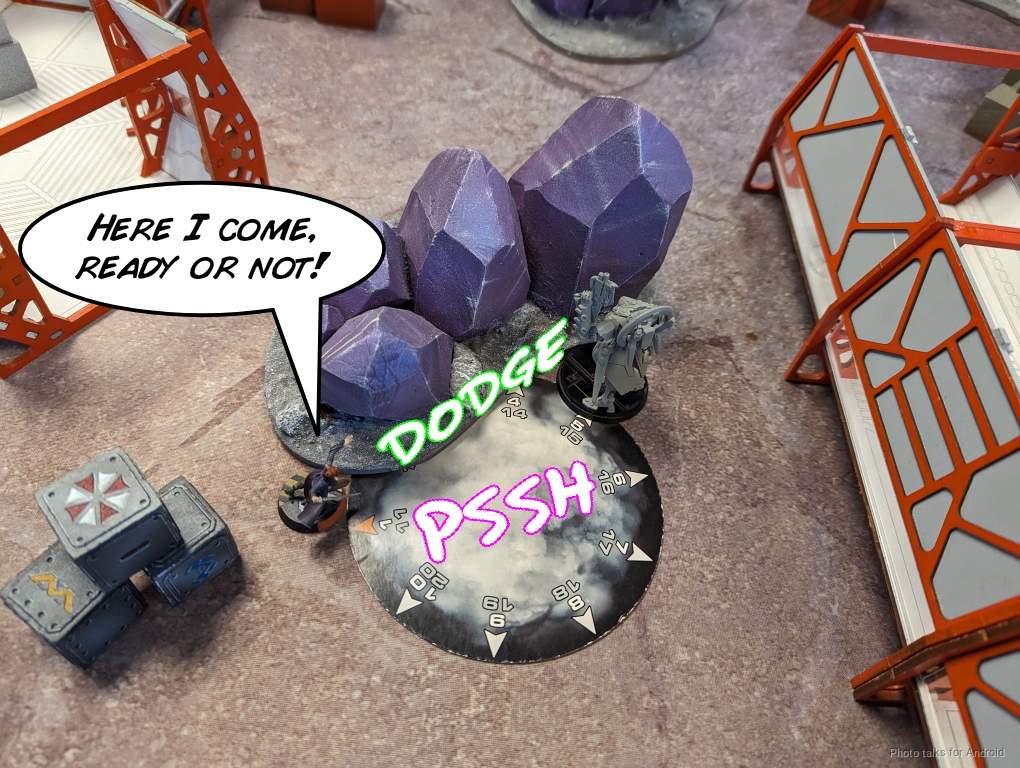
This does mean it’s out of the smoke, so I see about shooting it off the table. First, I have to deal with Nathan’s Sin Eater. I get lucky and burn it down in one order with the Stigmata.
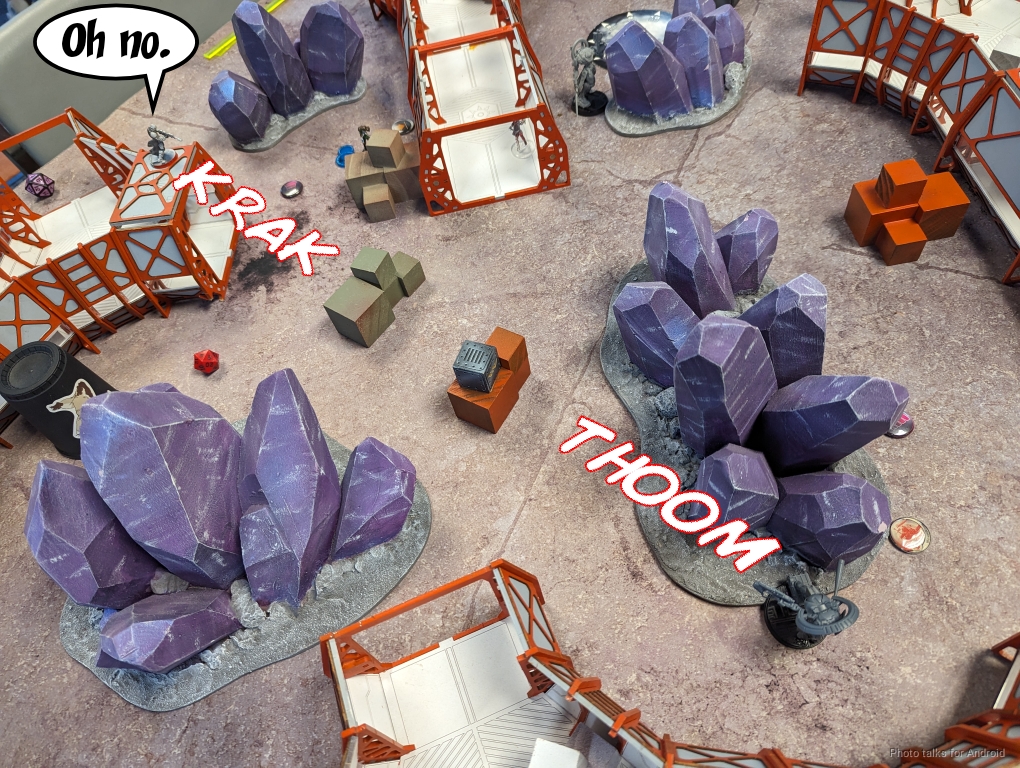
Then I use the Moira to engage the Stigmata.
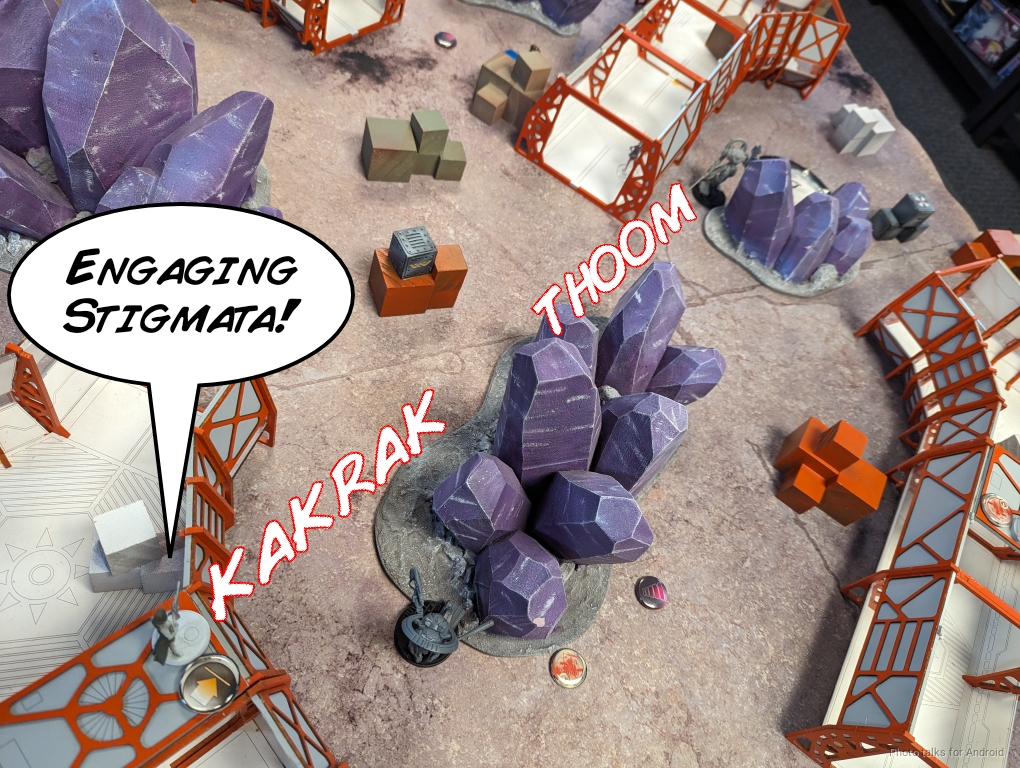
It can’t fail guts away, because that gets it close to the Morlock, so it just has to sit there and take it till I eventually drop it.
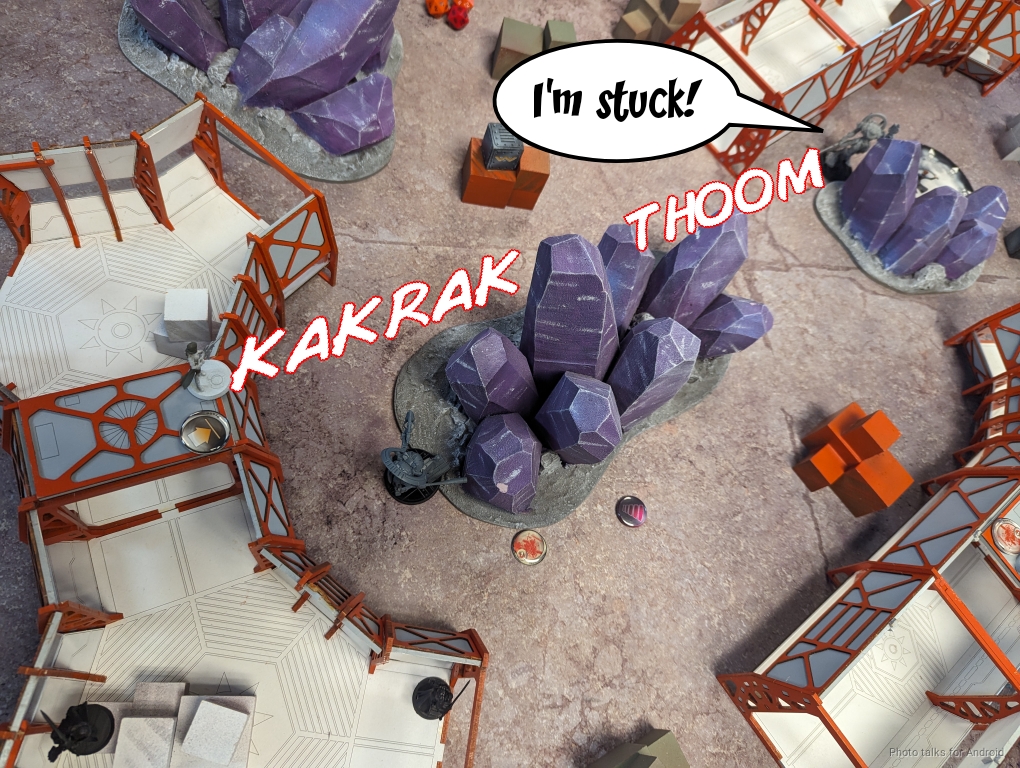
I park the Stigmata in the back to cover the console, and then reset the Riot to her original position.
Turn 2
Top of 2 – Badkunin

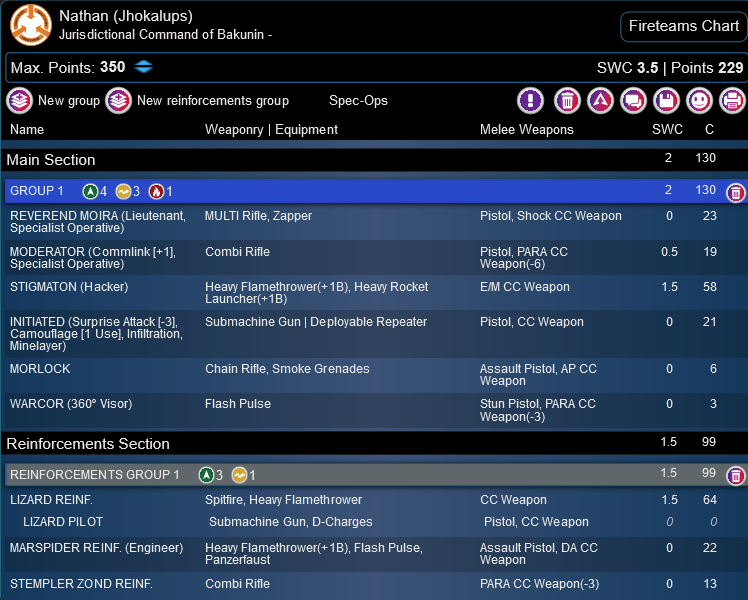
I’ve done enough damage to have reinforcements come in, so they do.
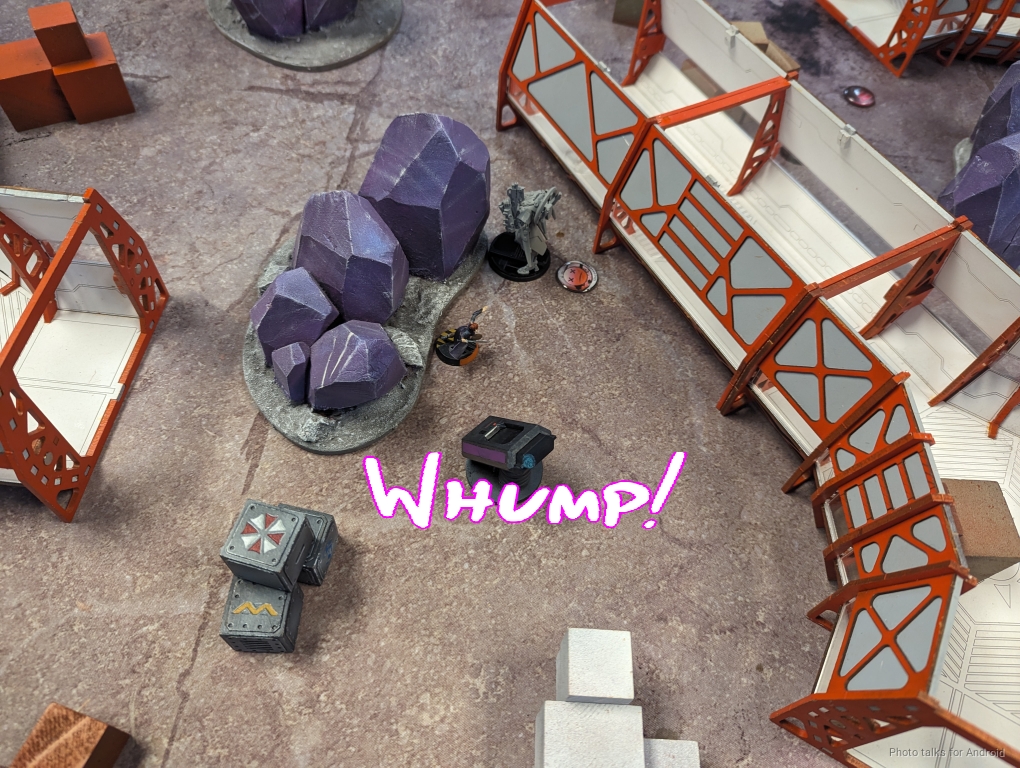
The Marspider shows up right next to the Stigmata to repair it, the Stempler behind the Morlock, and the Lizard inside the tunnels. The Stempler easily downs the Morlock from behind outside of 8″, which is a bummer.
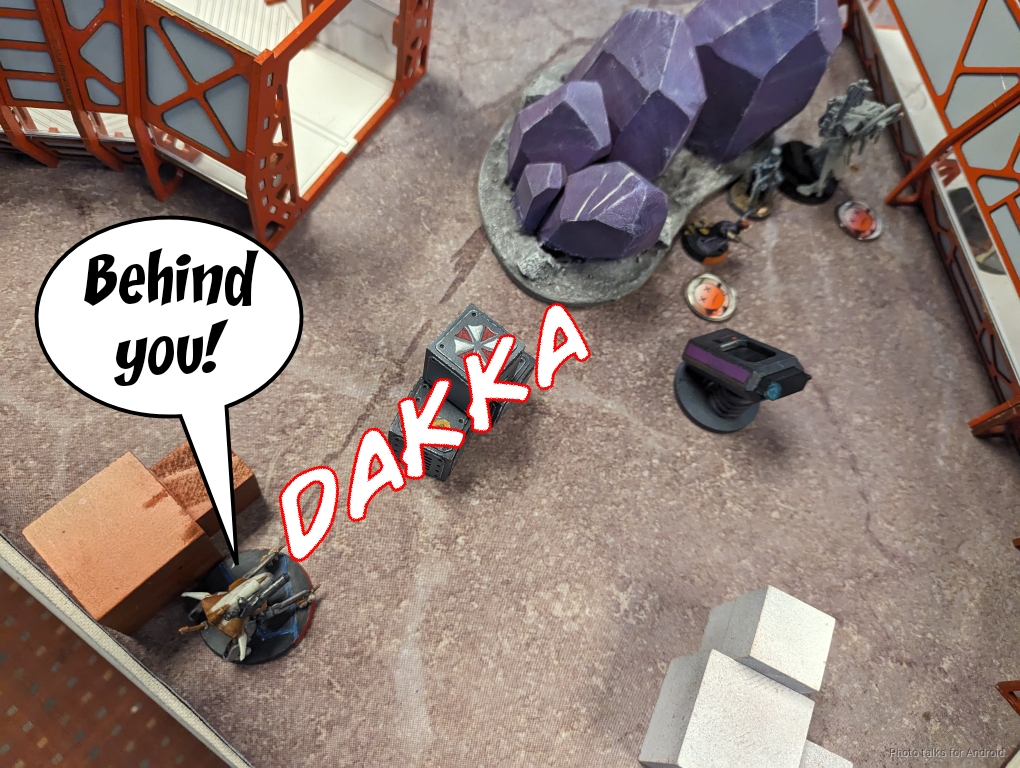
The Marspider attempts to repair, and fails a bunch of rolls in series as Nathan spends command tokens. Eventually he cuts his losses and that’s that for the Stigmata.
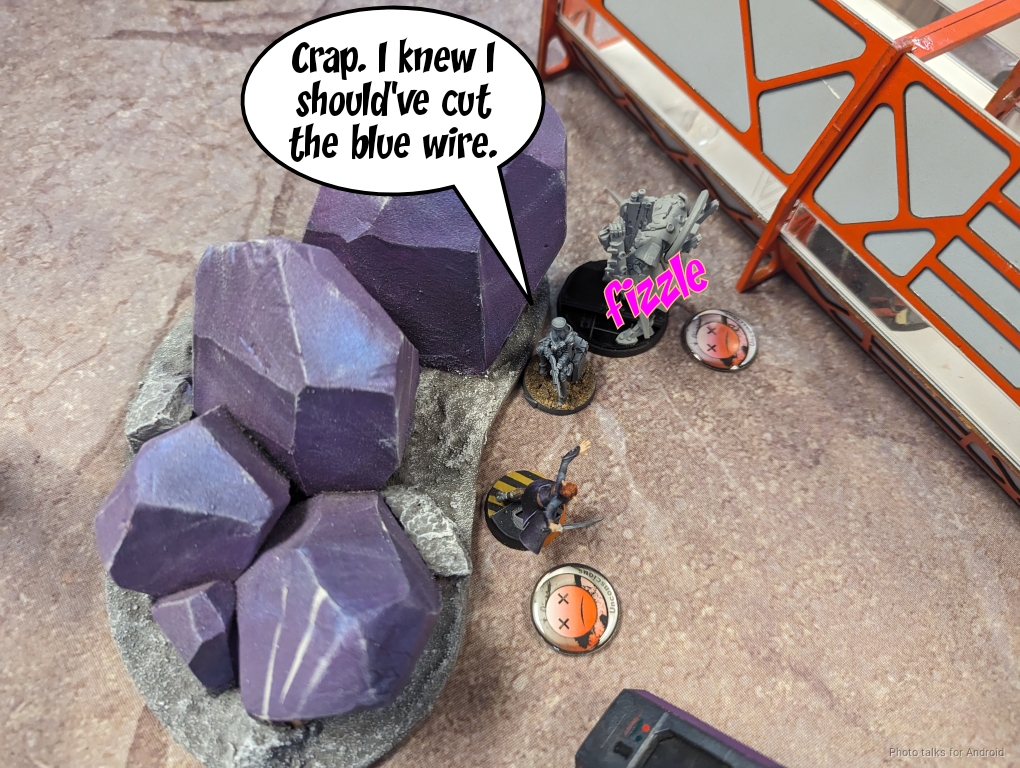
Then the Lizard activates and challenges the Moira. Sadly we’re just outside of 24″ so I’m stacking a whopping -12 on the Lizard, which is great for me. I land a hit and do one wound.
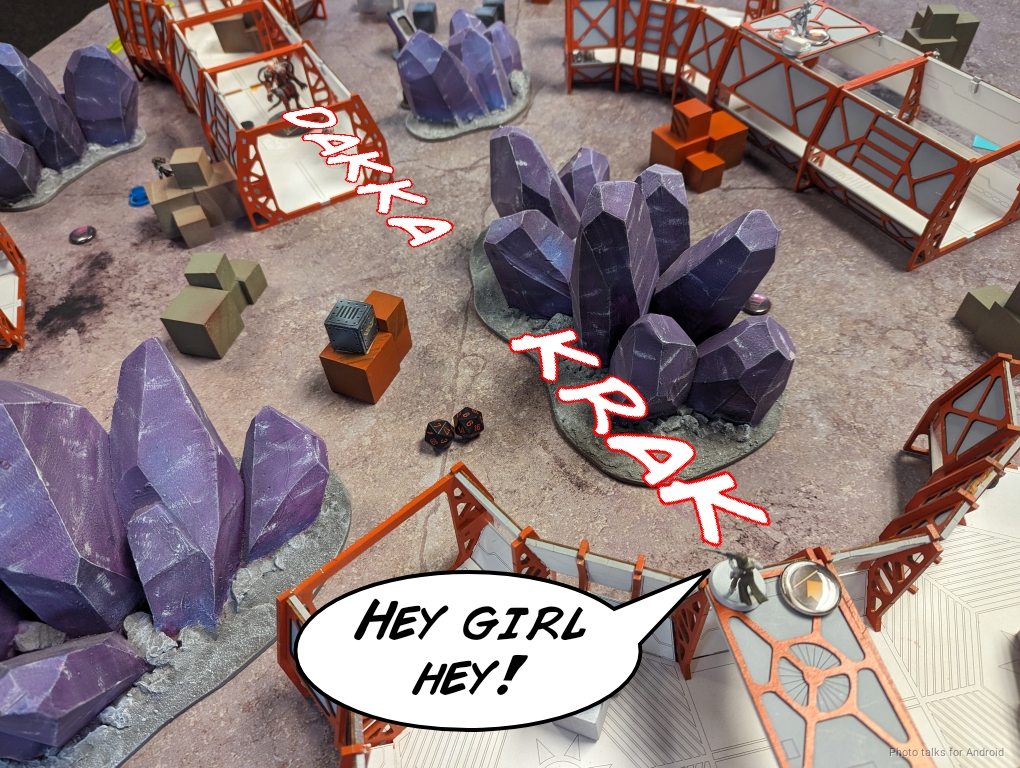
Not wanting to spend his resources on a -12 interaction, Nathan instead goes for challenging the Riot Grrl with the Stempler. I decide to just fire the missile, as we’re just outside of 8″ and it hits harder if I land it. I get hit but pass ARM, then he goes again and takes out the Riot Grrl.
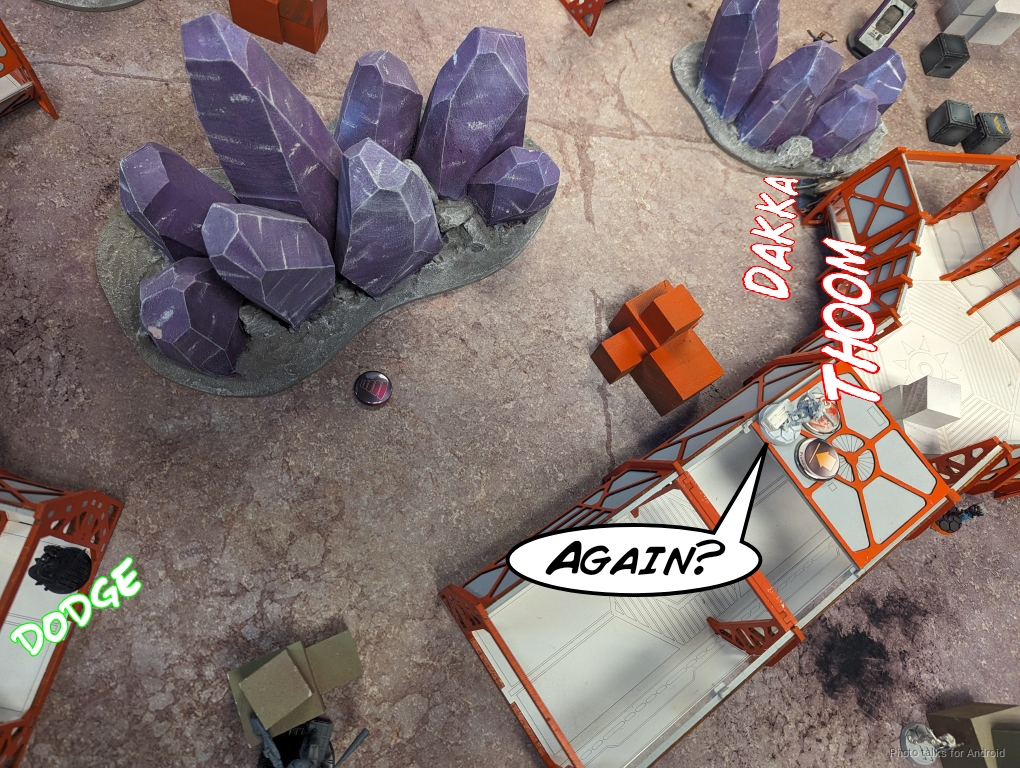
The Moira is locking the Lizard down, so Nathan tries to remove it with his remaining Stigmata. I win the face to face but the ARM 9 in cover protects the TAG.
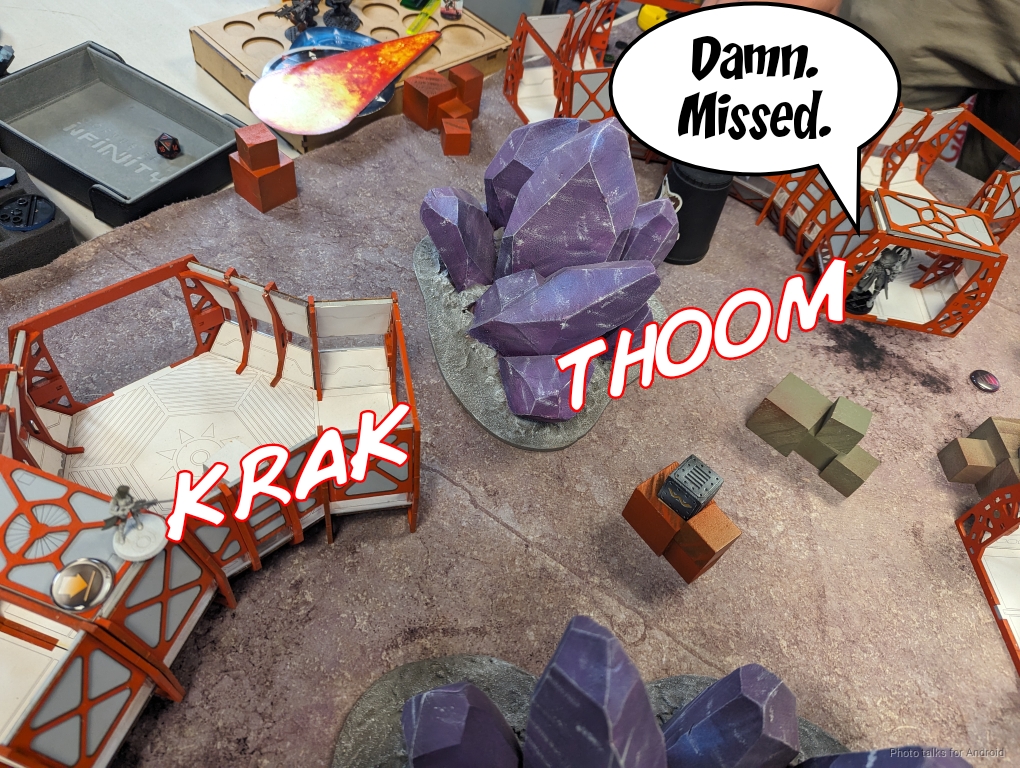
The Morlock throws some smoke, which then allows the Initiate to move towards my forces and try to lock them down.
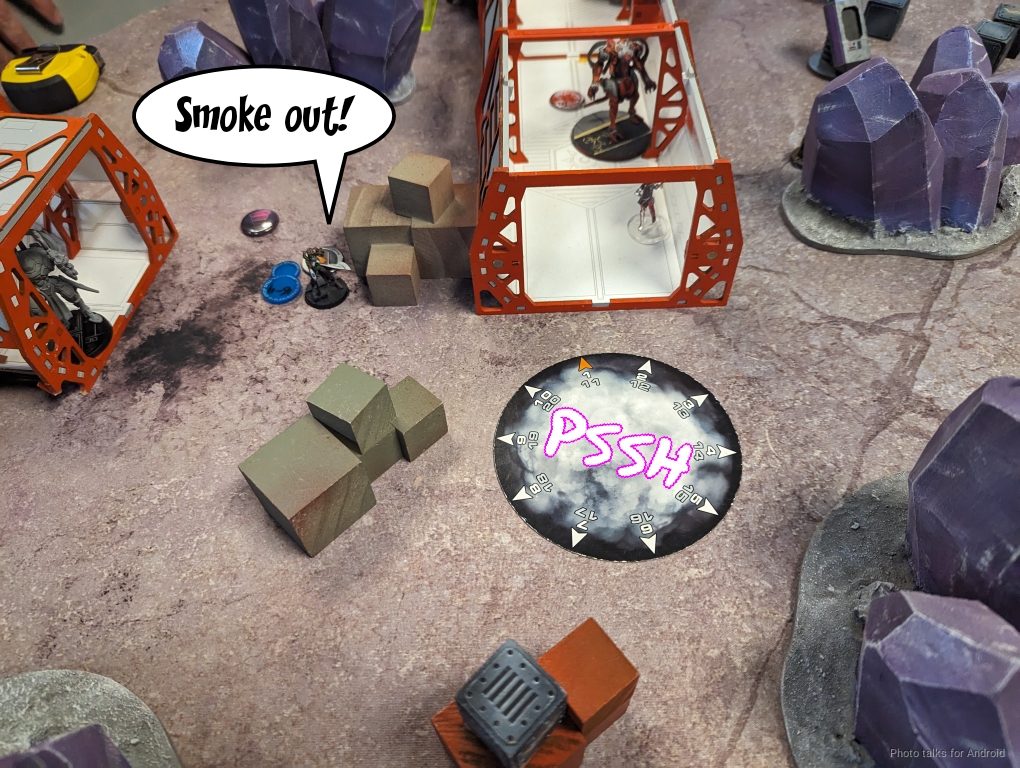
Bottom of 2 – Bakunin
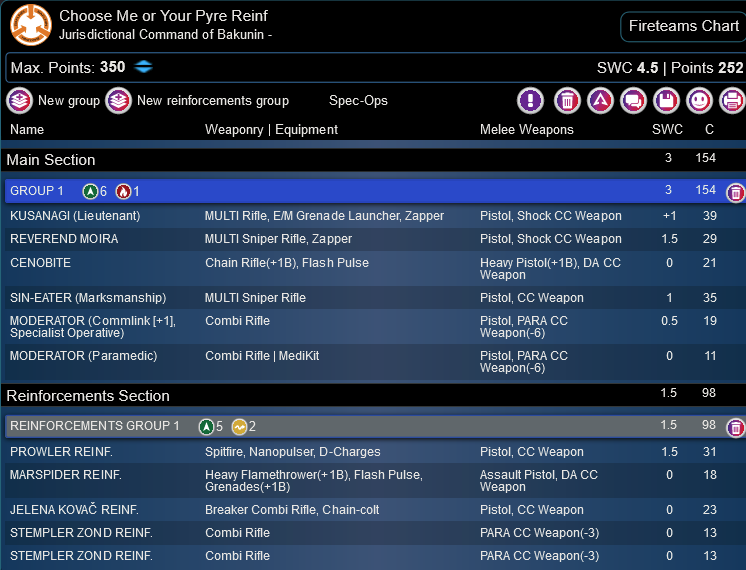

I need to deal with the reinforcements this turn. I use the Moderator to try and take a shot on the Stempler, but can’t crack the armor.
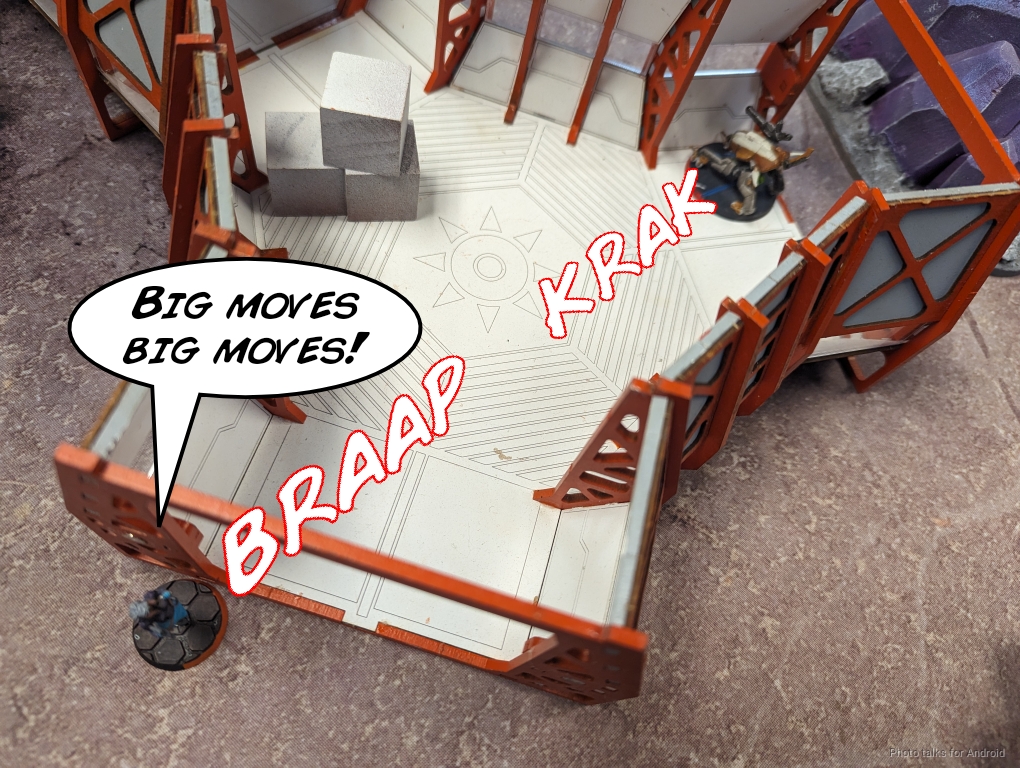
I then decide to just take shots on the Lizard with the Moira and somehow triple crit, deleting the Lizard.
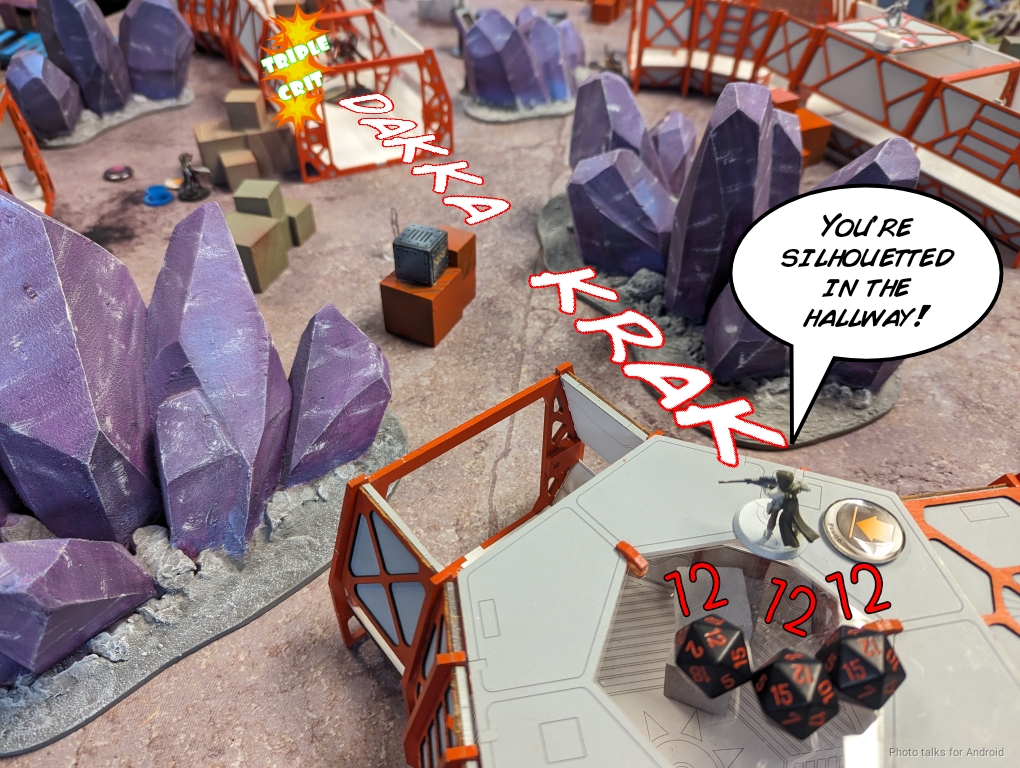
I start setting up for the final turn and climb the Moira off the roof while advancing the rest of the link forward. This lets me plant a shot on the Stempler and delete it finally.
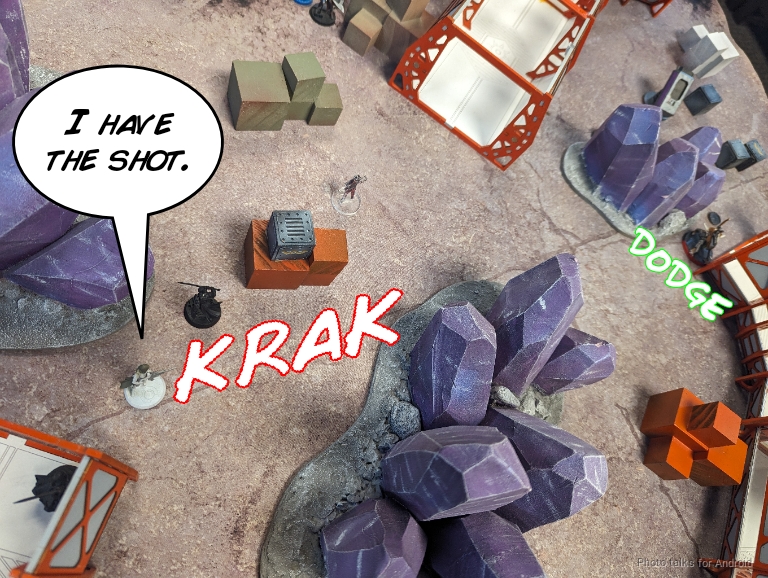
I then get the Cenobite into view of the Initiate and intuitive attack it to get rid of it.
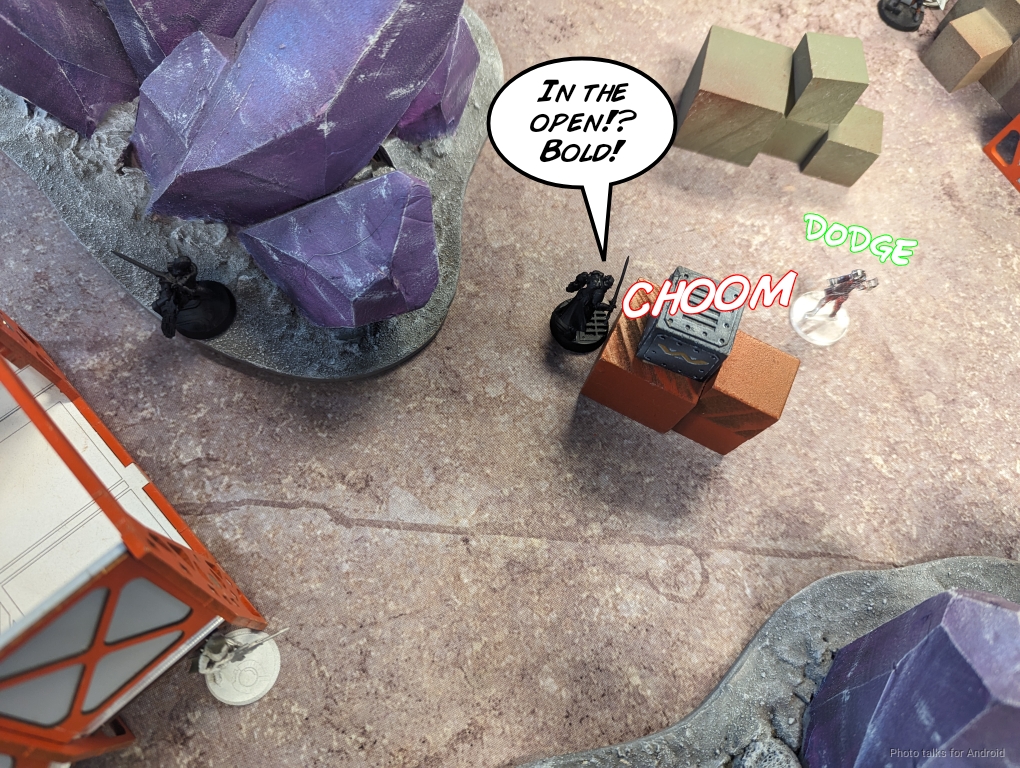
I reset positioning and pass turn.
Turn 3
Top of 3 – Badkunin

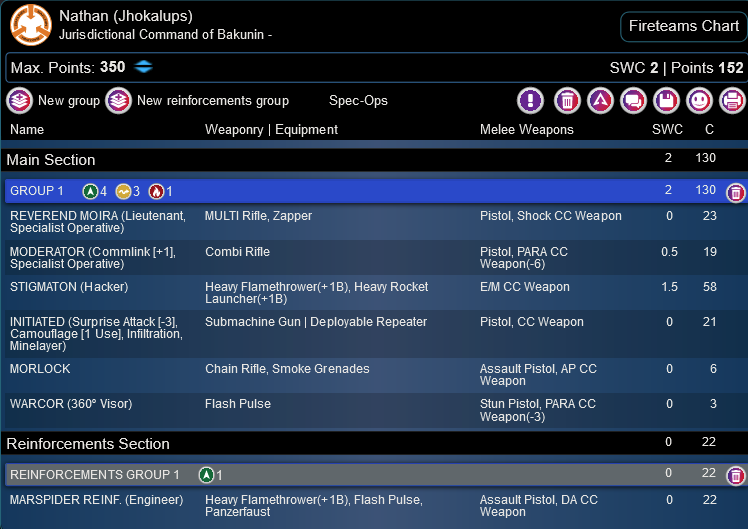
Nathan sets up smoke to block my stuff from seeing the Marspider engineer…
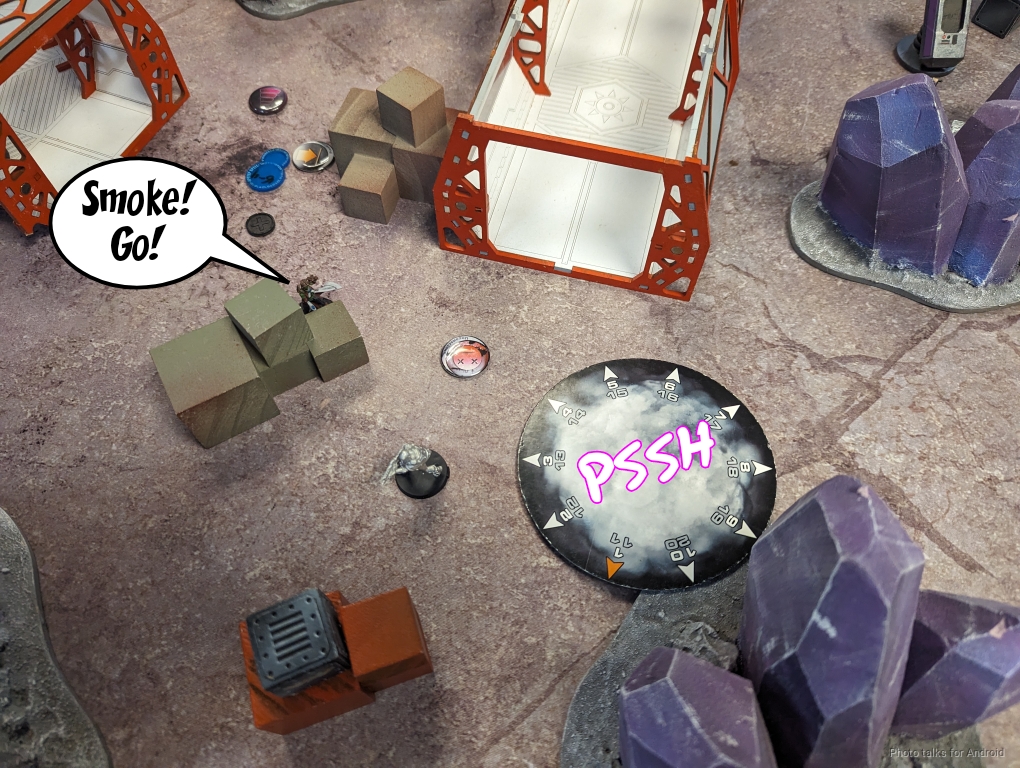
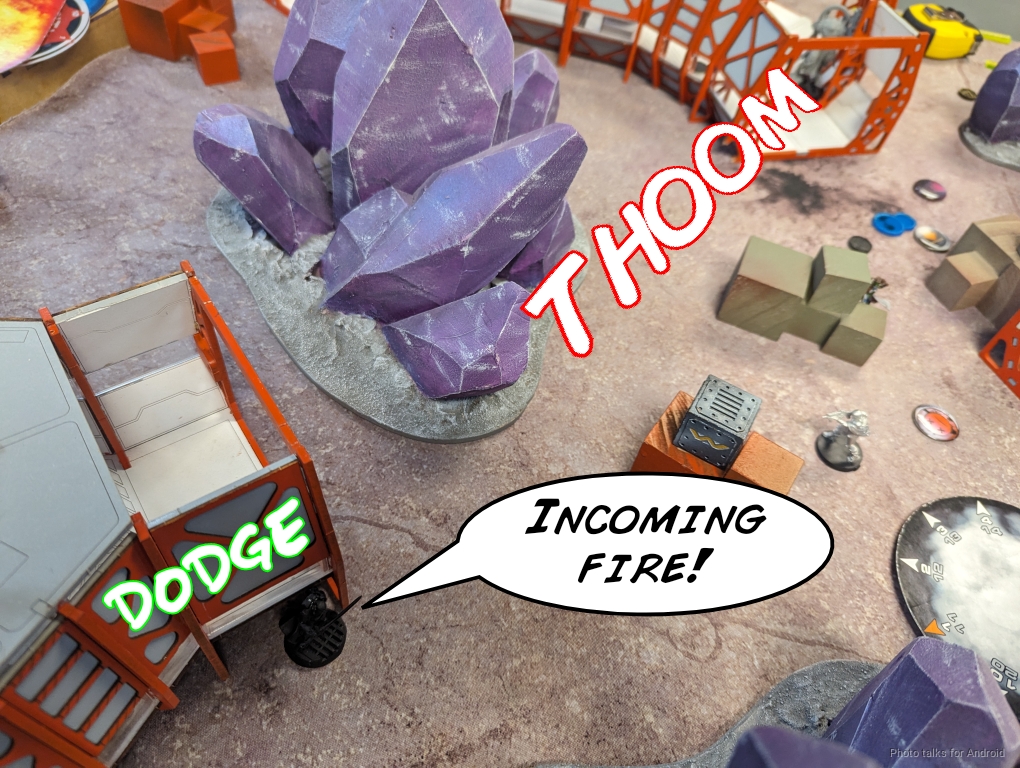
then challenges the Cenobite with the Stigmata. I had left it a bit out to defend the area, but hadn’t thought about the Stigmata. I dodge on the first order…
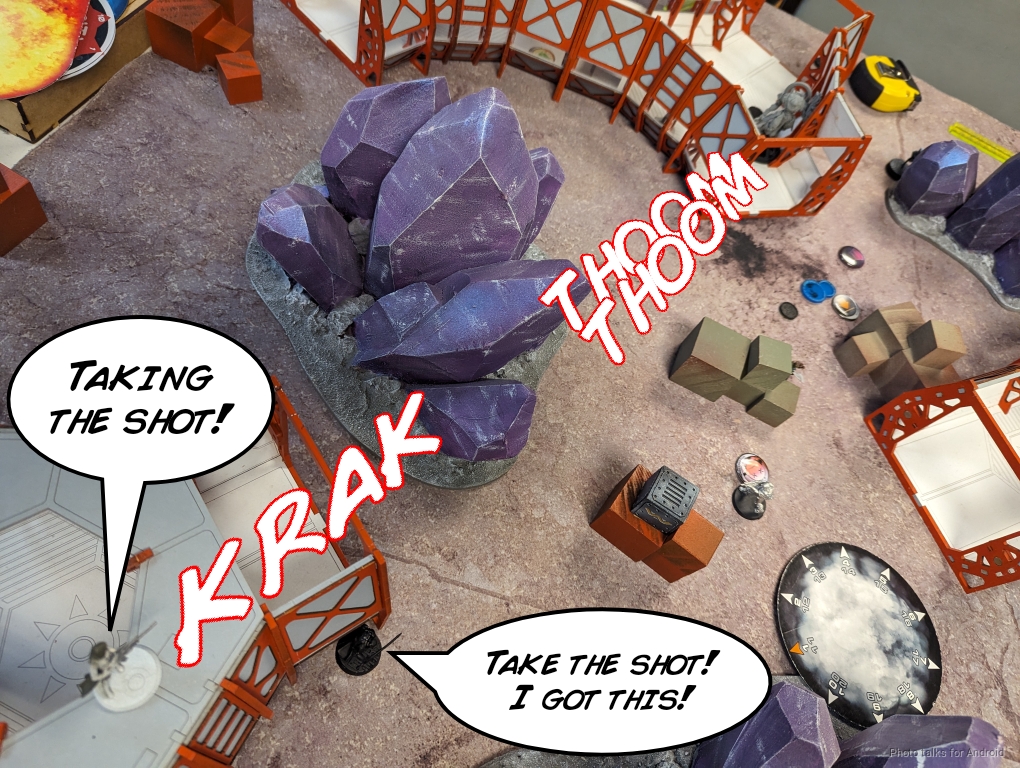
then the Stigmata challenges the Moira hoping to get me to break link. I don’t, trusting in my Mimetism on the Cenobite. The Stigmata splits burst and whiffs, and I stack one wound on it from the Moira’s MSR.
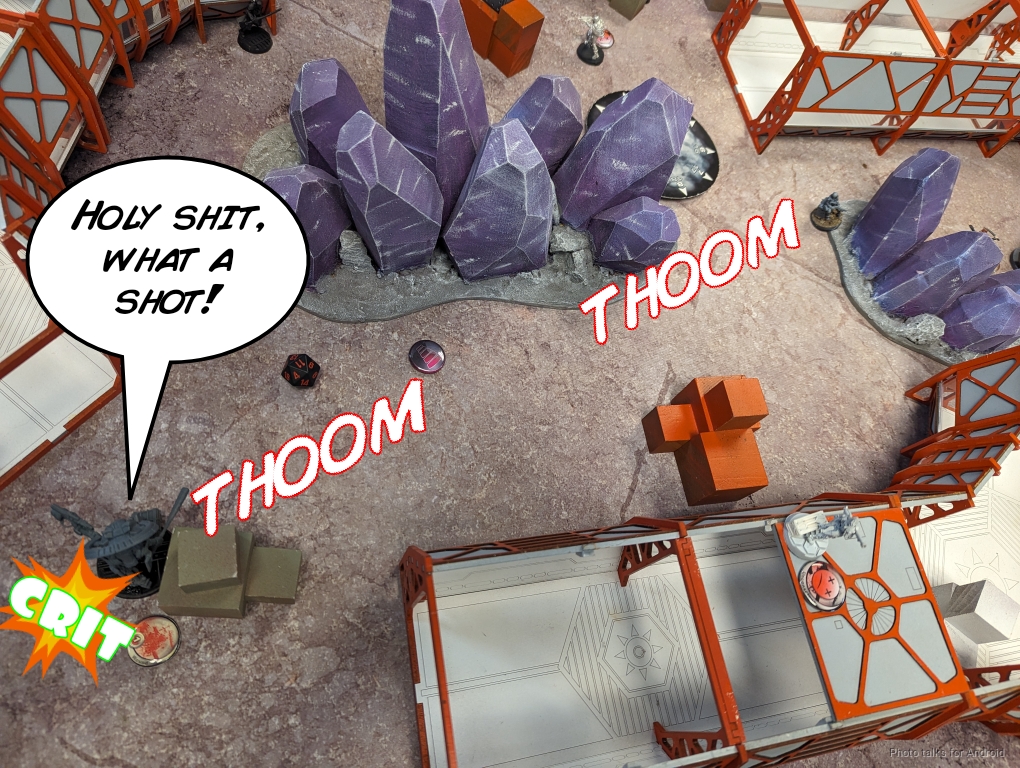
The Marspider makes a play on the beacon, and crits my Stigmata off the table with a Panzerfaust. Well! Alright then.
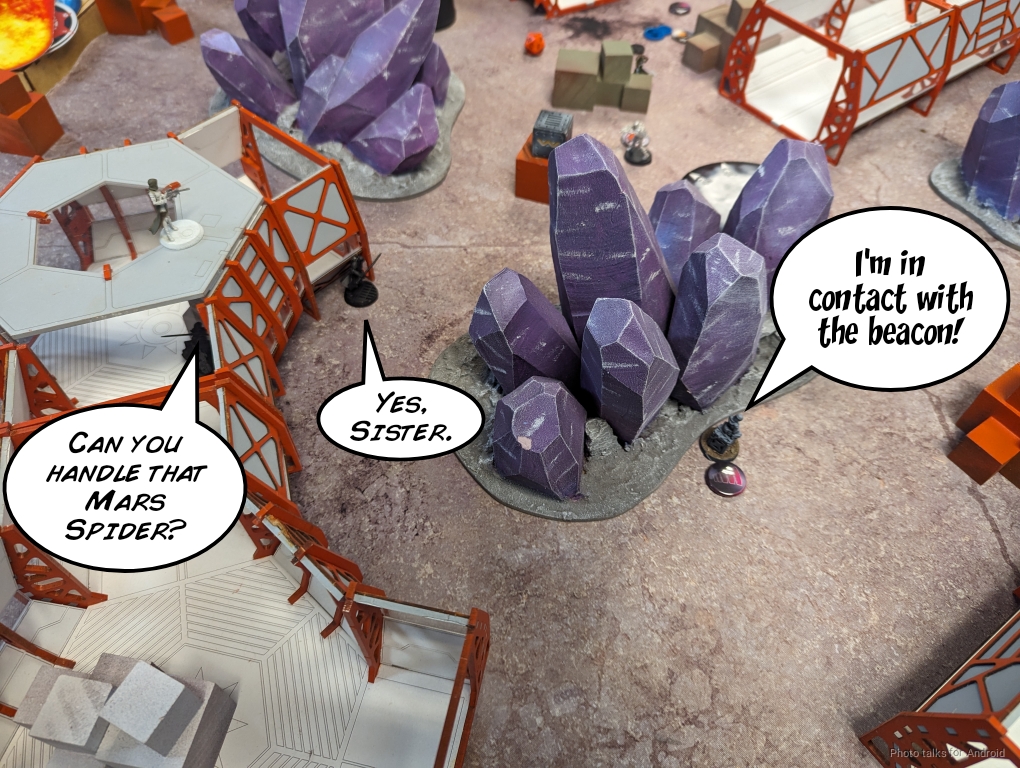
It doesn’t have enough orders or movement to pick up much less abscond with the beacon, but it’s contesting it by touching it, so that counts?
Bottom of 3 – Bakunin


Well, I’ve got a whopping 10 orders parachuting in this turn. I decide to use them to get the beacon and use the 6 orders in the first group to problem solve.
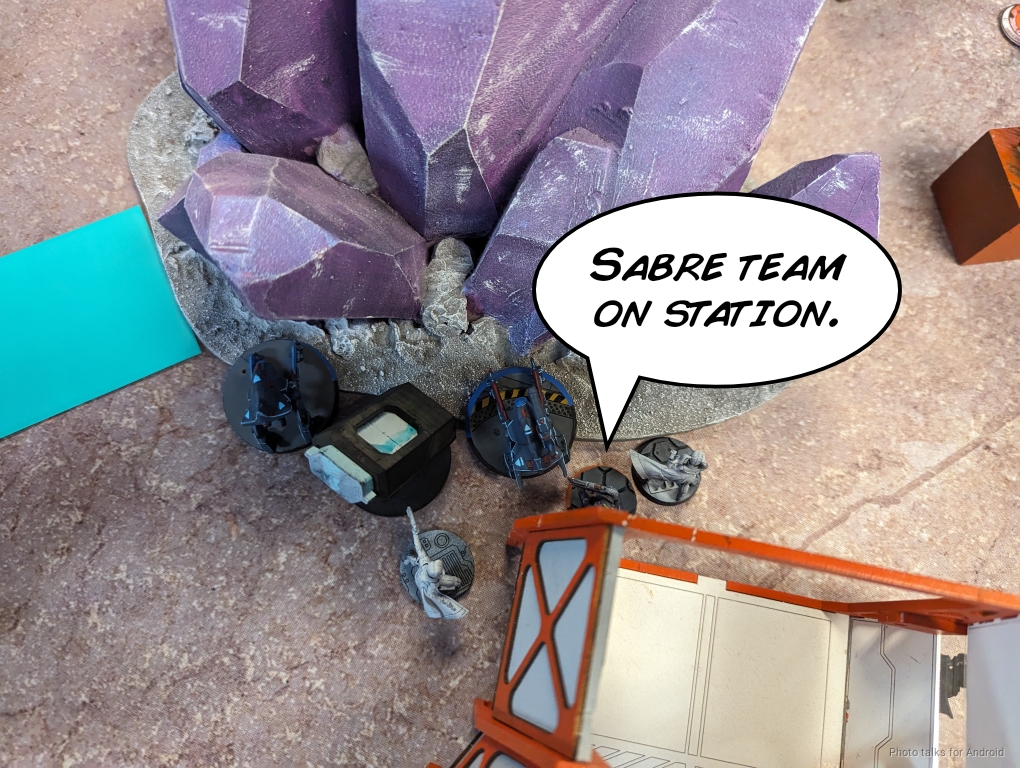
I use the NCO order to try and drop the Stigmata, but that doesn’t work. I need to get the Cenobite towards the Marspider to remove it, so I shift that direction while I’m shooting.
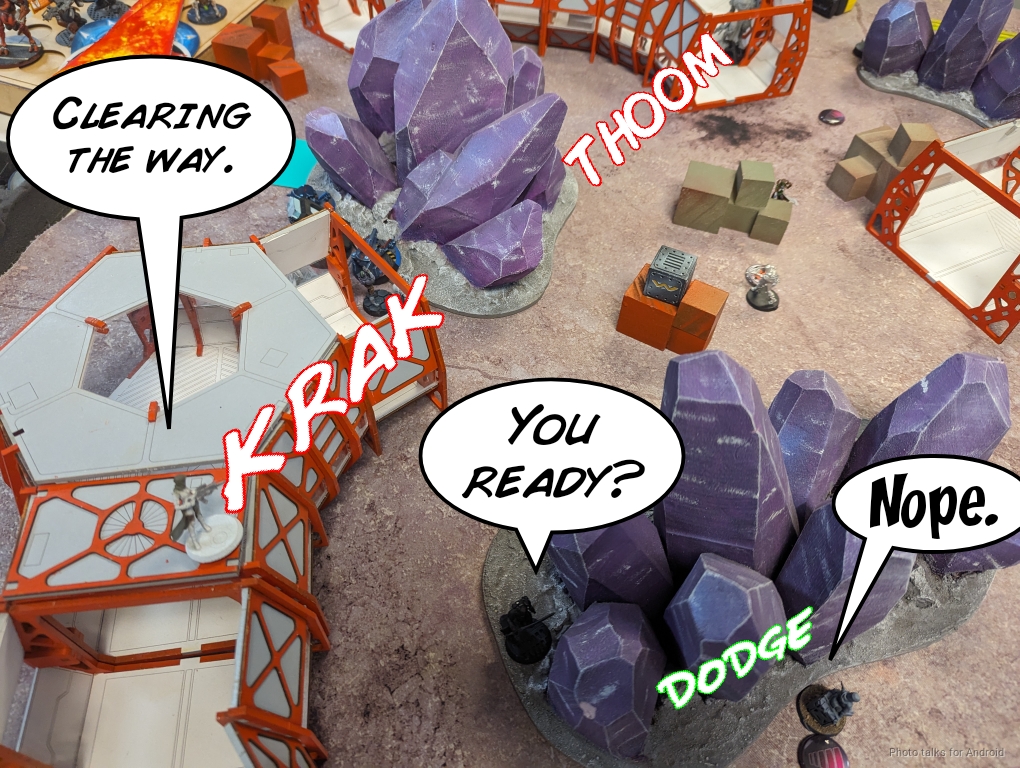
Now that Kusanagi is in position, I try to land an E/M grenade on the Stigmata but can’t get past its BTS yet.
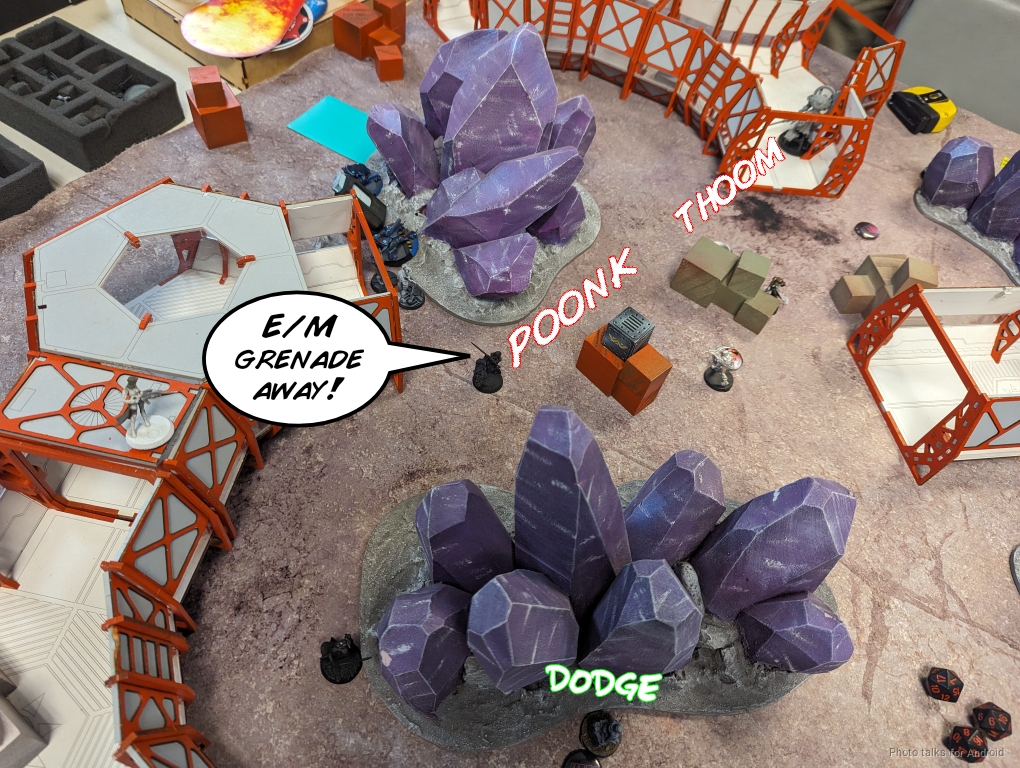
Another shot gets me what I need while the Marspider dodges ineffectually.
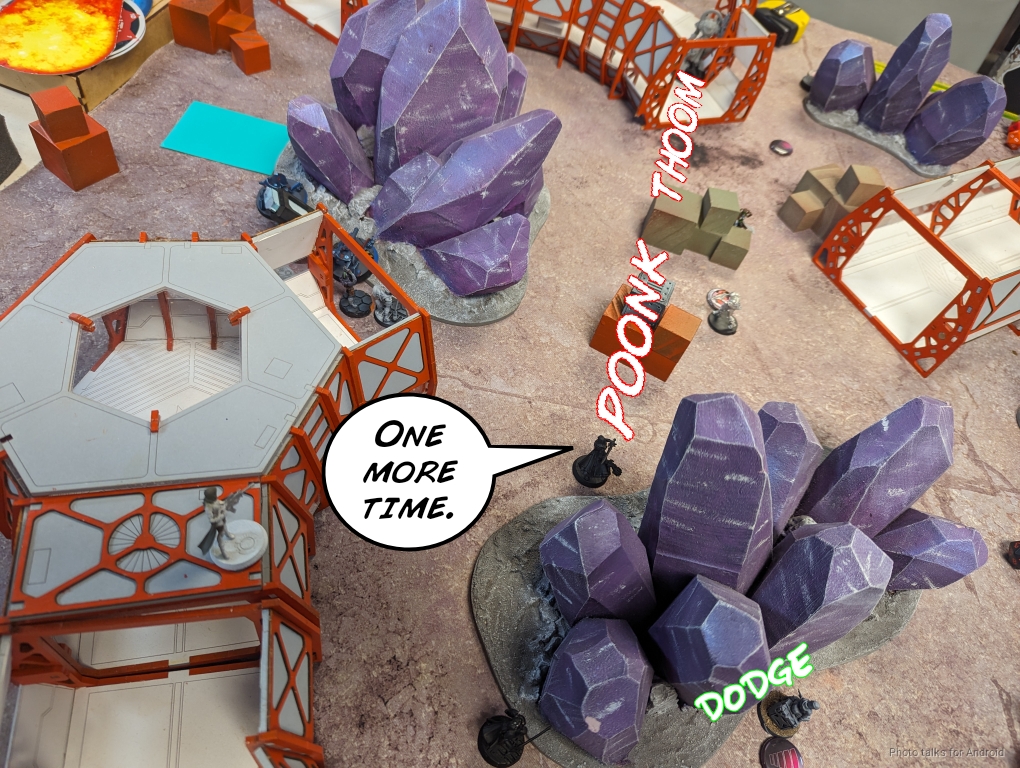
I’ve broken LoF with the Stigmata behind some boxes, letting me heavy pistol down the Marspider…
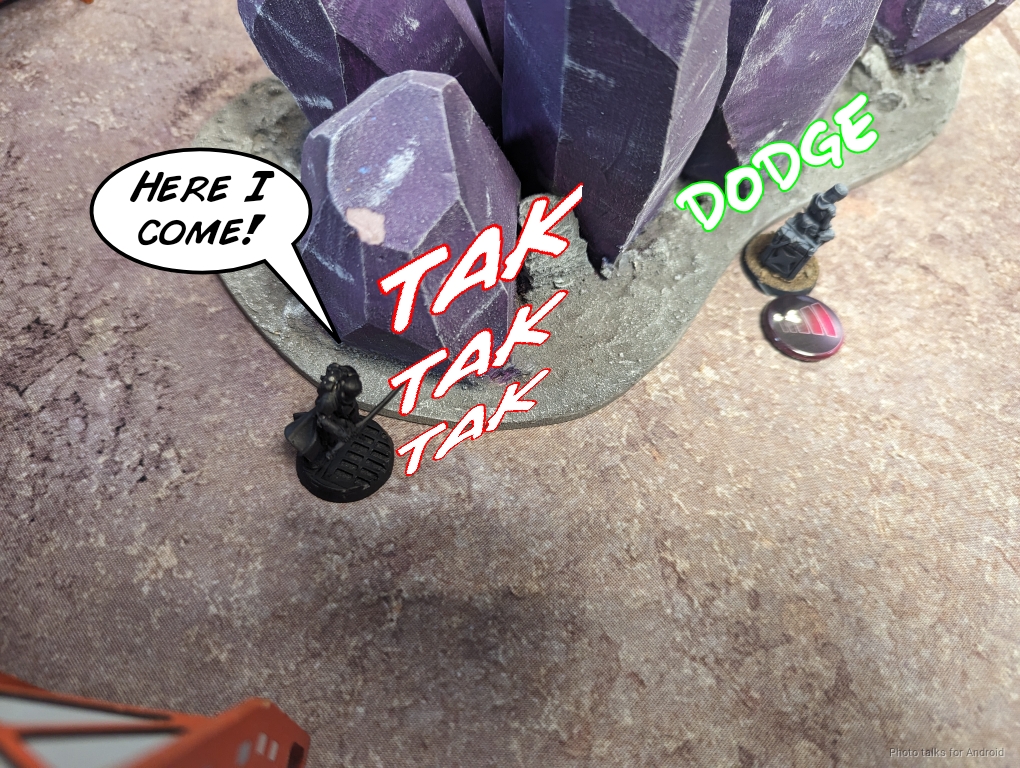
I then use Kusangi’s MULTI Rifle in AP mode to do some damage to the Stigmata. Shockingly, it resets while the Morlock dodges into view of Kusanagi.
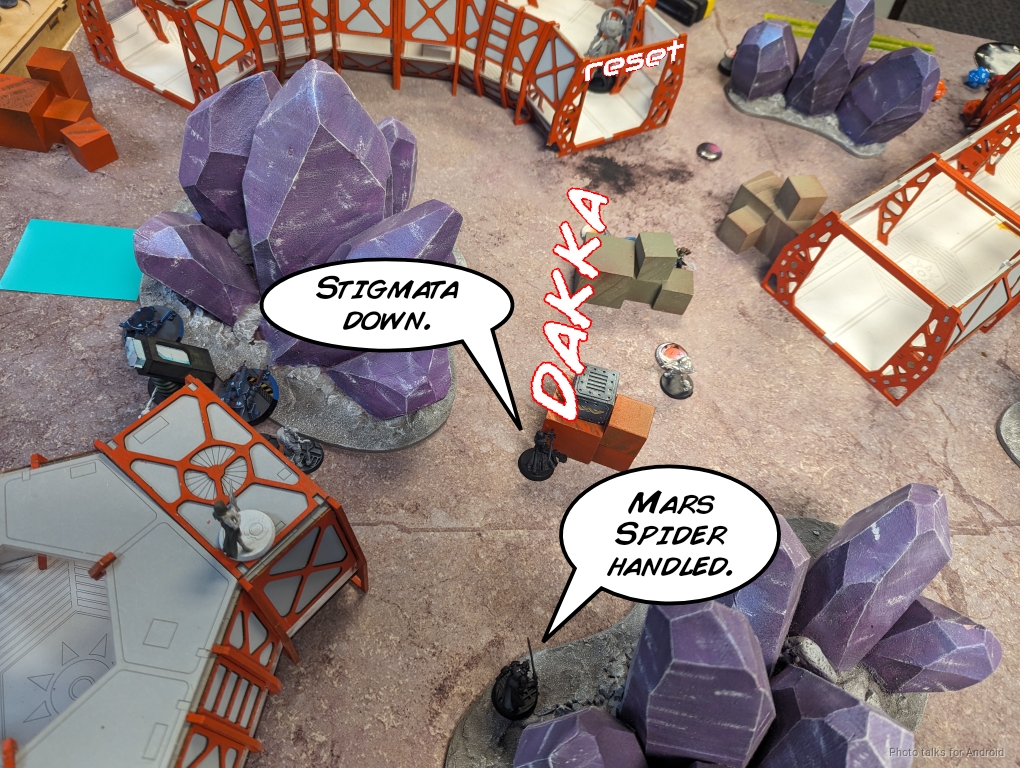
Now it’s time to use the big link. The Prowler easily drops the Morlock to free up Kusanagi…
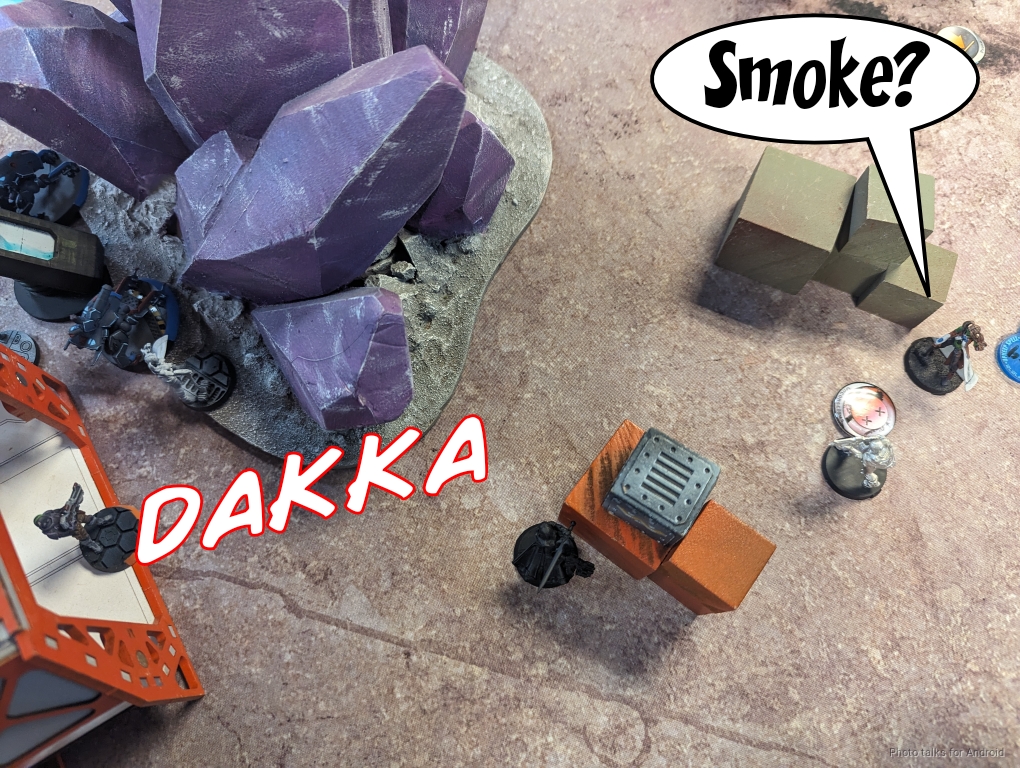
who finally drops the Stigmata.
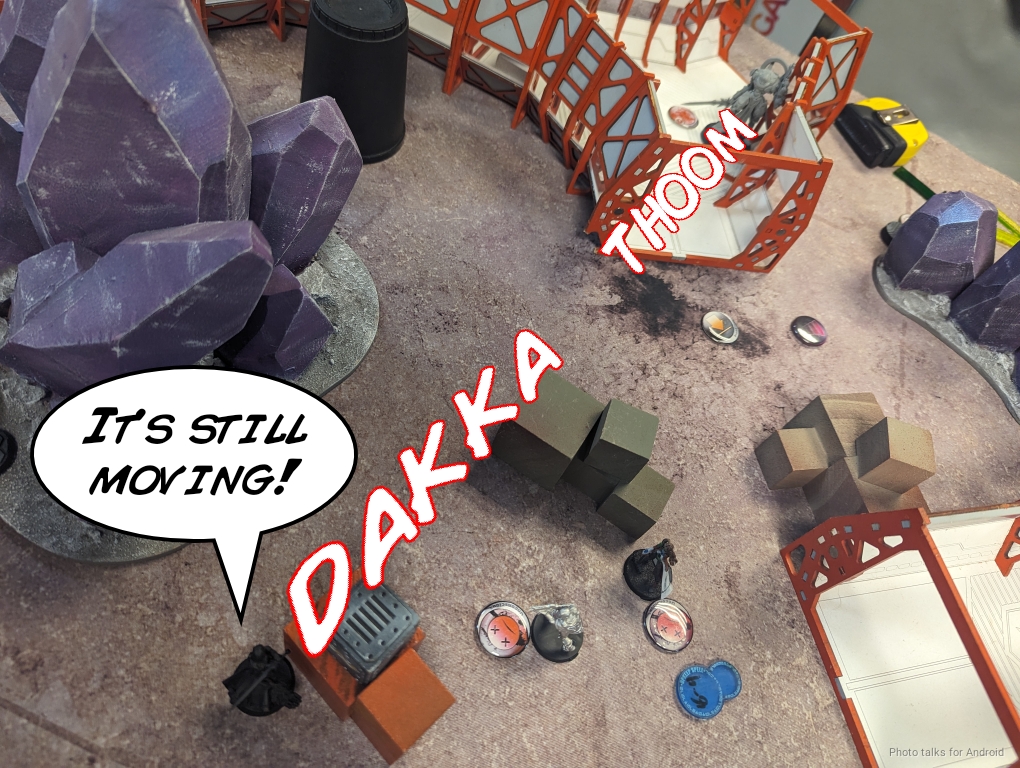
Nathan had climbed his Moderator onto the roof last turn, so one of my Stemplers handles that…
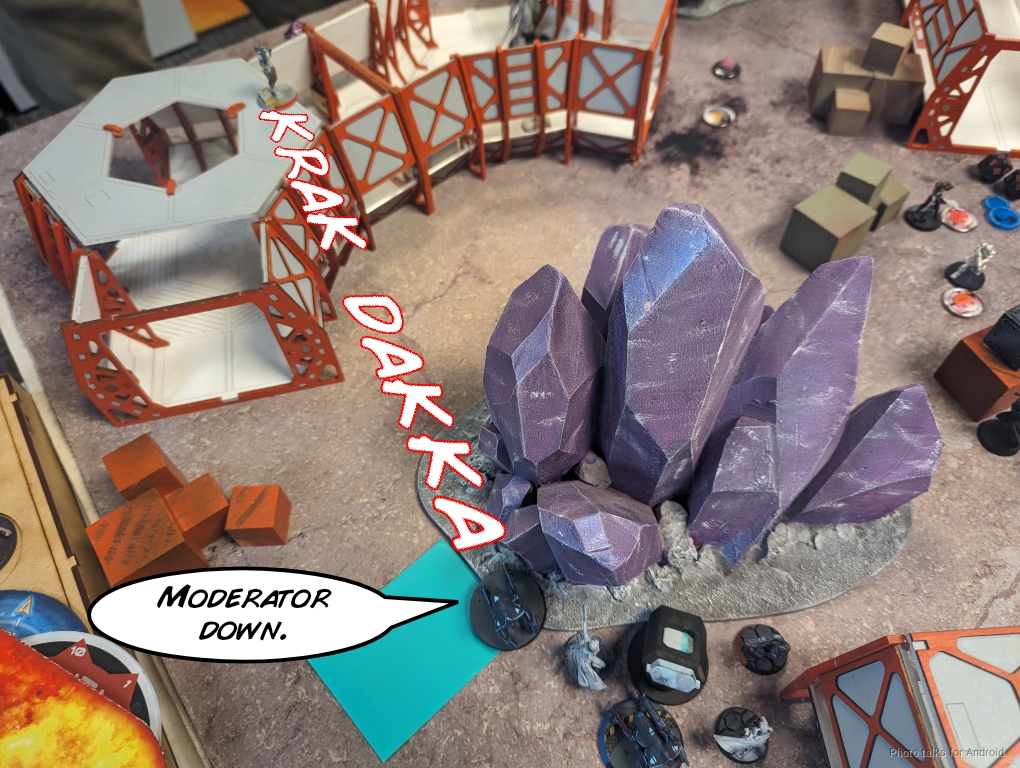
then Jelena gets Net-Undermine.
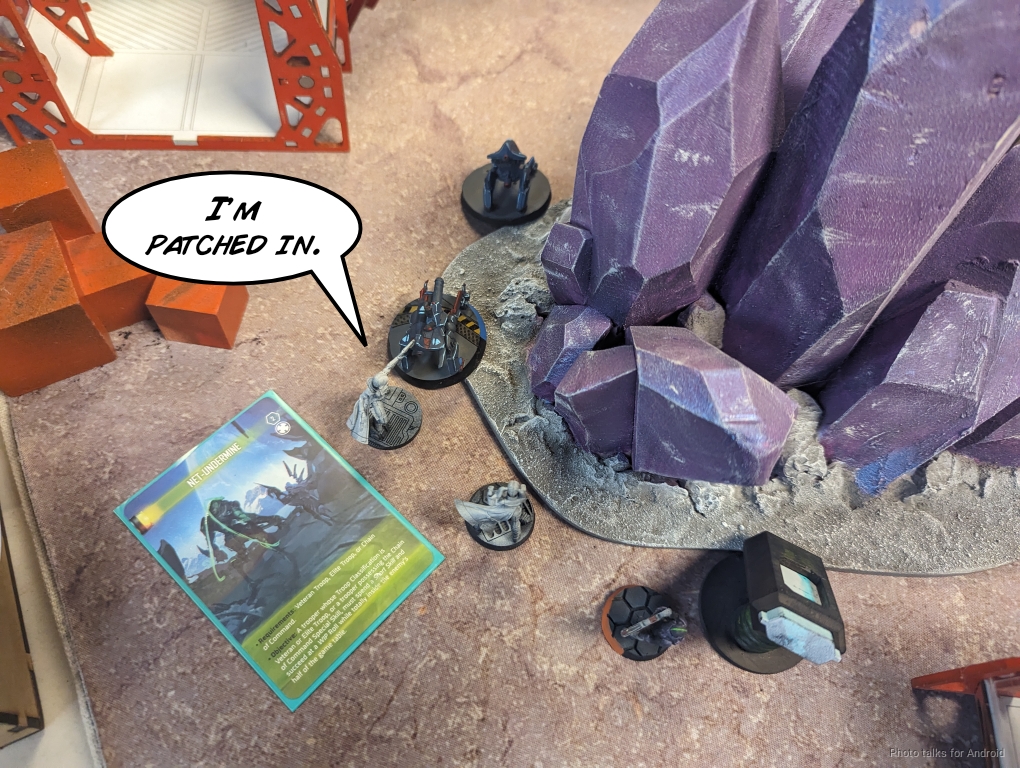
I pour the fireteam into the corridors to get rid of the Moira who is guarding the beacon. The Stemplers go up and over with their Climbing+.
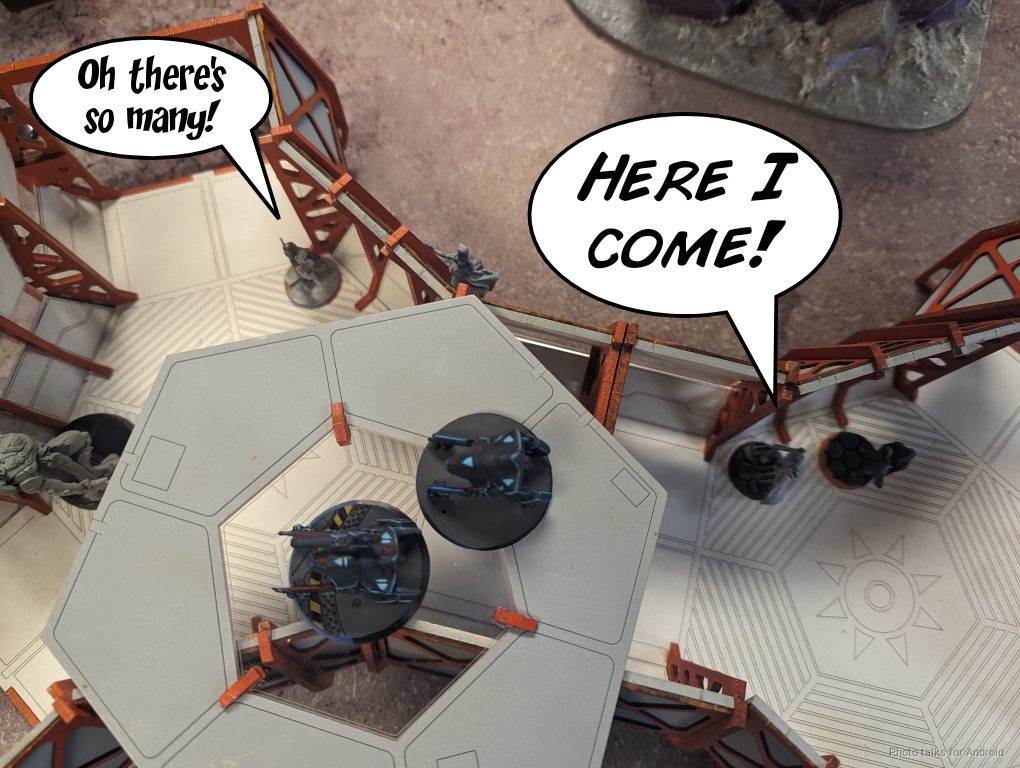
I then take the Moira down with the Marspider, letting her Zapper much of the team but not the Stemplers.
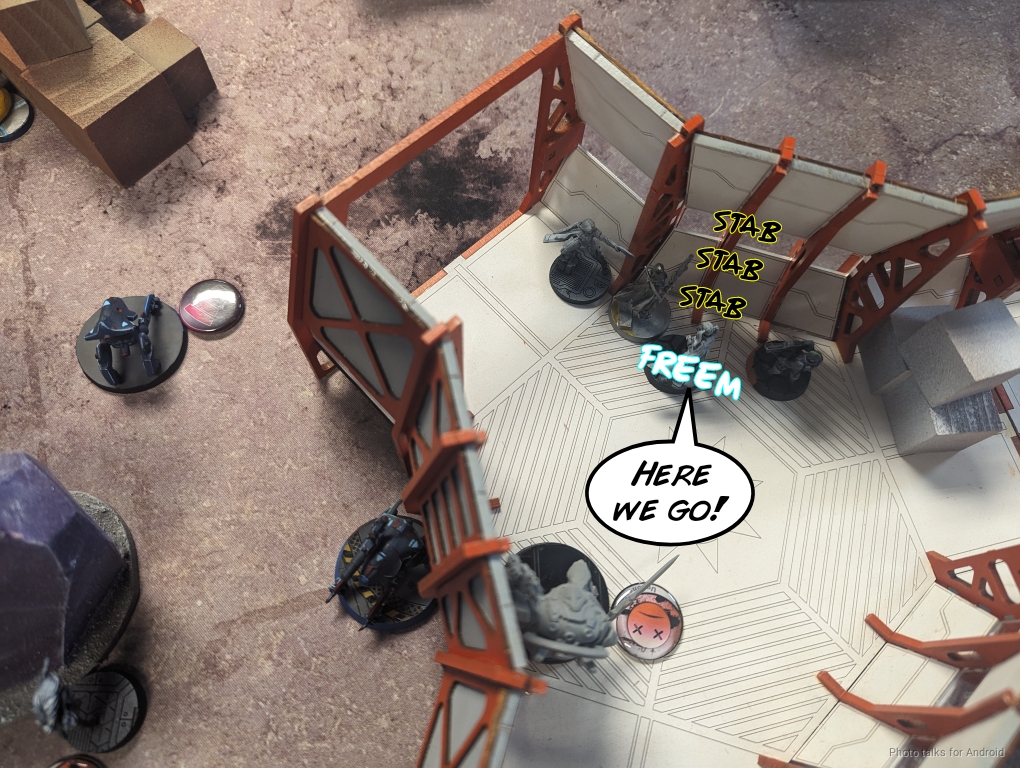
I need just one more order to get the Stempler back to my deployment zone, so I can’t get those points.
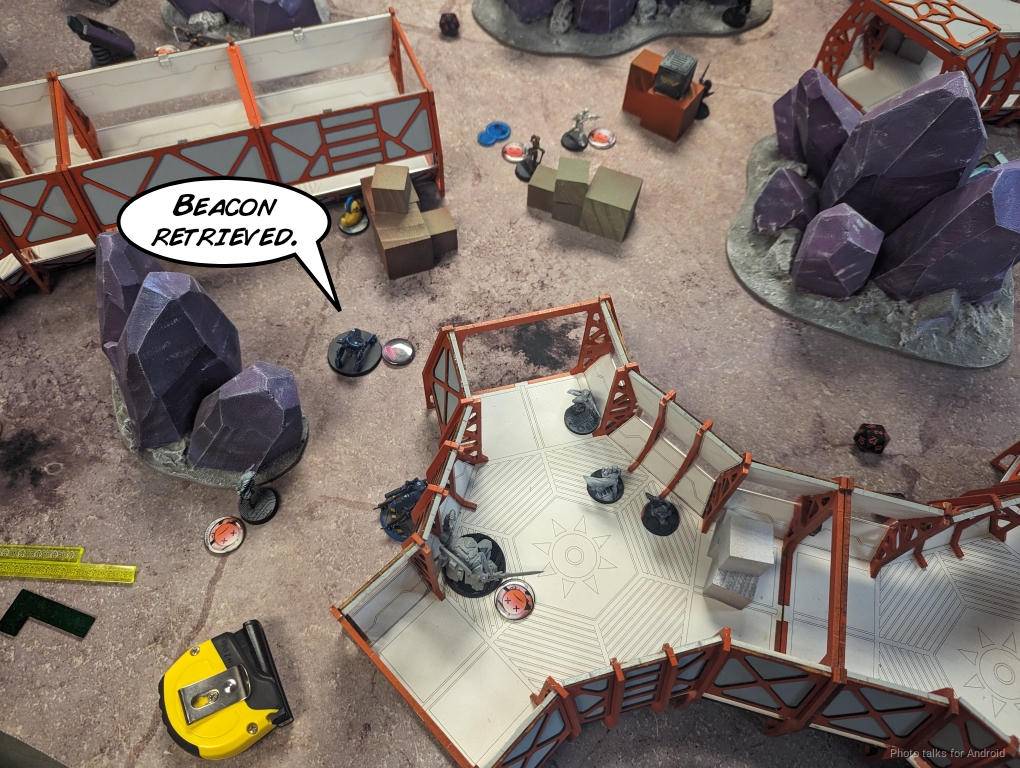
With that, it’s a
4-0, 252-3 Jurisdictional Command of Bakunin Victory!
Post Game Analysis
Reinforcements is a little busted. Admittedly I had really strong positioning and good dice on the first reactive turn. There were a fair amount of issues with Nathan’s list relying heavily on the Stigmata and not being able to get past my hard AROs with them (mostly). I think the Stigmata are fine, they just deliver inconsistent damage and you can’t really be messing around with inconsistency in a reinforcements list–you’re basically playing limited insertion for at least the first turn or so.
I really didn’t like where the Lizard showed up for reinforcements–I think Nathan wanted to pick the Stigmata back up, hence the play, but he could just have easily dropped them in near Kusanagi and killed her, which would’ve made things quite difficult for me. The Marspider is more than capable of taking her down in close combat. In general, I’m kind of opposed to engineering TAGs and stuff, especially if you have two of them. Sometimes when you have a truly magnificent engineer or doctor (I’m thinking Parvati or Avicenna here) it’s worth it, but really what’s the return on investment here?
If you bring back the Stigmata, I’m already in a position to challenge it and kill it again with the right tools to do so. Adding another gun in a bad rangeband (the Lizard) in the same(ish) position isn’t going to help much either. I really think Nathan should have gone for the lieutenant snipe. Moiras aren’t very good at dodging. I suppose there’s the risk of getting Zappered, but being able to measure ZoC should keep you out of the template.
On my end, dropping in a full 10 orders is just egregious. There’s no reason to not do that, aside from preserving a positive play experience for your opponent. I think that’s quite important, which is why I’m talking about this. I’m just not convinced that in the current mission set, dropping in 10 orders of toolkit that’s invincible until it shows up is fun. Basically the statement is “take something really scary, give it a bunch of orders, and AD, with no penalty to the rest of your list” (we’re ignoring the commlink stuff for now).
That’s just crazy! Infinity is a game about positioning and resource management. Part of that resource management is carefully preserving your order pool by not getting it killed, and being able to attack your opponent’s order pool to remove options and tools. That’s just a core part of the game, full stop. Reinforcements breaks that paradigm in a way that I’m not comfortable with. Maybe it’s because I haven’t fully understood the implications for pacing, but it feels off for sure.
Ignoring the fact that CB can make/sell new models (but inexplicably lock them up behind this game mode in many cases), I’m just not sure what the game design intent was here. On the surface, it seems like it’s supposed to help bridge a skill gap or smooth over the effects of an alpha… but as we saw here, my “beta” strike wasn’t really impacted by the arrival of Nathan’s reinforcements. Yes, I had to deal with all his stuff, but there just wasn’t enough orders for them to be really impactful. Perhaps my 10 order reinforcements pool would have fared better in that situation, but that’s not exactly fun either.
I guess I’m just really uncertain about what the goal of reinforcements is. I don’t think it addresses a skill gap effectively, I think it creates negative play experiences, and I think it significantly alters the resource management aspect of the game. If the intent was to provide a different game mode, then sure, it certainly does that, but I’m somewhat soured on the concept. I’m obviously only one (relatively one-sided) game in, so I’m going to keep trying the game mode to give it a fair shot.
I imagine the Tachimoto bonus will go away, so that will help with my specific concern, and maybe that’ll fix things for me? I dunno. We’ll keep trying… thanks for reading!


Pingback: Mission 057: Reinforcements – Bromad Academy