
One Turn Man
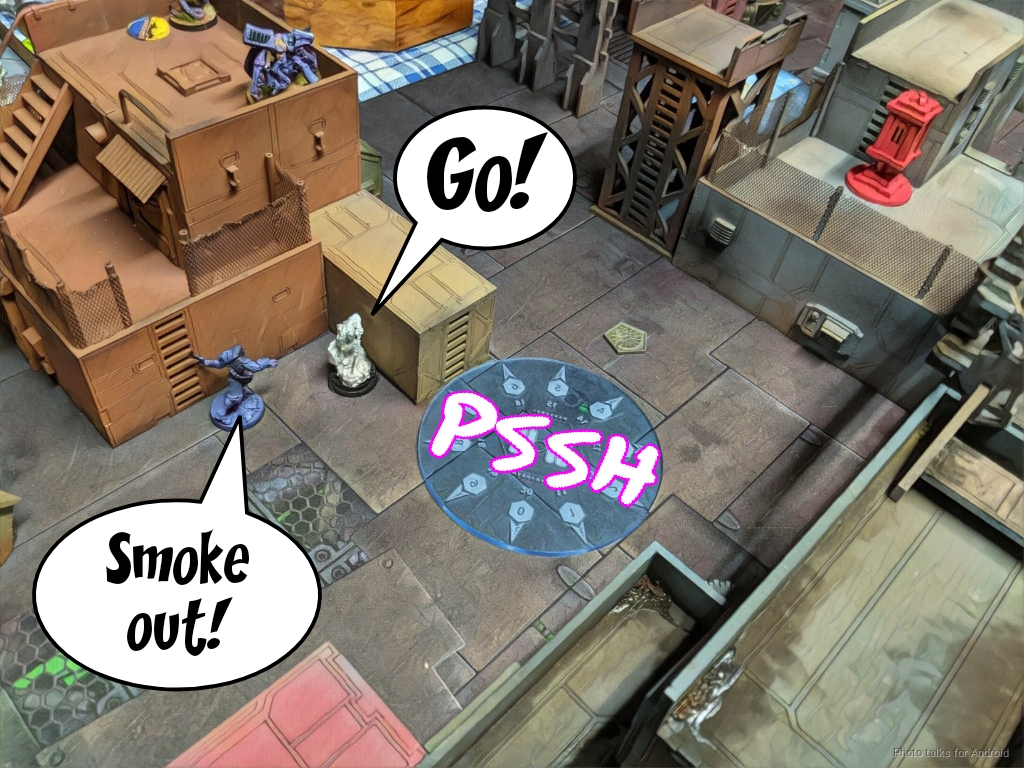
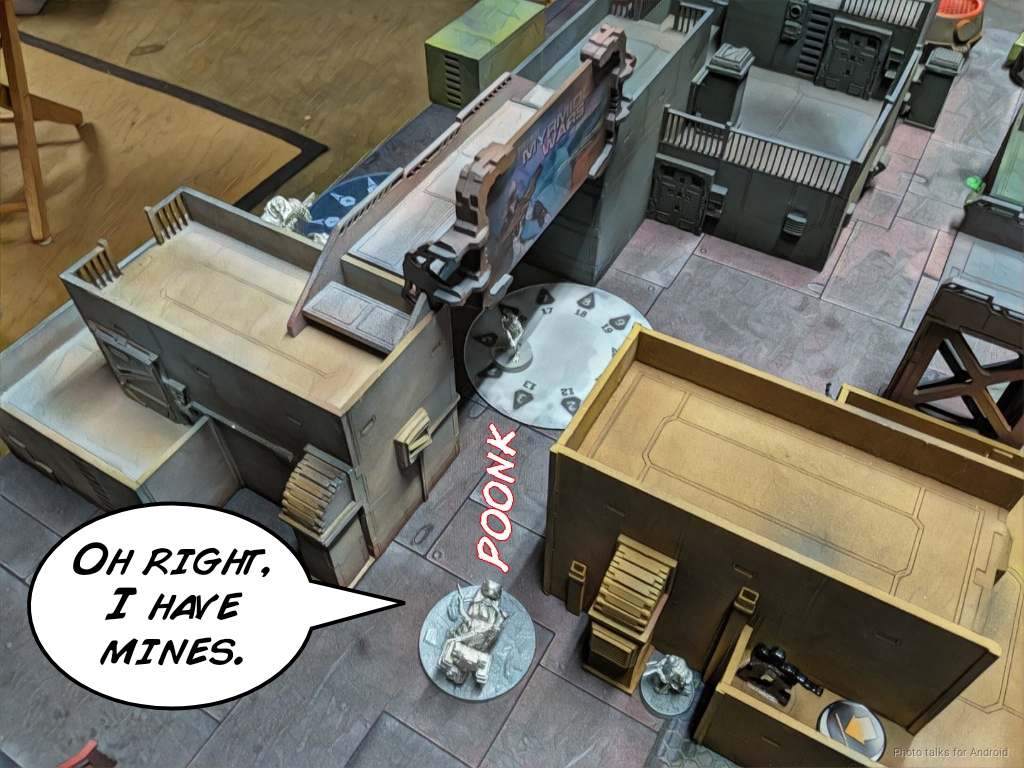
Adam and I are just about done with our tour through all of the major Infinity factions. All that’s left are Ariadna and Tohaa, so this battle report is me playing Ariadna… care to hazard a guess about what the next one will be? We didn’t want to overthink it, and Adam’s tired of army hopping, as am I, so he elected to play Combined Army against my Ariadna in Power Pack. We set up his Novvy Bangkok table again, mostly because it was physically nearest to us in his garage. You can see the neoprene smoke templates that we’re using to represent the Localized Decompression zones in the pictures below.
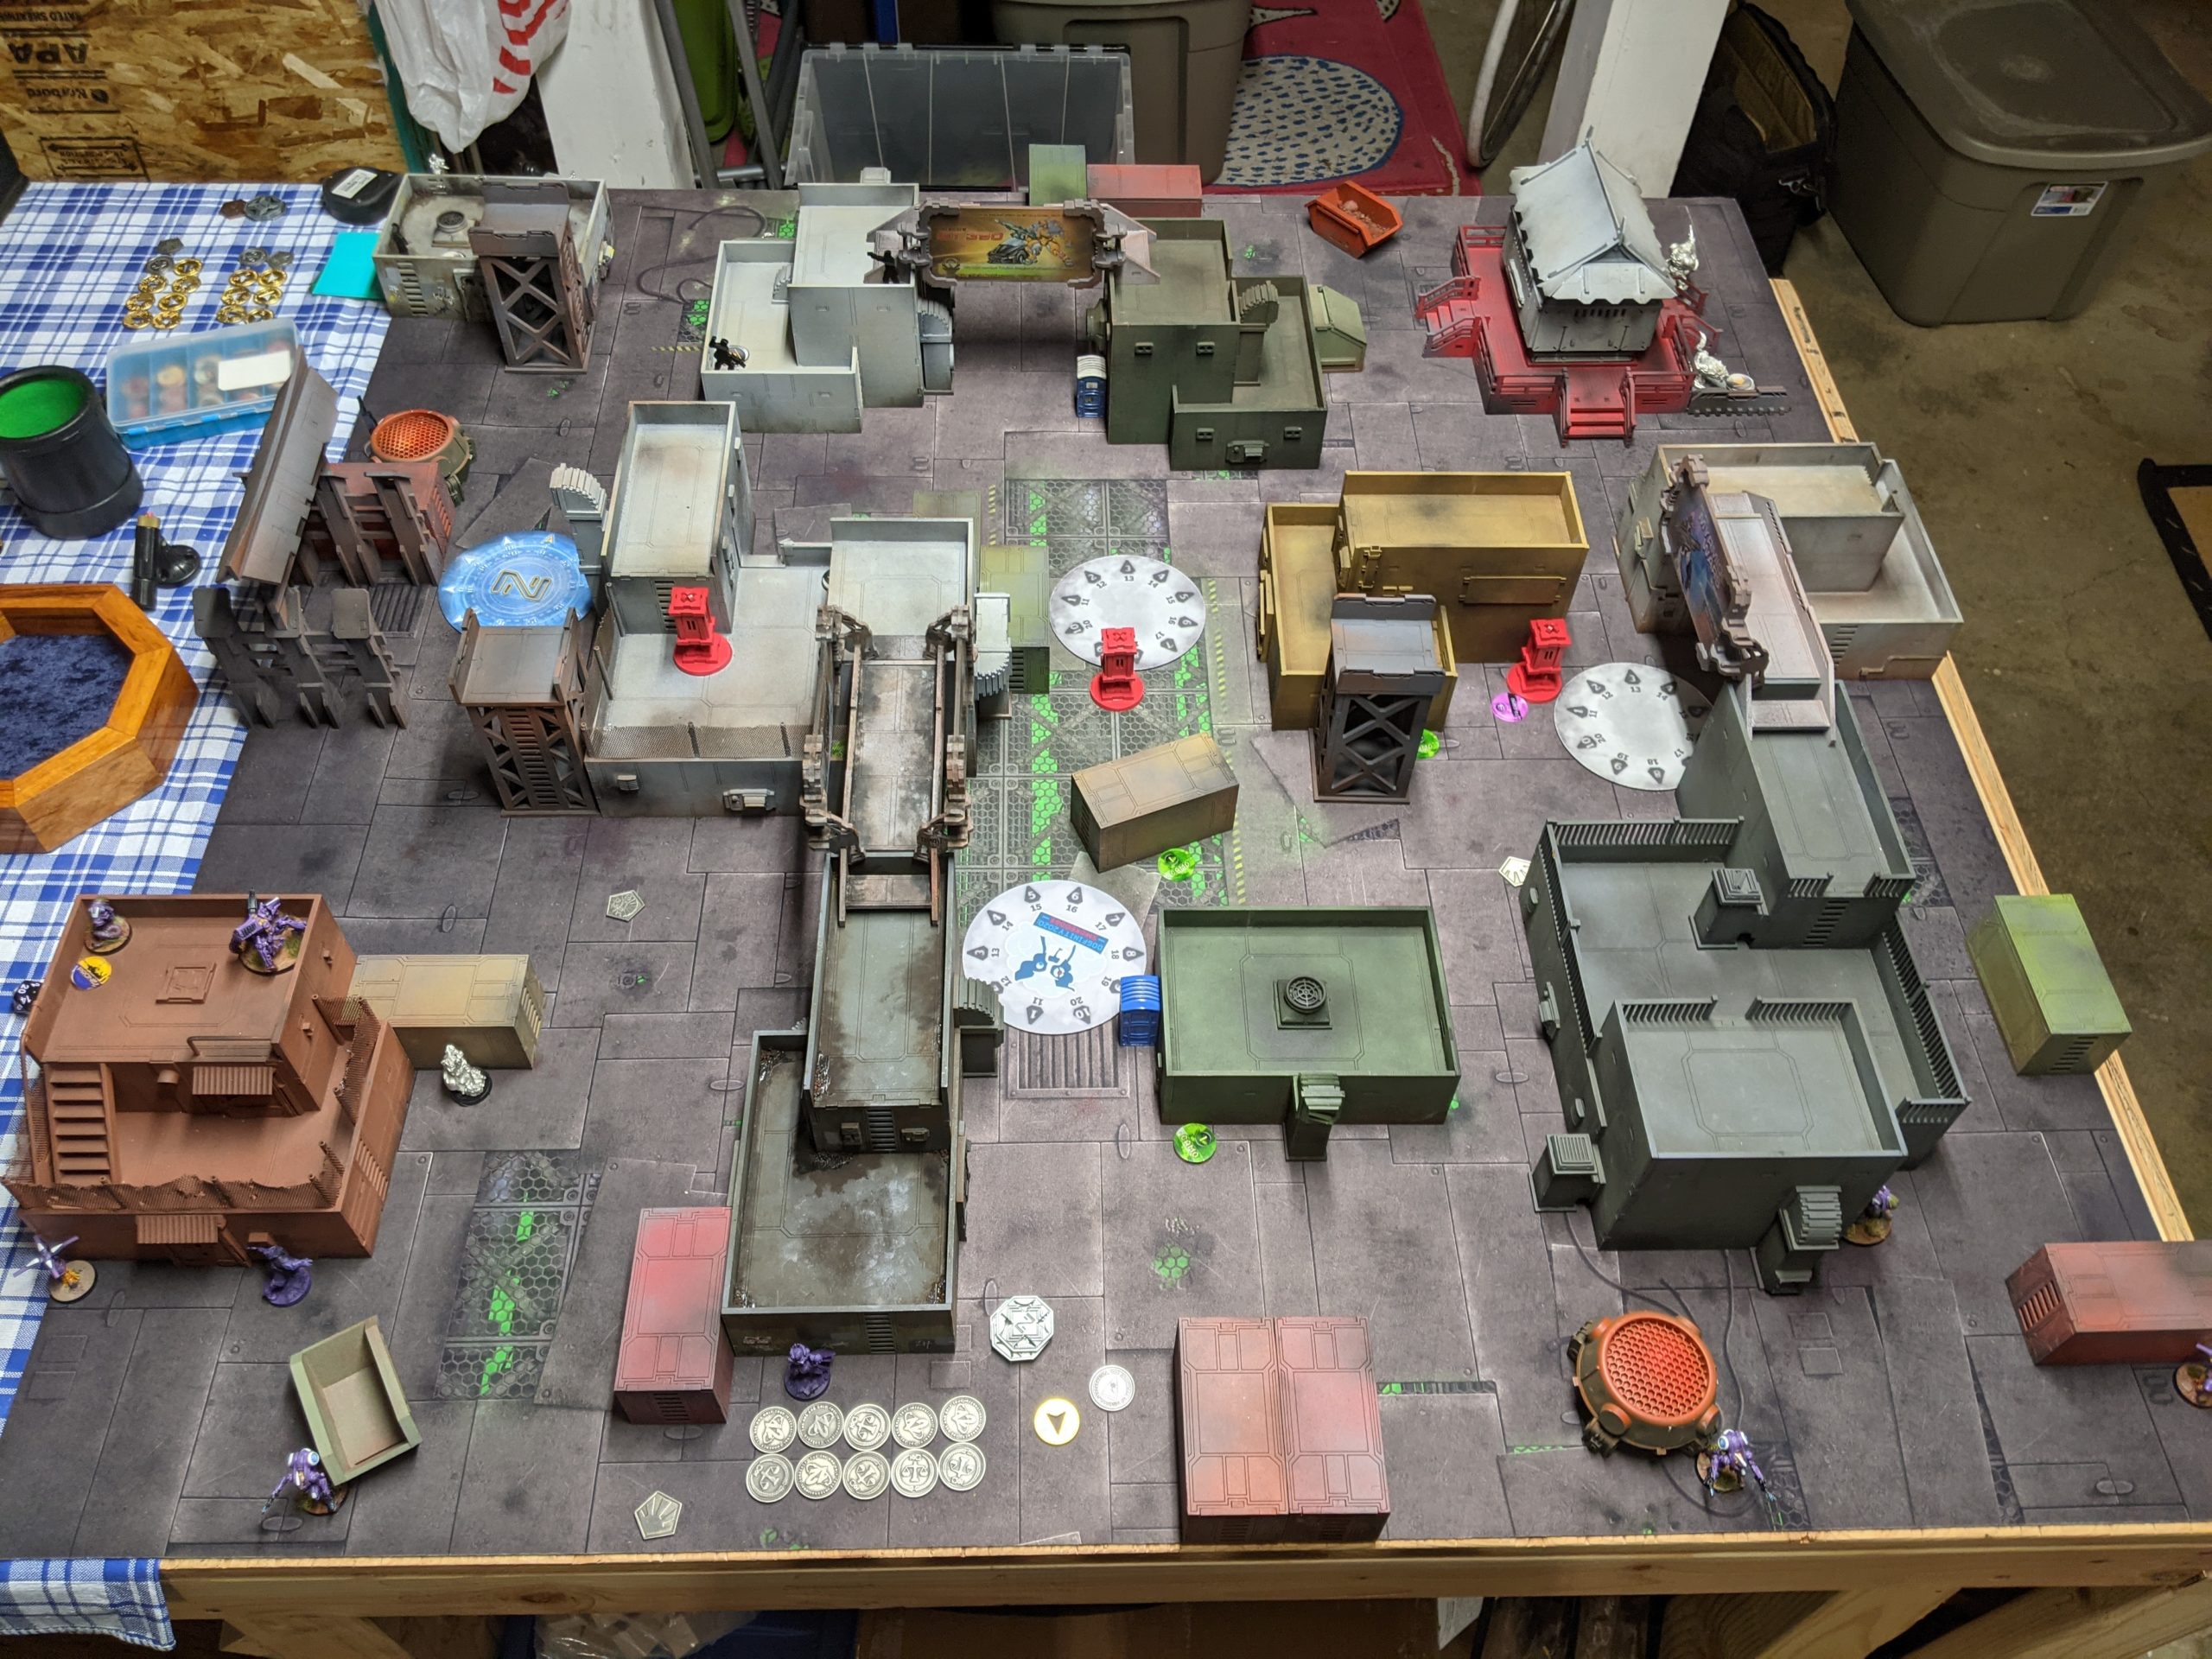
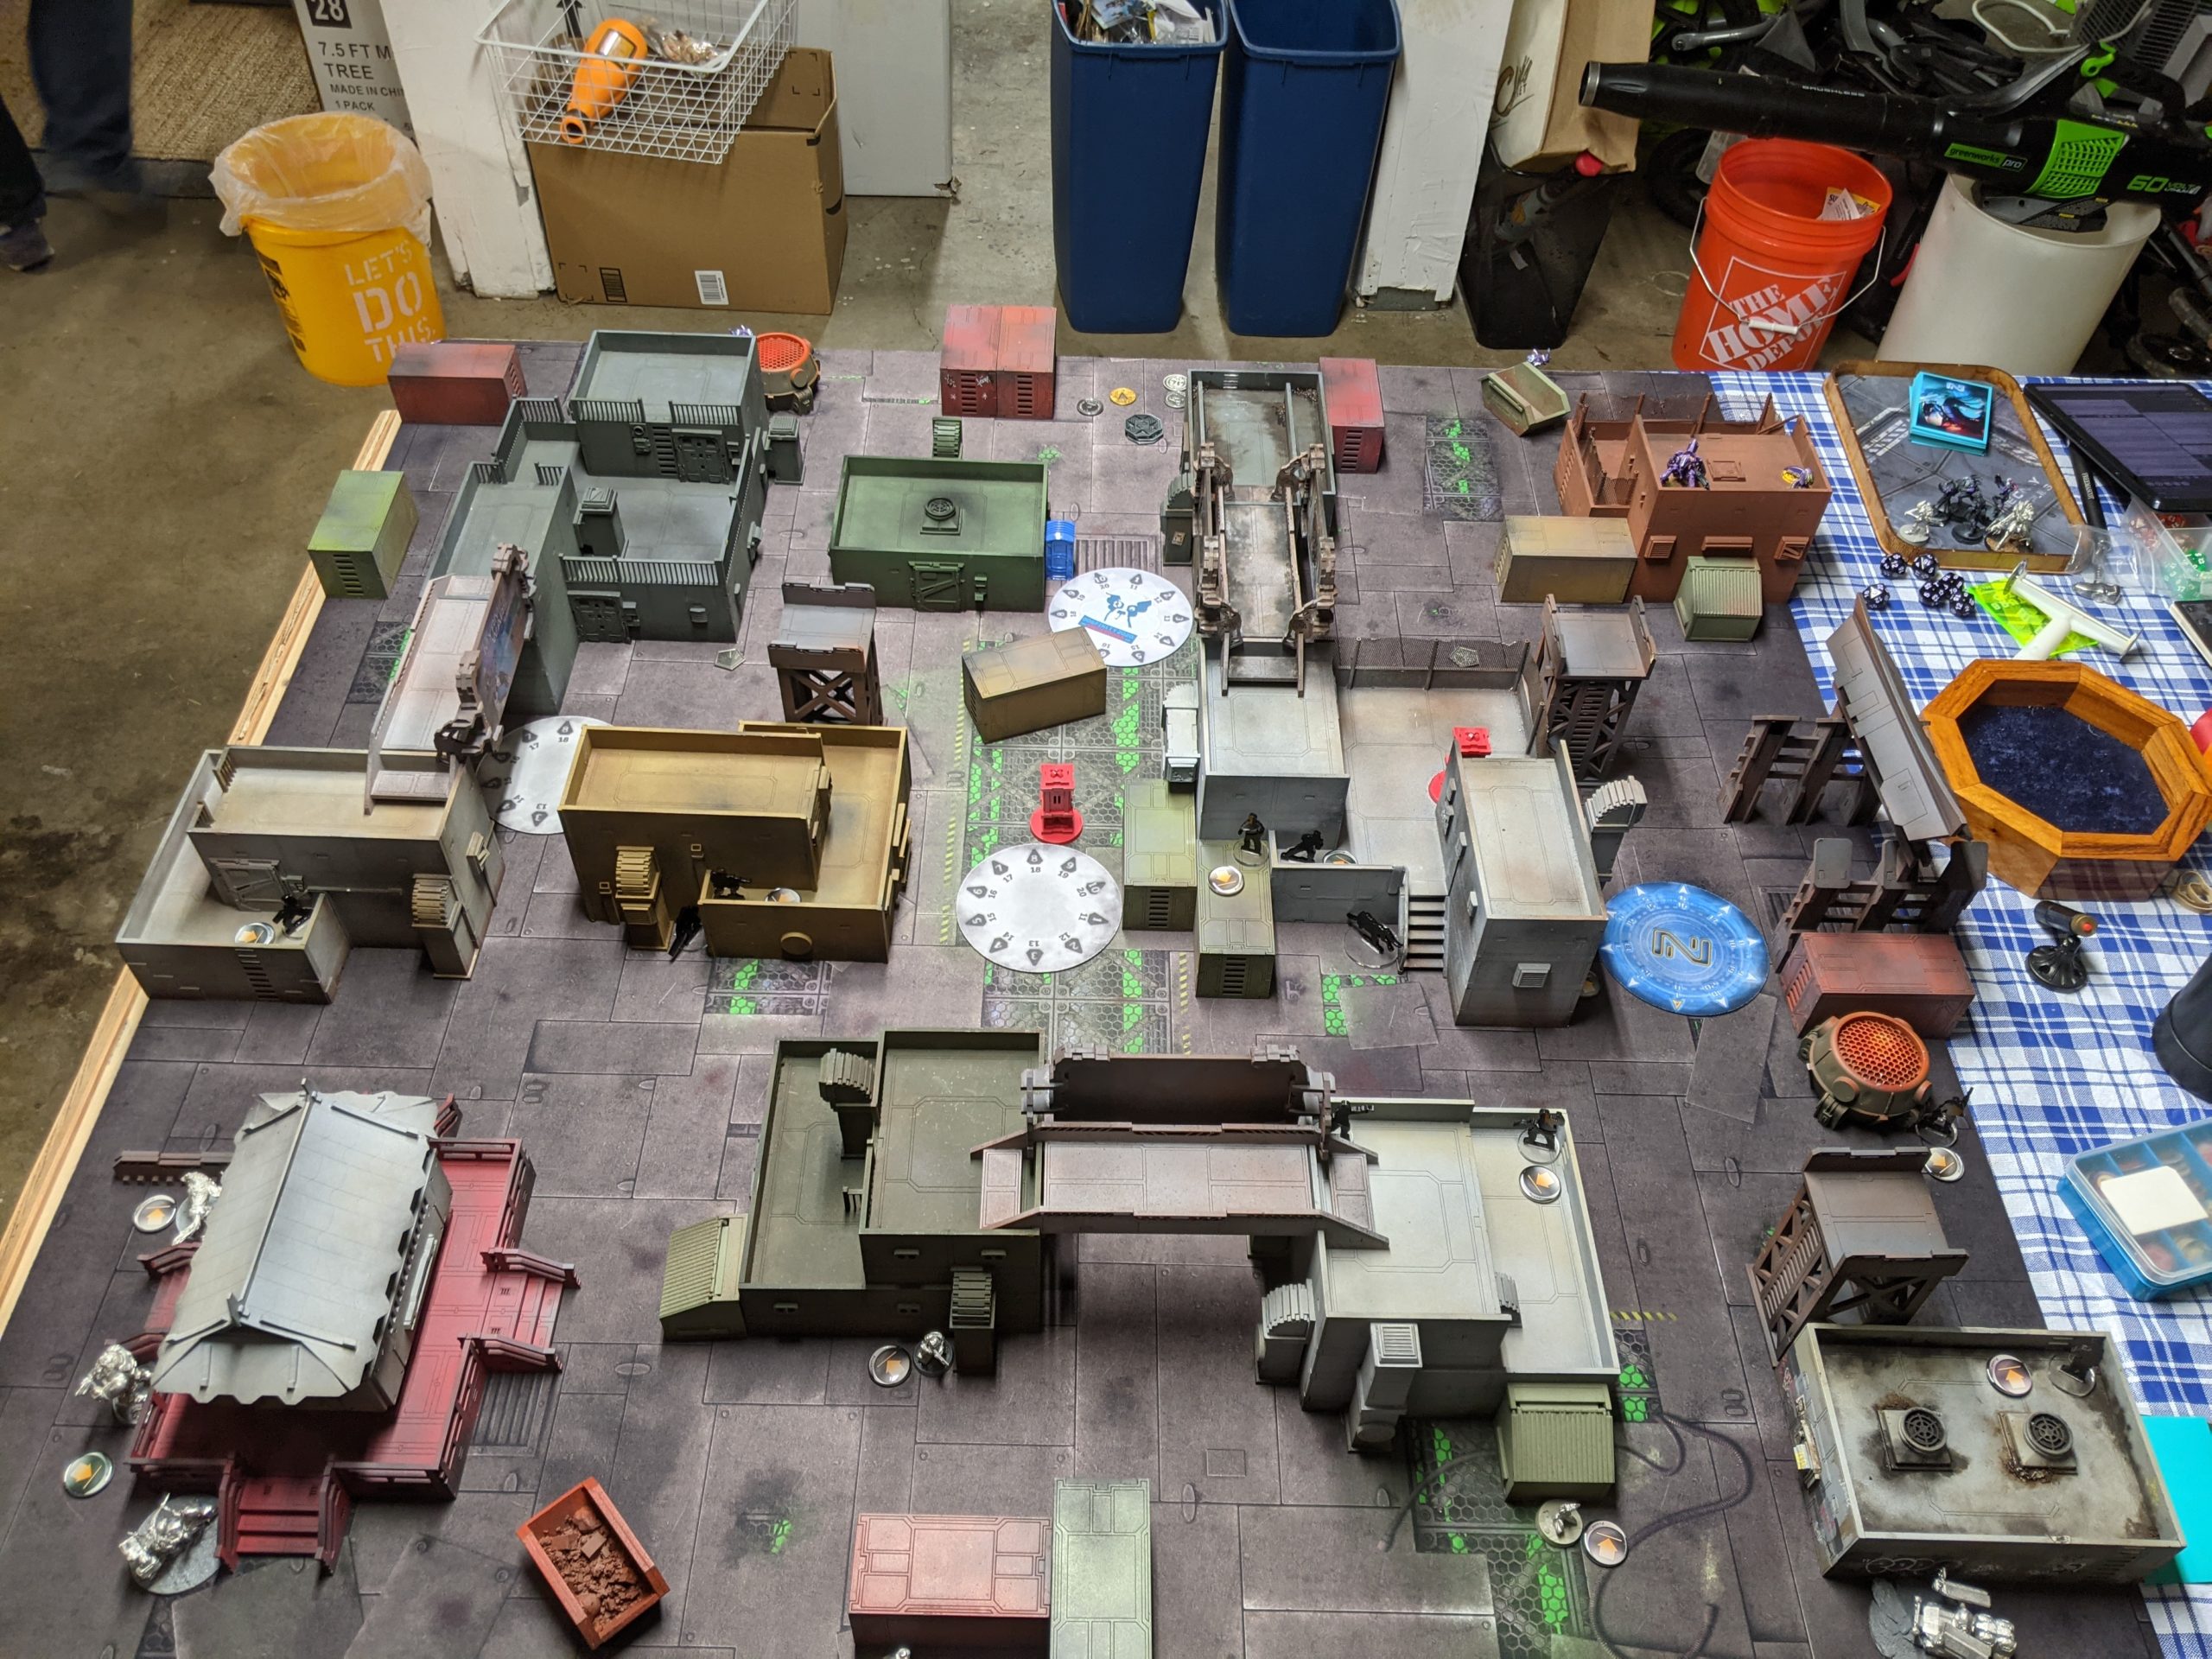
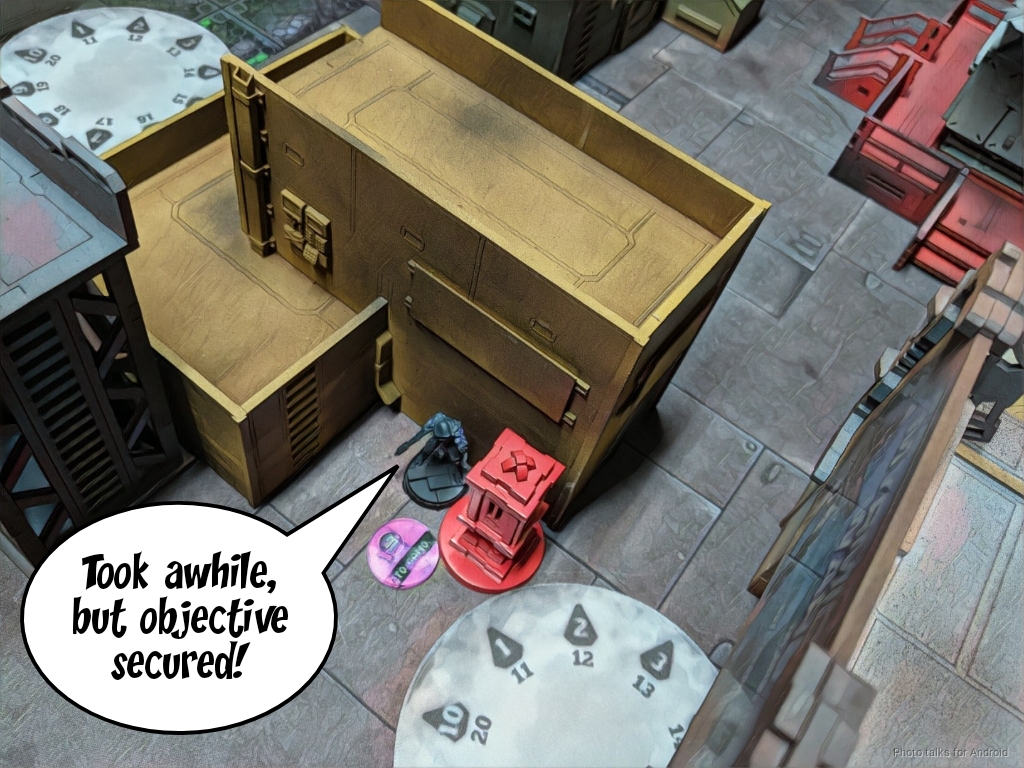
We used some portable toilets as the consoles–gotta control ’em!
Overview
- Mission: Power Pack
- Forces: Ariadna versus Combined Army
- Deploy First: Ariadna
- First Turn: Combined Army
The more I thought about the mission the more anxious I got about going first. Power Pack, even in its current incarnation, really rewards going second. As a reminder, here’s the points breakdown:
- End of Game
- 2 points – Activate the same # of antennas, at least one
- 3 points – Activate more antennas
- 2 points – Your console not controlled
- End of Round
- 1 point – Control the enemy console
- 2 Classifieds
So really, you could ignore the enemy console, do whatever you want for the first two turns, and then on turn 3 kill anything on your console and flip two antennas. If you do that (ignoring classifieds), you’d win 5-4 if your opponent managed to get something to your console for the first two turns. Yes, tournament scoring incentivizes you do to better, especially with the ITS12 changes, but that’s still a victory. If you manage to keep your console clear for all three turns, you can focus the first two turns on just doing classifieds and win 7-2.
I decided to commit to this methodology and go all in on going second. I again had a pretty difficult time list building for this exercise. I knew Adam was going to be playing vanilla Combined, which suggested to me at least some degree of midfield camo skirmishers. The addition of the Localized Decompression zone meant that an even larger area of the board was going to be covered in saturation and difficult terrain. Ariadna has some excellent dedicated gunfighters, but I decided to eschew this and just go for the ability to clear my console and fight in the midfield.
I distilled my plan into the following points:
- Kill Adam’s midfield camo tokens, which are likely to be hiding most of Adam’s specialists.
- Have some fast things to threaten a console secure on Adam’s half of the table.
- Bake in as much redundancy and order draining resources as I could into the list and deployment
I started off trying to over-prioritize heavy-hitting weapons with Vassily and some other snipers, augmented with access to plenty of midfield template weapons and things with Sensor.
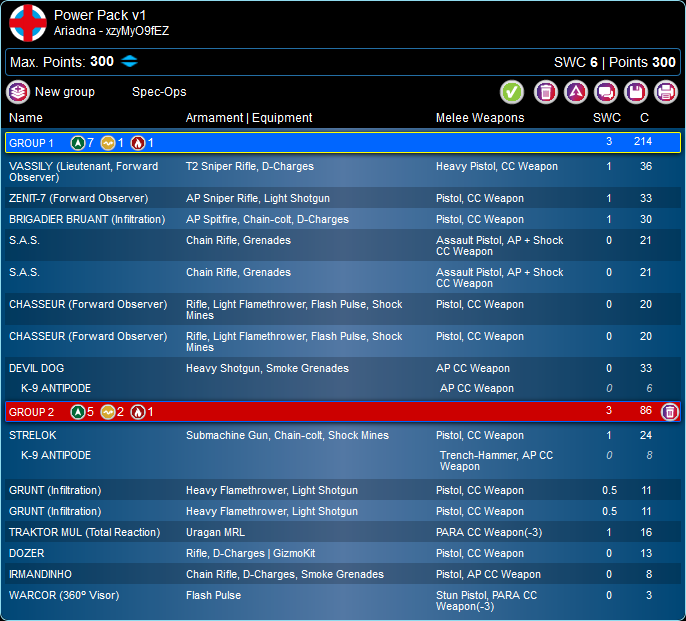
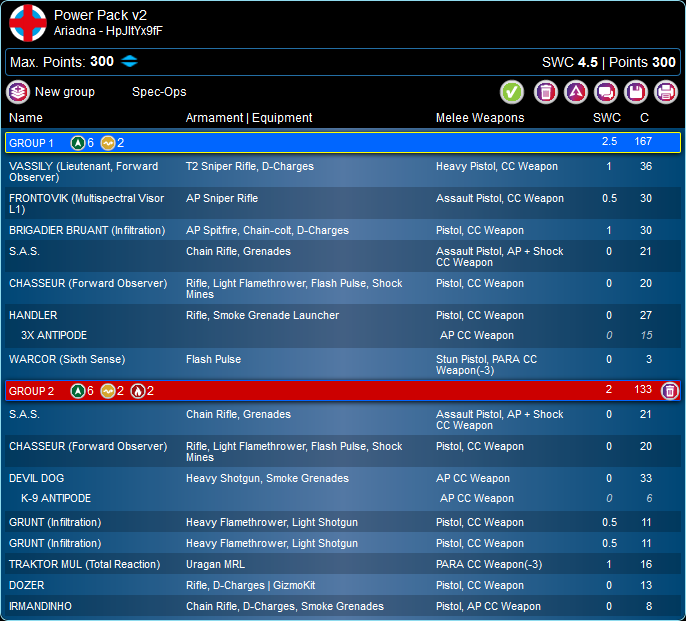
Eventually, I settled on this:
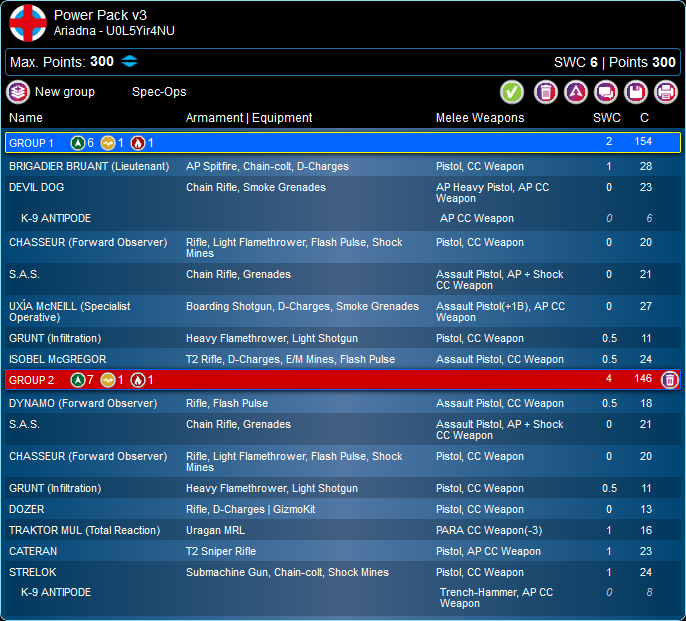
I wanted access to at least two things with Sensor, so I took a Devil Dog and a Strelok with K-9. Adam and I have been going on about how great the Heavy Shotgun dog is. While I still think that, I think that because there’s so much in the way of Saturation Zones that the burst two from the Heavy Shotgun is less appealing, and I’d like the ability to intuitive attack a collection of camo tokens. To secure my ability to flip two antennas at the bottom of turn 3, I took two Chasseurs and Uxia. Isobel, the Uragan, and a Dozer were my plan to clear my objective–Spotlight whatever’s on it, then missile it off the table. If that didn’t work, I can just flamethrower whatever’s on the objective off the objective with a Grunt.
To fight in the midfield, I took a pair of SAS CRAP. My emergency button was Bruant, who could hopefully fight his way to an antenna and flip it if everything went wrong. After playing this game I think I might take a pair of SAS FOs instead of the SAS CRAPs. Hard to say. I split everything more or less evenly between two groups and included a Dynamo for smoke, mines, and the ability to threaten a run on Adam’s console.
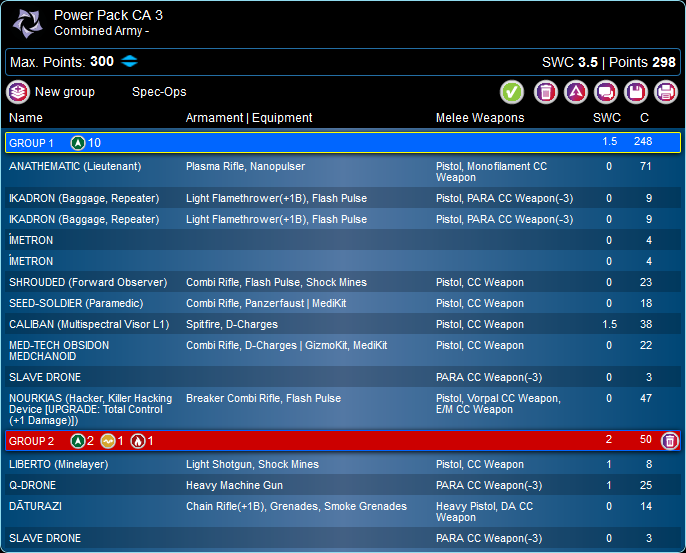
Adam’s list is a fairly standard vanilla Combined list. The usual package of 2x Imetron, 2x Ikadron, a pile of Shasvastii infiltrators, a Q-Drone, and the excellent Dr. Worm and a Daturazi. The secret tech is Nourkias, who is amazing, and an Anathematic lieutenant.
Deployment
I lost the roll off and Adam chose deployment, hoping I would choose to go first. I stymied him by choosing to go second. My deployment is pretty heavy on the left in terms of my camo specialists. Both Chasseurs are there along with one of the SAS, the Dynamo, and the Devil Dog (which was my reserve). The right side was everything else, with the Dozer and Uragan watching my back table edge for Rasyats and other shenanigans. I put the SAS and Uxia near the right objective, and there was a Chasseur in striking range of the middle and left objectives. I put the Cateran on the right, watching a firelane that extended all the way to the other table edge. This would allow me to shoot anything walking towards my console, or use him to clear it off if necessary. Not really rocket science here. Cover the objectives, cover the console, blunt an alpha strike.

Adam had to honor Margot and Duroc, so a lot of his deployment is all about protecting his back table edge with Ikadrons. He covered his left flank with a Q-Drone, and set up a Shrouded and Seed Soldier to make runs on the objectives. Dr. Worm lurked in the back, right behind the Anathematic that was Adam’s reserve.

To screen the Anathematic, Adam used a Libertos Minelayer. Nourkias and the Daturazi hung out on the left as well, with a Caliban Spitfire in the middle to anchor everything. We scattered the Localized Decompression zones in regions that would reduce movement, and I feinted my intent to go after Adam’s console by putting a zone in contact with it. I figured having something in a saturation zone would make it harder to kill, so if I “showed my hand” to Adam like that it would encourage him to commit to defending his console, thereby reducing pressure on me.
Turn 1
Top of 1 – Combined Army
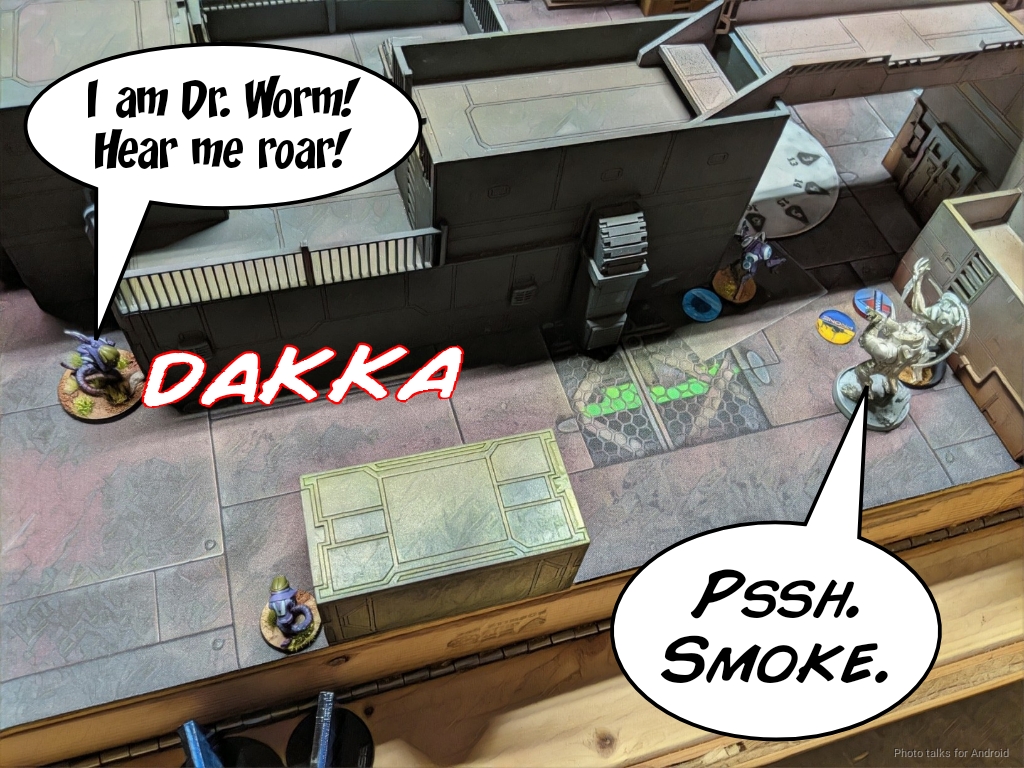
I saw a 10 order group one, so I took from group two, assuming there might be an AD troop. Adam I think was hoping to get his Daturazi into the fight so I was happy to put a stall on that for a turn. He set up smoke for Nourkias on his impetuous order to move forward, since I had the Strelok’s ambush tokens “out to ARO.”
Adam started to apply pressure by flipping the antenna on my left with his Shrouded FO. Thankfully it took him two orders.
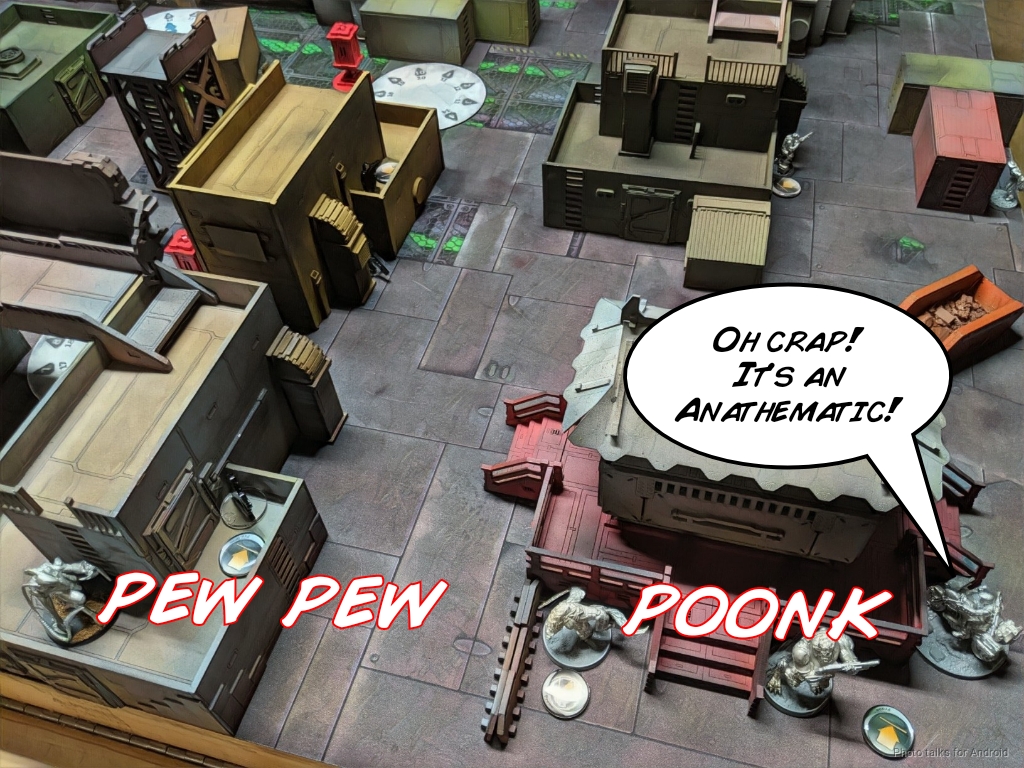
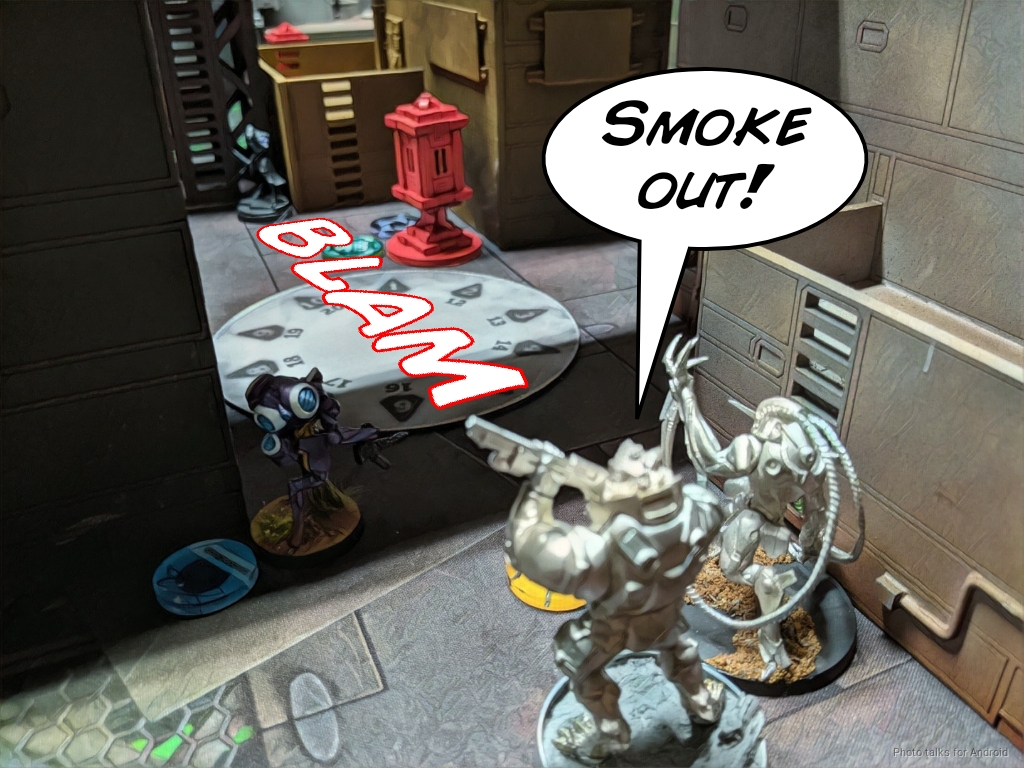
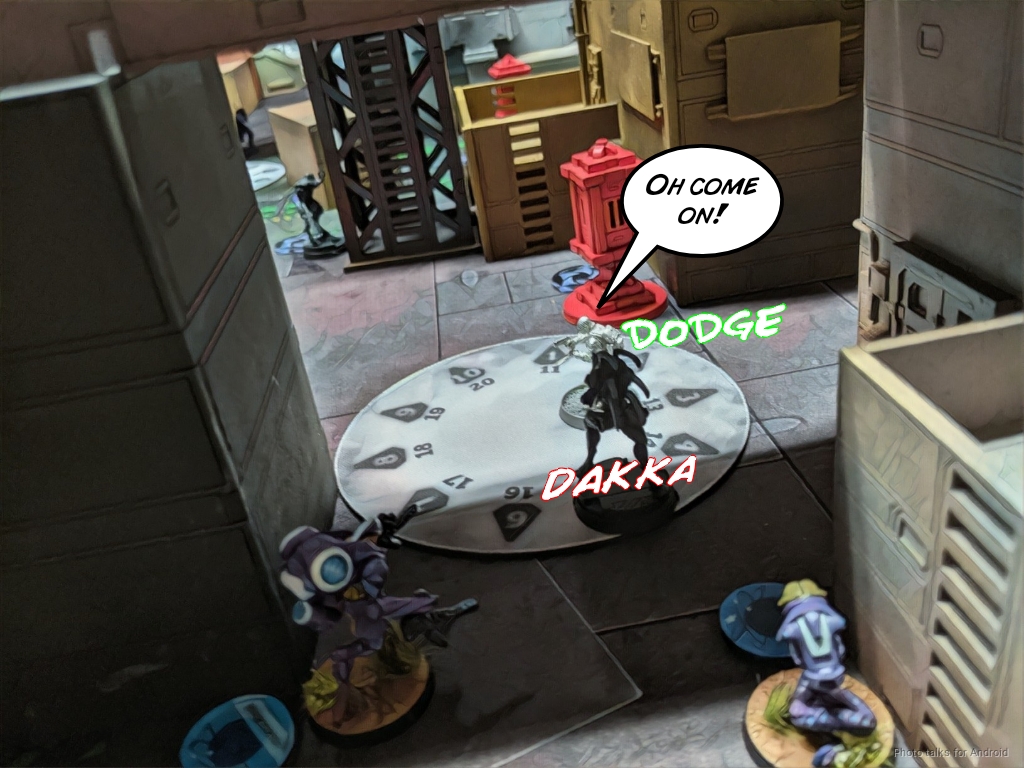
Adam then decided to attack my order pool, which I think is a very reasonable thing to do on Turn 1 of Power Pack if you go first. He had to climb the Anathematic up a ladder and scoot it into view of my Dynamo. I fired smoke in response, figuring that would allow me to ignore cover and mimetism -6 and just be on -3 due to surprise shot. I think our rolls tied and nothing happened.
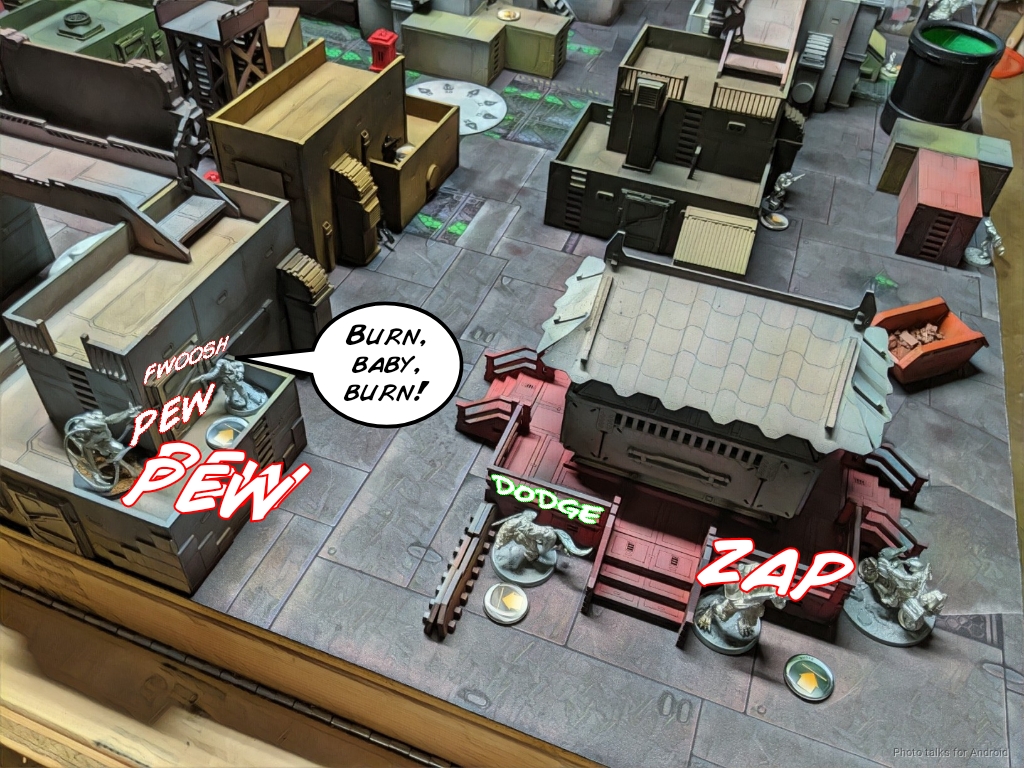
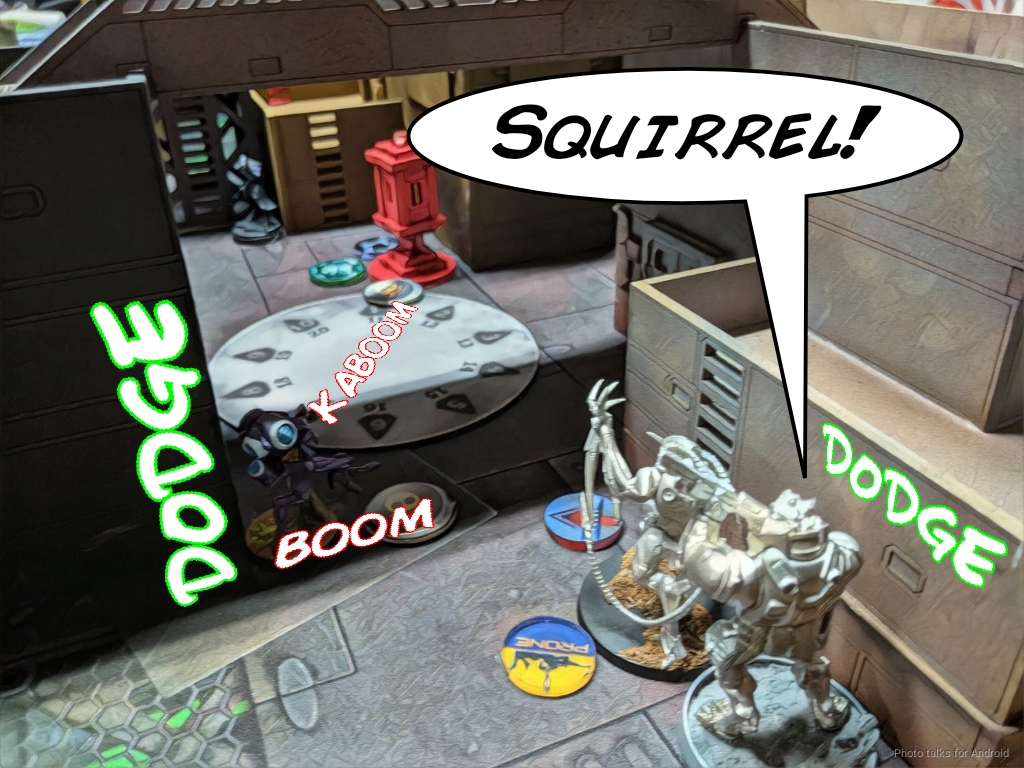
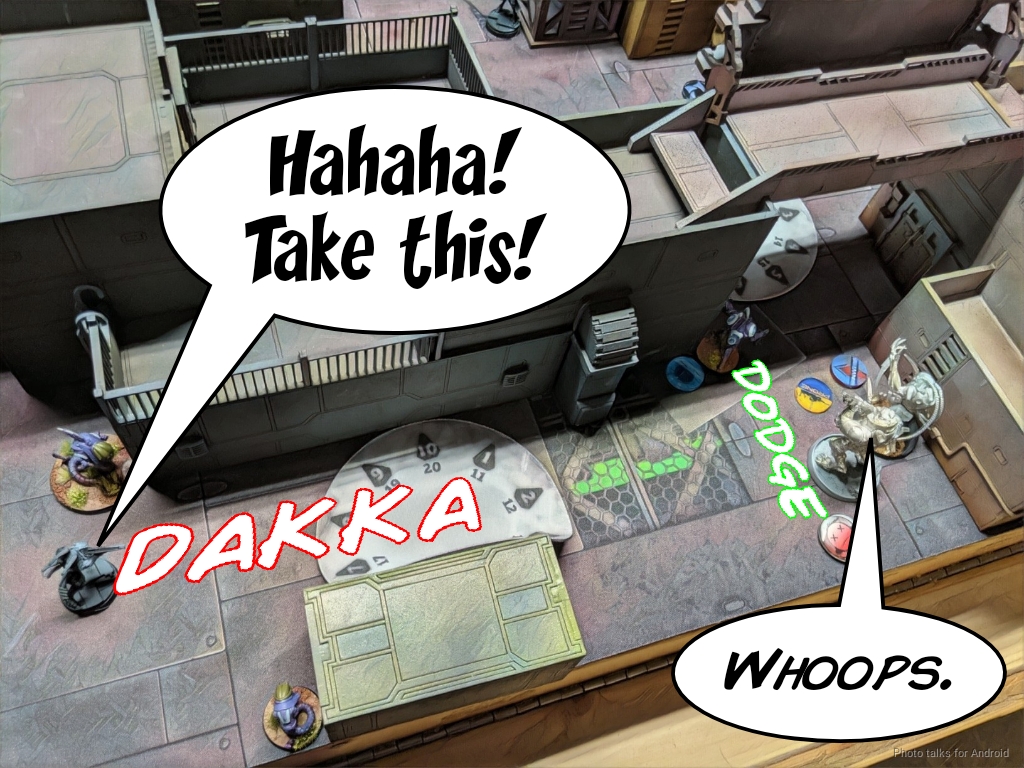
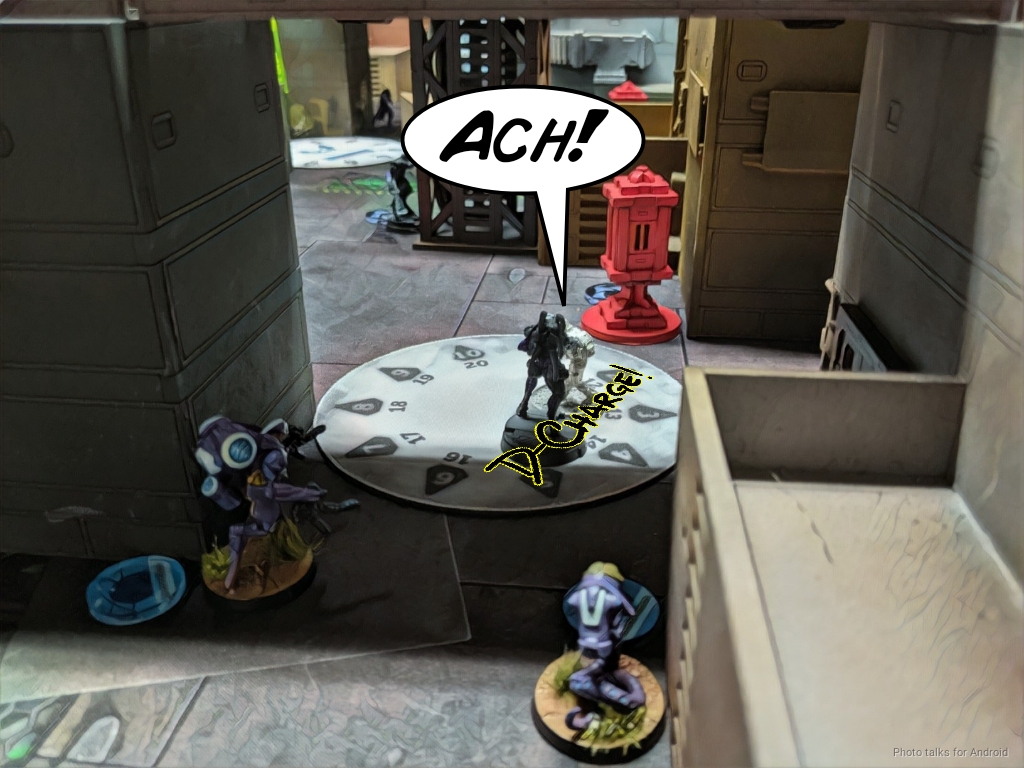
Adam decided to push harder and try to kill my Antipode, so he moved into view of my Chasseur. I decided a free flamethrower was too good to pass up so I revealed the Chasseur to light the Anathematic on fire, while dodging with the Antipode and flash-pulsing with the Dynamo. Adam split burst three ways to try and take out all three targets, but only the Chasseur died. The Dynamo managed a successful flash pulse too, which was very helpful!
Stopped in his tracks, Adam vented his frustration on one of my Grunts which was a little too exposed by scooting the Q-Drone out and back to gun it down.
The rest of his orders were spent on retreating the flash-pulsed Anathematic and re-camoing it in the safe zone of the Libertos and its mine. He also shuffled Nourkias to the center of his back table edge to really defend against Margot and Duroc.
Bottom of 1 – Ariadna
My objectives were to hunt down midfield specialists and protect my order pool, so I started doing that. A quick impetuous move from the Devil Dog and I was ready go sensor the Anathematic, the mine, and the Libertos out of camo. The Dynamo attempted to get some smoke off in its impetuous move but whiffed.
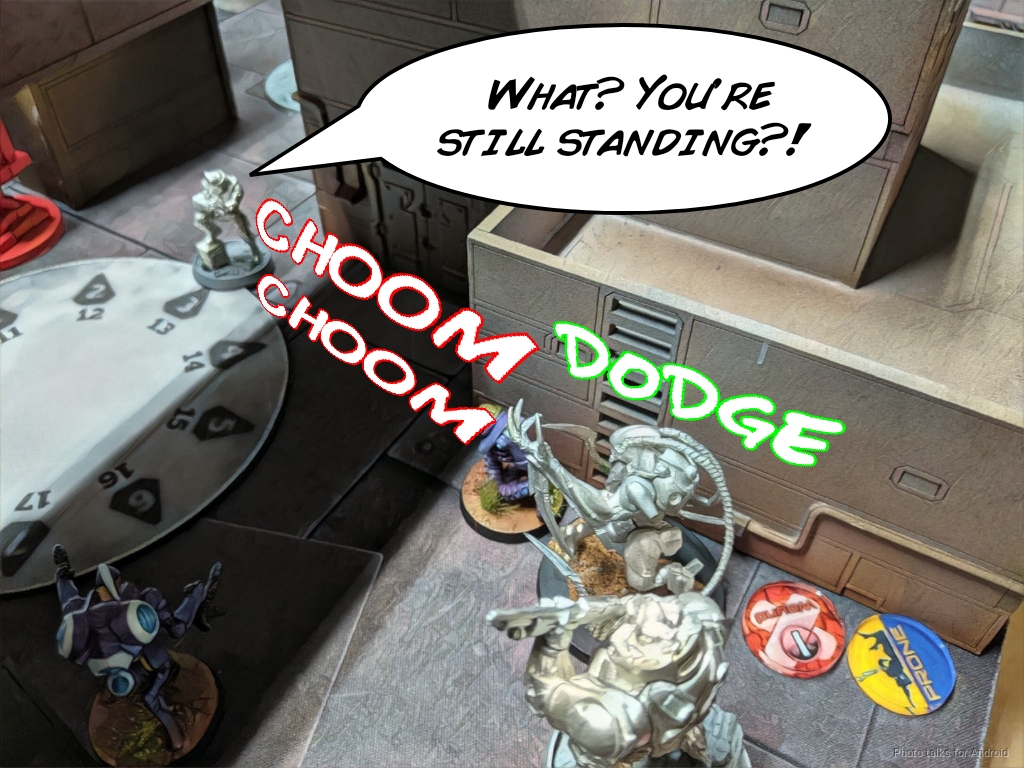
I do some fancy super jumping and get a smoke grenade down on Anathematic. The Libertos lays a mine, which I take a wound from as I jump into close combat. Thankfully the mine can’t hit the Devil Dog and the Antipode due to the Anathematic. I manage to do a single wound to the Anathematic.
The antipode jumps in and dies to another mine, but burst two lets me get a second wound on the Anathematic.
I realize now that I made a huge mistake in not firing mines with the Dynamo earlier, and now I have to contend with the Libertos. I first try to assault pistol down the Libertos with a SAS CRAP (not pictured here) and then again with the Dynamo and succeed only in putting it dogged.
It keeps dodging, so I just throw out mines.
I refocus my attention and attempt to intuitive attack one of Adam’s camo tokens near the objective on the right. There was some confusion about what kind of camo token it was–Adam had told me it was not prone, so I assumed it wasn’t a seed soldier and therefore didn’t have chest mines. Of course, it was, and what Adam had meant to say was that it wasn’t prone but was effectively prone — i.e. one can sort of tell that it’s a Seed Soldier at deployment… but in the interest of moving forward with the game we just played through. This of course meant I lost my SAS to the chest mine and the Seed Soldier tanked the chain rifle hit.
I haven’t accomplished much, but I’ve only lost an Antipode and a SAS so far, so things aren’t the worst, and as we discussed earlier, I really have the first two turns to do whatever I like.
Turn 2
Top of 2 – Combined Army
The Anathematic was his primary plan to control my console, and Adam convinced himself that Nourkias was too far away to do anything about that now that he knows that Margot and Duroc aren’t in my list. He decides to clear out the mines by throwing an Ikadron under the bus. The Ikadron dies horribly to shrapnel, but successfully clears the mines.
I (foolishly) decide to dodge out of combat in hopes that I can clear the Liberto’s deployed mine (by the objective) with the Devil Dog’s chain rifle. Adam had vocalized his desire to get a slave drone in contact to heal the Anathematic as well, so I wanted to be able to chain rifle it on its way in.
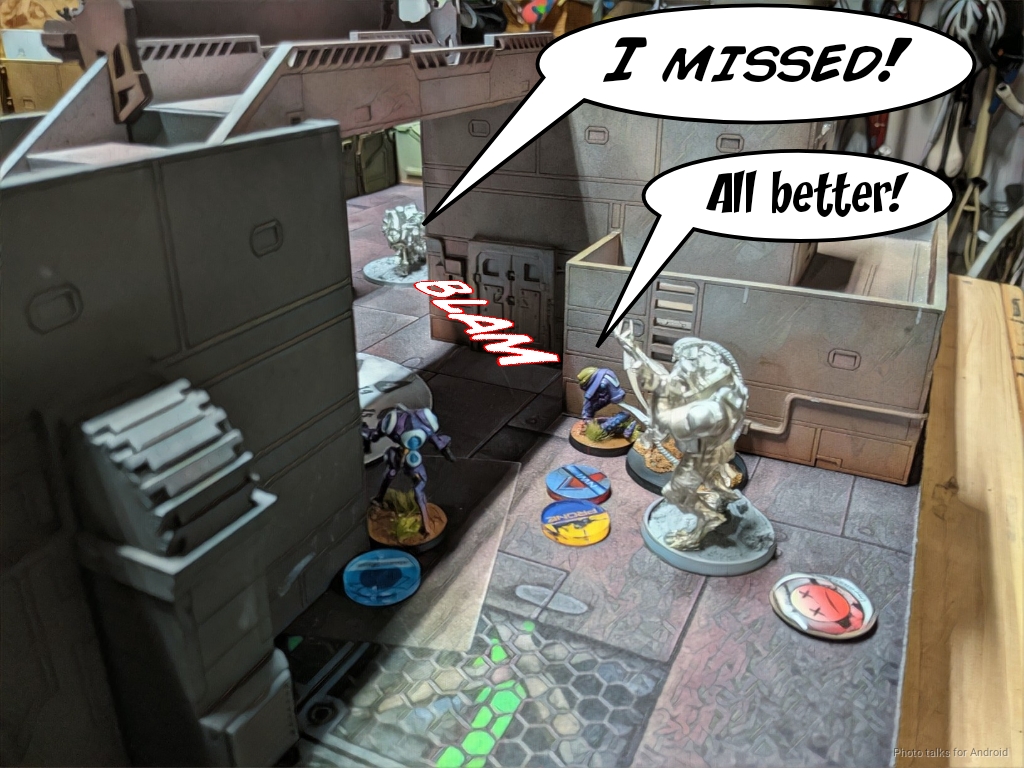
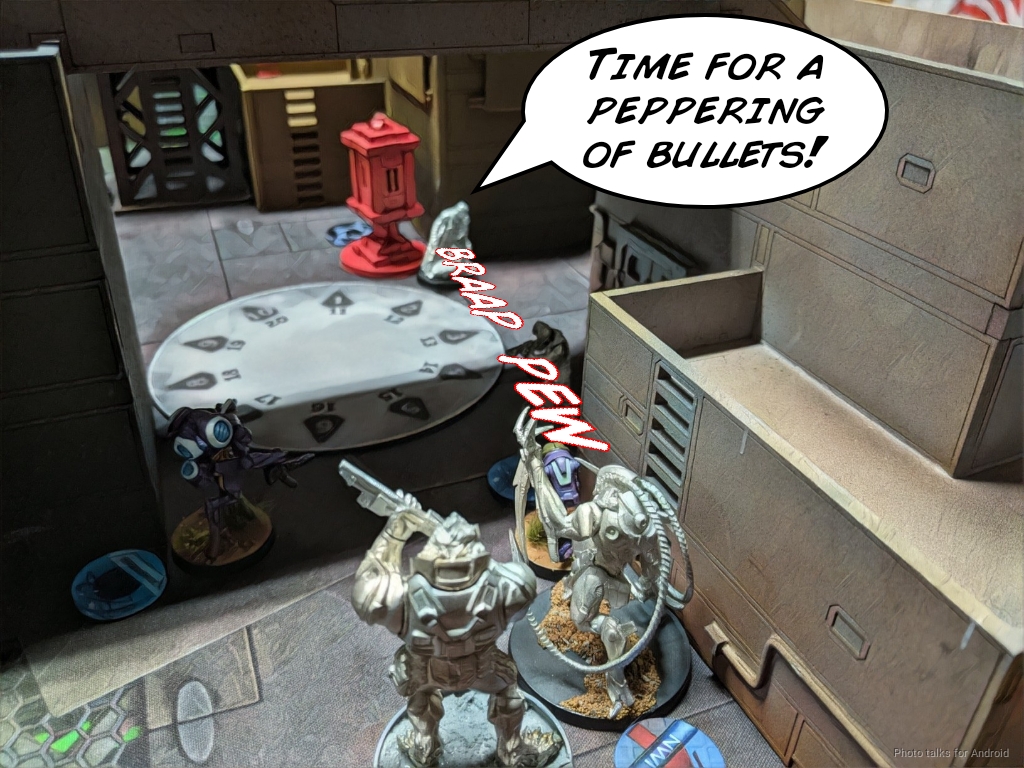
First the Shrouded attempts to shoot down the Devil Dog, which was already wounded due to a mine and is beaten by a smoke grenade. Dr. Worm tries next, but is similarly foiled.
Adam then walks his Caliban all the way from the middle of the table to the firelane with Dr. Worm in it and makes use of MSV1’s new ability to see through smoke to finally KO the Devil Dog.
This lets the slave drone advance through the smoke, tank a rifle shot from the Dynamo, and heal the Anathematic back to 1 wound. Adam flubbed the first roll, which meant he had to spend a command token too. Further resource drain, excellent! Adam recamos the Anathematic and passes turn.
Editor’s note: Reddit pointed out that rerolling here isn’t legal, since no Remote Presence or Cube. Adam responded to this by saying this is yet another reason why he shouldn’t have tried to fix up the Anathematic.
Bottom of 2 – Ariadna
I take stock of the board, and decide that I can just throw a whole turn into killing the Anathematic without really jeopardizing my final turn. There’s a question here as to whether or not I should have–advancing more forces forward to contest firelanes is almost certainly a better idea, but I was committed to killing the Anathematic as a question of morals. I walk a Grunt all the way up, burning most of that order pool to do so, and threaten a heavy flamethrower hit on the slave drone that will catch the Anathematic. Adam dodges out of camo with the Anathematic, which lets me lay two shotgun templates instead, one on the Slave Drone, one on the Anathematic.
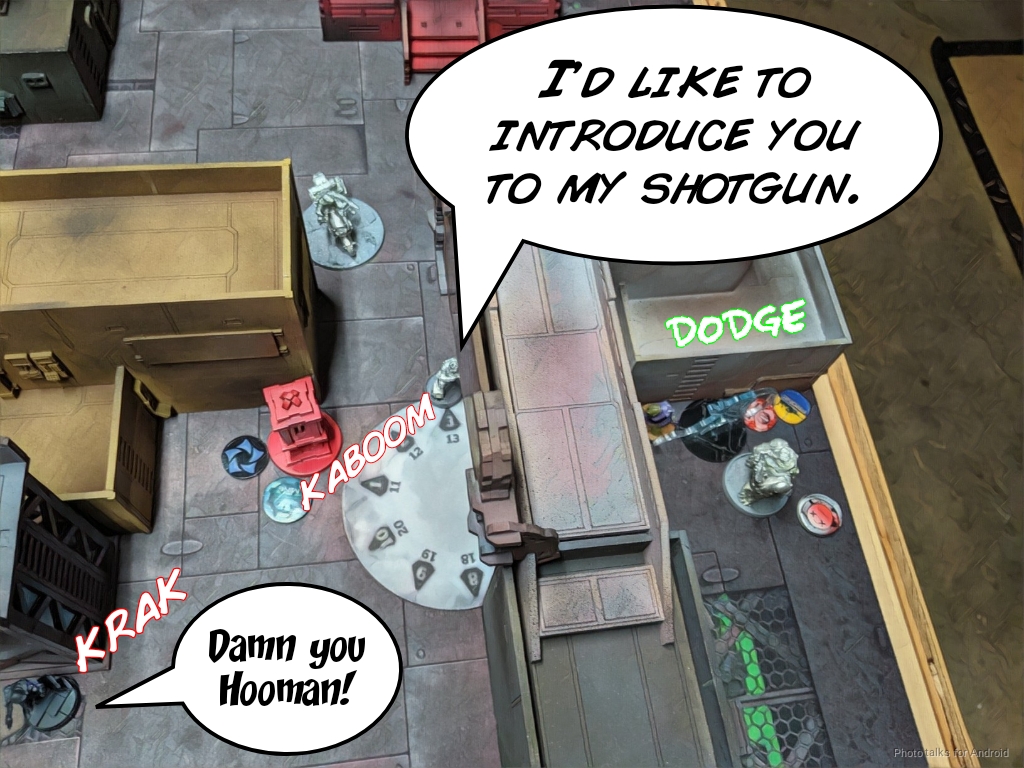
The Shrouded’s ARO and the Mine fail to penetrate USAriadnan armor, and I manage to land another pair of shotgun hits but this time the Anathematic passes the ARM save.
I get greedy and lose track of my final goal, which is to have everything survive till the final turn, and try to Assault Pistol down the Anathematic with a dismounted Dynamo. I’m immediately blown up by Plasma. Very annoying. I should’ve at least suicided on the objective to flip it. Silly me.
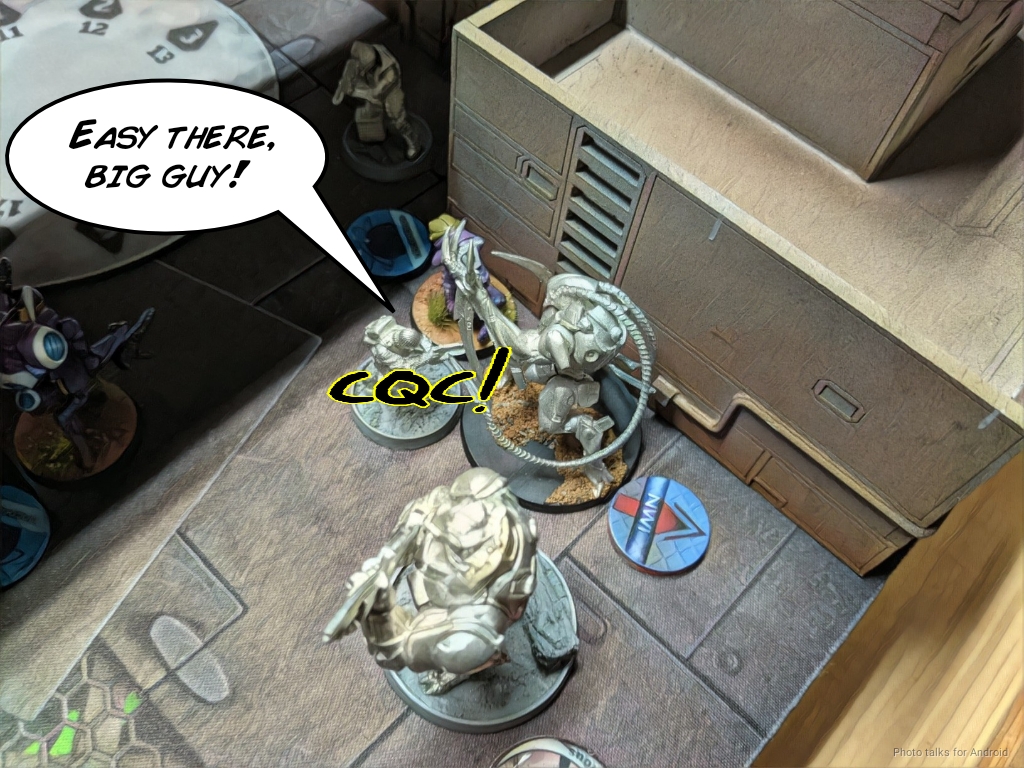
I’m definitely committed now, so I recamo the SAS and get it into base to base with the Anathematic. While it passes ARM against my CC attack, I survive the Shrouded and the Caliban shooting at me, so I’m free to do it again.
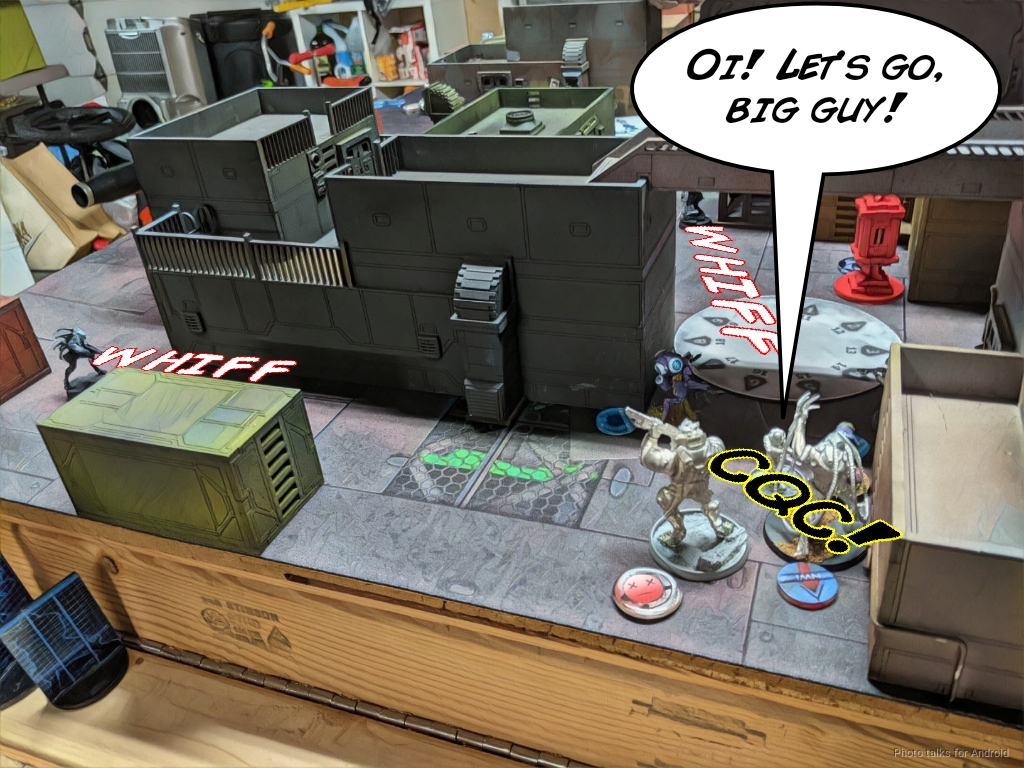
I’m finally able to take the Anathematic off the table.
I attempt to chain rifle the Shrouded that the Anathematic jumped into, but get flash pulsed. The Caliban takes a shot, but my SAS bounces it like a champ.
The Turn
Top of The Turn – Combined Army
At this point, Adam’s pretty disrupted and needs to flip one more antenna to have a hope of winning. I don’t think he’s got a chance to get something onto my console, but he’s done crazier things. He starts by gunning down my Grunt with his Caliban Spitfire (what a great profile).
The Caliban eats the Devil Dog for extra wounds while the SAS dodges away to suck more orders.
The Shrouded fails to take out the SAS…
and more shooting by the Caliban also fails.
Finally the Caliban gets close and personal, and eats the D-Charged remains of the SAS for lunch.
Adam’s final order of the game is to attempt a discover+shoot on the Strelok’s decoy token, which we have a good belly laugh over.

Adam flips the central antenna with Nourkias, decides he can’t get to my console safely, and retreats to defend his.
Bottom of The Turn – Ariadna
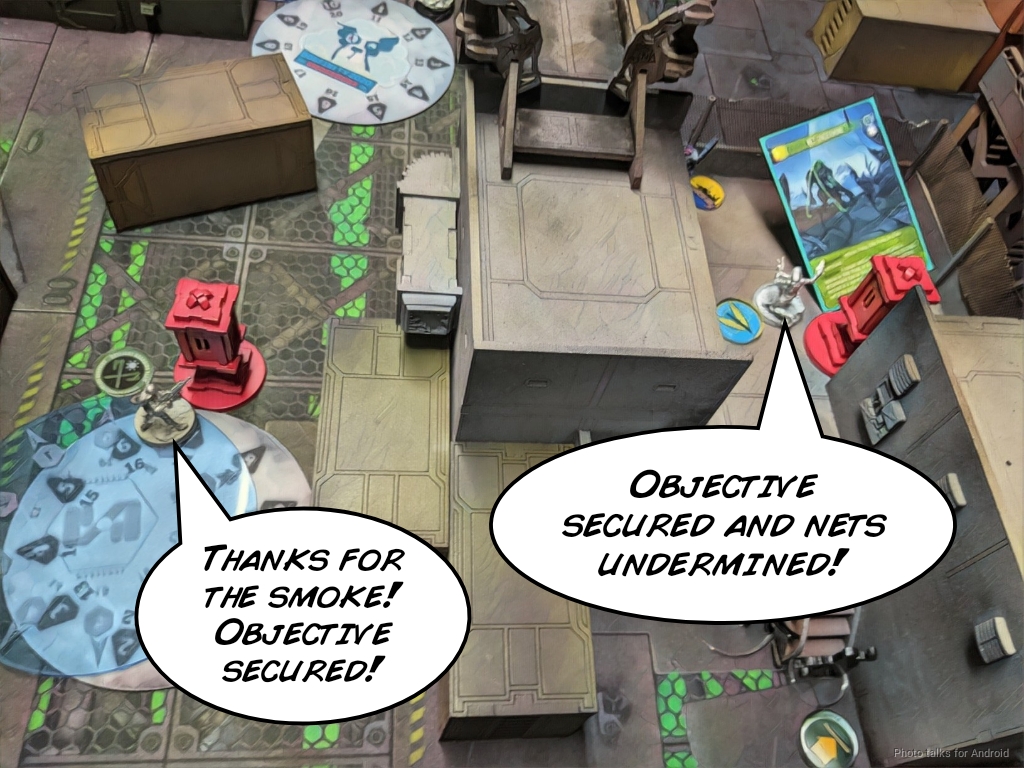
At this point, it’s a simple matter of throwing smoke with Uxia on top of the nearby consoles, letting me get her and a Chasseur in base contact. I have on extra order so I grab Net Undermine with Uxia.
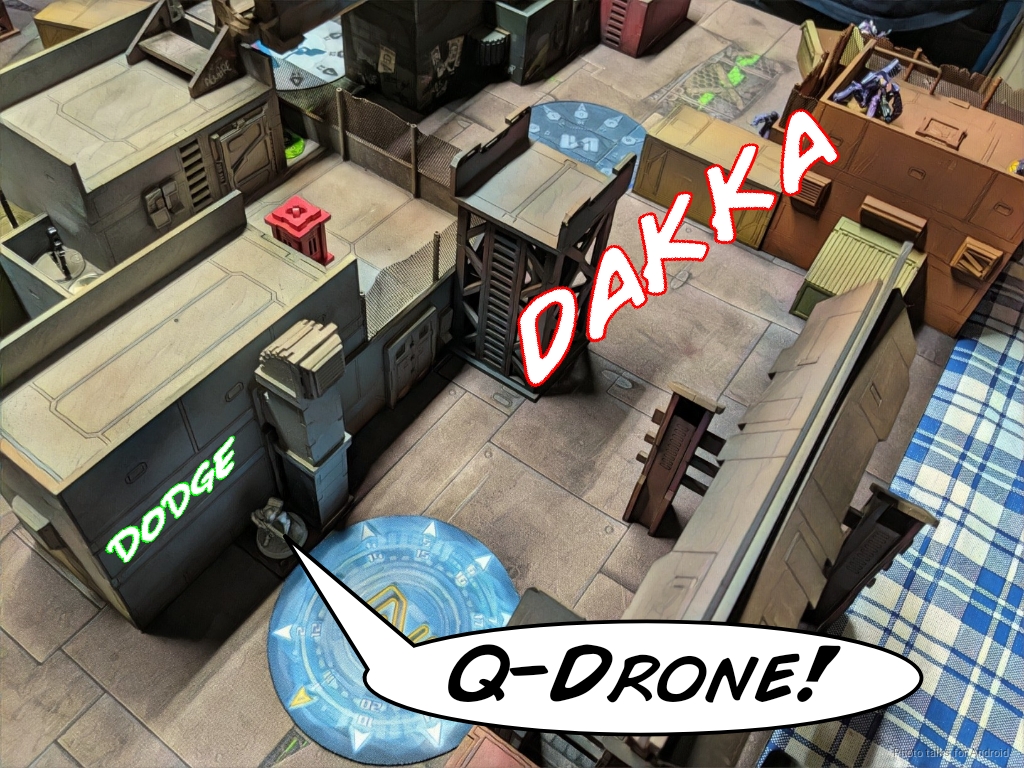
I really want to use the fantastic Cateran model that Adam made me out of a Galwegian, so I pop it into view to shoot the Q-Drone for fun.
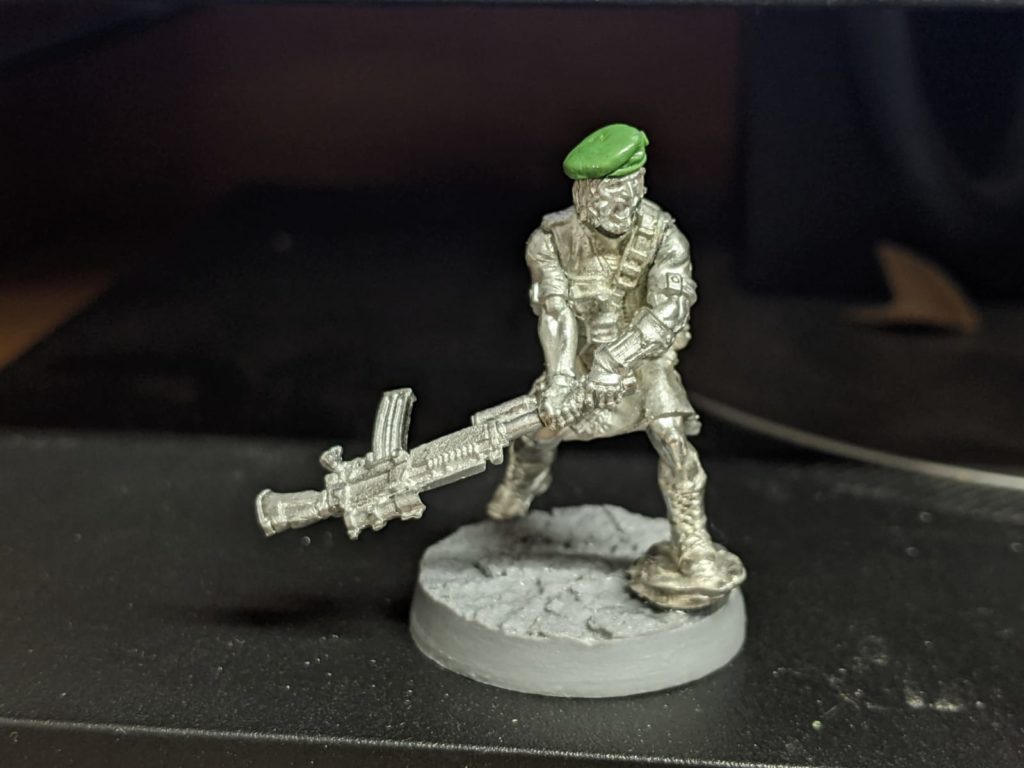
It goes horribly and he doesn’t throw his rifle hard enough, dying to the Q-Drone.
At this point, I have more antennas, 1 classified, and my console is uncontrolled. This makes it a
6-2 Ariadna Victory!
Adam had Predator and killed two things with his Caliban, but one of them was a Coup de Grace which I don’t think counts? In any case that would’ve made it a 6-3 win.
Edit: Apparently ITS12 says coup de grace counts, so… 6-3 win.
Post Game Analysis
Well, I think this game proves that it really benefits the player who goes second in Power Pack. We both agreed that neither of us should’ve done anything more about the Anathematic in Turn 2. Adam could’ve easily written it off and gone on to other things, and I could’ve easily worked on other objectives like securing more antennas, etc. So both of us made some mistakes there.
It was probably more of a big deal for Adam to have invested so heavily. All I really lost was turn 3 orders by losing the SAS, Dynamo, and Grunt–it did take a surprising number of orders for Adam to deal with the SAS though. I think both of us were trying out tools–I wanted to CC something with the SAS, Adam wanted to CC something with the Caliban, for example. I’m definitely convinced that it’s really hard to play this mission going first though. Neither of us had a compelling way to do it that was going to be straightforward or elegant.
That said, I do think that this plan is viable though:
- Turn 1
- Kill as many midfield Skirmishers as possible.
- Advance something you intend to leave on your opponent’s console.
- Turn 2
- Attack your opponent’s order pool
- Protect your console grabber
- Turn 3
- Flip and defend two antennas
- Secure your opponent’s console
I sort of killed my own order pool grinding it down against the Anathematic, so if Adam had enough orders to get something on my console I think I would’ve lost. I’d have had one order of Cateran and one order of Isobel to kill it, and I’d have to had spent the rest of the orders doing what I did to flip the antennas. I would’ve had a hard time doing all of those things.
I think in either case (go 1st or second) you want a lot of camo–that was really what protected me from a big push from Adam’s Anathematic and gave me the confidence to do silly things in Turn 2. Sensor is also therefore important (see Turn 1 plan above). I’m really interested to see what others think about ITS12 Power Pack and missions like it. Thanks for reading.

Pingback: Quackery of Kiiutan – MERC Recon