DEPendable Zencha
Dan (White_Lang) and his lovely wife came over for an afternoon of gaming and dinner. We were lucky enough to have a window for a game of Infinity before dinner and board games so we took full advantage!
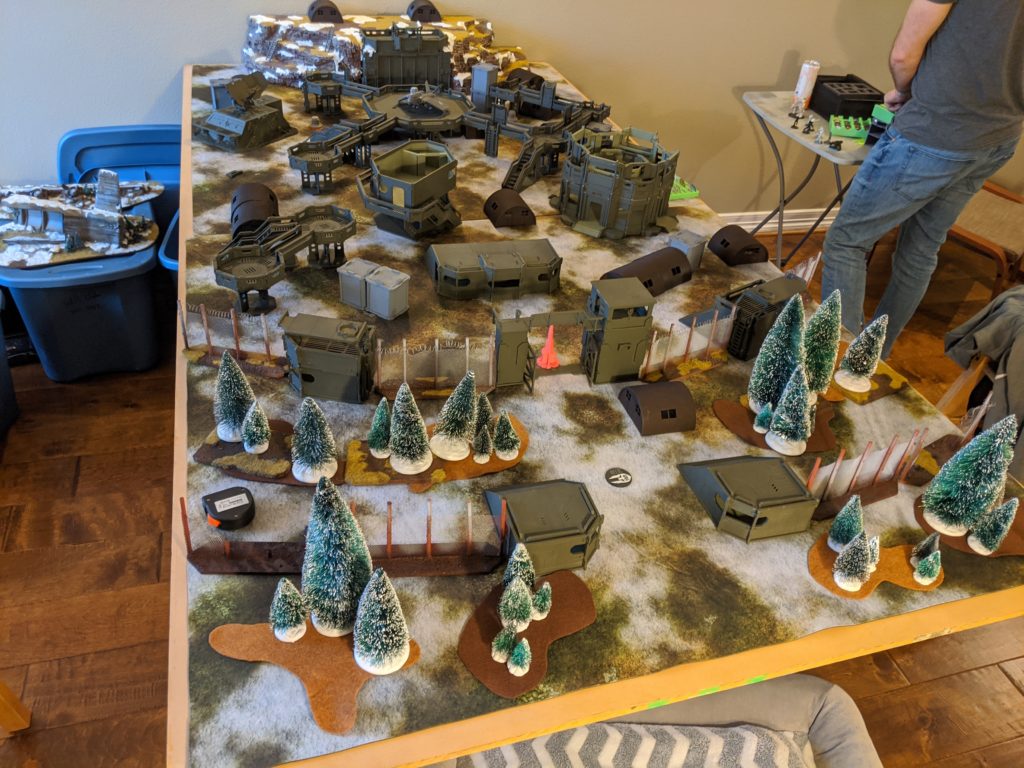
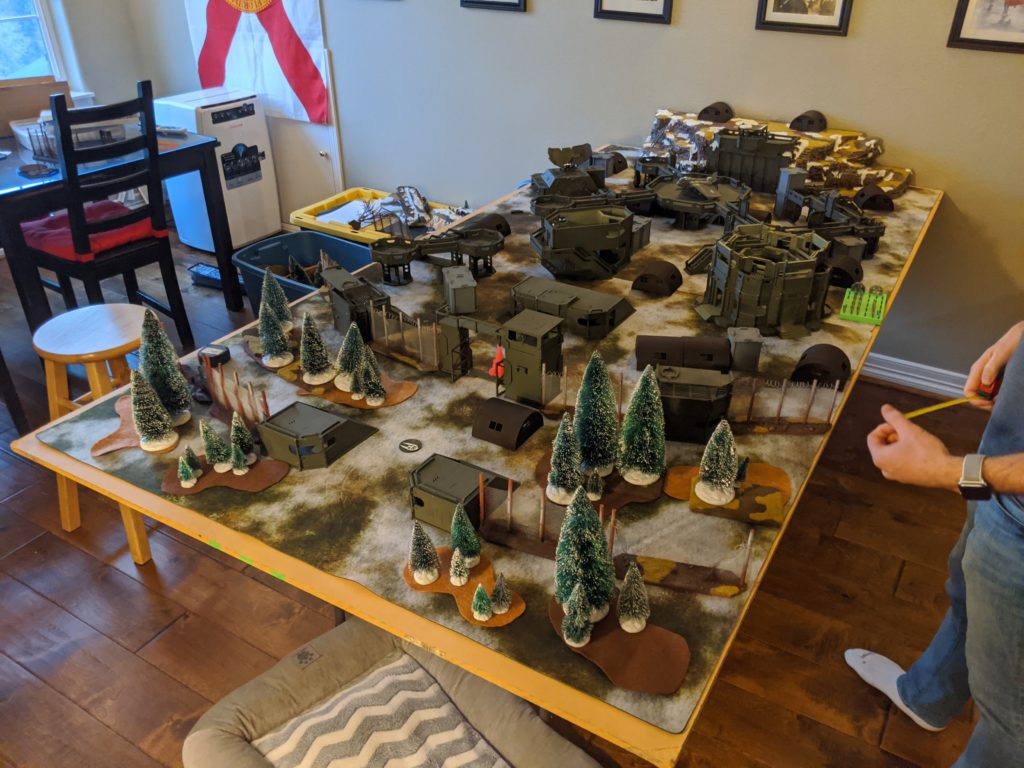
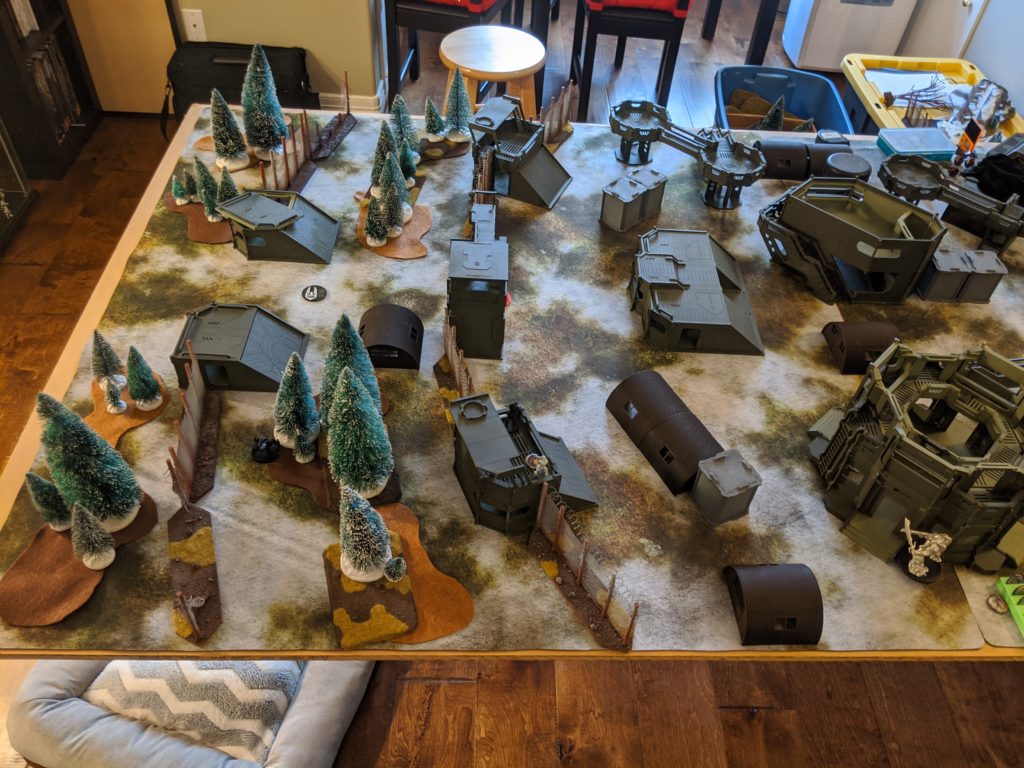
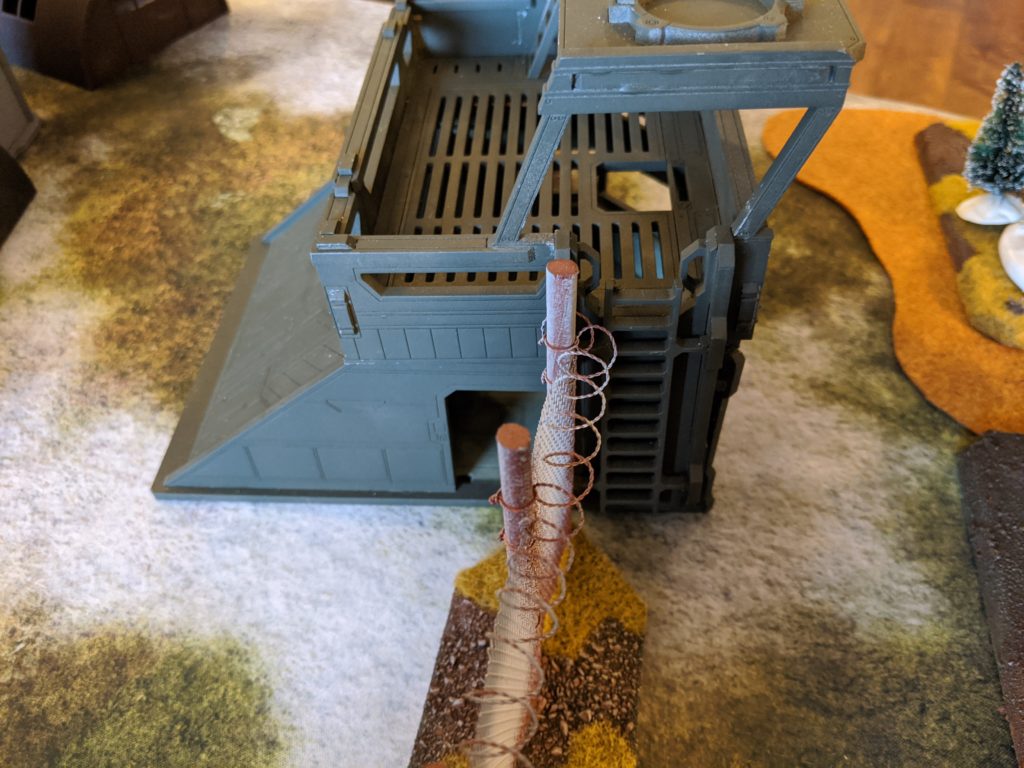
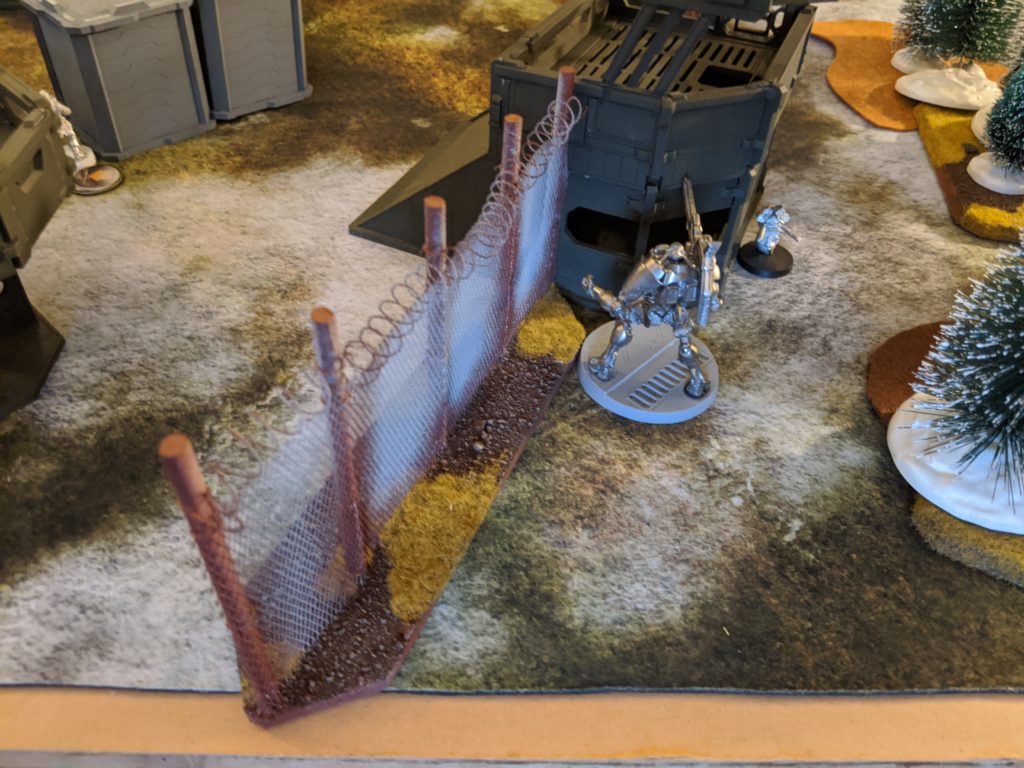
I’ve been meaning to set up more of my Ariadna table at home just to do some more playtesting before Rose City Raid. I haven’t ever really been happy with the access gate table, but now I finally think I’ve cracked the problem. Adam (TheDiceAbide) found some more of the chain link fence we had made before last RCR in his garage and brought it over earlier in the week so I was able to put more fences down.
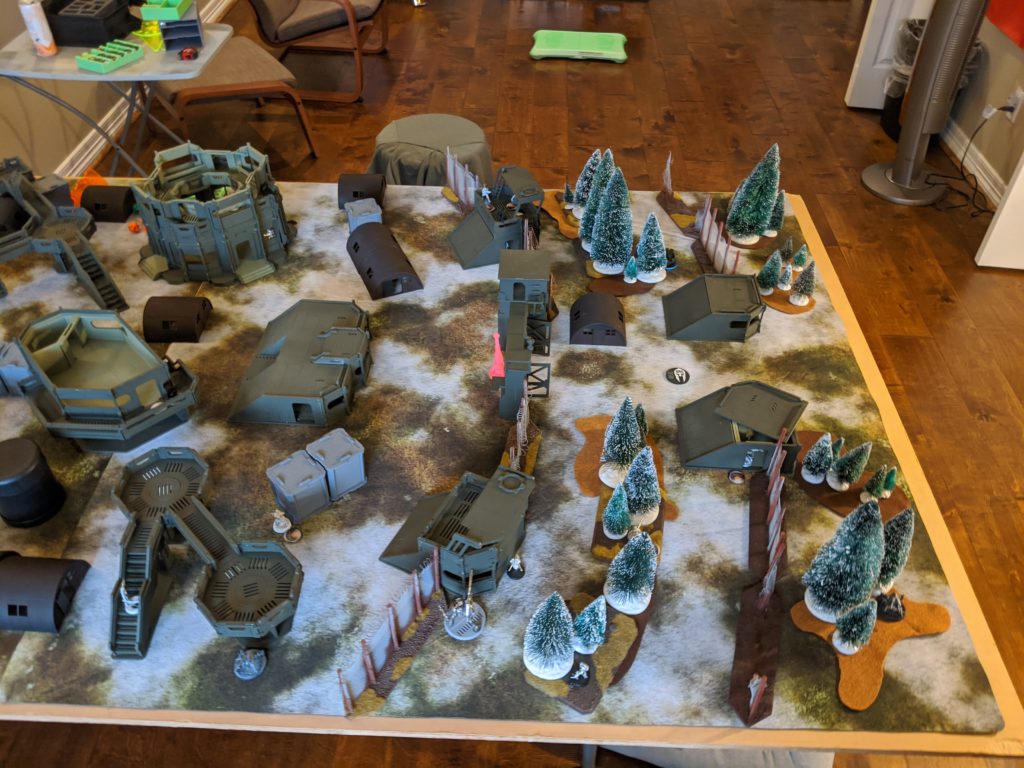
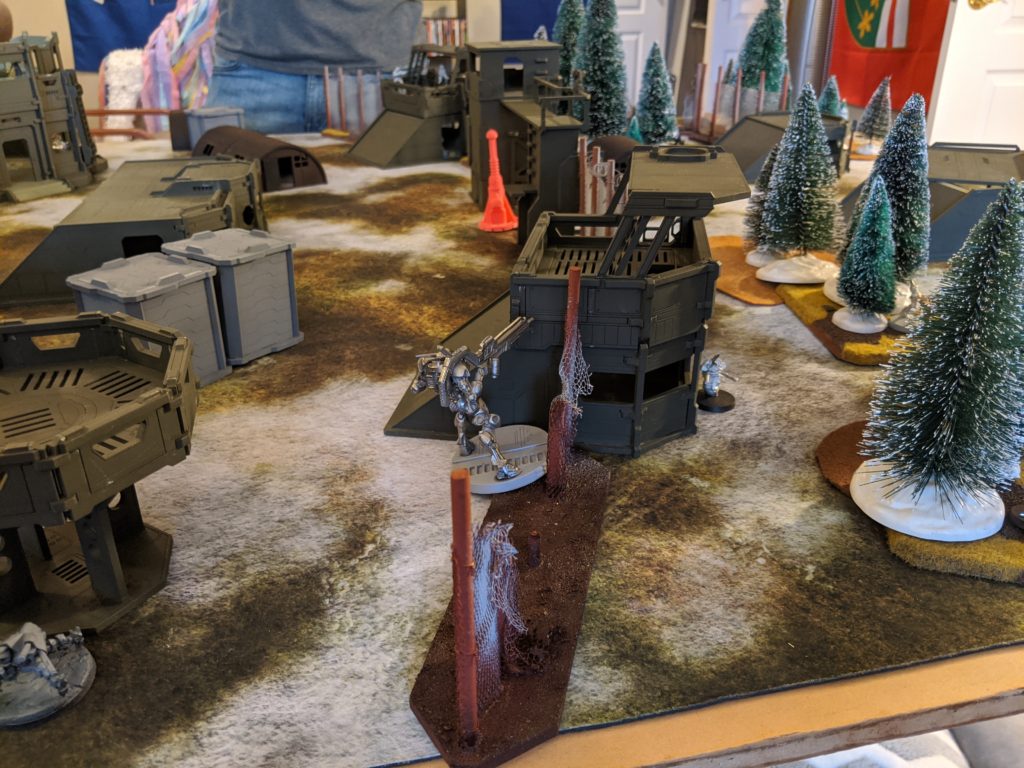
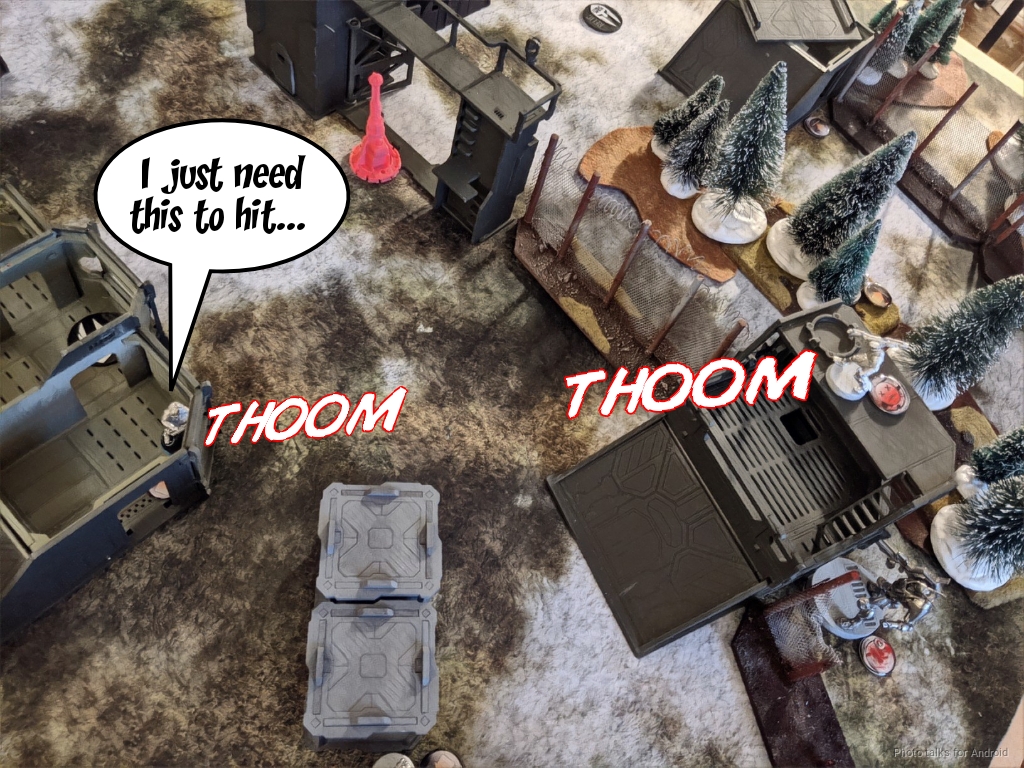
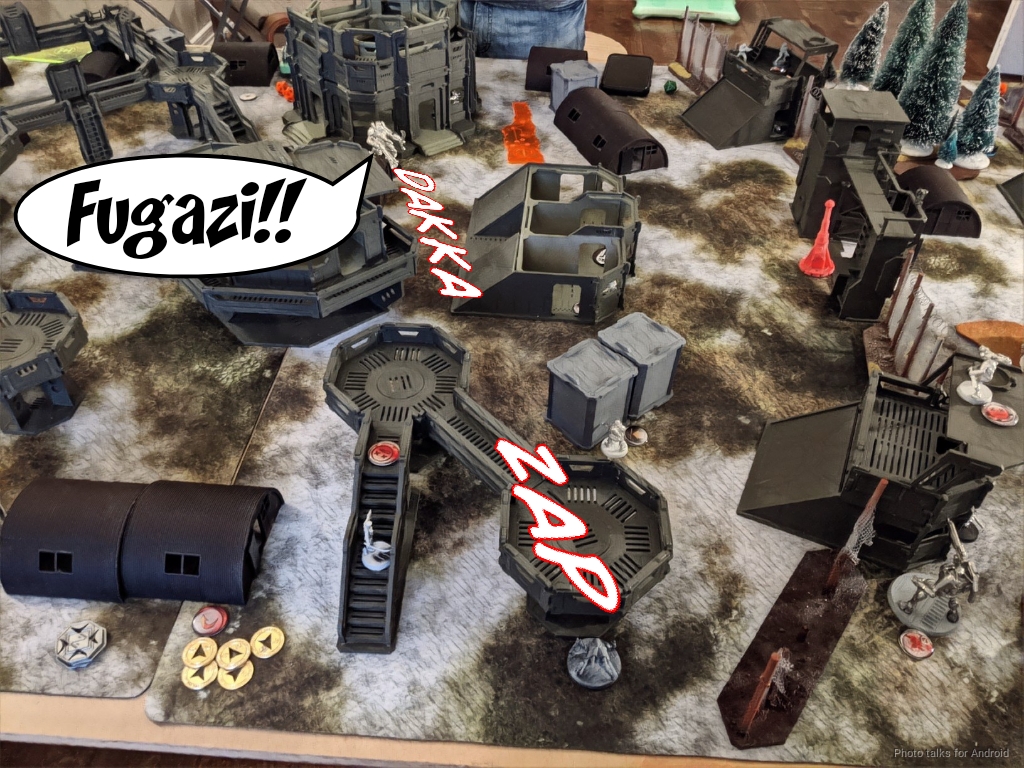
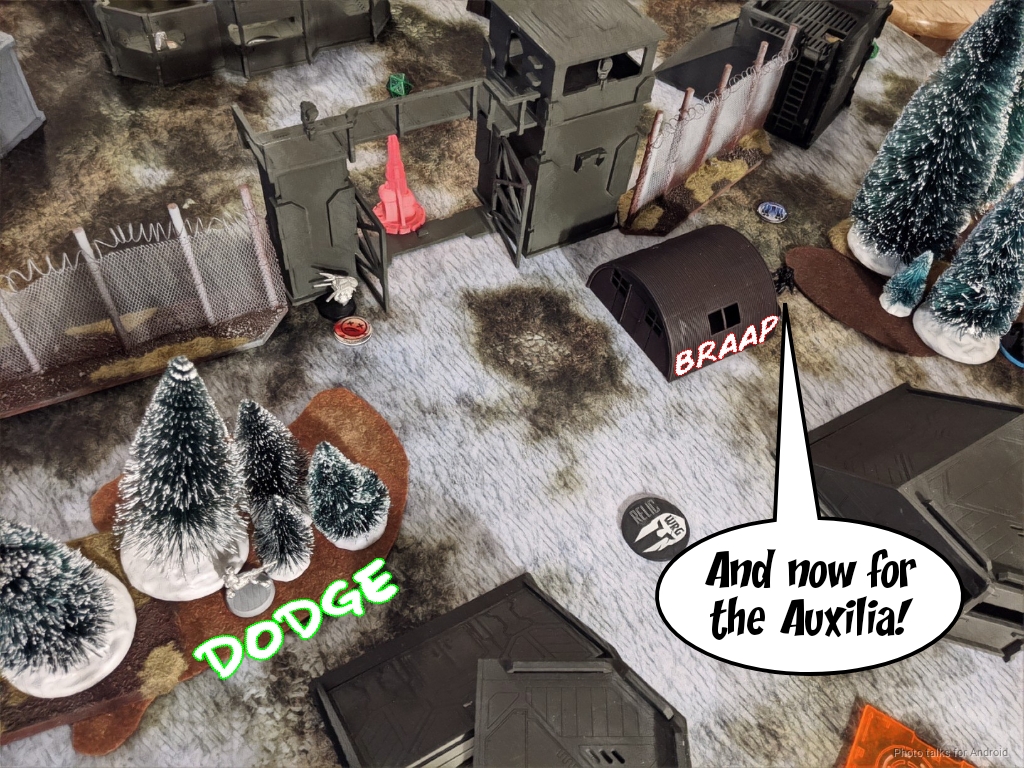
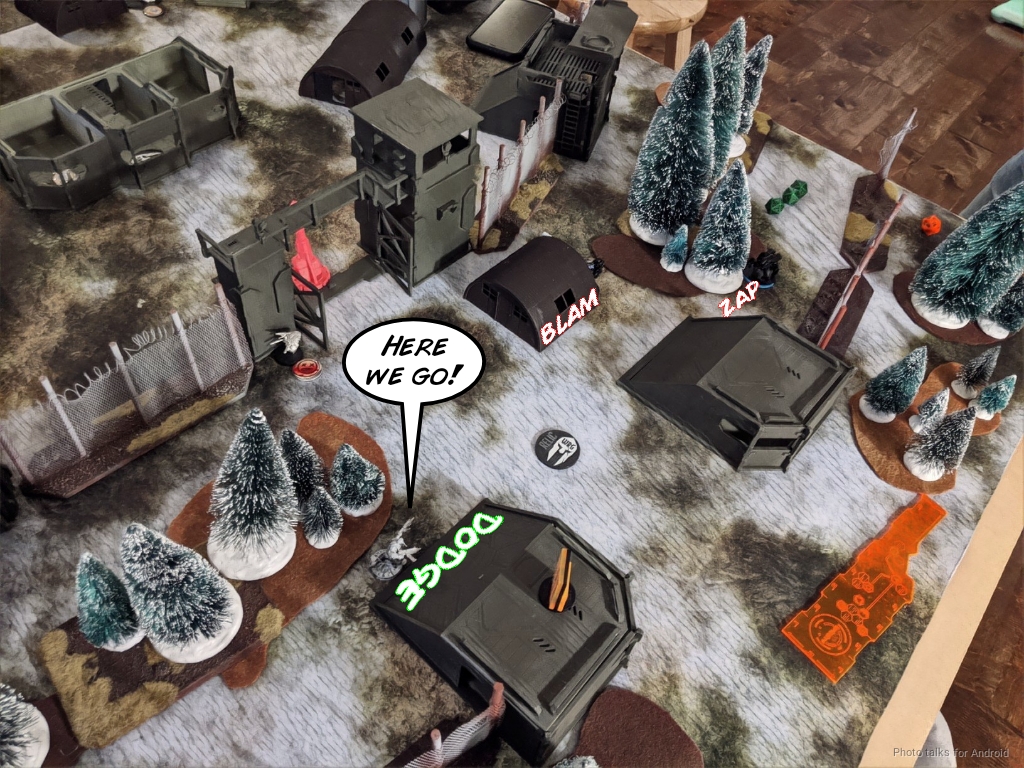
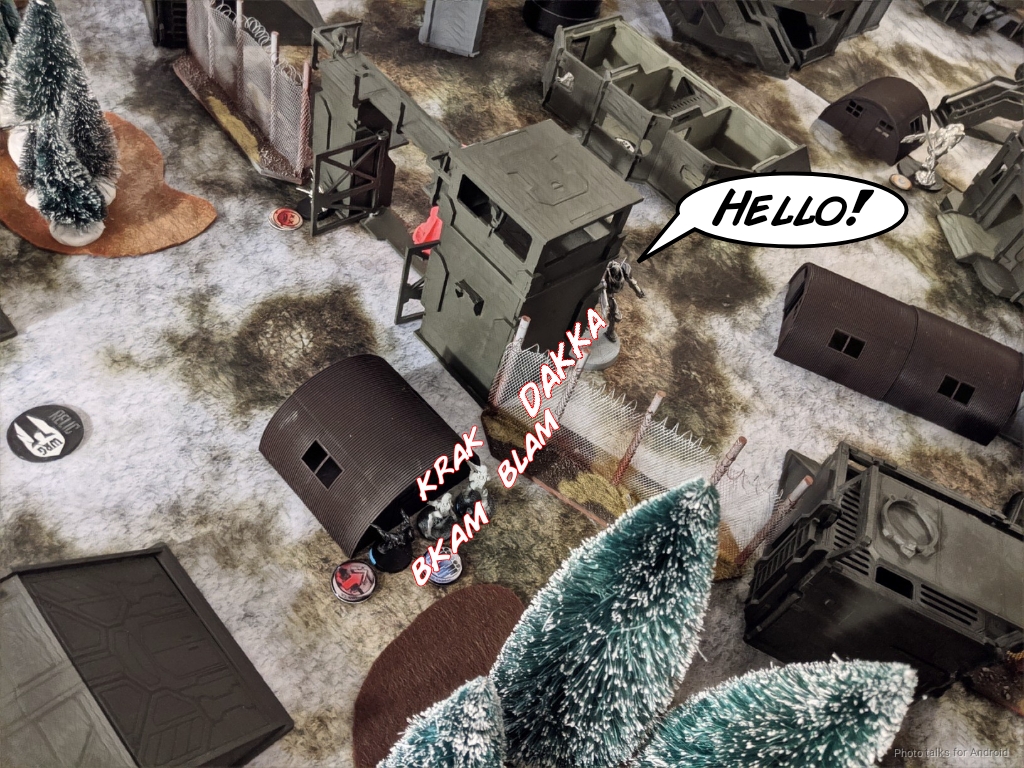
Based on my games on the corridor table, I wanted to create a split-table experience that was similar but fundamentally different. Unlike the corridors, the chain link fence does NOT block line of fire, so the table is quite open and dangerous at certain angles. The fence also breaks the table up into multiple bands, which is interesting.
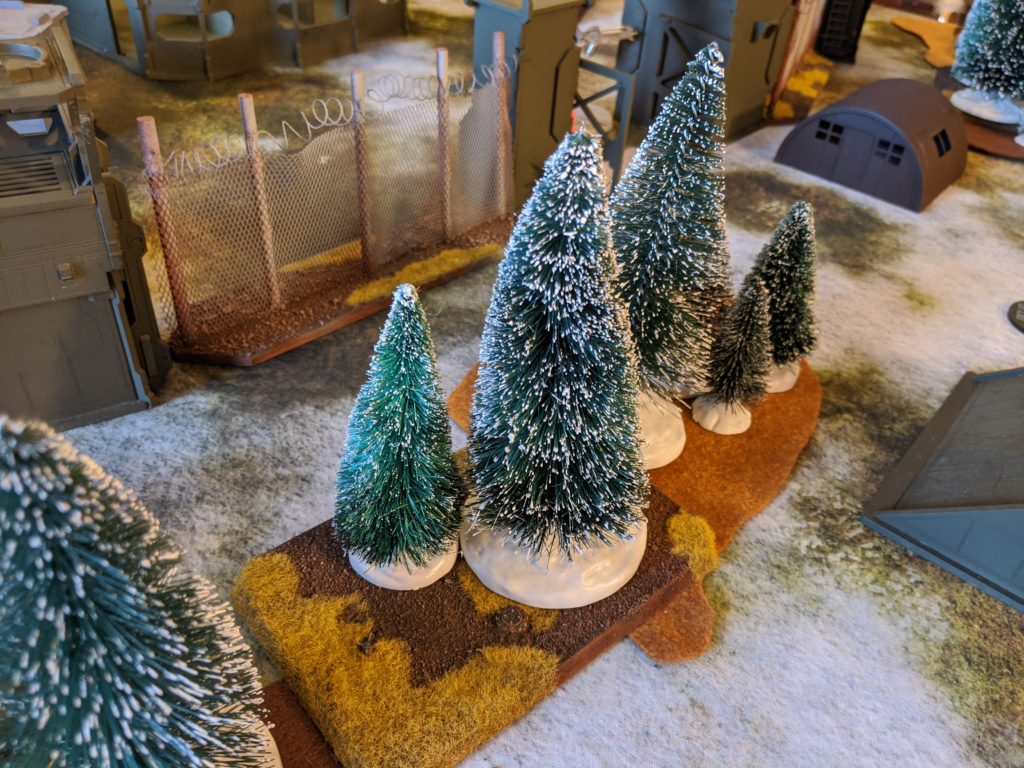
I made sure to leave ways to get between the bands: through the gates or gap between the pillboxes or by climbing a ladder into some of the terrain. To further complicate movement between the bands, I added minefields and forest (jungle) terrain with low-vis and saturation zones. It’s worth pointing out that while the minefields and felt on the table define zones (the minefields are dangerous), the trees are actual terrain elements. They’re defined as cones that extend all the way to the ground and block LoF and movement, grant cover, cannot be moved, etc etc.
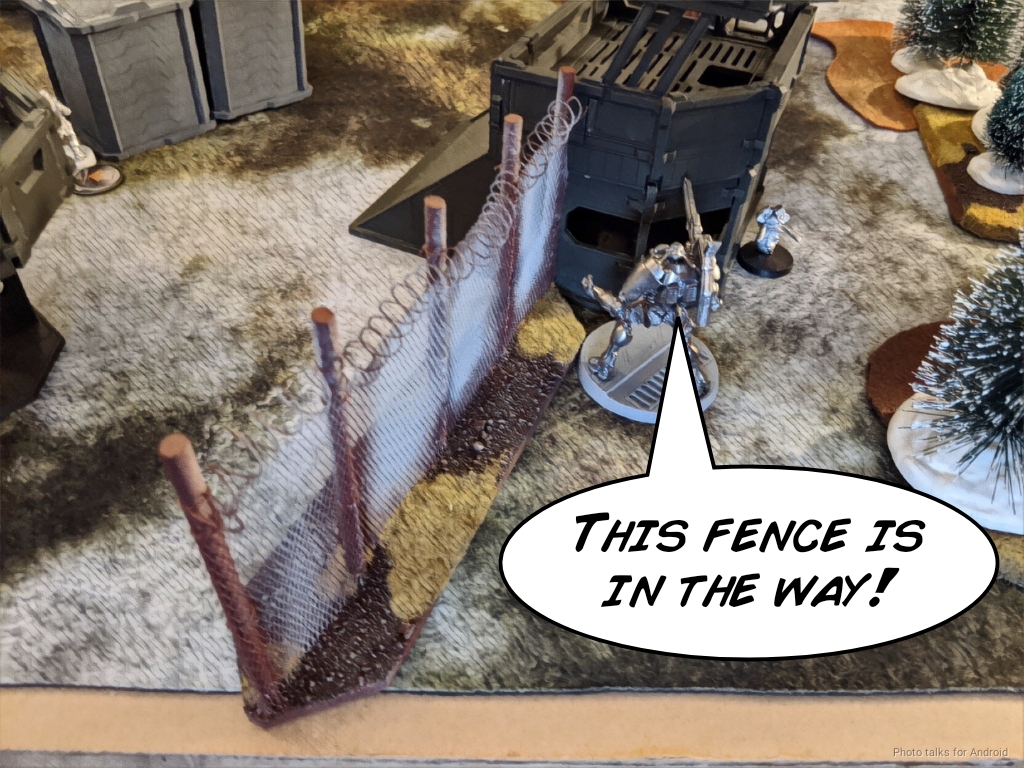
The other thing that we decided was that TAGs or other heavyweight models can with a short skill break the chain link fence to be able to move through it. I had a few extra chain link fence sections with broken fences so we could replace the sections with broken ones as necessary. Since TAGs are so big and the broken fences aren’t broken in the place you might have wanted, we assumed the TAG doesn’t care about the broken fence bits and can treat it as open ground.
Might be a bit fiddly, but we’re doing terrain testing, after all.
Overview
- Mission: Show of Force
- Forces: PanOceania versus Invincible Army (300)
- Deploy First: PanOceania
- First Turn: PanOceania
PanOceania
SQUALO (Armored Cav.) Lieutenant MULTI HMG / AP Heavy Pistol. (2 | 93)

CRABBOT Flash Pulse / Knife. ()
SWISS GUARD Missile Launcher, Light Shotgun / Pistol, AP CCW. (2 | 69)
UMA SØRENSEN (CH: Camouflage) 2 x Submachine Gun, Breaker Combi Rifle / Pistol, Knife. (0 | 37)
AKAL COMMANDO Combi Rifle + E/Mitter / Pistol, E/M CCW. (0 | 24)
FUGAZI DRONBOT Flash Pulse, Sniffer / Electric Pulse. (0 | 8)
FUGAZI DRONBOT Flash Pulse, Sniffer / Electric Pulse. (0 | 8)
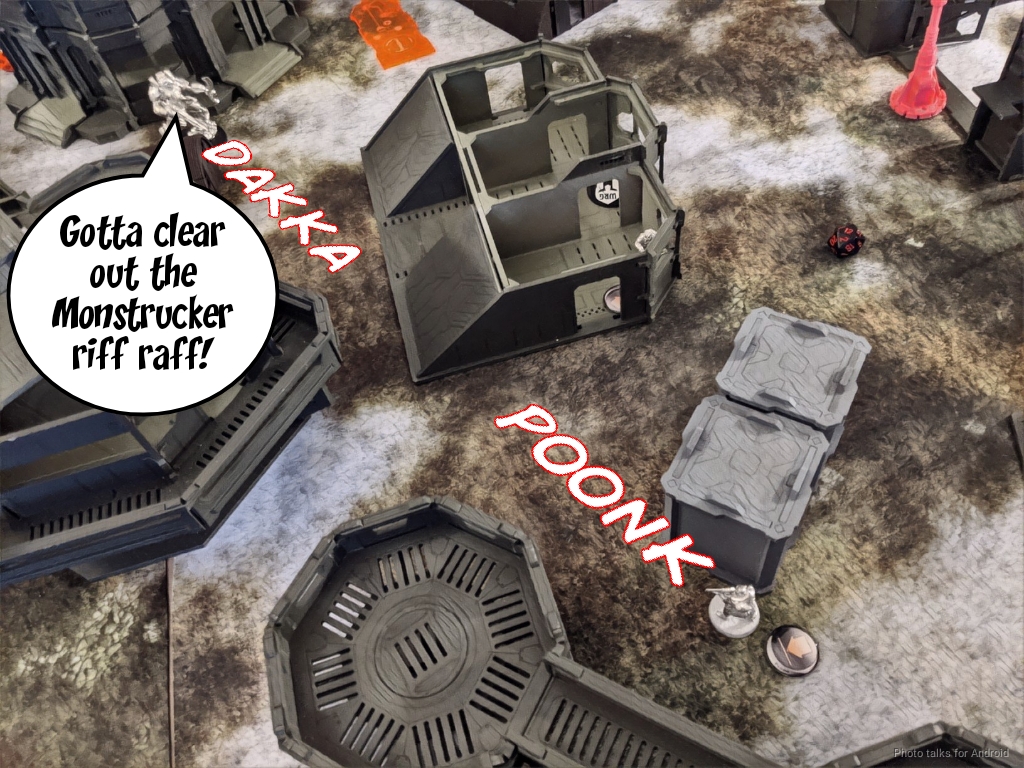
MONSTRUCKER Boarding Shotgun, Adhesive Launcher, E/M Grenade / Pistol, Knife. (0 | 18)
PALBOT Electric Pulse. (0 | 3)
BOUNTY HUNTER Submachine Gun, Akrylat-Kanone / Breaker Pistol, Knife. (0 | 12)
KRAKOT RENEGADE 2 Chain Rifles, Grenades / Pistol, DA CC Weapon. (0 | 14)
AUXILIA Combi Rifle + AUXBOT_1 / Pistol, Knife. (0 | 14)

AUXBOT_1 Heavy Flamethrower / Electric Pulse. (- | 4)
9
1
1 | 4 SWC | 300 Points | Open in Infinity Army
Well, what to say about this list. It has a TAG in it, because unlike my last game of Show of Force, I knew that I would be playing this mission! I took a Squalo because it was the only option that fit the criteria of: I own an assembled one and it can be a Lieutenant. I took Uma as well, because I wanted something hipster in my list and I think she’s actually quite a good TAG hunter.
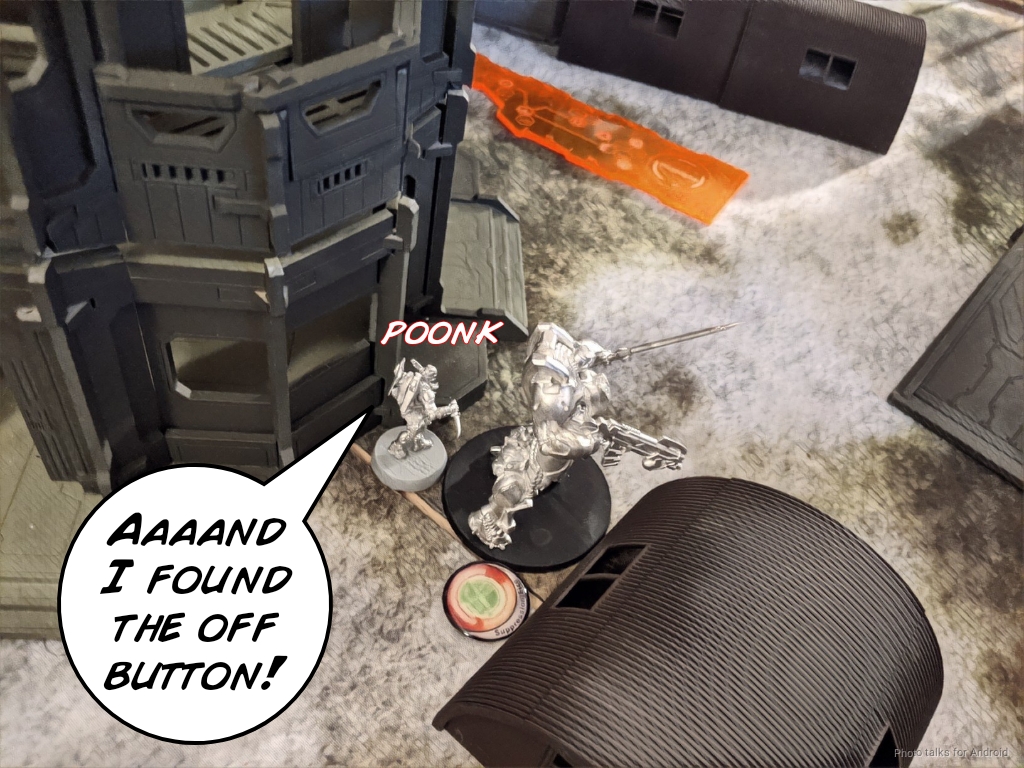
As an additional TAG hunter I took the Akali with E/Mitter, because it’s awesome. I had some random slots to fill, so I took a Krakot (usually a good plan) and a Auxilia for fun. Bounty Hunter is a great 12 point order, and I figured if I’m taking a TAG, an engineer of some sort + Palbot is a requirement, so why not make my engineer a backup TAG hunter? The shotgun+E/M Grenade+ADHL Monstrucker is pretty awesome for this!
Invincible Army
ZHANSHI Lieutenant Combi Rifle / Pistol, Knife. (0 | 11)
ZHANSHI Combi Rifle + Light Grenade Launcher / Pistol, Knife. (1 | 15)
ZHANSHI HMG / Pistol, Knife. (1 | 19)
HǍIDÀO (Multispectral Visor L2) MULTI Sniper / Breaker Pistol, Knife. (1.5 | 37)
LÉI GŌNG Shock Marksman Rifle, Nanopulser, Blitzen / Breaker Pistol, Knife. (0 | 34)
ZHANSHI Combi Rifle / Pistol, Knife. (0 | 11)
GŪIJIĂ MULTI HMG, Heavy Flamethrower / DA CCW. (2 | 88)

GŪIJIĂ PILOT Light Flamethrower / Pistol, Knife. ()
KOKRAM FTO (Fireteam: Duo) Combi Rifle + E/Mitter, Chain-colt, E/Mauler / 2 Heavy Pistols, Knife. (0 | 39)
ZHĒNCHÁ (Forward Observer) Submachine Gun, D.E.P., Antipersonnel Mines / Pistol, Knife. (0 | 34)
CHAĪYÌ Yaókòng Flash Pulse, Sniffer / Electric Pulse. (0 | 8)
10 | 5.5 SWC | 296 Points | Open in Infinity Army
Dan went a different way with his list and took a bunch of links. Zhanshi link to power everything and provide backup fire support to the TAG, Krit to backup the Guijia itself, and a Zhencha to help out.
Deployment
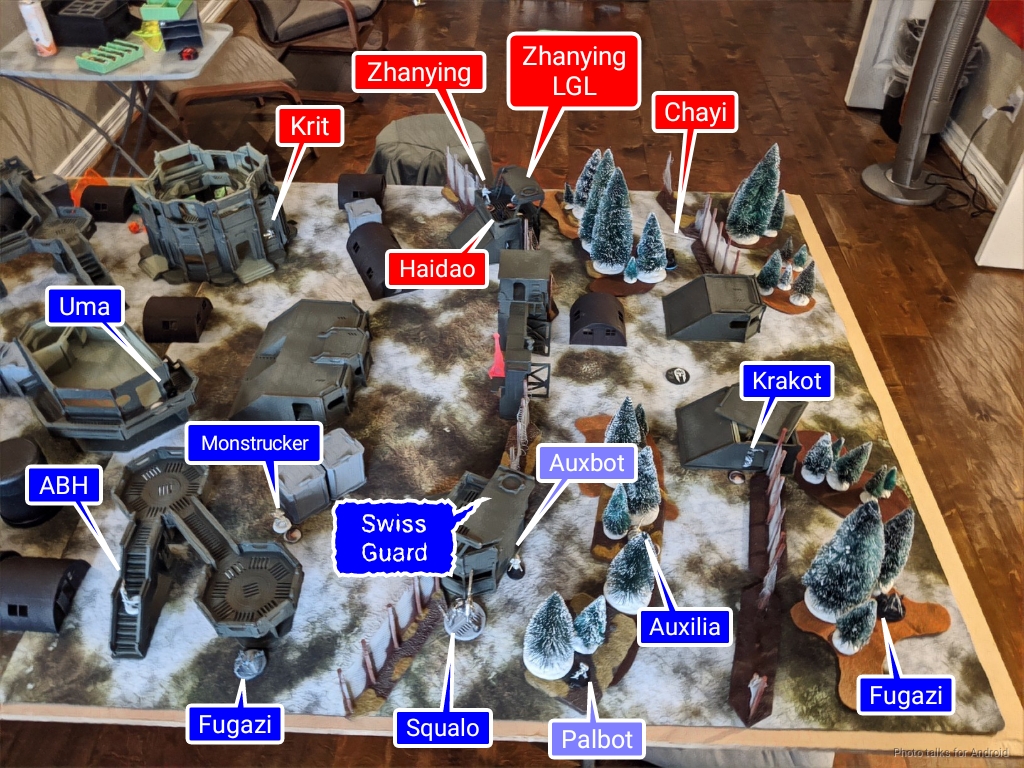
I won the rolloff and decided to try and alpha strike. Probably a mistake, given my experience with Acquisition, but hey, that’s why we practice, right? The table is quite open, by design, on the left, and has much more cover on the right, which forced me into a few considerations for deployment:
- I need a clear path for the Squalo to the center, and a hiding spot for it to not get shot up in my reactive turn.
- Uma and the Krakot want to be as far up as possible.
- Swiss Guard needs a good shot on the Guijia, so I hold it in reserve.
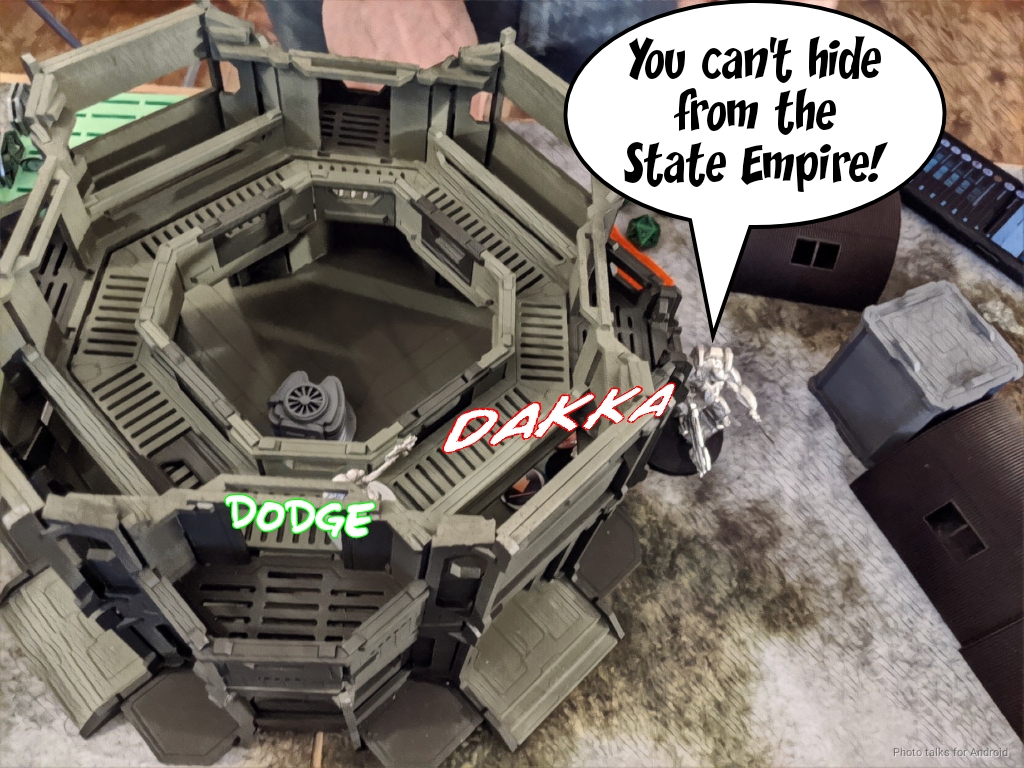
I find a suitable spot in the center behind some Warsen.al terrain for the Squalo and commit. That means there’s a Palbot nearby, with the Monstrucker hanging out on the left to back up Uma, who is posted up on a catwalk just inside 16″. The Krakot is hiding on the right.
I decide I want to cover the central objective with some AROs, so I put a Fugazi and ABH with Akrylat-Kanone watching the central objective and small slivers of the middle of the board, in a attempt to not expose them too much. The other Fugazi covers the right side of the board against AD. I know Dan likes to bring AD, so I have to be careful.
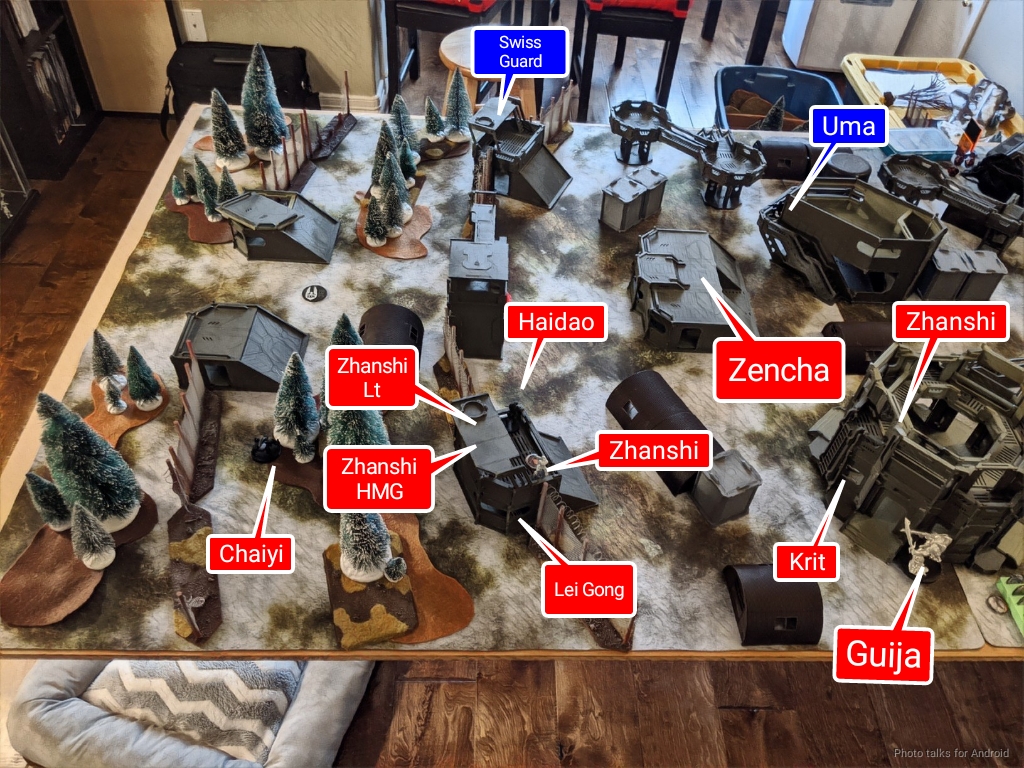
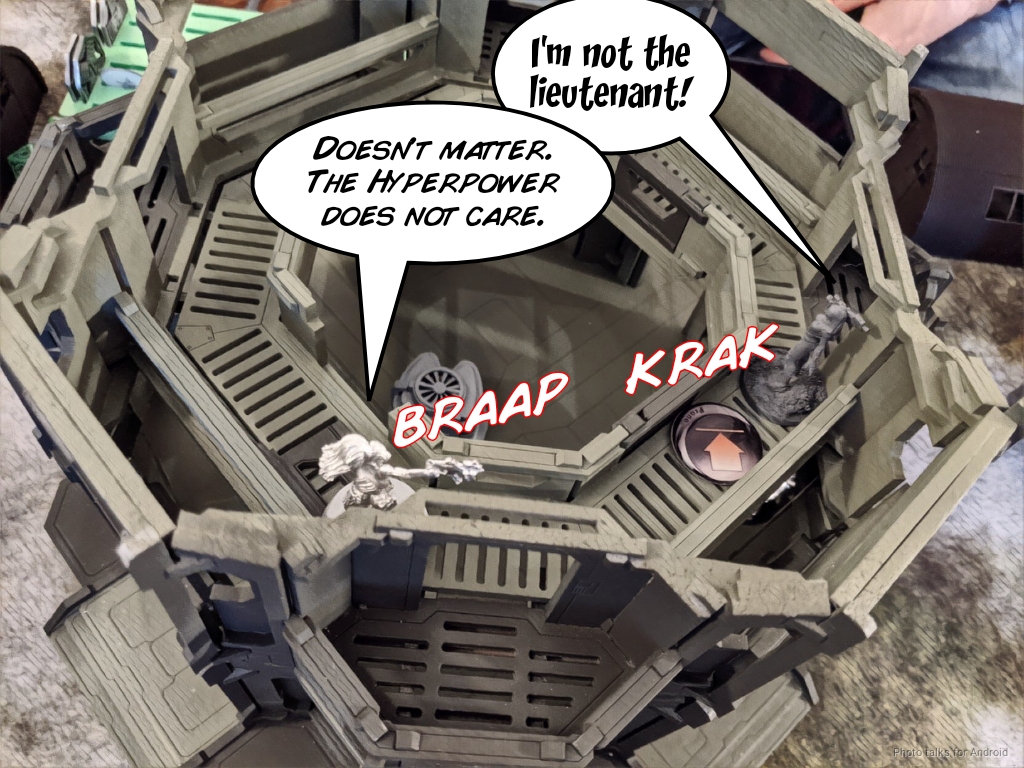
Dan stacks up his 5-man link into the Comanche pillbox with the Haidao out to ARO, then tucks the Krit + Guijia duo far on the right side with Krit screening the Guijia from inside a building. Dan then puts a super obvious Lieutenant decoy on the second floor of the building. Even if it’s not his real lieutenant, I mentally commit to sending Uma after it. It’s still an order to get rid of, it puts Uma in a pretty reasonable position, and puts pressure on the Guijia. Sounds good.
He puts a flash pulse bot on his left to sort of fight it out in the forest, and then it’s back to me to deploy my reserve. I had already asked him to turn around once, just to fake him out a little, so I ask him to turn around again and put the Swiss on the roof of the Comanche pillbox.
I choose this spot super carefully–I can see the Guijia from this spot without moving, and none of the members of Dan’s core link save the Haidao and Zhanshis on the roof can see the Swiss unless they move out into the open.
This is relevant because his two big guns in the link (the HMG and Lei Gong) are the ones that will have to move out. I’m not considering the Haidao because it’s my plan to kill it first turn. Dan turns back around and then plops his Zencha in the center of the board, protected inside a building on my left. For what it’s worth my Krakot rolled 6-4 Super Jump and my ABH got a Mono CCW.
Turn 1
Top of 1 – PanO
My goal for turn 1 is to kill the Haidao, Krit, and the obvious Lieutenant, in that order. If I can, I’ll try to put some wounds on the Guijia. I don’t use the Krakot’s order because the Haidao can see, and that would be silly.
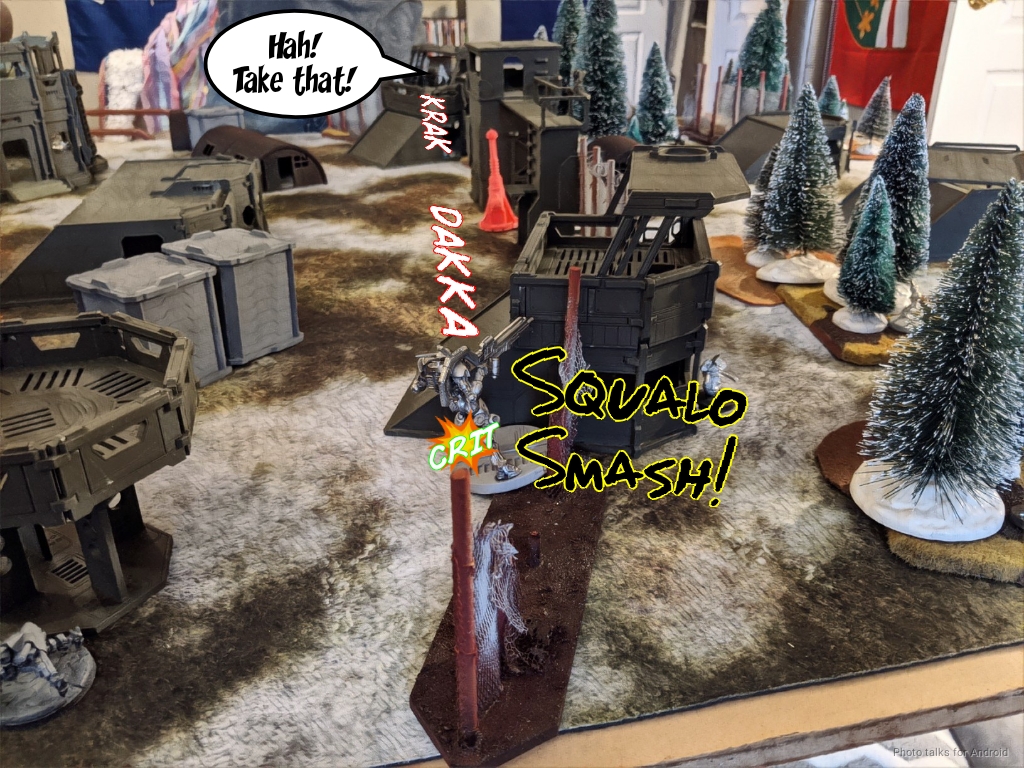
The Squalo smashes through the fence with a short skill and engages the Haidao. We have a brief discussion about what ammo to choose, either DA or AP. The odds for DA are as follows:
| 45.71 | 35.07 | 19.22 |
AP is roughly equivalent to within 1%, for the first wound.
| 45.71 | 33.91 | 20.38 |
The key difference is in the chance to do a second wound. AP offers a 1.82% chance whereas DA offers 4.82%. I did a much longer discussion on this here…
but here’s the relevant chart from that battle report if you don’t want to click through:
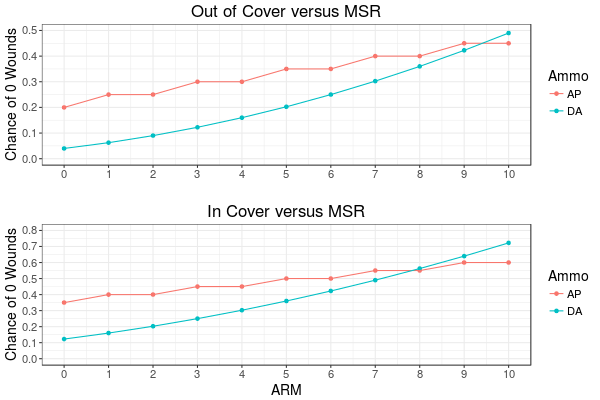
The chart above shows the chance of zero wounds when something is hit by a single MULTI Sniper shot. Lower is better for the model with the sniper rifle. Math is fun! If you want a takeaway that works across the widest range of scenarios here it is:
Use DA up until models with ARM 8 on their profile. Beyond ARM 8, use AP.
It works well enough for in or out of cover that spending any more time thinking about it isn’t worth it.Speaking of spending too much time worrying about the math, none of it matters because the Squalo immediately takes a wound from a crit. Boo.
I spend my first real order of the game (the first two were Lieutenant + Tac Aware) and blast the Haidao off the table. Alright. There we go. Time to check the second box, Krit.
It takes entirely too many orders to get this done–I think it took at least 3.
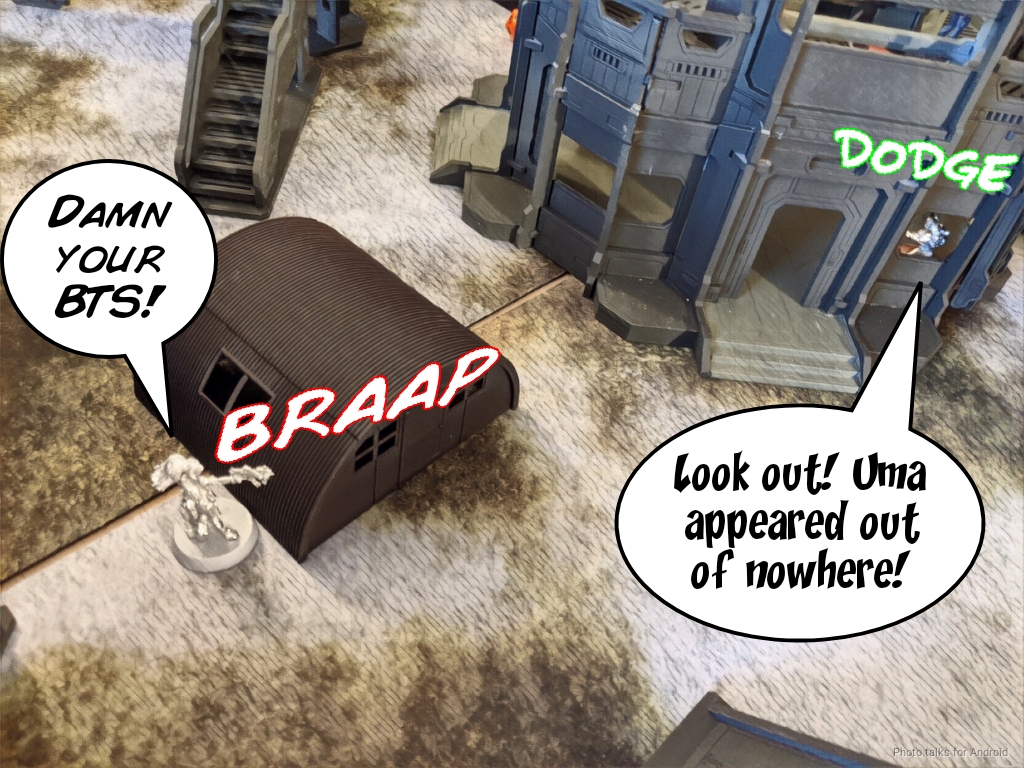
Dan just kept making BTS saves against Uma’s breaker rifle until I sneak a second wound through as I start my way forward so I can climb up the building and go after the Zhanshi.
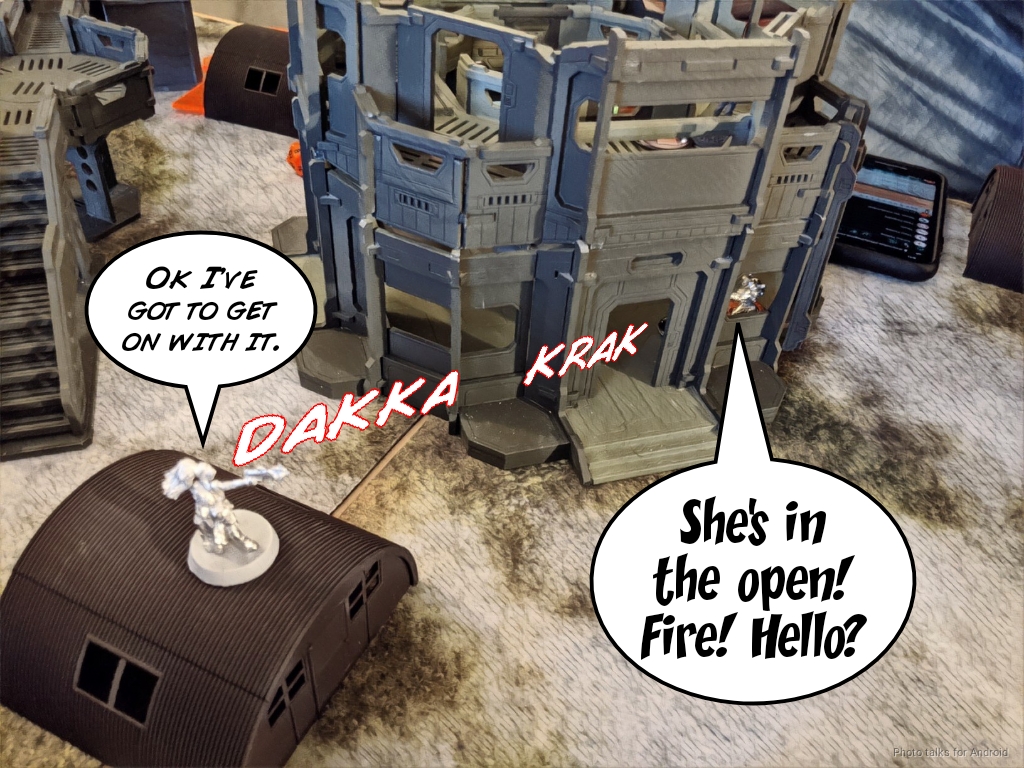
Burst four SMG on BS 13 base is more than enough to take out the Zhanshi, so I’ve ticked all my boxes. Unfortunately, this is my last order and I didn’t have enough orders to get Uma prone or to harrass the Guijia. Ah well.
Bottom of 1 – IA
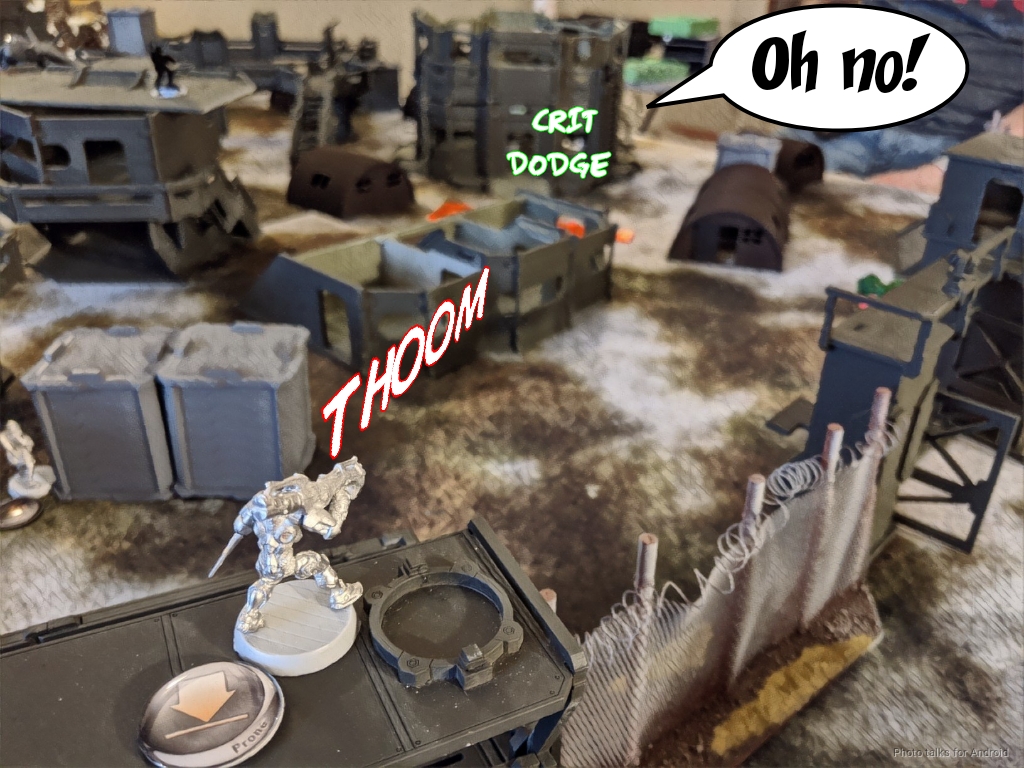
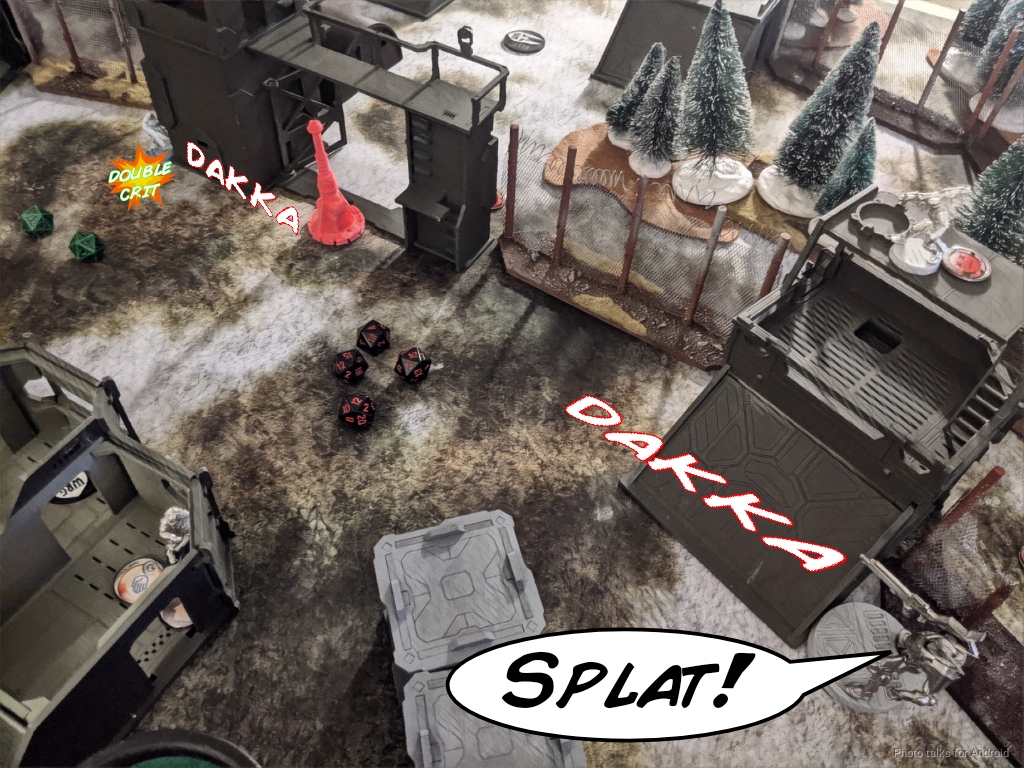
Dan activates the Guijia and moves it to a point on the outside of the building where he can see Uma through a door. I reveal the Swiss and fire a missile at him, so he decides to dodge the TAG, given that he’d be at -12 shooting. The TAG crit-dodges the missile and Uma is too busy playing on her comlog to notice anything and fails her dodge. UGH.
Dan needs to get rid of the Swiss, so he sends in the Zencha. The first order is within view of both the Swiss and the ABH. I decide to delay with both, which I think was a mistake. Here’s why.
- I know it’s a Zencha, because Dan is playing IA and it started farther up the table than a Daoying could be.
- I know that it either has a BSG, or SMG+DEP.
- I’m also reasonably confident that we’re outside of 16″ this whole time.
In the moment, I relied on my ingrained habit of just delaying. This is often the correct choice and lowers decision fatigue in games. My objective here is not to kill the Zencha, but rather to preserve the Swiss. I’m willing to do that at the cost of the ABH. So, what I should have done was to:
- Dodge backwards on the roof with the Swiss, taking him out of LoF of Dan’s Zencha.
- Delay with the ABH.
If Dan shoots at either of them, both still get face to face rolls, and I’m forcing Dan to engage both of them in bad rangebands. Instead, I let Dan get to just within 16″, out of LoF of the ABH, and within cover, which makes it pretty much even odds against the Swiss at that range. When you’re looking for the same number on one die and both of you are packing an explosive payload, it’s pretty even odds.
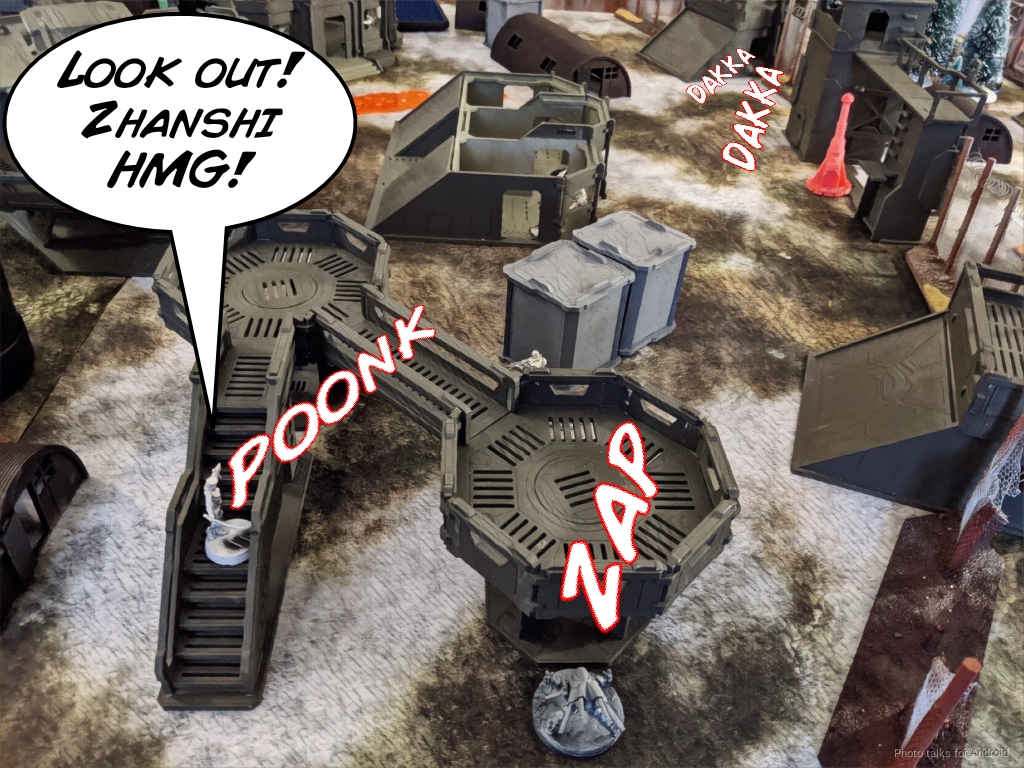
I lose the face to face and fail two ARM saves, which is the worst case outcome for me with no doctor on the table. With the Swiss out of the picture, Dan is content to attack my order pool with his degraded core link. He HMGs down the ABH and forces the Fugazi to fail guts out of LoF.
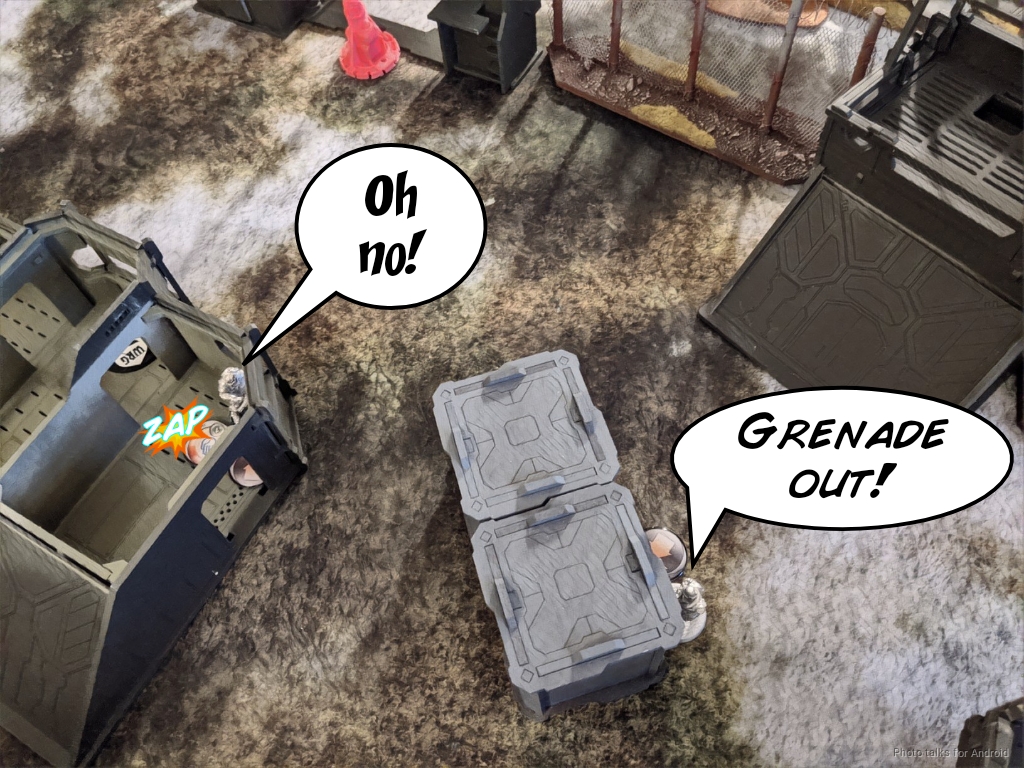
Dan knows he has to kill Uma, so he shifts the Guijia into view and guns her down against a failed dodge. Sigh.
The Guijia keeps pushing forward and starts shooting at my Monstrucker. Sadly, even though I hit it with an ADHL, it passes its PH-6 save. A second round of shooting seems me miraculously survive and fail guts aorund the corner.
The Fugazi gets shot at too on Dan’s final order, but I shuffle it away after it passes ARM as well.
Dan throws the Guijia and the Zencha into suppression with a coordinated order and passes turn.
Turn 2
Top of 2 – PanO
Well, I need to deal with the Guijia and the Zencha, then figure out a way to mess with Dan’s link. I’m pretty confident I can get the Squalo to the objective on turn 3, so I don’t worry about it just yet.
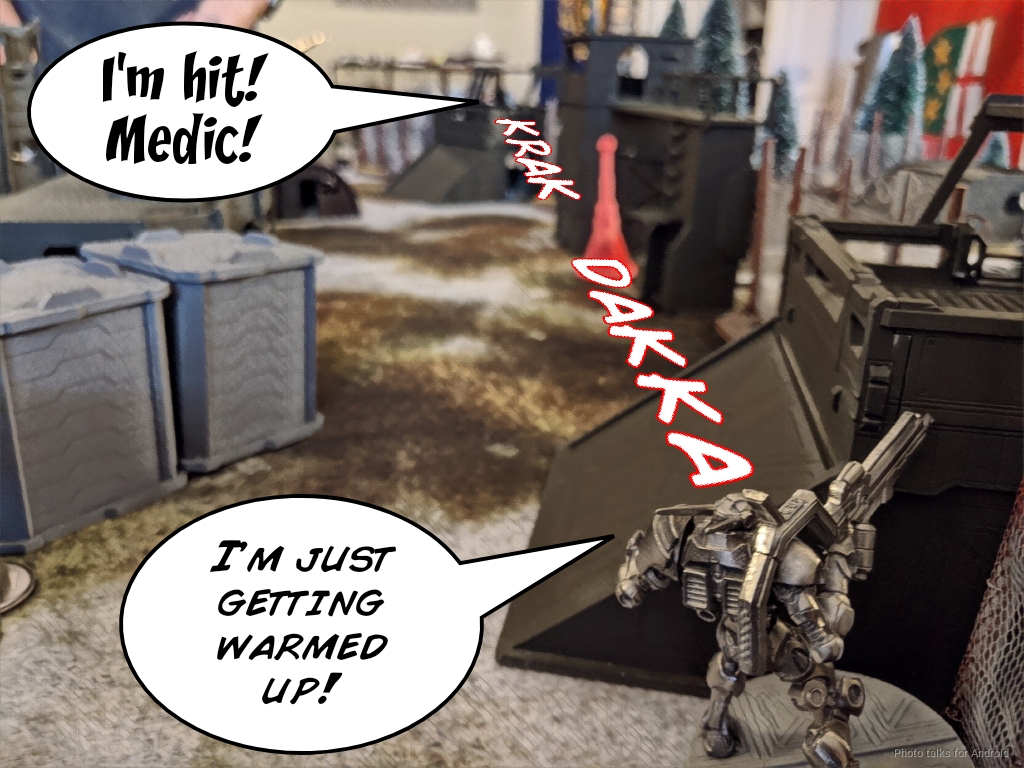
I bring on the Akali right behind the Guijia and shoot it in the back with my E/Mitter against two failed dodge-change-faces. It fails one of the BTS rolls and now get to enjoy my new Yu Jing statue. It’s so lifelike!
I do a similar thing with my Monstrucker by spec-firing an E/M Grenade at the Zencha. I’m within 8″ so it only takes two orders to get the dice rolls I need.
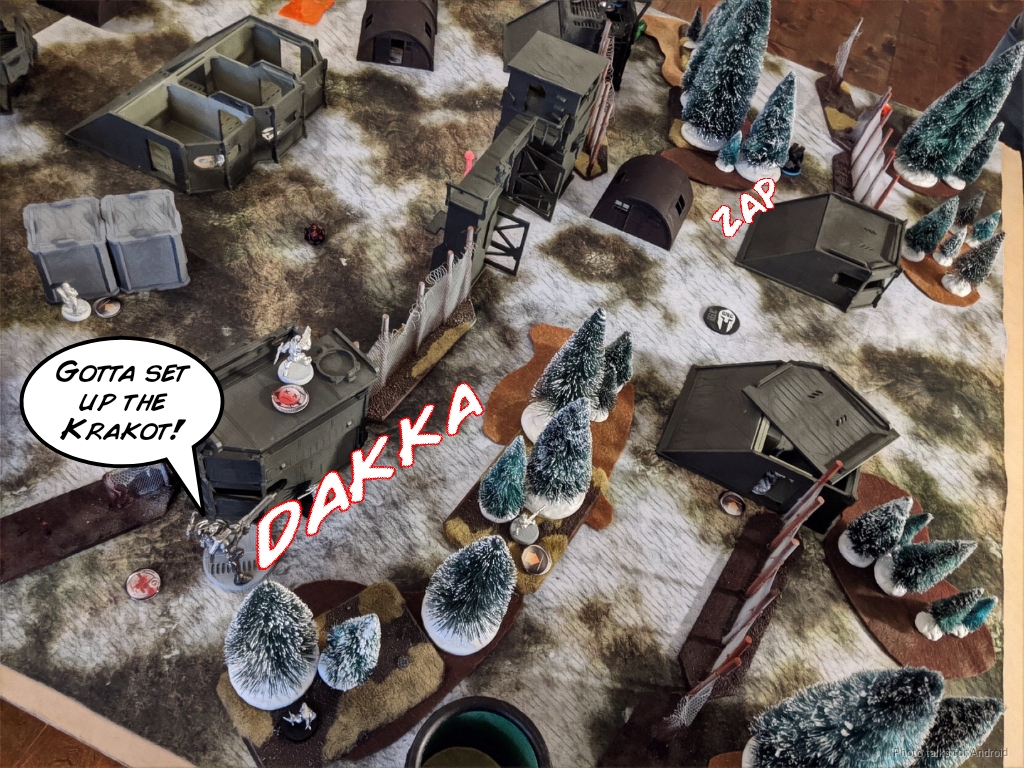
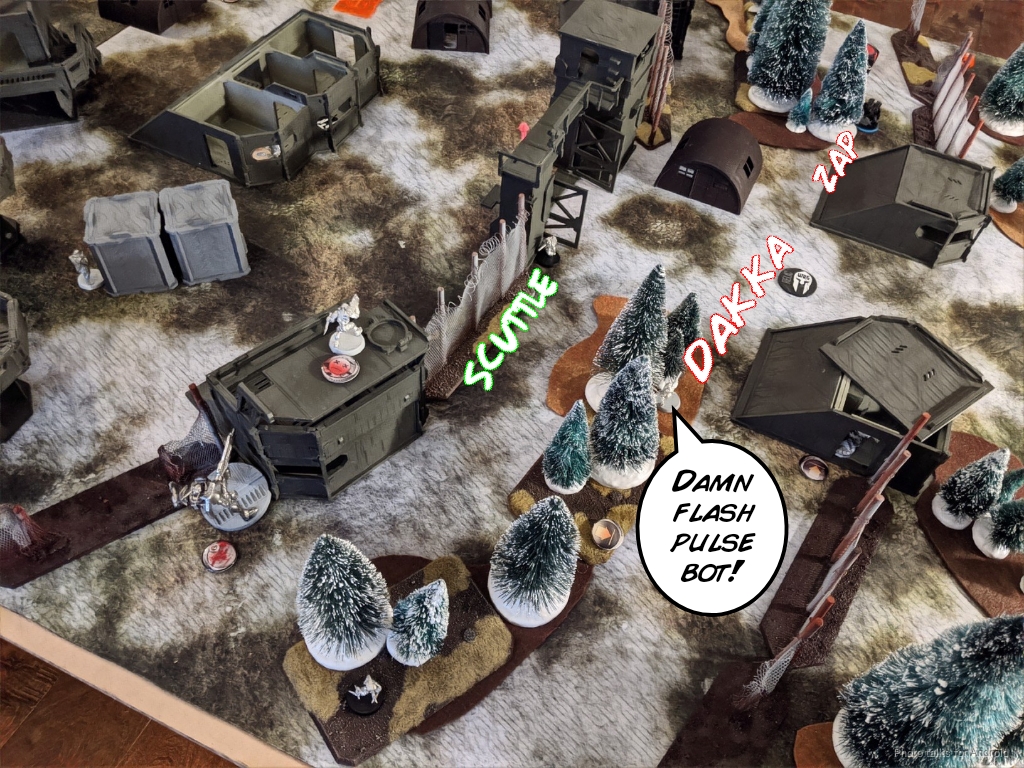
Now that I’ve removed the two most immediate threats, I decide to set the Krakot up for a run on the link by removing the flash pulse bot on my right. My Squalo stomps around the corner… and is immediately blinded. GAH.
At this point, I’m a little flustered so I default to just trying something and try to take the flash pulse bot out with my Auxilia, mostly so I can shove the Auxbot up… which is a mistake.
Ideally I would have hidden the Akali, if for nothing else than to preserve my order, and been much more conservative with the way I moved the Auxilia. I had also missed that the Zhanshi HMG could see some of my path forward, so that threw a wrench in my plans. I end the turn with two threats handled but an overextended right and left flank.
Bottom of 2 – IA
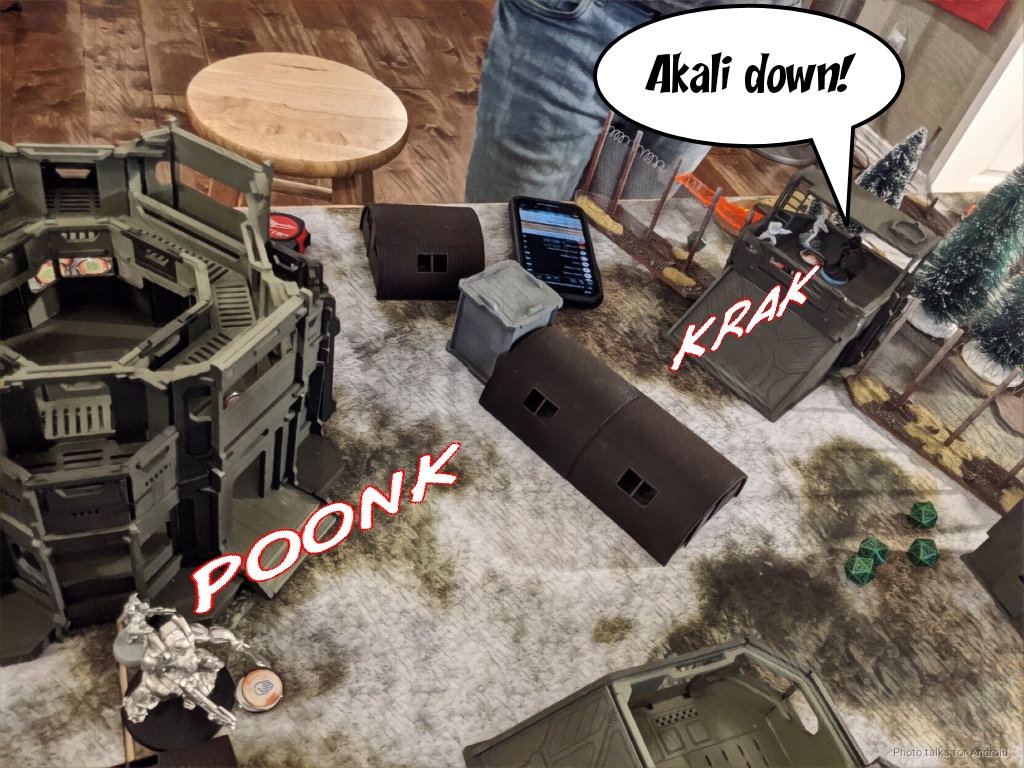
Dan wastes no time in dismantling both of them. Lei Gong pops up and takes out my Akali. I fire an E/Mitter back at him, just in case I get lucky, but I do not.
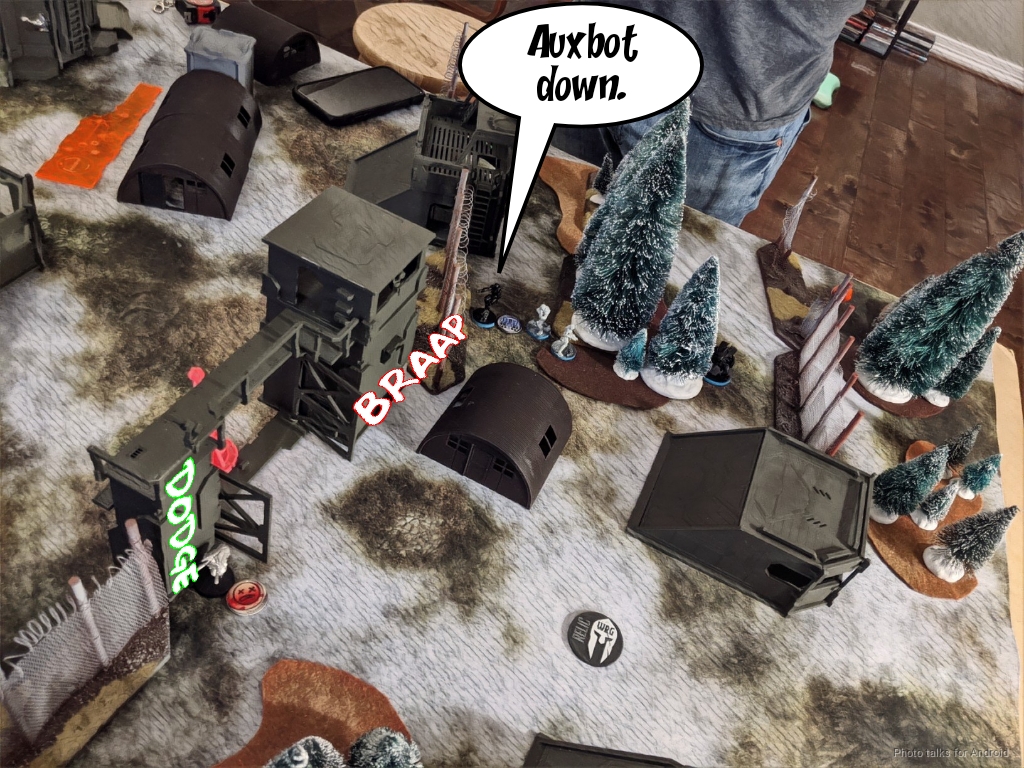
Dan then kills the Auxbot–we weren’t sure if the gate doors should be played as solid or not–neither of us had discussed it so we just rolled for it and came up with not solid.
He decides to get rid of my Auxilia too, just to remove the order.
Turn 3
Top of 3 – PanO
Well, I’m in really bad shape now. I have a few paths forward:
- Minor Victory – Kill the link, touch the objective. Dan’s killed more stuff, probably, so I’m sitting on a 7-3 win.
- Draw – Kill the TAG and the Zencha, leave the link. This means I probably have more points killed but Dan can touch the objective. 3-3 Draw.
- Lose – Anything else.
I opt for option 1, for obvious reasons. I figure I might get lucky with the Krakot and Move-Dodge forward. This works, and I dodge Lei Gong’s fire and a flash pulse.
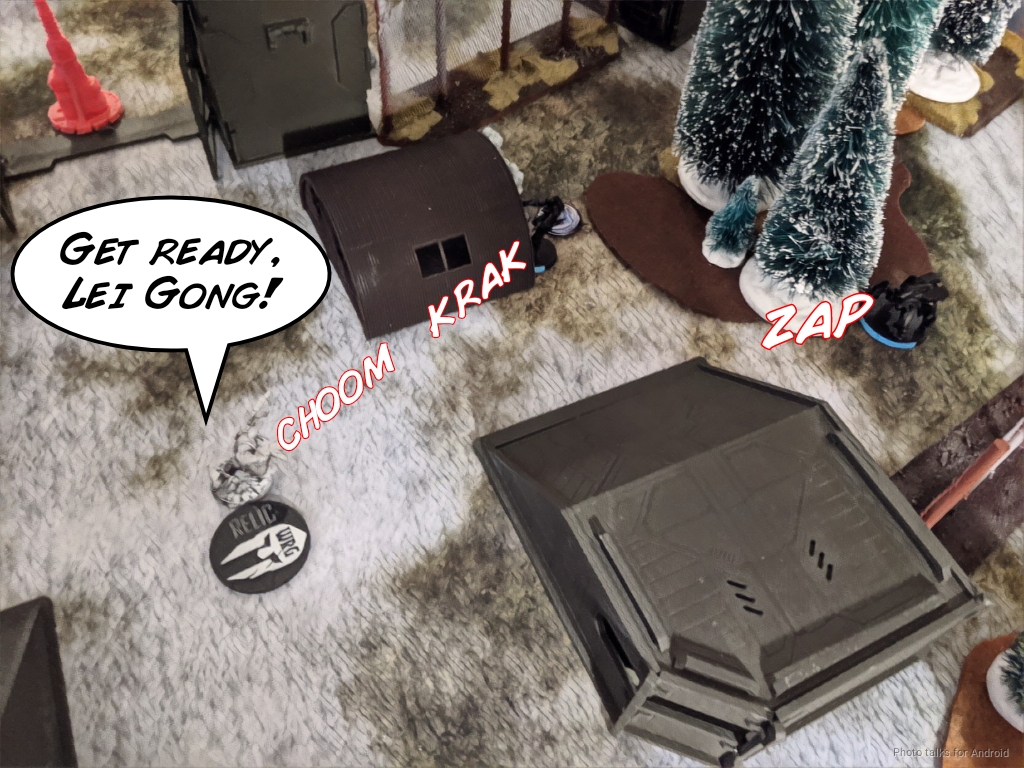
I keep pushing up and double-chain rifle Lei Gong but die to a crit. I did do a wound at least. I briefly debated throwing a grenade, which probably was the right choice in retrospect, because it can cover 3/4 link team members. It would be on a 13, but I have a pretty low chance of killing Lei Gong with double chain rifles anyway. Removing the link is better. Hmm. Okay.
I start my TAG run, double-critting the Zhanshi HMG that’s watching the middle of the table…
then I do something stupid and split burst against a 3-man link. I figure they all have DAM 13 weapons so this should be fine, right? Nope. Squalo goes down. I used the HMG for the burst, figuring that I had them all out of cover, but rolled really high. What might’ve been better is shooting at two members of the link with an AP Pistol to be on 18s… but oh well.
We both know that Dan’s got it in the bag, so we shake on it. Immediately after that the doorbell rings, announcing that Dan’s lovely wife has arrived for dinner–perfect timing!
6-0 Invincible Army Victory!
Post Game Analysis
I did a bunch of analysis during the writeup of the game, so I’ll be a little lighter than usual here. Dan obviously played very well. There were also some issues from learning a new table as well and having to address a few terrain issues on the fly.
I think there were a few key issues on my end:
- Over-extending Uma to get the kill on the Zhanshi. It took too long to kill Krit and there wasn’t enough terrain to hide in nearby, so this was a tough pickle for sure.
- Forgetting to hide the Akali – While not amazingly relevant, I definitely could’ve used its order on Turn 3 and maybe done some work in degrading the link.
- Over-extending the Auxilia – There was some terrain confusion here, but I definitely should have been more careful. Had I hidden the Auxilia and Auxbot in the trees I could’ve had a better option for dealing with the link later.
- Krakot Grenade – I think this would have been a better call than the chain rifle, especially because it might have forced a link break or better yet a link dodge. Rolling a single die on 13s is risky, but I think better payout than double chain rifling a single model with NWI.
In any case, great game versus Dan. I also am really liking this new table! I was really struggling to put together a table configuration that I liked with the fences and pillboxes, but man it looks good now. I’m pretty excited to fine-tune it some more before Rose City Raid 2020!
Thanks for reading.

