Boxed In
After that pretty challenging game versus Cole,
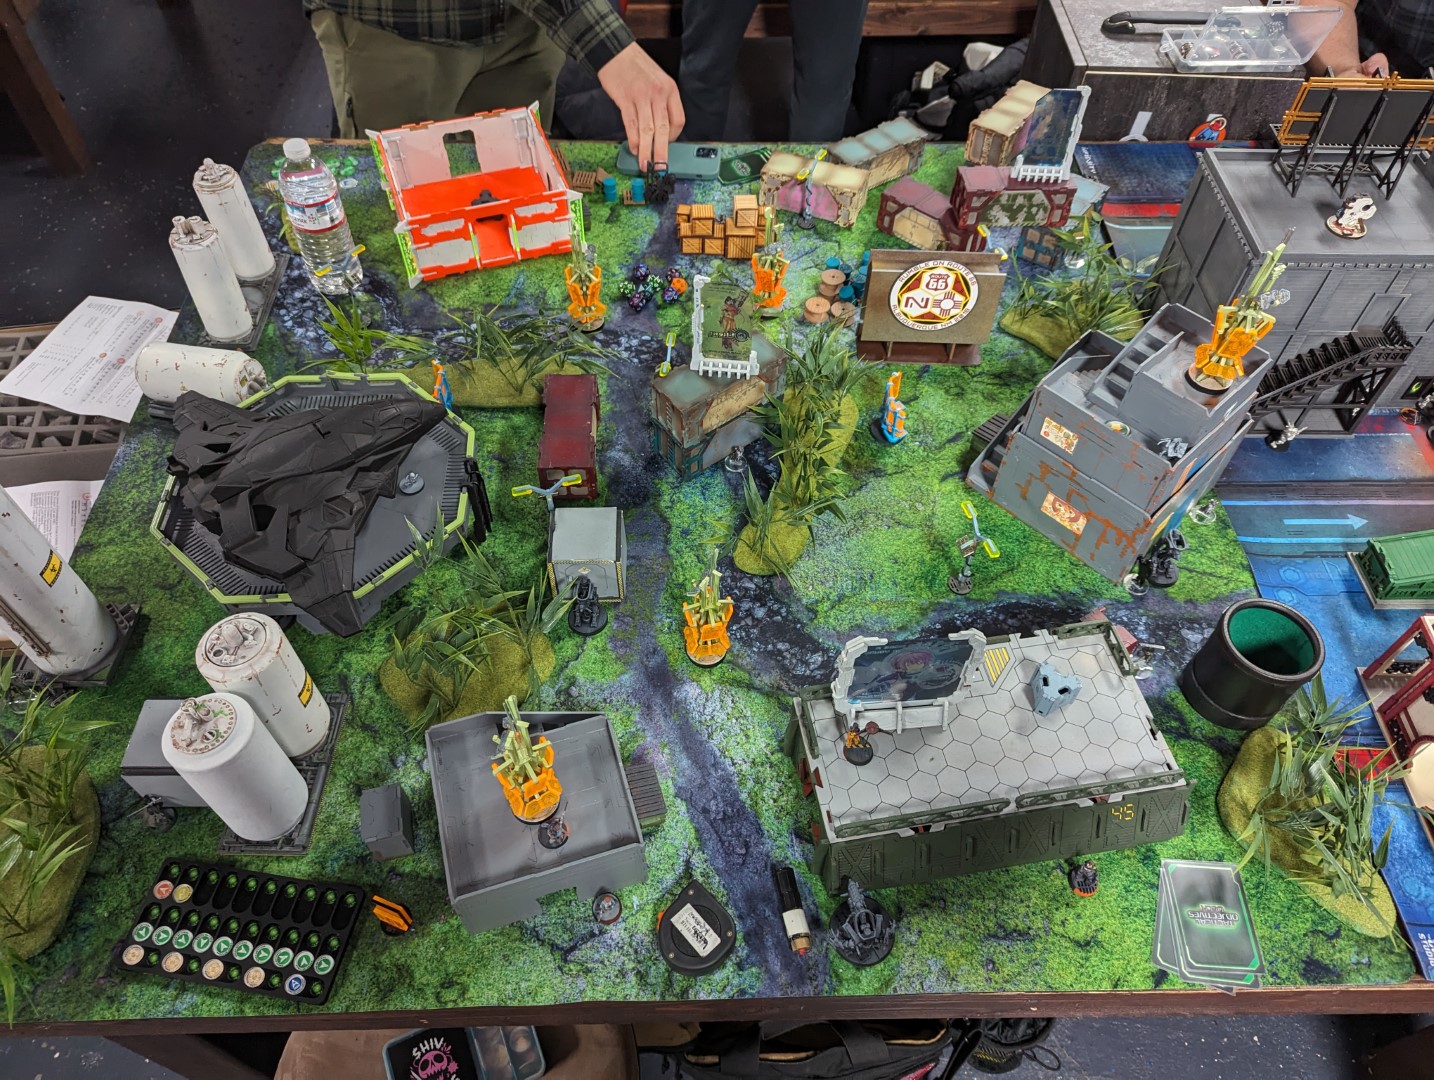
I was laser focused and not going to make the same mistakes I did. Erik (Zelaponeepus) and I were paired for the last game of day 1, and we’re playing our other lists by request of overlord Jeff. We’re playing on this very green table, and Erik and I decided to try Resilience Ops. Erik has never played and I was hyping it up after my game with Cole, which tipped him over the edge to try it out.
Overview
- Mission: ITS15 Resilience Operations
- Nomads
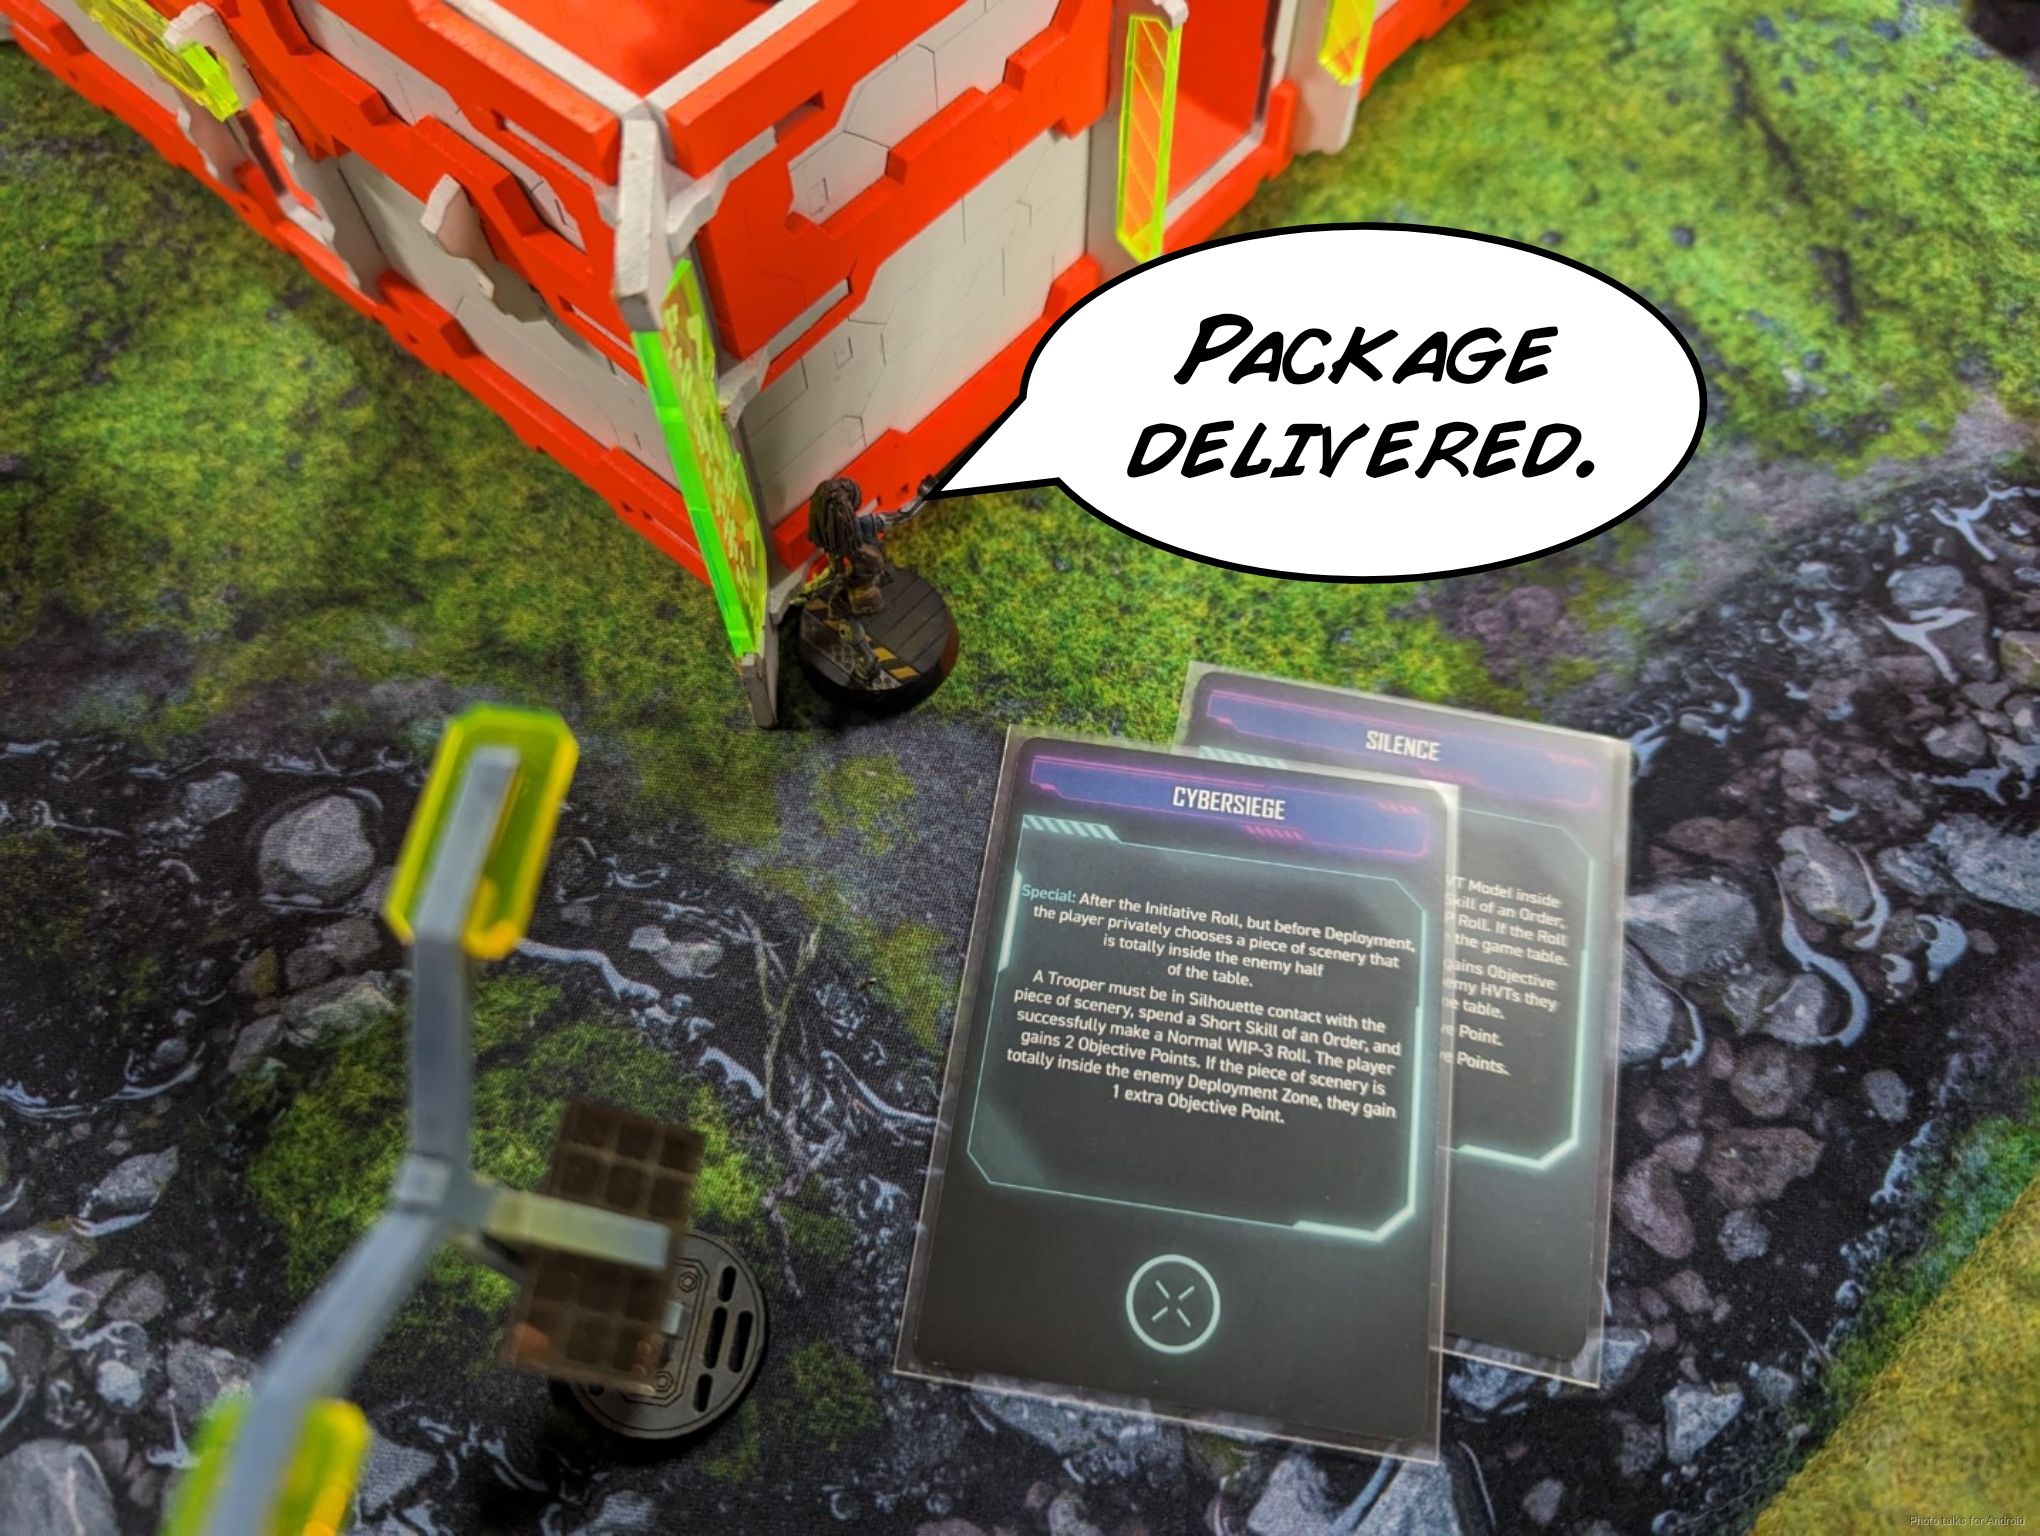
- Cybersiege
- Silence
- Triangulate the Signal
- Invincible Army
- ??
- King of the Hill
- Z Domination
- Nomads
- Forces: Nomads versus Invincible Army (300)
- Deploy First: Nomads
- First Turn: Nomads
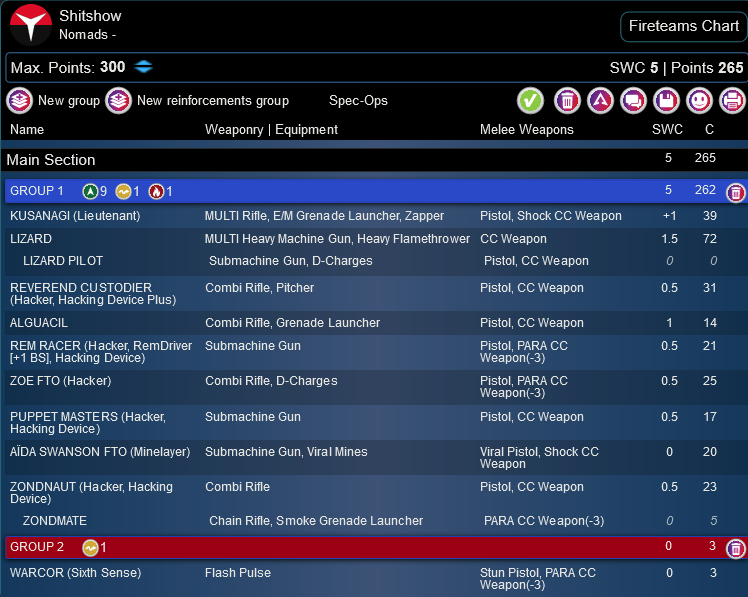
You’ve already seen my Nomad list thanks to my game versus Birman:
Shitshow
GROUP 1
10
1
1
GROUP 2
KUSANAGI (Lieutenant) MULTI Rifle, E/M Grenade Launcher, Zapper / Pistol, Shock CC Weapon. (+1 | 39)
LIZARD MULTI Heavy Machine Gun, Heavy Flamethrower / CC Weapon. (1.5 | 72)
LIZARD PILOT Submachine Gun, D-Charges / Pistol, CC Weapon. (0 | 0)
REVEREND CUSTODIER (Hacker, Hacking Device Plus) Combi Rifle, Pitcher ( ) / Pistol, CC Weapon. (0.5 | 31)
ALGUACIL Combi Rifle, Grenade Launcher / Pistol, CC Weapon. (1 | 14)
REM RACER (Hacker, RemDriver [+1 BS], Hacking Device) Submachine Gun ( ) / Pistol, PARA CC Weapon(-3). (0.5 | 21)
ZOE FTO (Hacker) Combi Rifle, D-Charges / Pistol, PARA CC Weapon(-3). (0.5 | 25)
PUPPET MASTERS (Hacker, Hacking Device) Submachine Gun ( ) / Pistol, CC Weapon. (0.5 | 17)
MORAN (Surprise Attack [-3], Camouflage [1 Use]) Boarding Shotgun, Flash Pulse, Crazykoala / Pistol, CC Weapon. (0.5 | 18)
AÏDA SWANSON FTO (Minelayer) Submachine Gun, Viral Mines / Viral Pistol, Shock CC Weapon. (0 | 20)
ZONDNAUT (Hacker, Hacking Device) Combi Rifle ( ) / Pistol, CC Weapon. (0.5 | 23)
ZONDMATE Chain Rifle, Smoke Grenade Launcher / PARA CC Weapon(-3). (0 | 5)
MODERATOR MULTI Sniper Rifle / Pistol, PARA CC Weapon(-6). (1.5 | 16)
WARCOR (Sixth Sense) Flash Pulse / Stun Pistol, PARA CC Weapon(-3). (0 | 3)
7 SWC | 299 Points | Open in Army | Copy Code
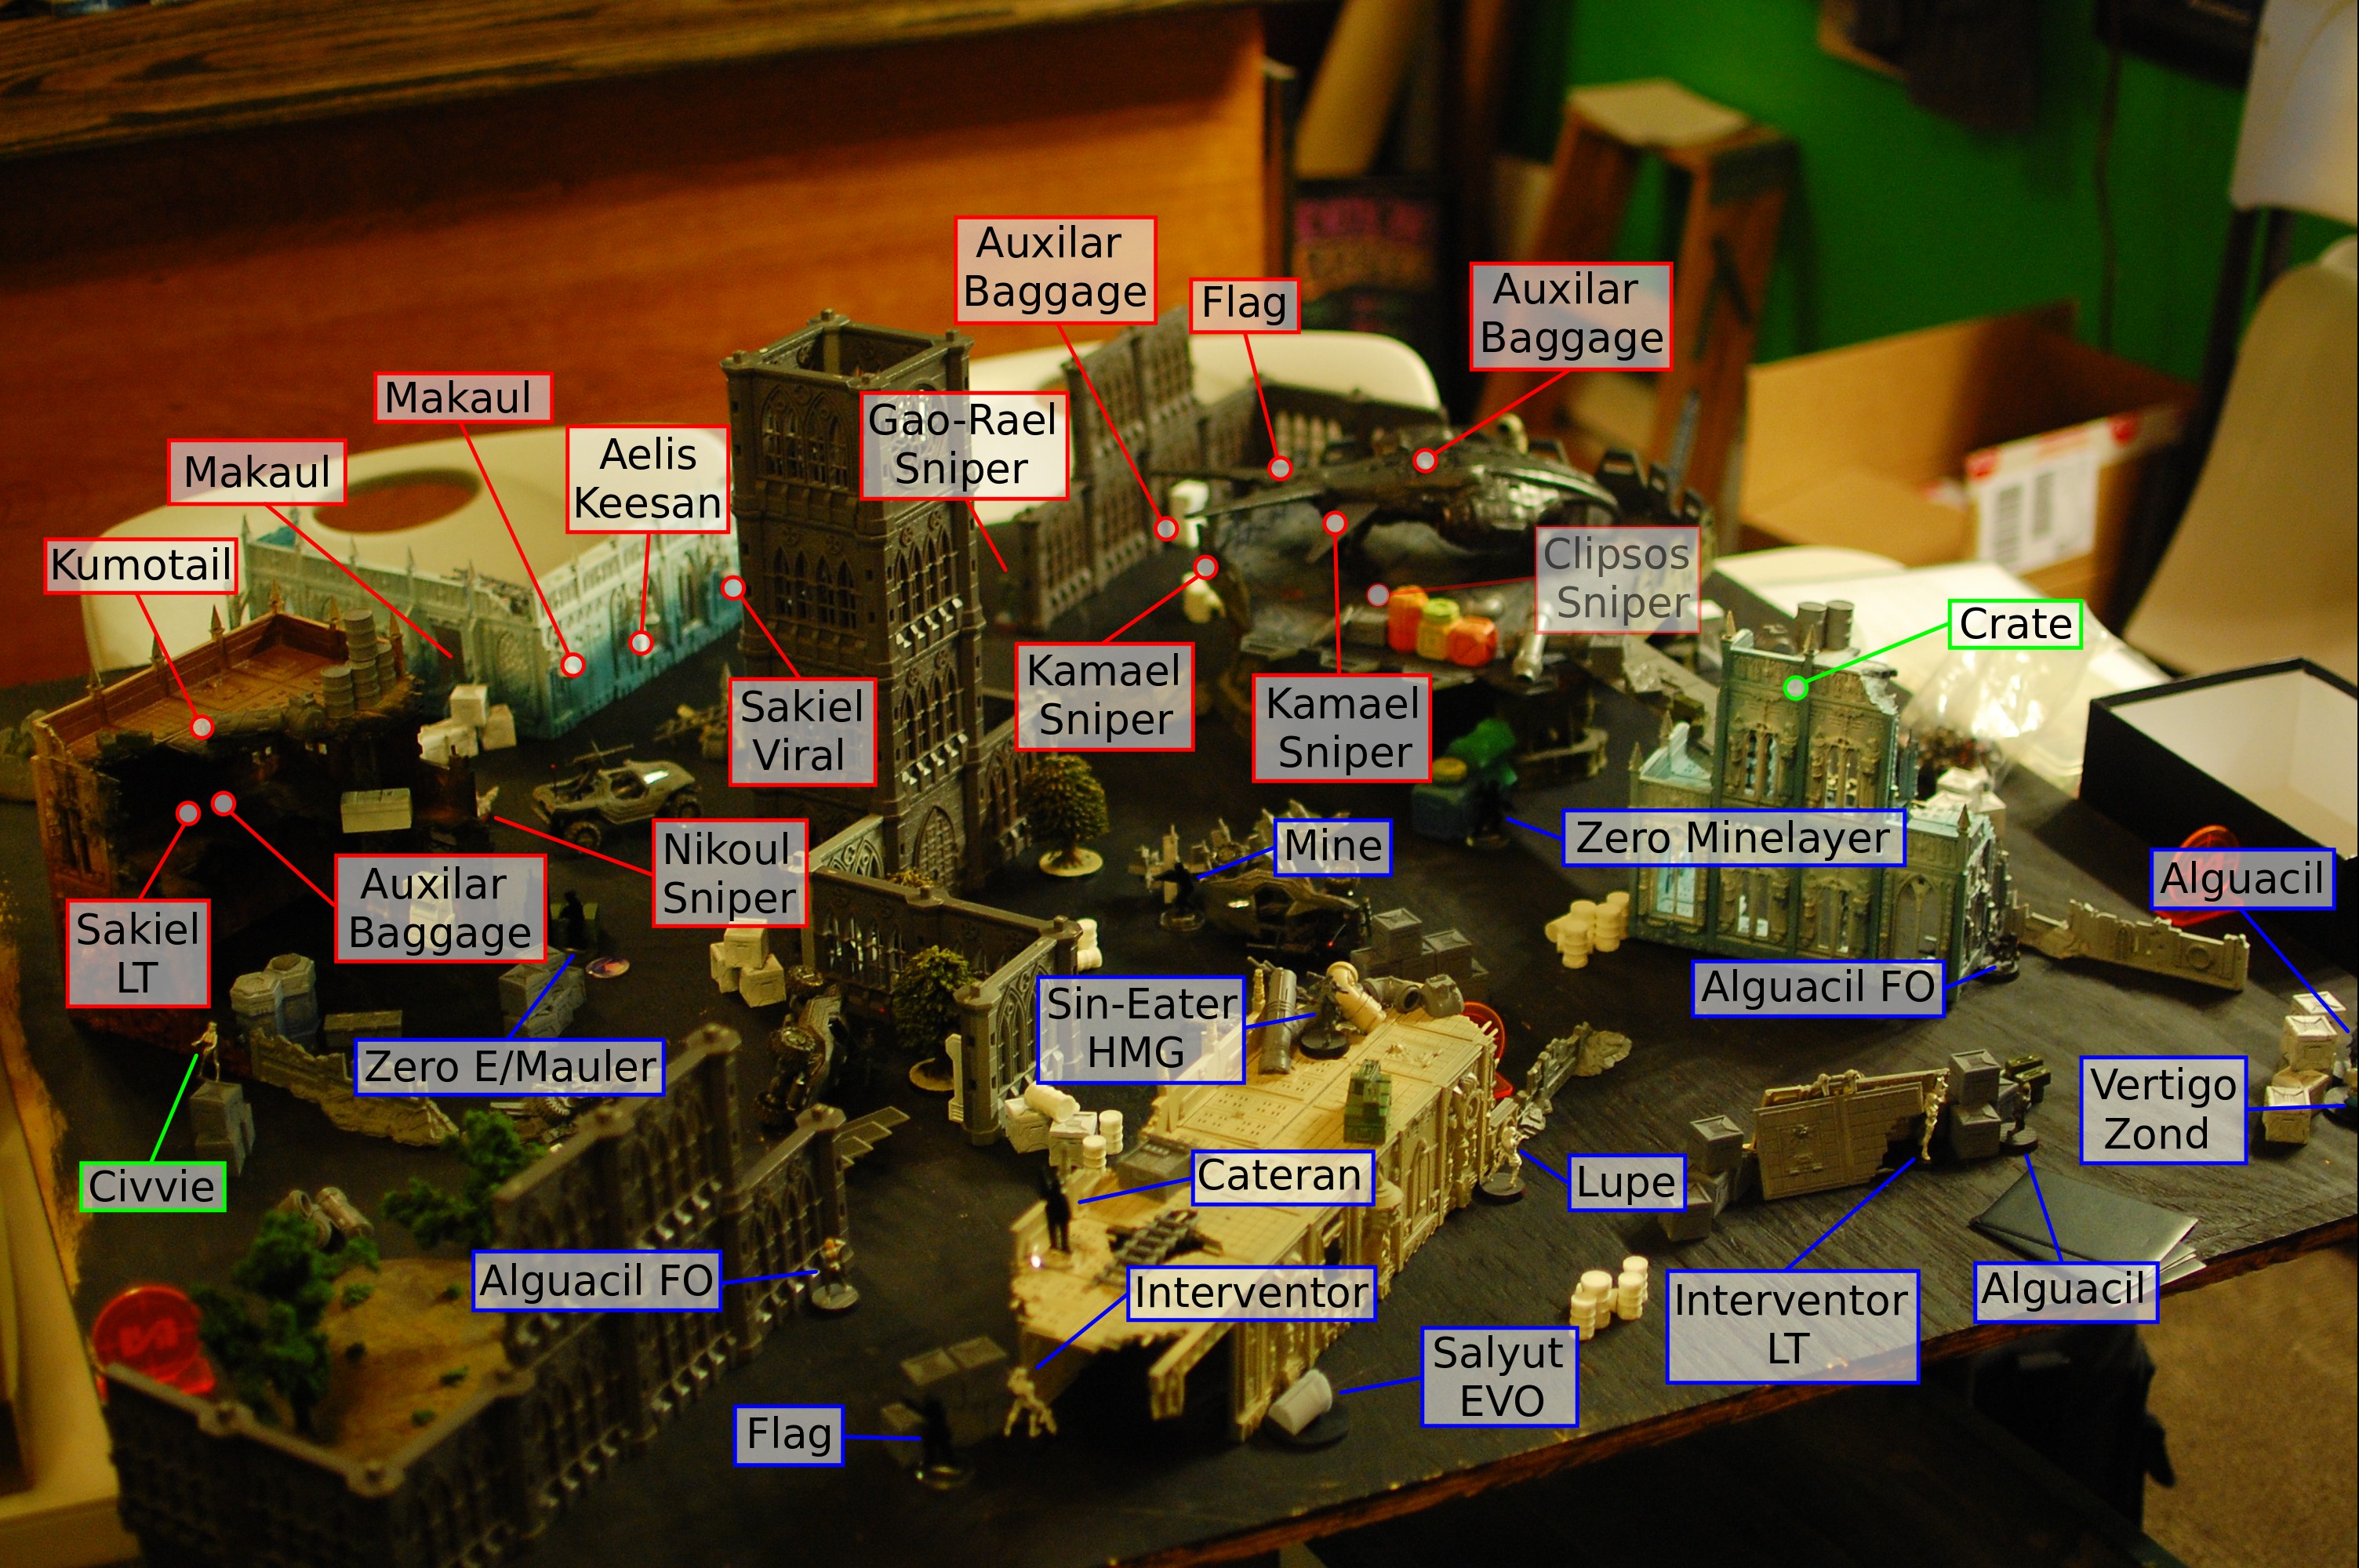
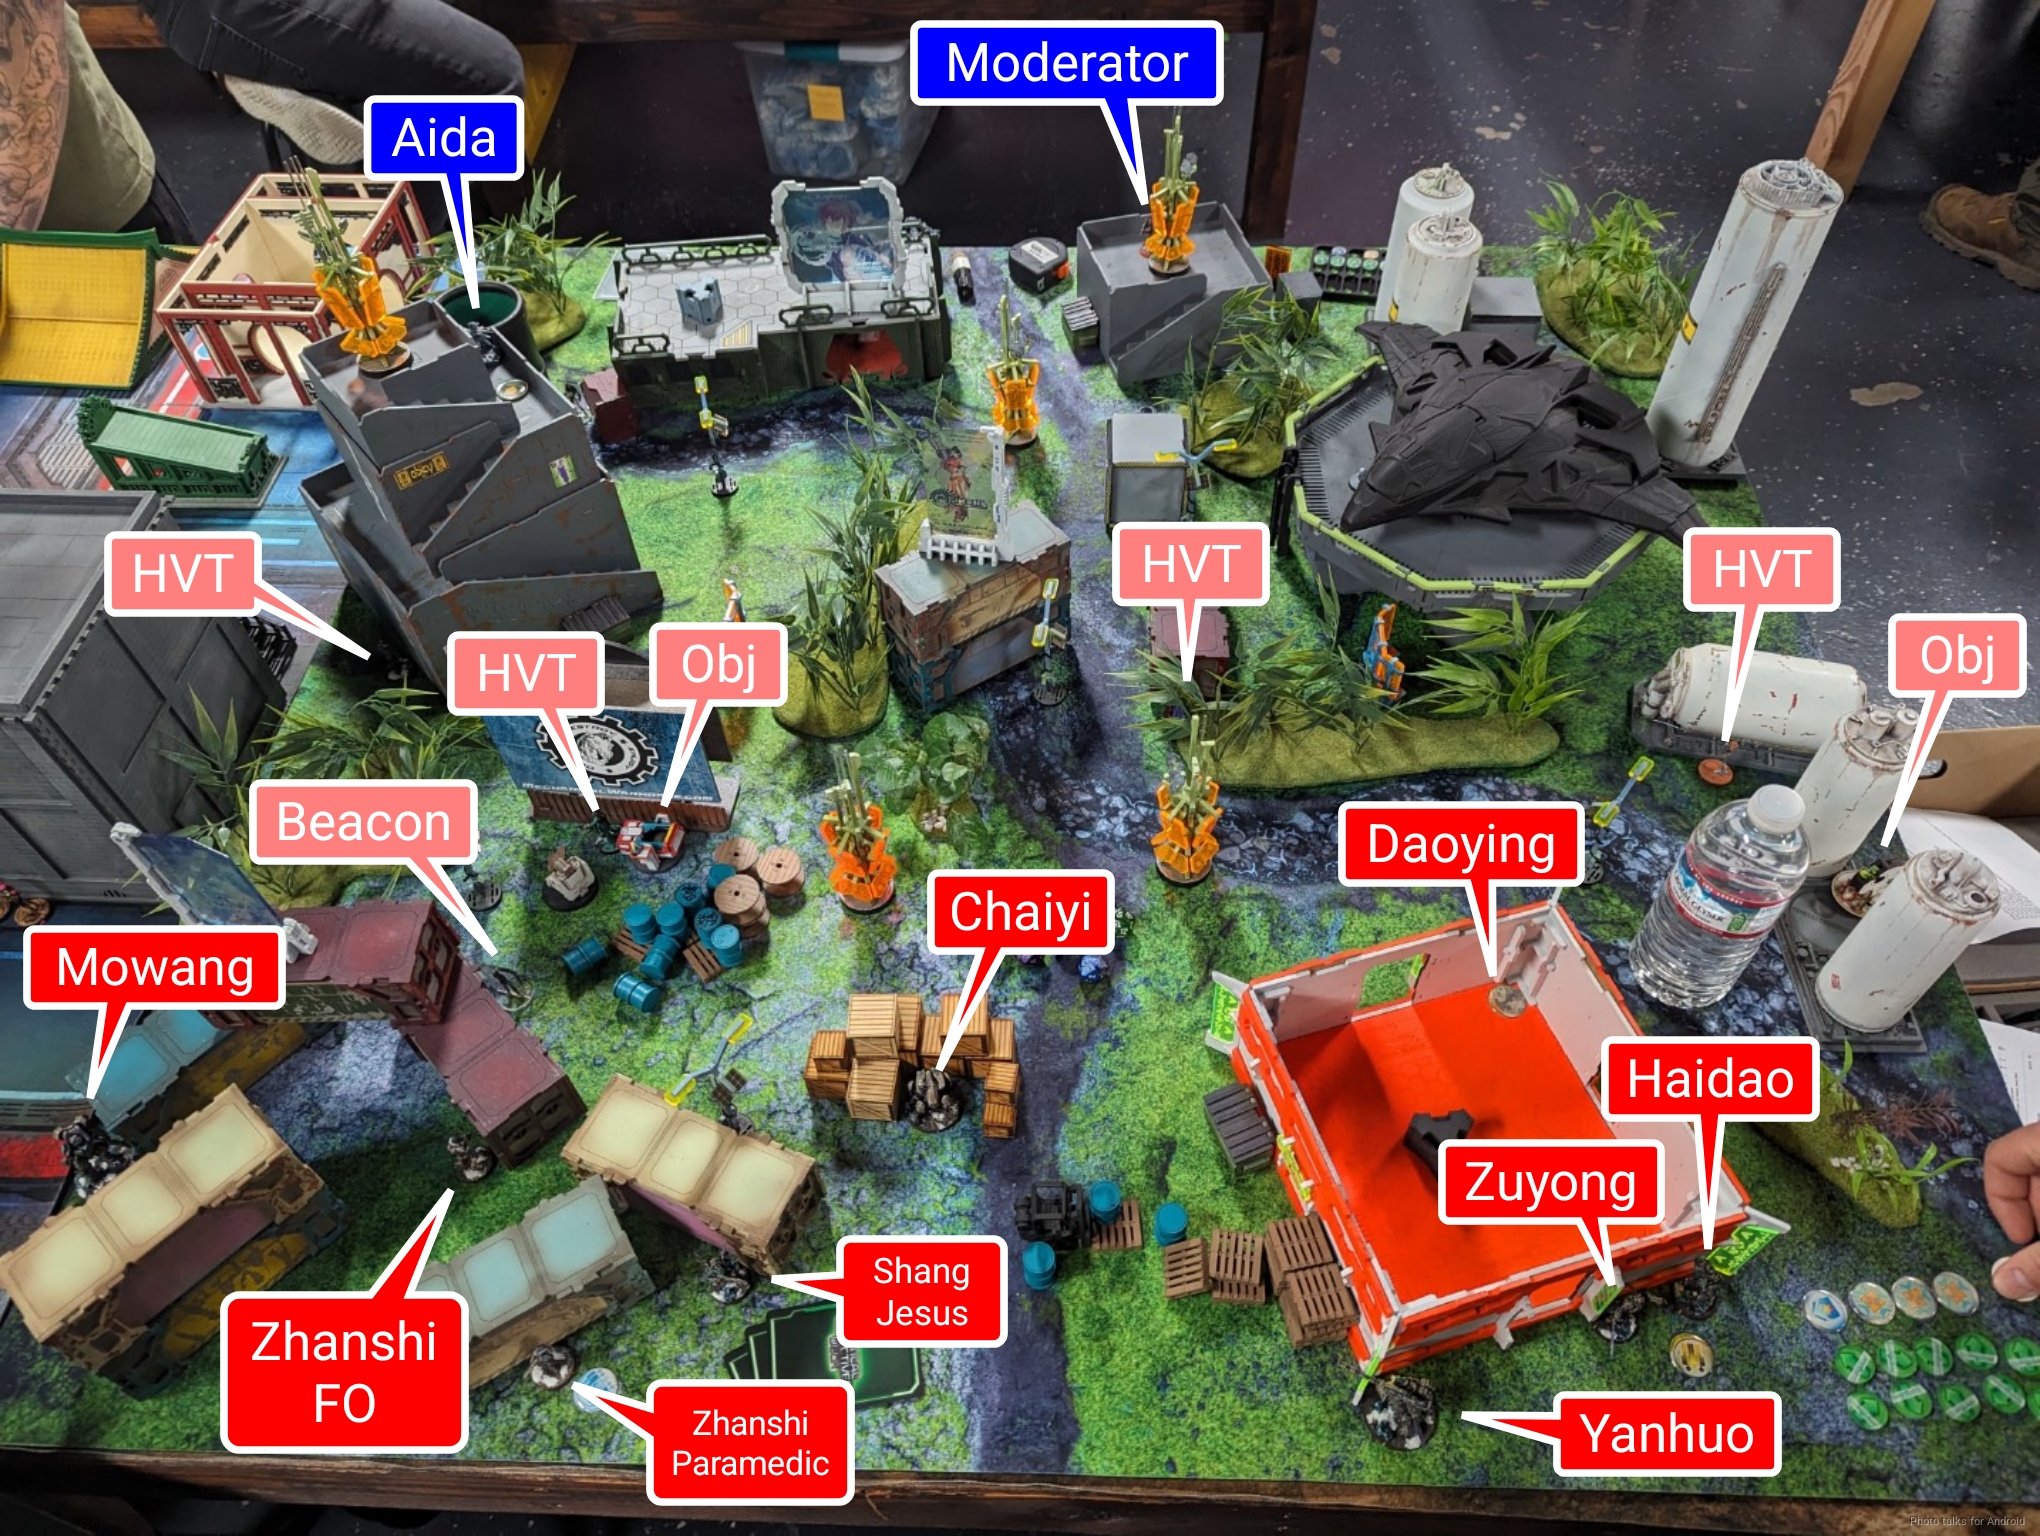
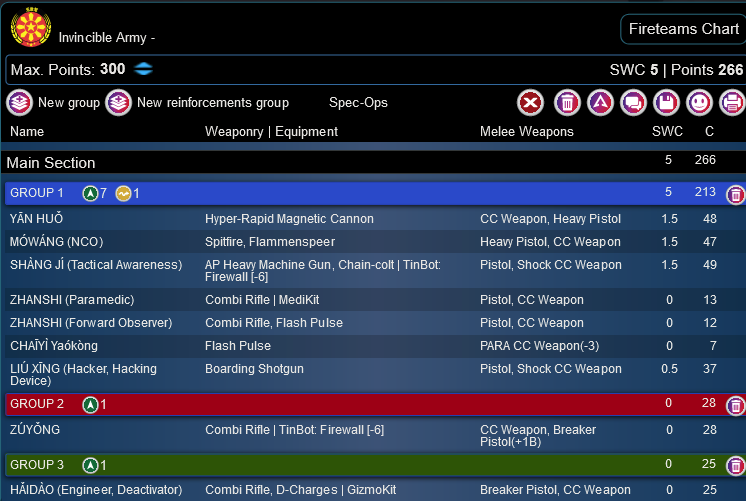
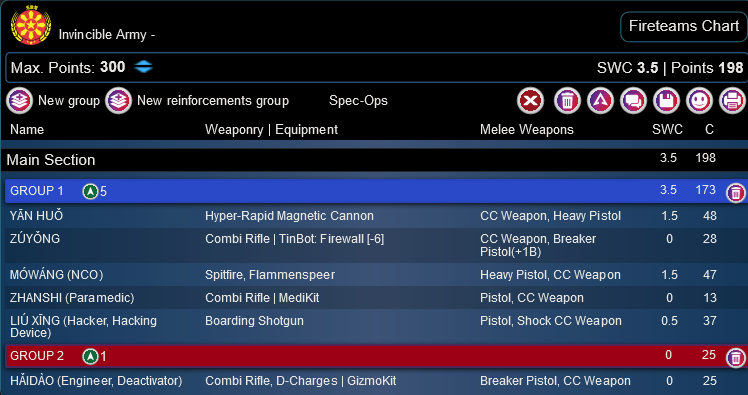
Erik’s “primary” list is a Steel Phalanx list, but he’s playing his other random list, an Invincible Army list. I haven’t looked at their link compositions lately (and apparently neither had Erik), because the Yan Huo HRMC he’s got in there is in a Haris. Ah well. In any case, an absolutely brutal beat stick of a list. Absolutely monstrous, but not a huge amount of stuff that can stand up safely (or efficiently) in ARO.

DĀOYĪNG (Lieutenant [+1 Order], Minelayer) MULTI Sniper Rifle, Shock Mines / Breaker Pistol, CC Weapon. (1 | 34)
YĀN HUǑ Hyper-Rapid Magnetic Cannon / CC Weapon, Heavy Pistol. (1.5 | 48)
ZÚYǑNG Combi Rifle ( | TinBot: Firewall [-6]) / CC Weapon, Breaker Pistol(+1B). (0 | 28)
HǍIDÀO (Engineer, Deactivator) Combi Rifle, D-Charges ( | GizmoKit) / Breaker Pistol, CC Weapon. (0 | 25)
MÓWÁNG (NCO) Spitfire, Flammenspeer / Heavy Pistol, CC Weapon. (1.5 | 47)
SHÀNG JÍ (Tactical Awareness) AP Heavy Machine Gun, Chain-colt ( | TinBot: Firewall [-6]) / Pistol, Shock CC Weapon. (1.5 | 49)
ZHANSHI (Paramedic) Combi Rifle ( | MediKit) / Pistol, CC Weapon. (0 | 13)
CHAĪYÌ Yaókòng Flash Pulse / PARA CC Weapon(-3). (0 | 7)
LIÚ XĪNG (Hacker, Hacking Device) Boarding Shotgun ( ) / Pistol, Shock CC Weapon. (0.5 | 37)
6 SWC | 300 Points | Open in Army | Copy Code
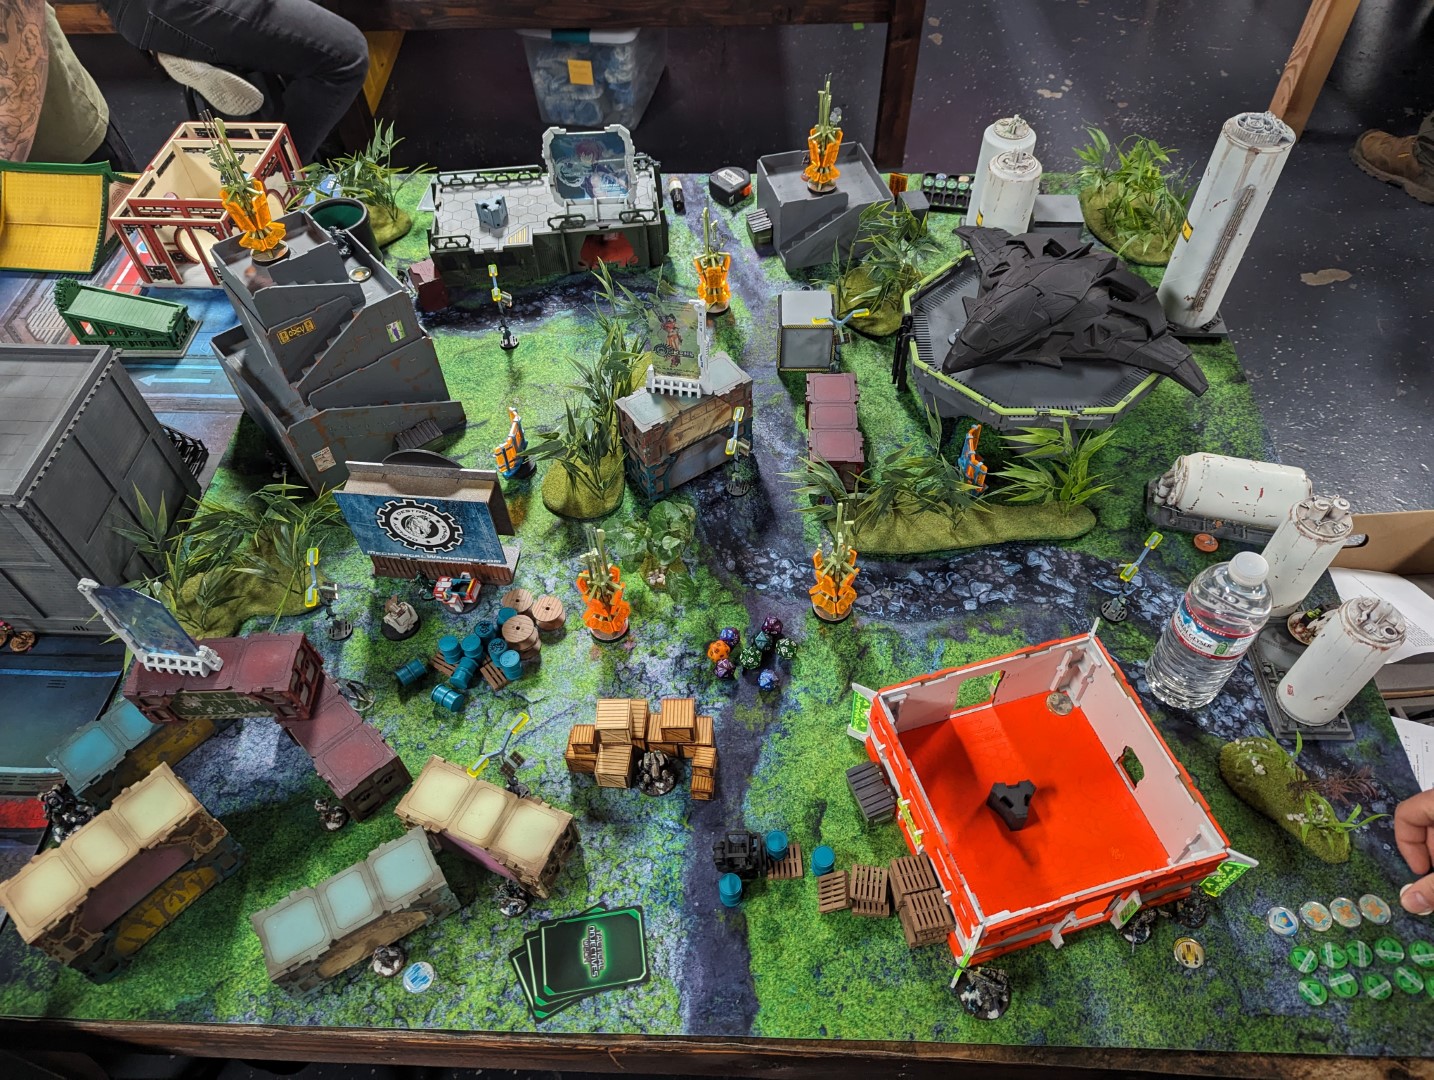
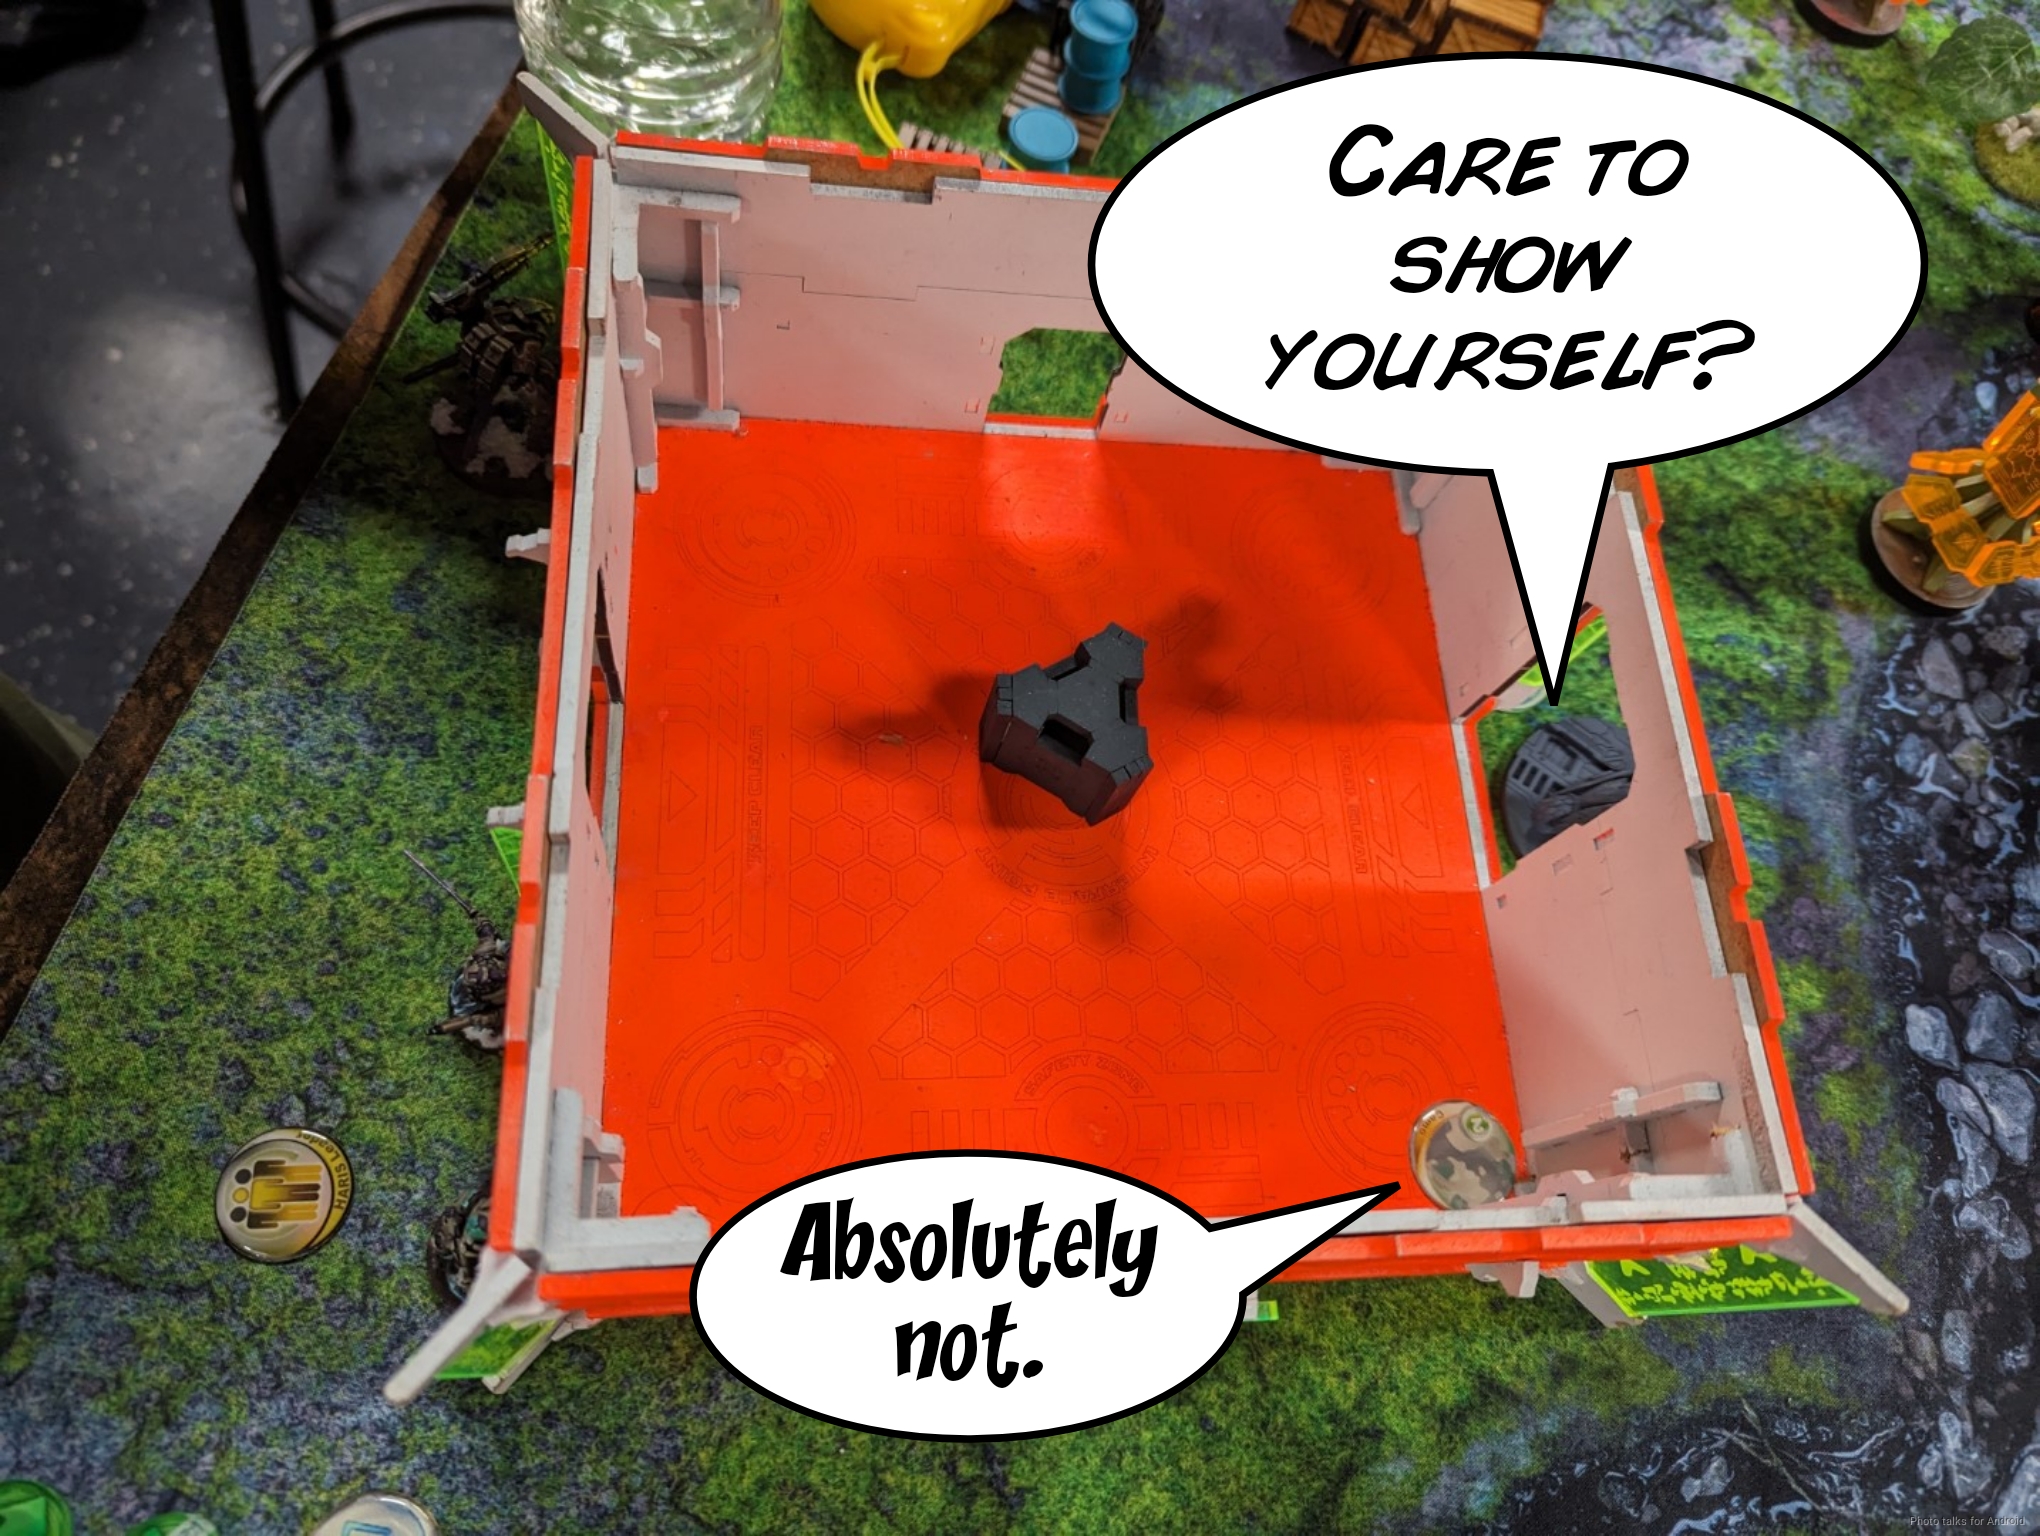
Deployment
Erik chose deployment, so I decided to go first. This is a fabulous matchup for me with all the hackers I have, but I won’t really be able to project all that power. We’ll have to be sneaky. I hold the Lizard and Moran in reserve and basically spread out in a completely null deployment. Erik has tons of high quality guns, and absolutely nothing I have will hold up in an honest fight, so I just have to blanket my DZ in hacking areas and deployables.
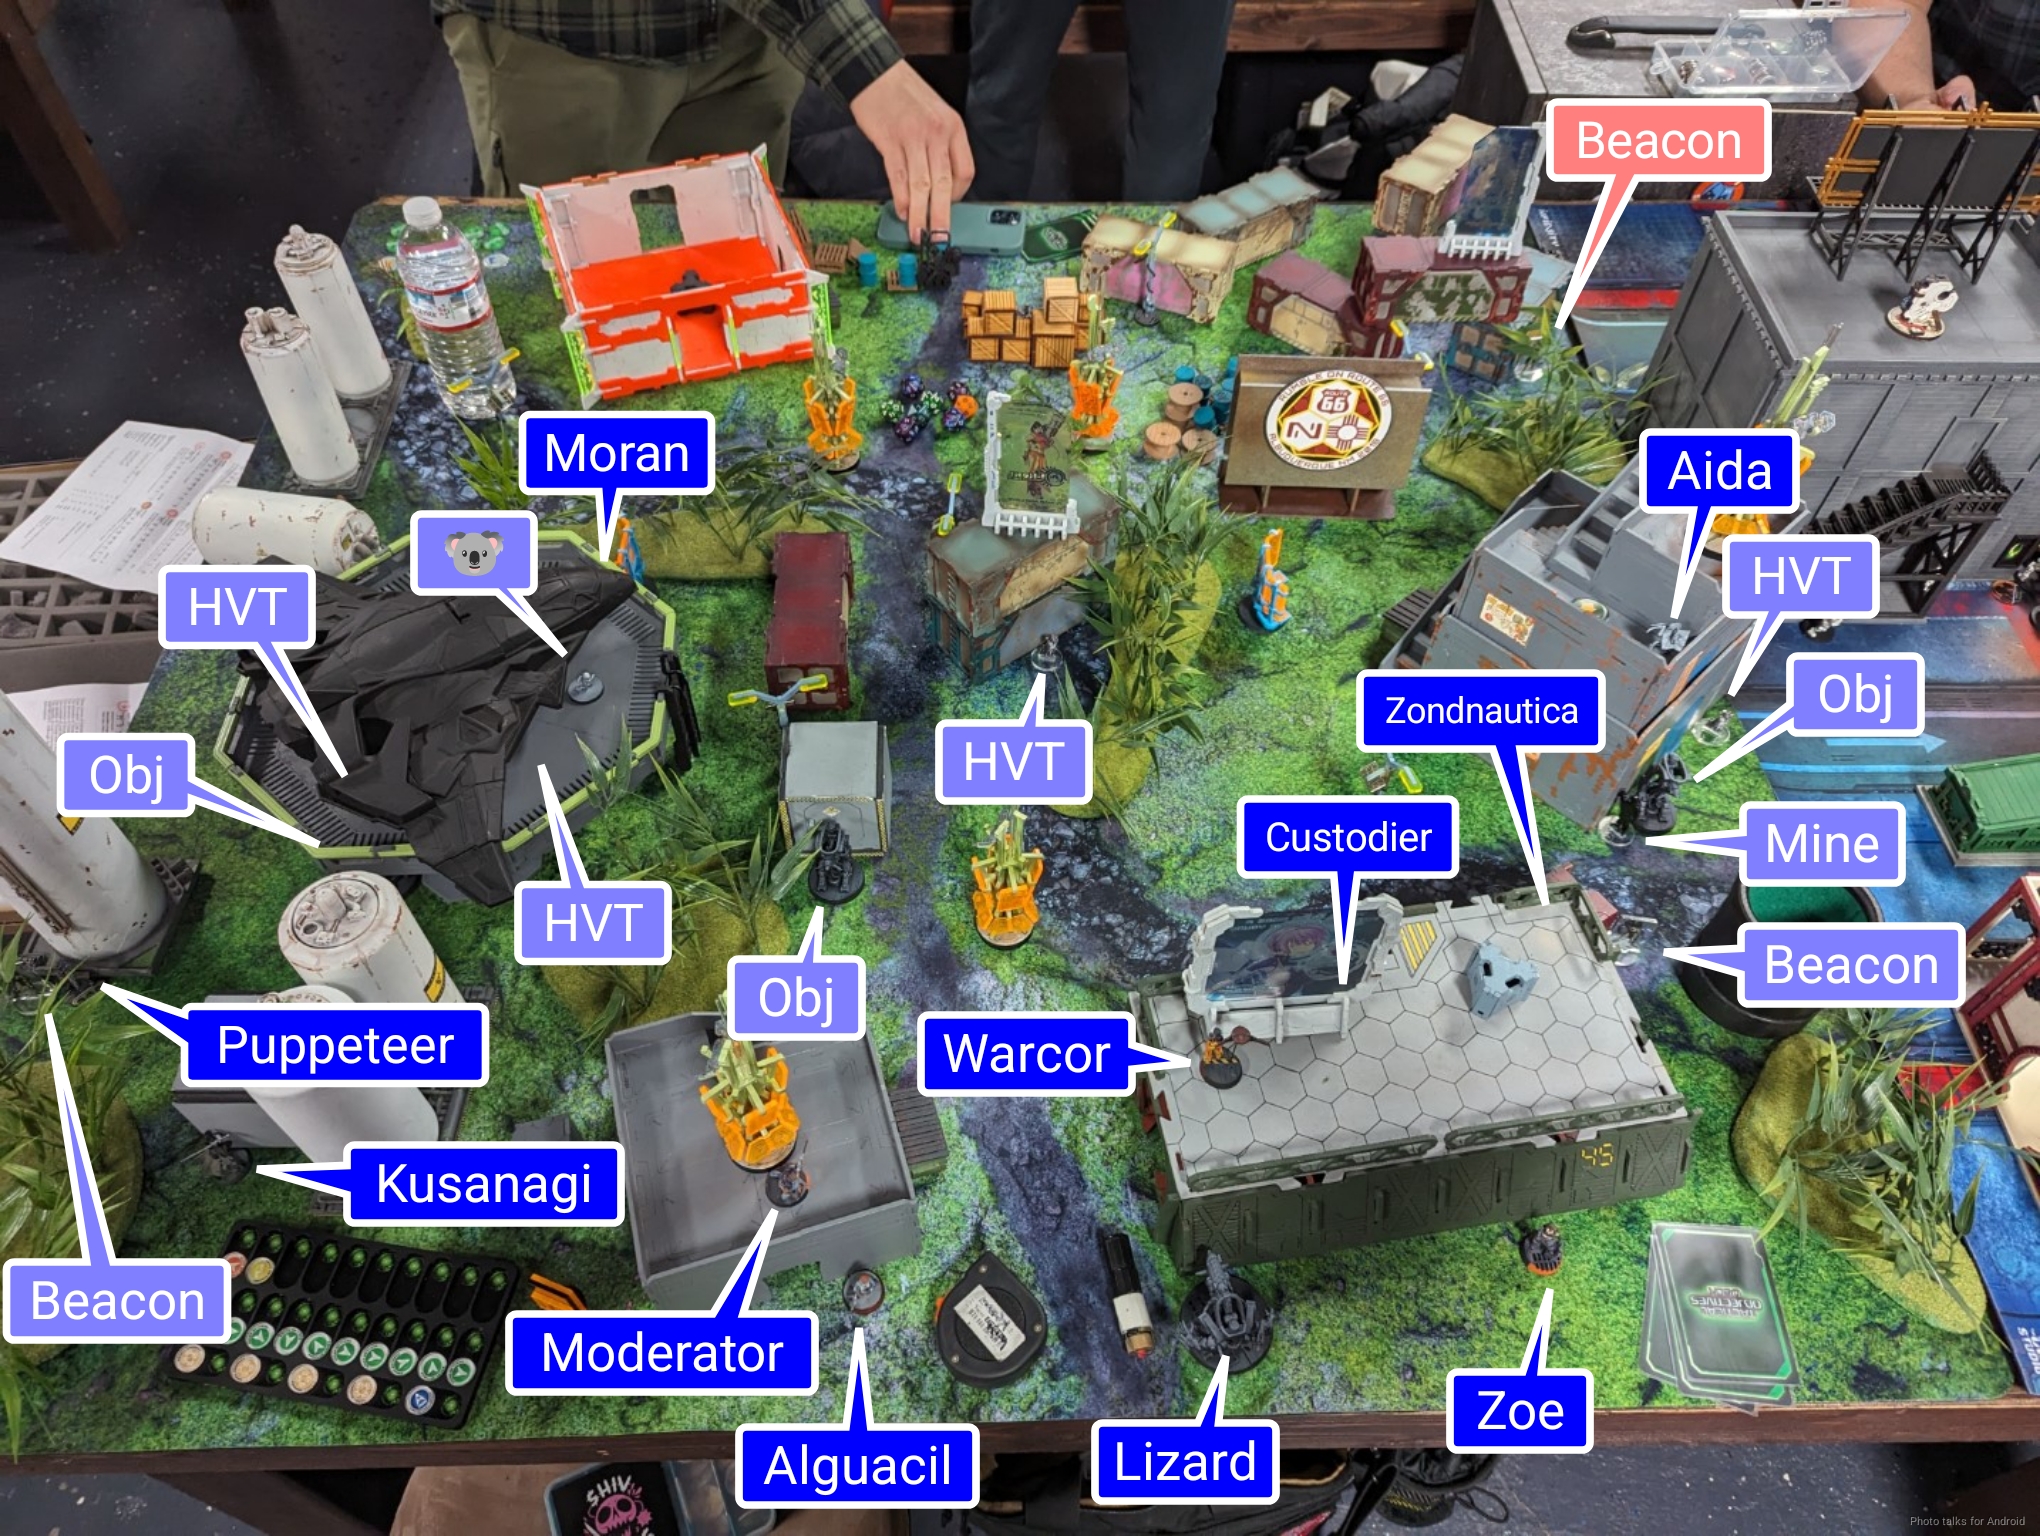
Aida’s mine covers the right side, and a combination of Kusanagi and the Puppeteer hold the left. The Moderator sees a sliver of the world, mostly because I dind’t have faith in its ability to hold off a concerted attack. Erik is terrified of the missing points and basically sets up in null deploy as well. The Yanhuo is watching a diagonal across his deployment zone, and the Mowang can see a little, but I’ve basically got run of the board.
I was hoping for this, because the Moran can accomplish a good deal of the objectives on their own. With both of us just ceding control of the board until our deployment zones, I put the Moran in the center of the table ready to make a run on the objectives. Erik’s reserve I think was the Mowang.
Turn 1
Top of 1 – Nomads
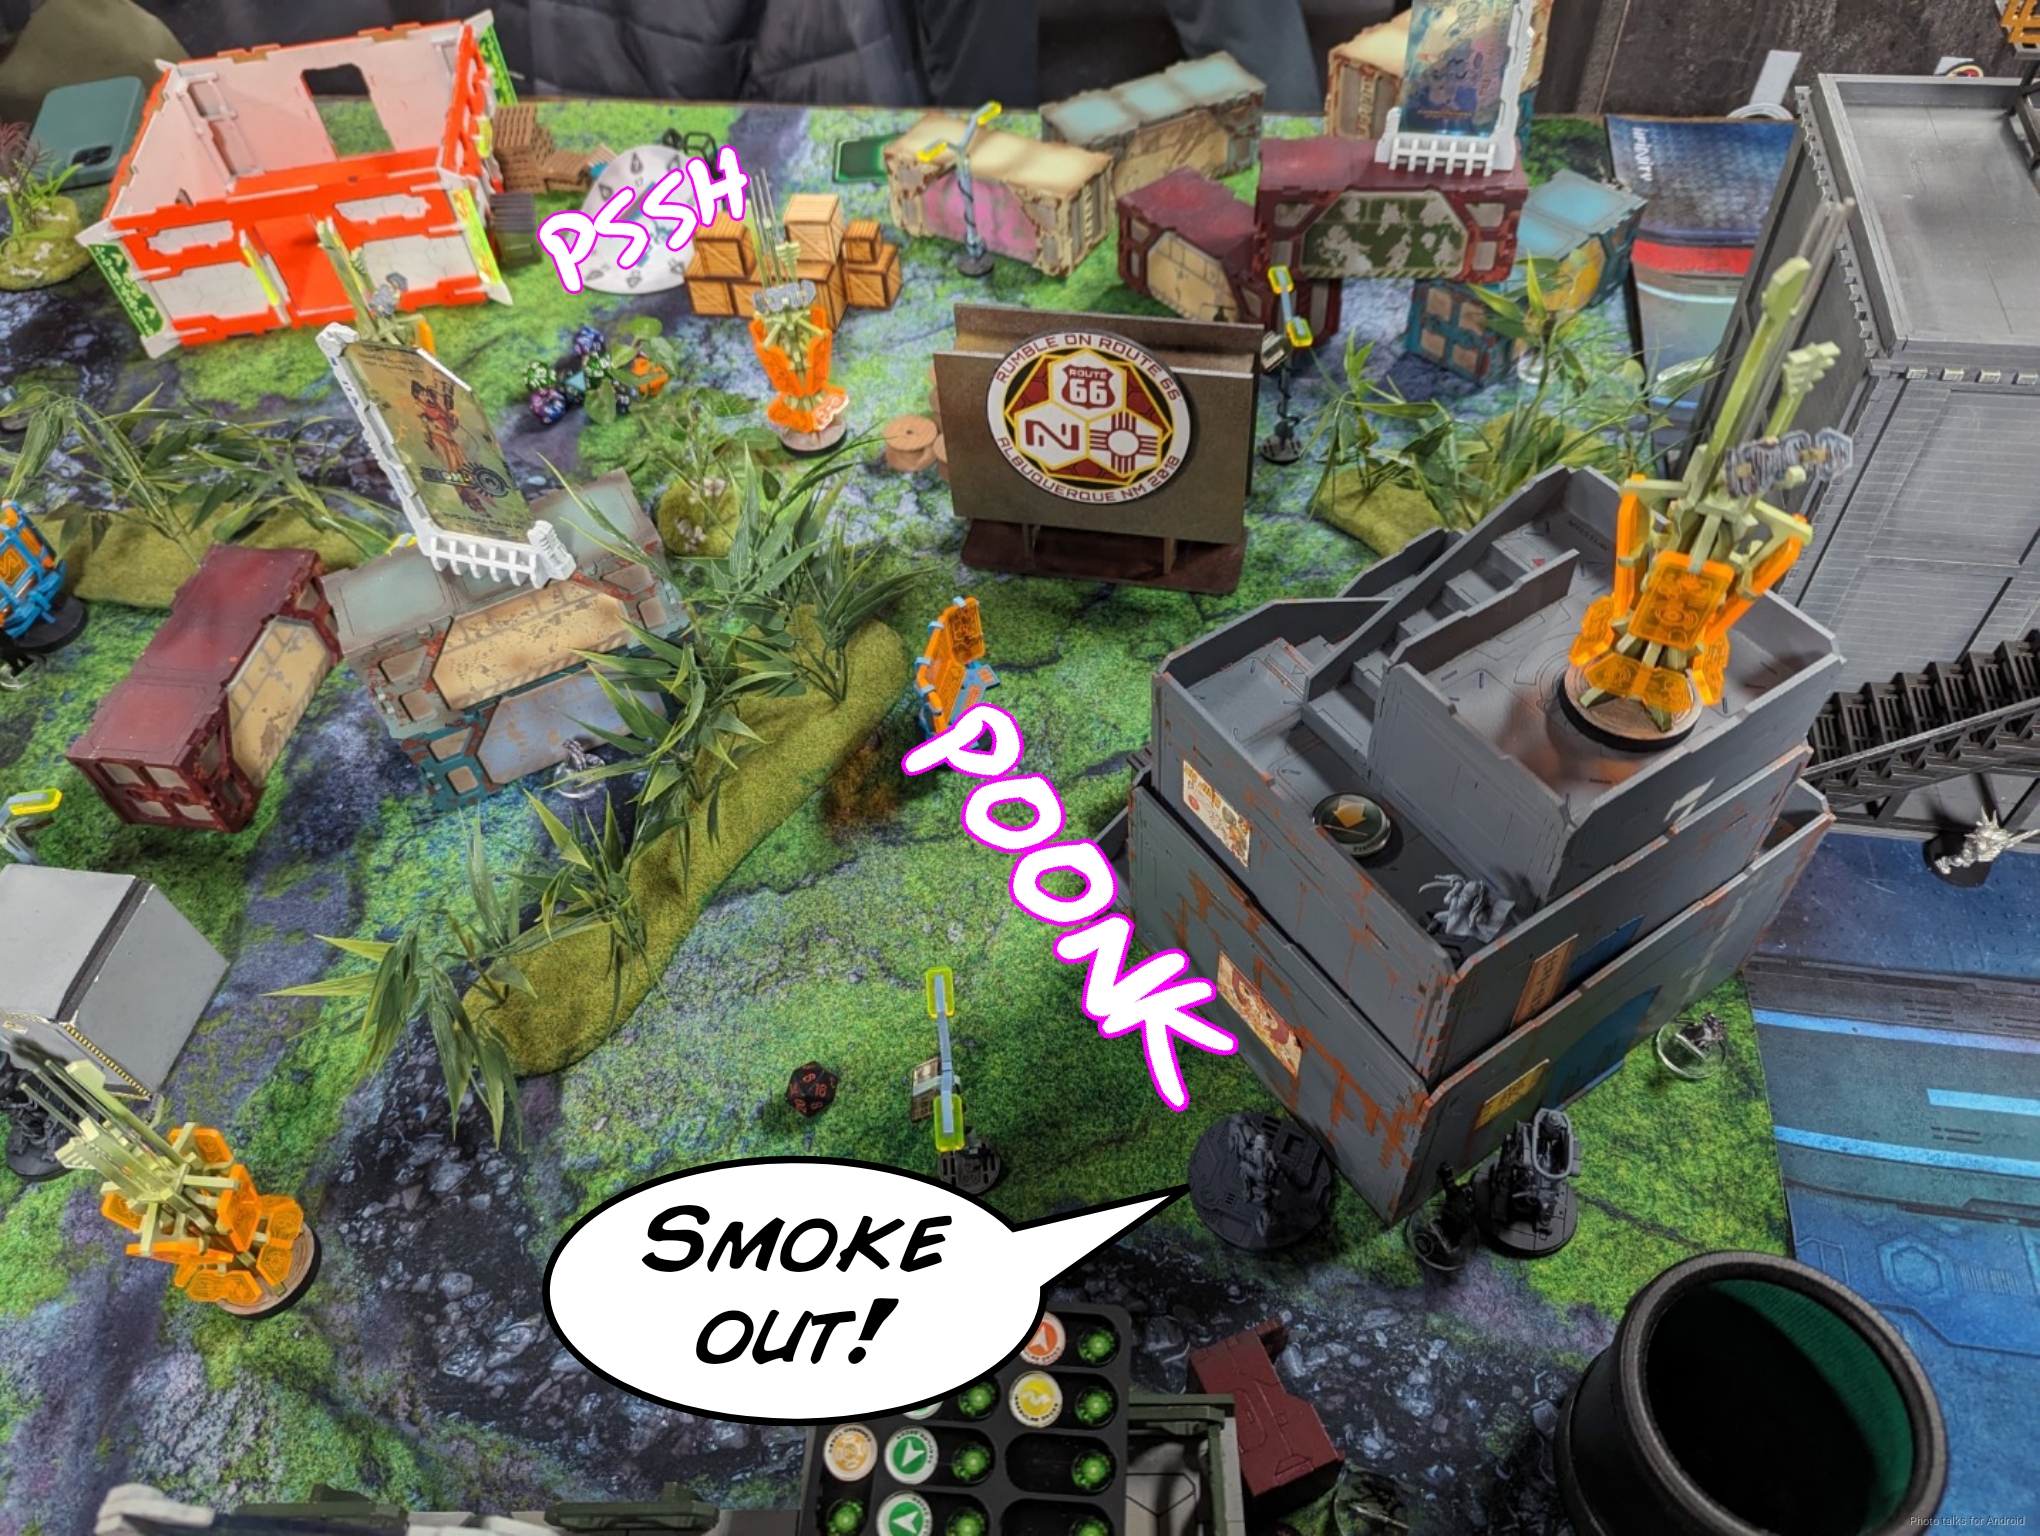
Well, I don’t need to overthink things. I just need to get some objective work done. In case that goes very efficiently, I set up some smoke on the Yan Huo with the Zondnautica’s impetuous order. I only get that 12 when I don’t need it. Ah well.
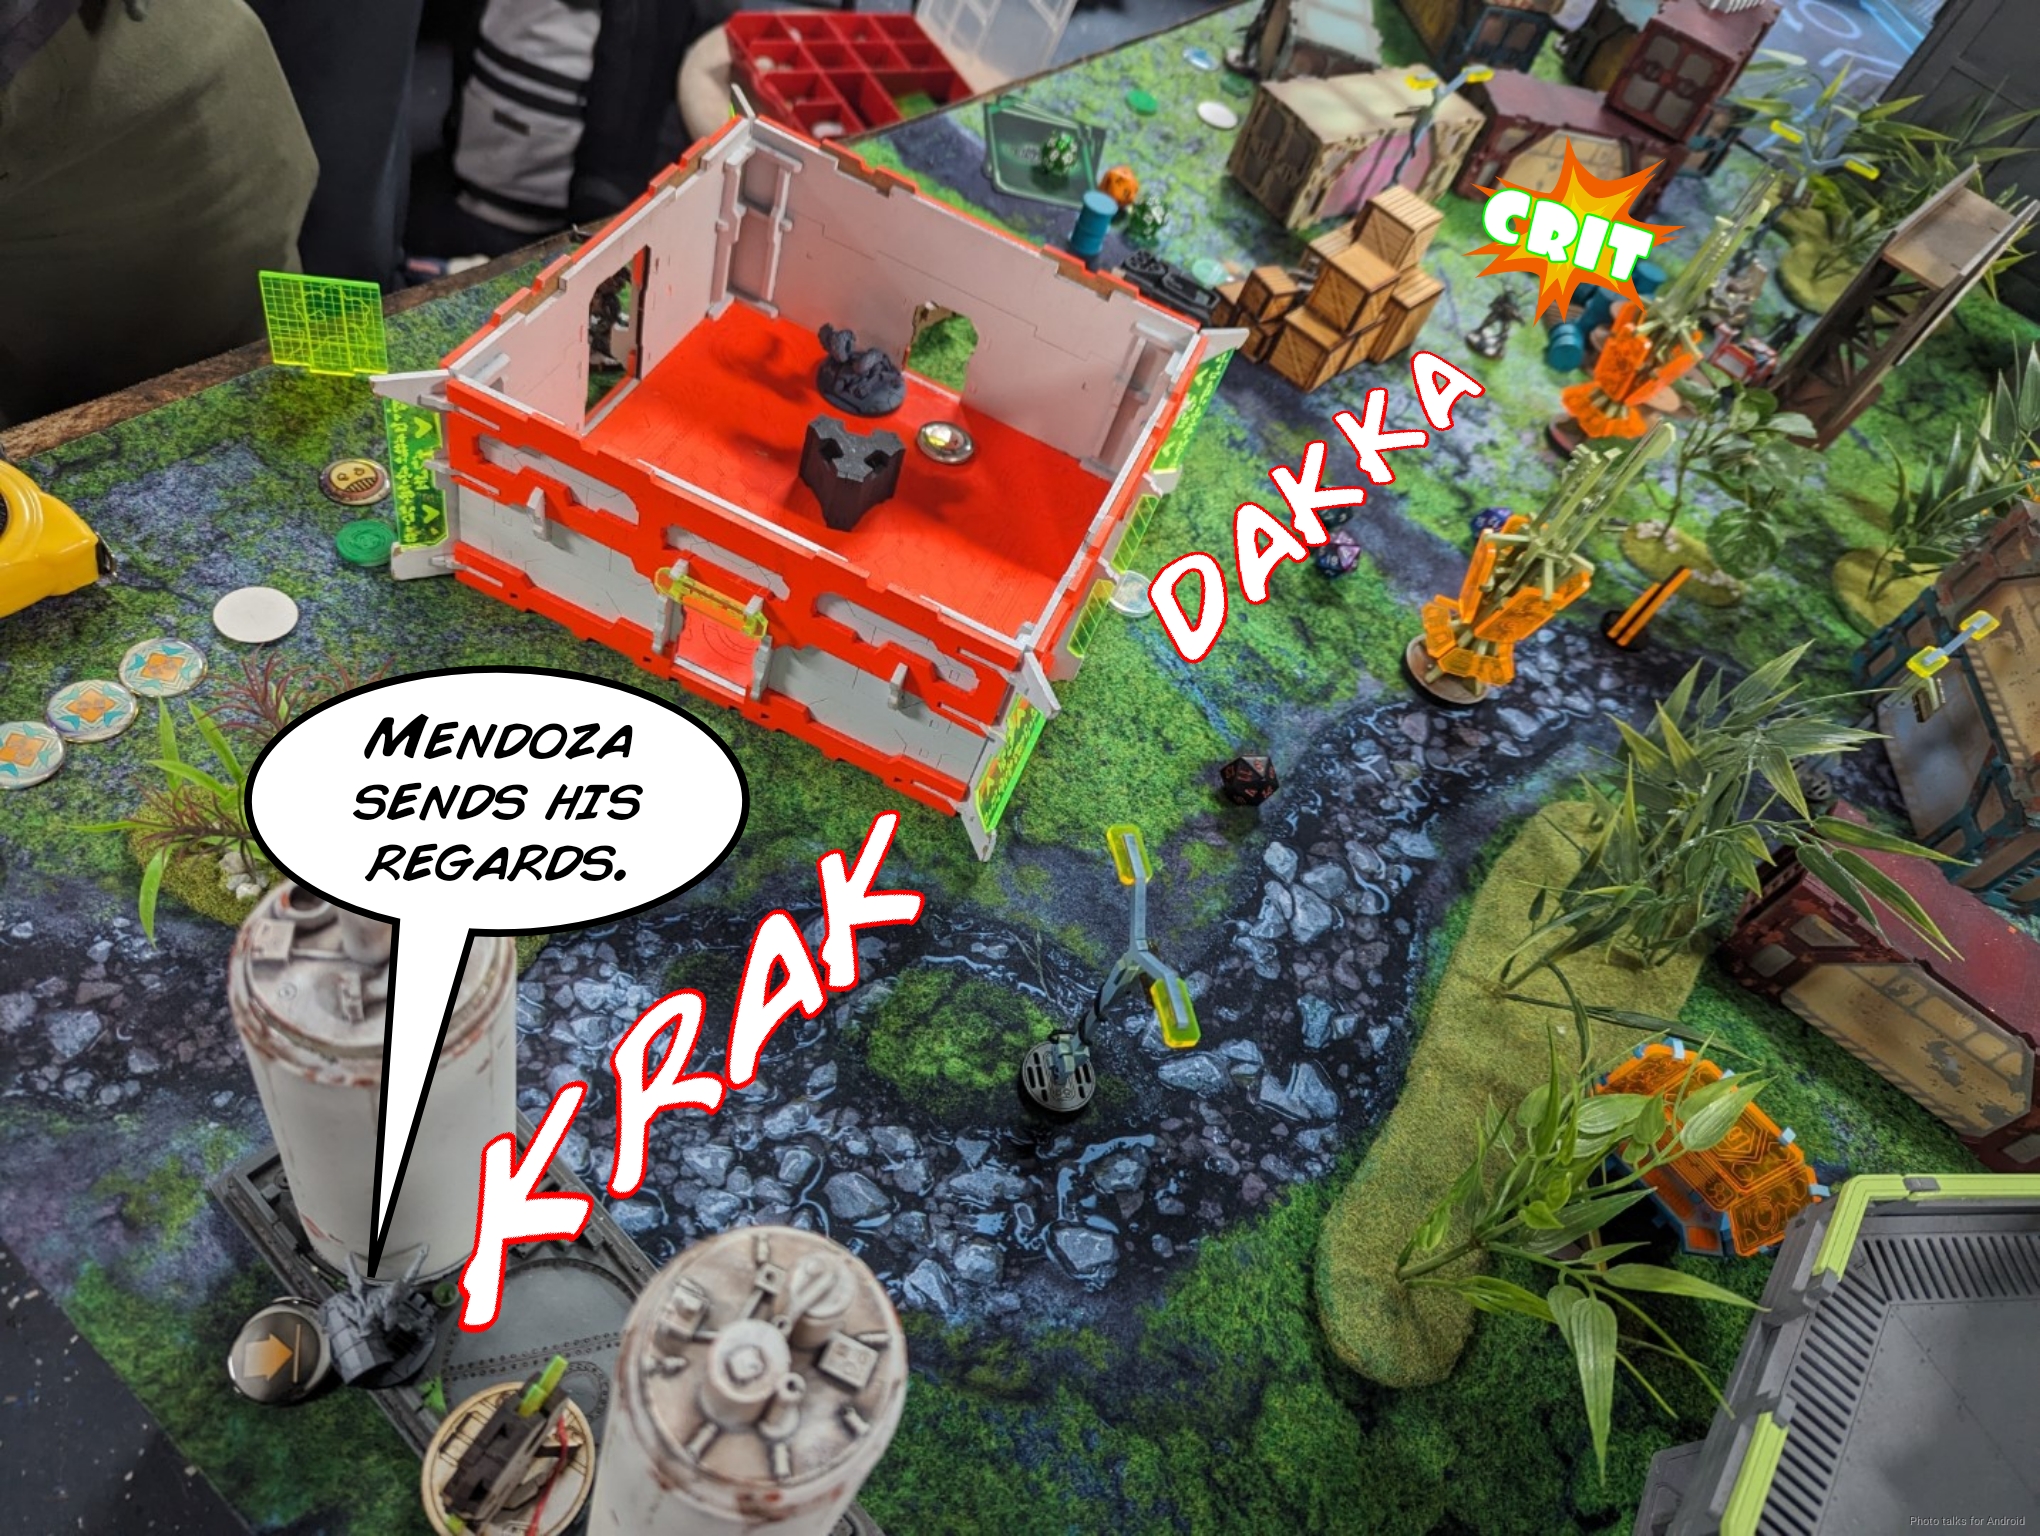
The Moran moves in and starts taking out HVTs for Silence.
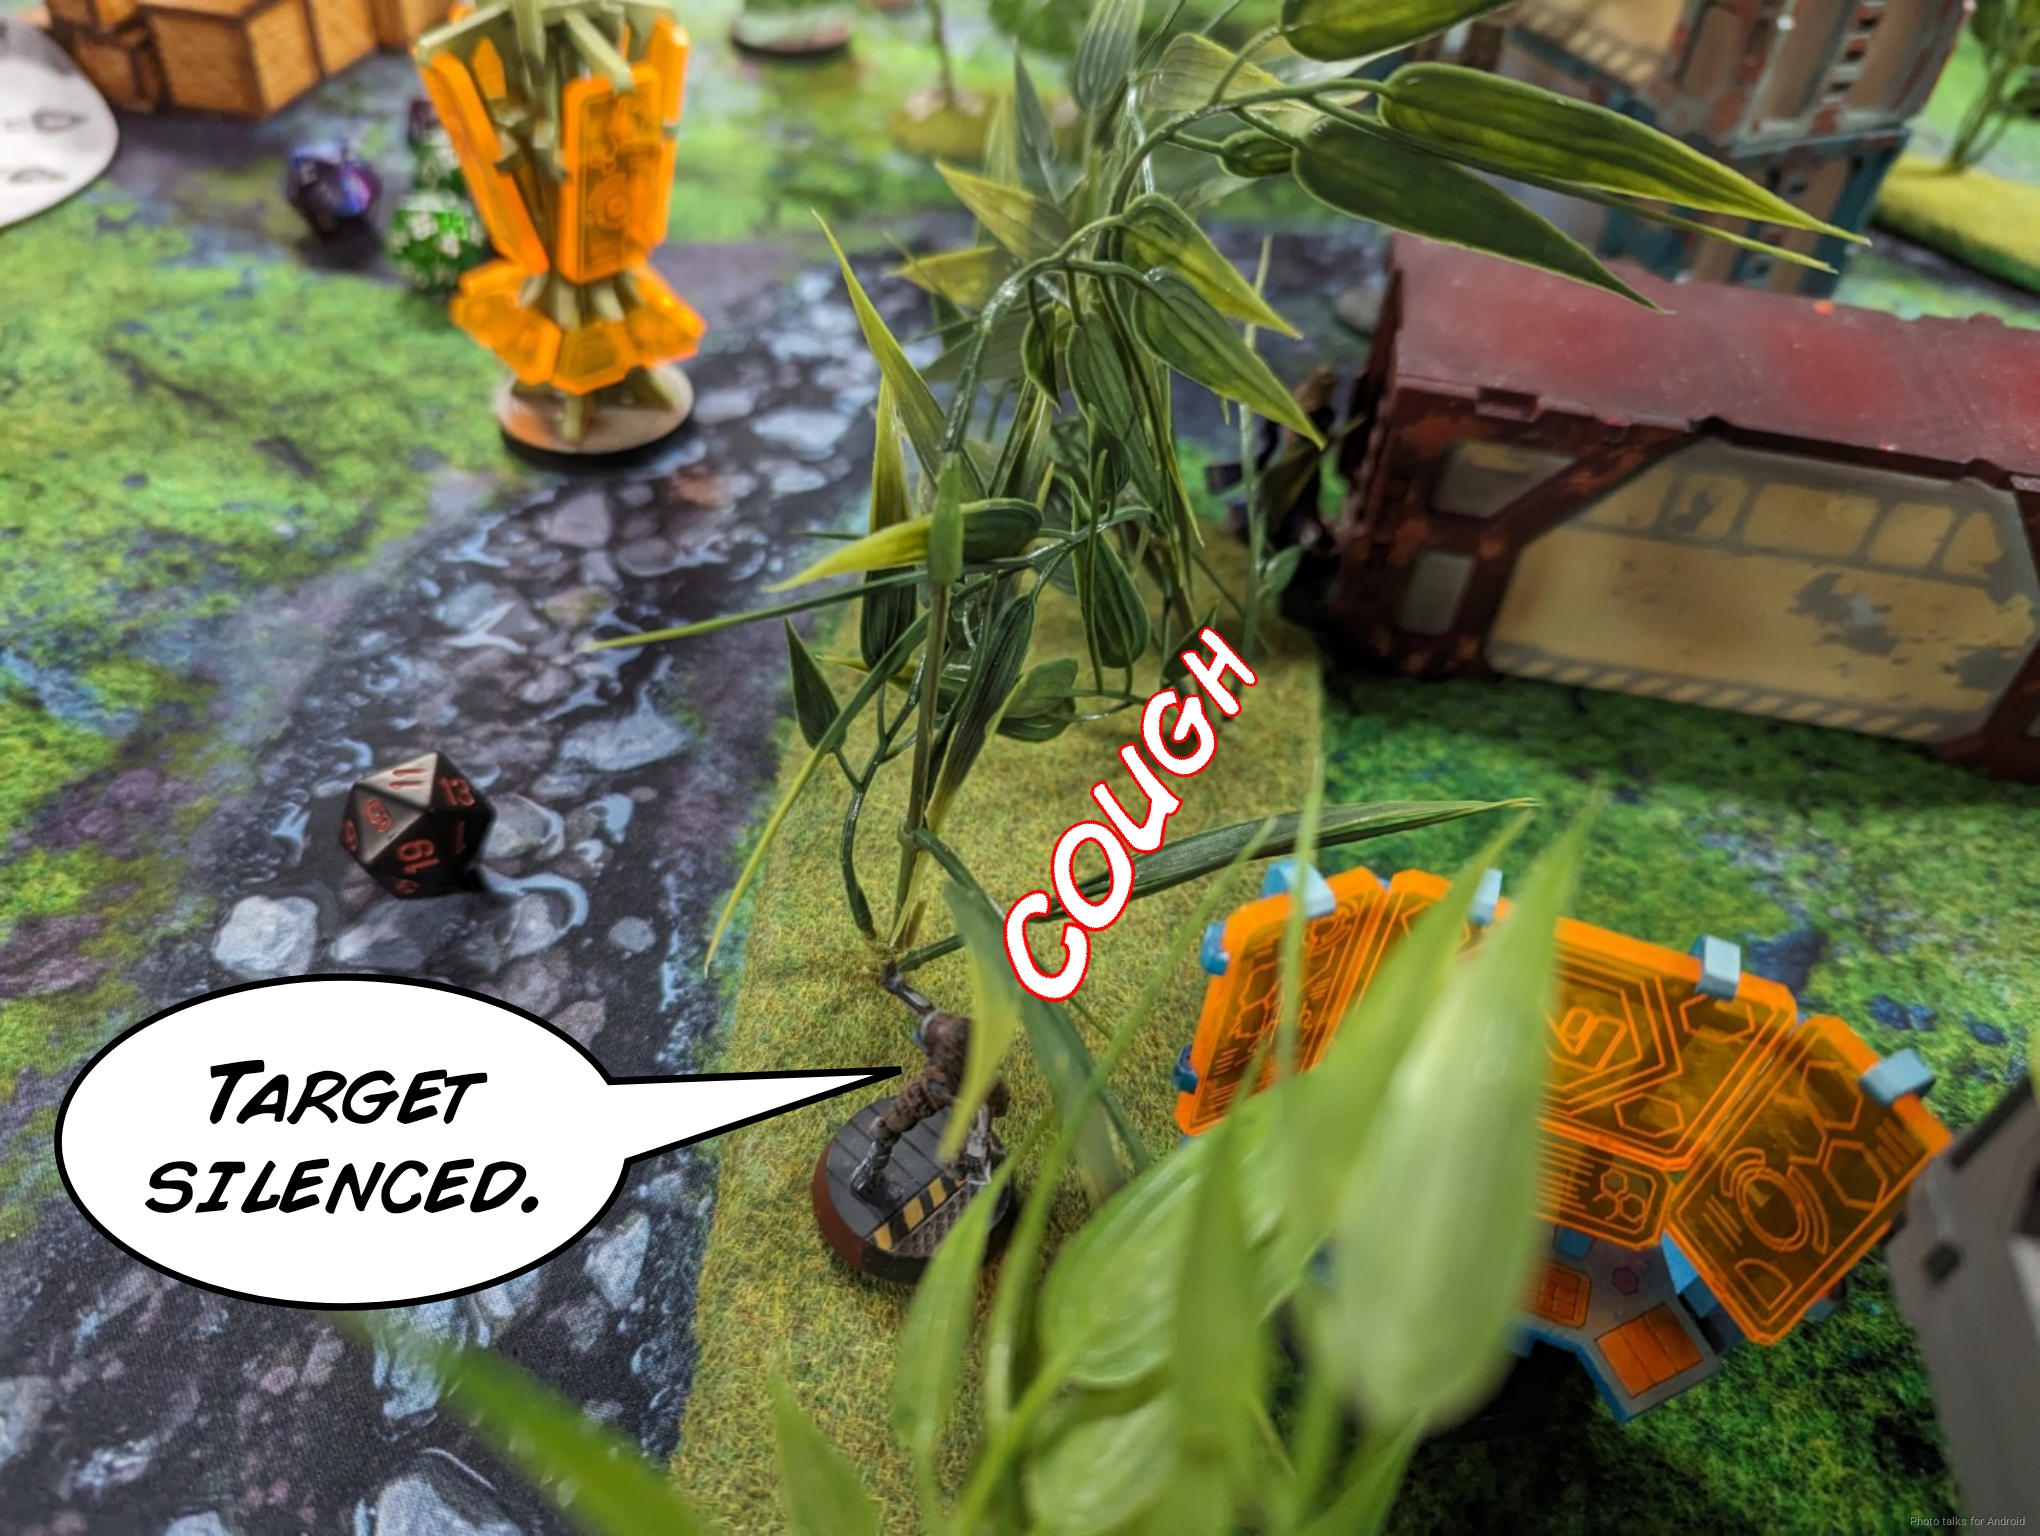
The second one takes a bit, but I get it done.

I handle Cybersiege as well with the Moran, but this takes too many orders. I use a Coordinated order to shift the Moran to relative safety, hide the Zondnautica, and shift the Lizard, now that I’ve seen what I’m up against.
I’ve massively de-risked the game now with a 6-0 lead on the first turn. Now all I have to do is fight a delaying action. I’ve got both orders in the second group, so I just shift the Warcor out to see more things and shift the Moderator sniper out to fight the Haris on the left.

Bottom of 1 – Invincibles
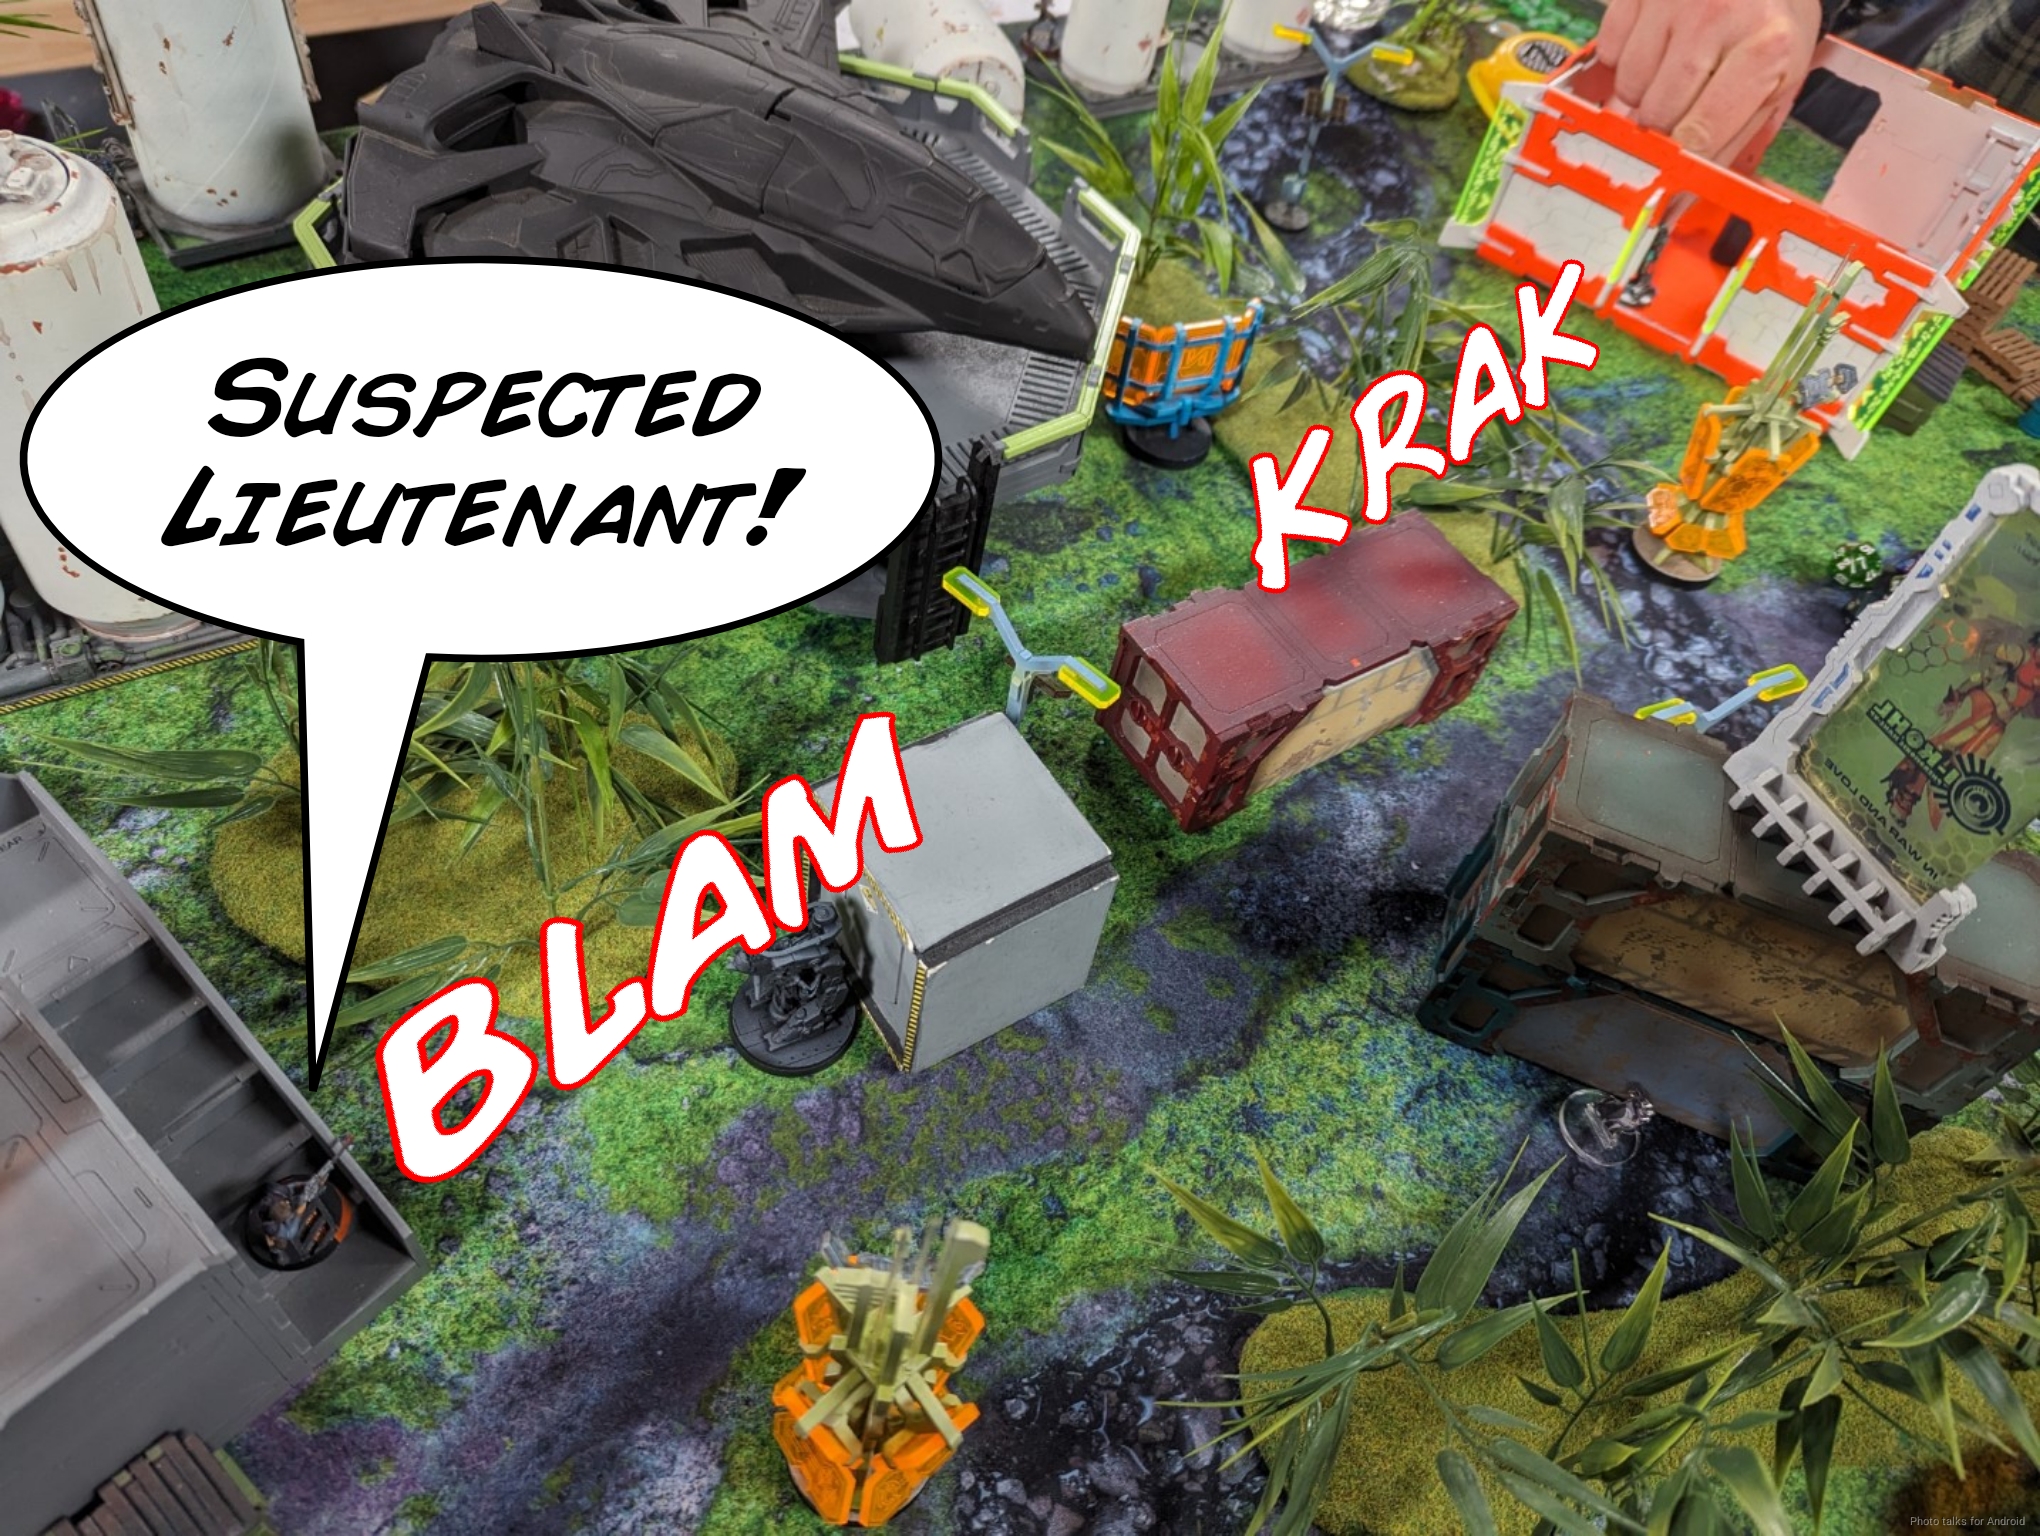
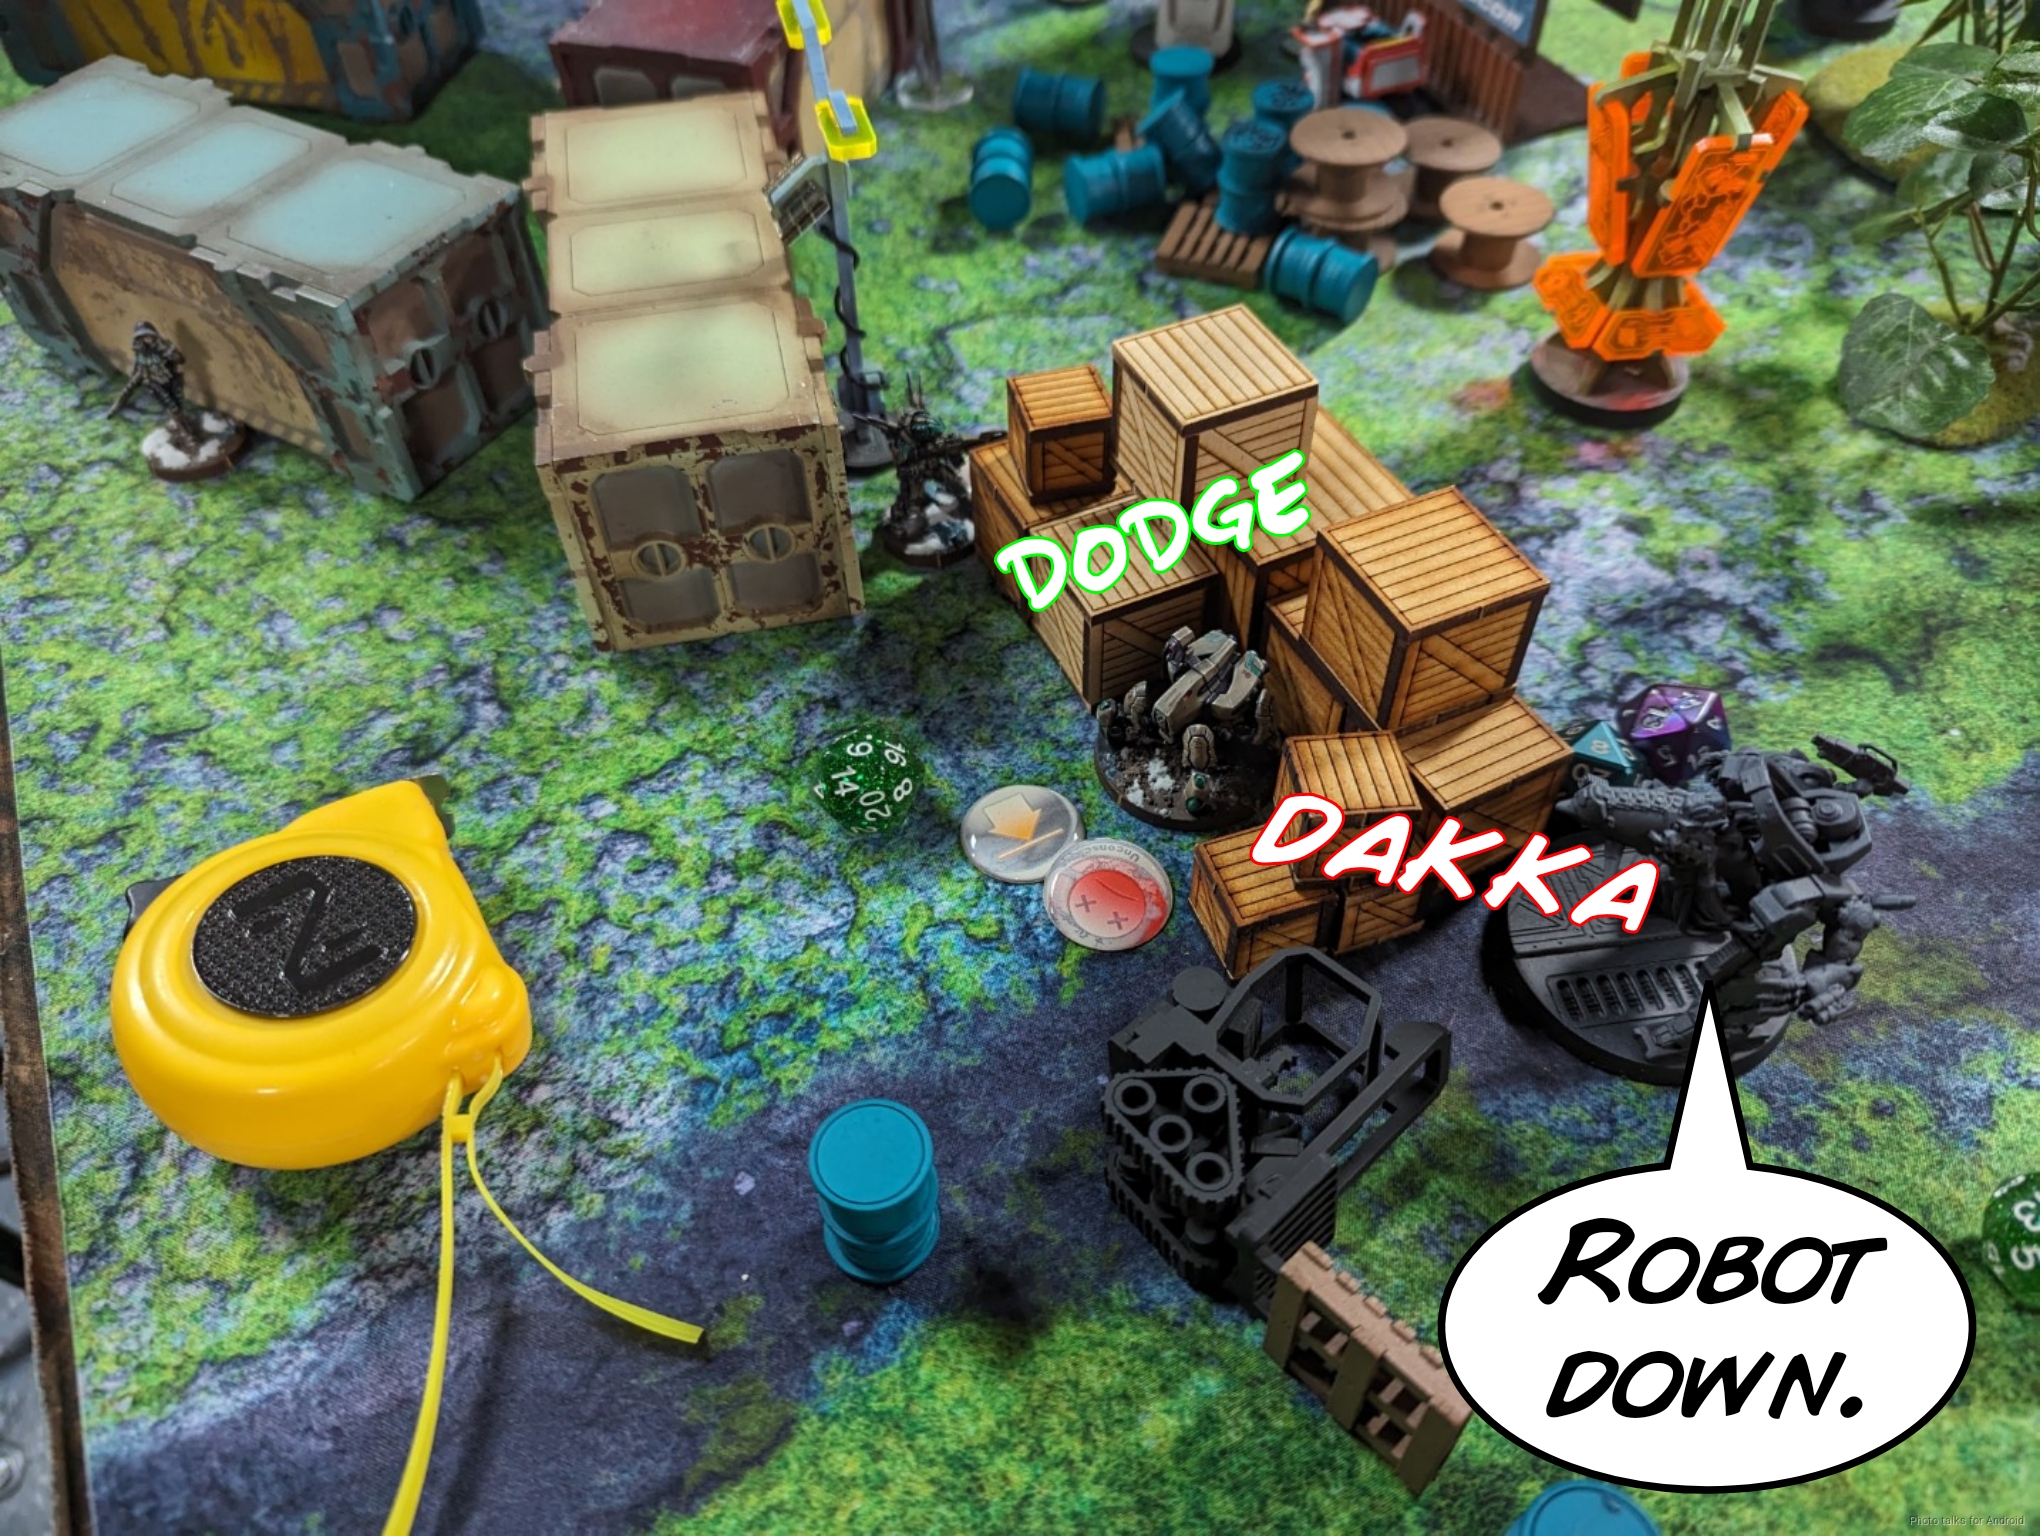
I thought Erik would push the Haris forward, but instead he reveals a Daoying lieutenant and tries fighting my Moderator. It takes a whopping 4 orders to take out the Moderator, one of which almost kills the Daoying when I land a hit.
With the Moderator out of the way, Erik’s got enough orders to take out the Moran, and then he’s forced to pass turn.
Turn 2
Top of 2 – Nomads
Well, with minimal damage from Erik’s first turn, it’s time to do damage and then drop beepers on Turn 3. I know just how to do it, but before I execute, I have a very important question for Erik… “so ah… how many Lt orders did you have last turn?” Lieutenant identified, I rocket the Zondnautica forward and peek the Daoying, daring Erik to respond. He declines, and I fail the discover.
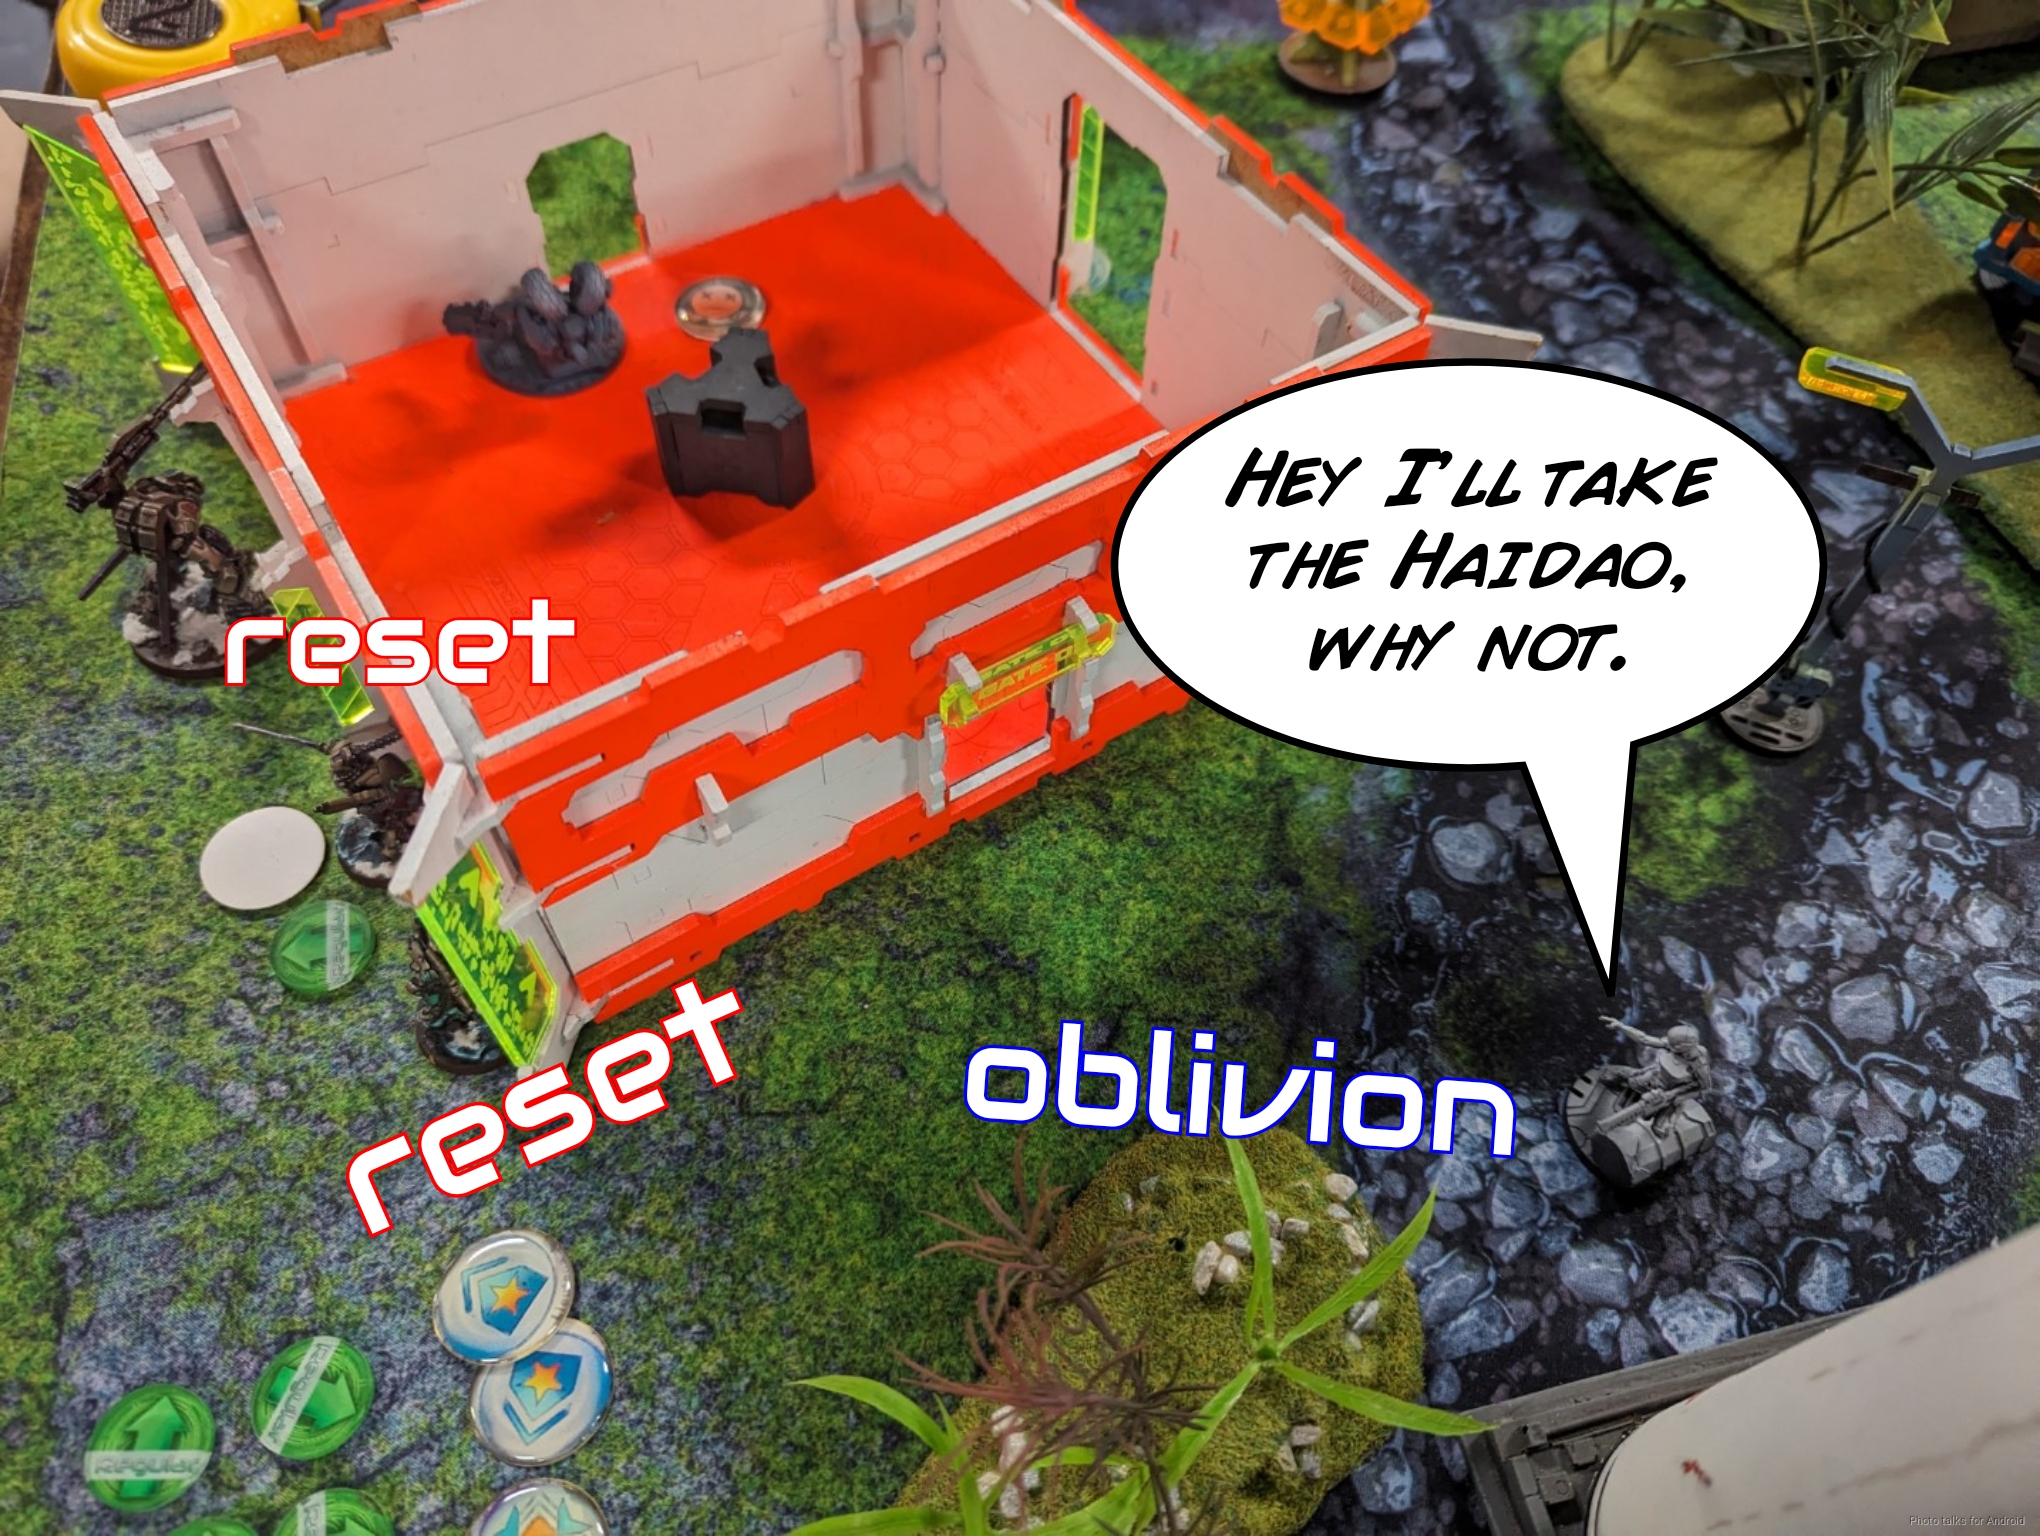
No matter. I dismount and show both the Zondmate and Zondnaut, also putting the Zondnaut in hacking range of the Yan Huo, Haidao, and Zuyong. I successfully Oblivion the Zuyong through its Tinbot, which makes the rest of the hacking way easier.
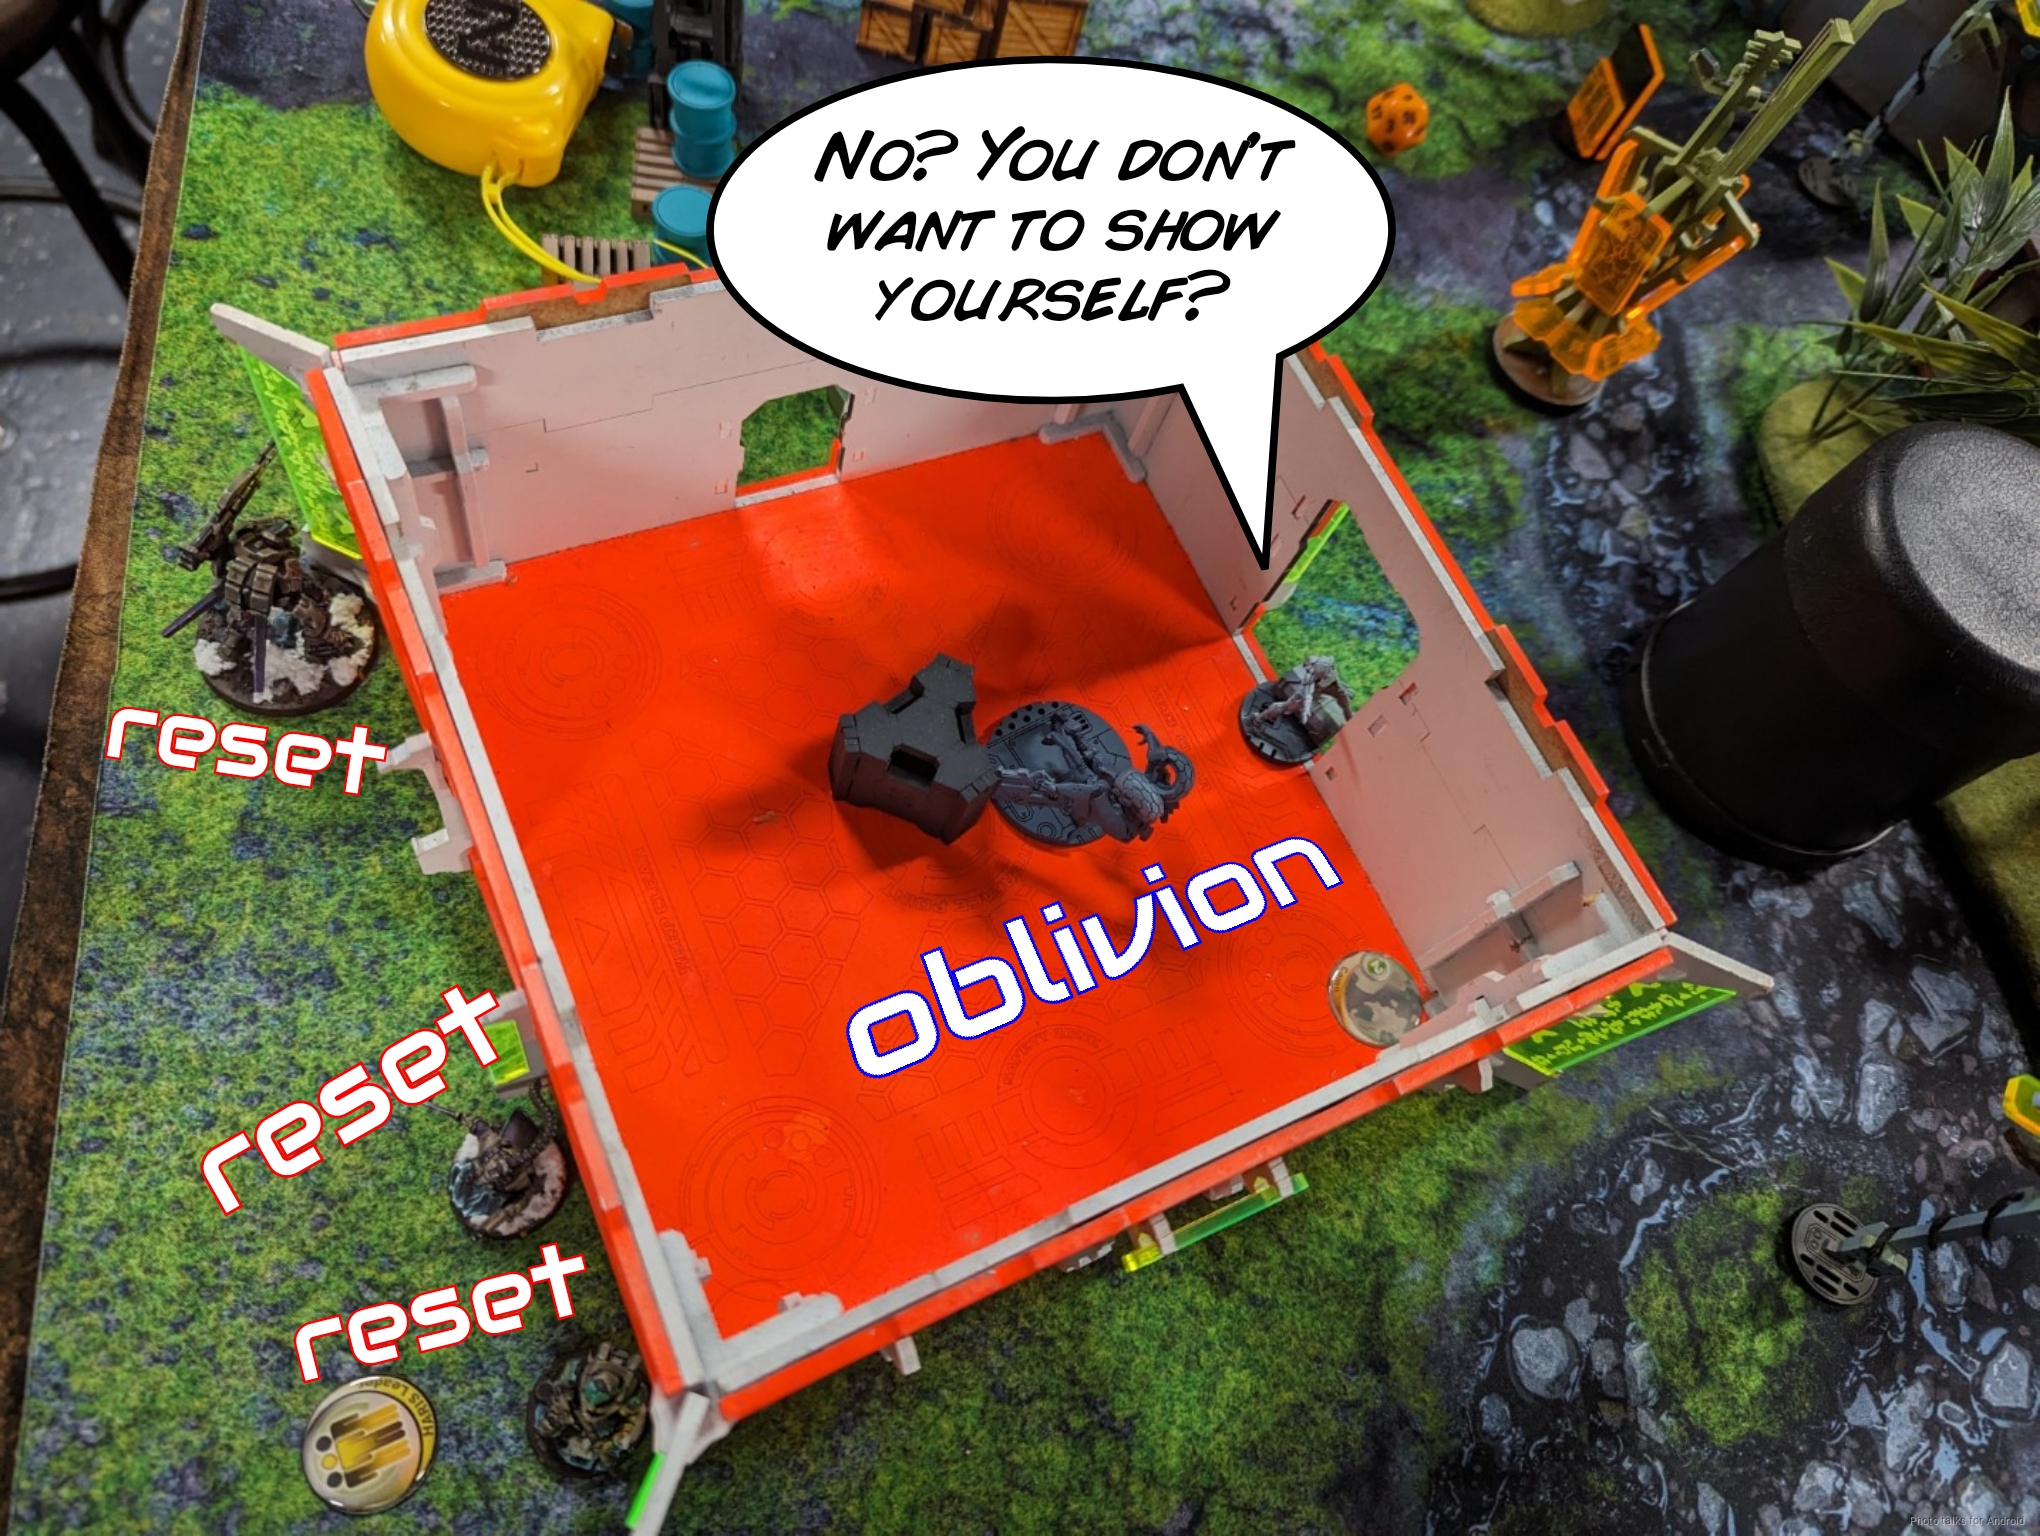
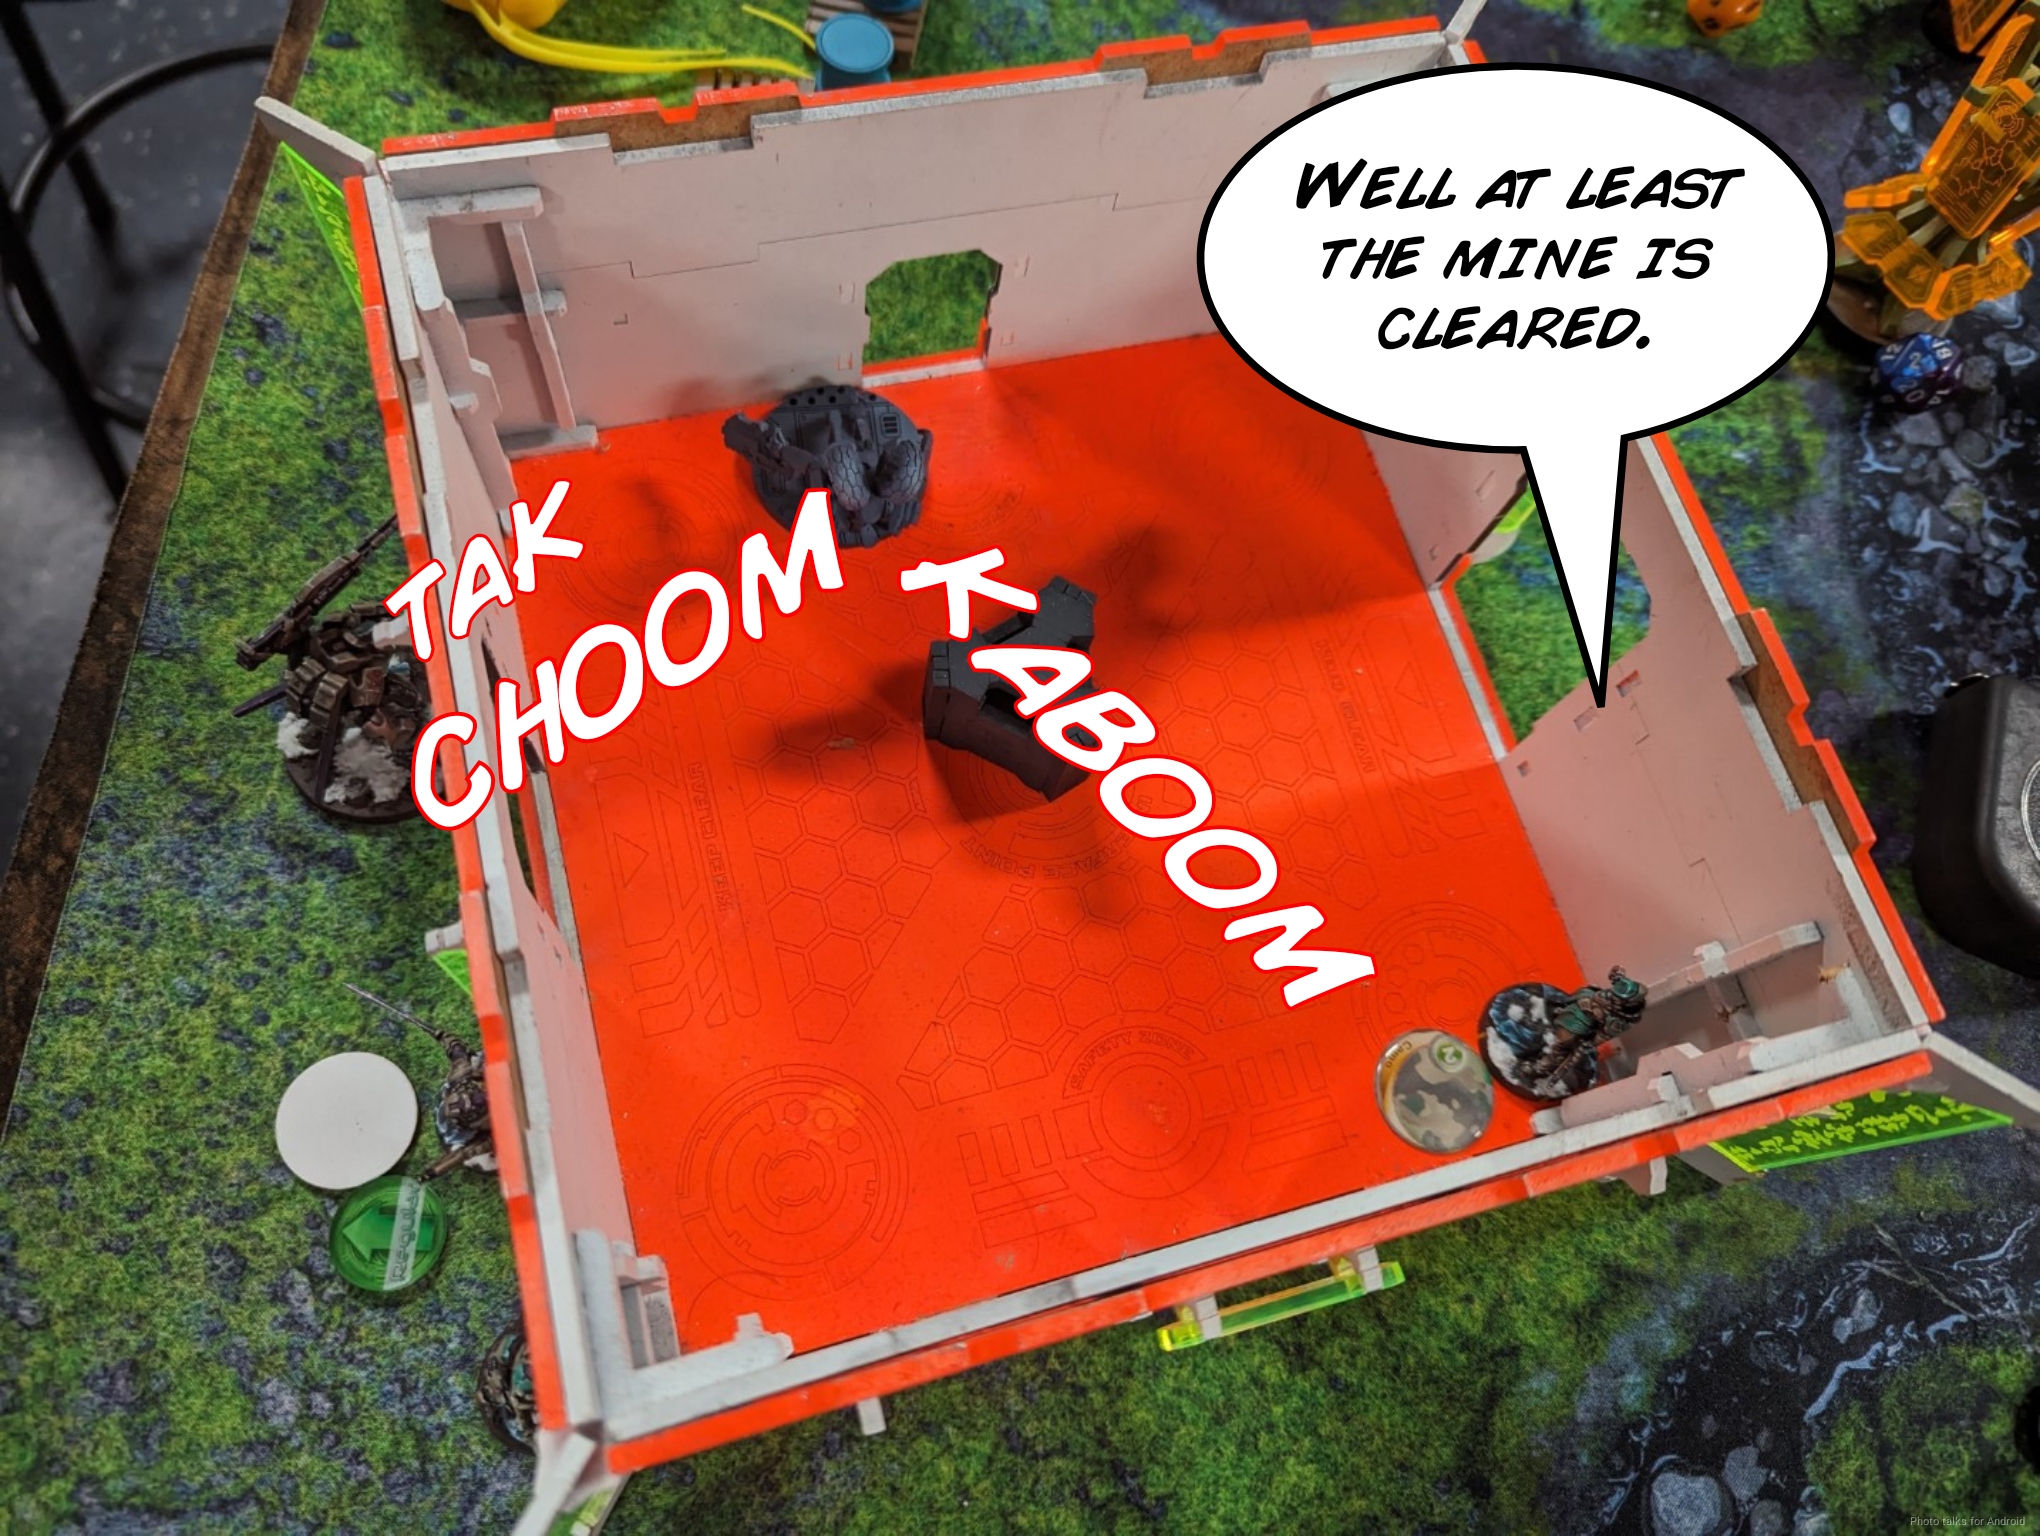
Now that the Zondmate is watching the Daoying, I can Intuitive Attack on the next order, killing the Daoying, who just places a mine, hoping (and failing) to make the save.
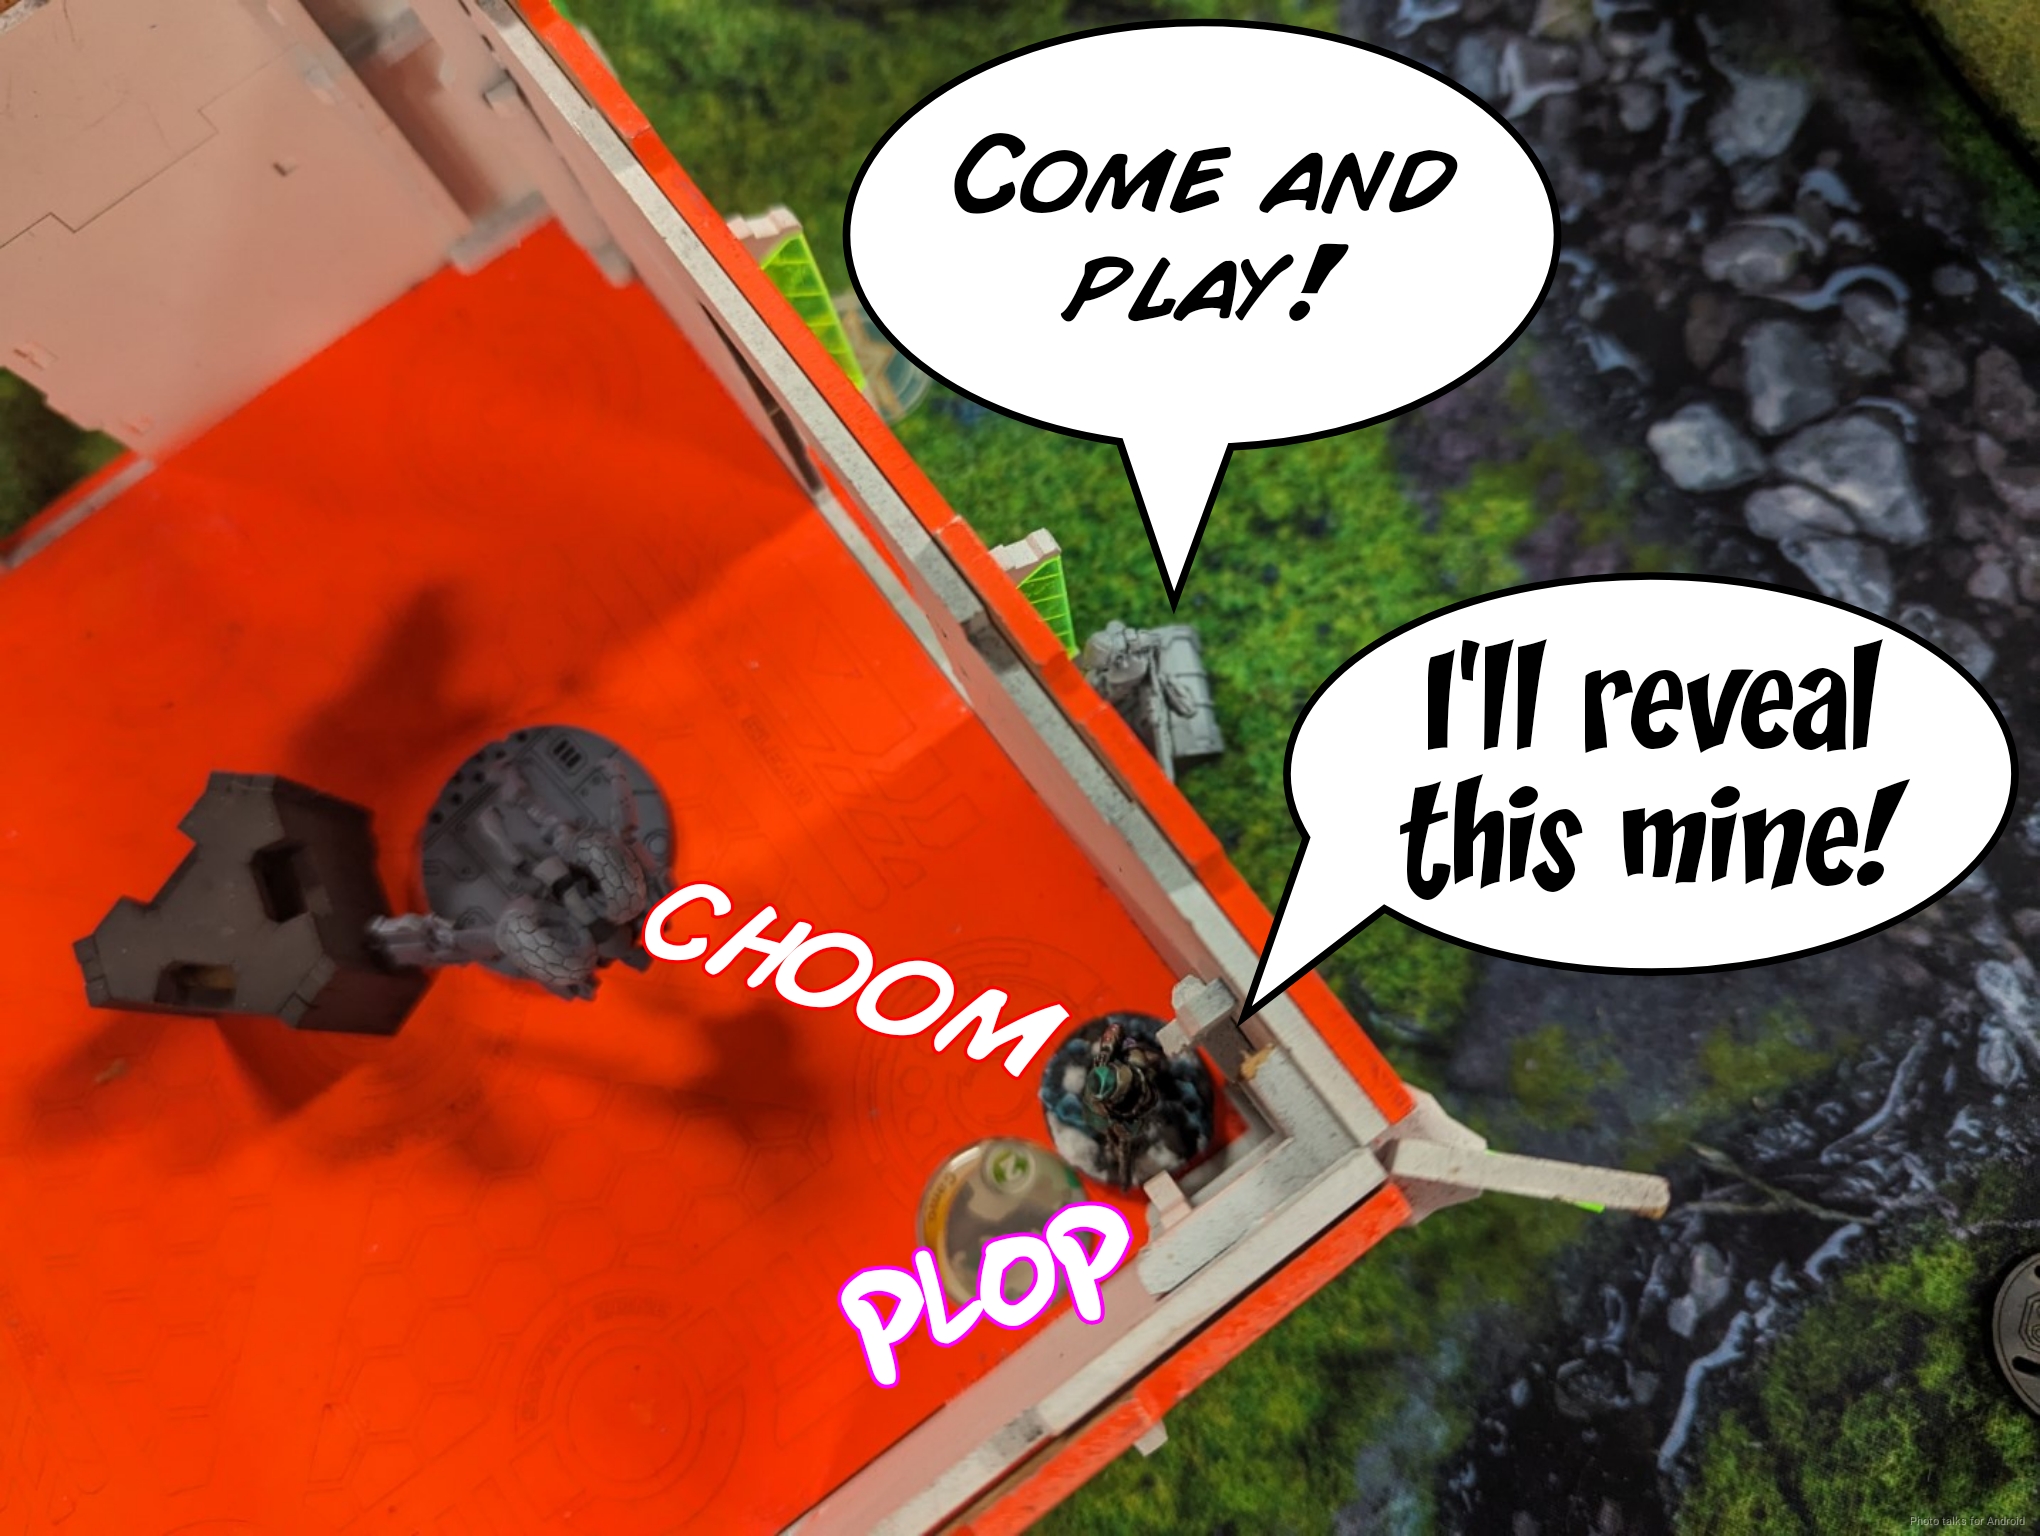
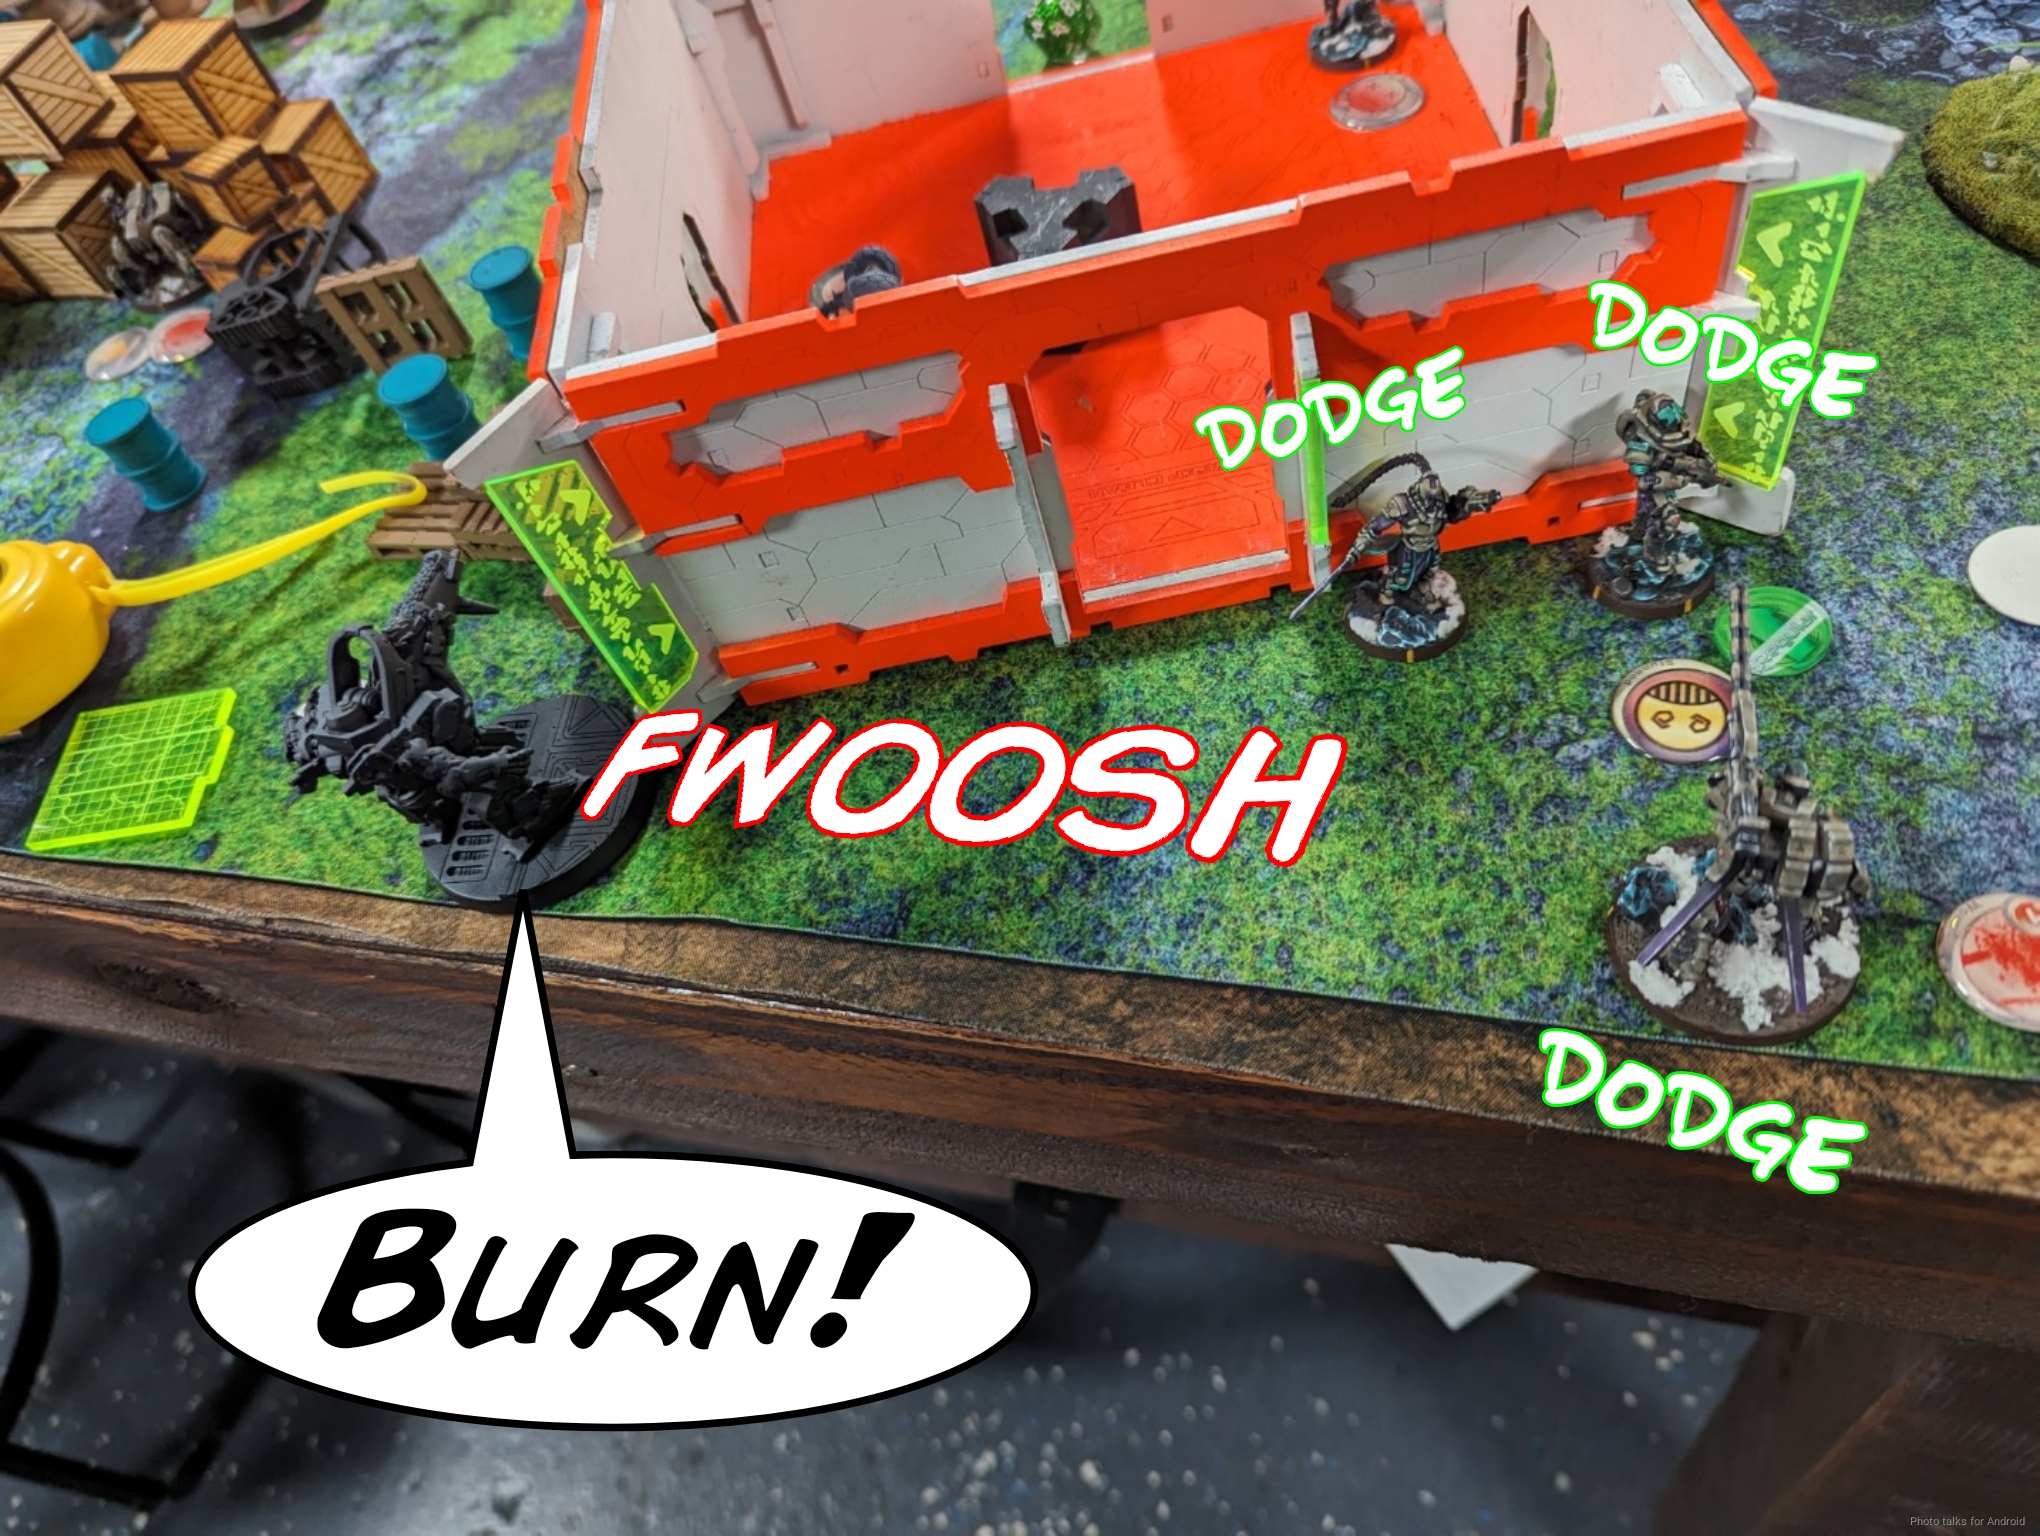
I decide to try and clear the mine with the Zondmate so I can get it out of there if it works out. I drop a chain rifle template on the Zuyong and Yan Huo, losing the Zondmate, clearing the mine, and doing a single wound to the Zuyong.
Since I’m no longer speedy, I retreat the Zondnaut to where the Moran was, isolating the Haidao while I’m at it.
I’m just sort of chilling here now, near the downed Moran, daring Erik to come dig me out.
Bottom of 2 – Invincibles
Well, Erik’s in Loss of Lieutenant. He starts by successfully resetting with the Zuyong but failing an Engineer roll on the Haidao.

Adam had played Erik the round previous, and apparently Erik’s Hector had crit Mendoza with plasma, making Adam big sad. I return the favor by critting the Shang Ji HMG in ARO with the Zondnaut, doing two wounds and knocking it unconscious.
Erik repositions some other troops and shifts the Yan Huo to take on the Zondnaut within 16″. My dice are hot and I do a wound to the Yan Huo before it retreats to relative safety.
Turn 3
Top of 3 – Nomads
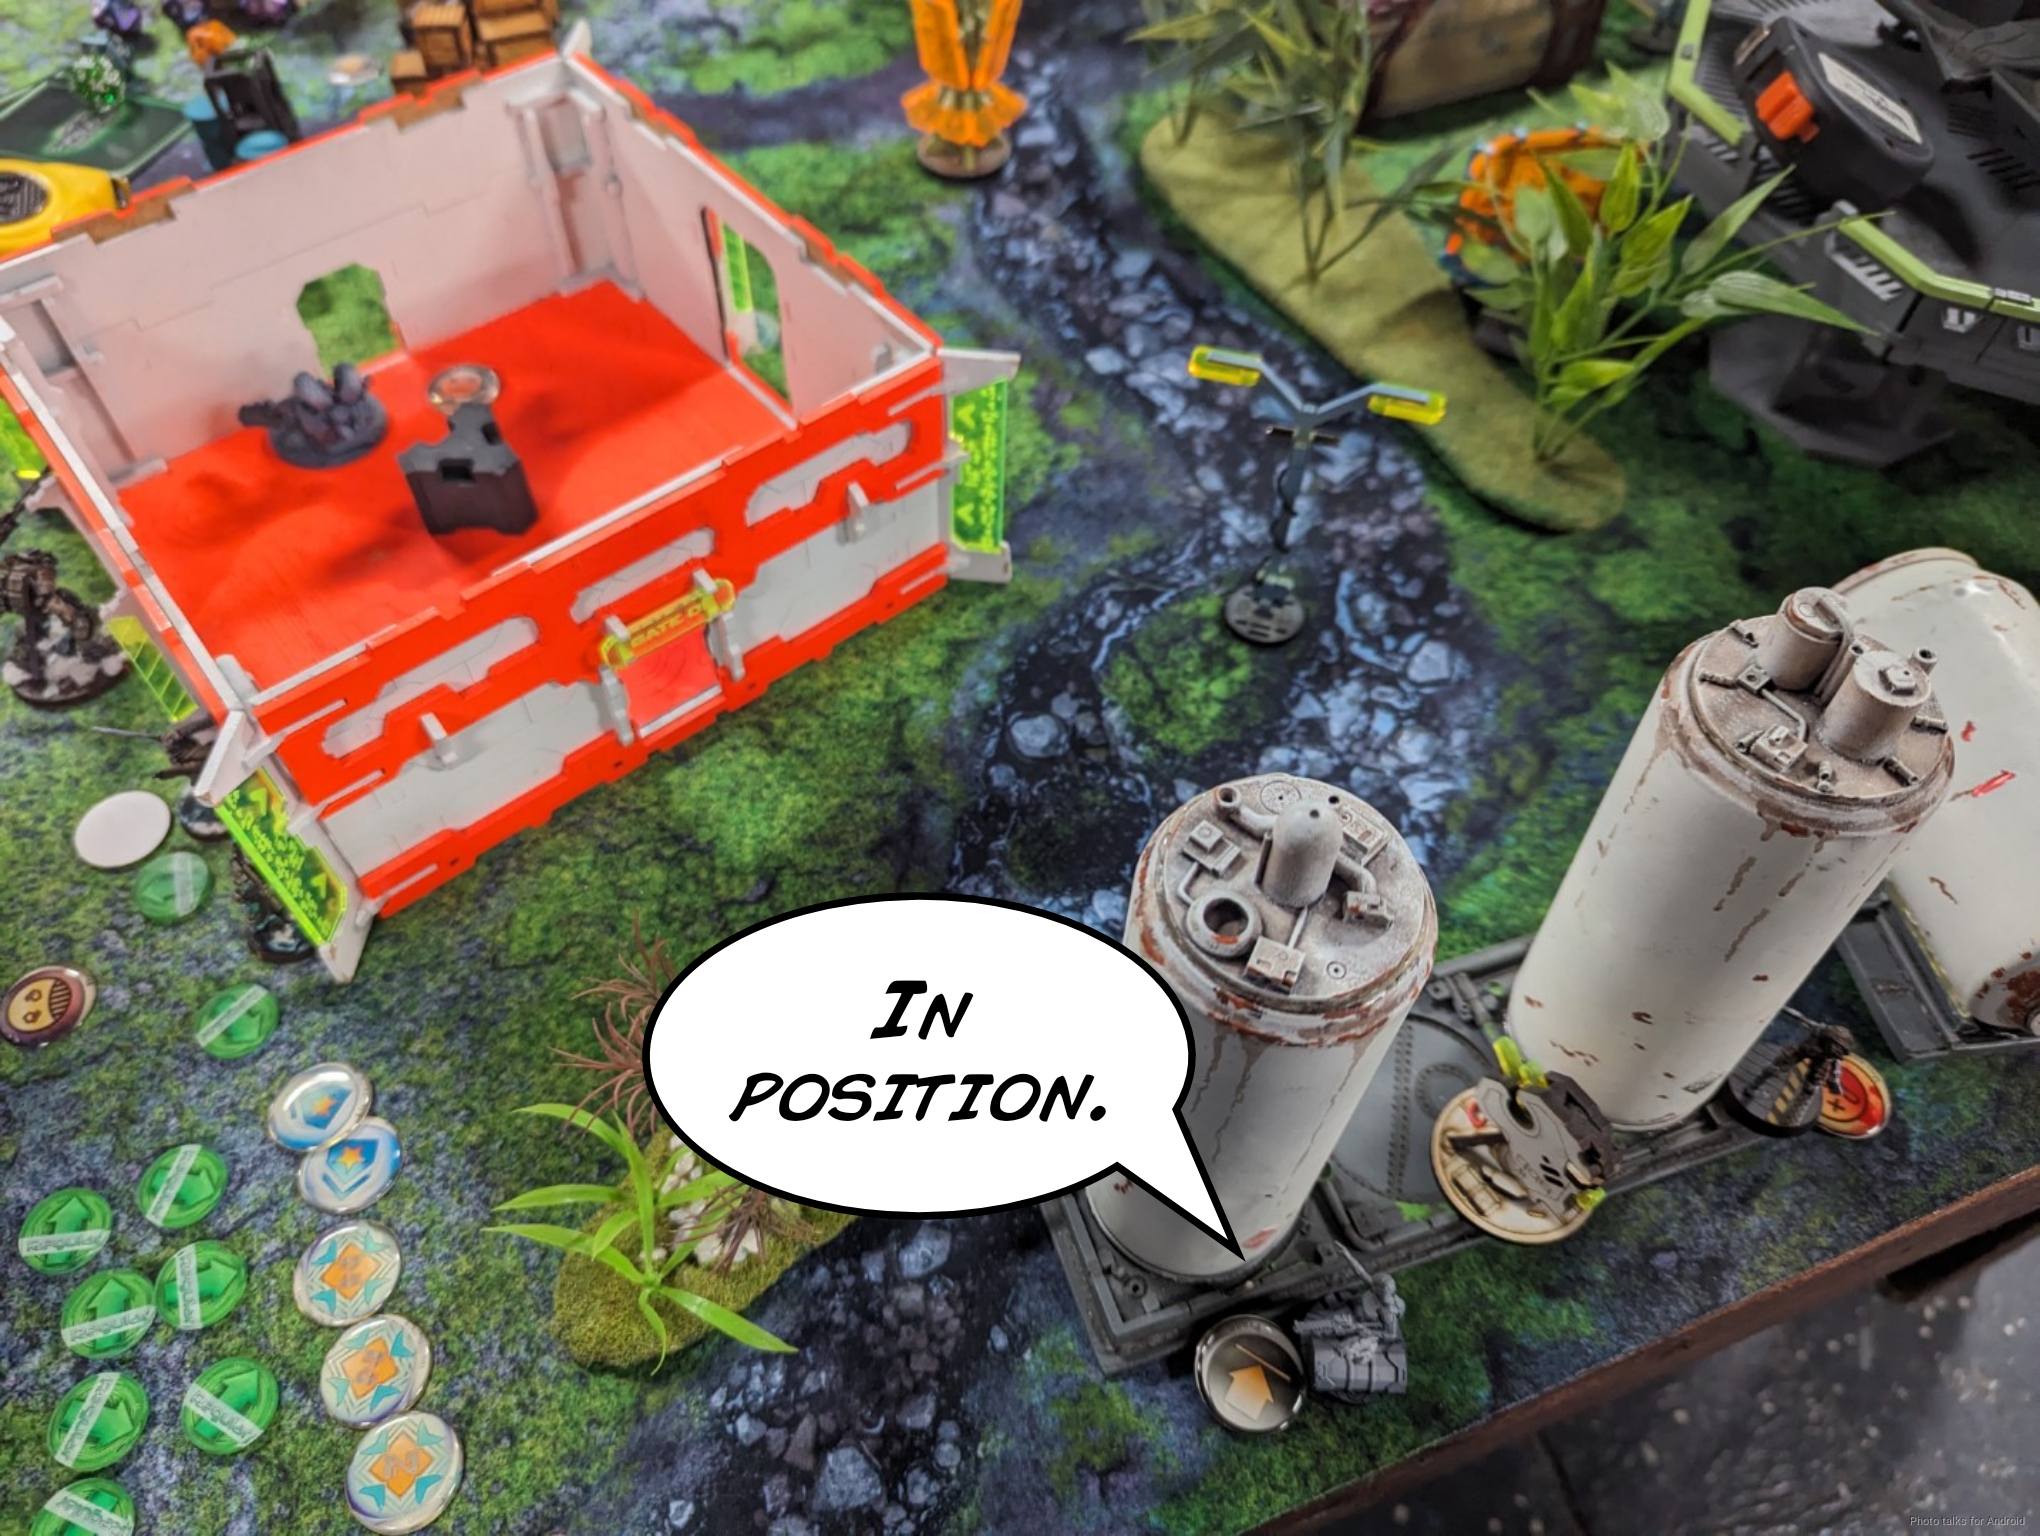
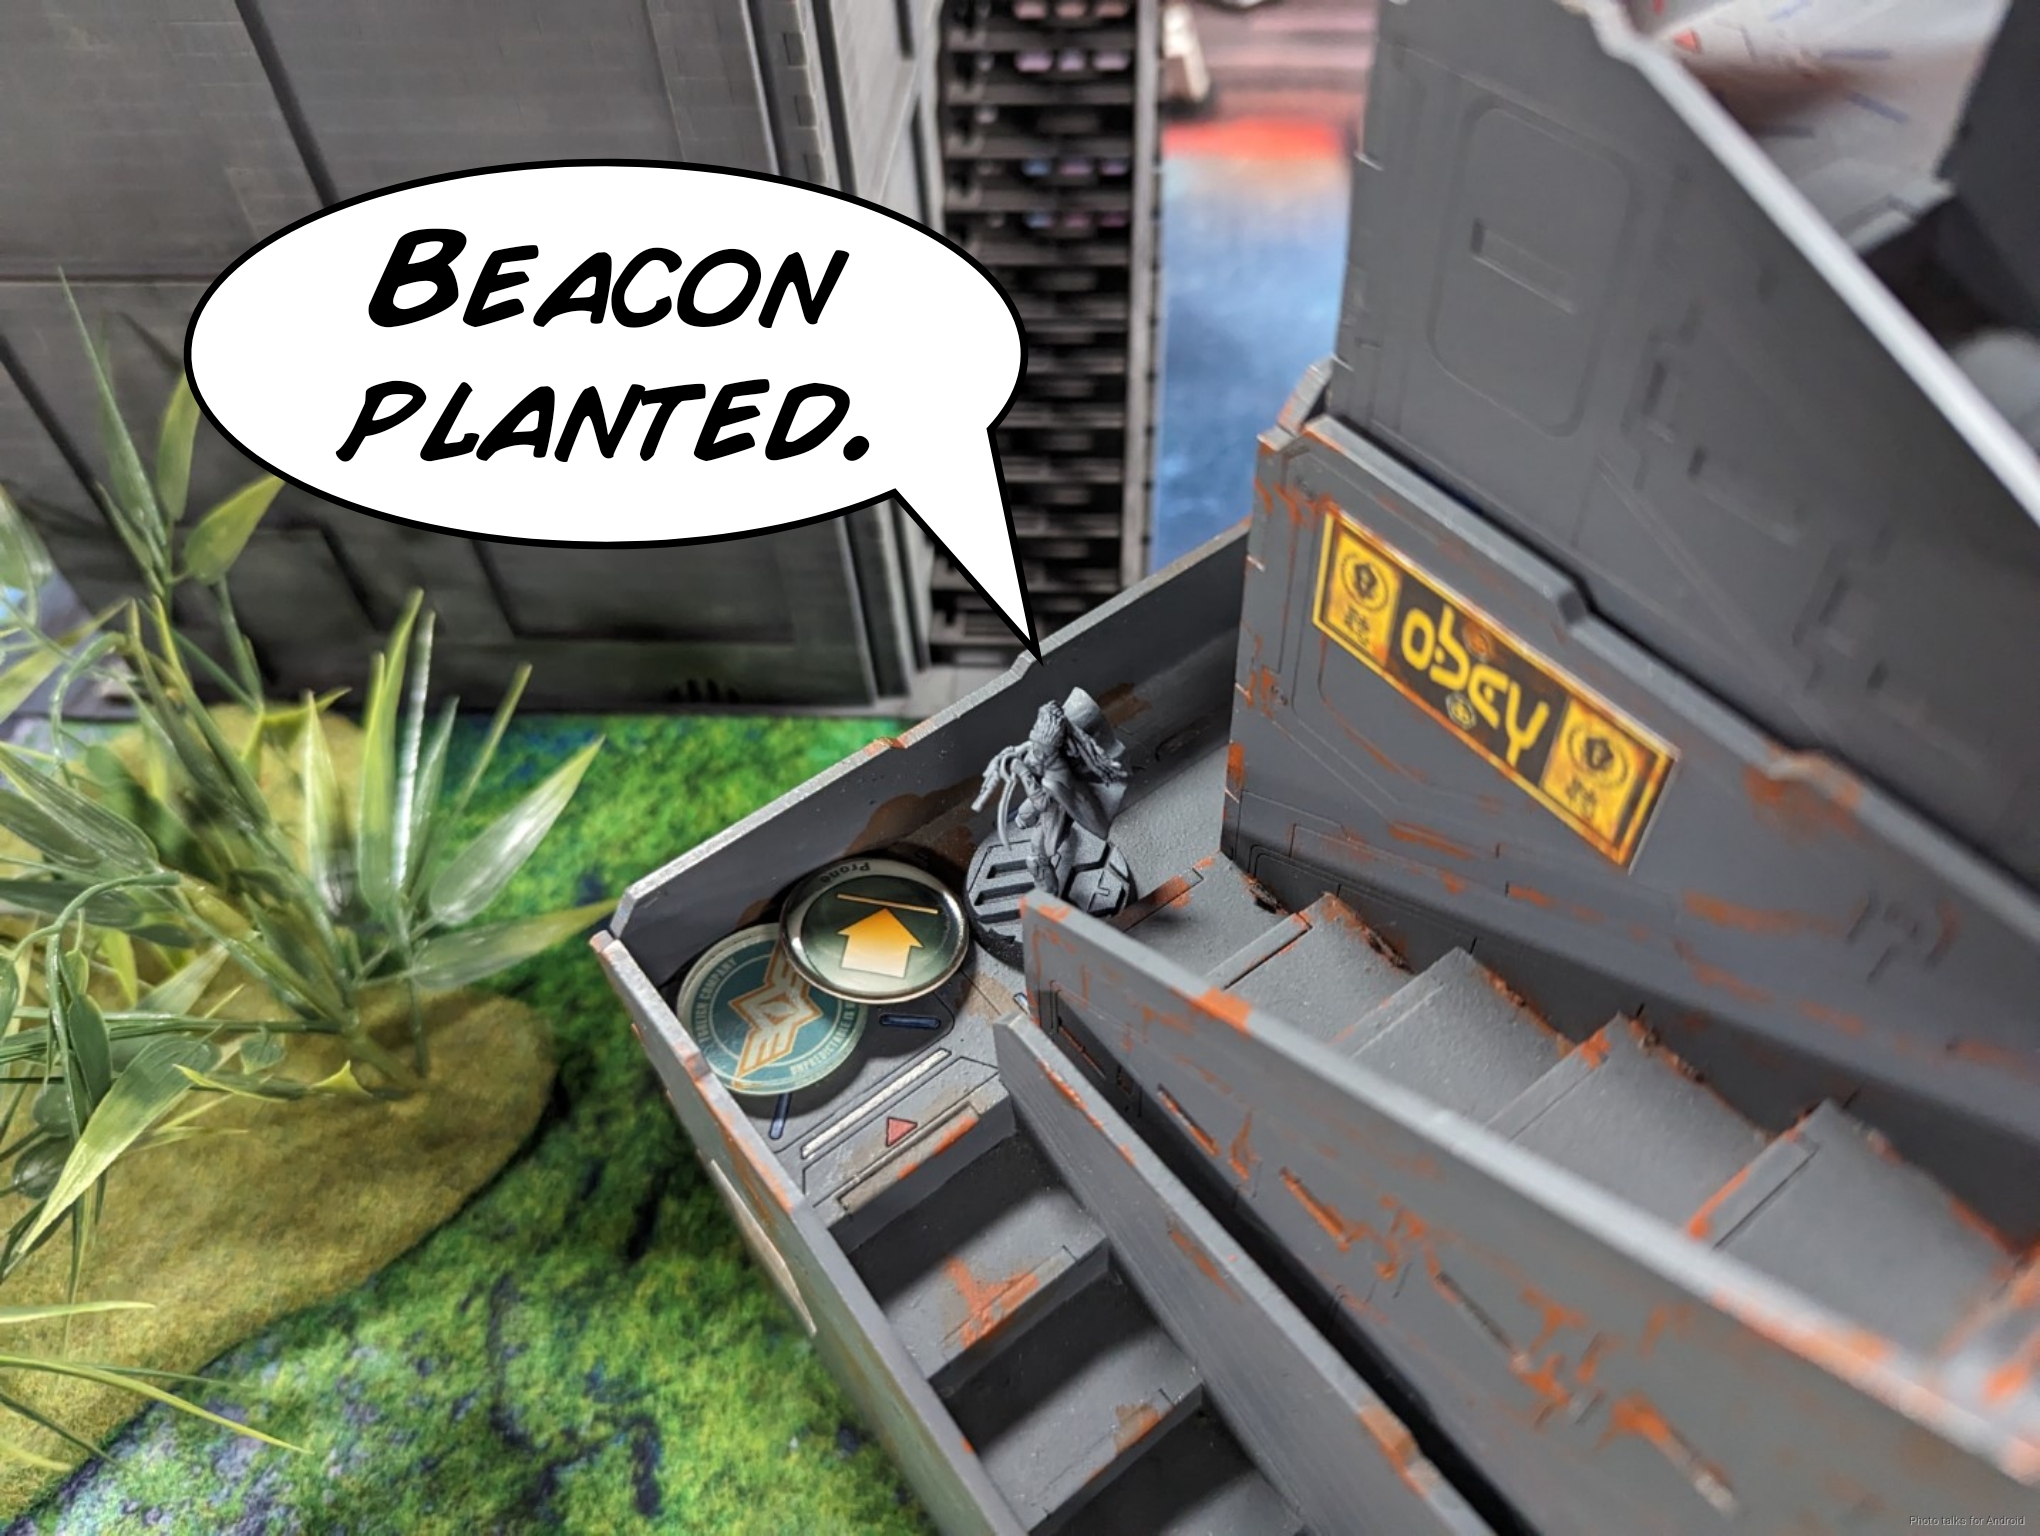
Well, the objective is now to just plant some beepers, finishing out the last objective, and then go smash all of Erik’s toys. Aida drops a basically invincible Beeper on some stairs just over the centerline. Gotta say, this is a great looking table. Looks like it’s been run through a Prisma filter (while I used to do that I don’t anymore).
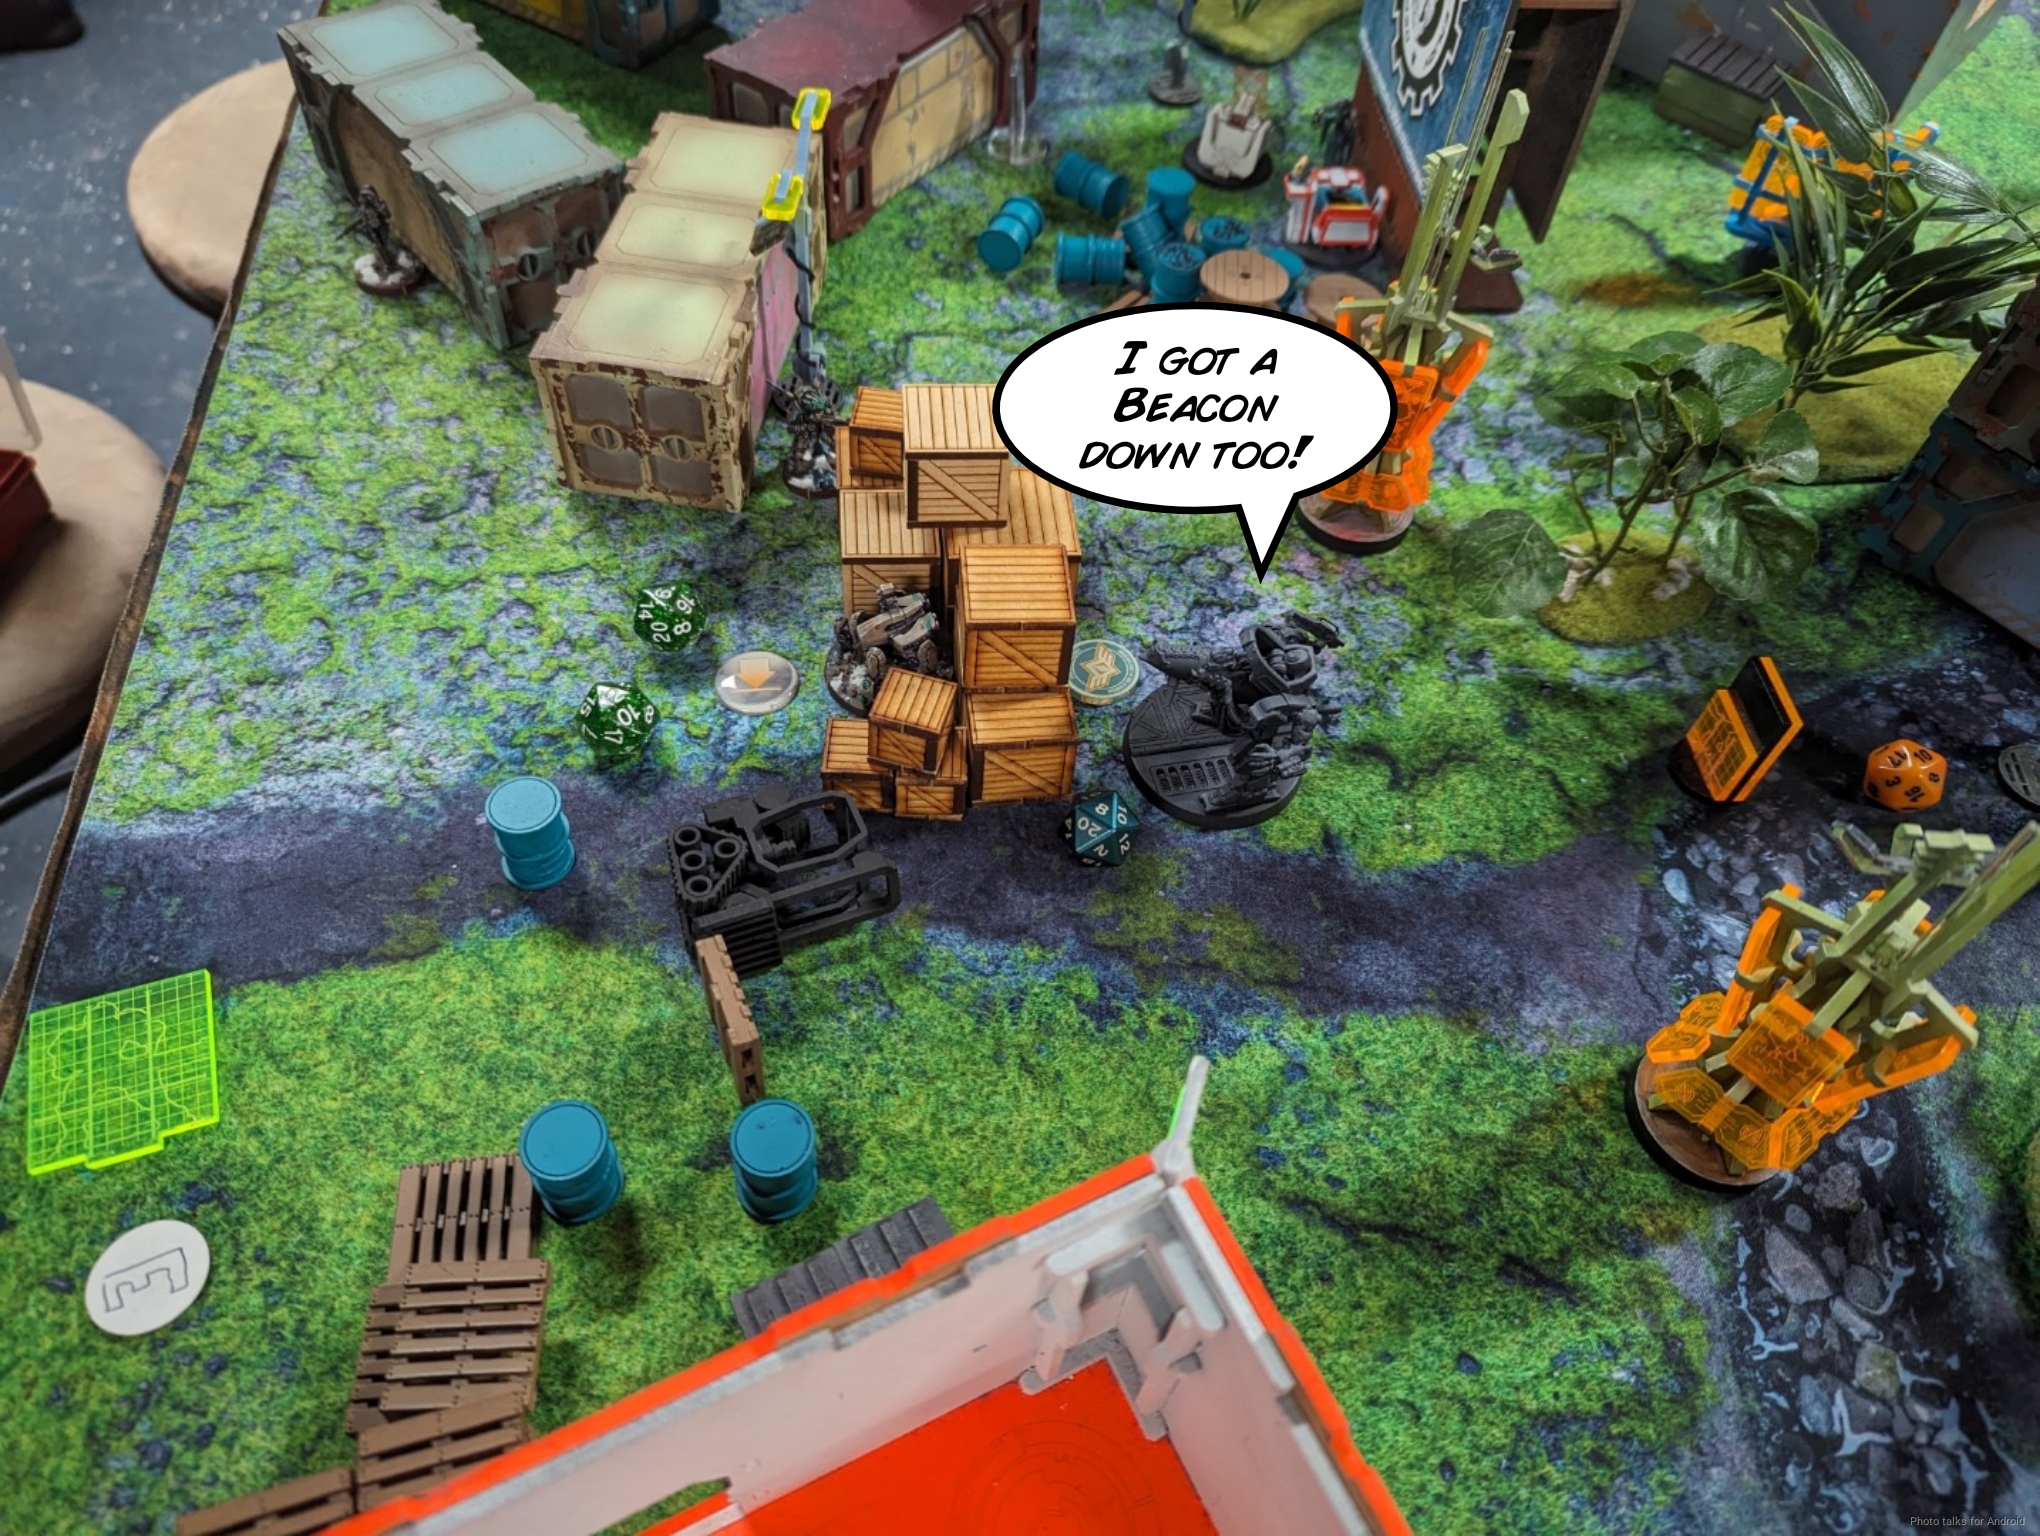
I then march the Lizard across the table, dropping a beeper in Erik’s deployment zone.
I then directly attack the order pool, taking out the Chaiyi…
then one of the Zhanshi.

The Zuyong, Yan Huo, and Haidao manage to survive the Lizard’s flamethrower though, and that’s basically all I can see with the orders I have left.
Bottom of 3 – Invincibles
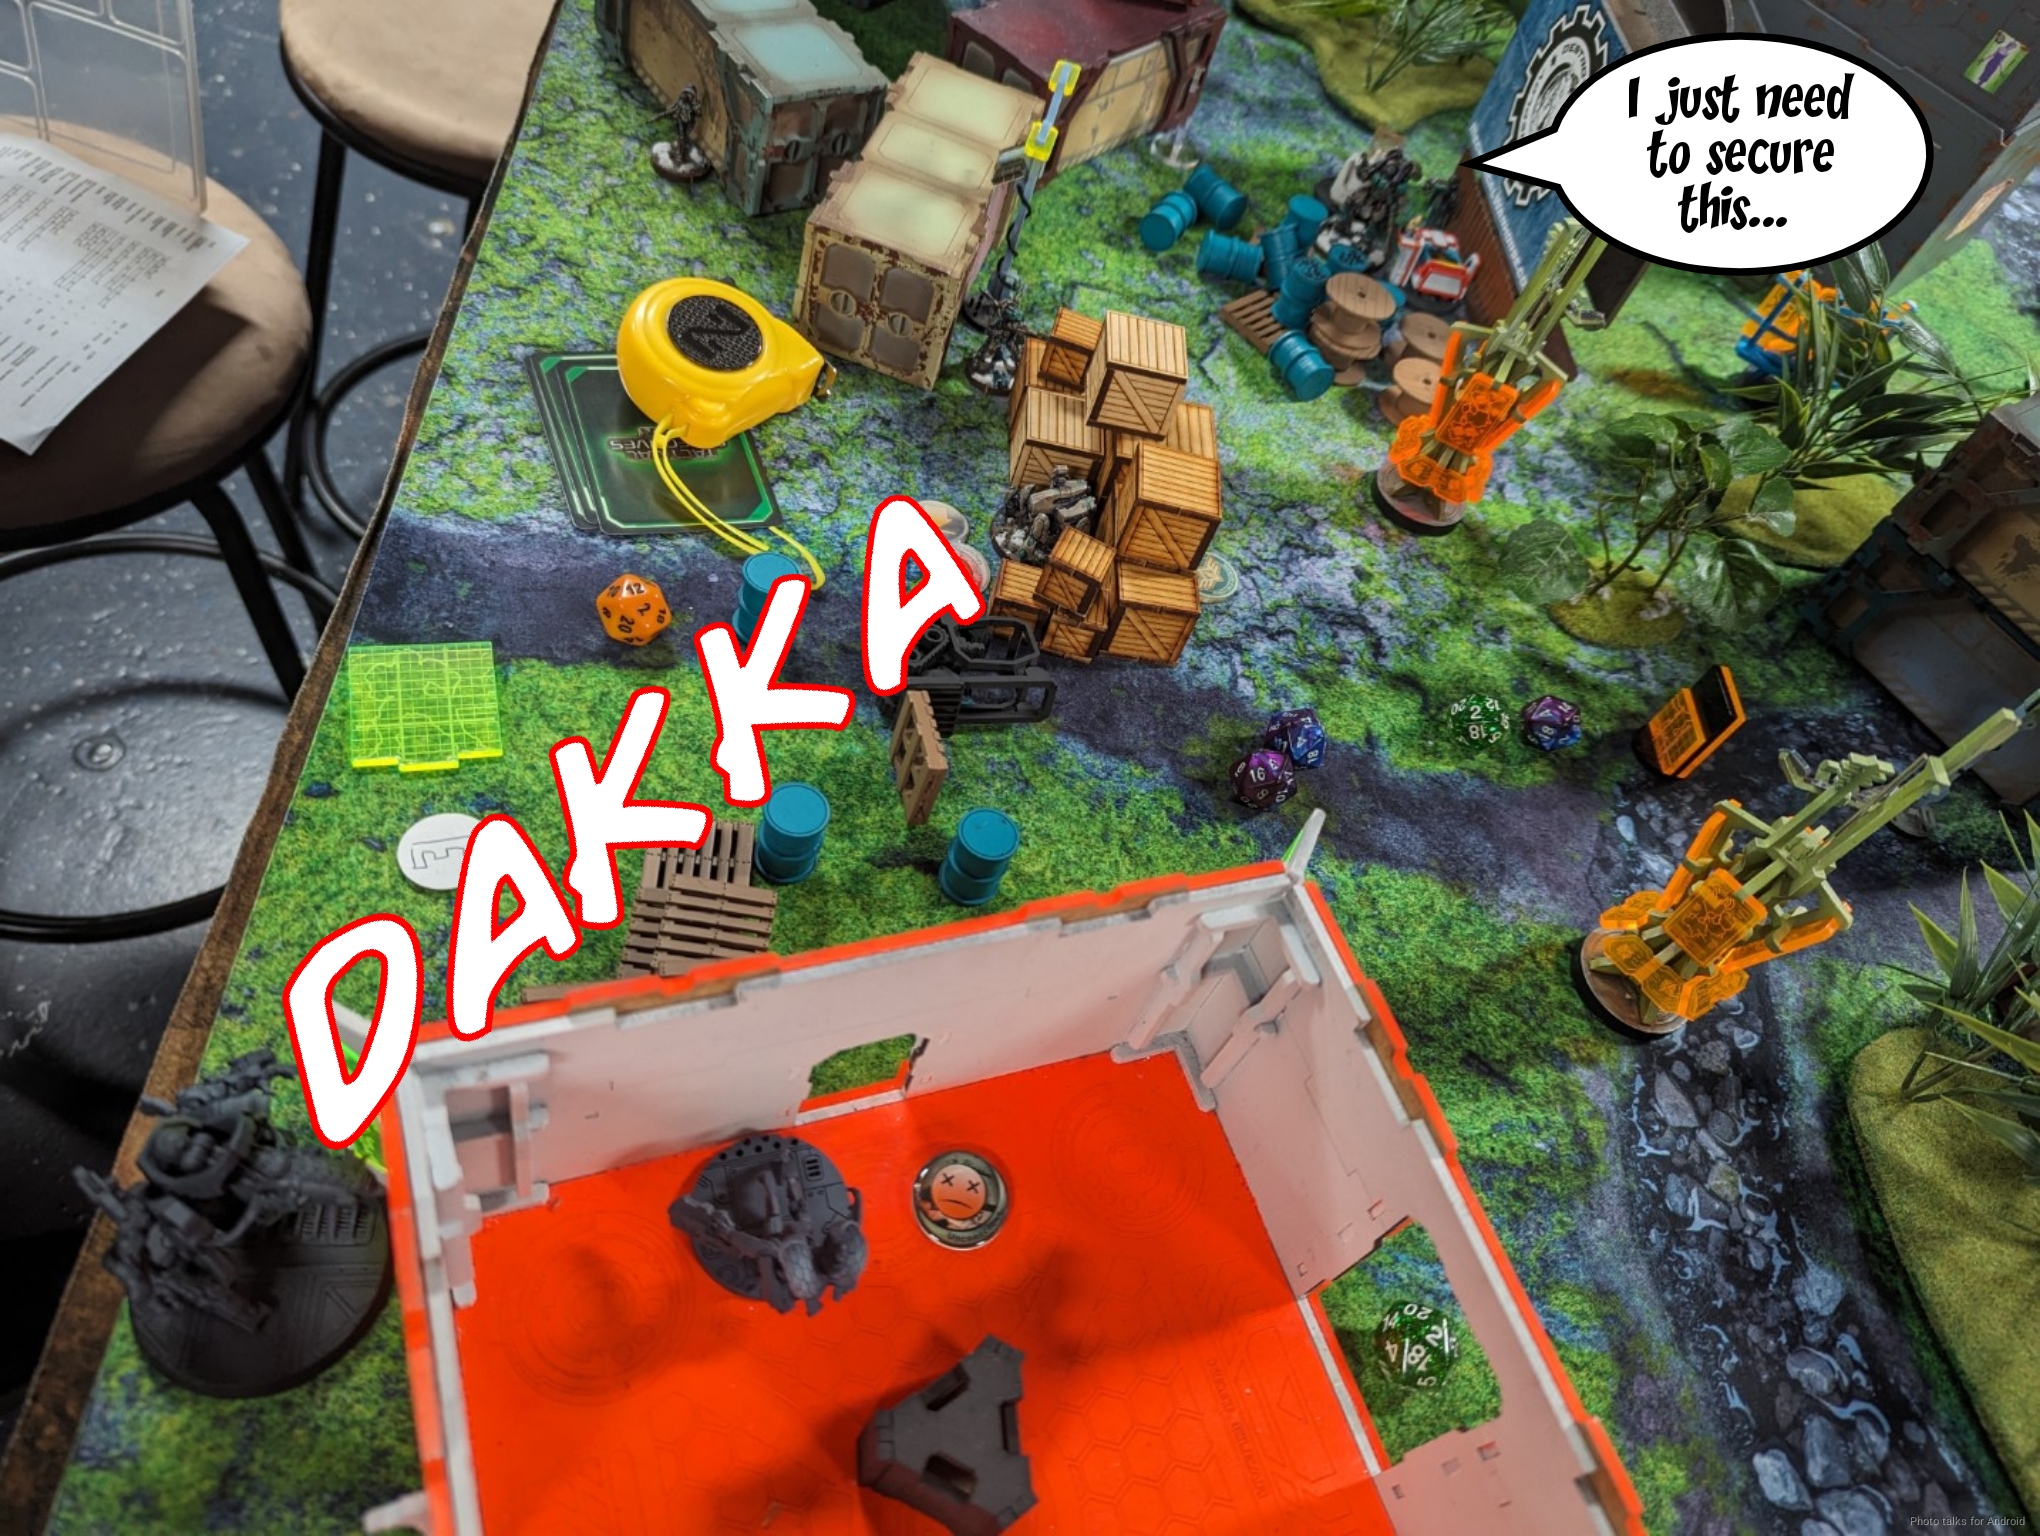
Erik plays it safe and goes for the objectives. The Liu Xing drops on top of my Zondnaut to secure one of his objectives. I survive the explosion and successfully carbonite the Liu Xing.

The Mowang uses the remaining orders to secure another objective. I whiff on the EXP round shot from the Lizard too.
Erik scores some points for holding a zone and has two objectives, making it a
10-4, 260-195 Nomad Victory!
Post Game Analysis
I think this game really illustrates why you have to leave some stuff out to ARO. If you don’t, your opponent will just go and score 6 points non-interactively. Erik told me after the game he was happy to let me do whatever, because he had a bunch of end-of-game area control objectives. However, not setting up to defend at the bottom of 1 I think cost him the game.
This was also a good showcase of the Infinity activation system as well–being able to basically activate only 3 units–the Moran, the Zondnautica, and the Lizard was pretty nuts and highly effective. It also showcases just how dangerous the Zondnautica hacker is. There’s definitely a little bit of bias here because both of our lists have very anemic AROs, but I think you gotta use what you got. My Moderator being an absolute champ and soaking 4 orders was unexpected for sure, as was the Zondnaut critting on the Shang Ji. In any case, a good end to the day. Thanks for reading.