Free of Sin
Game two of the tournament was 300 points, Biotechvore, on my airplane table. You can find game 1 here:
My opponent, Matt (Kjartan), was a little on the newer side, so we turned off all the terrain rules (i.e. no low vis or sat zones).
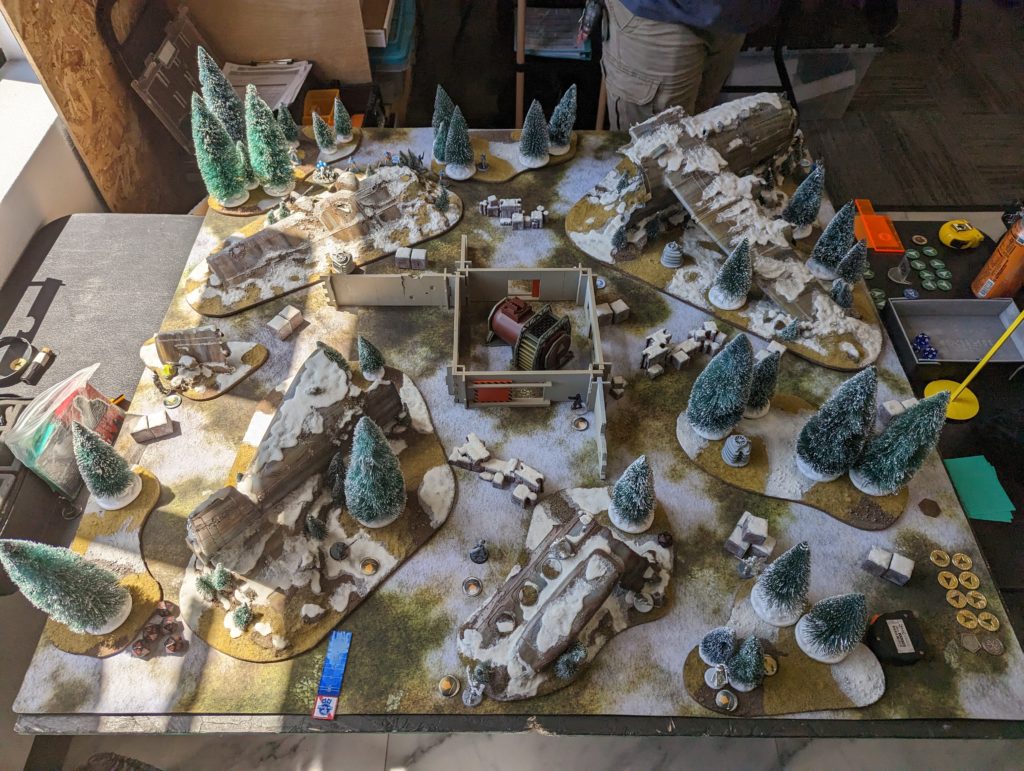
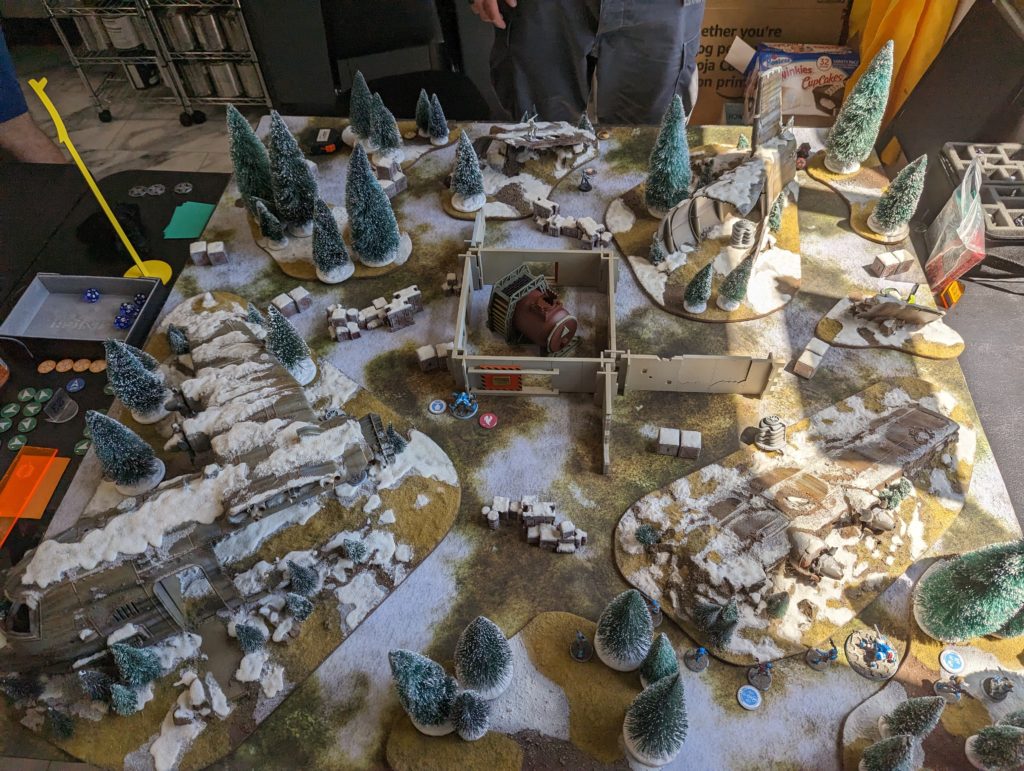
Overview
- Mission: ITS14 Biotechvore
- Forces: Jurisdictional Command of Bakunin versus Svalarheima Winter Force (300)
- Deploy First: SWF
- First Turn: SWF
I’m playing easily my favorite Bakunin list:
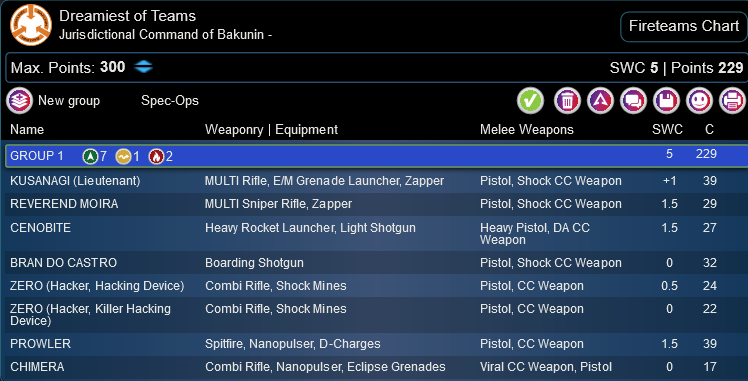
Dreamiest of Teams
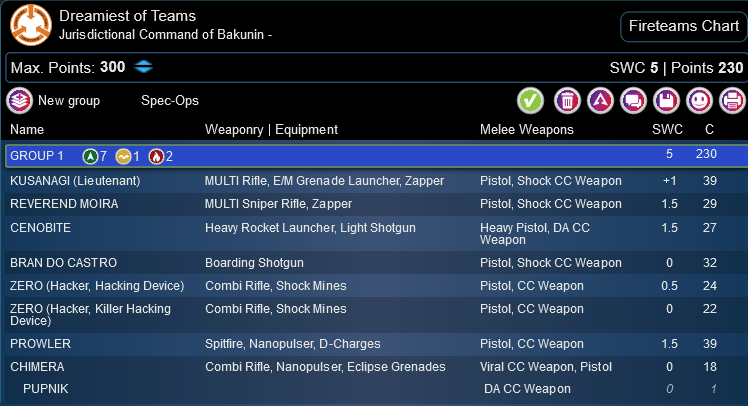
KUSANAGI (Lieutenant) MULTI Rifle, E/M Grenade Launcher, Zapper / Pistol, Shock CC Weapon. (+1 | 39)
REVEREND MOIRA MULTI Sniper Rifle, Zapper / Pistol, Shock CC Weapon. (1.5 | 29)
CENOBITE Heavy Rocket Launcher, Light Shotgun / Heavy Pistol, DA CC Weapon. (1.5 | 27)
SIN-EATER (Marksmanship) MULTI Sniper Rifle / Pistol, CC Weapon. (1 | 35)
SIN-EATER (Marksmanship) MULTI Sniper Rifle / Pistol, CC Weapon. (1 | 35)
BRAN DO CASTRO Boarding Shotgun / Pistol, Shock CC Weapon. (0 | 32)
ZERO (Hacker, Hacking Device) Combi Rifle, Shock Mines ( ) / Pistol, CC Weapon. (0.5 | 24)
ZERO (Hacker, Killer Hacking Device) Combi Rifle, Shock Mines ( ) / Pistol, CC Weapon. (0 | 22)
PROWLER Spitfire, Nanopulser, D-Charges / Pistol, CC Weapon. (1.5 | 39)
CHIMERA Combi Rifle, Nanopulser, Eclipse Grenades / Viral CC Weapon, Pistol. (0 | 18)

PUPNIK DA CC Weapon. (0 | 1)
9
1
2 | 7 SWC | 300 Points | Open in Army | Copy Code
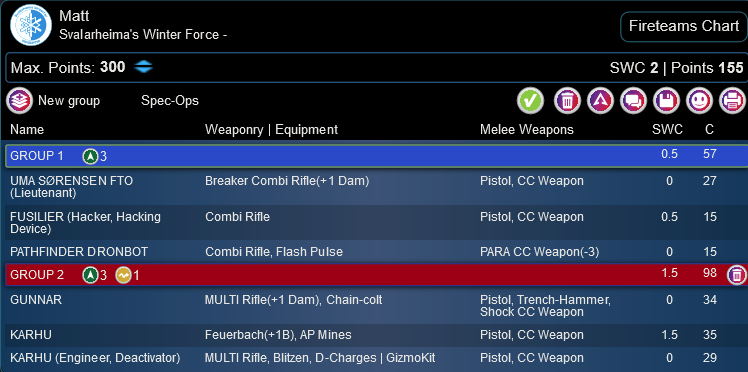
Matt’s playing Svalarheima with a Fusilier core and a Boyg haris. Group 2 has a Karhu/Gunnar Haris. This seems solvable as long as I can take out the big guns, which I think the Sin Eaters can handle.
Matt
GROUP 1


9
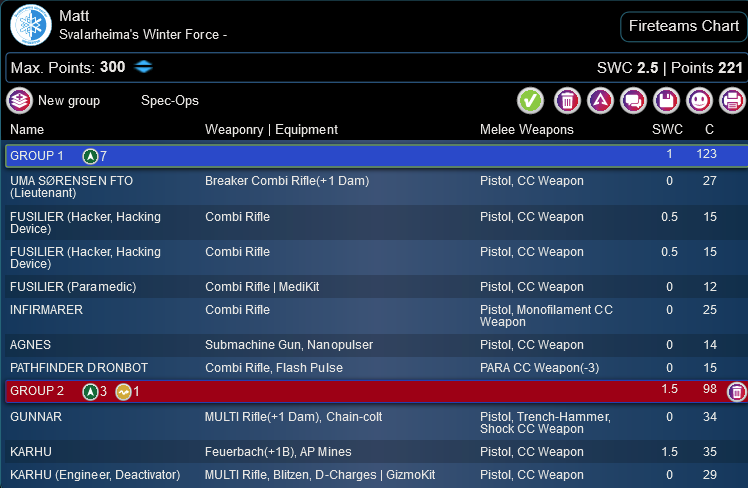
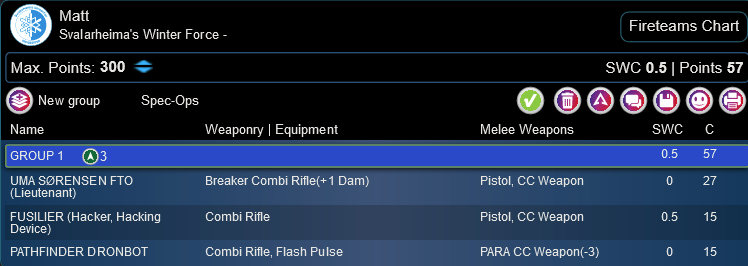
UMA SØRENSEN FTO (Lieutenant) Breaker Combi Rifle(+1 Dam) / Pistol, CC Weapon. (0 | 27)
FUSILIER (Hacker, Hacking Device) Combi Rifle ( ) / Pistol, CC Weapon. (0.5 | 15)
FUSILIER (Hacker, Hacking Device) Combi Rifle ( ) / Pistol, CC Weapon. (0.5 | 15)
FUSILIER MULTI Sniper Rifle / Pistol, CC Weapon. (1.5 | 17)
FUSILIER (Paramedic) Combi Rifle ( | MediKit) / Pistol, CC Weapon. (0 | 12)
BØYG Missile Launcher / Heavy Pistol, Shock CC Weapon. (1.5 | 47)
INFIRMARER Combi Rifle / Pistol, Monofilament CC Weapon. (0 | 25)
AGNES Submachine Gun, Nanopulser / Pistol, CC Weapon. (0 | 14)
GROUP 2
PATHFINDER DRONBOT Combi Rifle, Flash Pulse / PARA CC Weapon(-3). (0 | 15)


4
1
GUNNAR MULTI Rifle(+1 Dam), Chain-colt / Pistol, Trench-Hammer, Shock CC Weapon. (0 | 34)
KARHU Feuerbach(+1B), AP Mines / Pistol, CC Weapon. (1.5 | 35)
KARHU (Engineer, Deactivator) MULTI Rifle, Blitzen, D-Charges ( | GizmoKit) / Pistol, CC Weapon. (0 | 29)
MULEBOT (Hacker, EVO Hacking Device) ( ) / PARA CC Weapon(-3). (0.5 | 15)
6 SWC | 300 Points | Open in Army | Copy Code
Deployment
In any case, I win the rolloff and select side, prompting Matt to go first. This is exactly what I want, and likely where everything starts to go awry for Matt (Spoilers!).
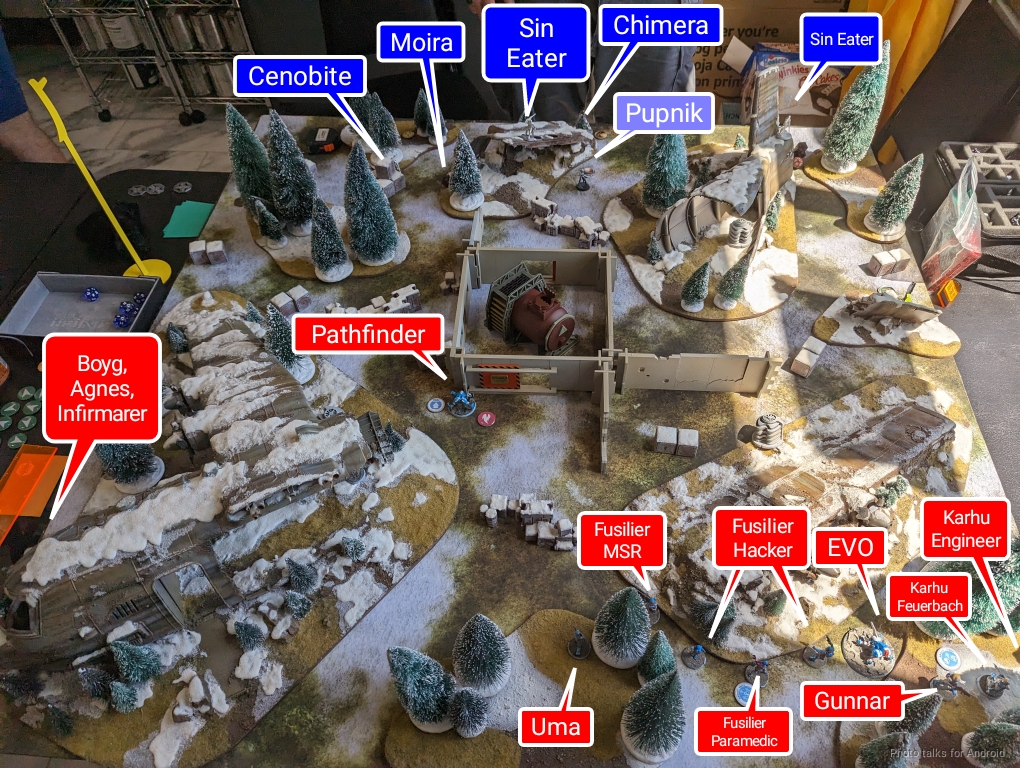
He basically splits his deployment–the Boyg haris on the left, and everyone else on the right. I took this picture after the first order on the Pathfinder in case you were wondering:
I set up the Sin Eaters to fight both sides of the table, just at varying degrees of advancement up the table by Matt’s units. My Reverend link went on the right to give me some presence there, and I hoped the Prowler would do everything on the left that I needed. I did manage to get one of the Zeros infiltrated, but the Zero KHD had to start in my deployment zone.
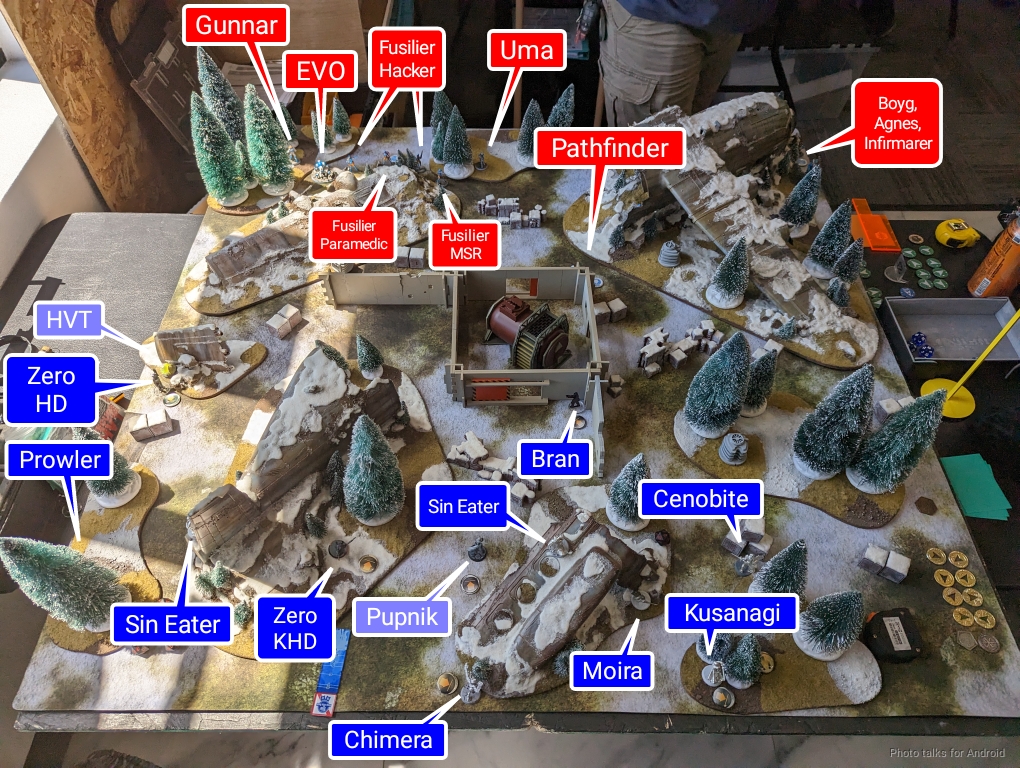
Matt’s reserve I think was the Karhu Feuerbach, and mine was Bran, tucked up against the entrance to the objective room.
Turn 1
Top of 1 – SWF
All I had to do this turn was kill as much stuff with the Moira MSR and the Sin Eaters as possible, and try to stall Matt out as much as possible. To that end, I took two orders from his second pool to really put the pressure on. Matt starts by moving the Pathfinder into the midfield, using the shadow of the objective room to avoid getting shot at.
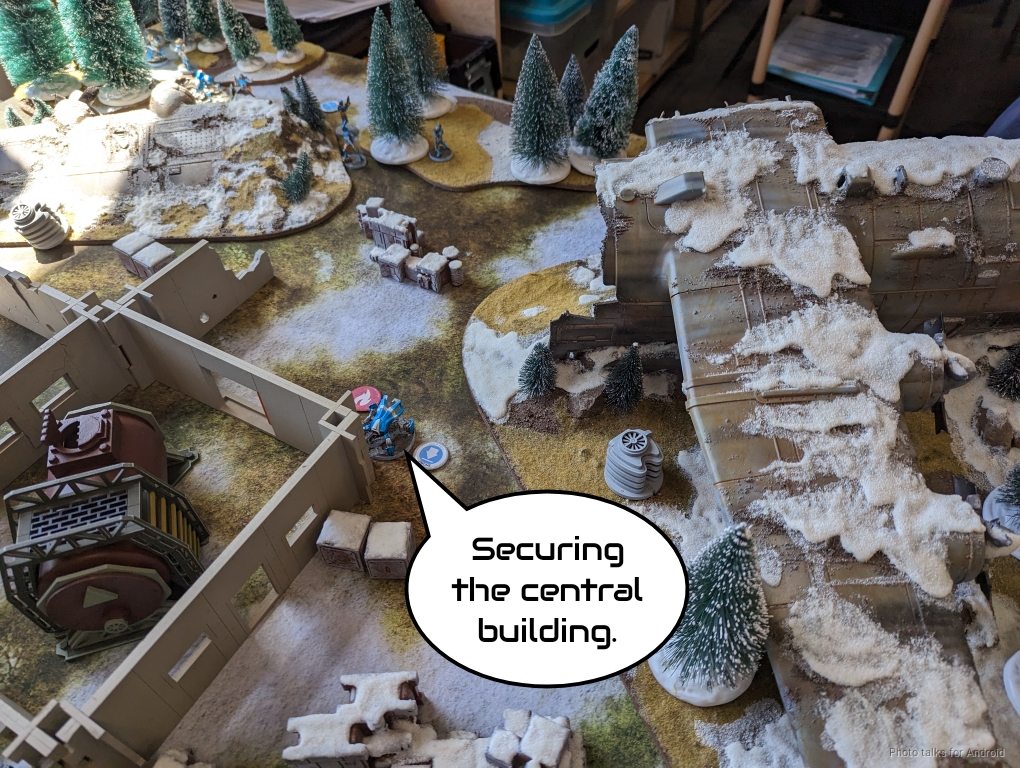
The Boyg is not so lucky as it starts its run, immediately taking a wound from one of my Sin Eaters.
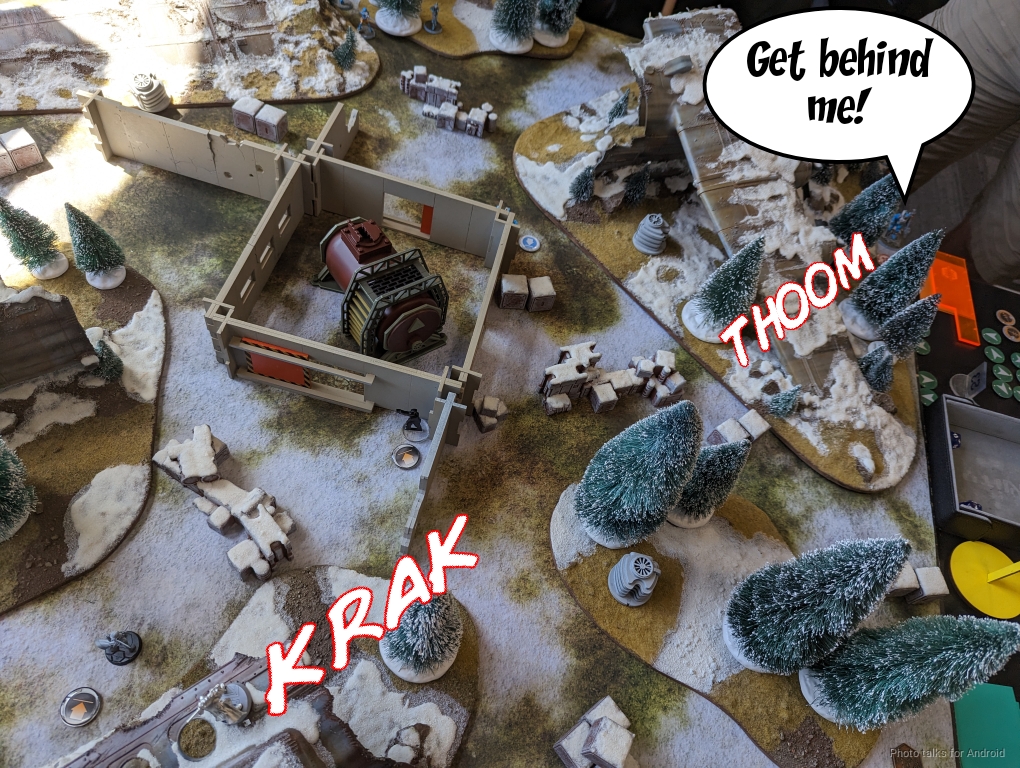
It keeps trying to force the issue, but the Sin Eater is having none of it and takes the Boyg off the table.
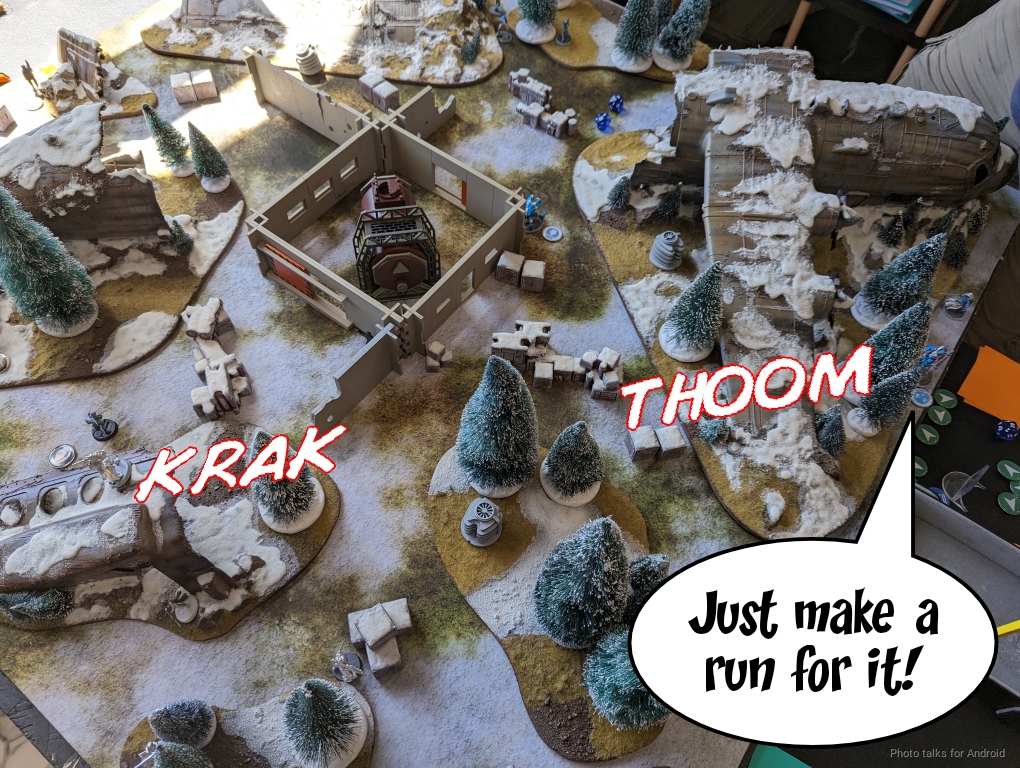
Matt challenges my other Sin Eater with his Fusilier sniper. My dice continue to be hot, and the Fusilier disappears. The outcome of the first few orders have wildly exceeded my expectations. I had hoped to drain a few orders before losing a Sin Eater, but just straight up deleting a Boyg and the only real gun in the Fusilier link is frankly great.

My dice luck ends, and with the help of MSV1 the Karhu Feuerbach deletes one of the Sin Eaters…
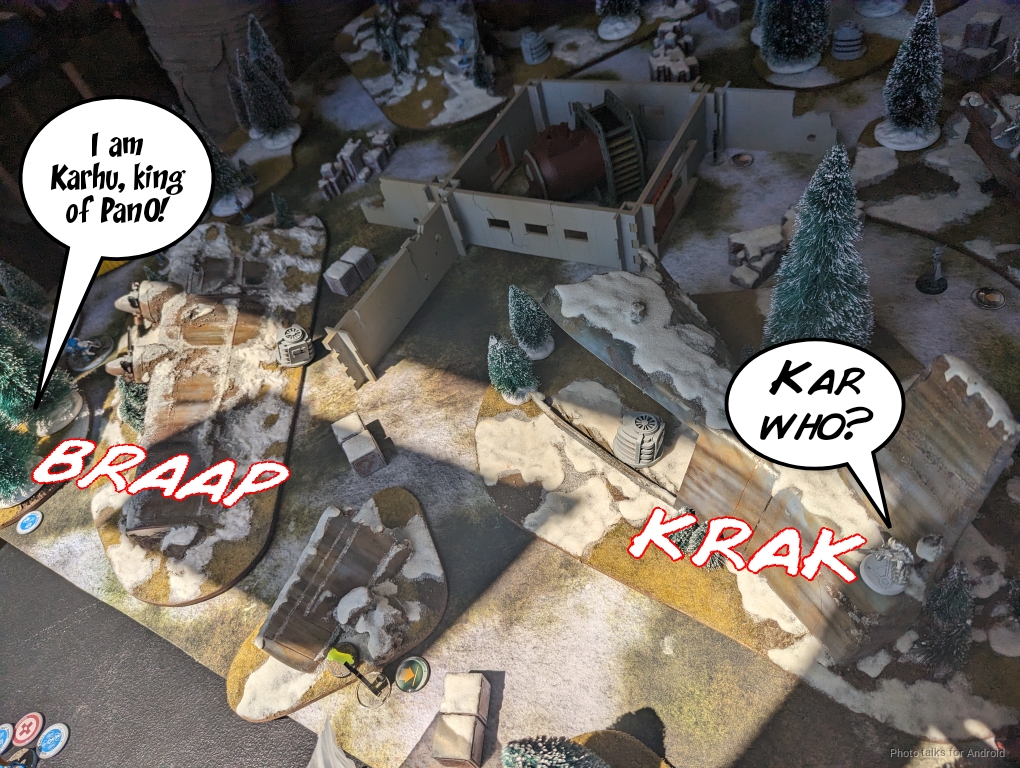
and then the second without too much difficulty.
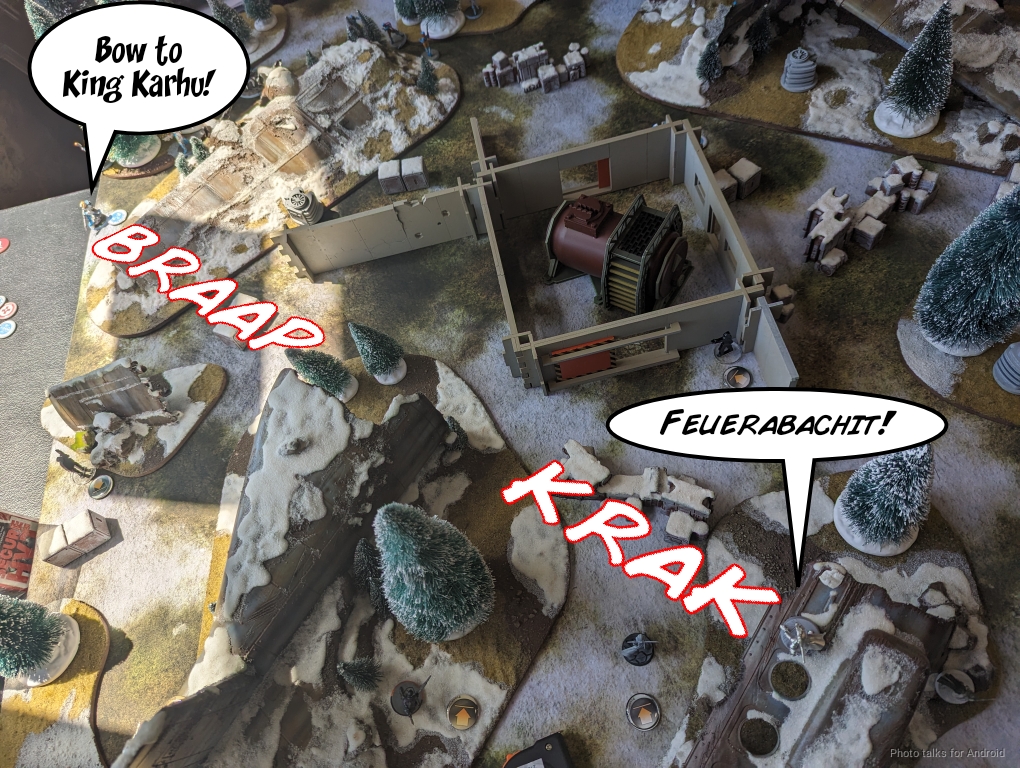
With the way clear, Matt shuffles his Fusiliers forward, but my plan works and the Mulebot is stuck in the zone. The Karhu are also kinda bunched up in a weird way so that’s great for me as well, especially with a Zero right next to them.
Bottom of 1 – Bakunin
One of the most annoying things about piloting this list in Biotechvore is what to do with the Sin Eaters in terms of moving them out of the zone. Thanks to Matt’s helpful Karhu, I don’t need to worry about that and can concentrate my efforts on moving things that actually need moving. I decide my objectives this turn are to remove or otherwise disable the Karhu if at all possible, they’re the most significant remaining threat and are the most likely to prevent me from leaving my deployment zone.
If I can remove the Infirmarer and Agnes, that’s also good, and the Pathfinder remains an issue. I’m not concerned about the Fusiliers that much–they can be a problem certainly, but I have the Armory to hide behind, so I can blunt their attack. I decide the most likely issue for me will be the Karhu engaging me as I move forward, in case I miss some sight line somewhere, so I decide to deal with them first.
My Zero swings out and drops a mine covering the Karhu Haris. Now if they want to shoot at me, they’re getting asploded.
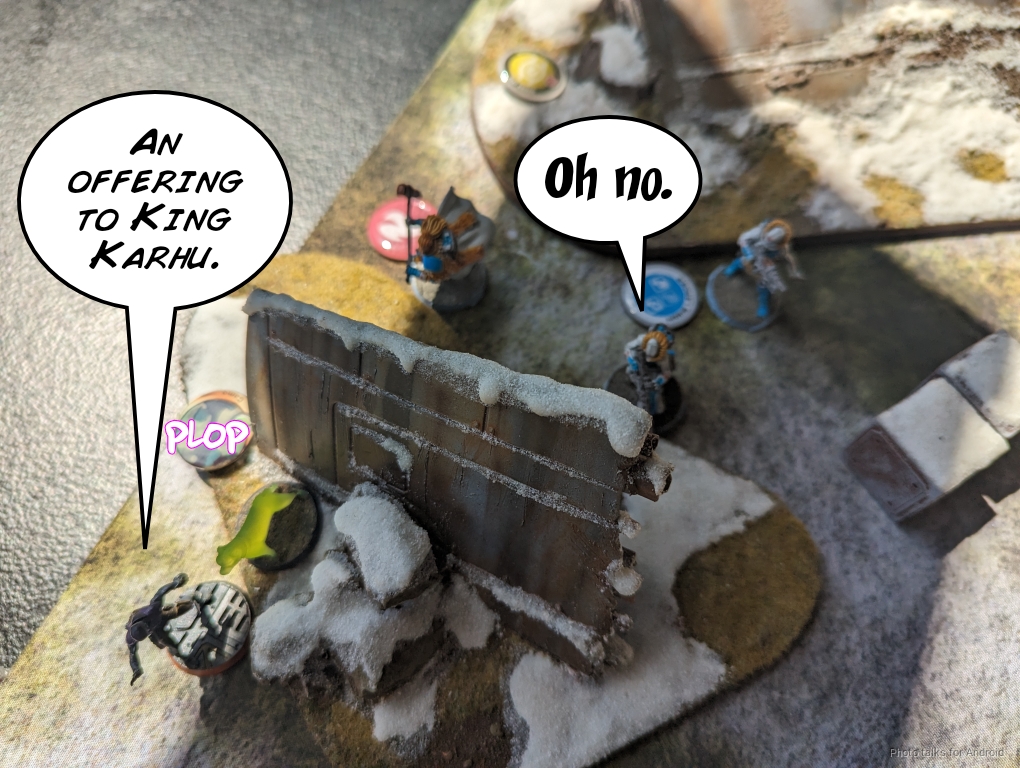
Bran is in an excellent position to engage various members of the Fusilier link and lay a template onto the Pathfinder, so I do that. I take out both of the Fusiliers, their return fire whiffs, and the Pathfinder dodges into CC with Bran. This is more than acceptable, especially given that I have a Chimera that made it into the armory nearby.
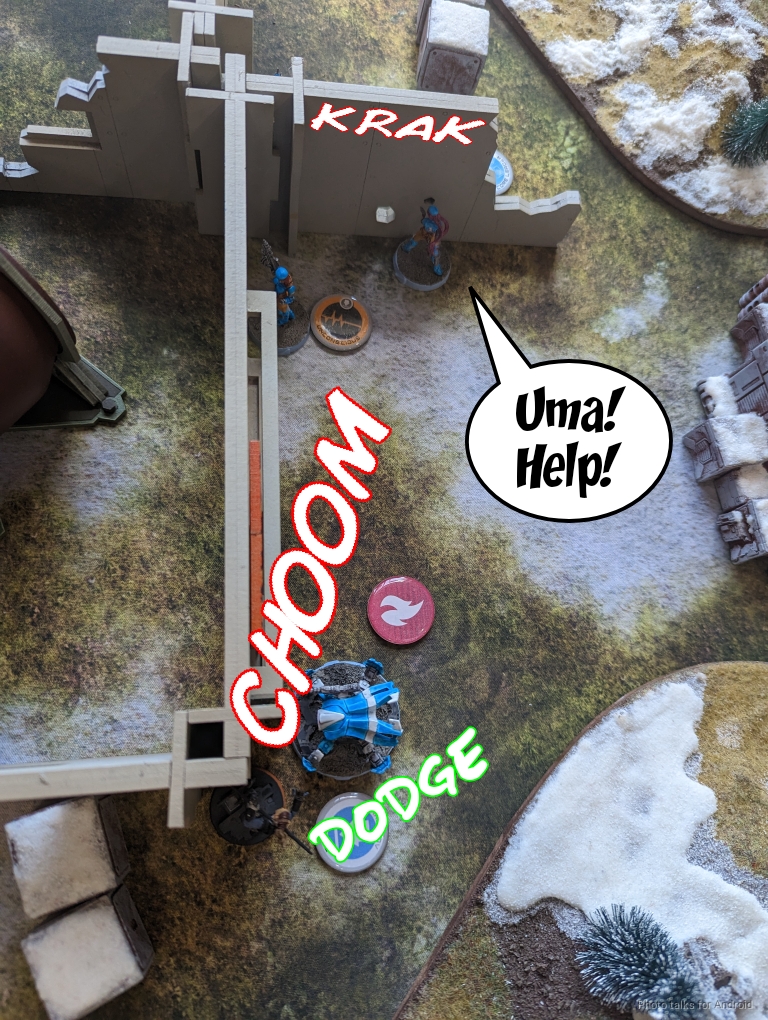
Now to get my Reverend link out of the zone. I can also tackle Agnes and the Infirmarer on the way. The initial split-burst HRL from the Cenobite takes out the Infirmarer, but Agnes dodges to safety.
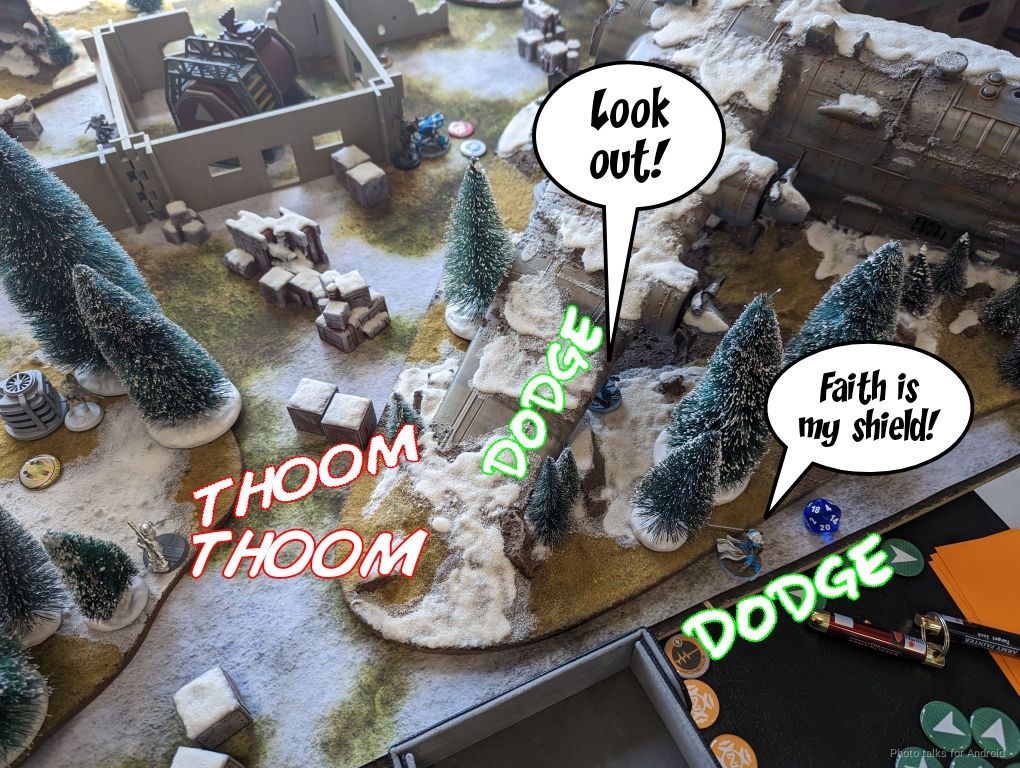
My next move brings Kusangi into 16″, so I give Matt the option of shooting the Cenobite for free or face-to-facing Kusanagi. He wisely dodges with Agnes, but Kusanagi is made for this and she easily deletes Agnes.
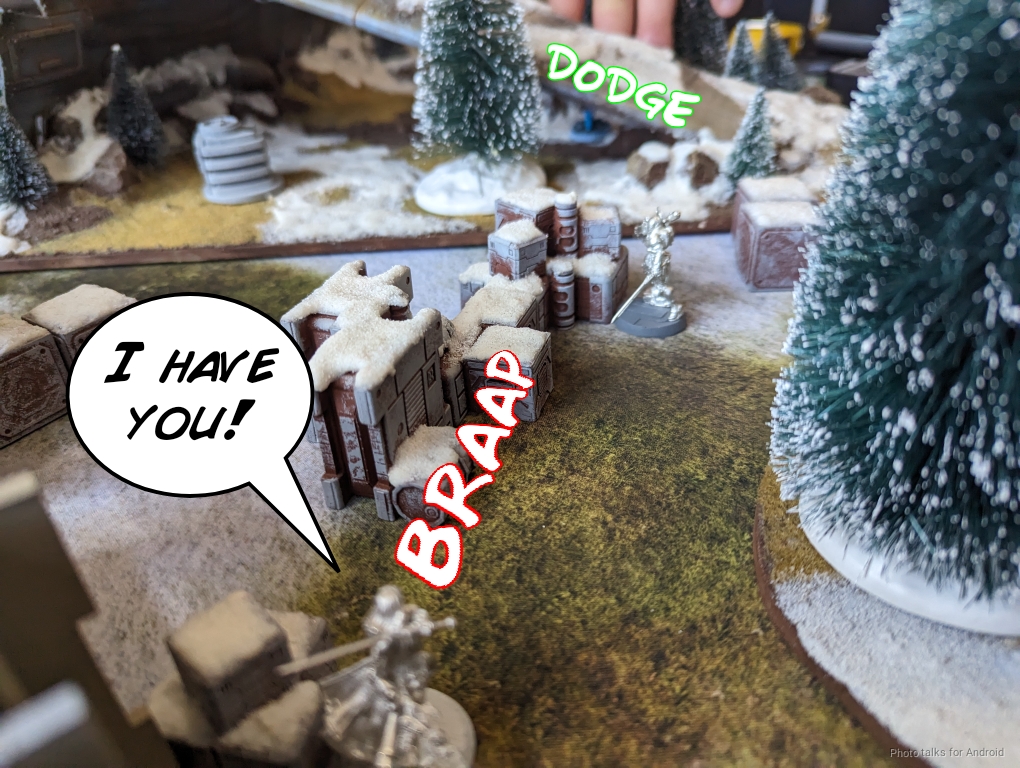
I escape the other Zero, and then pass turn with everyone out of the biotechvore zone. There’s nothing left alive on my right flank and I’m not particularly concerned about Bran surviving the fight with the Pathfinder, so I’ve got the right side locked down. I do get the Chimera spotlit, but without a missile bot on the table this should be fine as she’s in total cover.
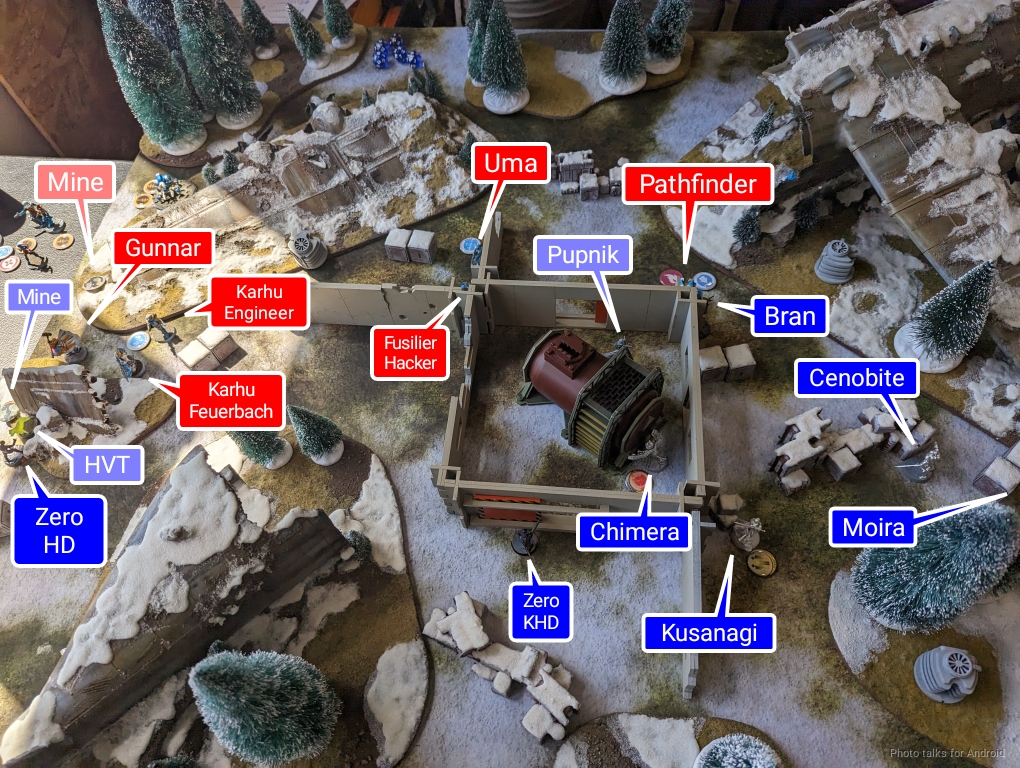
Turn 2
Top of 2 – SWF

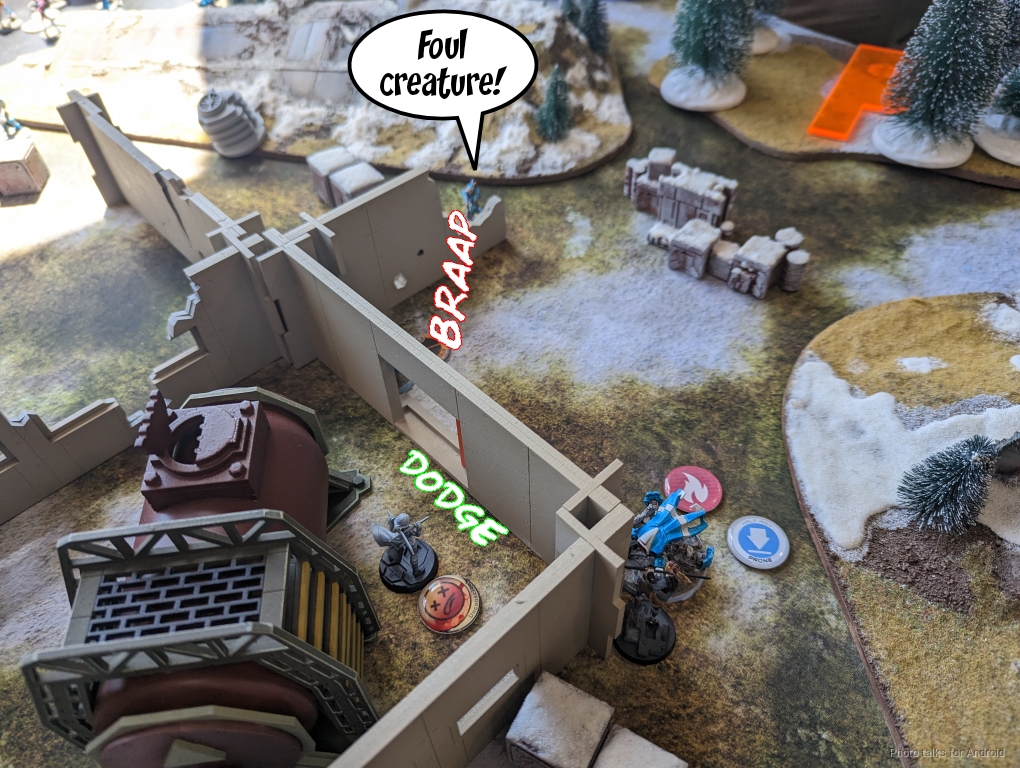
Matt’s in a bit of a pickle now, but he gamely fights on. Uma engages the Pupnik and succeeds in downing it, but this is definitely an acceptable loss–one of four possible orders spent on taking out a Pupnik is fine by me.
Matt then starts a play for classifieds to get some points on the board. The Karhu activate and try to dodge-clear the mine. In response, I just lay another mine with the Zero.
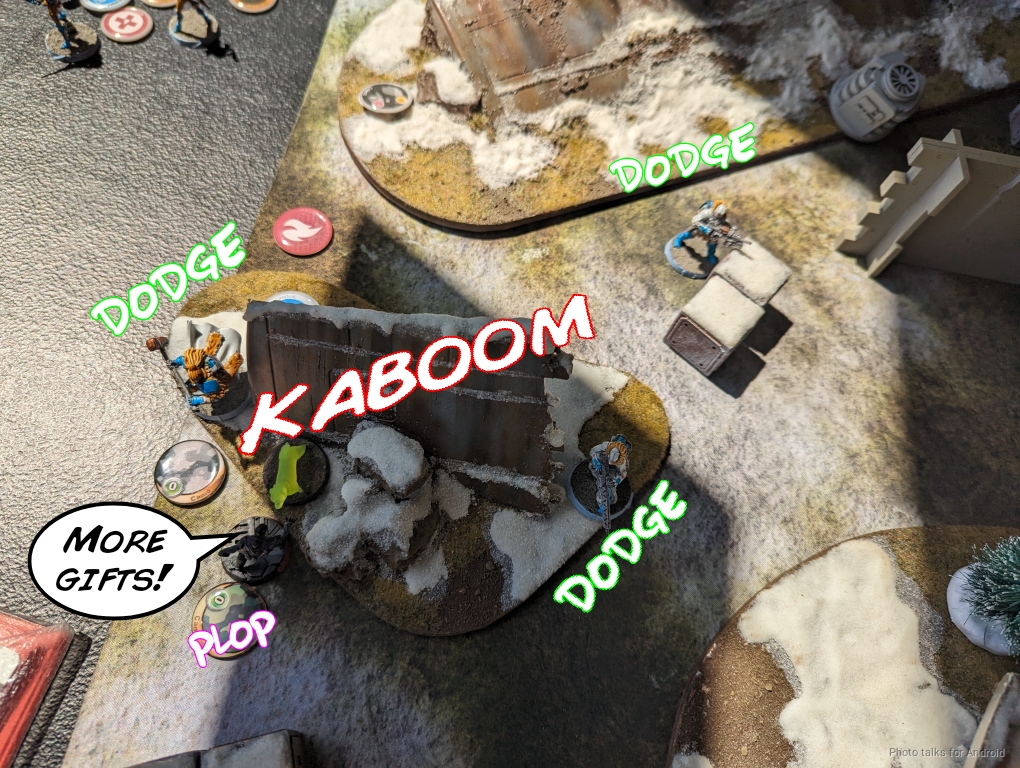
Sadly, Gunnar isn’t shock immune and neither is the Karhu engineer, so they’re both off the table after failing their dodge and ARM. The Feuerbach Karhu at least passes its dodge and is able to get HVT: Identity Check while dying to the mine and the Zero’s return fire.
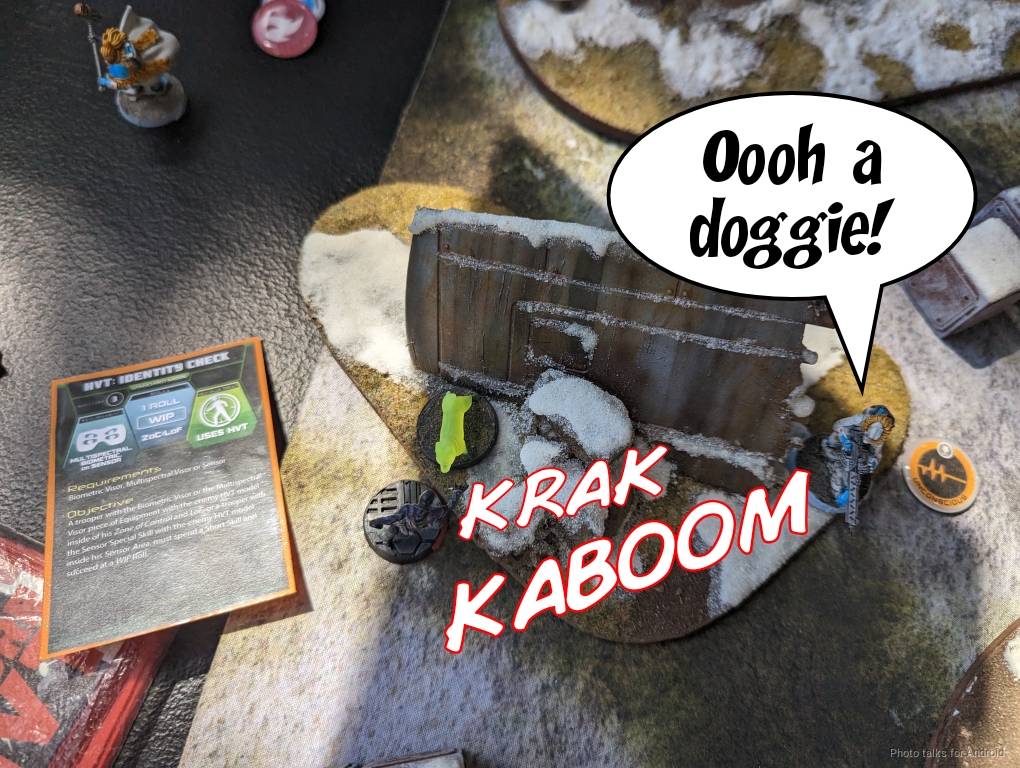
The remaining Fusilier Hacker gets HVT: Espionage, while getting Oblivion’ed for its trouble.
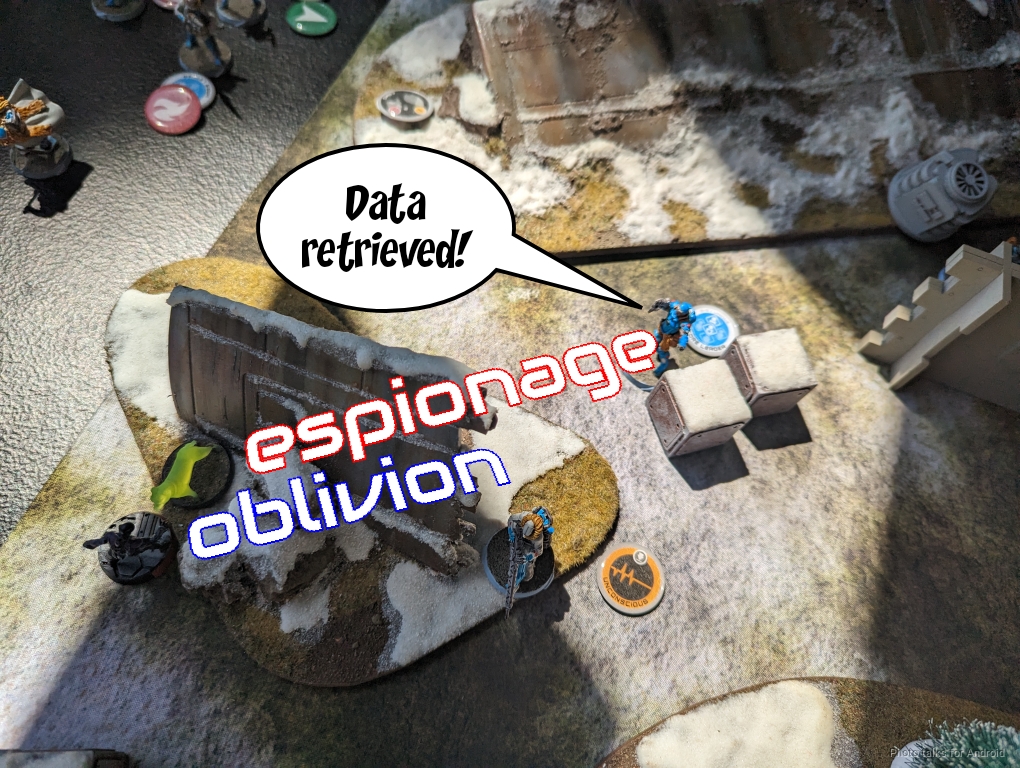
And with that, Matt’s turn is over.
Bottom of 2 – Bakunin
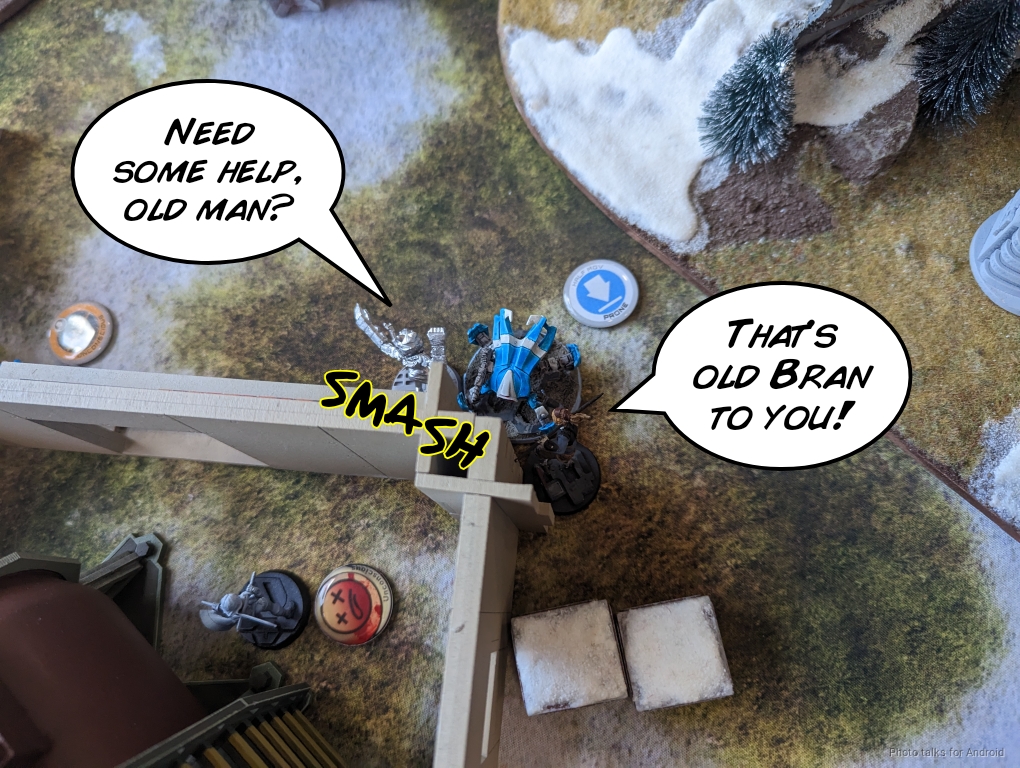
The Chimera starts things off by whacking the Pathfinder into a pile of virus-infected scrap.
The Prowler pops out of hidden deployment and engages Uma.
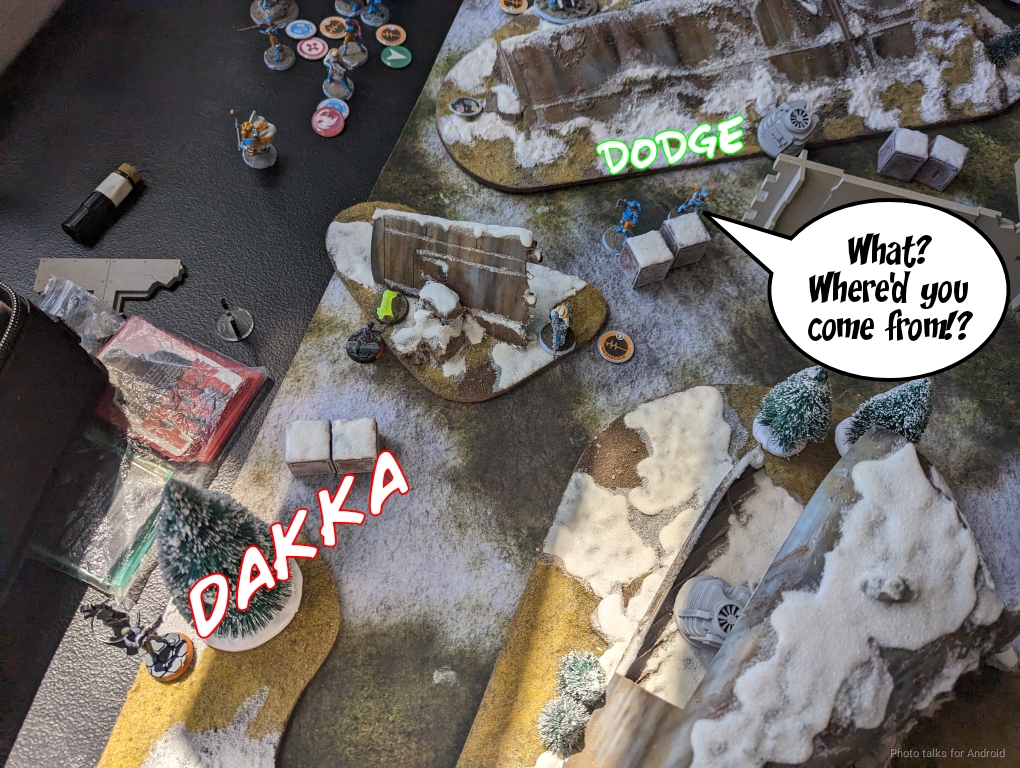
It takes a bit, but she eventually drops.
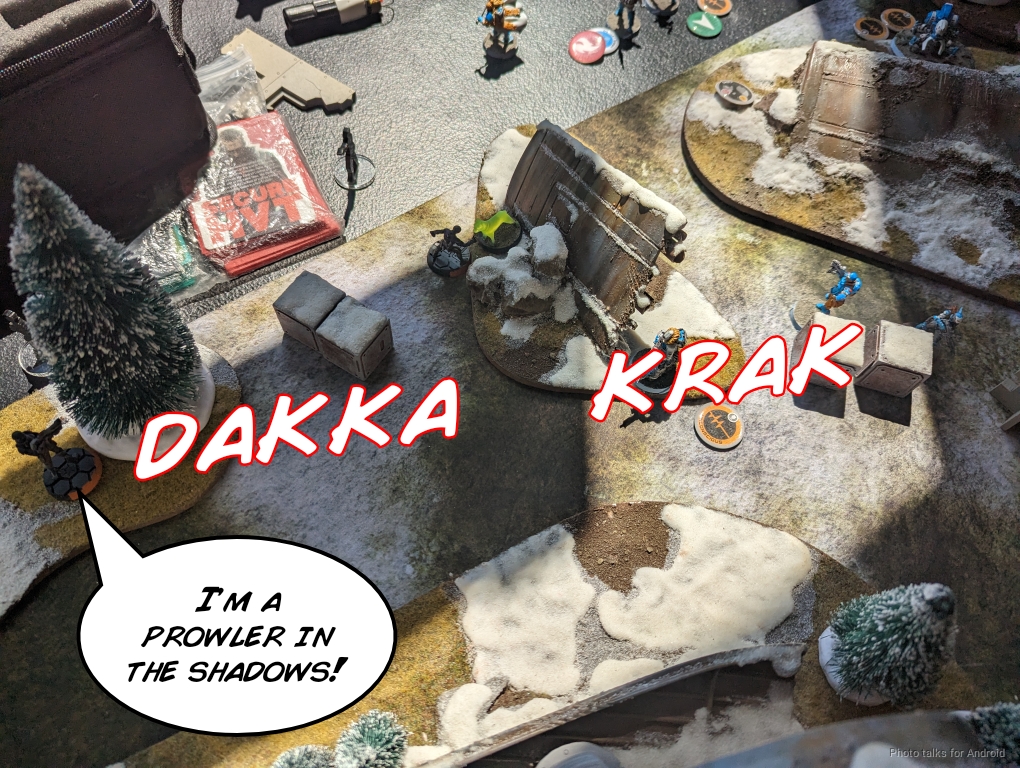
I then take care of the Fusilier while moving to safety.
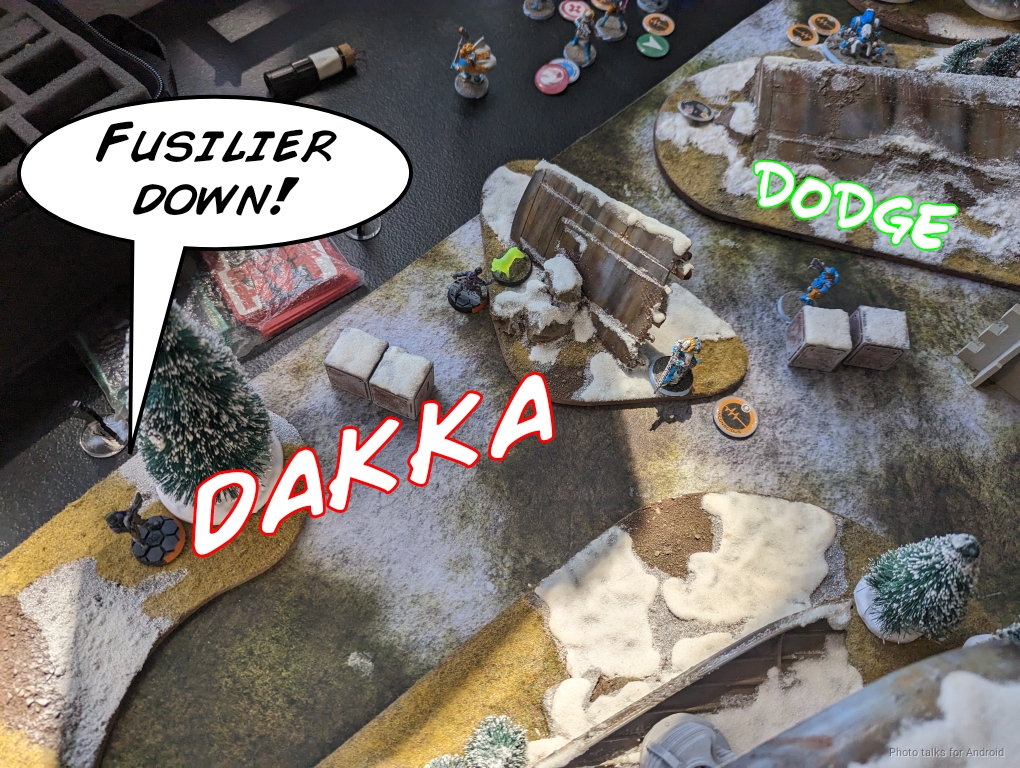
Bran and the Zeros then take care of all the classifieds, and that’s game.

9-2, 229-0 Jurisdictional Command of Bakunin Victory!
Post Game Analysis
We talked about this after the game–I think Matt should have started the fight with the Karhu due it having Mimetism and MSV1. Blue is the Sin Eater causing wounds, Matt’s red, grey is nothing happens.
| Karhu | 25.1 | 21.3 | 53.6 |
| Boyg | 42.8 | 26.8 | 30.4 |
| Fusilier | 50.2 | 20.5 | 29.3 |
It’s not a foregone conclusion, but it’s definitely the best odds. Also, this just goes to show the power of the Sin Eater with Marksmanship, easily the best reason to run Bakunin in my mind. It’s a full 5-man link with Mimetism -3 for only 35 points and 1 SWC! Crazypants. Remember that the “nothing happens’ result in dark grey is beneficial to me since I’m reactive and Matt has to spend another order. The addition of Marksmanship with the update takes them from a fun and interesting choice to a choice if you don’t take one.
Once all of Matt’s guns and orders were gone and I had control of the midfield, it was basically impossible to recover. It was possible to recover before the Karhu all died. The way to handle that would have been to just roll Uma around, kill the Zero away from the mine, discover-shoot the mine, and then do objectives with the Karhu, or better yet, attack my orders. I had hid them pretty well, so that would have been hard. Fixing the shape of link at the very least was very important.
This keeps him in the game for longer, and now I have to deal with Gunnar and two Karhu, still linked, firing Feuerbach shots at me. I have plenty of tools to address the issue, but at the very least I have to spend orders on that and probably don’t get all of my classifieds.
In any case, I think the problem was just that the Sin Eaters power level has gone up significantly and most people just aren’t aware of how strong they are now with Marksmanship. Even challenging with a fully linked pure core sniper is difficult. I also had the benefit of playing this list or a very similar one in this scenario several times already, and I felt very confident in my ability to pilot it going into this round. The other, possibly less obvious solution, for Matt would have to just deployed first gone second. A lot of my force doesn’t do well close up, and I don’t want to fight into his quality AROs on my first turn with an effectively Vanilla list on 7 orders, or worse, 1 command token. In present day (this was several months ago), I’ve been choosing turn order, deploying first, and going second. It’s a bit of a handicap,but not as much as you would think… more on that after *mumble mumble* battle reports. Thanks for reading, and thanks to Matt for the game!

Pingback: Smoke and Moiras – MERC Recon