Cinco de Murder Tournament Report
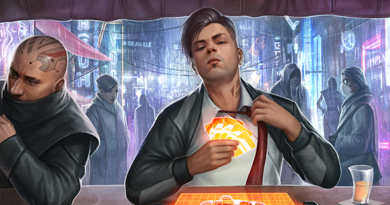
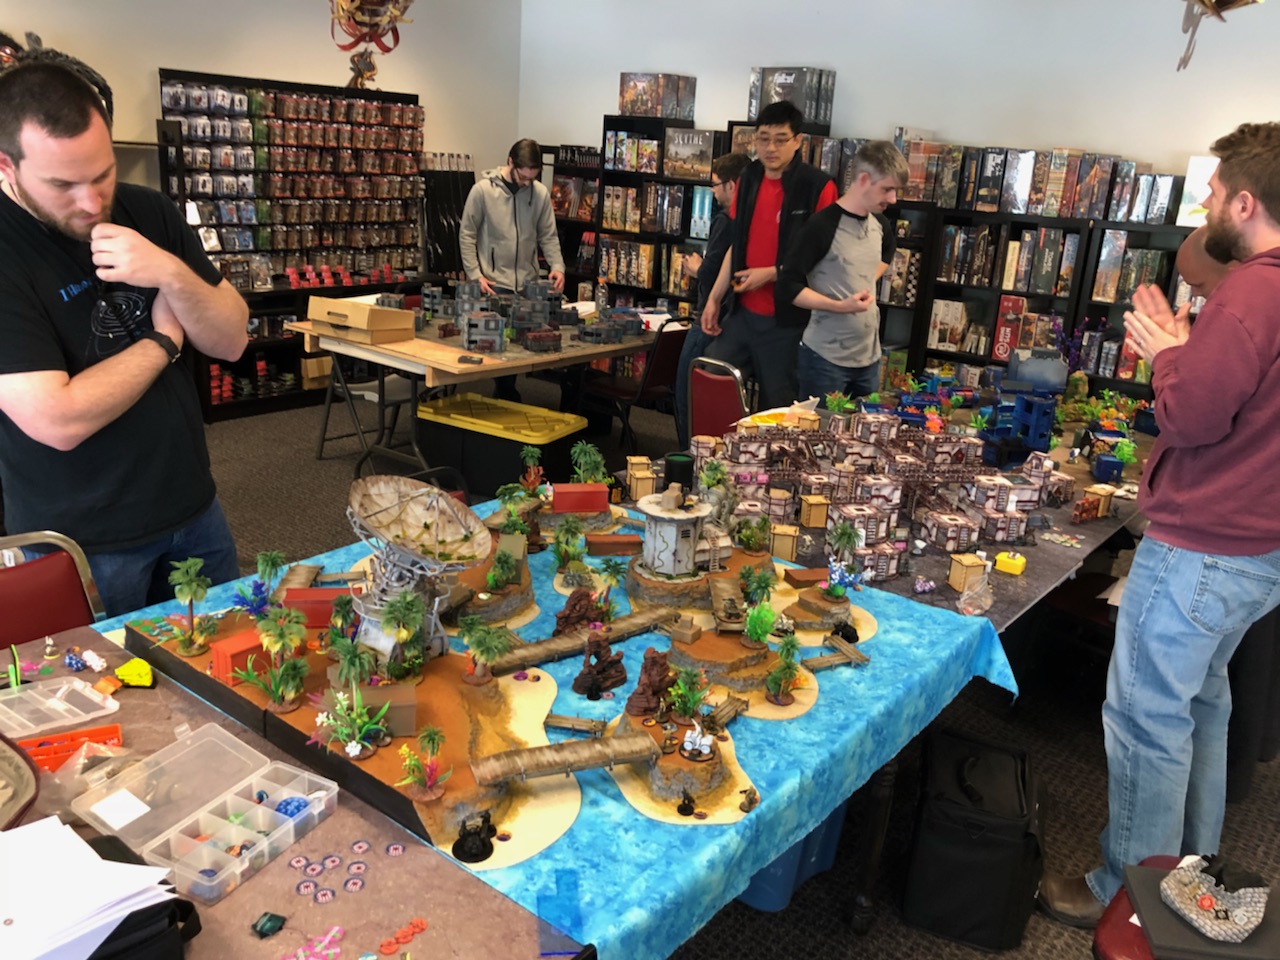
It’s been awhile since I’ve taken my Ariadna or my Haqqislam for a spin, and I figured taking an Atek Ariadna force would be pretty fun. I’ve also assembled my Briscards, so it was an excuse to try them out! I had waffled a bunch on which faction to take, making a bunch of vanilla Haqq, StarCo, and FRRM lists, but I stuck to my guns and went with the French! Obadiah (Nehemiah) made it up from California, but Pete (YueFei23) couldn’t make it up to Portland to play. Nevertheless, he wanted to wish everyone a happy Sinko de Mayo! By absolute coincidence, we had 5 people bring painted tables to the tournament (myself included, although “painted” should be in quotes in my case). We only ended up needing four of them, but things are looking good for the upcoming Rose City Raid, table wise!

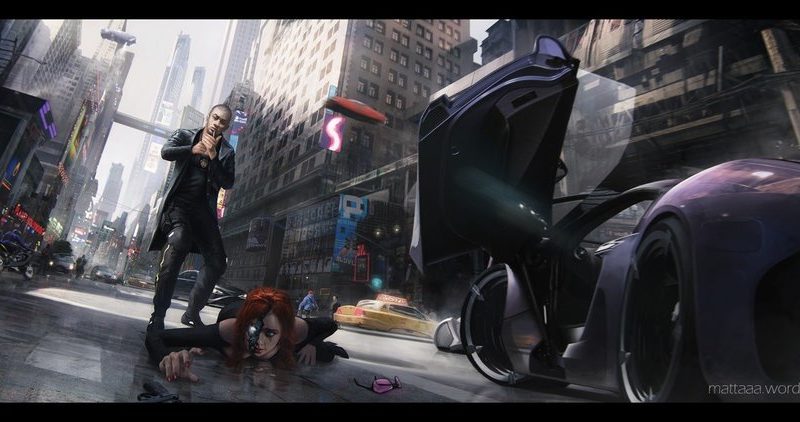
Adam (TheDiceAbide) and Alex (Twinmasks) both brought water-themed tables, and Andrew (SimpleKnight) and I both brought our dense city tables.
 Just a quick preview for some of the tables you’ll see at the Rose City Raid!
Game 1 – Duroc the Casbah
![]()
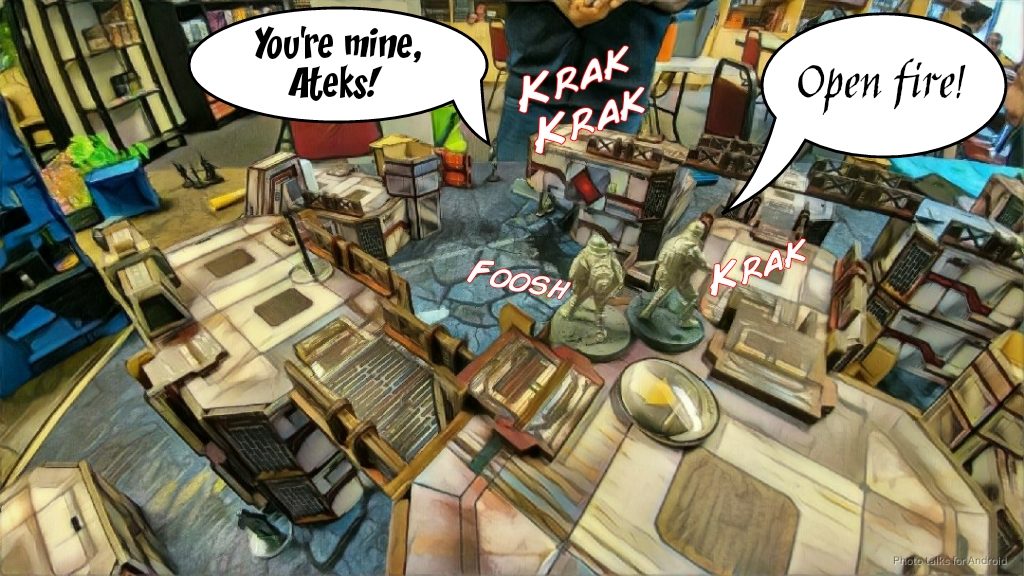
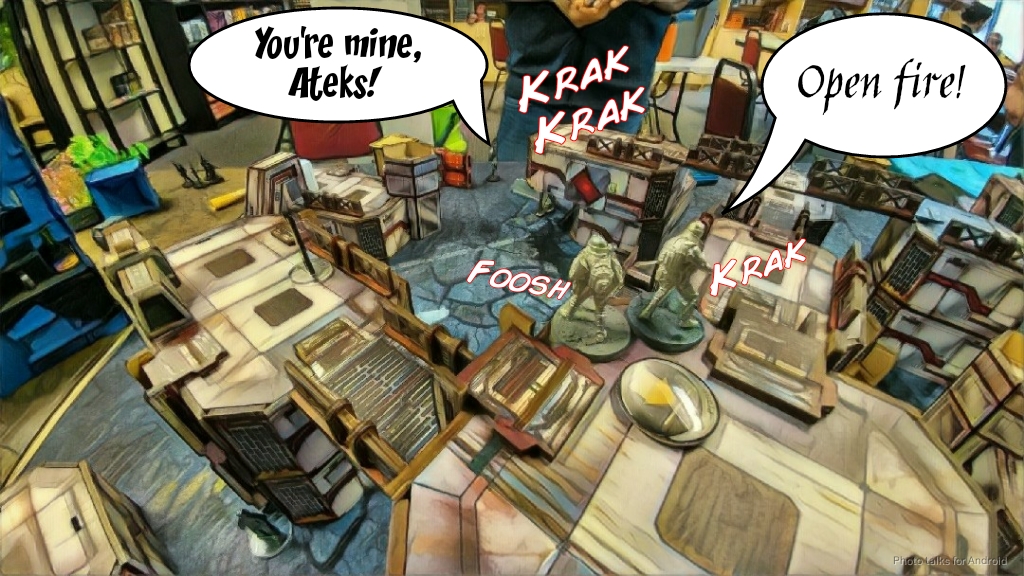
My first game was against Andrew on my new table! I had just played a game of Transmission Matrix on the table, so I felt like I had a good plan for what to do. Andrew brought Vanilla Combined to the party, led by a Charontid. I hoped to get some E/Maulers off on Andrew’s toys with my Zouave and Moblot, but they both have a lot to do… we’ll see!
Overview
- Mission: Transmission Matrix
- Forces: Force de Réponse Rapide Merovingienne versus Combined Army (300)
- Deploy First: Force de Réponse Rapide Merovingienne
- First Turn: Force de Réponse Rapide Merovingienne
[img]https://assets.infinitythegame.net/infinityarmy/img/_logosweb/logo_303.png[/img][b] Transmission Matrix[/b]
[b]GROUP 1| [/b][img]https://assets.infinitythegame.net/infinityarmy/img/_logosweb/orden_regular.png[/img]9 [img]https://assets.infinitythegame.net/infinityarmy/img/_logosweb/orden_irregular.png[/img]1 [img]https://assets.infinitythegame.net/infinityarmy/img/_logosweb/orden_impetuosa.png[/img]1
[img]https://assets.infinitythegame.net/infinityarmy/img/_logosweb/303/logo_3.png[/img] [b]LOUP-GAROU[/b] Viral Rifle, Flash Grenades / Pistol, Knife. (0 | [b]21[/b])
[img]https://assets.infinitythegame.net/infinityarmy/img/_logosweb/303/logo_3.png[/img] [b]LOUP-GAROU[/b] Viral Rifle, Flash Grenades / Pistol, Knife. (0 | [b]21[/b])
[img]https://assets.infinitythegame.net/infinityarmy/img/_logosweb/303/logo_3.png[/img] [b]LOUP-GAROU[/b] Boarding Shotgun, Adhesive Launcher, Flash Grenades / Pistol, Knife. (0 | [b]18[/b])
[img]https://assets.infinitythegame.net/infinityarmy/img/_logosweb/303/logo_3.png[/img] [b]LOUP-GAROU[/b] Boarding Shotgun, Adhesive Launcher, Flash Grenades / Pistol, Knife. (0 | [b]18[/b])
[img]https://assets.infinitythegame.net/infinityarmy/img/_logosweb/303/logo_3.png[/img] [b]LOUP-GAROU[/b] Sniper Rifle / Pistol, Knife. (0.5 | [b]21[/b])[img]https://assets.infinitythegame.net/infinityarmy/img/_logosweb/303/logo_4.png[/img] [b]ZOUAVE[/b] Rifle, D.E.P., E/Mauler / Assault Pistol, Knife. (1 | [b]21[/b])
[img]https://assets.infinitythegame.net/infinityarmy/img/_logosweb/303/logo_6.png[/img] [b]MOBLOT (Infiltration)[/b] Rifle, Light Shotgun E/Mauler / Pistol, Knife. (0 | [b]26[/b])
[img]https://assets.infinitythegame.net/infinityarmy/img/_logosweb/303/logo_7.png[/img] [b]CHASSEUR (Minelayer)[/b] Rifle, Light Flamethrower, Antipersonnel Mines / Pistol, Knife. (0.5 | [b]20[/b])
[img]https://assets.infinitythegame.net/infinityarmy/img/_logosweb/303/logo_12.png[/img] [b]EQUIPE MIRAGE-5[/b] . (2 | [b]69[/b])
[img]https://assets.infinitythegame.net/infinityarmy/img/_logosweb/sep.gif[/img] [img]https://assets.infinitythegame.net/infinityarmy/img/_logosweb/303/logo_12.png[/img] [b]MARGOT[/b] AP Rifle + Light Grenade Launcher / Pistol, Knife. ([b]37[/b])
[img]https://assets.infinitythegame.net/infinityarmy/img/_logosweb/sep.gif[/img] [img]https://assets.infinitythegame.net/infinityarmy/img/_logosweb/303/logo_12_2.png[/img] [b]DUROC[/b] 2 Chain Rifles, Grenades, Smoke Grenades / AP CC Weapon. ([b]32[/b])[b]GROUP 2 | [/b][img]https://assets.infinitythegame.net/infinityarmy/img/_logosweb/orden_regular.png[/img]4 [img]https://assets.infinitythegame.net/infinityarmy/img/_logosweb/orden_irregular.png[/img]1
[img]https://assets.infinitythegame.net/infinityarmy/img/_logosweb/303/logo_1.png[/img] [b]MÉTRO Lieutenant[/b] Rifle / Pistol, Knife. (0 | [b]8[/b])
[img]https://assets.infinitythegame.net/infinityarmy/img/_logosweb/303/logo_1000.png[/img] [b]INTEL Spec-Ops (12 XP)[/b] [i](AD: Inferior Combat Jump)[/i] Rifle, Molotok / Pistol, Knife. (0 | [b]10[/b])
[img]https://assets.infinitythegame.net/infinityarmy/img/_logosweb/303/logo_5.png[/img] [b]BRISCARD[/b] Heavy Rocket Launcher / Assault Pistol, Knife. (1.5 | [b]23[/b])
[img]https://assets.infinitythegame.net/infinityarmy/img/_logosweb/303/logo_7.png[/img] [b]CHASSEUR (Minelayer)[/b] Rifle, Light Flamethrower, Antipersonnel Mines / Pistol, Knife. (0.5 | [b]20[/b])
[img]https://assets.infinitythegame.net/infinityarmy/img/_logosweb/303/logo_14.png[/img] [b]WARCOR (Aerocam)[/b] Flash Pulse / Stun Pistol, Knife. (0 | [b]3[/b])
[b] 6 SWC | 299 Points |[/b] Open in Infinity Army
[img]https://assets.infinitythegame.net/infinityarmy/img/_logosweb/logo_601.png[/img][b] Combined Army[/b]
[img]https://assets.infinitythegame.net/infinityarmy/img/_logosweb/601/logo_7.png[/img] [b]CHARONTID Lieutenant (Multispectral Visor L3)[/b] HMG, Nanopulser / Heavy Pistol, Knife. (2 | [b]79[/b])
[img]https://assets.infinitythegame.net/infinityarmy/img/_logosweb/601/logo_48.png[/img] [b]E-DRONE[/b] Combi Rifle / Electric Pulse. (0.5 | [b]28[/b])
[img]https://assets.infinitythegame.net/infinityarmy/img/_logosweb/601/logo_18.png[/img] [b]Q-DRONE[/b] Plasma Rifle / Electric Pulse. (1 | [b]25[/b])
[img]https://assets.infinitythegame.net/infinityarmy/img/_logosweb/601/logo_49.png[/img] [b]KRAKOT RENEGADE[/b] 2 Chain Rifles, Grenades / Pistol, DA CC Weapon. (0 | [b]14[/b])
[img]https://assets.infinitythegame.net/infinityarmy/img/_logosweb/601/logo_56.png[/img] [b]KERR-NAU (UPGRADE: White Noise)[/b] Plasma Rifle + Pitcher, D-Charges / Breaker Pistol, Knife. (0 | [b]27[/b])
[img]https://assets.infinitythegame.net/infinityarmy/img/_logosweb/601/logo_28.png[/img] [b]RASYAT[/b] Boarding Shotgun, D-Charges, Eclipse Grenades / Pistol, DA CCW. (0 | [b]28[/b])
[img]https://assets.infinitythegame.net/infinityarmy/img/_logosweb/601/logo_10.png[/img] [b]SHROUDED (Forward Observer)[/b] Combi Rifle, Antipersonnel Mines / Pistol, Knife. (0 | [b]25[/b])
[img]https://assets.infinitythegame.net/infinityarmy/img/_logosweb/601/logo_13.png[/img] [b]DĀTURAZI[/b] Chain Rifle, Grenades, Smoke Grenades / Pistol, AP CCW. (0 | [b]14[/b])[img]https://assets.infinitythegame.net/infinityarmy/img/_logosweb/601/logo_12.png[/img] [b]SPECULO KILLER[/b] Boarding Shotgun, Smoke Grenades / Pistol, Monofilament CCW, Knife. (1 | [b]34[/b])
[img]https://assets.infinitythegame.net/infinityarmy/img/_logosweb/601/logo_16.png[/img] [b]MED-TECH OBSIDON MEDCHANOID[/b] Combi Rifle, D-Charges / Pistol, Knife. (0 | [b]23[/b])
[img]https://assets.infinitythegame.net/infinityarmy/img/_logosweb/601/logo_35.png[/img] [b]SLAVE DRONE[/b] Electric Pulse. (0 | [b]3[/b])
[img]https://assets.infinitythegame.net/infinityarmy/img/_logosweb/orden_regular.png[/img]10 [img]https://assets.infinitythegame.net/infinityarmy/img/_logosweb/orden_impetuosa.png[/img]2[b] | 4.5 SWC | 300 Points | [/b]Open in Infinity Army
Deployment
I won the roll off, and with Duroc, Margot, and a Molotok Grunt with AD:3 waiting in the wings, I elected to go first. I stacked up my Loup Garou team with most of the fireteam down on ground level and the sniper on top of a building, ready to advance up the catwalk system with a commanding view of some parts of the battlefield. The way things are set up on the board, even thought I’m high up I can’t see everything because there are a lot of catwalks and other LoS blocking terrain. I knew Andrew might bring an E-Drone, and with the repeater coverage I made sure to bunch up my Loup Garou so they would be nowhere near the repeaters so he couldn’t break the link with his EVO. My Briscard hung out nearby to cover the right side of the field and my antenna, along with my Warcor who locked down my near right antenna with all three of her points!
 Unlike my last game of Transmission Matrix, I stuck my Moblot right next to the central antenna, and then backed him up with Chasseurs and mines on the his flanks.
 My Metro lieutenant hung out near the left antenna to secure it, and with that, I was deployed save for my Zouave in reserve. Andrew’s turn! He put his E-Drone and Dr. Worm on his right, with a Daturazi nearby.
 The Charontid and Dr. Worm’s bot anchored the center, with the Q-drone ready to attack my right flank.
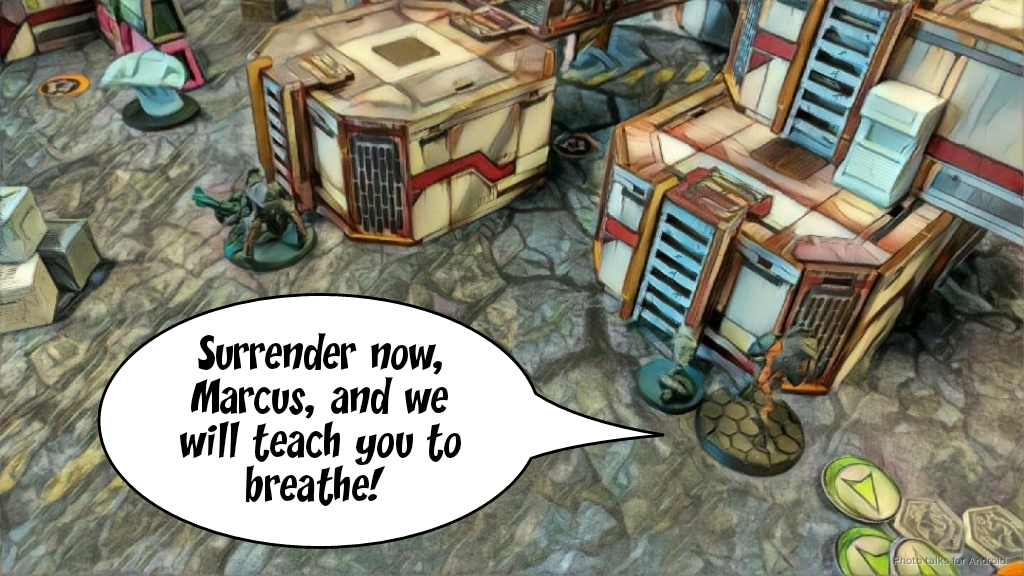 Kerr-Nau also was there on my right, presumably to help out the Q-Drone with pitchers and White Noise.
 Andrew’s HVT was on my left, so I put my Zouave as my DataTracker out of reserve nearby. Andrew waffled for a bit, deciding whether or not to counter-deploy my Zouave and instead opted to go for his own HVT kill by placing his Speculo out of marker state to be a DataTracker near my HVT on my right.
 At this point, we were ready to get the party started, so we shook hands and got to it!
Turn 1
Top of Turn 1 – FRRM
Duroc comes on and hucks a grenade at the Speculo. I beat his dodge but he passes ARM. I have a lot of things to do this turn, so I settle for just leaving Duroc there to watch the Speculo for now. I push the Zouave up and gun down the HVT with his assault pistol, then push him all the way up to drop an E/Mauler covering the Q-Drone. Margot comes on and grenades Dr. Worm, then settles into position covering the E-Drone’s approach. Poor acrophobic Marcus stands up and moves to cover more of the board, with the link team shuffling up into better cover positions.
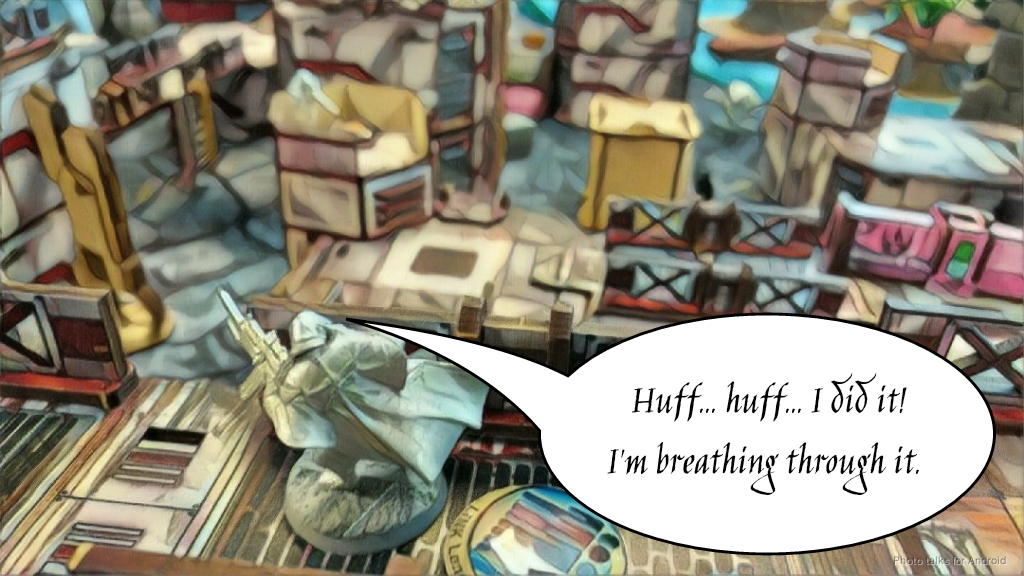 My last order in my main pool is to bring one of my Chasseurs into position to cover the Speculo’s approach, and then I drop in my Molotok Grunt SpecOps and throw her into suppression to further cover the board edge, just in case.
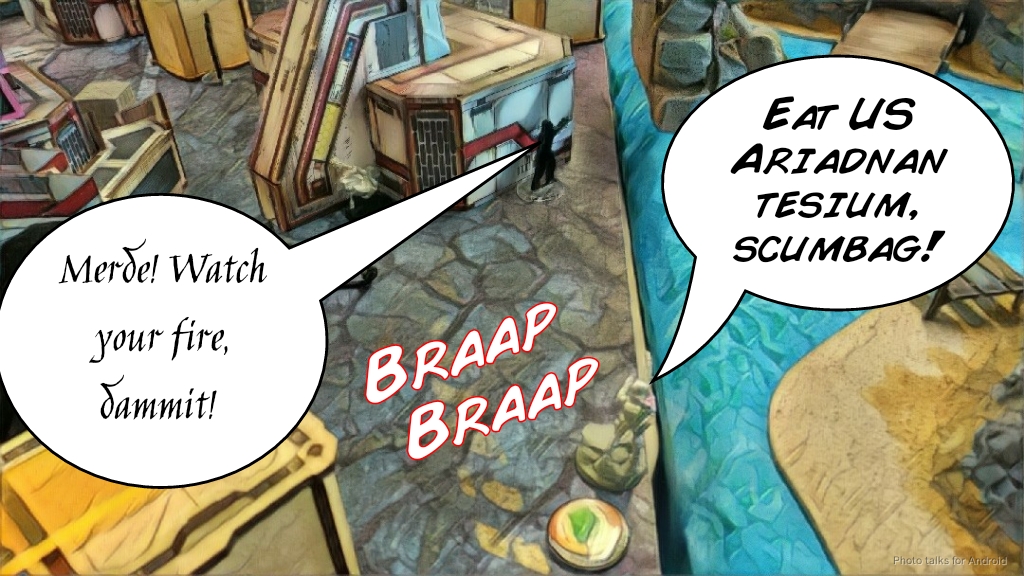 I’m out of orders at this point, so I hope everything goes well… I realize too late that my Moblot is facing the wrong way and might get shot in the back by Andrew’s Shrouded but I can’t fix it…
Bottom of Turn 1 – Combined Army
The Daturazi starts things off by sneaking into position near the Zouave, trying to throw smoke. Unfortunately he flubs the roll.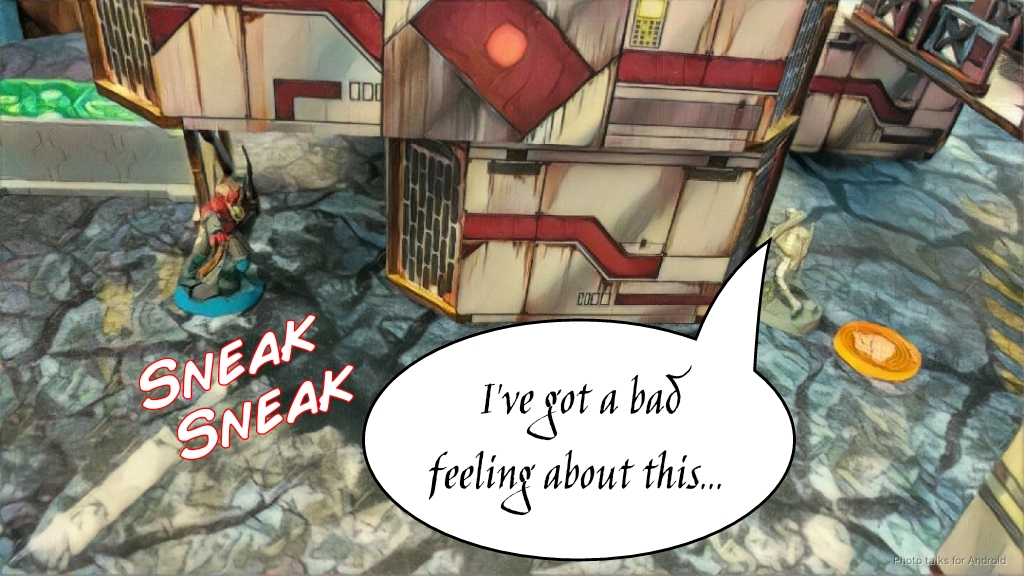 Andrew tries to unstick his Speculo by moving Kerr-Nau, so I spin Duroc around to cover his approach. Andrew makes a mistake here by standing Kerr-Nau up in full view of the Loup Garou sniper, who drops him. This does mean that Duroc is facing the board edge now, which was the only way to cover both Kerr-Nau and the Speculo.
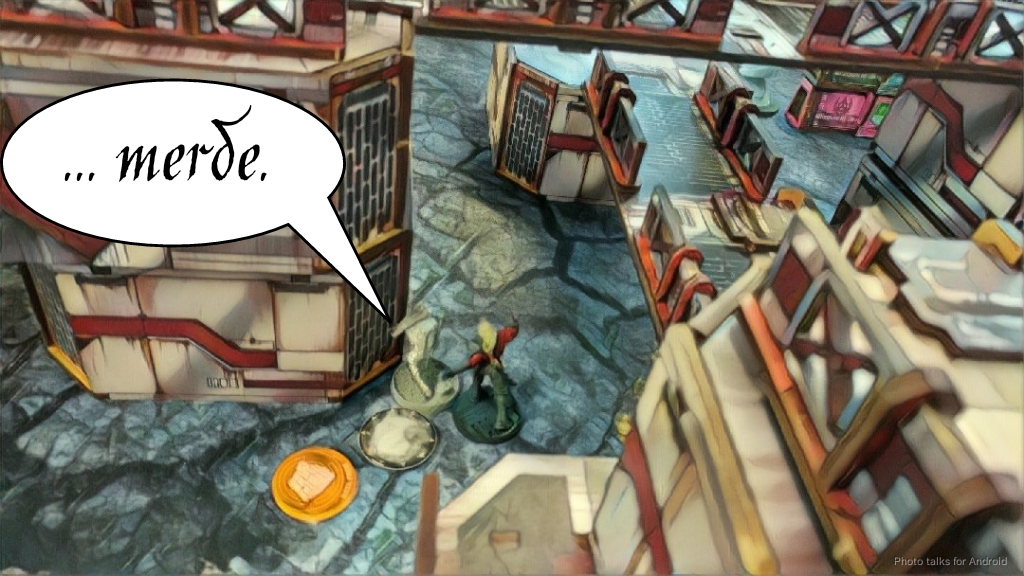 Andrew unsticks the Q-Drone by throwing smoke to cover the Zouave and then moving around to get into base to base, simultaneously detonating the E/Mauler, which of course Morats don’t care about. Now free of the E/Mauler threat, the Q-Drone tries to gun down Duroc, scoring a crit but nothing else. I take my free spin and turn Duroc to cover the Speculo and the Q-Drone. Another round of shooting with the Q-Drone lets me get a successful smoke off.
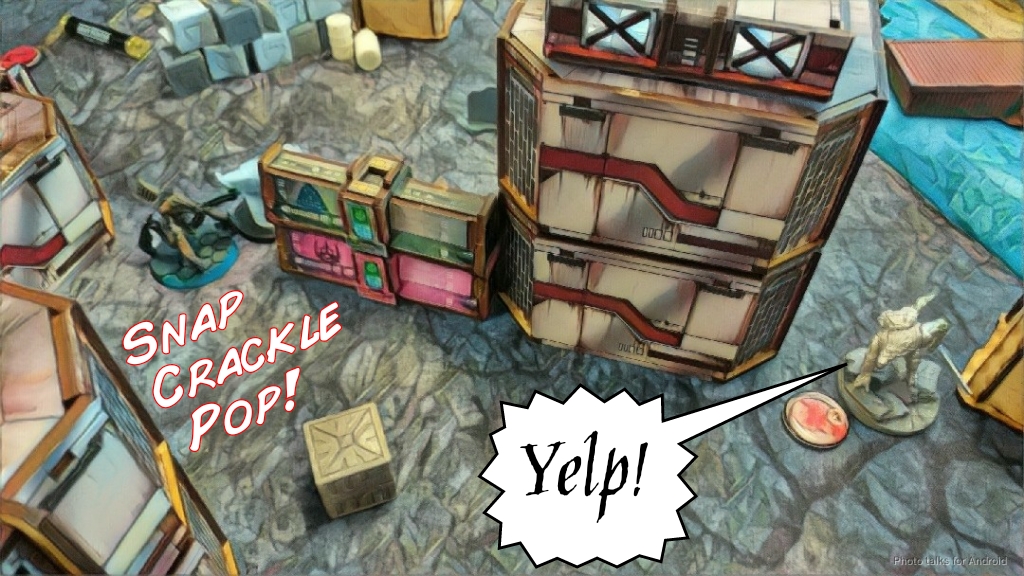 Andrew walks on a Rasyat, incorrectly assuming that my camo token is a mine! He goes for the Lieutenant snipe, a wise move, but I get lucky and drop the Rasyat with a crit from my Chasseur.
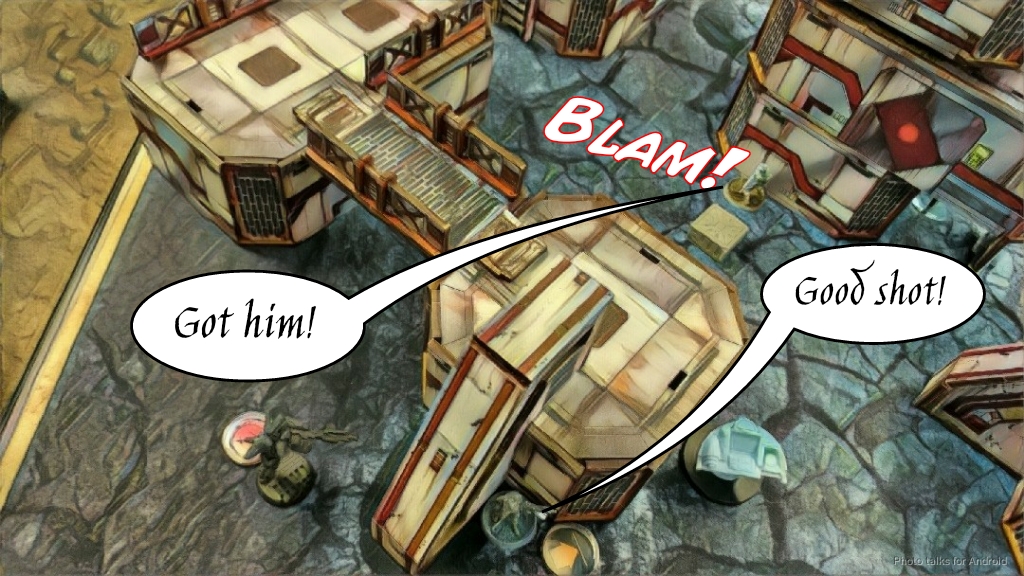 With that, he’s out of orders and passes the turn.
Turn 2
I’ve got three antennas to Andrew’s two, thanks to my infiltrating Moblot, so two points for me.
Top of Turn 2 – FRRM
Duroc is covered by both the Q-Drone and the Speculo, so I cancel his order to not needlessly throw him away. I unstick him by using the Molotok Grunt to drop the Q-Drone from outside of 16″, and then finally get a successful grenade off on the Speculo, killing it. Margo kills the E-Drone then gets into a position to suppressive fire Andrew’s left flank. I try to take out the Daturazi with the Molotok Grunt, hitting the Daturazi and missing all my other shits. Unfortunately the Daturazi passes ARM, so I try again with the Moblot, killing the Zouave with friendly fire. In any case, this lets me fix her positioning and then go into suppression covering the central approach. Andrew elects to stay engaged with the Zouave’s body to make it harder for me to hit him, which makes total sense. The link pushes up a bit more, setting up to really cover the central approach with AROs, but due to the catwalk geometry it’s still possible to vertically slice the pie to get at them one at a time. Still, it’s orders Andrew has to spend! I’m now out of orders and pass the turn.
Bottom of Turn 2 – Combined Army
The Daturazi runs into the central firelane and I open up with 3 link team members, suppressive fire with Margot and the Moblot, and arc a rocket in from the Briscard. Surely he won’t survive, right? Andrew throws smoke to face to face all of my fire. I roll 12 dice worth of suppression and fireteam shots, and miss. them. all. I pick up my last d20 for the Briscard, throw it into my dice cup, and punch through the Daturazi’s smoke roll, burning him off the table. PHEW! That MSV1 really made the difference here! This was a pretty big deal, as this meant the Charontid wouldn’t have smoke to protect it. It still manages to gun down all but one member of the link team and Margot as it rampages about in Andrew’s backfield, doing some serious damage to my order pool.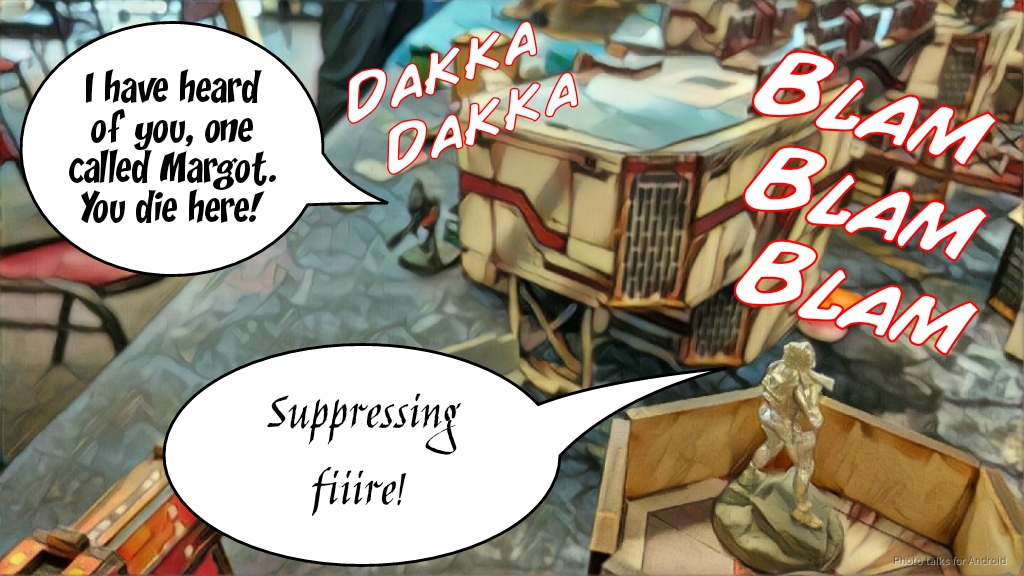 It ends the turn in the central firelane, watching over the smoking corpses of my Loup Garou.
Turn 3
I’ve got two Antennas to Andrew’s none, so it’s still two points for me.
Top of Turn 3 – FRRM
Duroc super jumps up to say hello to the camo token, who wisely ignores him.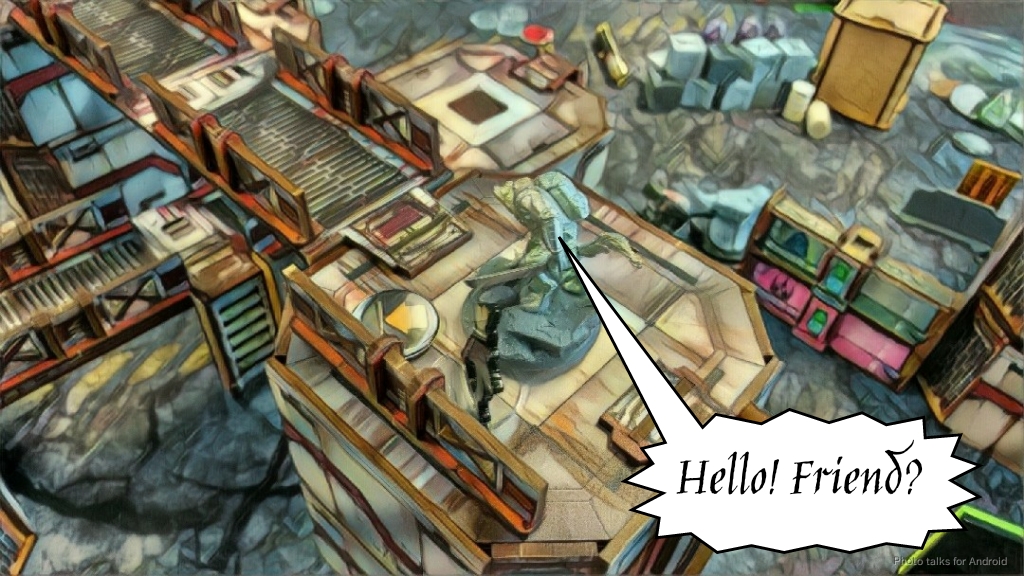 I drop smoke to make sure it can’t do anything and leapfrog my way down.
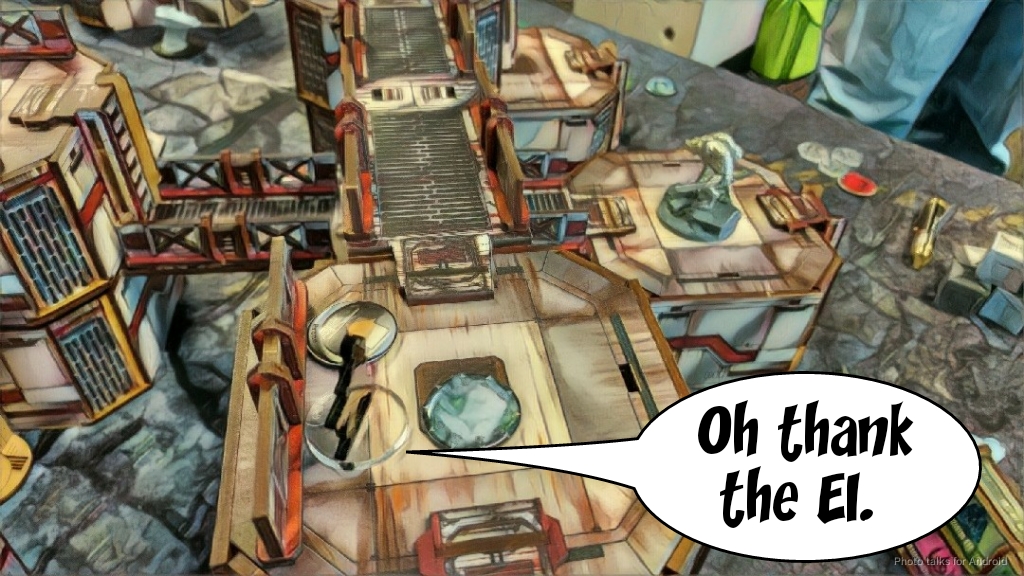 I end up in base to base with Andrew’s lieutenant, beating out his HMG and doing a wound. I’ve only got one more order, so I spend it putting the Charontid into NWI.
Bottom of Turn 3 – Combined Army
Andrew’s pretty low on orders at this point, he’s only got his Lieutenant and the Shrouded left. The Shrouded manages to drop my Briscard but the Warcor blinds him. Poor Marcus the sniper is rolling around on the catwalk after being shot by the Charontid last turn.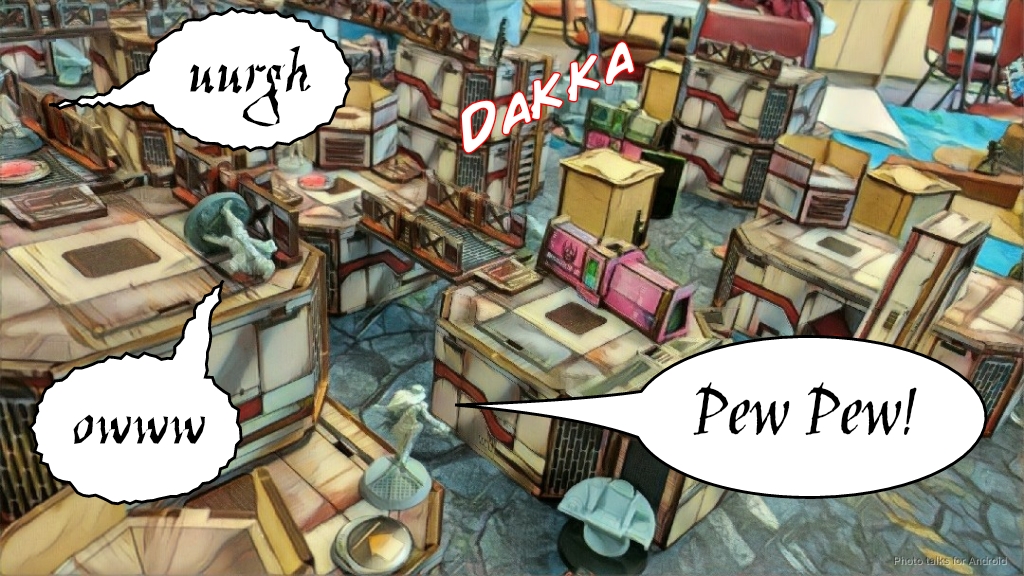 With his Lieutenant order, Andrew declares that he’s morally obligated to try and finish off Duroc, who’s already wounded. I out roll him and Duroc smashes the Charontid into scrap. I couldn’t do my classifieds, and Dr. Worm died first turn preventing Andrew from doing his, so it’s a
9-0 Force de Réponse Rapide Merovingienne Victory!
Thanks to Andrew for trying out my crazy table with me and for a great game, as always!
Notes
Notes for Me
- Putting the Moblot (or some other infiltrator) in the center is the right call for this mission. I’m not sure I need the E/Mauler, because I need him to be stationary. Perhaps the AP Rifle version would be better? Could drop the Warcor to get it. Hmm.
- I need to be more careful with my facings. That Shrouded could’ve done some damage!
- The Zouave is quickly becoming my favorite Designated Target hunter thanks to reserve and mech deploy. If only the LGL version still had an assault pistol!
- I had way too many things to do on my first turn. I’m glad I got the E/Mauler in place but I didn’t have enough orders to get the Zouave to safety. I think this was because I did something dumb with my link positioning on my first order then needed to fix it. Breaking my own rules of always assume that it’s the last order you’re going to spend on them!
- I think you definitely need at least two models for the two near antennas. There’s enough shenanigans that that your opponent can pull that having a backup is a good idea. The Warcor is a surprisingly good investment for this purpose, as is a Metro Lt.
- Chasseurs minelayer mind games paid off! I think people undervalue the power of camo tokens as anti-AD tools. It’s hard to do well, because you need to be careful about placement and this often means your camo guy isn’t in cover from AD.
- FRRM links seem pretty fragile. Maybe I’m not supporting them well. X-Visor only does so much.
- The Grunt SpecOps + Duroc + Margot were pretty fantastic this game. I was really happy with having three AD troops, one at a ridiculous discount!
Notes for Andrew
- One of the reasons I like writing these battle reports is that I get a chance to actually stop and reflect on decisions in the game, especially those of your opponent. You definitely don’t have time during a tournament.
- Looking back at Andrew’s first turn, it was a tour-de-force at recovery. He used all the tools at his disposal to cleverly pick apart the net I had woven, but the dice just didn’t give him what he needed.
- Andrew noted that standing Kerr-Nau up was a big mistake, he could’ve prone moved twice and gotten the same movement he needed and been safe from the Loup Garou sniper.
- Also, the Charontid is a beast. As we were talking about it day of, we thought it would’ve been worth rampaging him around earlier, but looking at the game now, it seems like Andrew’s first turn was fine the way it was. The second turn was Charontid party time so everything went fine, it was just dice in the first turn.
- One thing I was worried about was the Shrouded, but I guess I had it covered with the Loup Garou and the Briscard… still, losing the Shrouded to take out the Moblot might’ve been good, cause I would’ve had to replace it with something.
Game 2 – Sun-Tohaaing on the Beach
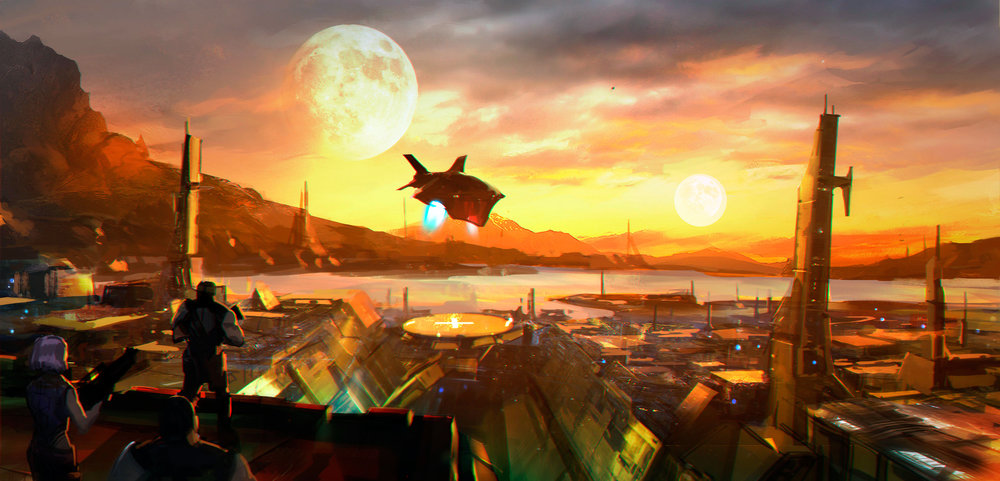 Obadiah took his first game as well, so we matched up for the second game after a few beers at lunch. We’ve thrown dice against each other before, but never solo. We got to play on Adam’s abandoned tropical outpost table, which has all kinds of annoying terrain rules.
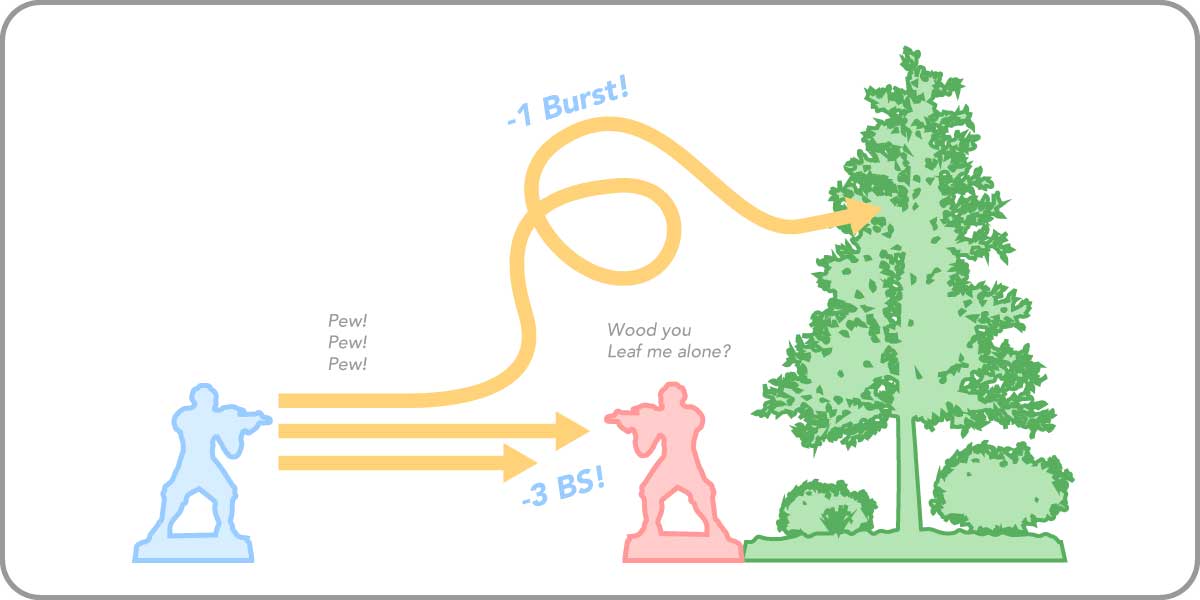
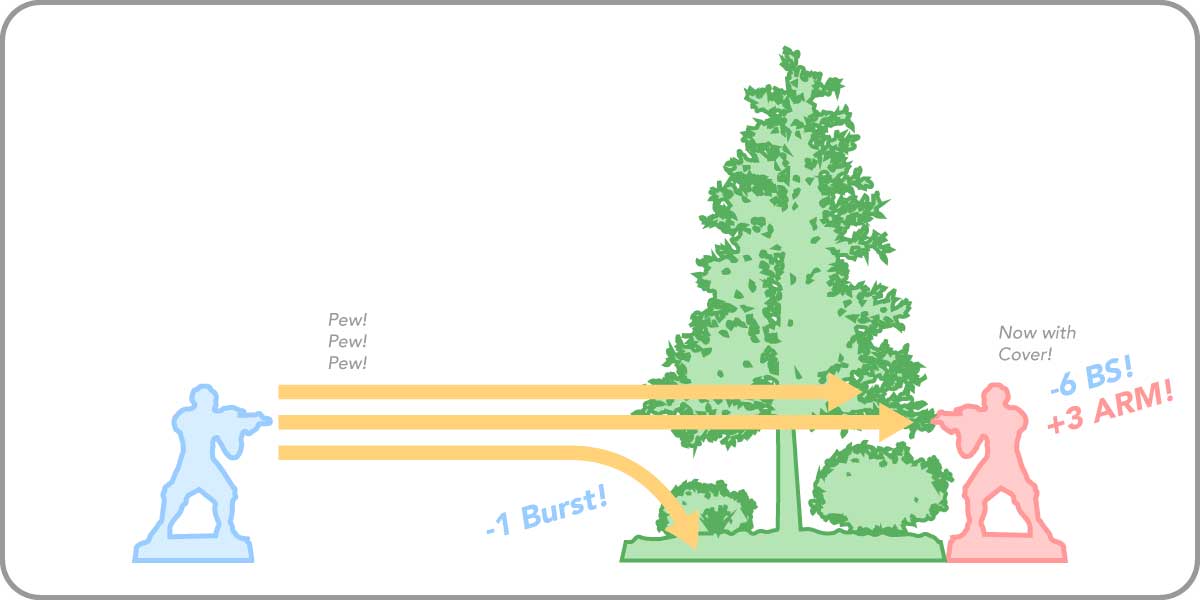
 Adam recommended that we treat the bushes and trees as saturation, low-vis, and granting cover if you’re in base to base. In fact, he made some pretty sweet infographics to explain everything.
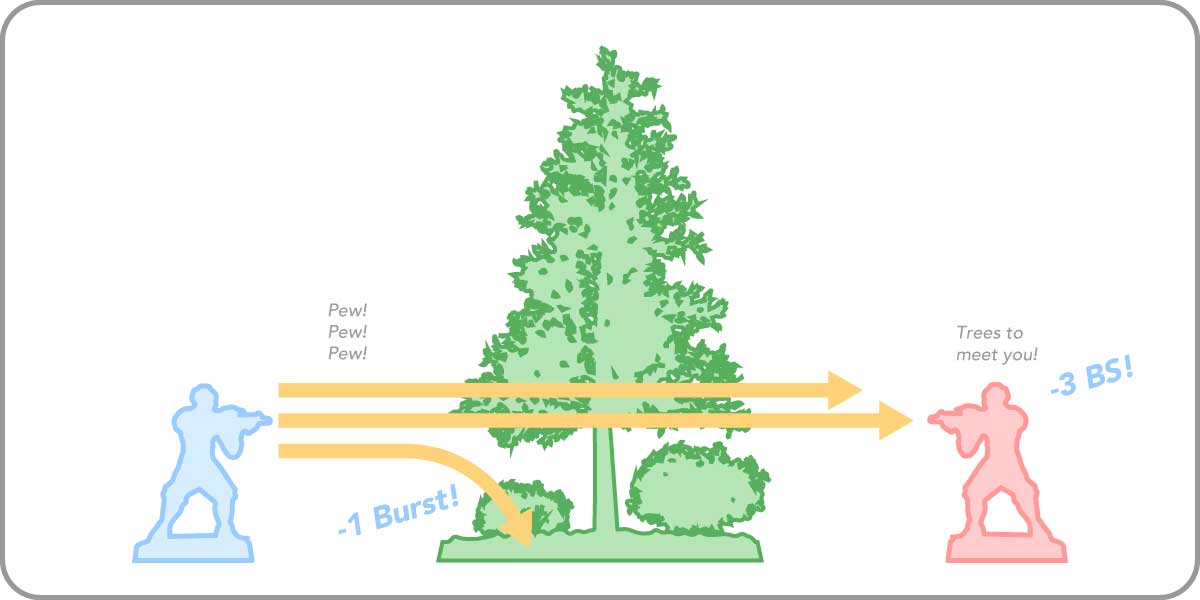
This proved to be a bit too strong, especially since I brought a Briscard link, but we made the best of it. I’m glad to have had the chance to take on Obadiah mano-a-mano! He’s a tough opponent, with a strong mastery of the game and rules interactions.
Overview
- Mission: Supremacy
- Forces: Force de Réponse Rapide Merovingienne versus Tohaa (300)
- Deploy First: Tohaa
- First Turn: Tohaa
[img]https://assets.infinitythegame.net/infinityarmy/img/_logosweb/logo_303.png[/img][b] Board Control[/b]
[b]GROUP 1 | [/b][img]https://assets.infinitythegame.net/infinityarmy/img/_logosweb/orden_regular.png[/img]10
[img]https://assets.infinitythegame.net/infinityarmy/img/_logosweb/303/logo_5.png[/img] [b]BRISCARD Lieutenant[/b] Marksman Rifle / Assault Pistol, Knife. (0 | [b]24[/b])
[img]https://assets.infinitythegame.net/infinityarmy/img/_logosweb/303/logo_5.png[/img] [b]BRISCARD Paramedic (Medikit)[/b] Marksman Rifle / Assault Pistol, Knife. (0 | [b]26[/b])
[img]https://assets.infinitythegame.net/infinityarmy/img/_logosweb/303/logo_5.png[/img] [b]BRISCARD (Forward Observer)[/b] Marksman Rifle / Assault Pistol, Knife. (0 | [b]25[/b])
[img]https://assets.infinitythegame.net/infinityarmy/img/_logosweb/303/logo_5.png[/img] [b]BRISCARD[/b] Heavy Rocket Launcher / Assault Pistol, Knife. (1.5 | [b]23[/b])
[img]https://assets.infinitythegame.net/infinityarmy/img/_logosweb/303/logo_5.png[/img] [b]BRISCARD[/b] Sniper Rifle / Pistol, Knife. (1 | [b]25[/b])[img]https://assets.infinitythegame.net/infinityarmy/img/_logosweb/303/logo_7.png[/img] [b]CHASSEUR (Forward Observer)[/b] Rifle, Light Flamethrower, Antipersonnel Mines / Pistol, Knife. (0 | [b]20[/b])
[img]https://assets.infinitythegame.net/infinityarmy/img/_logosweb/303/logo_7.png[/img] [b]CHASSEUR (Forward Observer)[/b] Rifle, Light Flamethrower, Antipersonnel Mines / Pistol, Knife. (0 | [b]20[/b])
[img]https://assets.infinitythegame.net/infinityarmy/img/_logosweb/303/logo_7.png[/img] [b]CHASSEUR (Minelayer)[/b] Rifle, Light Flamethrower, Antipersonnel Mines / Pistol, Knife. (0.5 | [b]20[/b])
[img]https://assets.infinitythegame.net/infinityarmy/img/_logosweb/303/logo_7.png[/img] [b]CHASSEUR (Minelayer)[/b] Rifle, Light Flamethrower, Antipersonnel Mines / Pistol, Knife. (0.5 | [b]20[/b])
[img]https://assets.infinitythegame.net/infinityarmy/img/_logosweb/303/logo_4.png[/img] [b]ZOUAVE[/b] Rifle, D.E.P., E/Mauler / Assault Pistol, Knife. (1 | [b]21[/b])[b]GROUP 2 | [/b][img]https://assets.infinitythegame.net/infinityarmy/img/_logosweb/orden_regular.png[/img]5
[img]https://assets.infinitythegame.net/infinityarmy/img/_logosweb/303/logo_2.png[/img] [b]PARA-COMMANDO[/b] HMG / Pistol, Knife. (1 | [b]31[/b])
[img]https://assets.infinitythegame.net/infinityarmy/img/_logosweb/303/logo_1000.png[/img] [b]INTEL Spec-Ops (12 XP)[/b] [i](AD: Inferior Combat Jump)[/i] Rifle, Molotok / Pistol, Knife. (0 | [b]10[/b])
[img]https://assets.infinitythegame.net/infinityarmy/img/_logosweb/303/logo_1.png[/img] [b]MÉTRO (CH: Limited Camouflage, Inferior Infiltration)[/b] Rifle, D.E.P. / Pistol, Knife. (0.5 | [b]12[/b])
[img]https://assets.infinitythegame.net/infinityarmy/img/_logosweb/303/logo_1.png[/img] [b]MÉTRO (CH: Limited Camouflage, Inferior Infiltration)[/b] Rifle, D-Charges / Pistol, Knife. (0 | [b]11[/b])
[img]https://assets.infinitythegame.net/infinityarmy/img/_logosweb/303/logo_1.png[/img] [b]MÉTRO (CH: Limited Camouflage, Inferior Infiltration)[/b] Rifle, D-Charges / Pistol, Knife. (0 | [b]11[/b])
[b] 6 SWC | 299 Points |[/b] Open in Infinity Army
[img]https://assets.infinitythegame.net/infinityarmy/img/_logosweb/logo_801.png[/img][b] Is it safe? [/b]
[b]GROUP 1 | [/b][img]https://assets.infinitythegame.net/infinityarmy/img/_logosweb/orden_regular.png[/img]9 [img]https://assets.infinitythegame.net/infinityarmy/img/_logosweb/orden_impetuosa.png[/img]1
[img]https://assets.infinitythegame.net/infinityarmy/img/_logosweb/801/logo_24.png[/img] [b]SUKEUL Lieutenant (Forward Observer)[/b] K1 Combi Rifle, D-Charges / Pistol, Breaker Pistol, Knife. (0 | [b]32[/b])
[img]https://assets.infinitythegame.net/infinityarmy/img/_logosweb/801/logo_3.png[/img] [b]GAO-RAEL[/b] Spitfire / Pistol, CCW. (1.5 | [b]33[/b])
[img]https://assets.infinitythegame.net/infinityarmy/img/_logosweb/801/logo_8.png[/img] [b]MAKAUL[/b] Heavy Flamethrower, Eclipse Grenades / Pistol, Viral CCW. (0 | [b]13[/b])[img]https://assets.infinitythegame.net/infinityarmy/img/_logosweb/801/logo_20.png[/img] [b]KAELTAR[/b] Light Shotgun, Flash Pulse + 2 SymbioBombs / Pistol, Electric Pulse. (0 | [b]15[/b])
[img]https://assets.infinitythegame.net/infinityarmy/img/_logosweb/801/logo_1000.png[/img] [b]HATAIL Spec-Ops (12 XP)[/b] [i](BS:12, Specialist Operative, AD: Inferior Combat Jump)[/i] Combi Rifle, Vulkan Shotgun / Pistol, Knife. (0 | [b]12[/b])
[img]https://assets.infinitythegame.net/infinityarmy/img/_logosweb/801/logo_14.png[/img] [b]HATAIL AELIS KEESAN[/b] Viral Combi Rifle, Nanopulser, Flash Pulse, D-Charges / Pistol, Knife. (0 | [b]30[/b])
[img]https://assets.infinitythegame.net/infinityarmy/img/_logosweb/801/logo_10.png[/img] [b]CHAKSA AUXILIAR (Baggage, Sensor)[/b] Heavy Flamethrower / Pistol, CCW. (0 | [b]10[/b])
[img]https://assets.infinitythegame.net/infinityarmy/img/_logosweb/801/logo_10.png[/img] [b]CHAKSA AUXILIAR (Baggage, Sensor)[/b] Heavy Flamethrower / Pistol, CCW. (0 | [b]10[/b])
[img]https://assets.infinitythegame.net/infinityarmy/img/_logosweb/801/logo_7.png[/img] [b]CLIPSOS Minelayer[/b] Combi Rifle, Antipersonnel Mines / Pistol, Knife. (0.5 | [b]25[/b])[b]GROUP 2 | [/b][img]https://assets.infinitythegame.net/infinityarmy/img/_logosweb/orden_regular.png[/img]5 [img]https://assets.infinitythegame.net/infinityarmy/img/_logosweb/orden_irregular.png[/img]1
[img]https://assets.infinitythegame.net/infinityarmy/img/_logosweb/801/logo_24.png[/img] [b]SUKEUL[/b] Missile Launcher, Light Shotgun / Pistol, Breaker Pistol, Knife. (1.5 | [b]36[/b])
[img]https://assets.infinitythegame.net/infinityarmy/img/_logosweb/801/logo_20.png[/img] [b]KAELTAR (Chain of Command)[/b] Light Shotgun, Flash Pulse + 2 SymbioMates / Pistol, Electric Pulse. (0.5 | [b]21[/b])
[img]https://assets.infinitythegame.net/infinityarmy/img/_logosweb/801/logo_1.png[/img] [b]KAMAEL Paramedic (Medikit)[/b] Combi Rifle / Pistol, Knife. (0 | [b]14[/b])[img]https://assets.infinitythegame.net/infinityarmy/img/_logosweb/801/logo_10.png[/img] [b]CHAKSA AUXILIAR (Baggage, Sensor)[/b] Heavy Flamethrower / Pistol, CCW. (0 | [b]10[/b])
[img]https://assets.infinitythegame.net/infinityarmy/img/_logosweb/801/logo_22.png[/img] [b]KERAIL PRECEPTOR[/b] Submachine Gun, Smoke Grenades + 1 Surda SymbioBeast / Pistol, Electric Pulse. (0 | [b]20[/b])
[img]https://assets.infinitythegame.net/infinityarmy/img/_logosweb/sep.gif[/img] [img]https://assets.infinitythegame.net/infinityarmy/img/_logosweb/801/logo_22.png[/img] [b]SURDA SYMBIOBEAST[/b] Pulzar / Viral CCW. (0 | [b]8[/b])
[img]https://assets.infinitythegame.net/infinityarmy/img/_logosweb/801/logo_32.png[/img] [b]JÄGER[/b] Submachine Gun + E/Mitter / Pistol, Monofilament CC Weapon. (0.5 | [b]18[/b])
[b] 4.5 SWC | 299 Points |[/b] Open in Infinity Army
Deployment
Obi won the roll off and decided to go first. I gave him the strictly worse side, which had very little deployment space that wasn’t water. The Gao Rael triad was on my right supported by a Kerail with Surda, with a Chaksa all the way on the left.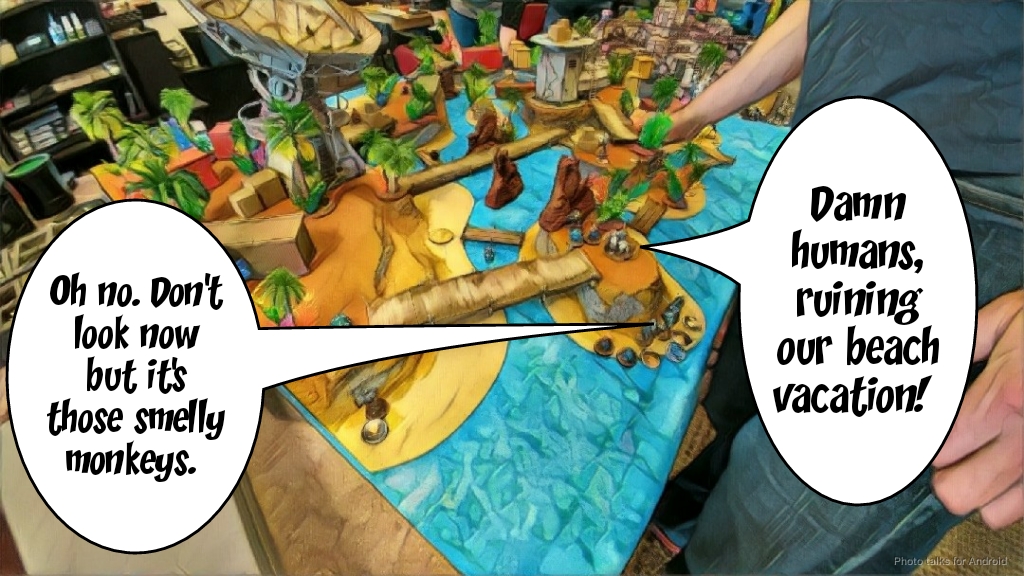 The Sukeul ML Triad anchored Obi’s center, with a Chaksa. Finally, his right flank was another Chaksa and Keesan toting a Viral Rifle.
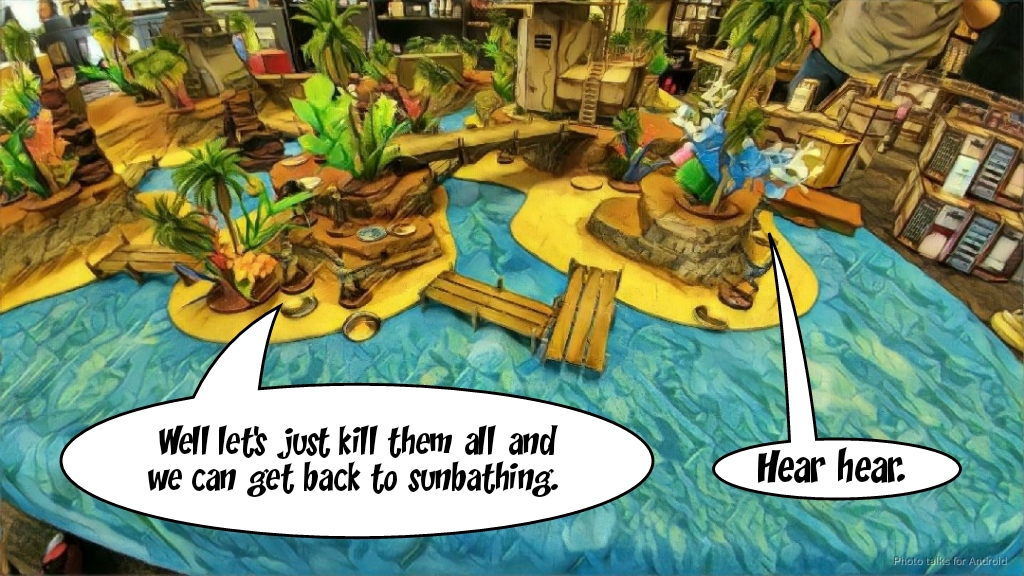 With that, it was my turn to deploy. I dropped my Briscard link on the big central island in my deployment zone, with the sniper and HRL watching both triads and my Lieutenant at the bottom of the hill.
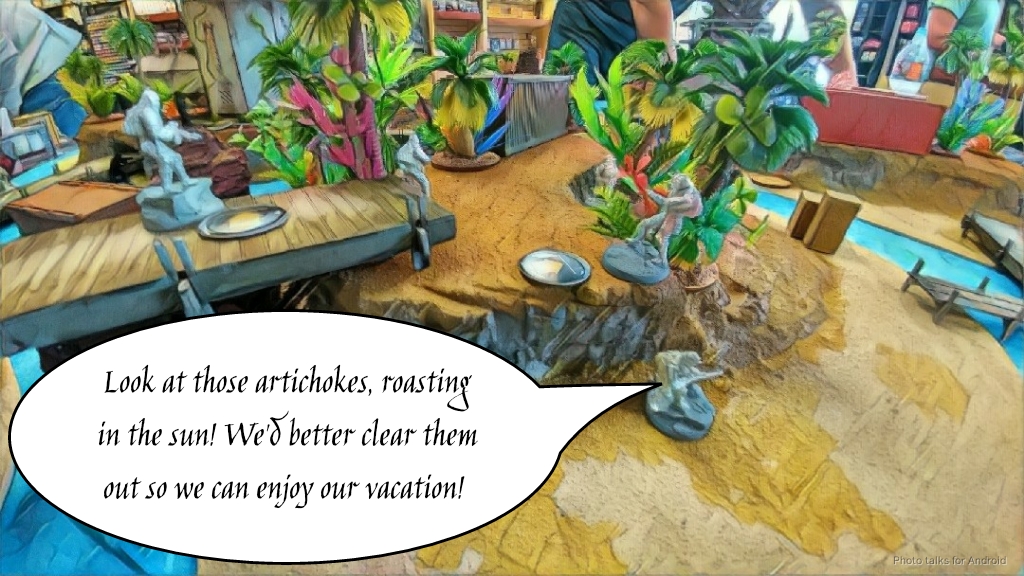 I managed to stick a Metro D.E.P. on Obi’s side of the table atop a shipping container on the right (you can barely see the TO camo token there, I ran out of regular camo), but the other two inferior infiltration Metros ended up on the left and right sides of the table. I put my Chasseur FO atop the satellite dish (stupidly), and the minelayer below with her mine. I forgot I had to go push buttons this scenario!
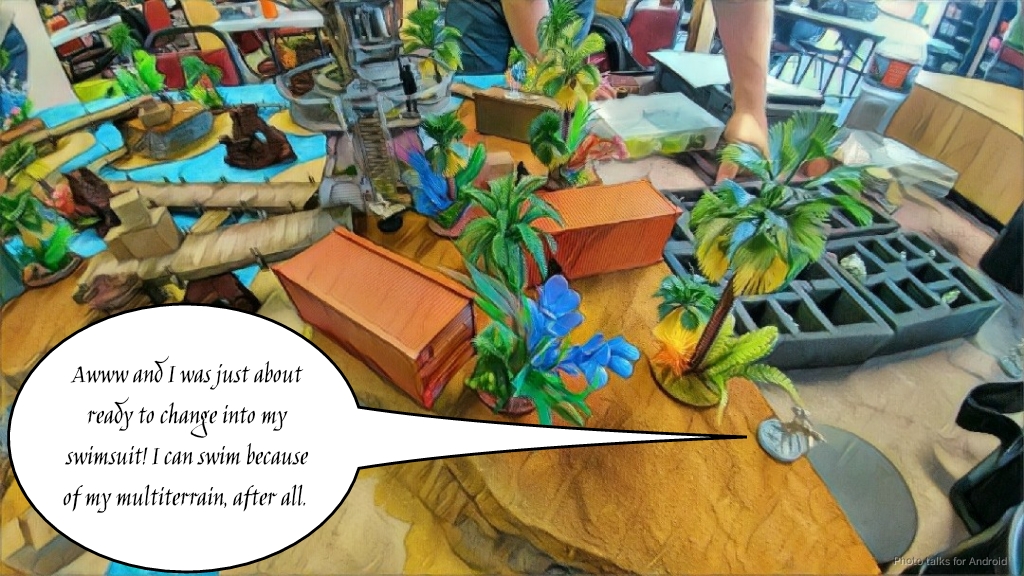 The left side had my Chasseur FO on top of a tall building as well, with the minelayer below. Stupid stupid stupid. I didn’t have much other presence on the left other than those Chasseurs and my Metro. Obi brought his Clipsos minelayer out of reserve, putting a mine on top of the big building to deter my Chasseur lifeguard (and to protect his HVT, below the building) and the Clipsos itself in hidden deployment at the base of the building.
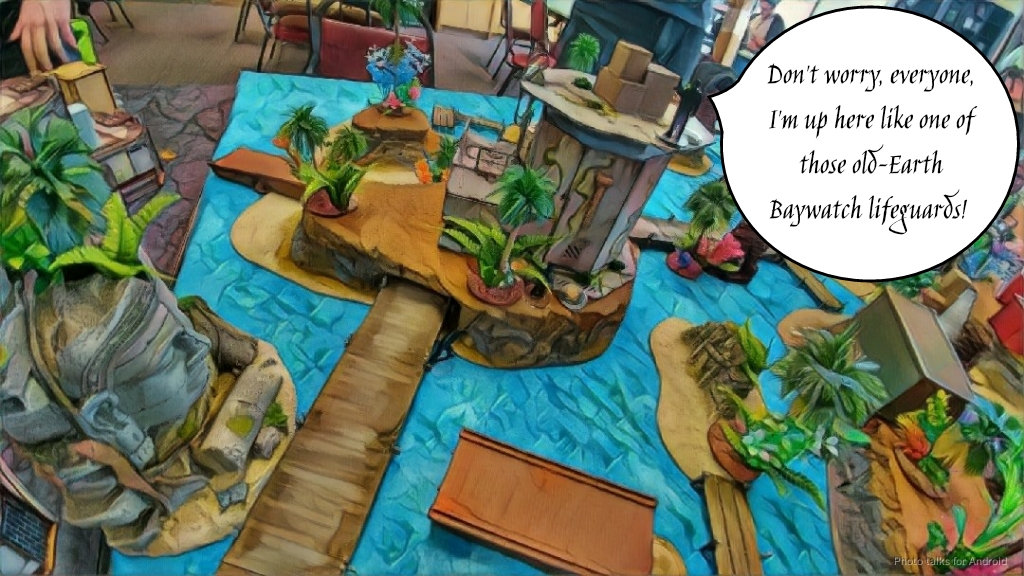 I didn’t have a great plan for my Zouave, so I just stuck him on the right behind some boxes. No DataTracker this round, so we shook hands and off we went.
Turn 1
I forgot to take pictures in the first turn!
Top of Turn 1 – Tohaa
I took two orders from Obi, leaving him with five in each pool. He started off by moving the Chaksa up on my left to sensor the minelayer Chasseur and his mine, revealing both. The Sukeul ML took a potshot at my Briscard sniper, but we both whiffed, since we were only on one die thanks to all the saturation zones. Obi took a look at the math again, since I have MSV1 and ignore the Mimetism and the low-vis zone, and elected to stop messing around with the Sukeul. He activated the other triad to throw some smoke under a bridge, letting this Kerail and Surda make their way up the board. The Surda discovers my poor Metro, and then jumps up to Pulzar both it and the FO Chasseur on the big satellite dish. I pass my Pulzar save on the Metro but the Chasseur drops. Thankfully, the mine from my other Chasseur catches the Surda, killing it. Keesan pushes up on my left flank, gunning down the Metro there, and then goes into suppression. Finally, Obi eyeballs the heavy flamer distance on his Chaksa and expertly maneuvers it to be just outside of mine range on my left mine, clearing the mine the old fashioned way–killing it with fire. Fortunately for me and frustratingly for Obi, he hasn’t made much headway up the table due to my link team covering a lot of his approaches.
Bottom of Turn 1 – FRRM
I bring on my Paracommando HMG and spend the only two orders in that pool on shooting the Sukeul ML. This only lets me put a single wound on it before I’m out of orders in that pool. I use a coordinated order to shuffle around my three remaining Chasseurs and Zouave, then drop the Chasseur Minelayer on the left back into camo before using it to gun down the Sukeul ML over two orders. With the Sukeul down, I recamo the Chasseur and push the Briscards forward, climbing the FO a top a crate and repositioning the rest of the Briscards in a more forward position, taking out Keesan on the way.
Turn 2
I’ve got more quadrants than Obi, so two points on the board for me!
Top of Turn 2 – Tohaa
I lose the FO Briscard to some fancy shooting from the Gao Rael Spitfire after that triad climbs up to the top of the island where the Kerail was. Some more shooting drops my Zouave as well, and I lose the Chasseur minelayer that took out the Sukeul to the Gao Rael as well. That guy is doing some serious work! Obi tries to get the Kerail into position but I crit it with the HRL Briscard, popping off both the SymbioMate and SymbioBomb. I’ll take it! Obi is understandably less enthused by this development, but passes his save against burning and the Kerail survives, hiding it on the other side of the shipping container from my Paracommando. The turn goes back to me.
Bottom of Turn 2 – FRRM
I push the link all the way to the right, forgetting I need to dominate zones until it’s too late… the beer still hasn’t worn off, apparently. Or I’m just dumb. Let’s go with it was the beer. I manage to push a button, yeah, that’s why I was over there! Right? Right. My link is in a pretty horrible position though…
 I try to remedy things by dropping in my Molotok Grunt, but I want to do in a difficult to get to place and chance the AD:3 roll. Needless to say, I fail and deviate behind the Chaksa on my left flank, who fails his dodge chance face roll. I take some shots from a Kamael, but Grunt ARM protects me. Obi tells me taking a Grunt is cheating, and I have to agree. I’ve only got an order or two in the pool, so I use them to gun down the Kamael and the Chaksa.
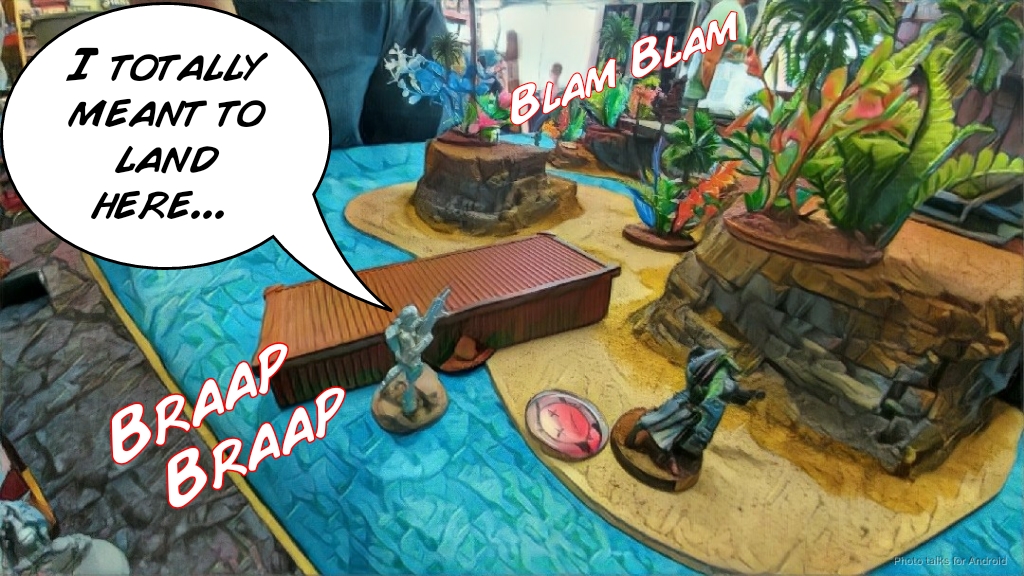
Turn 3
Top of Turn 3 – Tohaa
The Gao Rael goes to work. Obi slices and dices some pies and cuts my link to ribbons. They just get blown to pieces, one by one.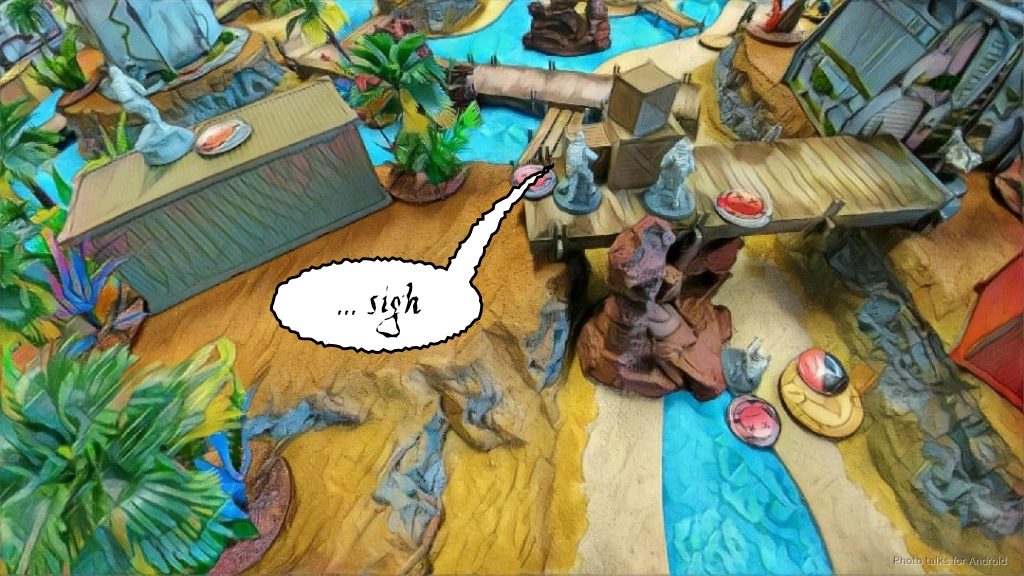 In fact, Obi wipes out my entire right flank, shoving the Kerail up the board and wrecking the Paracommando and the Chasseur.
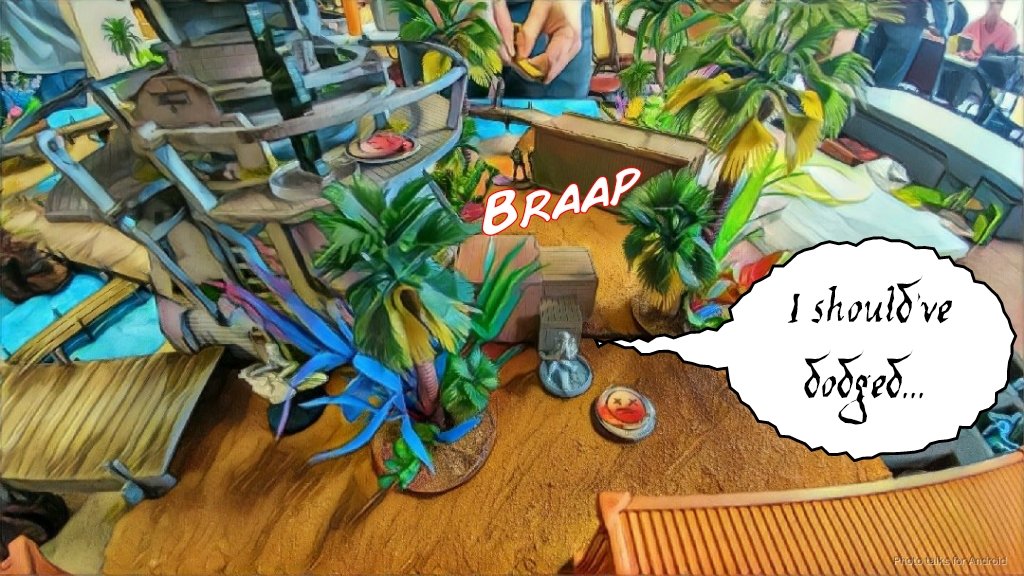 Obi finishes out his turn by pushing a button and by raining AD troops, bringing in a Cube Jager near my Metro and a Hatail SpecOps behind my Grunt.
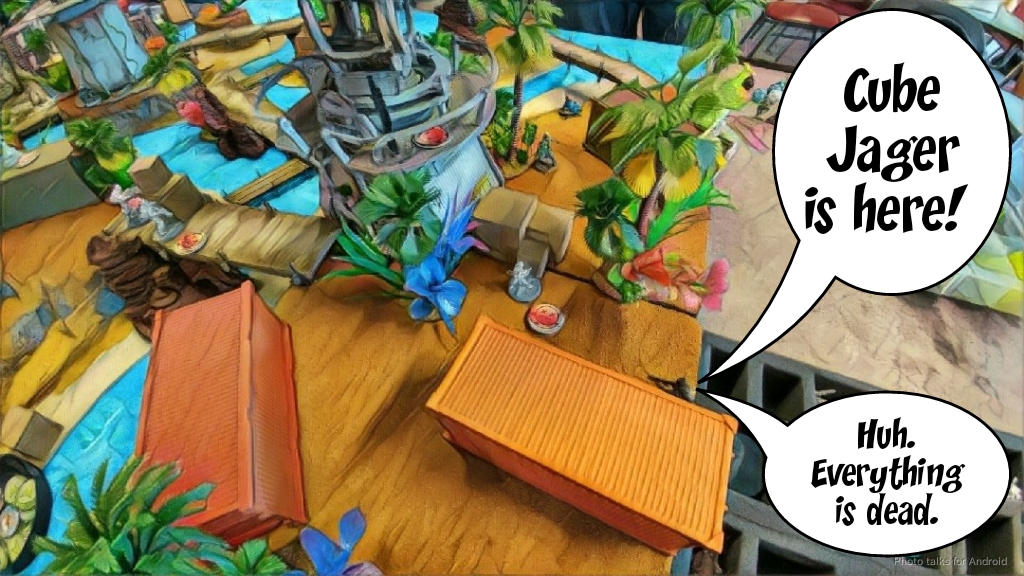
Bottom of Turn 3 – FRRM
I’m in loss of lieutenant and in retreat. I flip all my command tokens and orders, which is just enough for me to get my Grunt into base to base with the unconscious Chaksa to coup de grace it, netting me a classified. The Grunt goes down to the Hatail’s Vulkan shotgun, but I got my classified!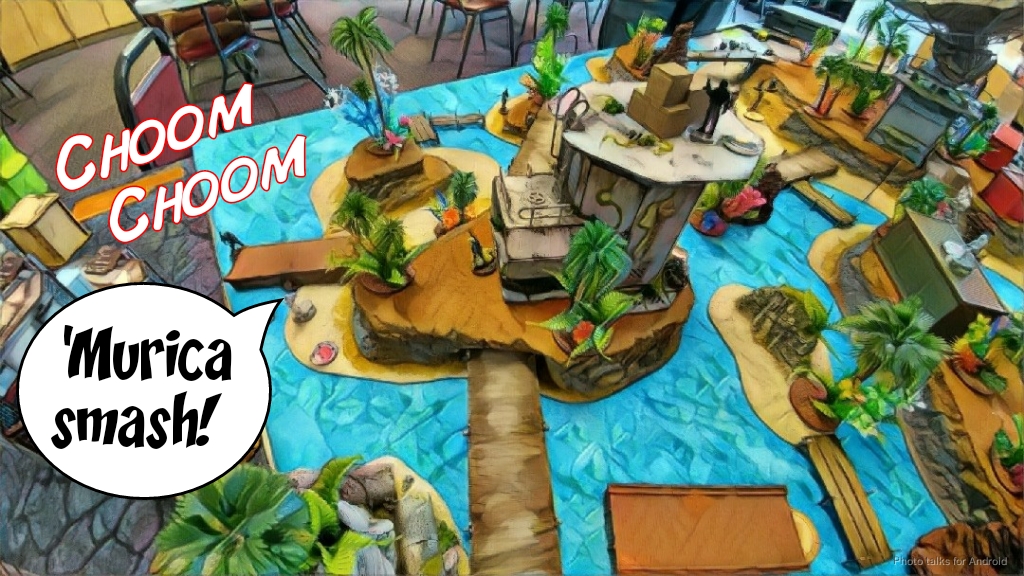 Beach party over! Obi’s got pretty much all the quadrants now and I’m wiped off the map except for one Chasseur. He pushed a button and dominated more in the last turn, so it’s a
6-3 Force de Réponse Rapide Merovingienne Victory!
Thanks to Obi for a crazy game! He basically wiped me off the table, but only on turn 3. Really the table did most of the work for me. My link being in the right place helped keep Obi locked up for most of the first two turns, but just by luck of the draw I was able to use MSV1 get around both the Sukeuls’ Mimetism and the low-vis zones of the table.
Notes
Notes for Me
- I definitely needed to be more careful with my sightlines on this board. There were a few times where Obi found a hole in my defenses because I had someone prone who couldn’t see of terrain and the like.
- I totally forgot about deploying guys to handle the buttons. That definitely cost me the major victory, I think. I could’ve potentially grabbed two more buttons putting me at 8 to 3.
- The link did a ton of work, but having to displace them on turn 2 to get a button ruined everything. I think the linked HRL was probably the star of the show.
- Dropping in the Grunt instead of walking on sucked. It worked out but the board really made it tough to find a usable place to walk on.
- I seem to be just getting my links trashed every game. This is probably the fate of links? Either I’m doing a bad job playing them or my opponents are spending at ton of resources to kill them, which is good, I suppose.
- I made a lot of deployment mistakes. Obi is a well respected, highly skilled Infinity player and that definitely put me off balance. That and beer. I will have to step up my game for our rematch!
- Really my biggest mistakes this game were deployment related and forgetting that I need to push buttons and having specialists in the right places. Chasseur minelayers are tempting but maybe more FOs is warranted as backup.
- The Zouave E/Mauler was totally useless this game. I mean, it did stuff, and cost Obi orders, but I had no plan for it, and it just sorta sat there. I’m thinking the Paramedic is the right call there, and leave the E/Maulering to the Moblot in my first list… I like having the option but I think I really want two E/Maulers.
- Speaking of Paramedics… I need to stop having my guys die where Paramedics can’t shoot them with MediKits. That’s really annoying.
- I need to be way more careful with my link positioning. I consistently keep coming back to that, and how I need to improve. Perhaps I need to take link-heavy QK or StarCo for the next few months just to force myself to get better at it. I had been planning to take more Vanilla Haqq to annoy everyone with Mutts… we’ll see.
Notes for Obi
- Holy crap the Gao Rael is scary in his hands.
- I liked the list a lot, especially the three Sensor Chaksa. Very useful, although it ended up not mattering much. Sucked 2-3 orders out of me, which I guess is a good ROI? They also have flamethrowers, and who doesn’t like that?
- I was really surprised to see a bunch of AD land on turn 3. Sure, it fits the mission, but a Cube Jager in my back probably would’ve helped a lot. That said, I had a lot of trouble placing my own AD troops, so I imagine it looked just as awful on the other side of the table.
- Update: Apparently I had done a better job of covering my flanks against AD than I had thought! Obi was waiting for an opportunity that didn’t really present itself. Infiltrating Metros failure for…the win?
- It took me awhile to figure out that the camo token up with my Chasseur was a mine from a Clipsos. I thought it was an Igao and honored it as such for quite awhile. This is definitely due to my lack of familiarity with Tohaa. I do like the mini shell game that this lets you do though. I’ll have to steal the trick for when I finally put my Tohaa together.
- Tohaa is different enough from the other factions that it’s difficult for me to really dissect what happened. I think I got lucky with some crits, and I boxed Obi in pretty well with my link and the MSV1 + low-vis zones. I think a single HMG would’ve helped a lot–the range bands would’ve helped get him out of the deployment zone… or maybe triangulated fire on Keesan’s viral rifle to pick apart my link?
- I learned a lot this game about Tohaa. Still digesting and haven’t put together a concrete picture yet, but they are even more toolboxy than my sweetheart Vanilla Nomads it seems. I dig it.
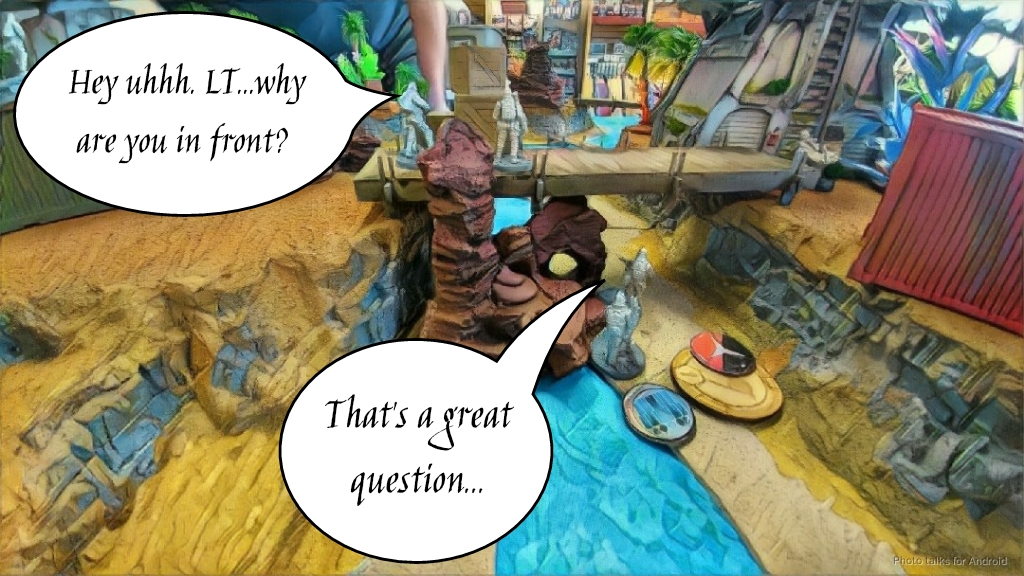
Game 3 – No-mad’s Land
 Ruh roh. A major and a minor meant I was on top table…. with Nate. I was in for a tough fight! I hoped that I would get first turn, which is generally the only way to win against Nate for me… We ended up on my Strompost Alpha table. At this point I’d played on my table twice, once against Andrew earlier in the tournament and once against Mike a few days before, so I had home turf advantage too. I’ll take any edge I can get! Now all that was left was to play a perfect game…
Overview
- Mission: Safe Area
- Forces: Force de Réponse Rapide Merovingienne versus Nomads (300)
- Deploy First: Force de Réponse Rapide Merovingienne
- First Turn: Force de Réponse Rapide Merovingienne
[img]https://assets.infinitythegame.net/infinityarmy/img/_logosweb/logo_303.png[/img][b] Board Control[/b]
[b]GROUP 1 | [/b][img]https://assets.infinitythegame.net/infinityarmy/img/_logosweb/orden_regular.png[/img]10
[img]https://assets.infinitythegame.net/infinityarmy/img/_logosweb/303/logo_5.png[/img] [b]BRISCARD Lieutenant[/b] Marksman Rifle / Assault Pistol, Knife. (0 | [b]24[/b])
[img]https://assets.infinitythegame.net/infinityarmy/img/_logosweb/303/logo_5.png[/img] [b]BRISCARD Paramedic (Medikit)[/b] Marksman Rifle / Assault Pistol, Knife. (0 | [b]26[/b])
[img]https://assets.infinitythegame.net/infinityarmy/img/_logosweb/303/logo_5.png[/img] [b]BRISCARD (Forward Observer)[/b] Marksman Rifle / Assault Pistol, Knife. (0 | [b]25[/b])
[img]https://assets.infinitythegame.net/infinityarmy/img/_logosweb/303/logo_5.png[/img] [b]BRISCARD[/b] Heavy Rocket Launcher / Assault Pistol, Knife. (1.5 | [b]23[/b])
[img]https://assets.infinitythegame.net/infinityarmy/img/_logosweb/303/logo_5.png[/img] [b]BRISCARD[/b] Sniper Rifle / Pistol, Knife. (1 | [b]25[/b])[img]https://assets.infinitythegame.net/infinityarmy/img/_logosweb/303/logo_7.png[/img] [b]CHASSEUR (Forward Observer)[/b] Rifle, Light Flamethrower, Antipersonnel Mines / Pistol, Knife. (0 | [b]20[/b])
[img]https://assets.infinitythegame.net/infinityarmy/img/_logosweb/303/logo_7.png[/img] [b]CHASSEUR (Forward Observer)[/b] Rifle, Light Flamethrower, Antipersonnel Mines / Pistol, Knife. (0 | [b]20[/b])
[img]https://assets.infinitythegame.net/infinityarmy/img/_logosweb/303/logo_7.png[/img] [b]CHASSEUR (Minelayer)[/b] Rifle, Light Flamethrower, Antipersonnel Mines / Pistol, Knife. (0.5 | [b]20[/b])
[img]https://assets.infinitythegame.net/infinityarmy/img/_logosweb/303/logo_7.png[/img] [b]CHASSEUR (Minelayer)[/b] Rifle, Light Flamethrower, Antipersonnel Mines / Pistol, Knife. (0.5 | [b]20[/b])
[img]https://assets.infinitythegame.net/infinityarmy/img/_logosweb/303/logo_4.png[/img] [b]ZOUAVE[/b] Rifle, D.E.P., E/Mauler / Assault Pistol, Knife. (1 | [b]21[/b])[b]GROUP 2 | [/b][img]https://assets.infinitythegame.net/infinityarmy/img/_logosweb/orden_regular.png[/img]5
[img]https://assets.infinitythegame.net/infinityarmy/img/_logosweb/303/logo_2.png[/img] [b]PARA-COMMANDO[/b] HMG / Pistol, Knife. (1 | [b]31[/b])
[img]https://assets.infinitythegame.net/infinityarmy/img/_logosweb/303/logo_1000.png[/img] [b]INTEL Spec-Ops (12 XP)[/b] [i](AD: Inferior Combat Jump)[/i] Rifle, Molotok / Pistol, Knife. (0 | [b]10[/b])
[img]https://assets.infinitythegame.net/infinityarmy/img/_logosweb/303/logo_1.png[/img] [b]MÉTRO (CH: Limited Camouflage, Inferior Infiltration)[/b] Rifle, D.E.P. / Pistol, Knife. (0.5 | [b]12[/b])
[img]https://assets.infinitythegame.net/infinityarmy/img/_logosweb/303/logo_1.png[/img] [b]MÉTRO (CH: Limited Camouflage, Inferior Infiltration)[/b] Rifle, D-Charges / Pistol, Knife. (0 | [b]11[/b])
[img]https://assets.infinitythegame.net/infinityarmy/img/_logosweb/303/logo_1.png[/img] [b]MÉTRO (CH: Limited Camouflage, Inferior Infiltration)[/b] Rifle, D-Charges / Pistol, Knife. (0 | [b]11[/b])
[b] 6 SWC | 299 Points |[/b] Open in Infinity Army
[img]https://assets.infinitythegame.net/infinityarmy/img/_logosweb/logo_501.png[/img][b] Nomads[/b]
[b]GROUP 1 | [/b][img]https://assets.infinitythegame.net/infinityarmy/img/_logosweb/orden_regular.png[/img]10
[img]https://assets.infinitythegame.net/infinityarmy/img/_logosweb/501/logo_49.png[/img] [b]TASKMASTER Lieutenant[/b] Red Fury, Pulzar, CrazyKoalas + TinBot A (Deflector L1) / Heavy Pistol, DA CCW. (1 | [b]53[/b])
[img]https://assets.infinitythegame.net/infinityarmy/img/_logosweb/501/logo_56.png[/img] [b]KRIZA BORAC[/b] HMG / Heavy Pistol, CC Weapon. (2 | [b]54[/b])
[img]https://assets.infinitythegame.net/infinityarmy/img/_logosweb/501/logo_16.png[/img] [b]INTERVENTOR Hacker (Hacking Device Plus)[/b] Combi Rifle, 1 FastPanda / Pistol, Knife. (0.5 | [b]27[/b])
[img]https://assets.infinitythegame.net/infinityarmy/img/_logosweb/501/logo_30.png[/img] [b]MORAN (Forward Observer)[/b] Combi Rifle, CrazyKoalas (2) / Pistol, Knife. (0.5 | [b]22[/b])
[img]https://assets.infinitythegame.net/infinityarmy/img/_logosweb/501/logo_11.png[/img] [b]SPEKTR[/b] MULTI Sniper Rifle, Antipersonnel Mines / Pistol, Knife. (1.5 | [b]39[/b])
[img]https://assets.infinitythegame.net/infinityarmy/img/_logosweb/501/logo_1000.png[/img] [b]VORTEX Spec-Ops (12 XP)[/b] [i](BS:12, WIP:14, Doctor, Engineer, CH: Mimetism)[/i] Combi Rifle / Pistol, Knife. (0 | [b]10[/b])
[img]https://assets.infinitythegame.net/infinityarmy/img/_logosweb/501/logo_34.png[/img] [b]ZONDBOT[/b] Electric Pulse. (0 | [b]3[/b])
[img]https://assets.infinitythegame.net/infinityarmy/img/_logosweb/501/logo_34.png[/img] [b]ZONDBOT[/b] Electric Pulse. (0 | [b]3[/b])
[img]https://assets.infinitythegame.net/infinityarmy/img/_logosweb/501/logo_21.png[/img] [b]TRANSDUCTOR ZOND[/b] Flash Pulse, Sniffer / Electric Pulse. (0 | [b]8[/b])
[img]https://assets.infinitythegame.net/infinityarmy/img/_logosweb/501/logo_21.png[/img] [b]TRANSDUCTOR ZOND[/b] Flash Pulse, Sniffer / Electric Pulse. (0 | [b]8[/b])
[img]https://assets.infinitythegame.net/infinityarmy/img/_logosweb/501/logo_13.png[/img] [b]JAGUAR[/b] Chain Rifle, Smoke Grenades / Pistol, DA CCW. (0 | [b]10[/b])
[img]https://assets.infinitythegame.net/infinityarmy/img/_logosweb/501/logo_10.png[/img] [b]ZERO Hacker (Killer Hacking Device)[/b] Combi Rifle, Antipersonnel Mines / Pistol, Knife. (0 | [b]21[/b])[b]GROUP 2 |[/b][img]https://assets.infinitythegame.net/infinityarmy/img/_logosweb/orden_regular.png[/img]1 [img]https://assets.infinitythegame.net/infinityarmy/img/_logosweb/orden_irregular.png[/img]3 [img]https://assets.infinitythegame.net/infinityarmy/img/_logosweb/orden_impetuosa.png[/img]3
[img]https://assets.infinitythegame.net/infinityarmy/img/_logosweb/501/logo_12.png[/img] [b]MORLOCK[/b] Chain Rifle, Smoke Grenades / Assault Pistol, AP CCW. (0 | [b]8[/b])
[img]https://assets.infinitythegame.net/infinityarmy/img/_logosweb/501/logo_12.png[/img] [b]MORLOCK[/b] Chain Rifle, Smoke Grenades / Pistol, E/M CCW. (0 | [b]6[/b])
[img]https://assets.infinitythegame.net/infinityarmy/img/_logosweb/501/logo_12.png[/img] [b]MORLOCK[/b] Chain Rifle, Smoke Grenades / Pistol, E/M CCW. (0 | [b]6[/b])
[img]https://assets.infinitythegame.net/infinityarmy/img/_logosweb/501/logo_24.png[/img] [b]TOMCAT Engineer[/b] Combi Rifle + Light Flamethrower, D-Charges / Pistol, Knife. (0 | [b]22[/b])
[b] 5.5 SWC | 300 Points |[/b] Open in Infinity Army
Deployment
I won the Lt roll, meaning I was deploying first. Nate peered around the table to really get a lay of the land. He’s known to say that “Deployment is the 4th turn of the game, ” and I wholeheartedly agree with him. After inspecting everything to his satisfaction, he went ahead and gave me the side of the table I played on earlier, so that made deployment less mentally taxing for me at least. Now that E-Drones weren’t a threat, I deployed my Briscards more aggressively than I had my Loup Garou, putting both heavy weapons on the roof and the Marksman Rifles on the ground. I scattered all 6 Chasseur-related camo tokens across the center of the board, this time remembering to put my FO Chasseurs next to the consoles they’d need to secure on turn three! Lessons learned from last game against Obi, that’s for sure. All three of my Metros failed their infiltration rolls, so I just stuck them on the side watching for Tomcats. I know Nate likes to hide them. I held my Zouave in reserve just in case he left me a juicy HI target to E/Mauler.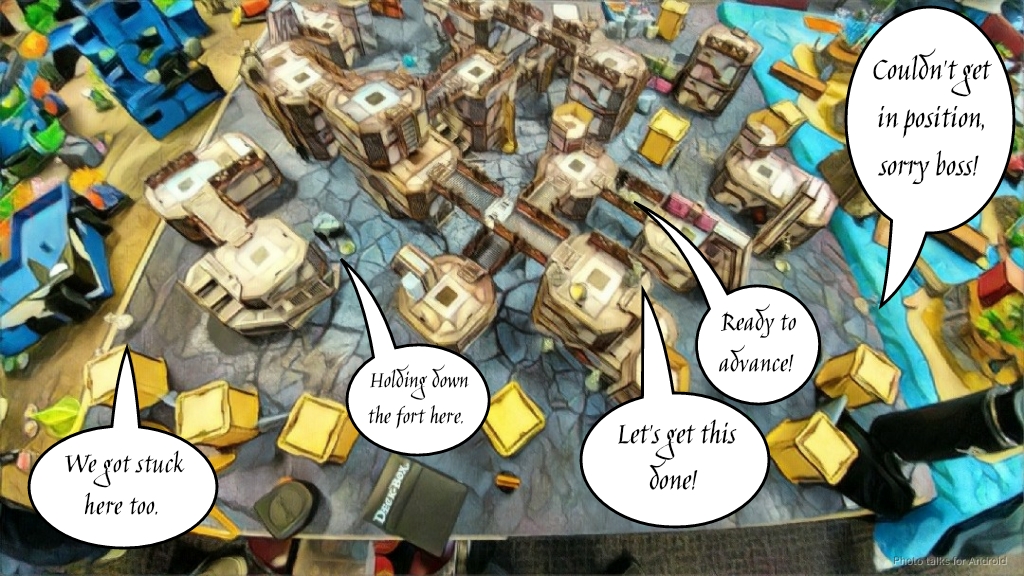 Nate did his usual line of three Morlocks across the deployment zone with Transductor Zonds watching for the AD he knows I like to bring. His SpecOps “budget Sophotect” hung out in the middle, with Zondbots on both sides. The Interventor went on his right with the Kriza, and the Taskmaster was on the left side of middle.
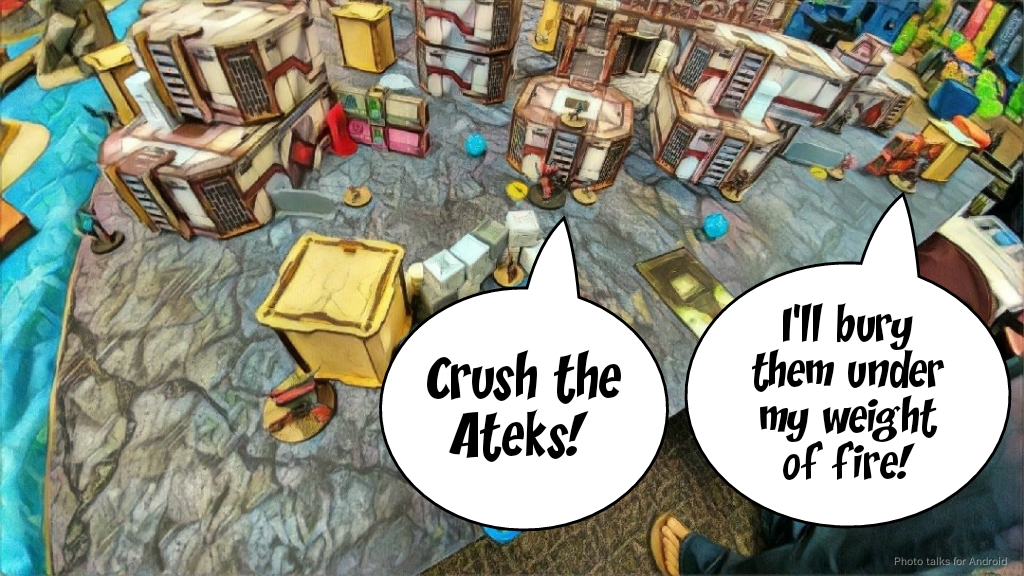 He doubled down on anti-AD by dropping a Moran and its Koalas all the way on the left board edge, making sure to keep the Koalas outside of 8″ of my camo tokens. To complete his hacking net, a Zero KHD lurked near his Moran as there was a nice pocket to hide in near the console he’d have to secure.
 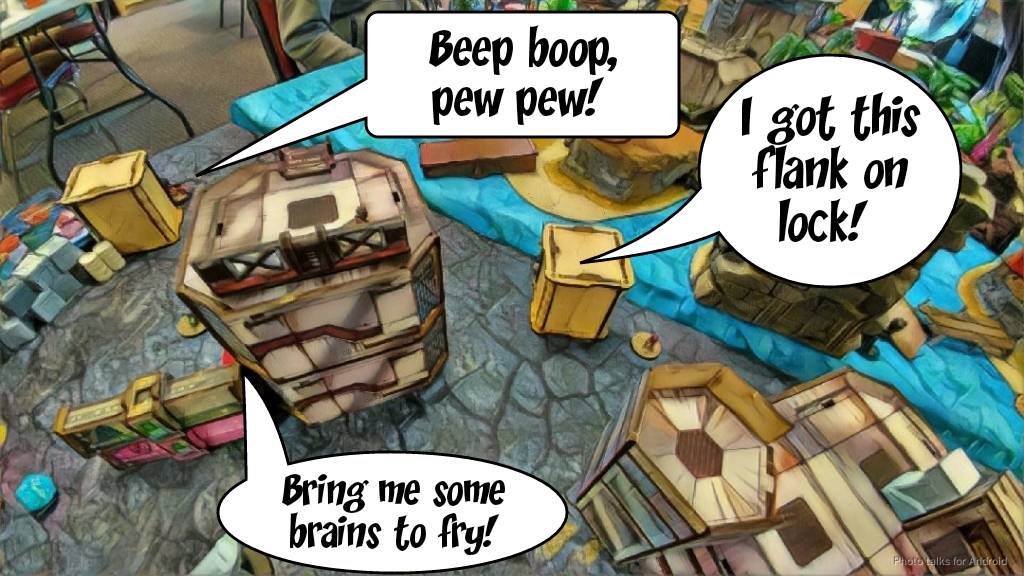 The right side was further secured by a Jaguar chain rifle, just to really ensure I didn’t rain anything from the sky.
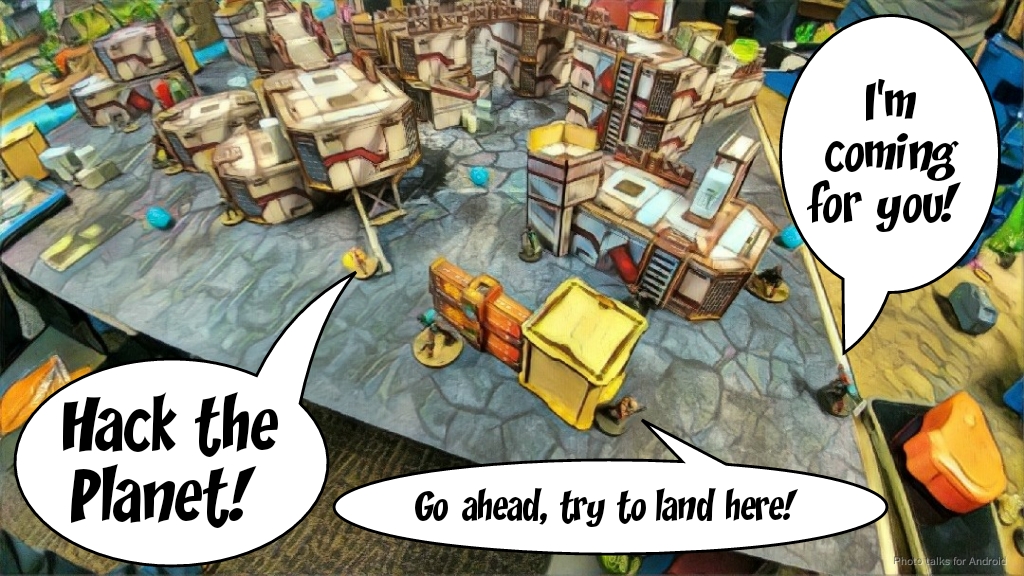 Once Nate was done, I put the Zouave in a position to maybe get an angle to drop an E/Mauler on the Kriza, knowing that it would be a huge problem later. He shooed me away from the table and deployed a Spektr MSR in the open between the Kriza and Interventor, covering the Zouave’s approach. With that done, he called me back and we got down to the dirty business of throwing dice.
Turn 1
Top of Turn 1 – FRRM
I showed Nate a pool of 10 and a pool of three, telling him that the pool of three was just the three Metros. He immediately deducted two orders from the group of three, telling me that he suspected Duroc and Margot waiting in the wings. I had hoped that he would do this, actually, wanting to let the board develop a little before bringing in my HMG and Molotok AD troops. I then spent basically the entirety of the 10 orders on my link. 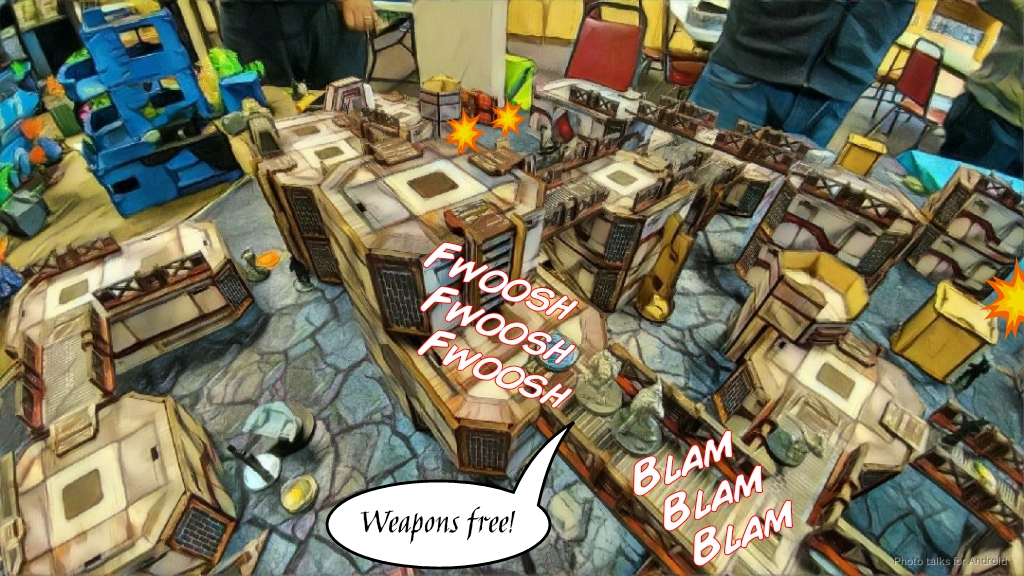 The first two were spent on the Briscard sniper, blasting the right and center Morlocks off the table. One of them had rolled 8-4 MOV so this was an immediate priority! I pushed up a little further to see the Kriza with the HRL and sunk an inordinate amount of orders into knocking it unconscious. I then spent a coordinated order to put the Metros in not a stupid position due to their failed infiltration rolls and gun down one of the Moran’s Koalas as I do so. I then notice that the Moran is poking out a bit from behind its box, so I scoot the Briscard HRL up a little further to see him and the unconscious Kriza, burning both of them off the table.
I don’t have much else to do this turn, Nate’s dug in too much and I don’t have anything with enough orders to challenge his Taskmaster, so I try to attack his order pool some to limit the damage on my turn. I attempt to take out the flash pulse bot on my left with the Zoauve, tank a flash pulse to the face, try again and fail, then back the Zouave up so he doesn’t get chain rifled by the only remaning Morlock. I spend my last orders setting up the link to ARO the Taskmaster’s central approach avenue and hope things go well.
Bottom of Turn 1 – Nomads
Nate congratulates me on a good first turn, laments the loss of his Kriza, then goes to work. He expertly maneuvers his Morlock forward, beating out my Zouave’s ARO with smoke, then gets the Morlock just to the edge of the smoke to be within chain rifle range on my turn. This effectively pins my DataTracker in place.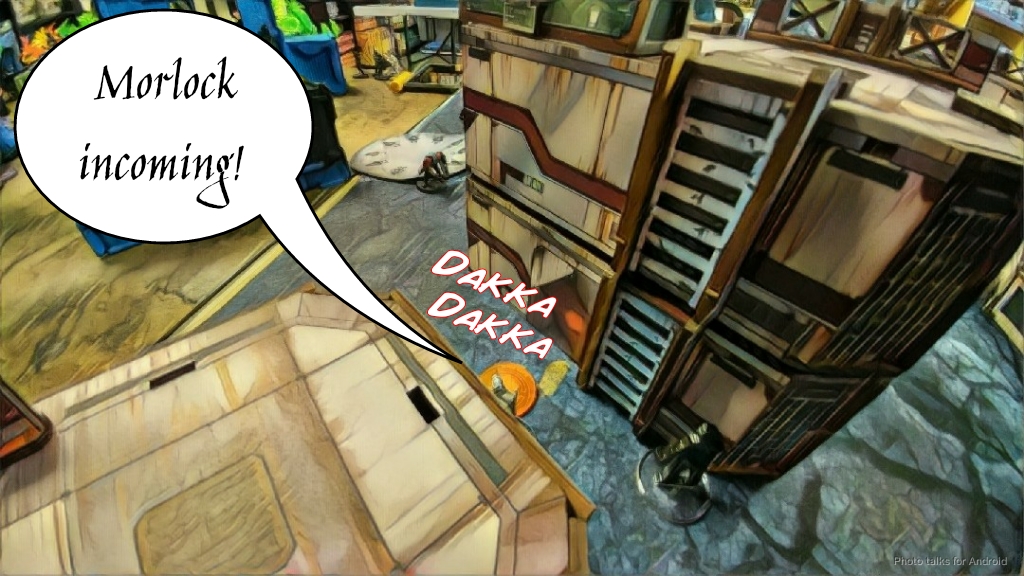 He pours the rest of his orders into the Taskmaster, dropping off his Koalas then slicing the pie and dropping one of my marksman rifle Briscards. The next one he sees proves to be more difficult to deal with though–over the next few orders I actually manage to drop the Taskmaster unconscious thanks to the extra range from the marksman rifle. Nate dutifully brings in his SpecOps to pick it back up, but due to the positioning, the SpecOps is just visible to my Briscard, and I drop the Vortex SpecOps with marksman rifle fire as he heals the Taskmaster. The Taskmaster has his revenge, retreating into cover and gunning down the offending Briscard on the way. With that, Nate’s out of orders and passes the turn to me.
Turn 2
Top of Turn 2 – FRRM
I bring on my Grunt Molotok on the left, then walk it into view of the Taskmaster, who is now out of cover from this vantage point. We’re outside of 24″, and Nate chooses to dodge into safety and does so successfully. It was either that or he failed his dodge, I hit him, he passed ARM and chose to fail guts. Either way, the end results is the same. I can’t see the Taskmaster at all anymore in that firelane, and I’ve only got one order left in the pool. Thankfully, I had another trick up my sleeve. I bring on the Paracommando HMG on the right, into another firelane that can see the Taskmaster. To get to the firelane, I have to break cover, so I do so, grit my teeth and throw four dice into my dice cup. Nate elects to shoot back, but this time I crit!
With Nate’s usual lieutenant down, I set about attacking his order pool again. I unstick the Zouave by gunning down the Morlock with a Chasseur from outside of chain rifle range, recamo the Chasseur, and then use the Zoauve to take out the flash pulse bot on my left. I get my link into position to cover the left and middle of the field, atop a building, and do a better job of hiding my lieutenant at the base of a building. I then move my Chassuer FO on the right to get her into base to base with the objective, and then push my Zouave into a position to cover his Interventor–right into the sights of the lurking Spektr MSR who drops the Zouave. I didn’t even get a response as it was the second short skill move!
Bottom of Turn 2 – Nomads
As I suspected, the Taskmaster was Nate’s lieutenant. I think he actually used the Lieutenant order at some point, so it wasn’t exactly a Sherlock Holmes moment for me. He spends most of his turn gunning down my Briscards on the roof with his Spektr, expertly slicing the pie again.
 Turn 3
Top of Turn 3 – FRRM
I use my Lieutenant order to gun down the Spektr, who is now just barely within 24″, giving me a flat BS on the Briscard’s marksman rifle. MSV1 is so good! The Paracommando takes out the rightmost flash pulse bot, and then I push one of my Chassueurs all the way up on the right, climbing her up a building to make sure I have 20 points in that zone. I try to take out the Jaguar with the left Chasseur minelayer but can’t beat out his smoke. I don’t have much else to do here, so I just move the Grunt into a position to watch his Interventor and pass the turn.
Bottom of Turn 3 – Nomads
Nate declares that it’s Hail Mary time. He attempts to cybermask his Interventor but she fails her roll. He then runs her into the far left quadrant (my perspective) and tries to shoot my Chasseur, hoping against all odds to survive the Grunt Molotok, Briscard, and Chasseur in suppression. She does not survive.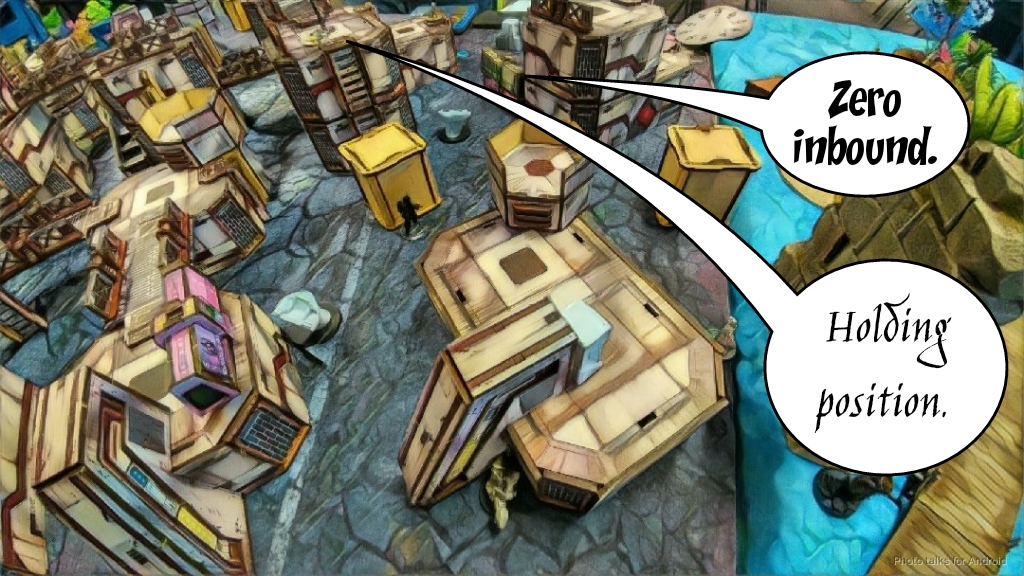 With the remainder of his orders, he gets his Zero KHD into base to base with the far right objective and brings in a Tomcat in my back right zone. We throw our Intelcom cards into the Zero KHD/Chasseur Minelayer quadrant, and I eke out the smallest lead there thanks to the card. That means Nate has 1 quadrant to my two, both our DataTrackers are dead, I have two consoles and he has one, making it a
6-1 Force de Réponse Rapide Merovingienne Victory!
Had Nate succeeded with his Interventor gambit and killed my Chasseur, that probably would’ve flipped the game, giving him 2 quadrants to my one making it a 5-2 victory for him. Never give up, never surrender! Two majors and a minor give the French a tournament win. Vive la France!
Notes
Notes for Me
- Well, suppression sounds great, but winning is better. I should’ve dropped the Chasseur on the left prone or back into camo. That would’ve taken away Nate’s hail mary opportunity.
- I was really really pleased with my Molotok Grunt into HMG Paracommando play. That is a rarity in Ariadna, since most things have AD:1. I’m very happy that FRRM are one of the few factions that can do it without SpecOps thanks to Margot. It makes the Cube Jager that much more important to Vanilla Ariadna.
- The extra verticality of the table let me get some pretty awesome shots on my first turn, taking out two Morlocks, a Kriza, and a Moran. The Kriza was easily the most important kill–that would’ve just destroyed everything. And with Nate you have to kill it dead. There’s often a secret doctor or engineer lurking somewhere.
- I knew there was TO somewhere on the table. I suppose it was just a matter of time before I got caught.
- I got my link trashed, again! But they did some serious work this game, taking out most of Nate’s list.
- Definitely enjoying Briscards more than Loup Garou.
- Chasseurs do some work in this faction. I like having them backstop Zouaves–defense in depth is a good plan.
- I actually kept mistakes to a minimum this game, I think. There was a moment where I had my lieutenant exposed a bit, but fortunately the Taskmaster didn’t have line of fire to it.
- I don’t like putting the Lieutenant in the link. I think either a Metro lieutenant or taking Bruant is a better fit for a Briscard link-based list. This shouldn’t be news to anyone, it was just my greed for toys that made me save points in this way.
- I had originally pooh-poohed Paracommandos. I think I’ve just been spoiled to high heaven by Hellcats and Tomcats and need to prepare better.
- Nate did a great job of locking down my anticipated AD:1 deployment edge with his Moran, so I think I just need to be able to have a piece in place to solve that problem for me. Zouaves and Chassuers will do nicely, I think.
- I felt in control of the tempo of the game this time. I may have overextended in a few places but not horrendously so–key example being the Zouave and Briscards at the end.
Notes for Nate
- We talked after the game about white noise and hiding the Kriza more. Those things might’ve helped.
- There’s also the possibility of pushing the Kriza back after taking fire by failing guts intentionally.
- Nate seems reluctant to counterstroke with a Tomcat, but I think that’s his shrewdness compared against my bloodlust.
- Update: Both Nate and Obi were saying that I covered my flanks effectively against AD:2… Hmm. Well, I guess I’ll keep taking infiltrating Metros…
Overall Notes
- I think I need to work on my table some more. It’s pretty dense, and the verticality while fun is can be confusing. Maybe we just need more time on it.
- Adam’s table caused Obi no end of grief. We’ll be sure to have detailed rules for special terrain tables, as well as some more playtesting before Rose City Raid.
- I’m really enjoying the French. They have a lot of very relentless attack pieces and they can come at you from a lot of different angles. I’d like to try some of the Zouave sapper options as attack pieces.
- A big thanks to Obi and Alex for making the trek up to Portland to play! It’s always a blast to see them and hang out with them.
Thanks for reading!