The D-Charge Has Been Planted
The usual crew of guys showed up to game night, and we spent the first 45 minutes or so sitting around a table, recuperating from what seemed like long days for all of us. Isaac decided to spend the evening hobbying, so that left 4 of us to pair up. Daniel and I were the last to finish recharging, so we threw down! Daniel’s job keeps him away from his phone most of the day, so he hadn’t really thought about a list for The Grid, but we talked through it and he passed his list-building WIP roll. I had no idea what I had in store for me. All I knew that all the recent excitement about the JSA had Daniel firmly back in JSA land from his Vanilla Haqq sojourn. Hey, no Mutts! I’ll take it.
Overview
- Mission: The Grid
- Forces: Force de Réponse Rapide Merovingienne versus Japanese Sectorial (for now) Army (200)
- Deploy First: Force de Réponse Rapide Merovingienne
- First Turn: Force de Réponse Rapide Merovingienne
[img]https://assets.infinitythegame.net/infinityarmy/img/_logosweb/logo_303.png[/img][b] The Grid[/b]
[b]GROUP 1 | [/b][img]https://assets.infinitythegame.net/infinityarmy/img/_logosweb/orden_regular.png[/img]10
[img]https://assets.infinitythegame.net/infinityarmy/img/_logosweb/303/logo_13.png[/img] [b]BRIGADIER BRUANT[/b] Molotok, D-Charges / Pistol, Knife. (1 | [b]28[/b])
[img]https://assets.infinitythegame.net/infinityarmy/img/_logosweb/303/logo_1.png[/img] [b]MÉTRO[/b] HMG / Pistol, Knife. (0.5 | [b]19[/b])
[img]https://assets.infinitythegame.net/infinityarmy/img/_logosweb/303/logo_1.png[/img] [b]MÉTRO[/b] Rifle, Light Grenade Launcher / Pistol, Knife. (0.5 | [b]12[/b])
[img]https://assets.infinitythegame.net/infinityarmy/img/_logosweb/303/logo_1.png[/img] [b]MÉTRO Paramedic (Medikit)[/b] Rifle / Pistol, Knife. (0 | [b]10[/b])
[img]https://assets.infinitythegame.net/infinityarmy/img/_logosweb/303/logo_1.png[/img] [b]MÉTRO Lieutenant[/b] Rifle / Pistol, Knife. (0 | [b]8[/b])[img]https://assets.infinitythegame.net/infinityarmy/img/_logosweb/303/logo_4.png[/img] [b]ZOUAVE (Forward Observer)[/b] Rifle, D.E.P. / Assault Pistol, Knife. (0.5 | [b]21[/b])
[img]https://assets.infinitythegame.net/infinityarmy/img/_logosweb/303/logo_7.png[/img] [b]CHASSEUR (Forward Observer)[/b] Rifle, Light Flamethrower, Antipersonnel Mines / Pistol, Knife. (0 | [b]20[/b])
[img]https://assets.infinitythegame.net/infinityarmy/img/_logosweb/303/logo_7.png[/img] [b]CHASSEUR (Forward Observer)[/b] Rifle, Light Flamethrower, Antipersonnel Mines / Pistol, Knife. (0 | [b]20[/b])
[img]https://assets.infinitythegame.net/infinityarmy/img/_logosweb/303/logo_7.png[/img] [b]CHASSEUR[/b] Rifle, Adhesive Launcher, D-Charges / Pistol, Knife. (0.5 | [b]19[/b])
[img]https://assets.infinitythegame.net/infinityarmy/img/_logosweb/303/logo_7.png[/img] [b]CHASSEUR[/b] Rifle, Light Flamethrower, Antipersonnel Mines / Pistol, Knife. (0 | [b]19[/b])[b]GROUP 2 | [/b][img]https://assets.infinitythegame.net/infinityarmy/img/_logosweb/orden_regular.png[/img]2
[img]https://assets.infinitythegame.net/infinityarmy/img/_logosweb/303/logo_1.png[/img] [b]MÉTRO (CH: Limited Camouflage, Inferior Infiltration)[/b] Rifle, D.E.P. / Pistol, Knife. (0.5 | [b]12[/b])
[img]https://assets.infinitythegame.net/infinityarmy/img/_logosweb/303/logo_1.png[/img] [b]MÉTRO (CH: Limited Camouflage, Inferior Infiltration)[/b] Rifle, D.E.P. / Pistol, Knife. (0.5 | [b]12[/b])
[b] 4 SWC | 200 Points |[/b] Open in Infinity Army
[img]https://assets.infinitythegame.net/infinityarmy/img/_logosweb/logo_203.png[/img][b] Japanese Sectorial Army[/b]
[img]https://assets.infinitythegame.net/infinityarmy/img/_logosweb/203/logo_1.png[/img] [b]KEISOTSU Lieutenant[/b] Combi Rifle / Pistol, Knife. (1 | [b]9[/b])
[img]https://assets.infinitythegame.net/infinityarmy/img/_logosweb/203/logo_26.png[/img] [b]YURIKO ODA[/b] Combi Rifle, Panzerfaust, D-Charges, Antipersonnel Mines / Pistol, CCW. (0 | [b]24[/b])
[img]https://assets.infinitythegame.net/infinityarmy/img/_logosweb/203/logo_1.png[/img] [b]KEISOTSU[/b] Missile Launcher / Pistol, Knife. (1.5 | [b]14[/b])
[img]https://assets.infinitythegame.net/infinityarmy/img/_logosweb/203/logo_1.png[/img] [b]KEISOTSU (Forward Observer)[/b] Combi Rifle / Pistol, Knife. (0 | [b]10[/b])
[img]https://assets.infinitythegame.net/infinityarmy/img/_logosweb/203/logo_1.png[/img] [b]KEISOTSU Paramedic (MediKit)[/b] Combi Rifle / Pistol, Knife. (0 | [b]11[/b])
[img]https://assets.infinitythegame.net/infinityarmy/img/_logosweb/203/logo_2.png[/img] [b]KEMPEI (Chain of Command)[/b] Boarding Shotgun / Pistol, CCW, Electric Pulse. (0 | [b]21[/b])[img]https://assets.infinitythegame.net/infinityarmy/img/_logosweb/203/logo_5.png[/img] [b]KARAKURI (Fireteam: Haris)[/b] Combi Rifle, Chain Rifle, D.E.P. / Pistol, Knife. (0.5 | [b]36[/b])
[img]https://assets.infinitythegame.net/infinityarmy/img/_logosweb/203/logo_5.png[/img] [b]KARAKURI[/b] Mk12, Chain Rifle, D.E.P. / Pistol, Knife. (0 | [b]40[/b])
[img]https://assets.infinitythegame.net/infinityarmy/img/_logosweb/203/logo_5.png[/img] [b]KARAKURI[/b] Heavy Shotgun, Chain Rifle, D.E.P. / Pistol, Knife. (0 | [b]35[/b])
[img]https://assets.infinitythegame.net/infinityarmy/img/_logosweb/orden_regular.png[/img]9 [b]| 3 SWC | 200 Points |[/b]
Deployment
I won the roll off and elected to go first. Daniel puttered about the table before finally giving me the side with slightly less and inferior sniper towers. I was fine with this, as I didn’t really intend to play my Metros as a static, defensive link team. I dumped them in the middle where they could easily get anywhere they needed to be, careful to keep them out of template formation. I’ve been caught out by Daniel’s love of double Keisotsu MLs before, and I didn’t want to fall for it this time! I protected the Paramedic, figuring I might need her to fix someone up.
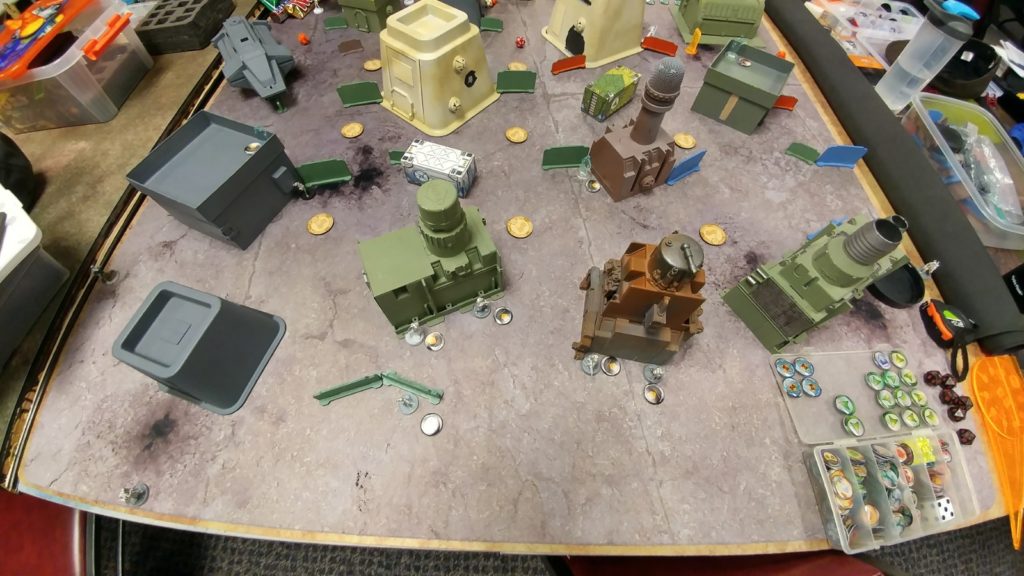 I put my ADHL Chasseur right in the middle of the board, ready to go D-Charge whatever was necessary. I managed to stick the landing on a Metro, just outside of Daniel’s deployment zone, but flubbed the roll on the other one, who found the biggest LoF-blocking terrain in my deployment zone and hid behind it. I got greedy and tried to infiltrate a Chasseur across the centerline, but flubbed that roll too. It looked like the left side would offer the most cover, so he went over there. One FO Chasseur hung out on a roof on the left, and the other hung out on the right side, pretty close to my deployment zone as there really wasn’t much in the way of cover over there.
As suspected, Daniel started by plunking a ML Keisotsu on top of a building. UGH. The rest of the link showed up at the base of the building, with Yuriko Oda leading the way. Daniel cleverly used a mine to protect his link from my infiltrated Metro, a smart move! He put a his Lieutenant in the middle of his deployment zone and his Karakuri Haris on the right. I was not expecting that! That’s effectively 12 wounds I have to chew through! Hoo boy!
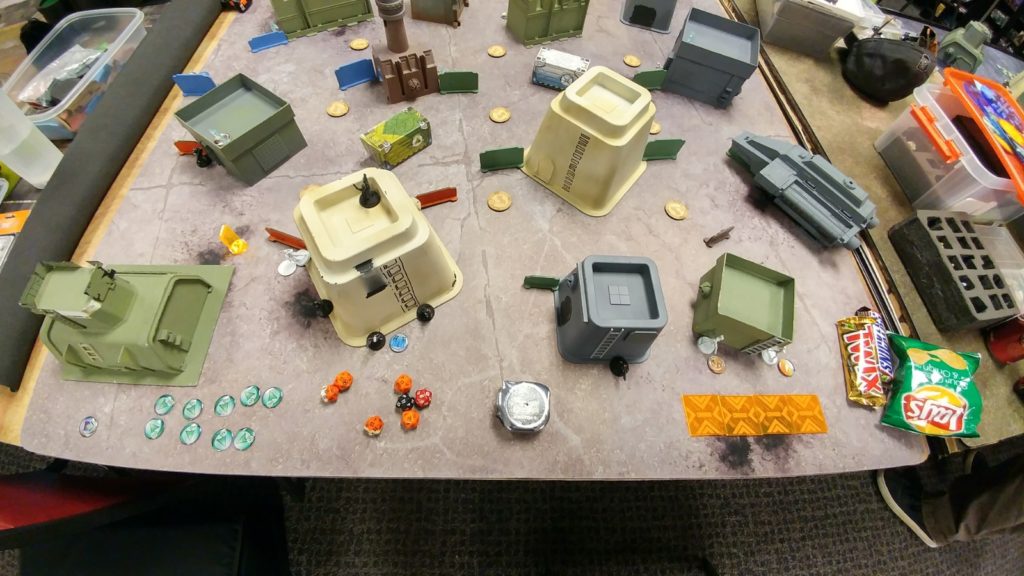 After eyeballing his HVT’s position, I noticed a bit poking out so I just stuck my Zouave nearby, pulling him out of reserve. Daniel looked at the table, declared he was done with his reserve, and we shook hands.
Turn 1
Top of Turn 1 – FRRM
After getting deducted 2 orders from my main pool, I got to work. First things first. That ML had to go! One quick order later and my Metro HMG blew him off the table. So far, so good. This left my Zouave free to take some pot shots at Daniel’s HVT. I forget that the Zouave has an assault pistol and start shooting with a rifle. Of course the HVT beats my rolls with his stun pistol, but I pass my BTS, stunning myself with my good fortune. Eh? Eh? It takes me two more orders to take out the stupid HVT, always forgetting about the Assault Pistol (and, as it turns out, the saturation zone!). After I finally drop the HVT, we remember about the saturation zone and stick to it for the rest of the game.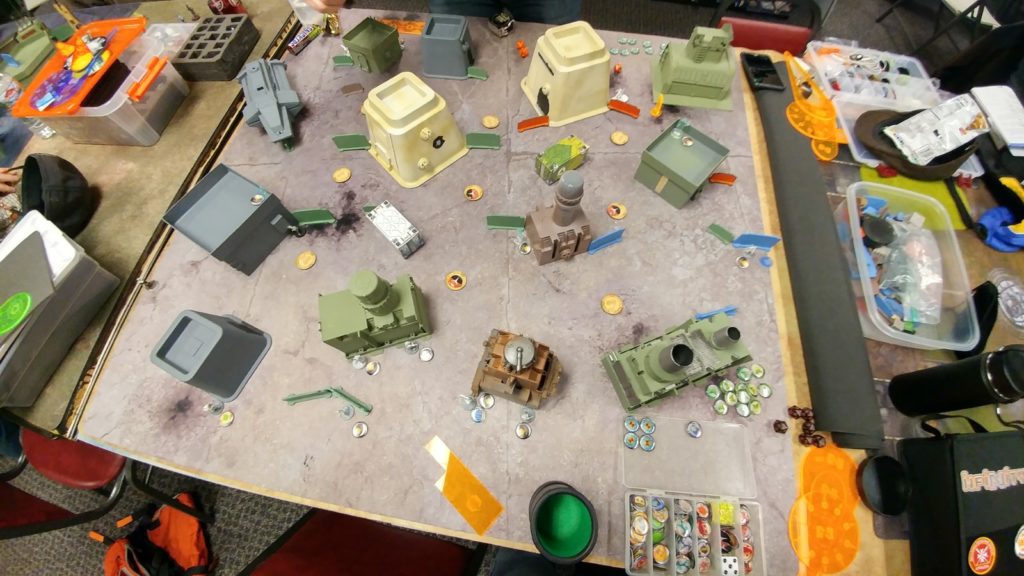 I needlessly reveal the Chasseur on the right and fail to forward observe antennas a ton! The Zouave helps a little, and I finally manage to get 3 antennas designated. I spend the two orders in my other pool moving the Metro that failed his roll up and throw him into suppression.
Bottom of Turn 1 – JSA
Oh dear. It’s Karakuri time! Daniel spends basically his entire order pool on them, pushing them up and designating a ton of antennas. The Chasseur that got hung out to dry on the left manages to put a wound on one of them, but goes down to the Mk12 eventually.
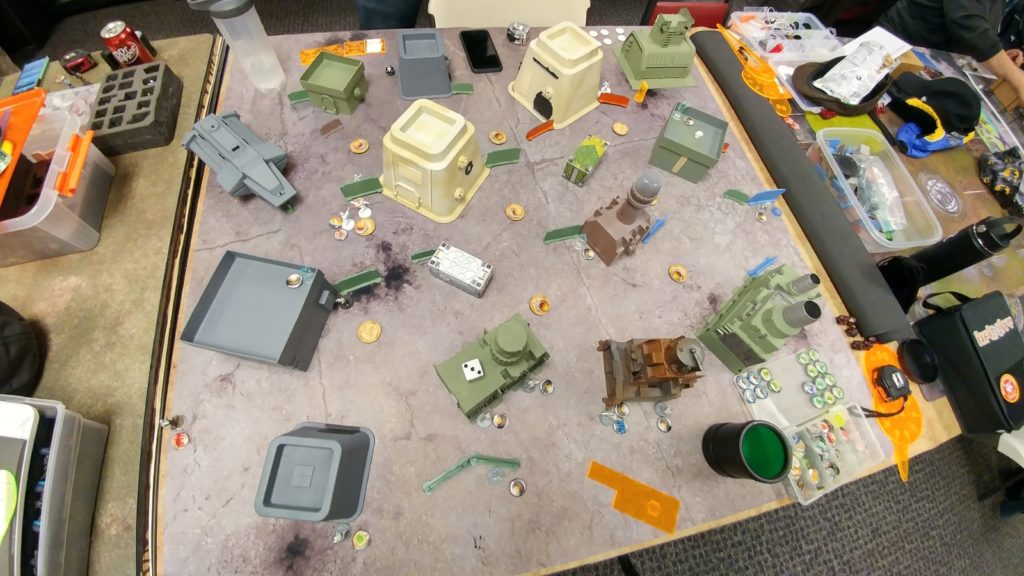 They’re getting really close to my HVT. I’m trying to play it cool, but my heart is racing. They’re only an order or two away from coming around the corner and chain-rifling her. Thankfully, Daniel is distracted by my ADHL Chasseur and he tries to discover her a few times.
 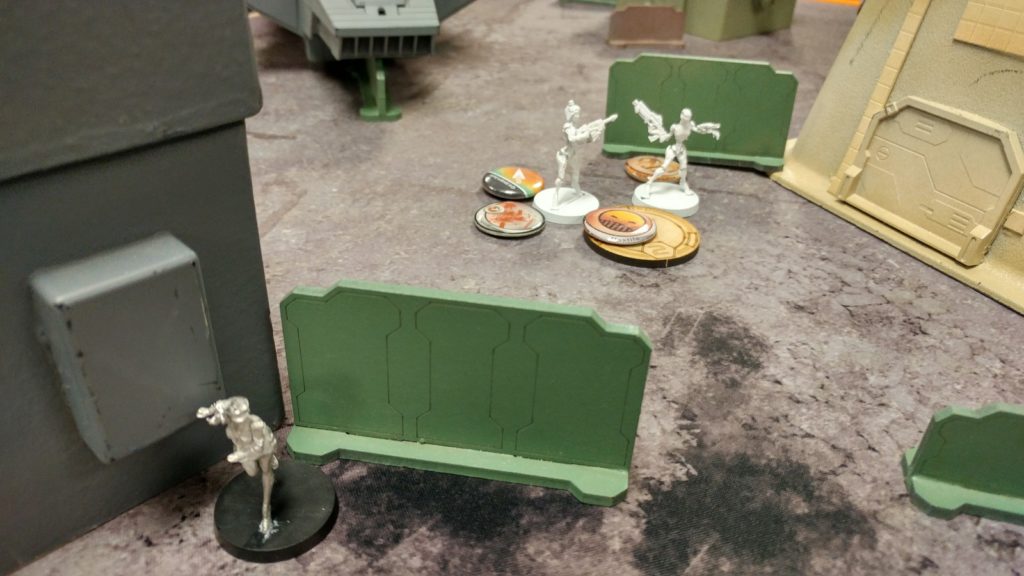 Threatening my HVT or not, the Karakuri manage to flip a ton of antennas and I’ll definitely have to deal with them now. They’re way too close.
Turn 2
Top of Turn 2 – FRRM
I start by shifting my left FO Chasseur behind the Karakuri and forward observe the Mk12 DataTracker Karakuri but fail to split-burst and tag an antenna. Oh well. I can’t resist dropping a grenade on the pair of Karakuri on 19s, so I do so. Daniel is notorious for his ridiculous ARM saves and passes both handily.
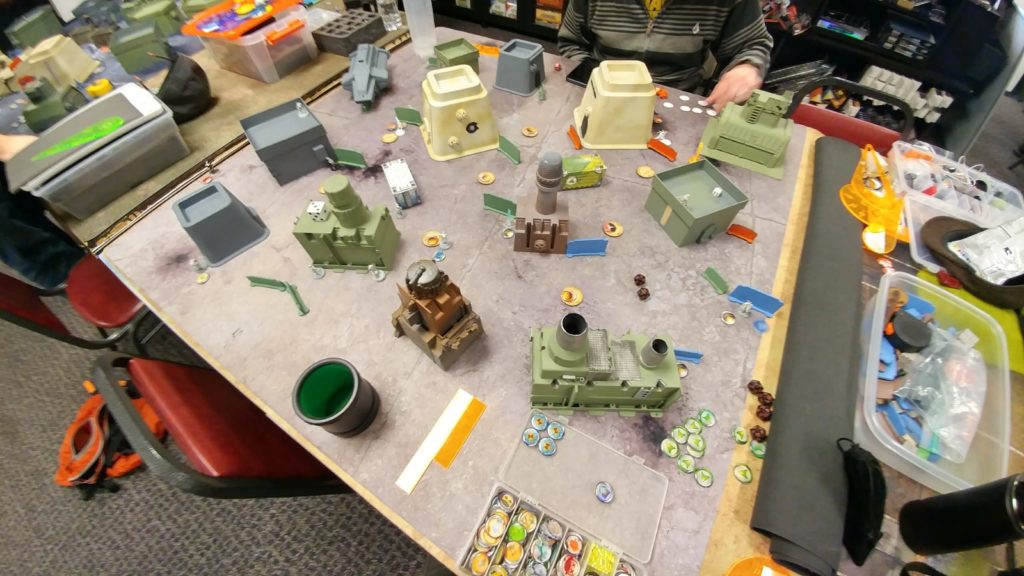 I switch to using Bruant, and with the link and targeted bonus, manage to chew through the 3 remaining wounds of the Mk12 Karakuri over two orders. I gun down the remaining Karakuri with the HMG Metro, and set up for next turn by attempting to forward observe some more antennas, failing miserably. I don’t know what’s up with my WIP rolls this game! At least I get the chance to use the infiltrated Metro on the right to knock out Daniel’s FO Keisotsu, and pass the turn.
Bottom of Turn 2 – JSA
Daniel tries to remove my Chasseur FO, but I beat him out with a Flash Pulse. Being BTS 9 in cover, the Karakuri just shrugs it off.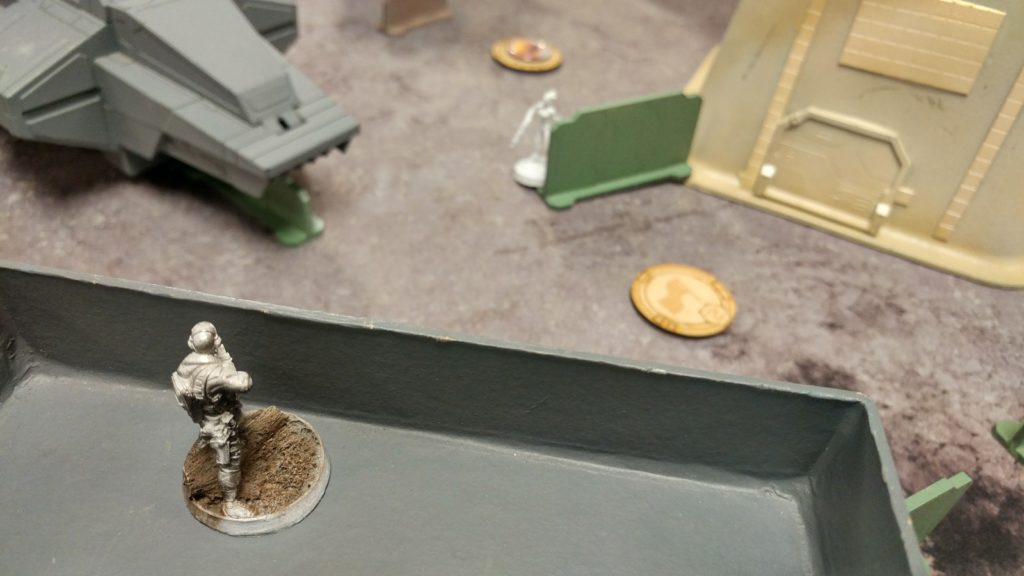 Daniel brings Yuriko Oda out to Panzerfaust two antennas, succeeding on blowing up my near-right antenna and dropping the center antenna to STR 0, which isn’t enough to count as destroyed. This does expose her to my infiltrated Metro and my Zouave, who gun her down. Daniel keeps pushing his link forward, which lets me take out the Keisotsu Paramedic, but his Kempetai ends the turn in base to base with an antenna, ready to flip it.
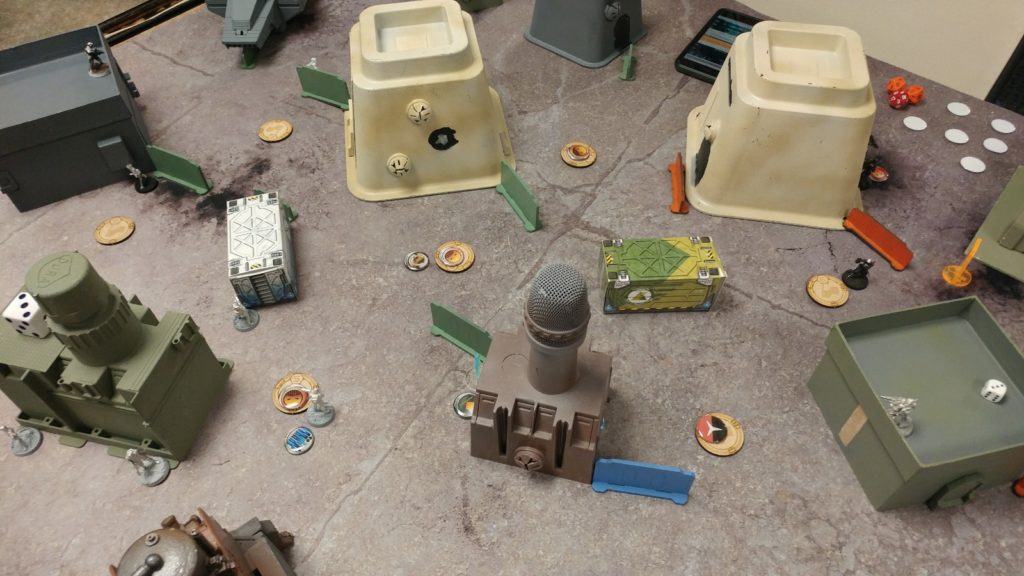 The remaining Karakuri fires a DEP into the far left antenna but fails to finish it off. Daniel actually throws her into the open to get the best rangebands on the DEP, but my link team and Chasseur only plink off one wound.
Turn 3
Top of Turn 3 – FRRM
Bruant puts two more wounds on the Karakuri, but fails to punch through the last remote presence wound. I flip the near middle and middle antennas, lettting me get in position to finish them off. My infiltrated Metro drops the center antenna, my Zouave fails to chew through the middle right one, and Bruant, with some help from the HMG Metro, manages to plant two D-Charges on the near middle antenna. Of course, Daniel proves his mettle as king of ARM saves, and saves 5/6 times!
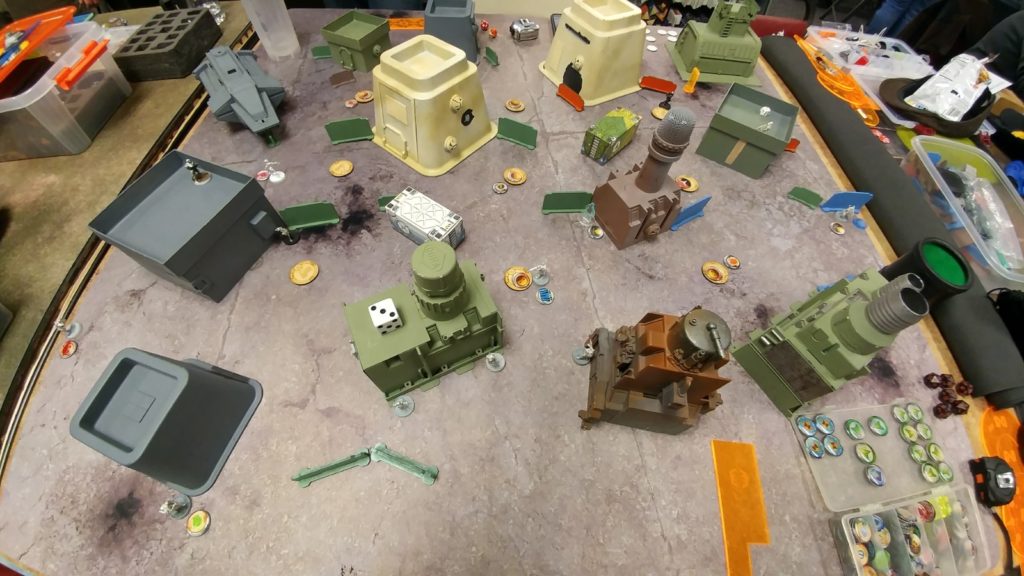 I designate the far left antenna to prevent Daniel from taking it out, but lose the Chassuer to the dogged Karakuri. Oh well. We’re still tied on destroyed antennas, so I need to get one more. I break the link team and use a coordinated order to get Bruant, the HMG Metro, and the ADHL Chasseur into base to base.
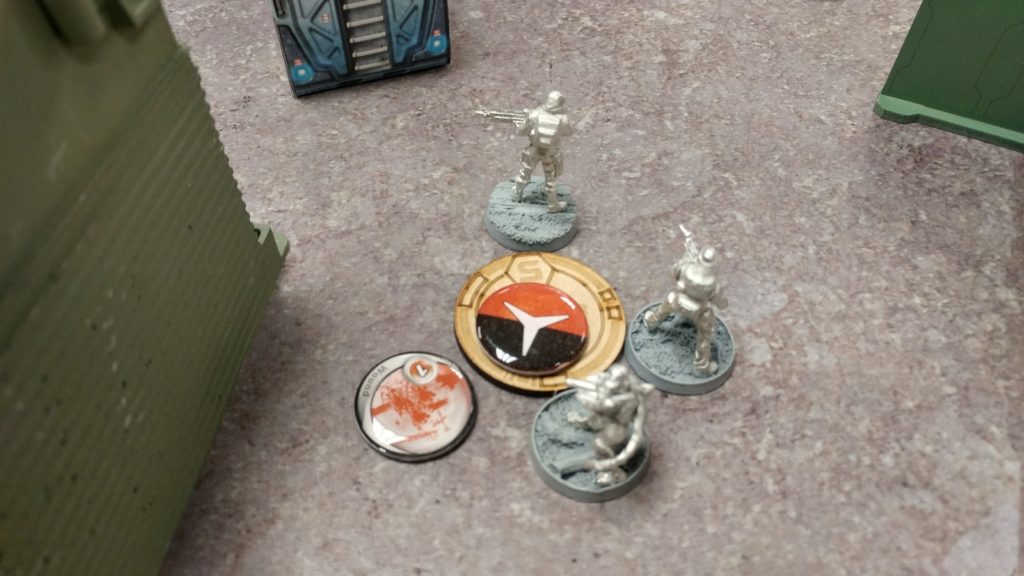 A crit and two hits later, I’ve done another point of STR damage and stack up 8 ARM rolls for Daniel to pass. He manages to pass FIVE of them, but I just need him to fail one. Three will do! With that, I’ve got 6 antennas, two destroyed, and have depleted Daniel of anti-materiel options.
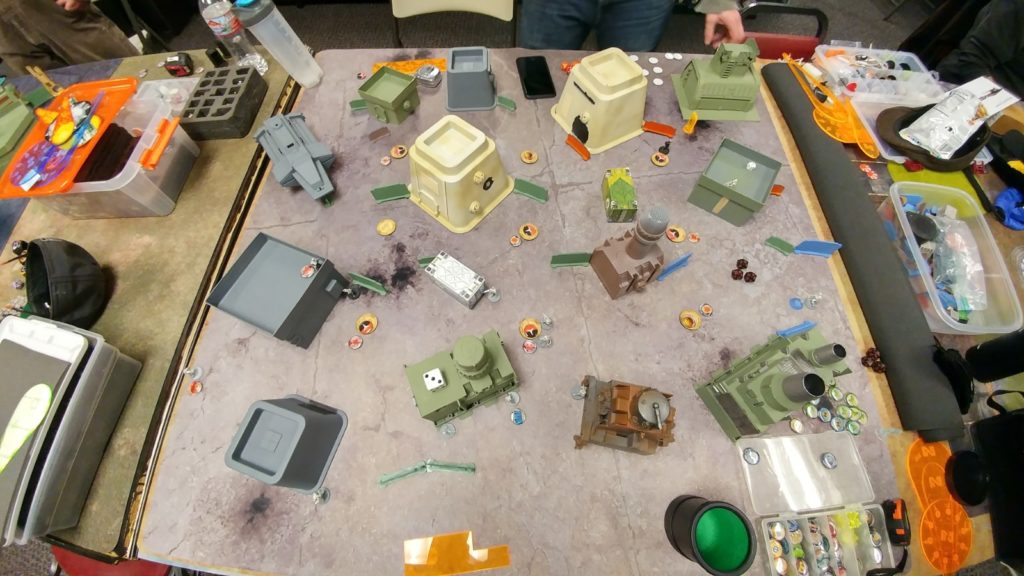
Bottom of Turn 3 – JSA
Daniel’s only got 2 orders left, and he passes a roll on the antenna that his Kempetai is standing next to.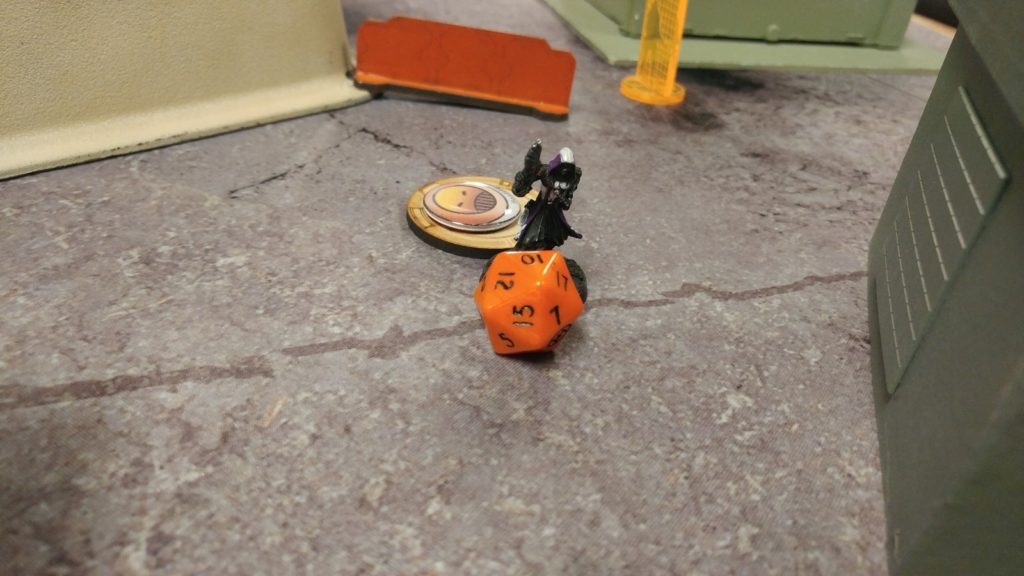 After that roll, I’ve got 5 antennas to Daniel’s 2, 2 destroyed antennas to his one, and I’ve killed his HVT with my DataTracker.
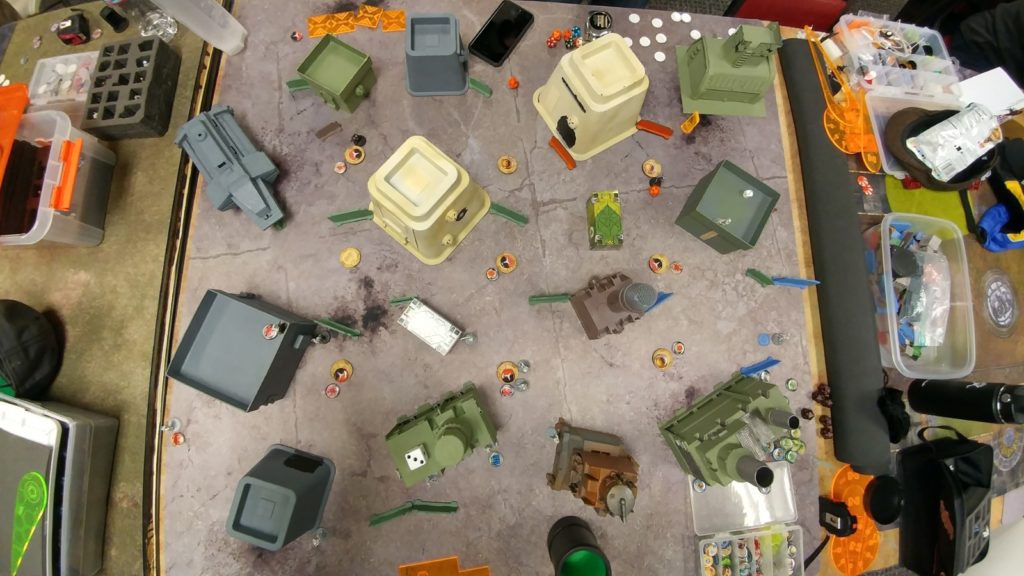
10-0 FRRM Victory! Vive la France!
Notes
- Don’t forget that Zouaves have assault pistols! Yes, not all of them have them, but still!
- The Grid is really tough. You have to really juggle a lot of different competing priorities.
- I think if you go first in The Grid you still want to alpha strike really hard. I didn’t have a great plan for that though.
- I did a much better job managing my Chasseurs this game than the last one.
- Karakuri are scaaaaary!!! Definitely need to take some E/Maulers in 300 points.
- Daniel faked me out hard with his 9 order list. I kept expecting a Ninja to show up. Well played sir, well played!
- I did a much better job managing my link team this game. Much happier with their performance.
- Having both the Molotok and the HMG was nice because it let me play the rangeband game and get positioned properly.
- I did NOT do a good job of defending my HVT. I just got lucky because Daniel got distracted.
- Zouaves are amazing DataTrackers in The Grid. The right DataTrackers for this mission (in this list) are the Metro LGL or the Zouave.
- I need/want more Zouave models. They’re so cool!
- All in all, I think I did okay this game. Probably didn’t need to risk the Chasseur by throwing it over the centerline, but there wasn’t really a great place to put it otherwise…
- I think I need to put the HVT in the view of the link team. That’s probably the right way to handle defending the HVT.

